Team-BHP > In-Car Entertainment
Register New Topics New Posts Top Thanked Team-BHP FAQ


Reply
  Search this Thread
25,896 views
Old 17th August 2009, 16:27   #16
Senior - BHPian
 
vijaythacker's Avatar
 
Join Date: Feb 2009
Location: Ahmedabad
Posts: 1,498
Thanked: 74 Times

wow, cool guys intresting DIY to look at with that beast, awaiting to see the final results.
vijaythacker is offline  
Old 17th August 2009, 16:31   #17
BHPian
 
shreyasma's Avatar
 
Join Date: Jan 2007
Location: Bang!
Posts: 652
Thanked: 6 Times

Quote:
Originally Posted by DerAlte View Post
Oy Shreyas, stop being a tease!

Hmmm, looks like an LX which strangely has a color similar to my Safari. Where are you doing the work? May I drop in some time to help?

Metal cutting? What metal cutting?
I am sorry, I forgot to reply to this message. This install is already done.
The next time I am doing anything, I will call you for sure. Hpefully its my zen doorpad rebuild

But please feel free to bug Sumith for an audition of this
shreyasma is offline  
Old 17th August 2009, 17:35   #18
BHPian
 
LionX's Avatar
 
Join Date: Dec 2008
Location: Cochin / Bangalore
Posts: 682
Thanked: 981 Times

Quote:
Originally Posted by jkdas View Post
Do post pix of seats too :P
Looks good.
JK, I will post the interior pics along with the final pics of the installation. Oops, I need to have a photoshoot soon.
LionX is offline  
Old 17th August 2009, 20:26   #19
BHPian
 
akbaree's Avatar
 
Join Date: Jun 2005
Location: Ahmedabad
Posts: 613
Thanked: 107 Times
Continuing with the story...

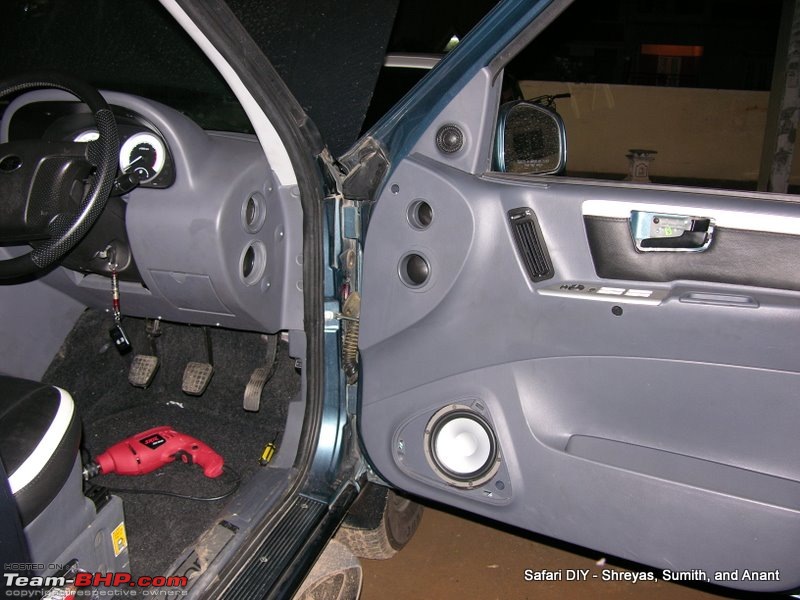
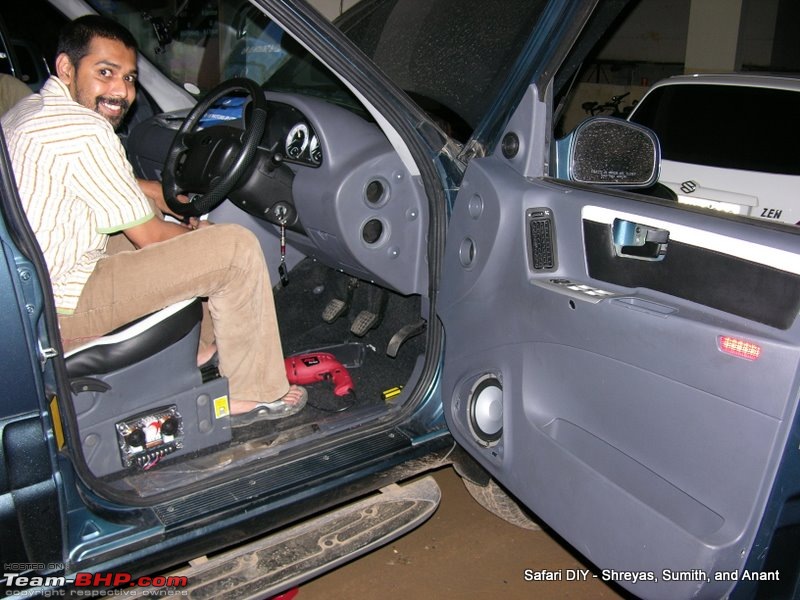
It was 15th August and we found most of the shops closed. But we managed to purchase the needed cables. When we returned, Shreyas had completed fitting amplifier on the plank and marking crossover positions.

I and Sumith then joined Shreyas in putting the crossovers.
Safari ICE..DIY??-dscn5873.jpg

Safari ICE..DIY??-dscn5874.jpg

You can see that the midbass and tweeter wires were already drawn. Sumith and Shreyas then moved to putting the door pads back in place.

Safari ICE..DIY??-dscn5878.jpg

Shreyas then moved to fitting the HU, Sumith moved to the engine bay to fix the water tank that we had removed in the morning for passing the power cable. And I moved to wiring the Amplifier.
Safari ICE..DIY??-dscn5880.jpg

While I continued to struggle with the amplifier wiring, Shreyas moved to fitting the subwoofer and Sumith helped me in running the grounding cable.
Safari ICE..DIY??-dscn5883.jpg

All done, some additional thinking going on...
Safari ICE..DIY??-dscn5884.jpg

And this is when I stopped taking pictures.
Name:  DSCN5888.JPG
Views: 2826
Size:  111.9 KB

Safari ICE..DIY??-dscn5892.jpg

We started tuning the set up. The subwoofer will make it's present felt only if you touch the cone. No sound only a palpable cone vibration. Looks like we did some mistake in series/parallel connection. It was quickly rectified and subwoofer started firing like a dream.

The time was 10:30PM. I remember Shreyas wouldn't have spent more than 5 minutes in having the pizza during lunch. It has been 12 hours of constant hard work. And we are all tired but extremely happy.

Kudos to you Shreyas and Sumith. Shreyas seemed to have ideas for every hurdle that we would hit and Sumith too has passion.

Last edited by akbaree : 17th August 2009 at 20:31.
akbaree is offline  
Old 17th August 2009, 21:38   #20
BHPian
 
LionX's Avatar
 
Join Date: Dec 2008
Location: Cochin / Bangalore
Posts: 682
Thanked: 981 Times

I would say it was a very professional install and the result was amazing, need to see it in real to believe what I mean. I am very lucky to have such dedicated and knowledgeable friends like you guys.

I don't have any pics of the install, but I do have some photos of the stuffs used. Will try to cover most of them.

1. HU : Clarion 785USB (still in mumbai due to the issues with couriering, will be collecting personally on 3rd Sept), Pioneer 3050UB for time being.

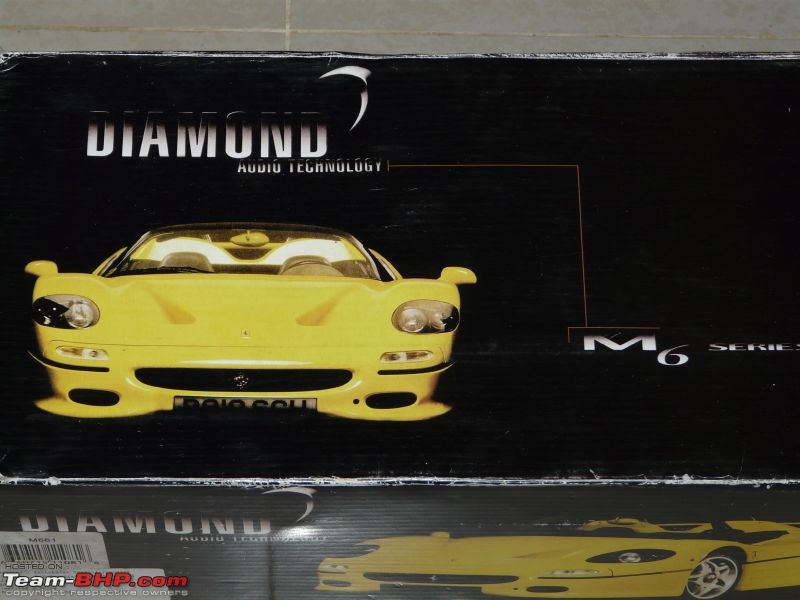
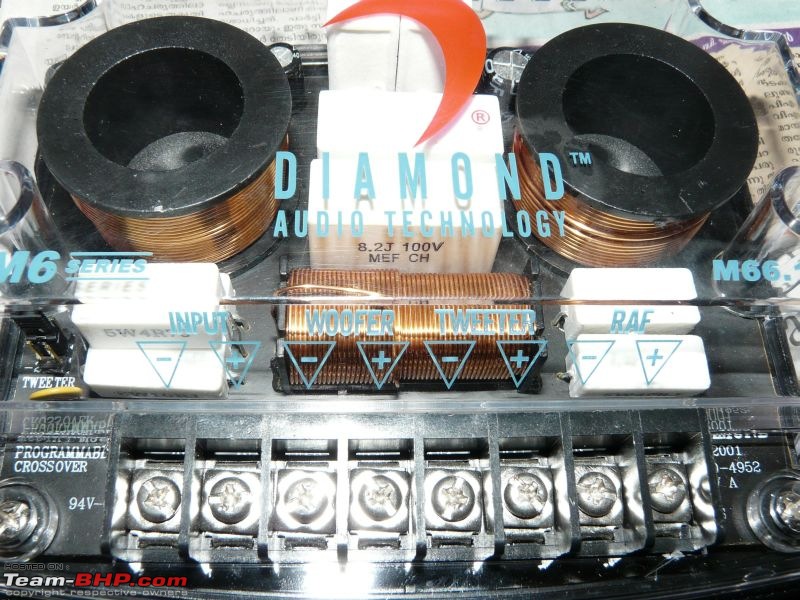
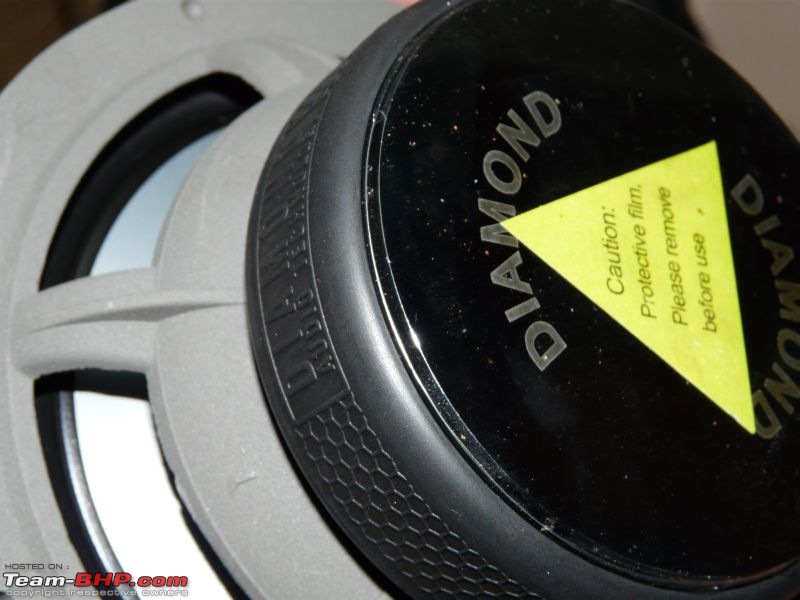
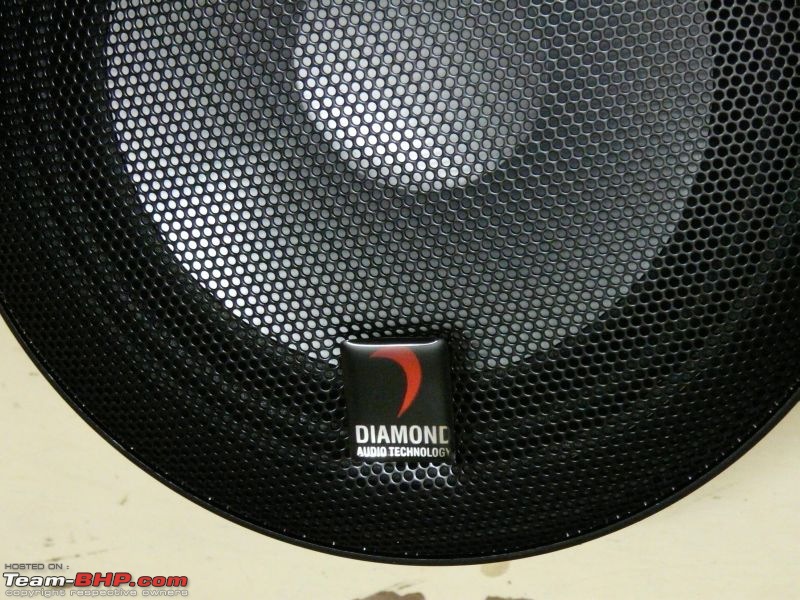
2. Front Components : Diamond Audio M661, picked it from a friend's shop in Kerala. Pretty old model but definitely VFM and amazing sound reproduction. Have a look at the built quality in the pics below.

The pack :


The Crossover, It also has a RAF out for real fill:


Midbass:


Midbass rear:


One more close shot:


The Tweeter:


The driver with grill:


More to follow...
LionX is offline  
Old 17th August 2009, 23:23   #21
Senior - BHPian
 
DerAlte's Avatar
 
Join Date: Mar 2007
Location: Bangalore
Posts: 8,069
Thanked: 2,919 Times

Hi Sumith, didn't your pics upload? Or is my system playing the fool with me?
DerAlte is offline  
Old 17th August 2009, 23:48   #22
BHPian
 
LionX's Avatar
 
Join Date: Dec 2008
Location: Cochin / Bangalore
Posts: 682
Thanked: 981 Times

Quote:
Originally Posted by DerAlte View Post
Hi Sumith, didn't your pics upload? Or is my system playing the fool with me?
I think the browser cache has fooled me. Uploading the pics again.

The pack :

Safari ICE..DIY??-cover.jpg

The Crossover, It also has a RAF out for real fill:

Safari ICE..DIY??-crossover.jpg

Midbass:

Name:  MidBass.jpg
Views: 2643
Size:  66.3 KB

Midbass rear:

Safari ICE..DIY??-midbass-back.jpg

One more close shot:

Safari ICE..DIY??-midbass-back2.jpg


The Tweeter:

Safari ICE..DIY??-tweeter.jpg

The driver with grill:

Safari ICE..DIY??-grill.jpg


Hope its clear now
LionX is offline  
Old 18th August 2009, 01:18   #23
BHPian
 
ghpk's Avatar
 
Join Date: Mar 2009
Location: Ghaziabad
Posts: 870
Thanked: 211 Times

Shreyas, nice work and best part is, you always help friends when they need it,
keep up the good work and zeal.

Excellent D.I.Y.
ghpk is offline  
Old 18th August 2009, 09:52   #24
BHPian
 
shreyasma's Avatar
 
Join Date: Jan 2007
Location: Bang!
Posts: 652
Thanked: 6 Times

Thank you guys. Sorry for dragging the install till late. I wanted things to be perfect than leaving behind the DIY traces.

Here's the last set of pics from my side

The best part of the install
Safari ICE..DIY??-tweeters.jpg

The HU
Safari ICE..DIY??-hu.jpg

Sumith and Ananth hurting their hands to screw in 3 3inch screws through 3 MDF layers. (We called it the He-man She-man strength)
Safari ICE..DIY??-sumith-ananth.jpg

The pain was not enough! Ananth pushing the silicone sealant using a hammer to seal his sub box
Safari ICE..DIY??-ananth.jpg

Stay tuned for the after install pics. I think Sumith is waiting to clean the car before clicking.
shreyasma is offline  
Old 18th August 2009, 11:01   #25
naughty001
 
Posts: n/a

Great job, just one question though. Are silicone applicator guns expensive in your area, cos its far easier to use one of those instead of a hammer, and here in South Africa those cost only as much as one of those silicone tubes and it would have made your life very easy

ie something that looks like this

Safari ICE..DIY??-silicone20sealant20and20gun.jpg

but im only nit picking but hopefully maybe giving you an idea for your next install that will save your hands from the abuse caused by trying to use the hammer handle

But either way great job, too bad im too far away to come and listen to some of the systems im seeing here on team BHP, i need to make a plan to visit India sometime
 
Old 18th August 2009, 11:12   #26
BHPian
 
LionX's Avatar
 
Join Date: Dec 2008
Location: Cochin / Bangalore
Posts: 682
Thanked: 981 Times

Quote:
Originally Posted by naughty001 View Post
Great job, just one question though. Are silicone applicator guns expensive in your area, cos its far easier to use one of those instead of a hammer, and here in South Africa those cost only as much as one of those silicone tubes and it would have made your life very easy
It is not expensive, but I was unaware of the gun while buying the tube. It was fun even though a dirty and tough job, Am I correct anant? Anant was trying hard to get it removed from his hands .
LionX is offline  
Old 18th August 2009, 11:37   #27
BHPian
 
shreyasma's Avatar
 
Join Date: Jan 2007
Location: Bang!
Posts: 652
Thanked: 6 Times

@Naughty001, Its not that its expensive, we didnt invest as we thought the sealant is just one-time used in the box. Only when used we came to know the pressure it requires to come out of the tube.

I have made a small list of items that will be procured as and when time permits and the gun is one of them.
shreyasma is offline  
Old 18th August 2009, 12:19   #28
BHPian
 
ghpk's Avatar
 
Join Date: Mar 2009
Location: Ghaziabad
Posts: 870
Thanked: 211 Times

I used that Silicon Gel few days back, pushing it with a screwdrivers Back, and the Back stopped on that tube came out making it a real mess, and it smelled very pungent, eeek

haven't touched the tube since i replaced the back cap, don't know if its dry or still usable !!
ghpk is offline  
Old 18th August 2009, 12:28   #29
Senior - BHPian
 
Join Date: Jul 2008
Location: Bangalore
Posts: 2,089
Thanked: 715 Times

Wonderful DIY kudos to three of you , waiting to see the interior pics.

Shreyas any reason why you left out Fiber glass and foam damping unlike your previous DIY on Safari.

About Silicon glue the gun is quite cheap and can be operated with one hand.
I have an aquarium at home and once used it while replacing the bottom glass which got cracked.

One word of caution with Silicon glue if anyone wants to use it. Always use it in open space and take break after 10 - 15 minutes of work to breath fresh air else you will get severe headache and dizyness. Let the sealant dry fully before you close the door pads.
amitk26 is offline  
Old 18th August 2009, 12:50   #30
Senior - BHPian
 
jkdas's Avatar
 
Join Date: Sep 2005
Location: Thiruvananthapu
Posts: 9,687
Thanked: 1,492 Times

The work area looks neat, no cig or water bottles

And wasnt damping done? And how much did the sub cost? And its fed from the 1004?
jkdas is offline  
Reply

Most Viewed


Copyright ©2000 - 2024, Team-BHP.com
Proudly powered by E2E Networks