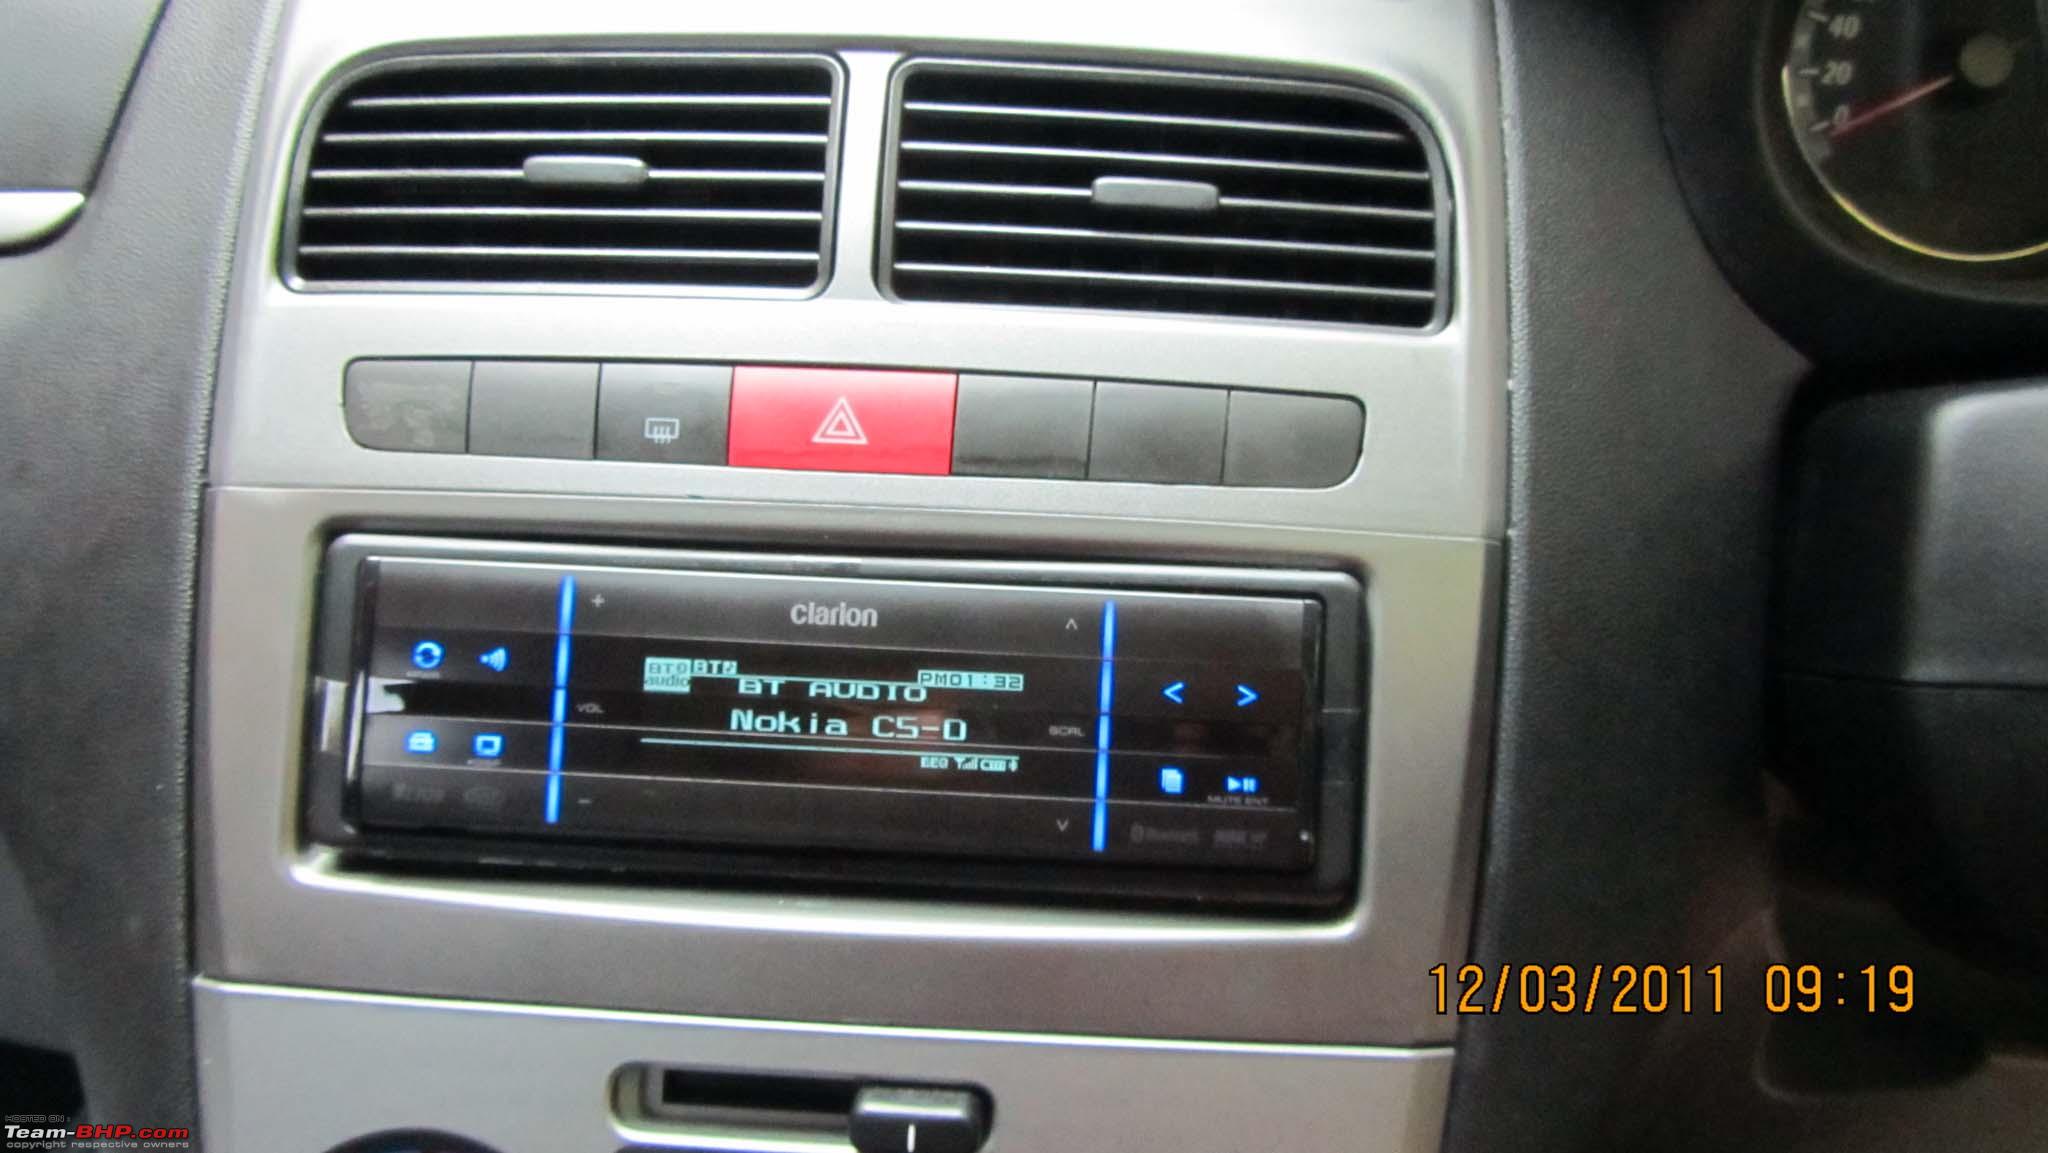
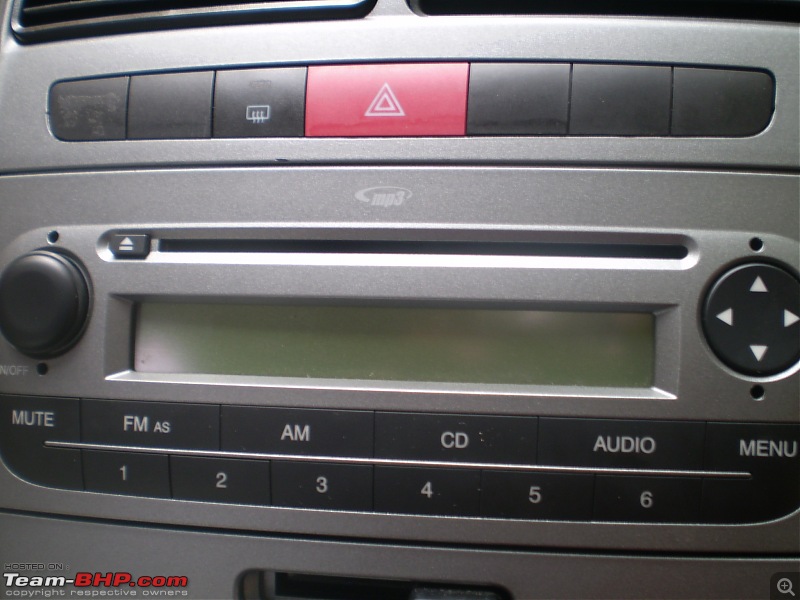
Just to get an idea on what you are about to read. I am going to show how I got from here

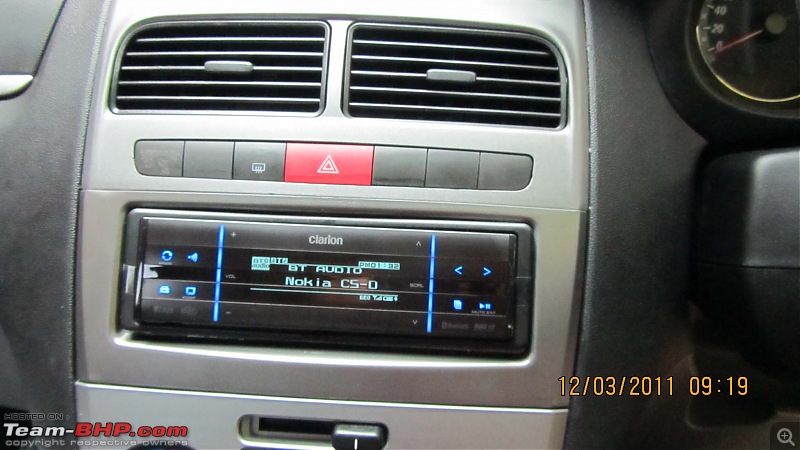
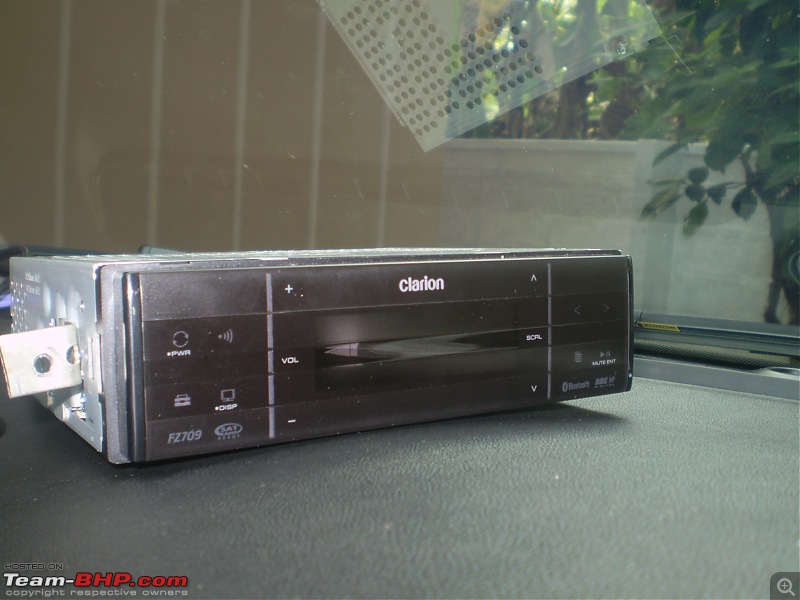
To here
Ever since I was thinking about a car, I had this item pinned towards the top in my priority list. I knew the big soap box where we sit, the motor and the wheels does matter. But the item right next to them was quality audio.
But please do not estimate my expectations too high. Although whenever we think of quality car audio, the first thing which often comes to our mind is the boom box in the boot, I have always realized from my experiences that I do not need them right away. I agree that budget is mostly the constraint why I cannot jumpstart on to the Autobahn. I know I need my Porsche before I can enjoy the super speedway. But I do not see any chance to get that Porsche in the showroom. So here I go enjoying my country highway; but I can still feel the adrenaline pumping through my nerves when I corner the potholes. So it shows to me that, for me, my Indian Highways are good enough for adrenaline pumping experiences. LOL.
So here goes the story of my humble rig.
Its been about 3 months back, that I got my Grande Punto DI 75 HP. But even before I got the car, I had searched the internet about getting the factory car audio replaced. Being a onetime Wikipedia addict, I had already figured out the DIN standard (
ISO 7736 - Wikipedia, the free encyclopedia). It was a cool thing to me and I understood that any headunit must fit any car. But I was not so aware about the electrical world. And I went in pursuit of my dream system. As I already mentioned, my dreams are strictly budgeted. My priorities were already set
- Bluetooth It was a must. I do not want to take my hands off the steering, but neither do I want to reject those calls longing so much to hear my voice

- Where am I to store and browse through my music collection all day long? Good ole iPod! It is the coolest gadget I have. So no compromise on the iPod connectivity.
- Budget. Must not cross 5K was my ideal. But towards the end of my search I realized I have to up the limit a little. So I compromised a bit and set it at 6K.These were my requirements and I knew only one place in the world where you can get genuine stuff for this price. Where else, but across the Seven Seas!
But I didnt want to trouble my sister and family while they were trying to get a foothold in the US soil with their
Odyssey fully packed with 3
car seats! But then I thought; buying a CD drive like stuff wont hurt them much. So I went in pursuit and ended up with two contenders. (They are contenders for me alone. But, for others, there is no question about who is the best.)
First, the Killer ->
Alpine iDA X305 S
I almost lost my sleep over it. Gorgeous dialer! And the colour display too!
Then came the humble guy, specially made for me ->
Clarion FZ709
As you might have noticed, both of these do not have CD player. In my old car, I never used the CD player for over 1.5 years of my total usage. So it did not matter at all.
Considering my third requirement, I had no question about which to choose when I reached Amazon. It was the Holidays at US but even then, the Alpine was no match to Clarion which was retailing for mere $130 at that time. So there goes my BIL placing the order right away and my darling reaches me in a months time.
I was hoping that I could live with the Emotion OEM audio till I figured out how to install the headunit. But once I got the car, it was difficult living with the MP3CD+Tuner headunit and the paper cone speakers. Once, during a long drive, I got a real headache listening to those speakers.
From the very first day I talked about upgrading the headunit, I was getting bullied from all sides about the Big Mr.Warranty issue. I was never sure what they meant. Finally I figured out it was all about cutting wires. But why should they cut the wires at all? Or are there any alternatives to upgrade without cutting wires? I had the sales guy agree to get the upgrade at the showroom itself, but they all seemed blushed to do the job. It was almost like stepping into the unknown for them as well. So I was not so confident to get it done there either.
That lead me to searching the internet to understand what is happening in the car audio world. A simple search of punto headunit upgrade or something similar took me to the Fiat Forum UK. As you know, the Grande Punto was introduced internationally in 2005 and so, the car I am having now is in its 6th year of production. So just like many other things, if you have ever thought of something new in the Developing World, somebody must have thought of it long time back in the Developed World and all thanks to the Big Web, I can work on top of what is already done by them. So my search returned a whole lot of listings. It seemed that the Grande Punto headunit change was a well trodden path, just like we think of speaker upgrades. So what is stopping me?
First I got a keyword from some of the forums ISO Connector. I do not understand why I never searched for it. Google it and the first result you get is the Wikipedia entry for ISO 10487 (
ISO 10487 - Wikipedia, the free encyclopedia)
Pasting the image here for reference

And the Wikipedia link lead me to the reference page as well
Wiring DIN & ISO Car Radio Satellite Navigation Connectors
After reading this article, I was thinking it was plug and play for the new audio. But then I again stumbled into another issue related to this. It seemed Fiat has switched some of the pins.
So people were doing some workarounds to get it working. It took a while to understand what was happening. Here is the story.

As you might have already learned from the ISO link, there are two connectors. Connector A and Connector B. Connect B is for the 4 speakers - 4x2=8 Pins, a no brainer part. Connector A is the boss. It contains the power connectors and other brainy stuff.
For the Punto, I got the pin diagram (Source : Grande Punto Service Manual Try to get it yourself; Use your brains!). From the diagram, you can see that there are only two power related pins. A4 Direct Suppy and A8 Earth. There is no so called ACC connector.
Coming to the ACC connector, it is present in almost all cars. Generally the power is provided through two leads - the ACC lead and the memory lead. The ACC lead is linked to the ignition and switches ON and OFF along with the ignition. So this can be used for switching the system ON and OFF. The other memory lead is directly linked to the battery and is always ON. This lead is to retain your settings even after the system is turned off.
But come Grande Punto, and no ACC! So how do the system switch ON and OFF along with the ignition? Here comes CAN (Controller Area Network). It takes away the controls from our good ole wiring system. CAN is the stuff that connects each of the devices within a car to the corresponding ECU. So in our case, even the headunit is a node on the CAN. Whenever the ignition is turned off, ECU informs that data to the headunit through the CAN and then the headunit turns off on this signal. Is there anyway we can work with this system? I hope not, unless we ourselves design another headunit which can work with this. It is all proprietary logic out there and we will not get off the shelf products which can work with the CAN/ECU.
In contrast to the vehicle side connector, my Clarion FZ709 does expect an ACC, Memory and Ground lead just like any normal headunit. So what is the way out?
Three options >
1. Connect the ACC to the direct line and turn ON/OFF manually. Before you leave the car ensure that you switch OFF the system.
2. Connect the ACC of the stereo to some other device which works with the ignition, for eg: cigarette socket. Many of the Fiat Forum gurus went this way.
3. Connect the ACC to one of the spare switches on the center console and use that switch instead of the stereos power switch. This way you can extend the life of your systems ON/OFF switch.
I am going with the first option, the simplest. I am going that way to kill off the laziness in me. Let us not end up like those fatties in Wall-E depending on too much automation.
OK. So much is enough for the theory of the electricals. I got my hands dirty and went on to the practicals. Trouble was waiting round the corner.
First, you have to get these.
FP-01-07 Fiat Grande Punto Dark Grey Fascia Package on eBay (end time 02-Apr-11 13:42:43 BST)
It is great to buy a car which was so long in production. All that you need is available off the shelf.
To get this to your door all you have to pay is 16 GBP ~ 1200 INR. Pretty cheap looking at what you can do with it.
Also have one of these kits with you. A 41 pc kit @ 325INR. That is enough for most DIY work.
eBay India: AUTOMOTIVE 41 PCS TOOL KIT MUST EVERY HOME 4 YOUR PC (item 230596241187 end time 19-Mar-2011 17:49:44 IST)
Here we go. One thing I admit is that this is not a live job. I had installed the whole system once and I have taken it off and now putting it all back for the illustration purpose.
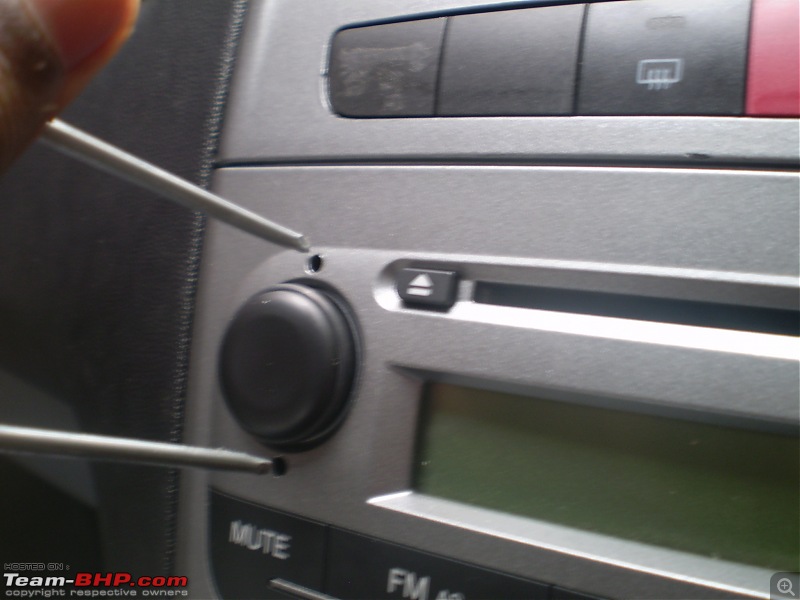
This is what they call the Stereo release keys in that eBay kit. It is something you can invent yourself. But this is a better bet.
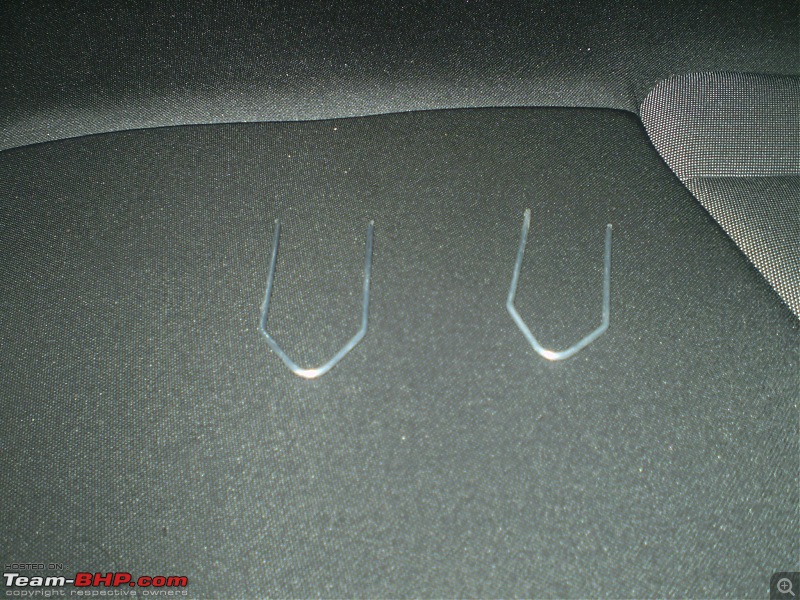
Ever wondered what those 4 holes are there for?
They were long waiting for the keys.
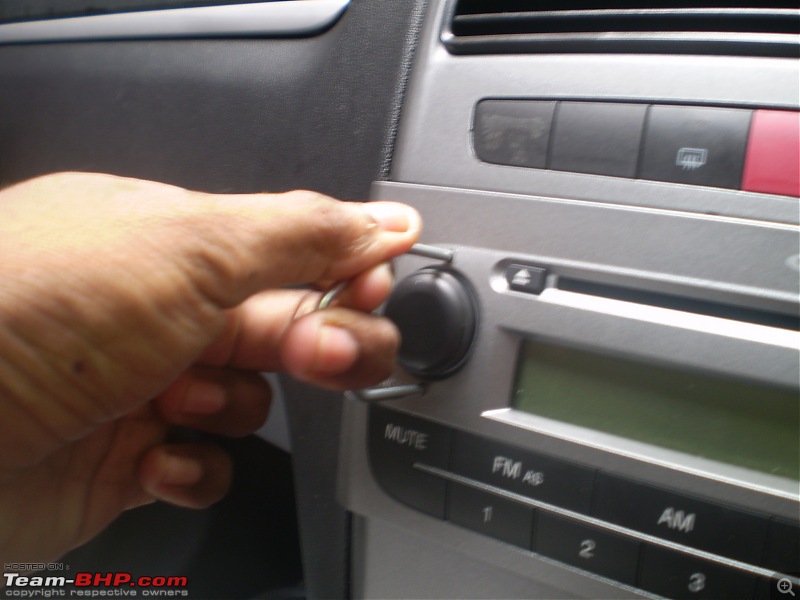
Push them in softly, all the way in. I am showing only one pair of holes. You have to put the other key to the other pair of hole as well.
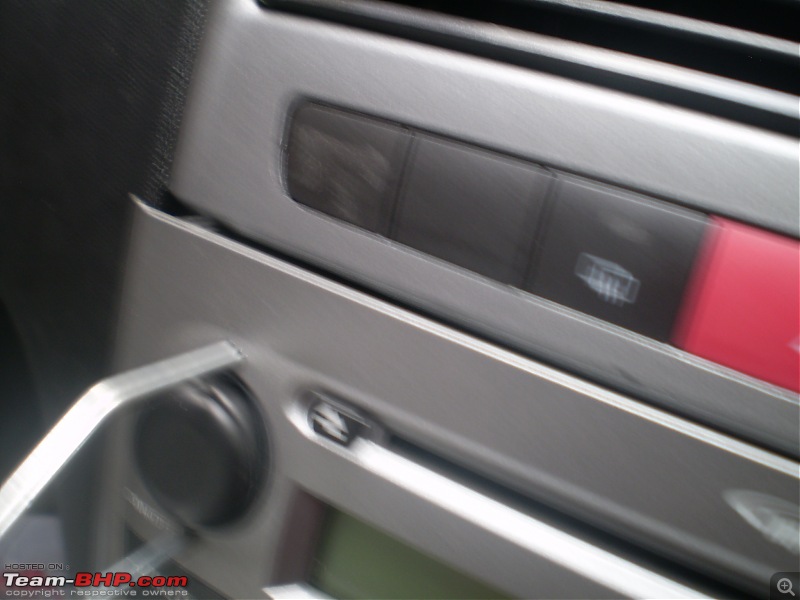
Now pull both the keys out together, with the keys gently pushed to sides (laterally). The idea is to release the latches inside. You can see that the stereo has started coming off. Such a nice feel to see it happening.
Hurray! They are completely taken out. Just by using these two keys.
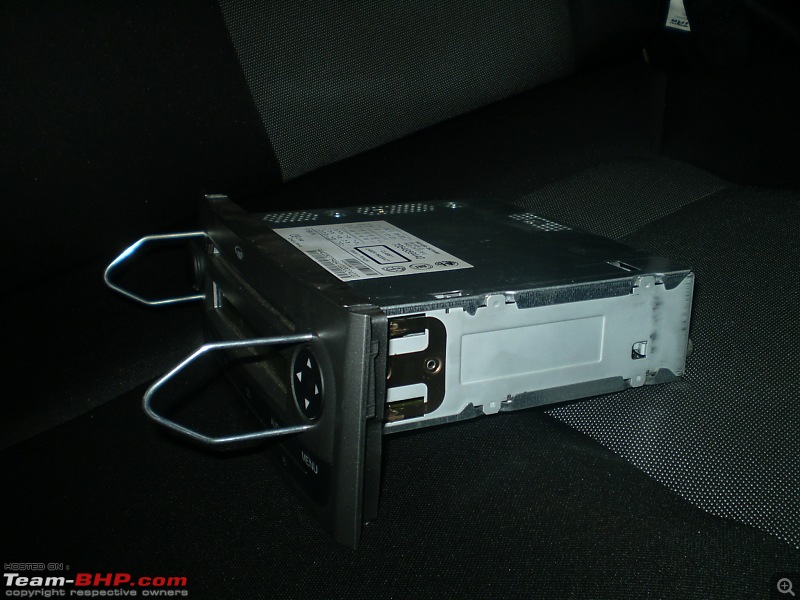
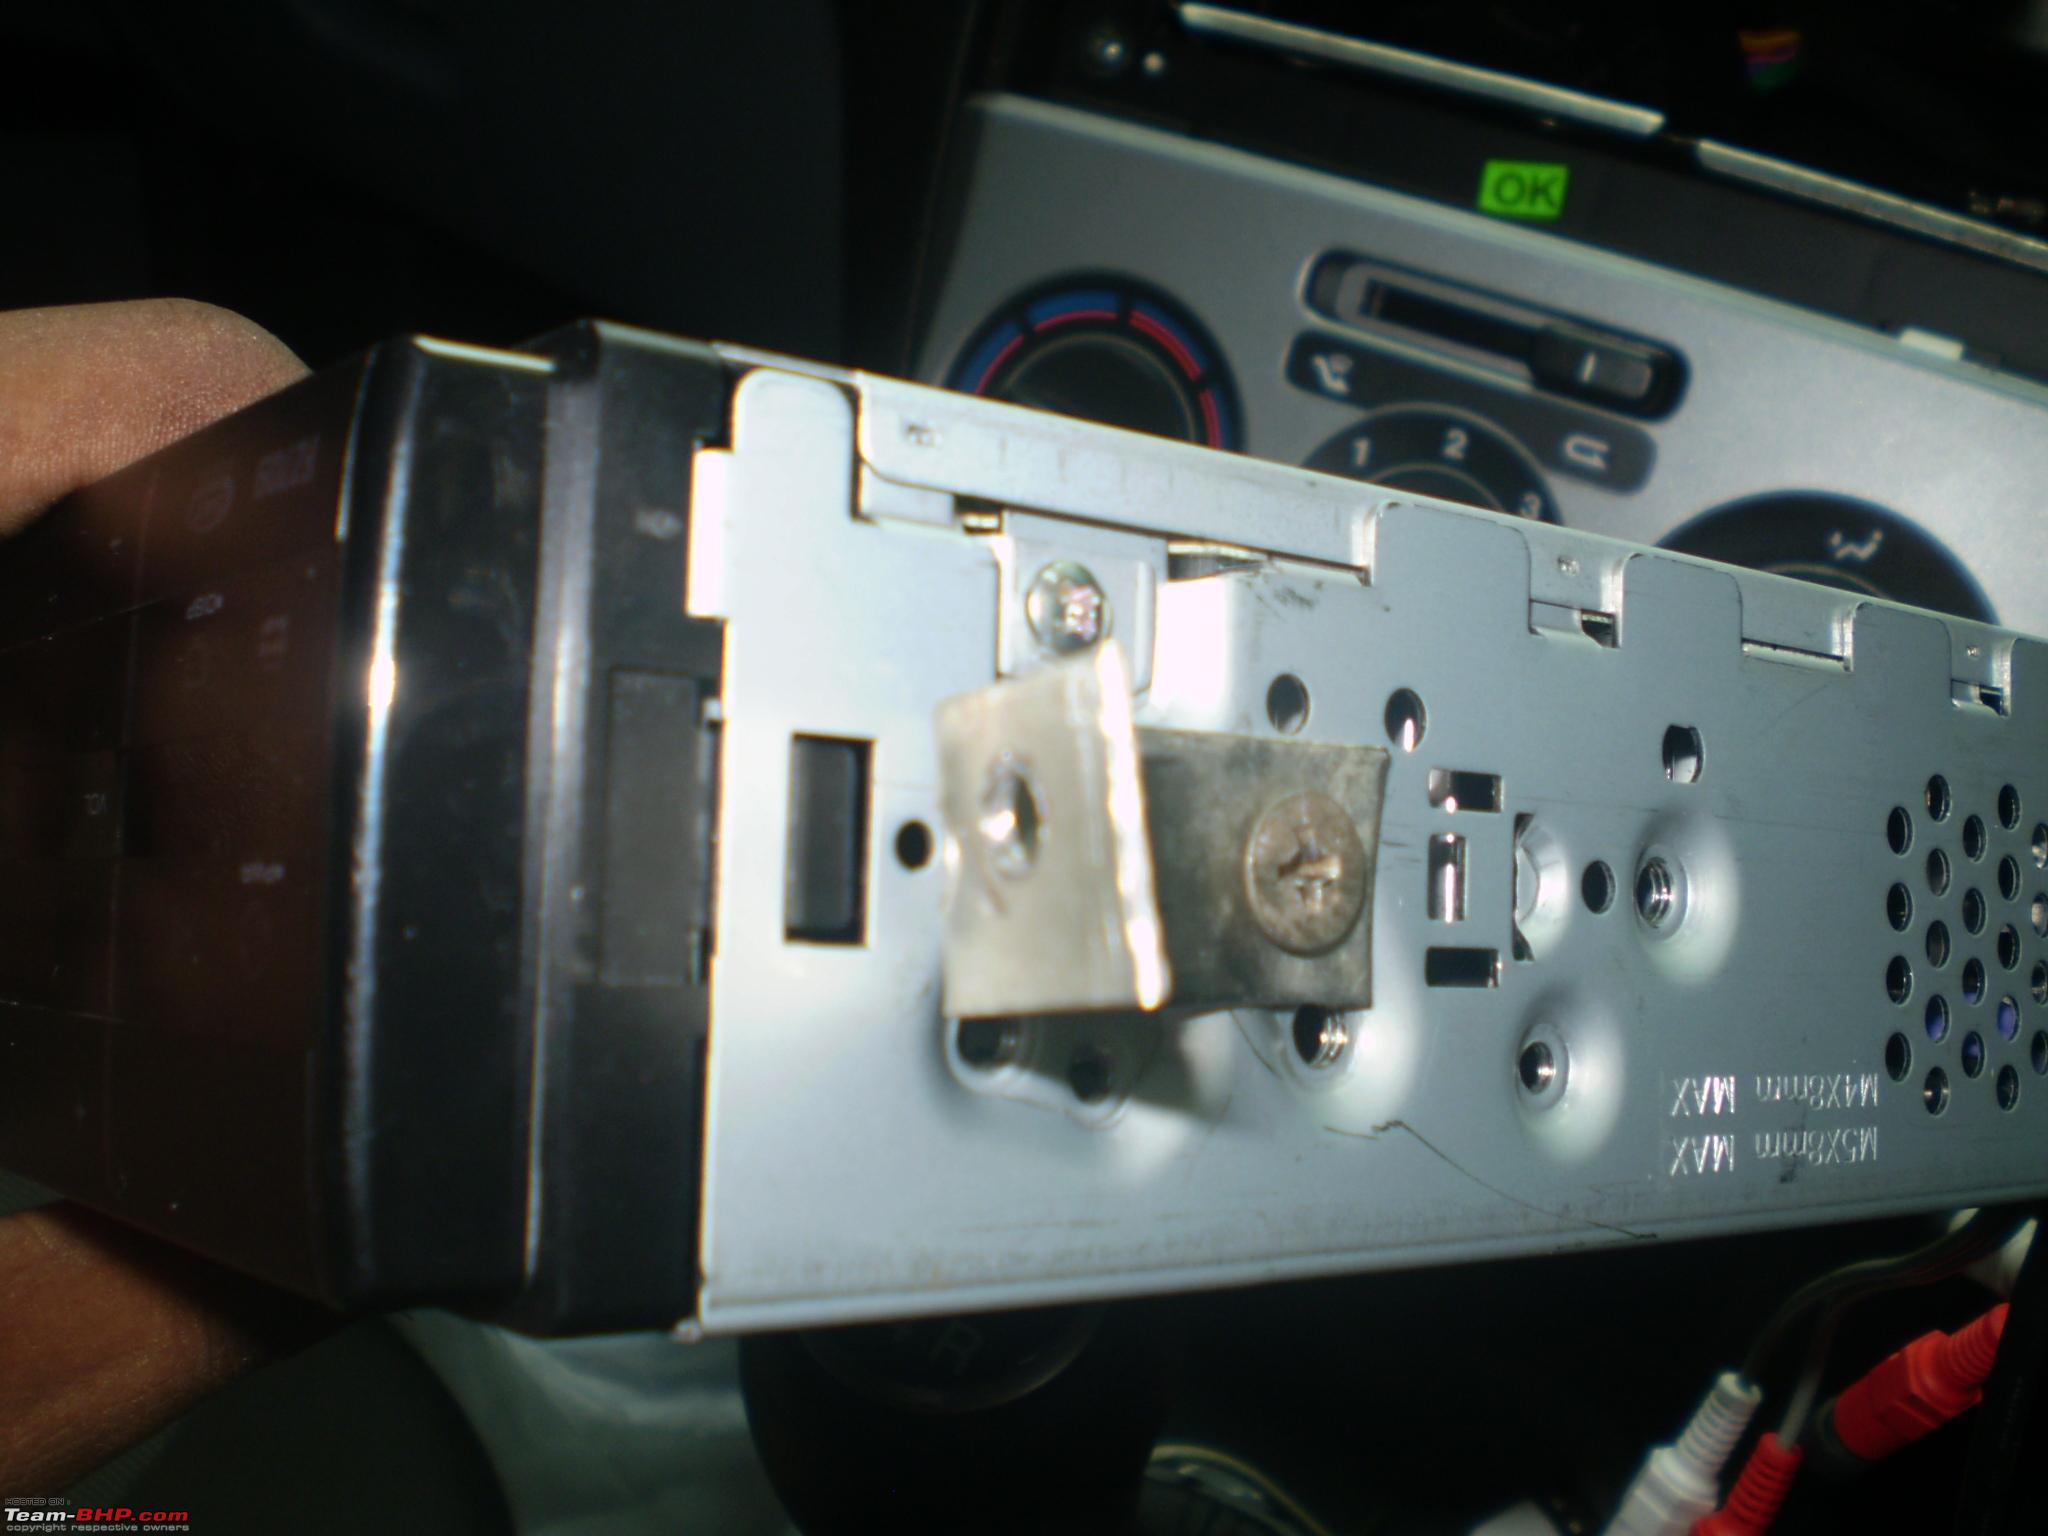
Have a look at the sides of the stereo. The keys are actually supposed to press those metal clamps inwardly so they get released from the metal cage seen above. So as you push the keys outwardly, the metal clamps bend inwardly.
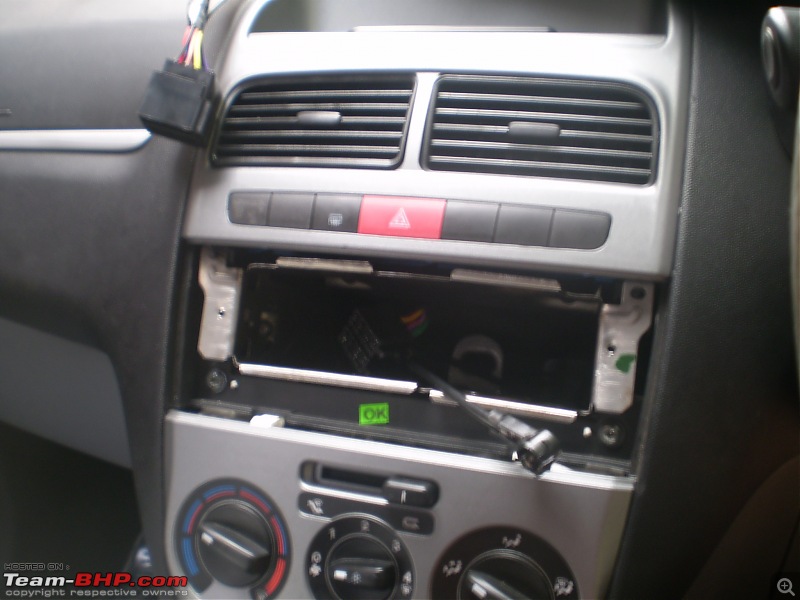
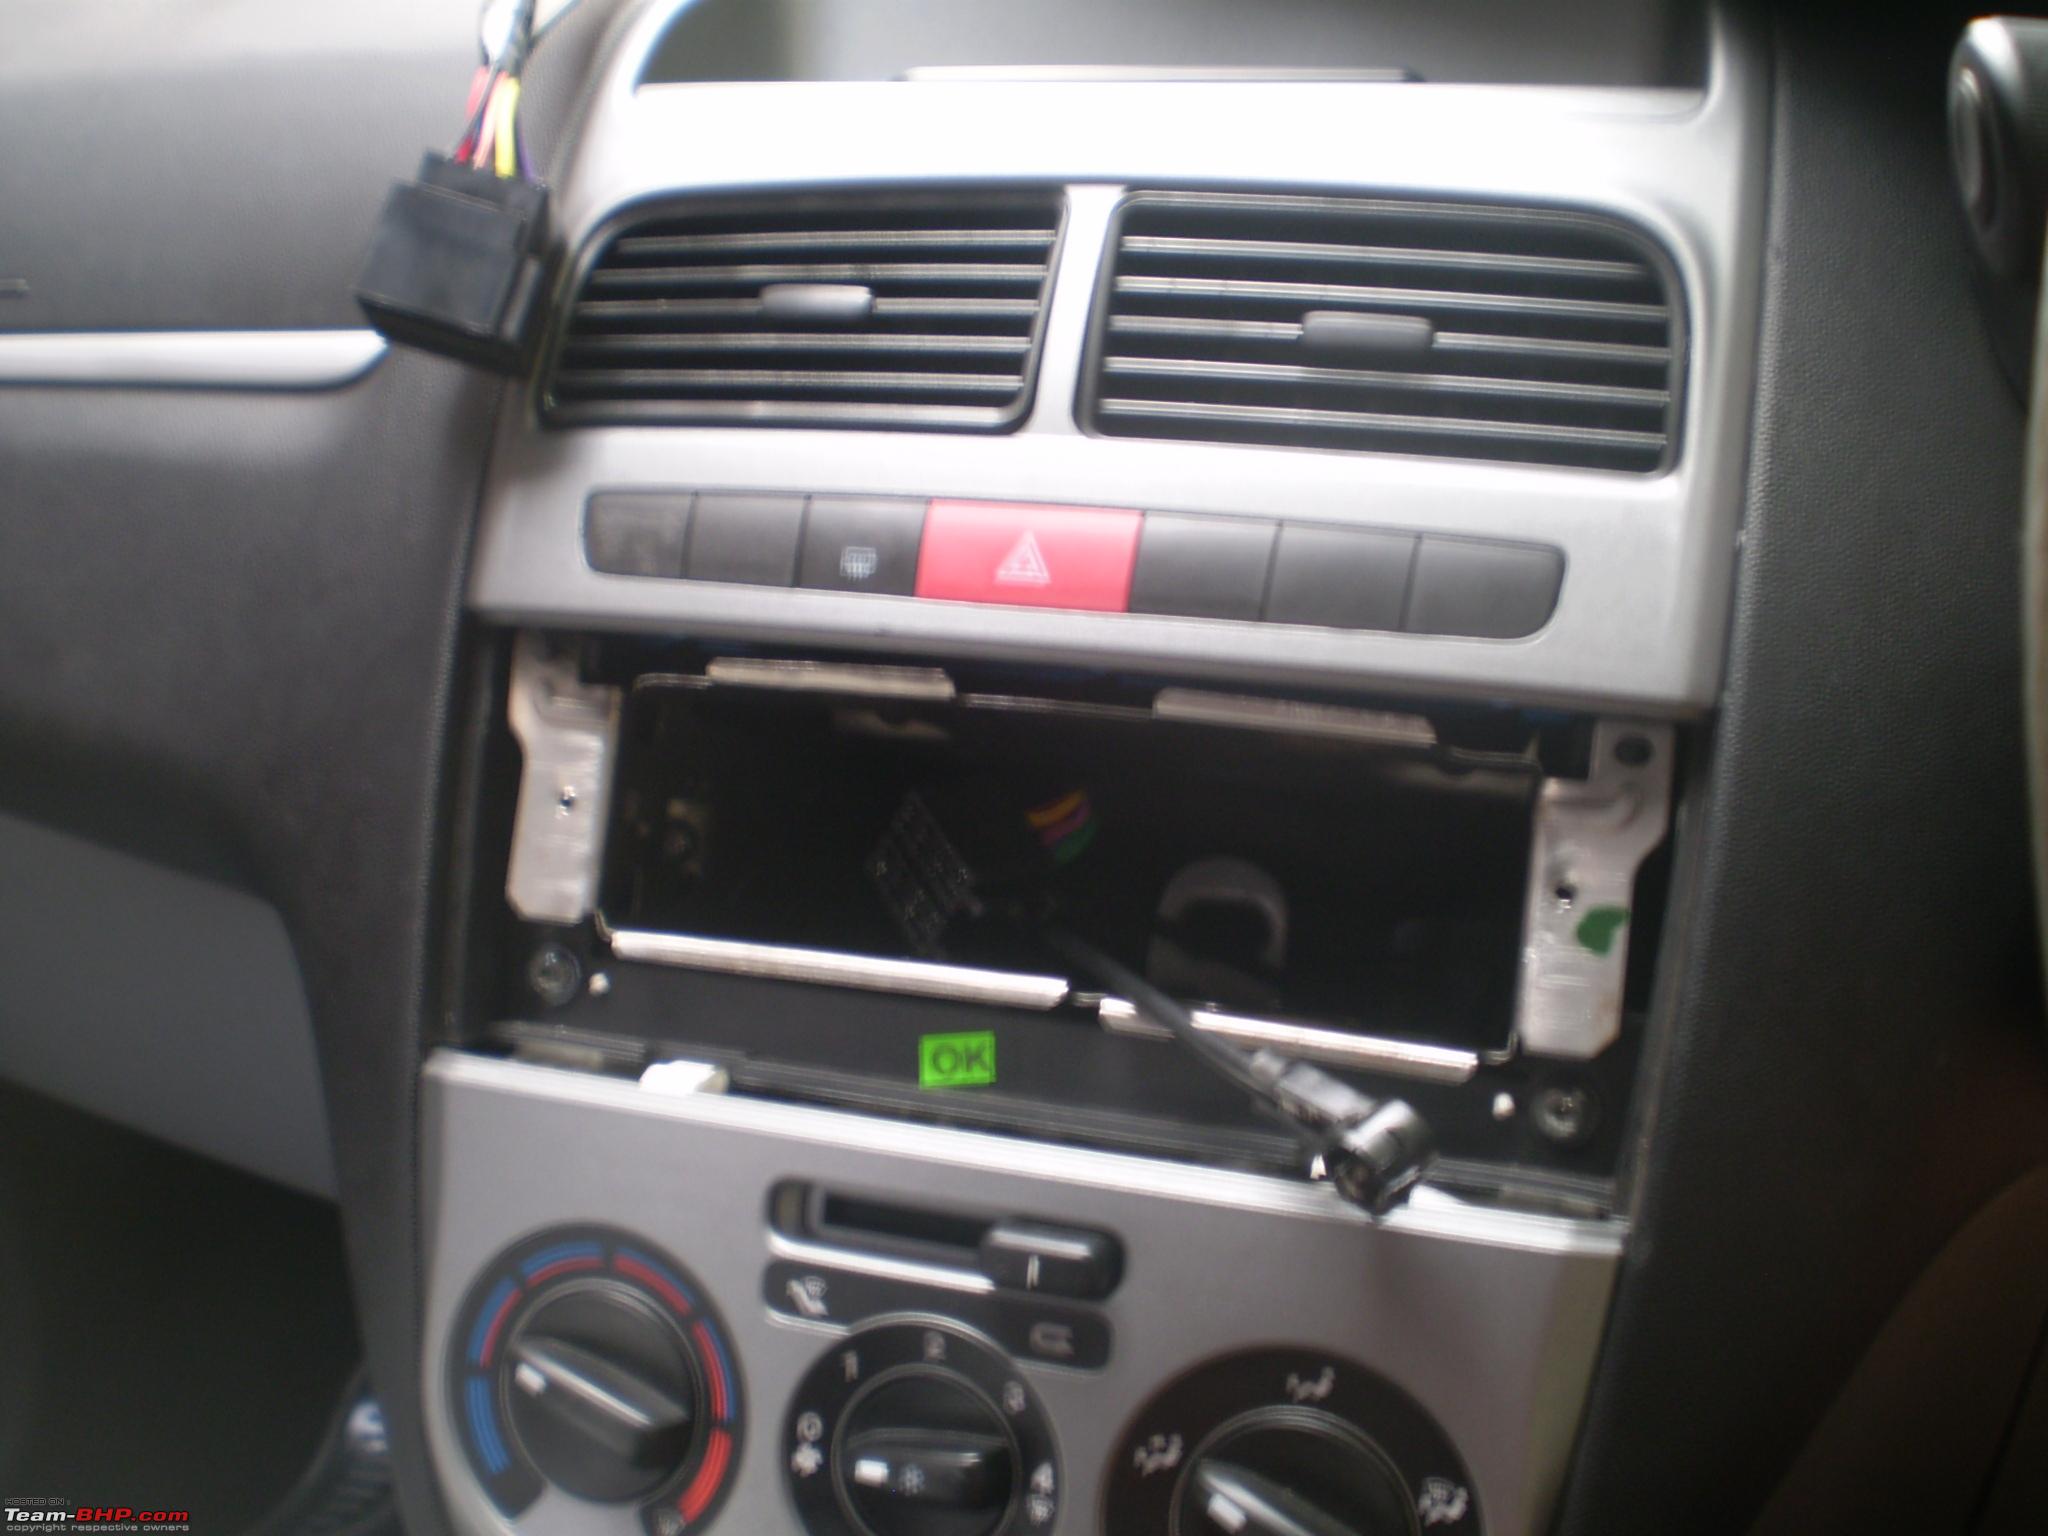
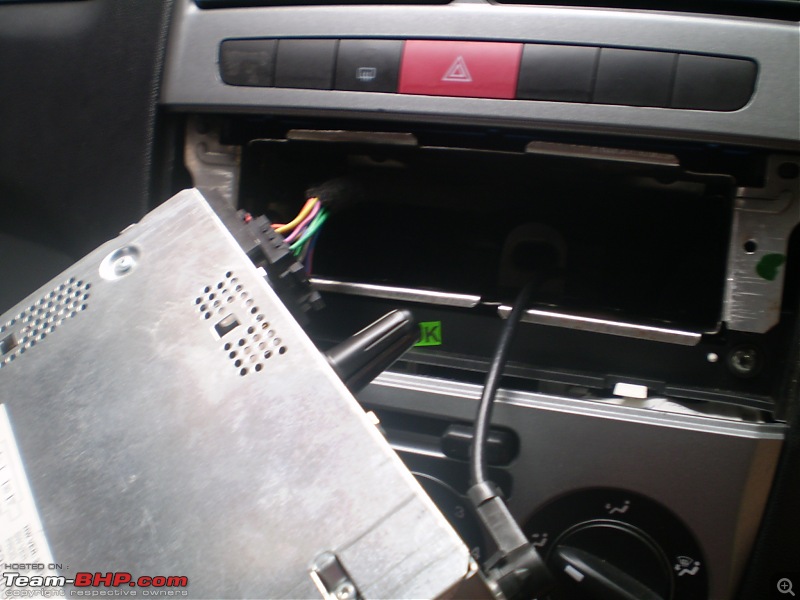
Sorry for the shaken image. Once you take out the headunit, you are left with this crater. Do not fear at all

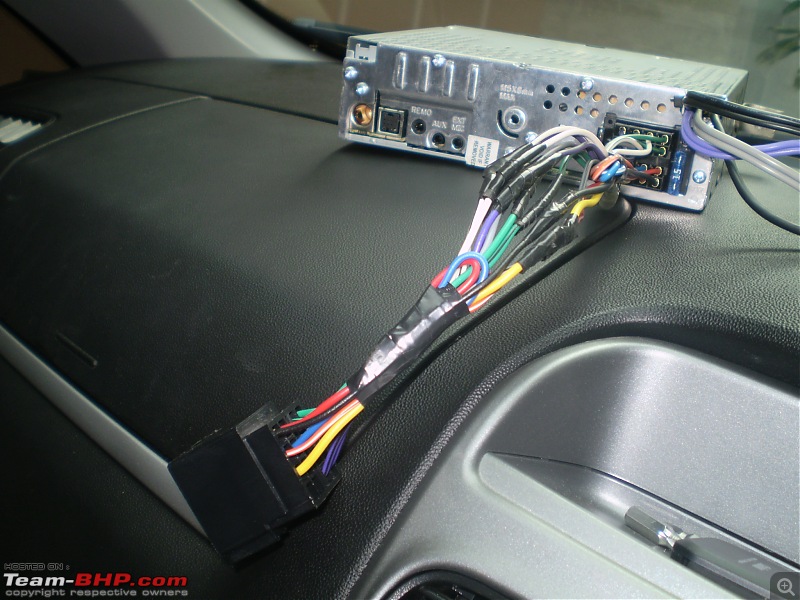
You can see that I have removed the harness from the back of the headunit.
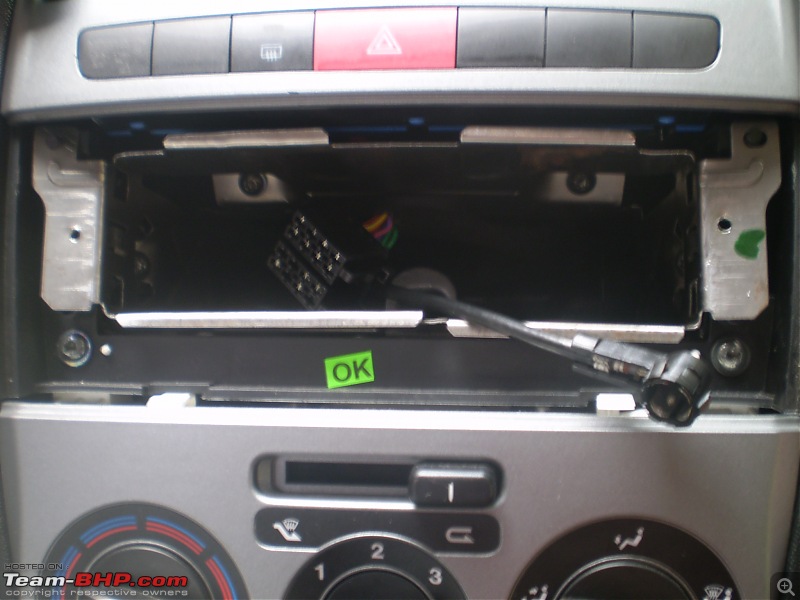
More Views
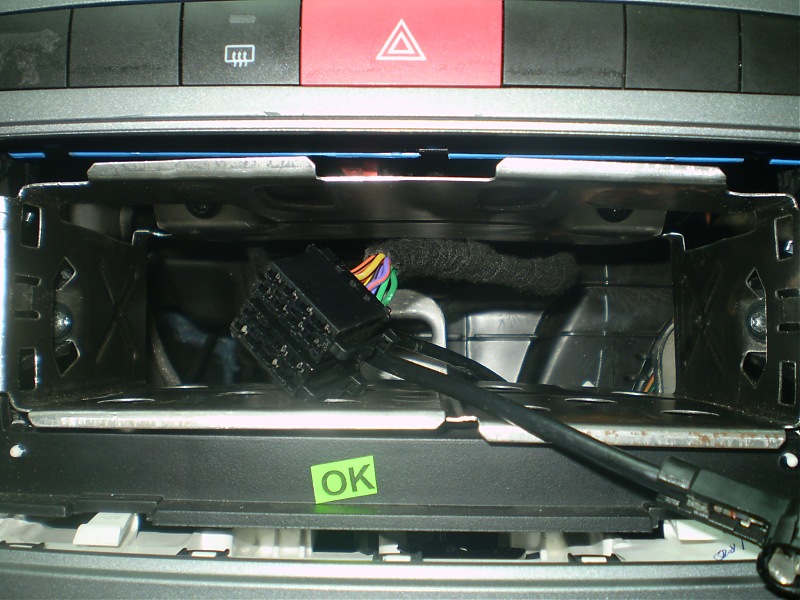
Look at that factory harness. Doesnt it remind you of the ISO connector we saw at the Wikipedia page? The other single cable is the antenna connector. More on that later.
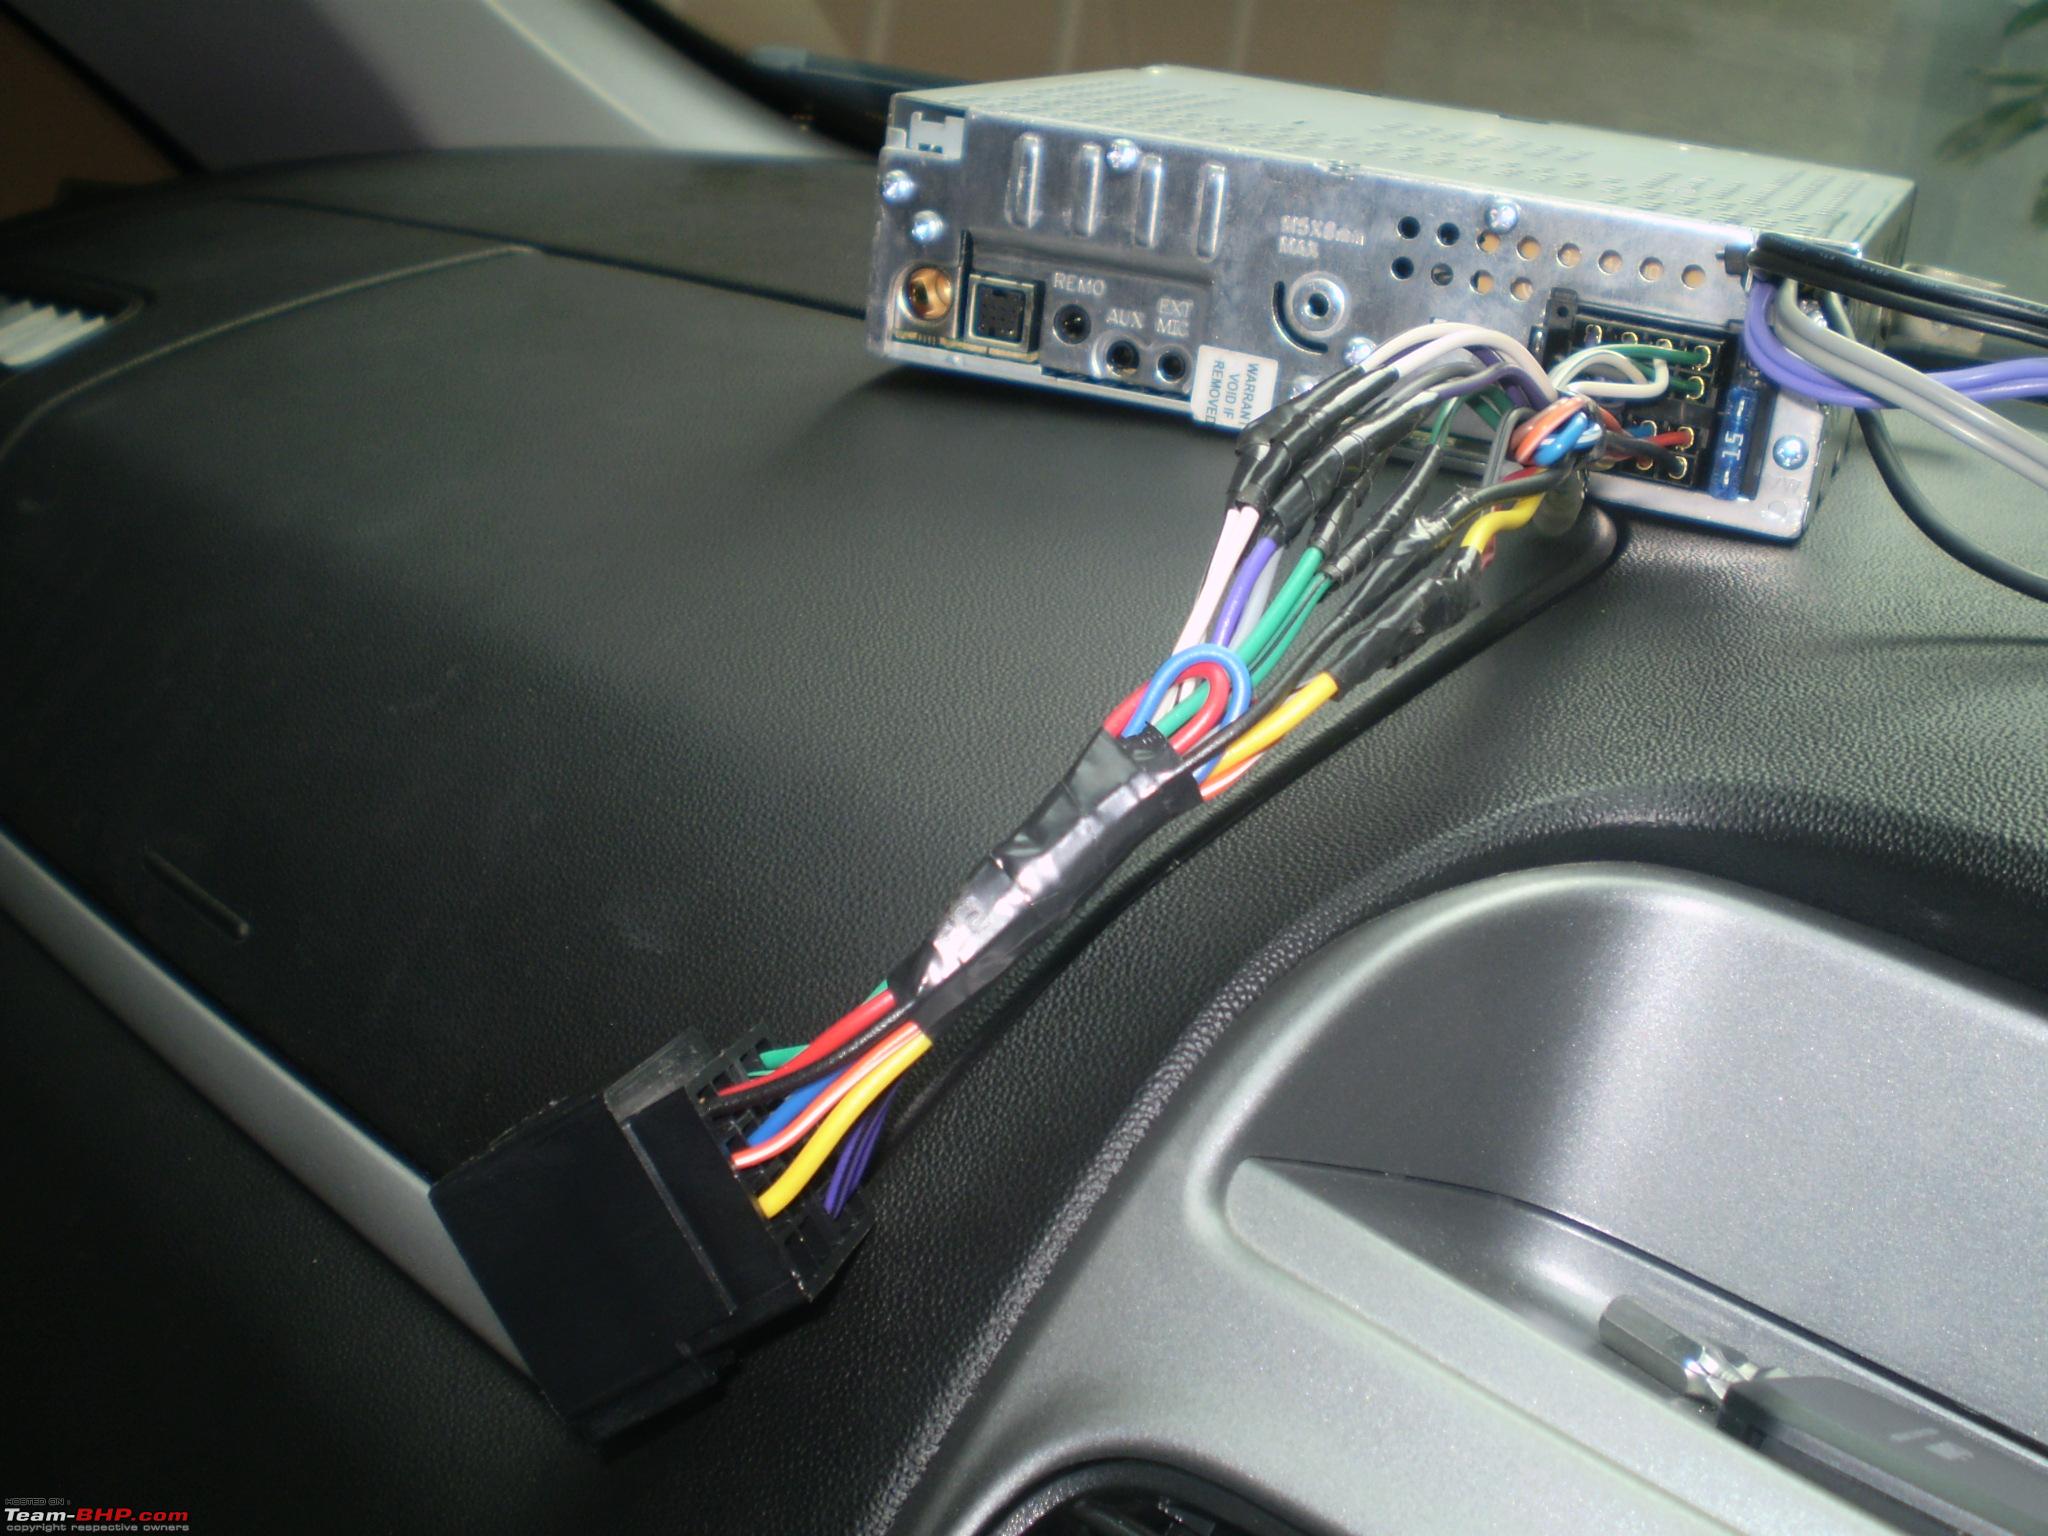
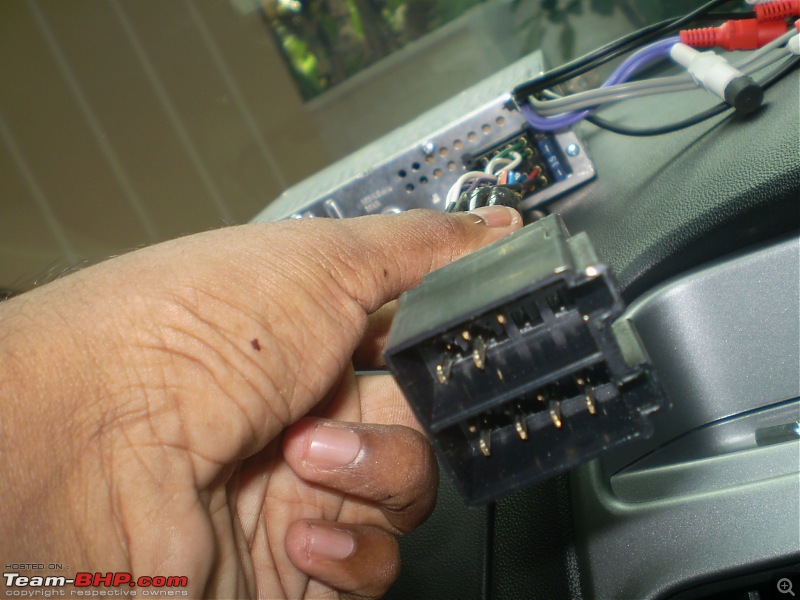
Here is the new guy. I will explain about the clamp on the side soon. But for now well focus on the electrical.The wiring harness for Clarion was included in the Clarion's package. It had open wires at the end for connecting to the factory socket. This is where the wire cutting normally happens. But we can use the ISO lead adapter coming along with the eBay fascia package. When I had ordered the kit, they had a different type of adaper. So I had to source the adapter from a local shop. This was my first trouble. Have a look the adapter below.
I got the wiring between the Clarion side wires and the factory side wires as I mentioned earlier. From Connector A, both the ACC & Memory Lead is joined together and connected to the direct power of the factory side adapter. This way it keeps the memory as well as powers the headunit. All the rest 6 pins at the the Clarion side are useless. It had dimmer, illumination, aerial, amplifier leads. But no use for these now. Punto does have dimmer for the odometer console display. But these are probably controlled via CAN itself. So no chance for us to plug in to that. Same about the CAN Connectors of the Factory side. Nowhere to be connected.
And all the orphan pins are bound together with blunted ends. I could have done better with insulated clips, but it was difficult to source them here. This joints were all created by the local shop guy. But I hope you can do better with that eBay item.
A closer look at the adapter from the local shop. This one will go to the factory harness.
The speaker connections at the Connector B, as I already mentioned, is no brainer. Connect them one-on-one since all 8 pins are going to match.
So far so good and I was done with the electrical connections. Now comes the next issue of mounting the new headunit to the factory cage. I have to fix it to protect against theft as well as shaking.
That part I will put as another post since I am facing time and space issues.


 18th March 2011, 07:31

 (1)
Thanks
(1)
Thanks