Hello again,
Here's a small DIY to flush the Ford Ikon's radiator and add new coolant. Continuing from my previous post where I was last found running with water in the system, I did so for about 60km in total and found no problem with the new thermostat housing assembly and the new plumbing mod. Lets drain the system and go for some new coolant now.
This job is to be carried out only when the engine is switched off and is cooled down completely.

Loosen the coolant tank cap slowly to let out any pressure and open the cap.

Lie down beside the front left wheel and you'll spot this drain plug in the lower left corner of the radiator. Place a 5+ litre capacity wide mouthed bucket / basin under this plug to collect the used coolant. Use a large flat tipped screw driver to gently loosen it. It is made of plastic and sits on rubber gasket which means there is a very high chance of damage if not careful.
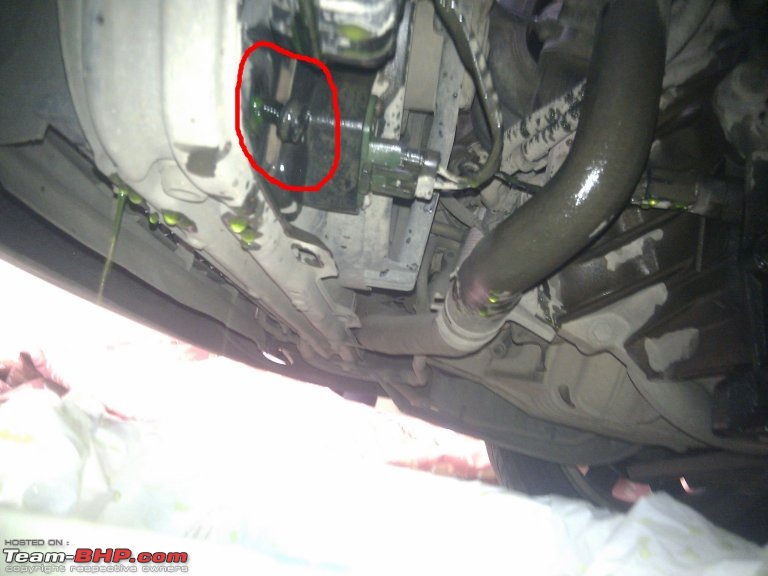
Loosen the bolt one thread at a time to collect it all in the bucket without spilling. I was impatient and ended up spraying it all over, wetting my sleeves and managed to get some into my eyes as well. That wasn't pleasant! Nevertheless the plug is not designed to come out fully so loosen it out gradually and leave it there for about ten minutes to let the entire coolant drain out. Put the drain plug back and tighten it as much to compress the rubber gasket.
Most important thing of the lot is disposal of this used coolant. I read a few forums and asked a few people and learnt that the best option is to flush it down the toilet. (I could never get through the 24 hour BWSSB help-line for advice). Some suggest it is better to hand it over to a responsible garage. But after multiple scams and raids of reusing oil after bleaching and reselling it as oil for cabs, auto-rickshaws and cop-vehicles you really can't be sure. I thought flushing down the toilet was a better option since it'll reach the treatment plant eventually. But definitely DO NOT flush it down water drains or backyards as it'll pollute the water table or a dog might die drinking it which isn't pleasant either.

Pour about 3-4 litres of water in the coolant tank till it is fully topped up. Close the coolant tank cap. Start the engine, with gear in neutral and handbrake on and let it reach running temperature (maybe 7-8 minutes). Switch off the engine and let it cool fully (around 1 hour). This is needed because there is about a litre of coolant trapped in the engine block which cannot be removed. In some old cars there was a drain plug under the engine block as well. I could not find it in the Ikon. Some South African forums of the Ford Bantam too suggested this block didn't come with a coolant drain plug. At least it sure wasn't accessible (May be the experts can throw some light on this). So by running it in plain water we dilute the whole thing.
When the engine is fully cool drain the entire thing in the bucket in the same way. You may repeat the exercise once again to flush it out further, but I stopped here.
Preparing coolant mix: 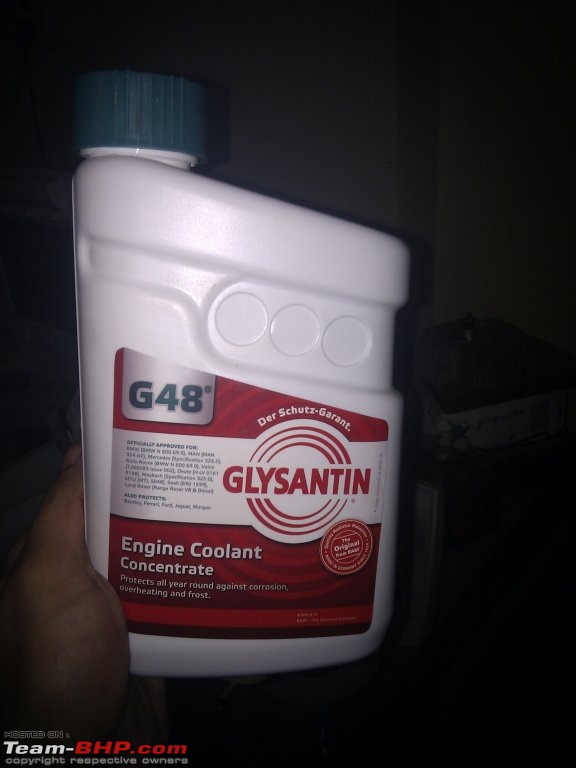
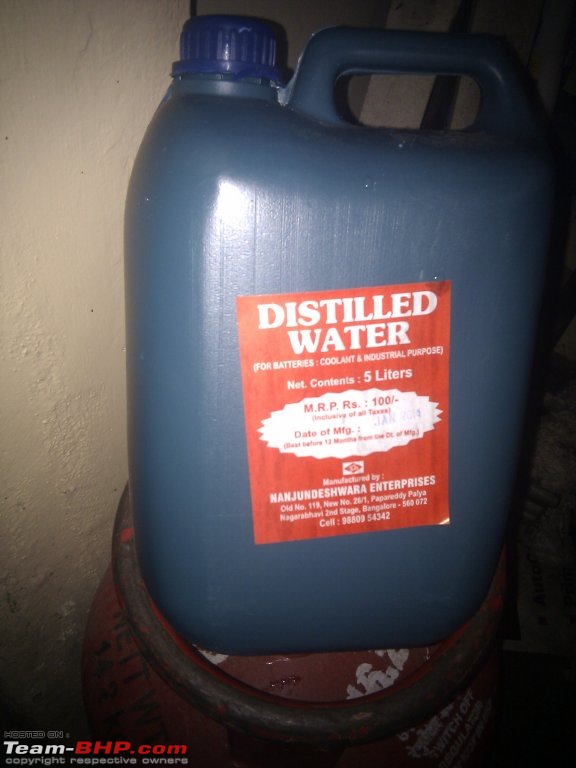
If you intend to use a Ford coolant, you get a ready-to-use 5 litre can from Ford for about Rs 1300. I bought 2 litres of Glysantin G-48 coolant concentrate from a Shell outlet and a 5 litre can of distilled water from a local battery store. Make sure you use a blue / green coolant, because I read it somewhere on team-bhp that today's pink / red coolants may not work on / may hamper systems not designed for it.

Since there is no risk of negative temperatures in Bangalore (at least for now) I went for a 1:2 solution, ie 1 part of coolant to 2 parts of distilled water. Empty one litre of coolant in a clean basin and add two litres of distilled water. Add another half litre of coolant and half to 3/4th litre of water. This is all you'll need.

Once you are done with the draining, flushing and sure that the drain plug is back in place, pour this 4 litre mixture into the coolant tank with a funnel very slowly. You'll not be able to get the full quantity in at once. Top it till the 'MAX' line and wait for it to settle. Top it again. Close the coolant tank cap, start the engine and wait for a minute. The level will fall. Switch off the engine, remove cap and top it up again. Once it has reached the 'MAX' line after a couple of iterations, close the coolant tank cap and you're good to go. Check the drain plug occasionally for leakages. Hope this helps!
Regards,
Subramanyam


 3rd March 2014, 10:44


 (2)
Thanks
(2)
Thanks


