Team-BHP
(
https://www.team-bhp.com/forum/)
I built a pair of inexpensive ramps using some wooden planks over the last week. The other easy alternative was a combination of hydraulic jack (1.5 - 2 ton) and a pair of jack stands but this would have been expensive so I chose to go the DIY way and the end-results were better than I had thought.
The primary reason I wanted these ramps was to get access to the area beneath the engine bay and the rear. I intend to fabricate a skid plate shortly and probably do the oil change/oil filter change myself later on (sourcing the spares from VW still remains a mystery though).
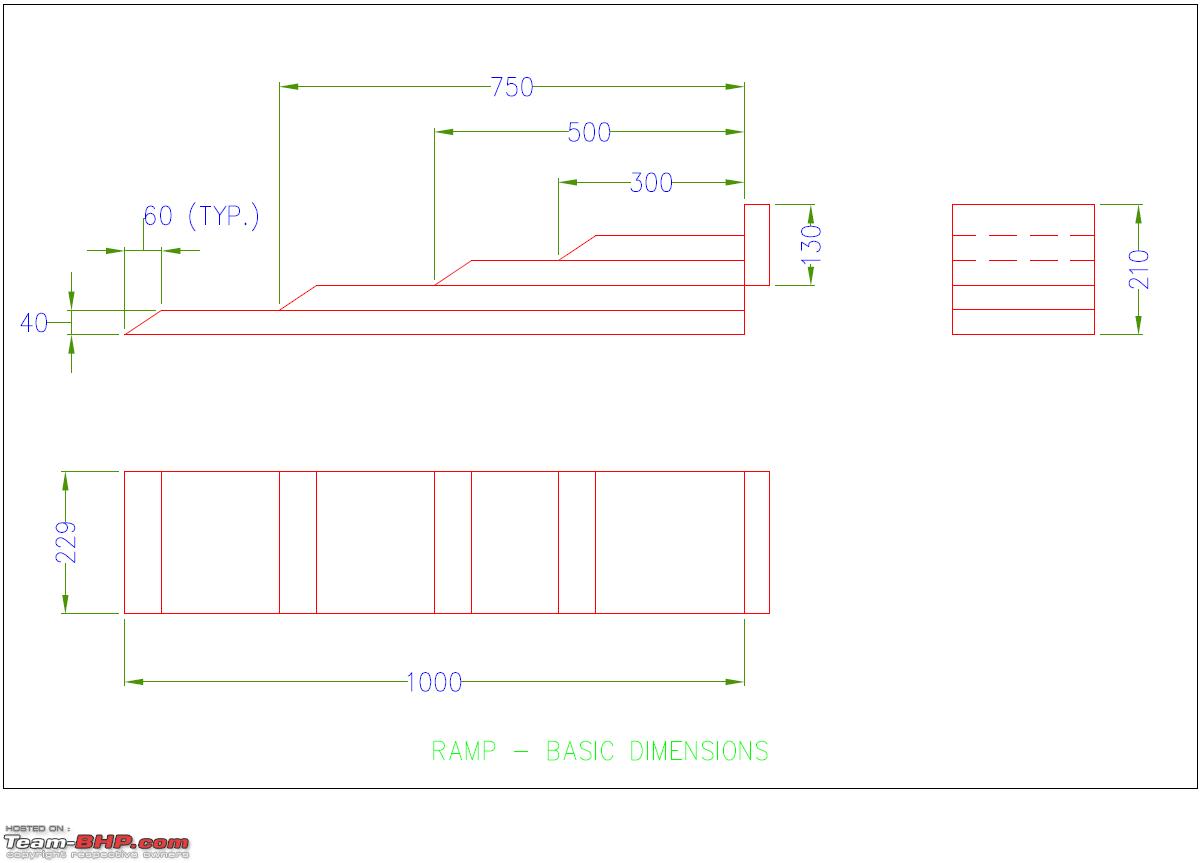
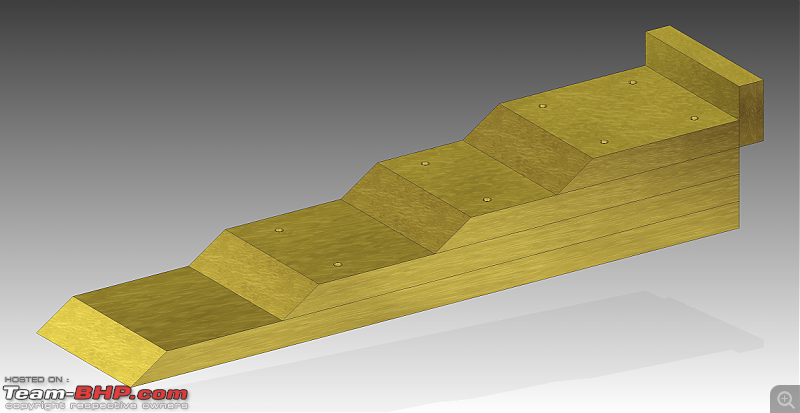
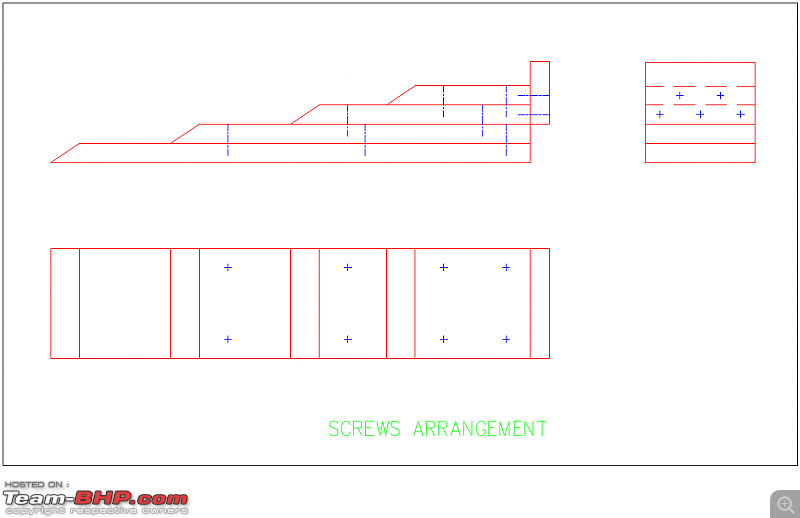
- Design:
The design is very simple and straightforward. The ramp has a total height of 160 mm from the base sufficient to raise a vehicle so as to access the area underneath the engine bay. The width of the ramp is 9" or 228.6 mm so that should fit my current tires (185 mm) or an upgrade as well leaving some margin. If wider tires have to be accommodated, a 10" plank would be sufficient. The angle of incline is approx. 12 deg.
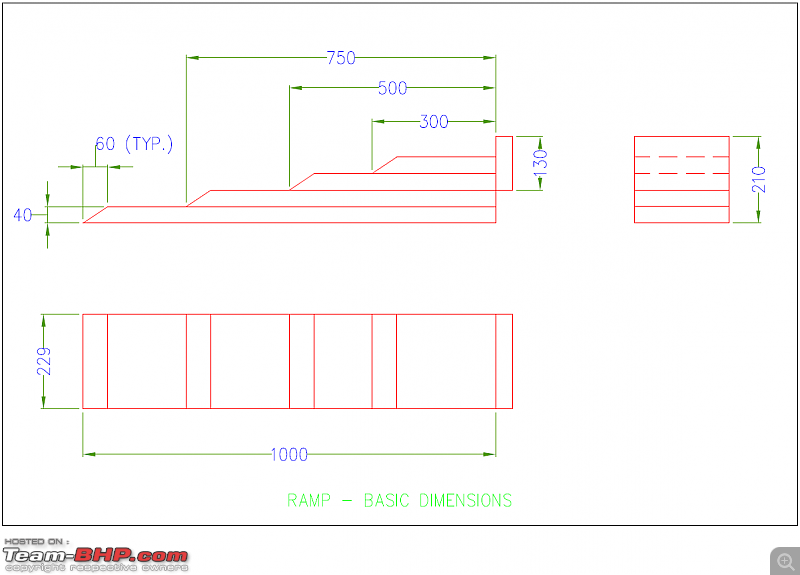
Ramp.pdf
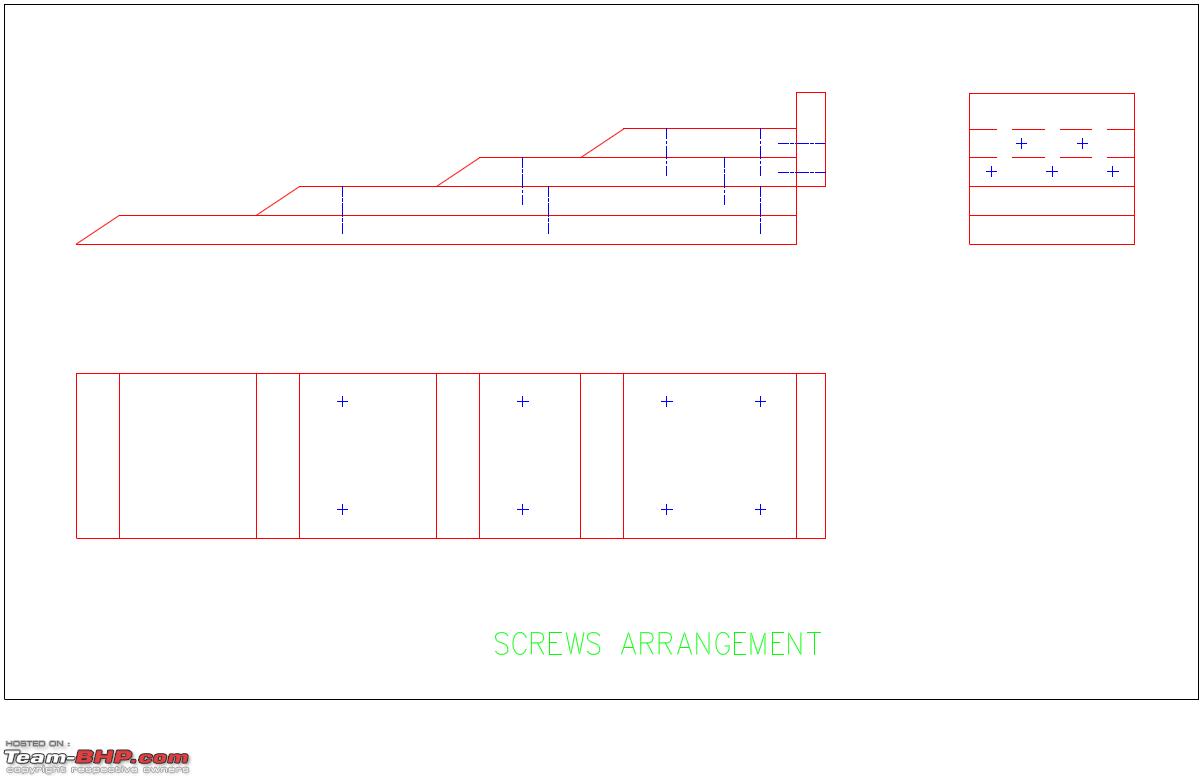
A fillet has been given at one edge of each plank so the tires can climb the ramps with ease. At the far end of the top most plank, a stopper has been provided so the tire does not slip accidentally. Screws are given in a staggered way between alternate planks so one does not go atop the other.
- Parts Required:
1. Wooden planks:
Dimensions: 3048 mm x 228 mm x 40 mm (varies)
Material: Pine (cheaper alternatives should work equally well).
Quantity: 2 nos.
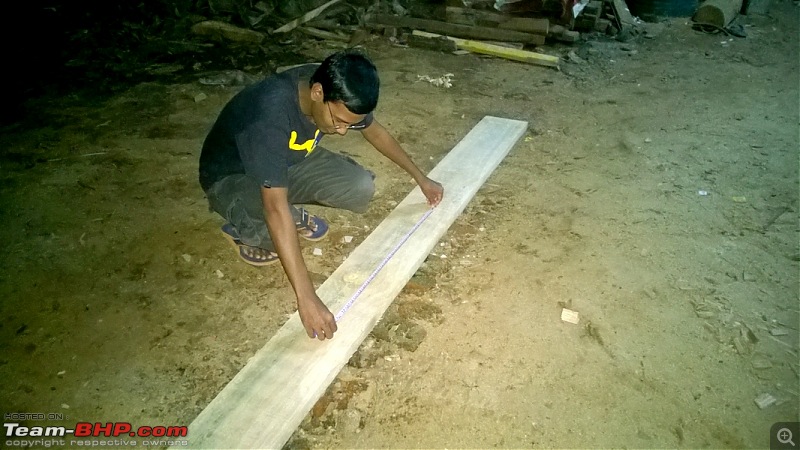
I went to the neighbourhood timber merchant and got a couple of pine planks measuring 10 ft x 9 in. x 40 mm for Rs. 510 each. Strange dimensions! I mean you've all sorts of units in there but that's the exact dimensions of the plank when we measured it using a measuring tape. Planks turned out to be cheaper than engineered wood (plywood or MDF) and since the application was not demanding in terms of aesthetics, we chose to go with what was cheaper, easily available and reliable.
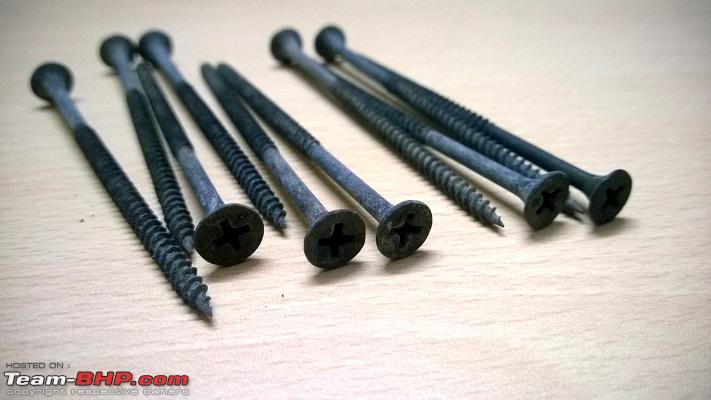
2. Wood screws:
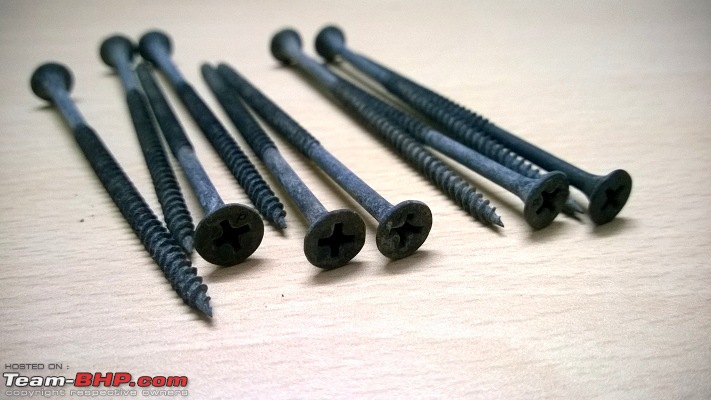
Dimensions: 3"
Quantity: A box of 30 nos.
These are available at all the hardware stores and are some of the cheapest fasteners one can source. We went with the one which has a partially threaded shank and a countersunk flat-head (with a Phillips slot) so it remains flushed with the surface of the plank. Material of the screws was MS. I am not sure if nails (+ hammering) were any better so did not want to take any chances.
3. Adhesive:
Type: PVA (polyvinyl acetate) emulsion based
Quantity: 250 g
I got a 250 g pack of Royal Bond milky white emulsion adhesive (link) for Rs. 69. A plastic applicator card for spreading the adhesive is usually bundled free of charge. Insist on the hardware dealer to provide one.
- Tools Required:
1. Drill:
I have a very old no-name 600W drill which came as a part of a small tool box and has lasted me over a decade. The motor inside somehow refuses to die! :p
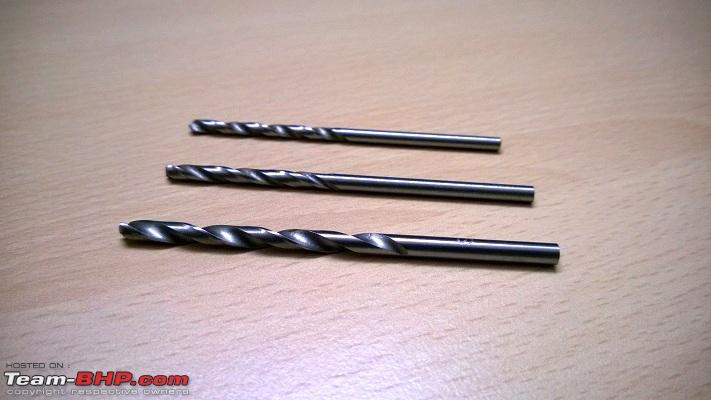
2. Wood drill bit:
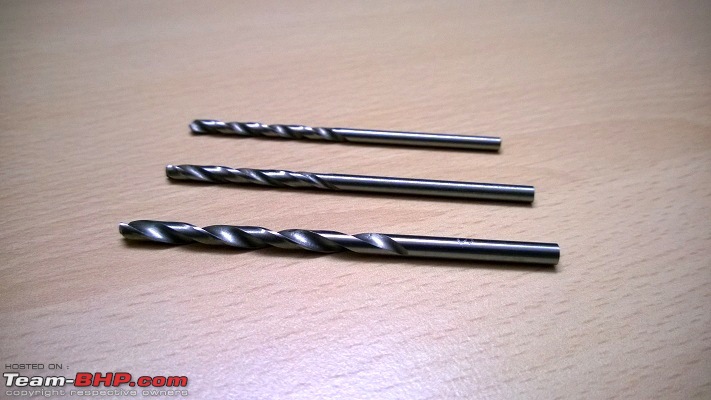
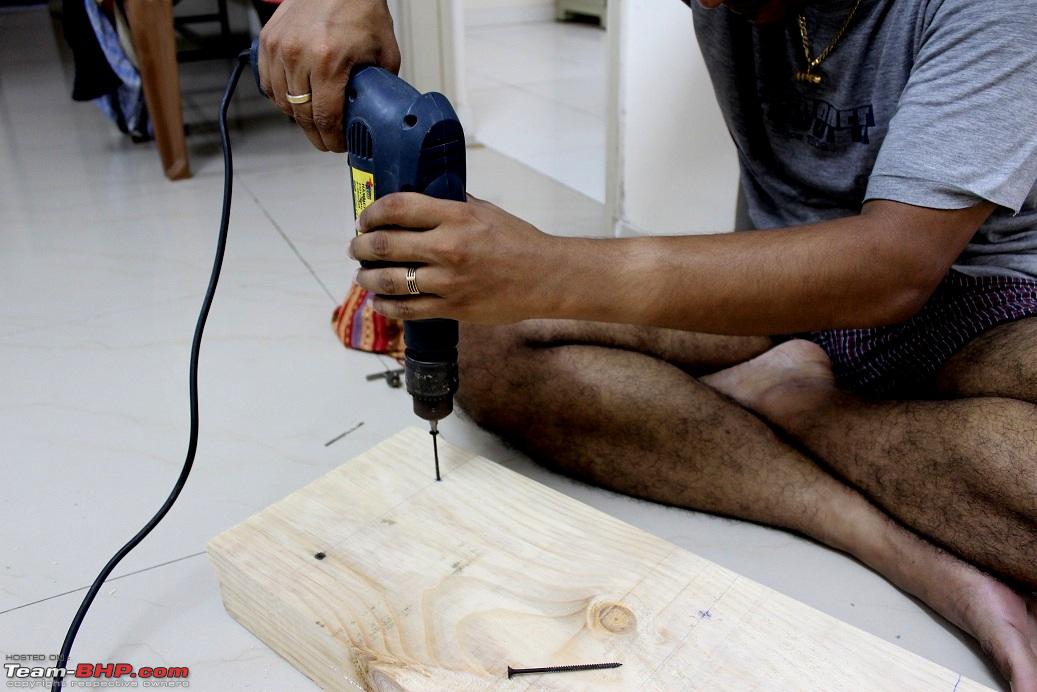
A drill bit is necessary to drill a pilot hole on the planks over which the screws would be errrm screwed. This is to ensure that plank does not crack when the drill forces the screw through the plank. Without a pilot hole, this is a possibility:
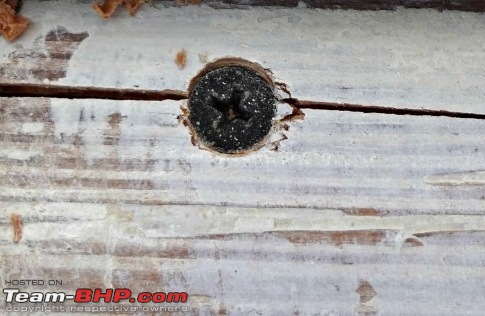
If the plank cracks, it is as good as useless. The structural integrity weakens and the crack enlarges over a period of time. The drill bit is selected such that the size is one notch smaller than that of the shank of the screw.
3. Measuring tape.
4. Hand file.
5. Pencil for marking.
- Procedure:
1. Before we begin the DIY part, it would be a good idea to get the planks cut as per the required dimensions and fillets (slope) done on one edge of the planks. The timber shop should get this done at no extra cost or for a nominal charge.

2. If aesthetics matter, get the planks planed and smoothened (removing the top layer using a hand planer) from a carpenter. I have absolutely no experience in woodworking so did not want to invest in a hand planer and end up screwing up the planks! I had a carpenter located in the adjacent complex so took these planks to him and he had the fillets done and the planks planed for Rs. 300. He did a brilliant job!
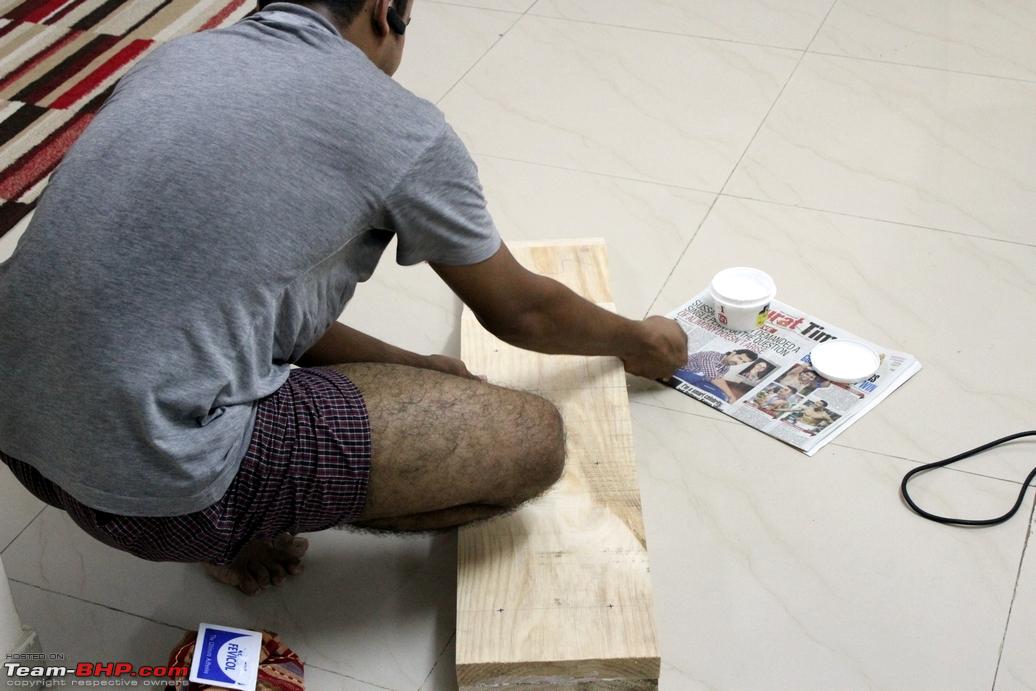
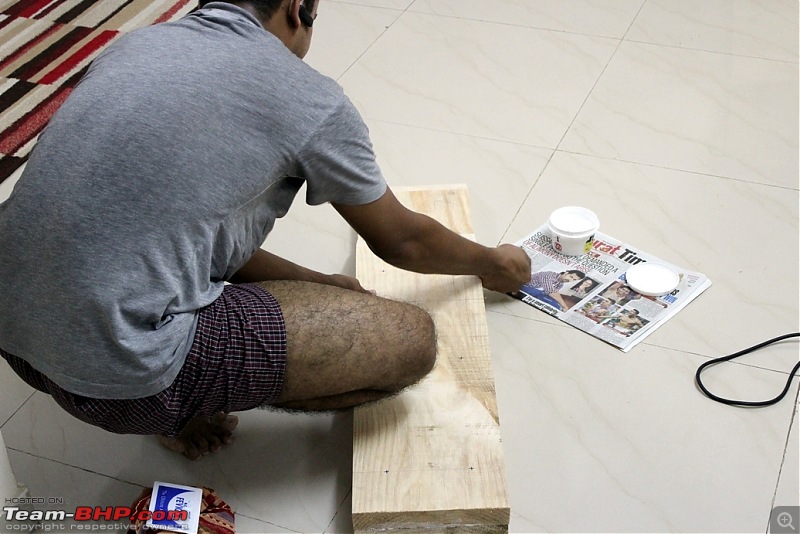
3. Apply the synthetic adhesive to the base of each plank using the applicator:
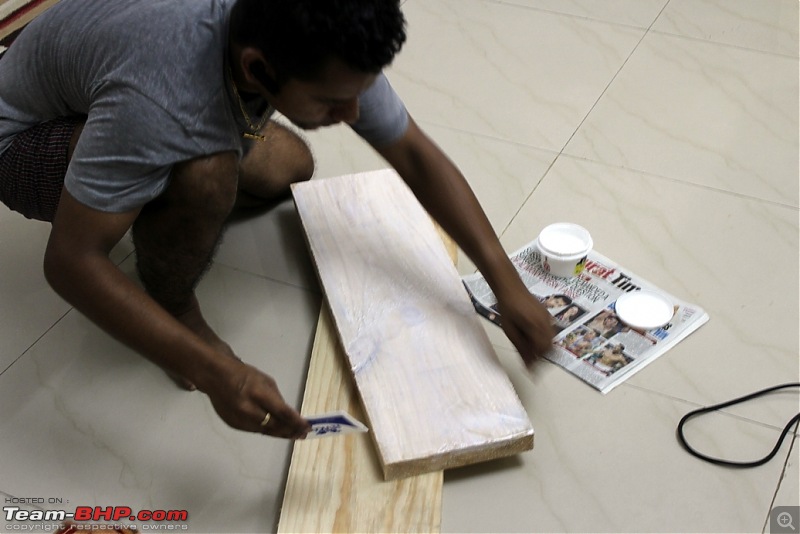
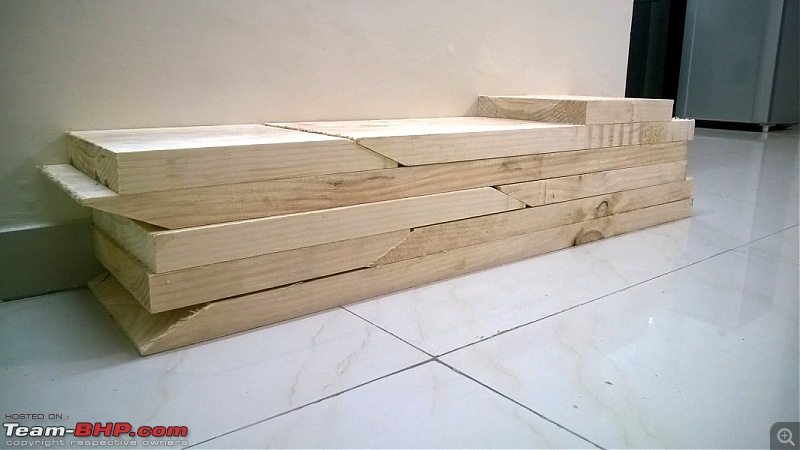
And stack them one above the other:
Ensure that the planks do not move prior to drilling. The edge of the planks should be on the same plane.
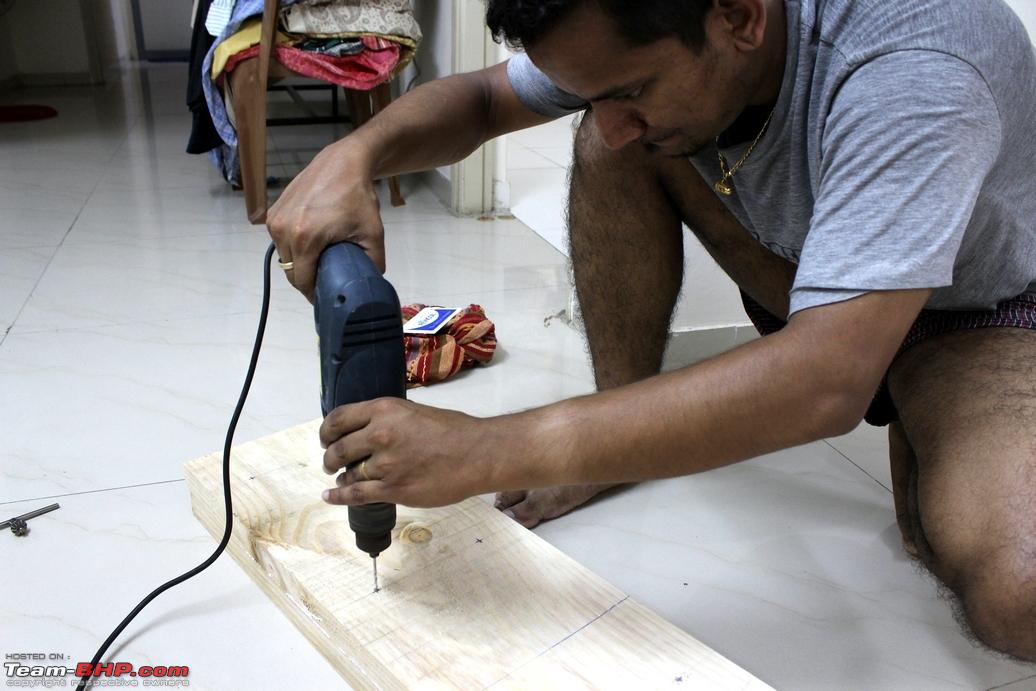
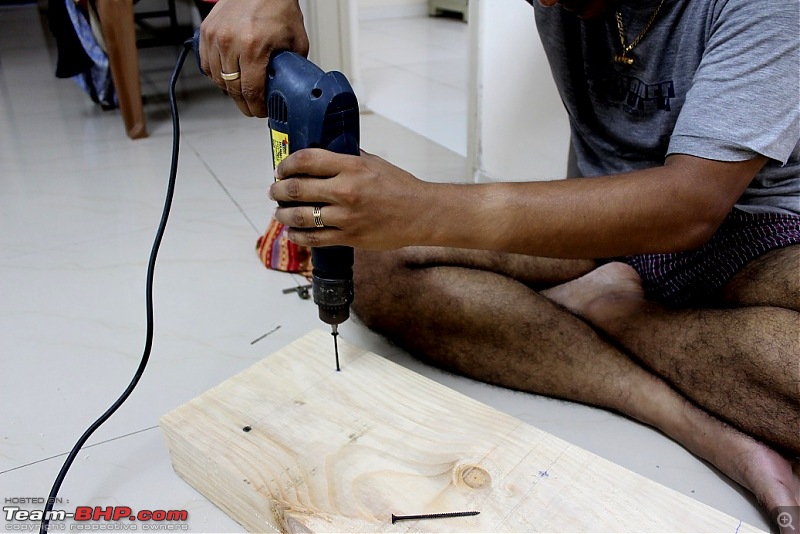
4. Mark the location of the screws and begin drilling the pilot holes:
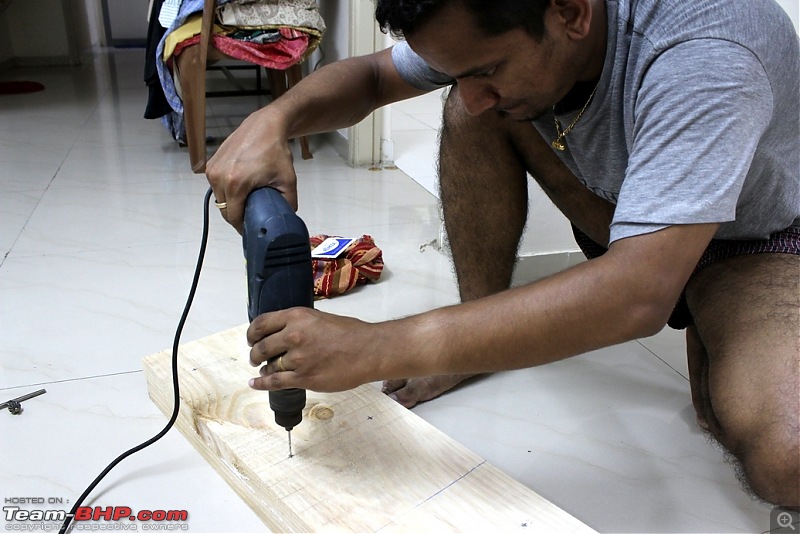
After drilling the pilot holes, swap the drill bit with the Phillips-head bit on the drill chuck and screw the planks together:
Mark the location of the screws drilled on the side of the plank so that the location of the screws for the next plank can be chosen at an alternate location. i.e. one screw does not come above the other below.
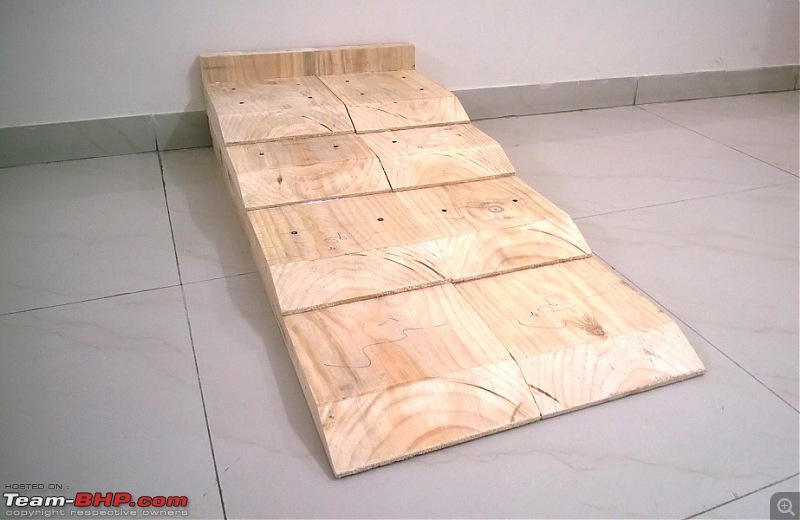
5. Continue stacking all the planks until the top most plank is screwed. Use a stopper plank at the end of the top plank as indicated in the design. The stopper uses 5 screws in a zig-zag way.
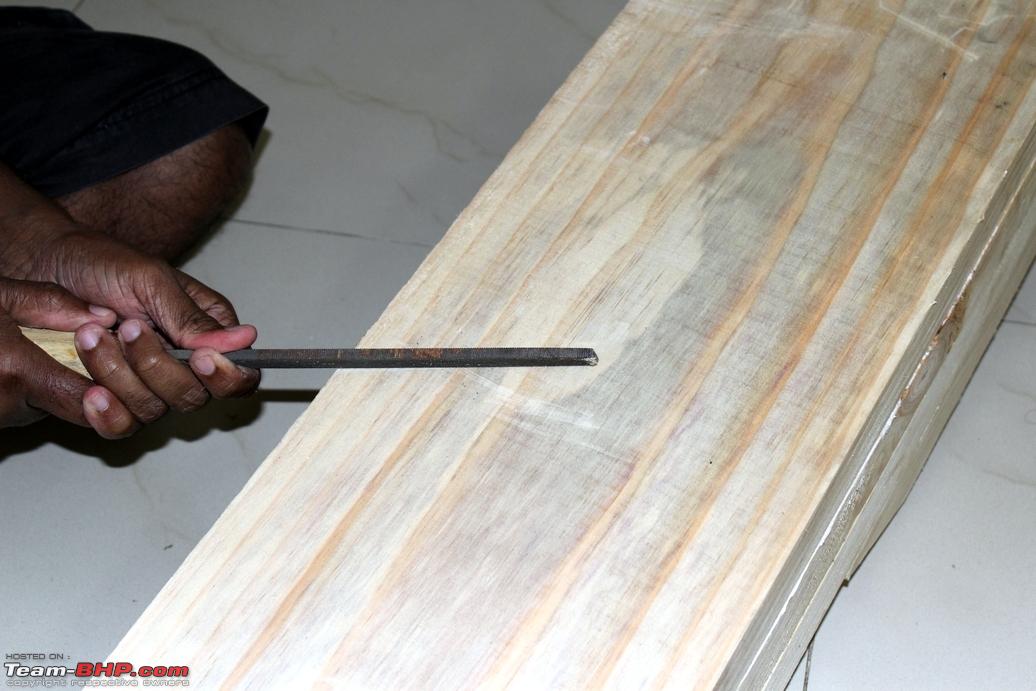
6. Sometimes the sharp ends of the screws might jut out of the bottom most plank and the ramp would end up being wobbly. Use the hand file to file the screws jutting out:
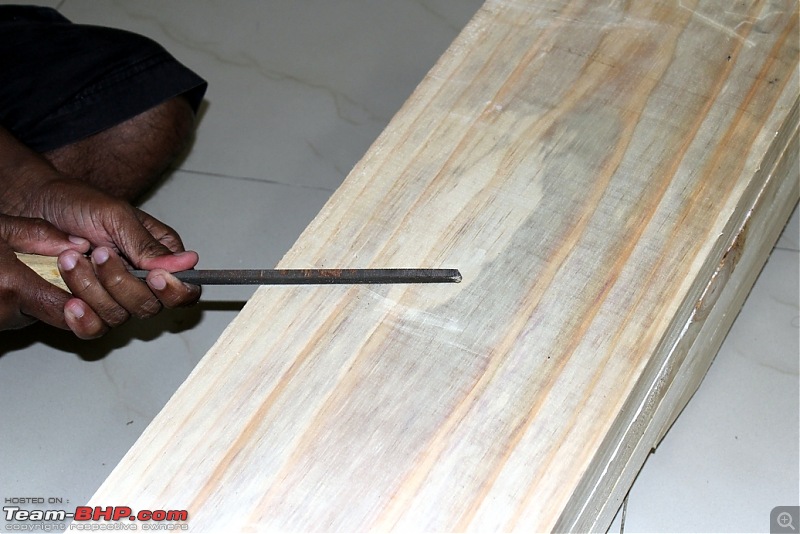
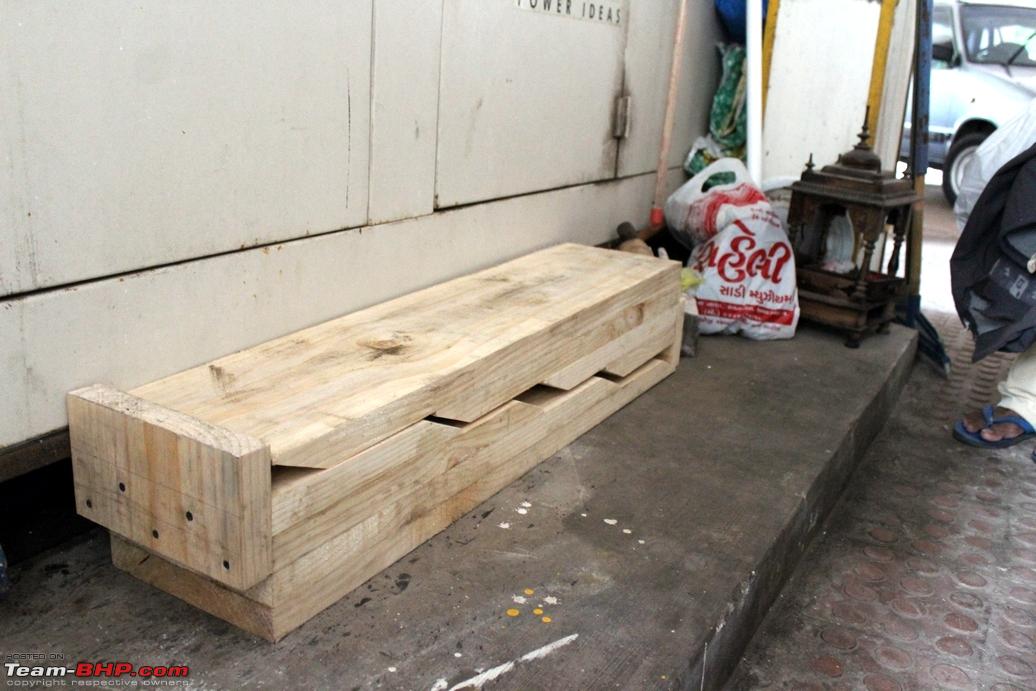
We're done!
- Results:
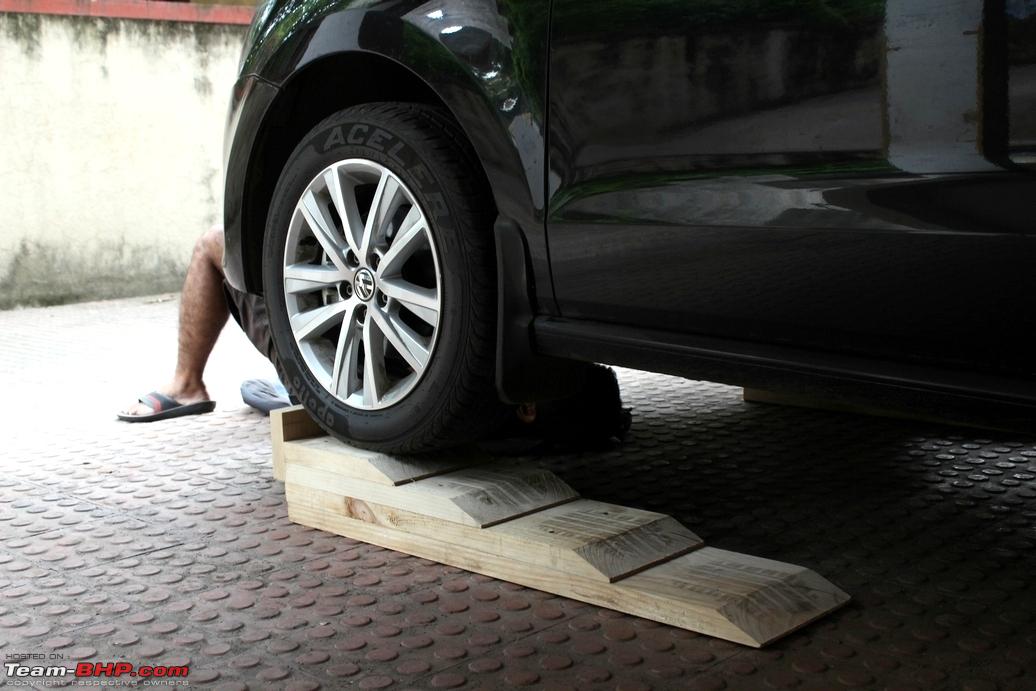
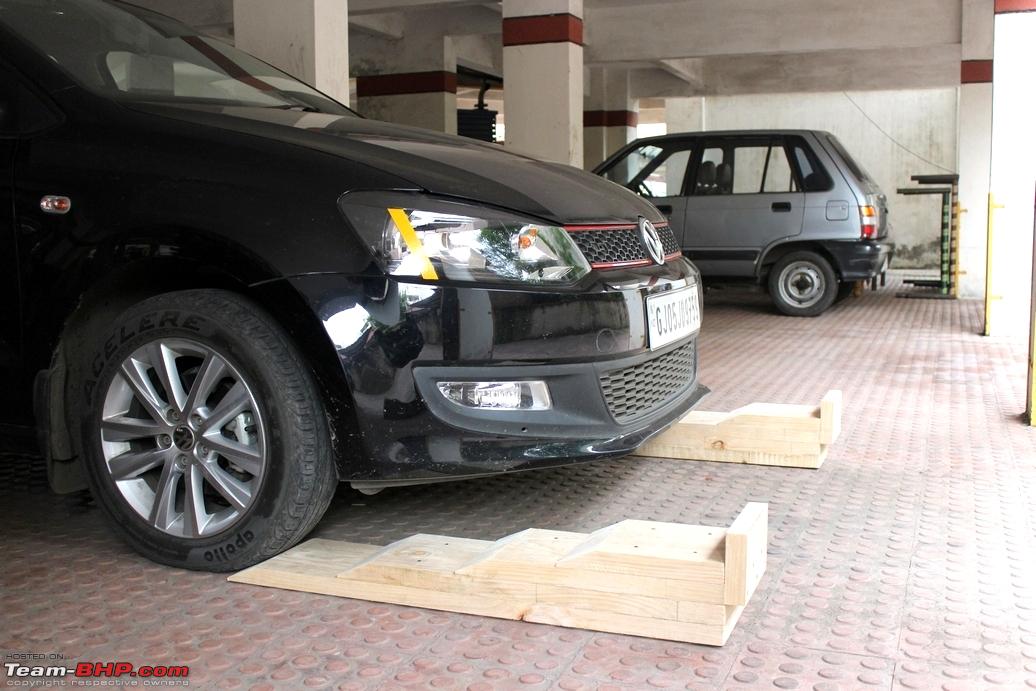
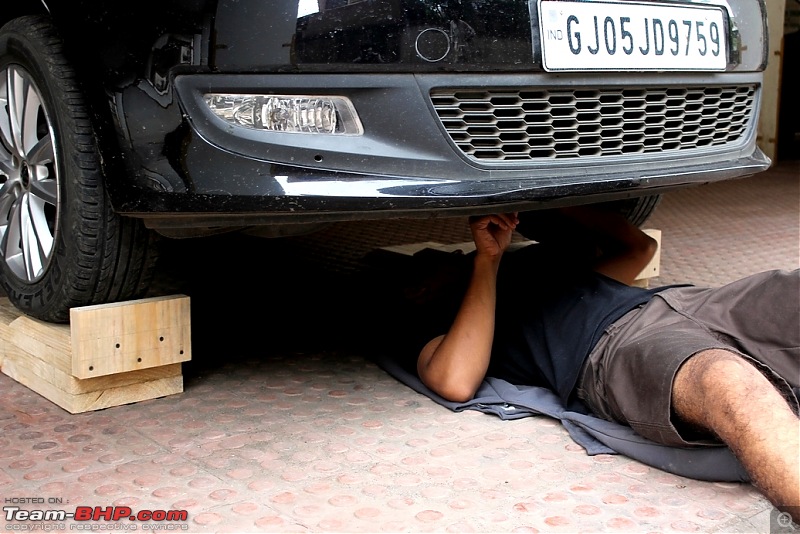
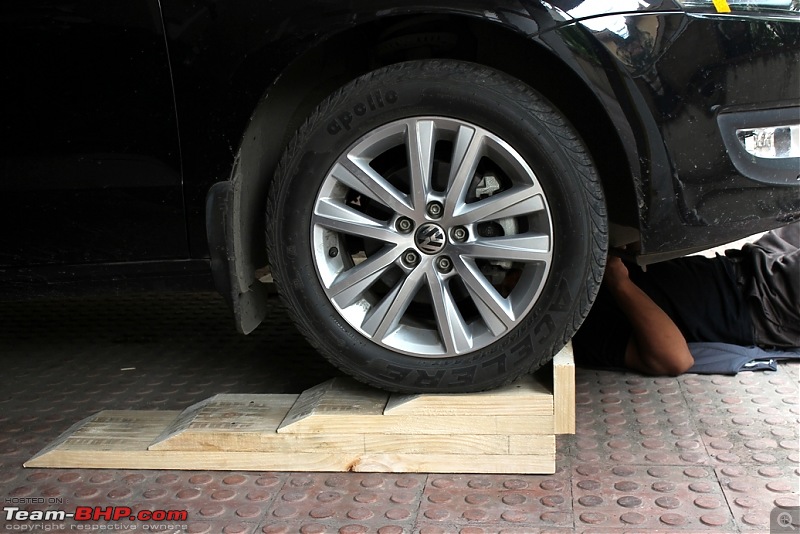
The car is all set to climb up the ramp:

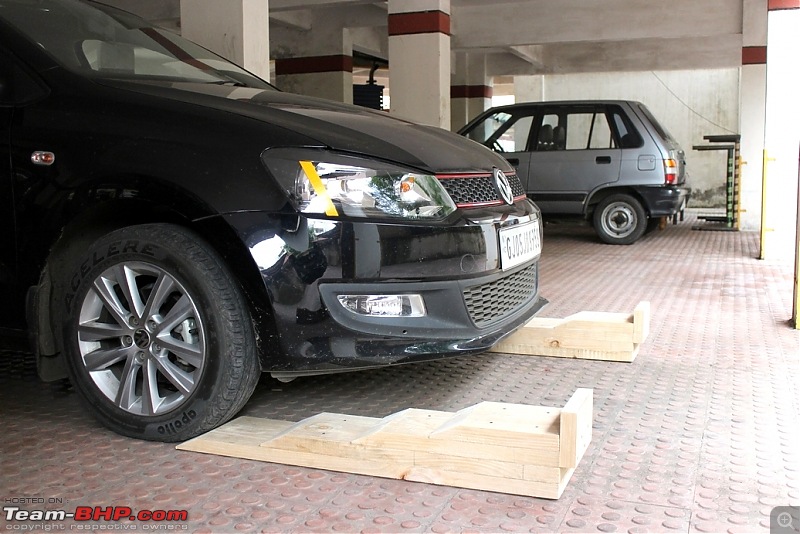


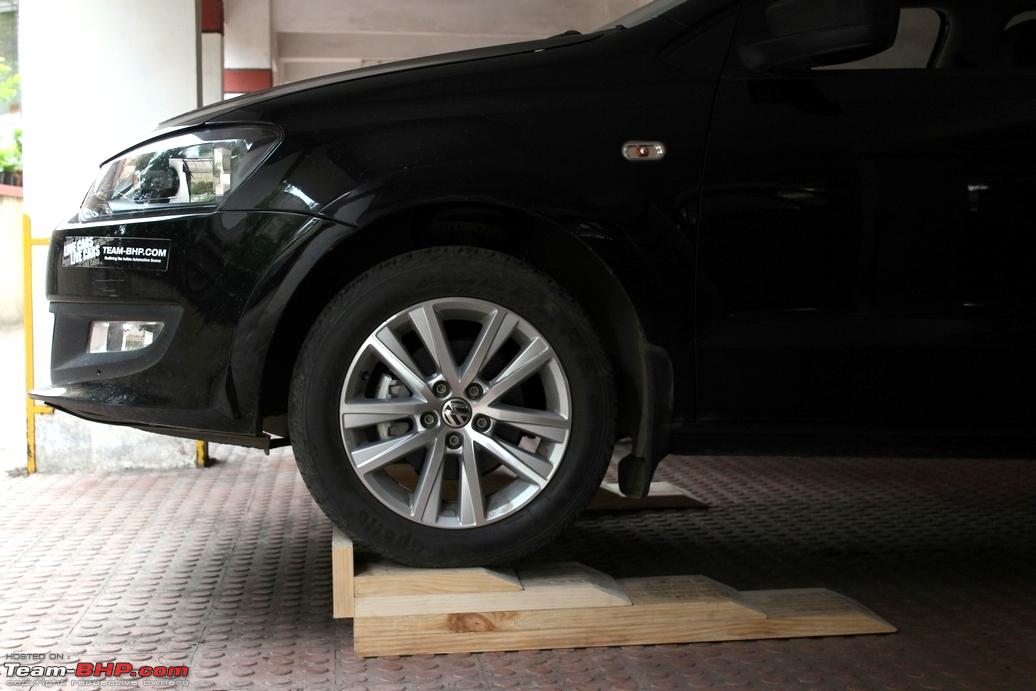
Climbed the ramp slowly, engaged the parking brake and the gear. Plenty of space below the engine bay:
Storing them was easy:

- DIY Experience:
This was precisely a weekend project. It was a Saturday evening, around 7:30 PM and I was bored to death! I had this DIY in my mind for over a month now and asked my roomie if he was free so he could tag along. Turns out, our apartment's caretaker was also free so we took him as well. Being a localite helps when it comes to asking around for directions and bargaining. We asked around for the location of a nearby timber merchant and found one a few km away from our apartment.
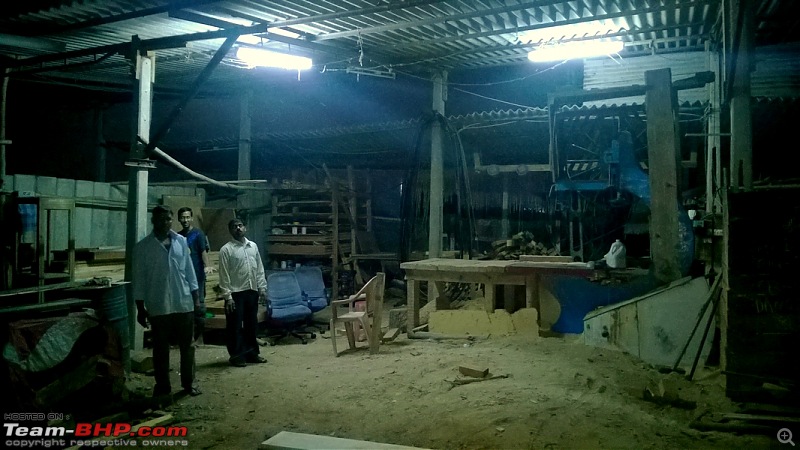
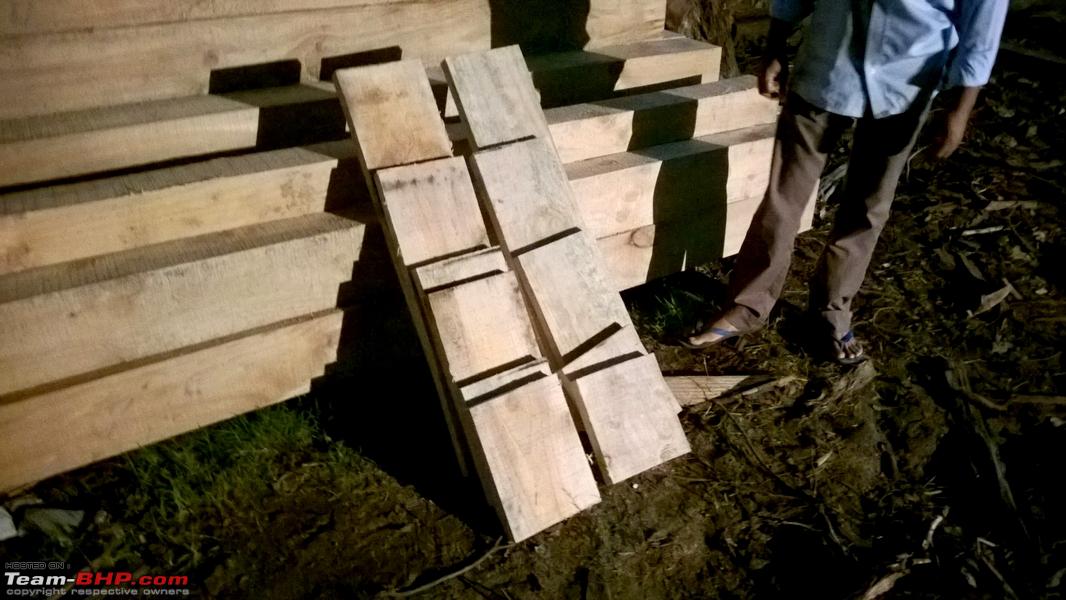
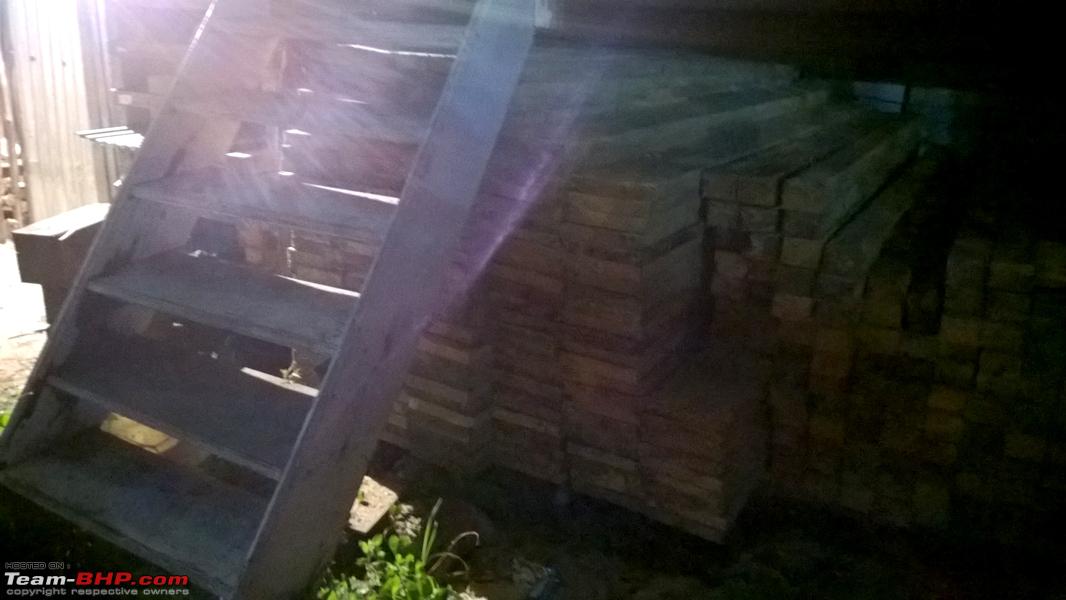
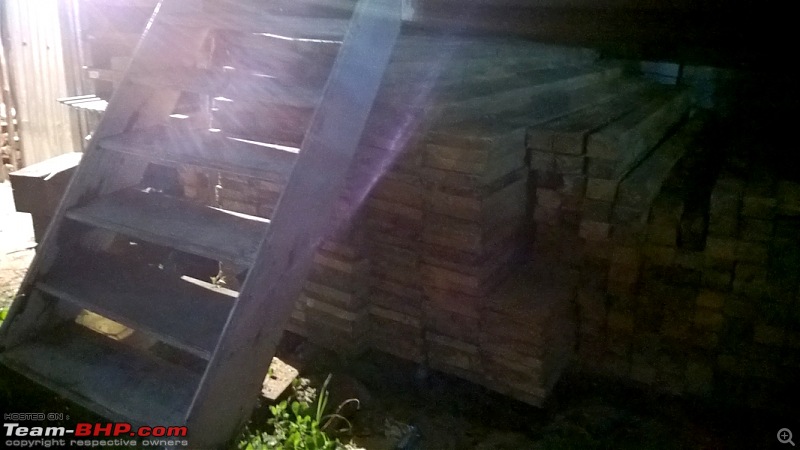
We reached there and found that the maalik (owner) had left for the weekend but there was a dude (Bholu, from U.P.) who is a carpenter and stands guard overnight for all the material and logs of wood stacked here. We asked if he could help us out. It was 8:00 PM, he agreed and we found the perfect match for our requirement stacked beneath a watchtower:
Pulled out 2 planks from the lot and my roomie helped Bholu in measuring and marking the planks so they could be cut:
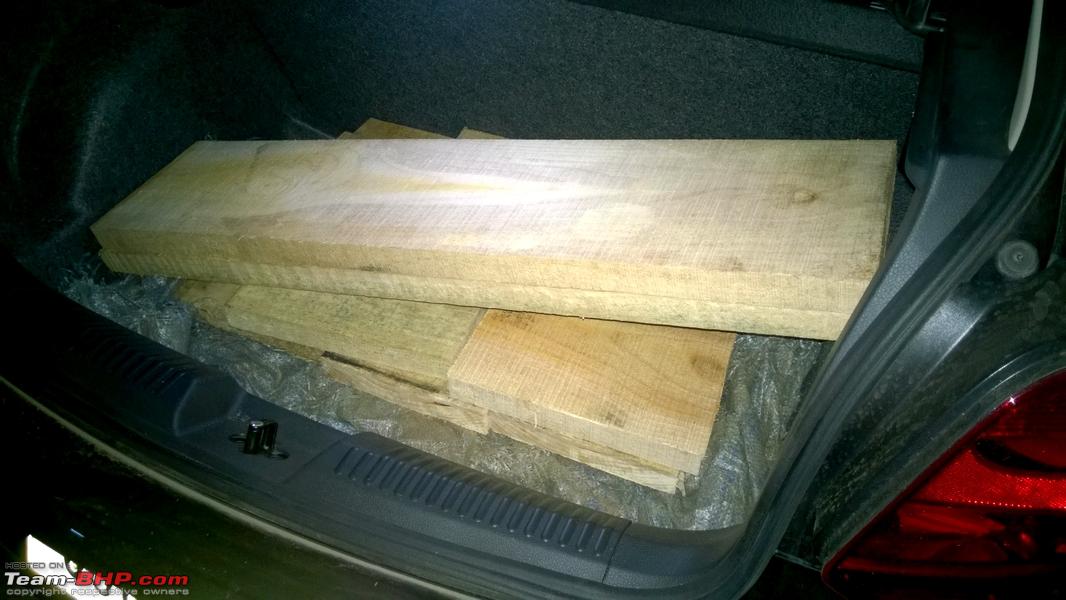
Bholu got the circular saw from his den and cut the planks to perfect dimensions as we intended:
We spread some mat over the boot lining and stacked the planks:

It was 9:00 PM by then. We thanked Bholu and left.
Since it was Rakshabandhan the following day, no carpenters would be willing to work. Besides it was a Sunday. So we took these logs to the carpenter next door on the Monday evening and he helped in planing the planks and cutting the fillets. We took the finished planks back to our apartment and began drilling the pilot holes and screwing them together. Took us a couple of hours for both the ramps. In the end it was all worth it. The total cost incurred for this was Rs. 1389.
Now that the ramps are ready, the next in the pipeline is to get a skid plate fabricated.
- Afterthoughts:
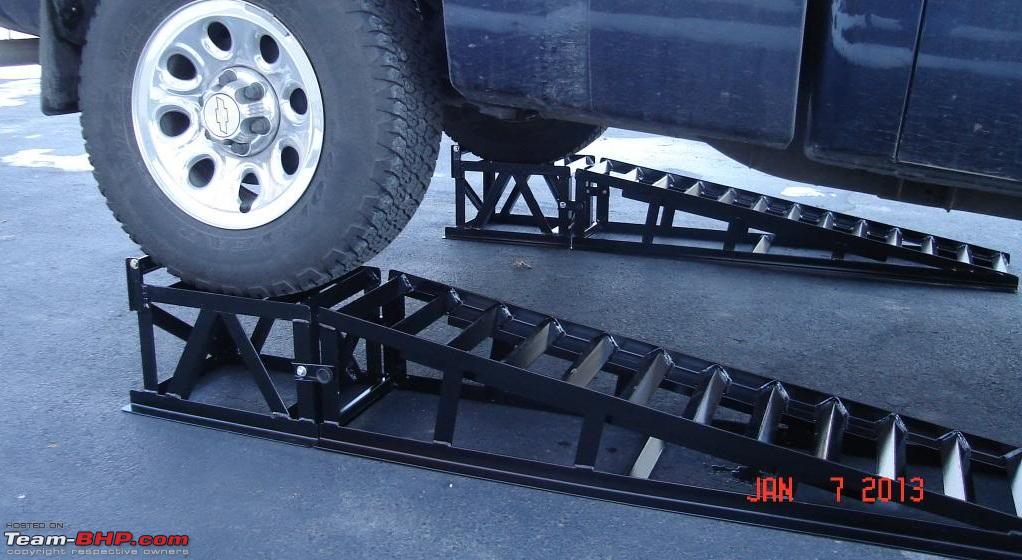
The ramp is super heavy! We had a hard time lugging around these planks from the car’s boot to the carpenter’s shop located at the basement, to get them planed and filleted. But at the end, they are very sturdy. I was having some concerns over the planed surface of the planks if the tires would tend to slip but the tires climbed them with ease and without any slippage. The lighter alternative to these ramps are these fabricated out of MS angles:
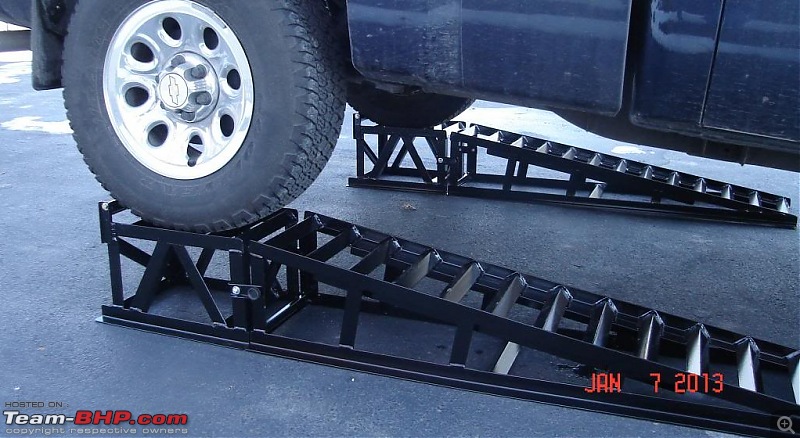
(Source: Google Images)
I am not sure what would be the difference in the expense but these ramps would definitely be lighter in weight.
My heartfelt thanks to Moorthy (for literally everything!), Ajay (for sourcing the wood screws), Kush (for the Solid Edge model) and the community for the support! :)
Thread moved from the Assembly Line to Modifications & Accessories. Thanks for sharing!
HI Gannu
As usual, you have done it again.
One question though, don't you think it would have been better if the top-step had been a little longer so the tyres can fully rest, with maybe some space left, and there is no chance of it slipping back. Right now it looks a little precarious and dangerous especially when someone is working under
Quote:
Originally Posted by Mohan Mathew A
(Post 3508676)
don't you think it would have been better if the top-step had been a little longer so the tyres can fully rest, with maybe some space left, and there is no chance of it slipping back.
|
Correct Mohan. This was another afterthought and I forgot to mention it here.
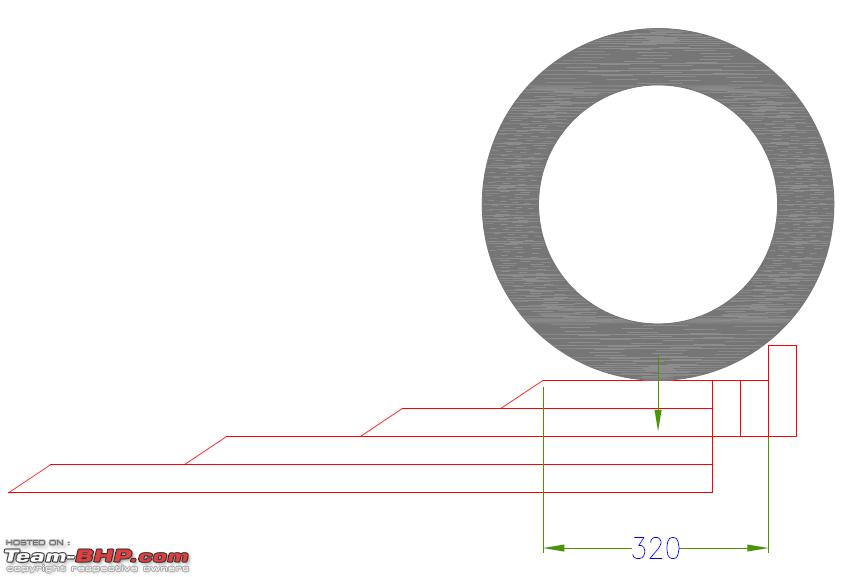
We realized that the top plank could have been a wee bit longer so the tires have sufficient landing space. It can still be done to these ramps by removing the stopper plank and adding a few blocks as indicated below:

There wouldn't be any load towards the edges since all the loads are concentrated on the point of contact between the tire and the top plank so a small section is sufficient for the extensions.
hi that is a nice effort. But extend the platform so that wheel is not pushed over the edge. put a jack stand for secondary safety. your front tyre is almost on the taper edge of the top plank. Car can roll back on a slight push. put a stop block behind the back wheels. i am feeling uncomfortable with this design.
extending the stopper plank without support in the base is also not good. The entire ramp can tip over to the other side.
@gannu
You DIY efforts are really appreciable:thumbs up. Have a couple of doubts.
1) Is the ramp fixed or movable? Whats the weight of the ramp, can the ramp move of the car starts the climb?
2) Will the stopper be able to stop the car climb firmly/ Shoudnt the stopper be all the way long till the end instead of half way?
3) Can you see the ramp when the car starts the climb on the ramp?
Can the ramp be covered be with anti slip material like the ones used for speed bumps used in the mall basement.
Nice job!
If you are planning to add extension make sure you do it for the full height to avoid accident.
Gannu,
Nice design and excellent execution as always.
I do lots of woodwork and below are my thoughts:
> As Kutlee mentioned the ramp may topple over thus dont EXTEND the top.
> Add anti skids under the ramps or you will need someone to keep a foot
behind them when the car is being driven up the ramp.
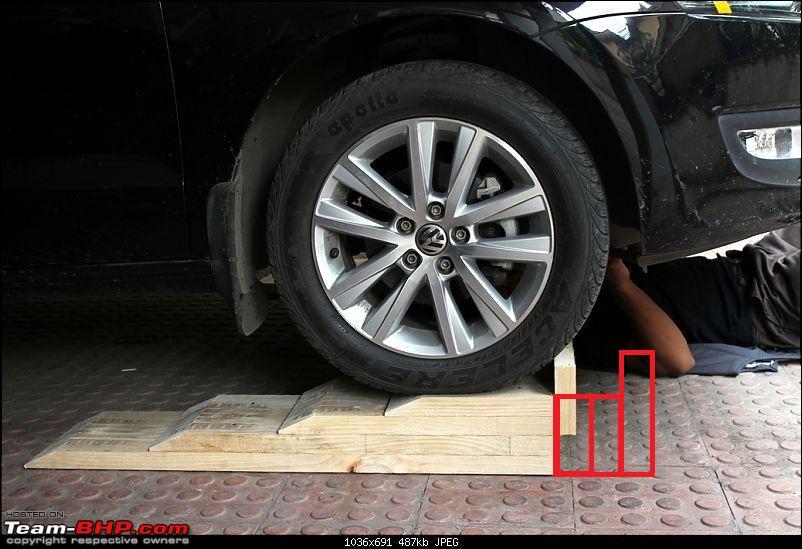
> I have tweaked your EXTEND drawing to give you an idea about even weight distribution.
1. (BLACK) Add a wooden block instead of making the EXTENSION else It'll topple over.
2. (RED) Instead of making blocking pane just make nitch (sort of valley) in the top plank (For tyre to firmly rest in it). - OR

3. (YR PHOTO) Just get more VERTICAL stopper pieces and nail them together and then add the STOPPER at end.

Raab rakha.
Thanks for the inputs guys. Really appreciate it. I have some planks left over so the ramps can definitely be tweaked for a better stability. :)
Quote:
Originally Posted by ghodlur
(Post 3508771)
1) Is the ramp fixed or movable? Whats the weight of the ramp, can the ramp move of the car starts the climb?
2) Will the stopper be able to stop the car climb firmly/ Shoudnt the stopper be all the way long till the end instead of half way?
3) Can you see the ramp when the car starts the climb on the ramp?
Can the ramp be covered be with anti slip material like the ones used for speed bumps used in the mall basement.
|
1. The ramps are fixed. No idea on the weight. I do not have a weighing machine at home but we did try lifting a 20L Bisleri carboy vis-à-vis one ramp and the ramp felt lighter. So it weighs less than 20 kg for sure.
2. I hope so! The stopper did act effectively at stopping the tire from advancing ahead and I could feel it when driving the car above the ramp in the first gear. The stopper can be designed such that it extends all the way down. No issues with that.
3. Nope. The ramp is hidden from the view. We need someone standing outside to guide us to ensure that the car is climbing up the ramp properly.
It can be. The base of the ramp i.e. the bottom surface of the bottom-most plank can be fixed with a rubber mat so the ramps would sit firmly on the ground and wouldn't move.
I shall post a video of the car climbing up the ramp so you'll get an idea. :)
Man, you just don't sit idle. Eh?! :D There is some or the other DIY coming from your end and this one takes the crown.
As many have pointed out, do make the top most plant a bit longer with a V type groove so that the front sits inside securely. Do think of making some kind of anti-skid material on the base so that the ramp doesn't move about when climbing up and down.
PS: Why not place a space wheel underneath when your working, just in case.
Anurag.
Great design. I for now use two jacks to lift up the car and since I don't go under it, I am not concerned about jack slipping. Need this sometimes to fix the sump guard which comes off when the underbody is hit. Two pointers from my side:
1. I somehow feel that the tyre needs more space for landing and a pair of stoppers on either side of the landing would secure the tyre. As of now, the weight of the car can make the ramp flip up when the wheel touches the stoppers.
2. Avoid changing oil in such a setup since in case of a spill or a splash, you wont have enough space to move around. Try getting a bigger ramp made which will give you good working space below.
For added stability, you can extend the bottom two planks in the shape of a pyramid. The load of the car will be distributed evenly but then again, it makes it even heavier and cumbersome to store.
Another concern with the current design is that you have to be really deft with the throttle while climbing up. You also have to make sure if the platform do not move while you climb up so they need sufficient traction from the surface. Also, if you do not stop on time, the stopper at the top can even make the whole platform tip over damaging the underbody.
Quote:
Originally Posted by ariesonu
(Post 3509046)
I have tweaked your EXTEND drawing to give you an idea about even weight distribution.
|
I was thinking of something similar. The current design looks very dangerous and every time I see the picture of the person under the car when on the ramp I get nervous:eek:.
Wonderful !
I really appreciate all the efforts put in to design, develop & create this ramp - a DIY and thanks for sharing.
Great DIY accompanied by some very valid comments on the design as well. One of the best things about TBHP is the reasoned comments that are posted. Not all are 100% correct and/or practical but certainly adds value to the discussion nonethless!
Next you need a 'creeper' to smoothly slide under your car. Will that be the next project? :-)
http://www.amazon.com/s/ref=nb_sb_no...+creeper%2Caps
| All times are GMT +5.5. The time now is 04:44. | |