Team-BHP > Technical Stuff > DIY - Do it yourself
Register New Topics New Posts Top Thanked Team-BHP FAQ


Reply
  Search this Thread
26,268 views
Old 17th March 2016, 16:57   #1
BHPian
 
Join Date: Jan 2016
Location: Chennai
Posts: 35
Thanked: 242 Times
DIY: Detailing my VW Polo

I’m getting ready to detail my GT and I thought I would share the process

The Wash

Must have
  1. Buckets with grit guard
  2. Automotive Shampoo (without any natural or synthetic waxes, just a plain jane shampoo) you can even use Pril if you are brave enough as you are going to be stripping all existing waxes and sealants anyway
  3. At the least 2 micro fiber towels (One for the wash and one for drying)

For those with OCD (in addition to the above)
  1. Pressure washer
  2. Foam cannon
  3. Prewash shampoo for the foam canon
  4. Squeegee
  5. Plenty of micro fiber towels

Paint Decontamination

Must have
  1. Clay bar (any level of aggressiveness is ok as long as you have one)
  2. Clay bar lube (Depending on your clay bar this could be just water or quick detailer)

For those with OCD (in addition to the above)
  1. Fancy decontaminators (Iron X, Tar X, spotless etc or equivalents from other manufacturers)
  2. Clay bars or various levels of aggressiveness or elastro foam and its equivalents

Polishing

Must have
  1. Dual action polisher (Yes dual action is minimum, its ok if you do not have a rotary but you cannot finish a proper polishing session without a DA)
  2. Polishing pads
  3. Polish in the required grade of fineness (this is what is locally know as rubbing polish although real rubbing polish is virtually non-existent in these days of clear coated paints)
  4. Plenty of clean microfiber towels (Not very plush ones)
  5. Rubbing alcohol for inspection


For those with OCD (in addition to the above)
  1. Rotary polisher (or a top of the line DA which can match the aggressiveness of rotary when required like a rupes 21 es or flex 3401)
  2. Polishing pads in various levels of aggressiveness
  3. Polishes in various grades
  4. Inspection light
  5. Dust free environment
  6. Paint depth gauge (Keep in mind you need a bit of experience if your planning to use the depth gauge to assess how aggressive you want to get with the polish as repainted used cars or new cars where the dealer/factory has tampered with the paint is going to give you confusing readings)

Sealing

Must have
  1. Wax/Sealant of your choice

For those with OCD (in addition to the above)
  1. Synthetic sealant
  2. Wax topper (especially if you have a dark colour paint job)
  3. Dressing (for plastic and rubber components)

Before we start detailing I thought I would explain some of the critical elements used in this process

Why is decontamination so important?

Lets say you are at the beach, lying down in the sand and suddenly you remember that you forgot to apply your sun screen. What would you do apply the cream all over the sand that has by now stuck to you? Or would you dust yourself off first?

Same logic you want to get rid on anything stuck onto the paint that will release itself when its being polished, as trapped particles will cause more swirls.

What polisher?

Polishers can be classified in rotary and dual action (there are others like orbital etc, they simply do not meet the needs of a detailing process like this, they can be used to buff wax but I prefer doing it by hand)

Rotary Polisher

These are basically modified angle grinders. They spin at high speed and have direct drive. The key thing to remember is direct drive, this mean irrespective of the pressure applied it will still transfer power to the buffing pad. This aspect of the rotary polisher gives it excellent corrective ability but also the speed and power creates holograms in the paint (most noticeable in dark shades). Rotary polishers still remain the polisher of choice in most commercial establishments due to the low cost and high reliability. For DIY purposes I would skip rotary polishers all together.

Dual Action polishers

Dual action polishers are called as such as they combine both rotary and orbital action. Until recently dual action polishers were not considered powerful enough for heavy duty pain correction and those were always left to the rotary polishers. For DIY this is the polisher you want. Heavy correction is always best left to the professionals as you run the risk of removing too much of your clear coat which will result is paint system failure. Top of the line devices like the flex (forced rotation DA) and the Rupes big foot have pretty good correction ability and can be used as a one-stop solution for all your needs

There are different types of polish??

A polish is a fine abrasive suspended in a liquid medium. It is important to pair the polish with a polishing pad of appropriate aggressiveness. The most vital thing to keep in mind when choosing a polish is to select one only as aggressive as needed. If all you have is minor swirl marks it would be unwise to start with the most aggressive compound you can lay your hands on as you would be needlessly removing a lot of your clear coat which of-course will result is early paint system failure.

Top Coat ?? What is top coat? Wax and polish are not the same?? Oh my God!!

For the record wax and polish are not the same. Polish as I mentioned above is an abrasive, wax is a topcoat.

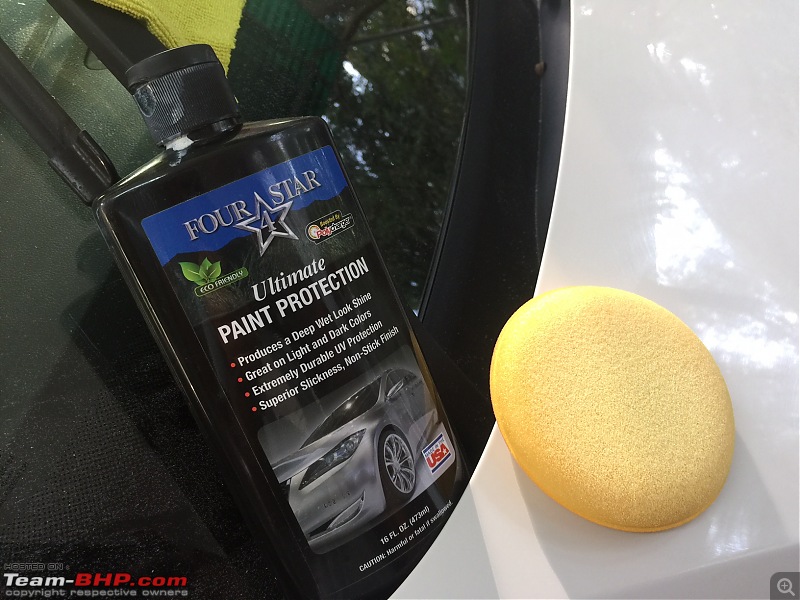
Once you have polished your paint and removed all imperfections, you have to protect it that were top coat comes in. You have various choices here but on a broad classification it would be synthetic sealants vs natural waxes. Sealants are thought to last longer and waxes said to shine a lot more, however there are products from either category that go against the grain. My personal preference is Four Star Ultimate Paint Protection and a wax topper.

A usual question on this that many people have is how many layers of top coat should I apply? Well there is no straight answer to this. Waxes cannot be layered as the solvents in the wax will simply make the earlier layer of wax go soft again, so in effect there is no layering (however you should always apply two coats of wax to ensure even coverage). Most sealants can be layered.

What is also very useful is having a friend who is good with detailing so that you can let him/her do it and take pictures saying it’s for the greater good

Last edited by GTPower : 21st March 2016 at 00:05.
GTPower is offline   (18) Thanks
Old 19th March 2016, 20:15   #2
BHPian
 
Join Date: Jan 2016
Location: Chennai
Posts: 35
Thanked: 242 Times
re: DIY: Detailing my VW Polo

Once you have selected you assortment of tools and chemicals its time to get detailing. Below is my very poorly illustrated guide on how to detail your car.

The Wash

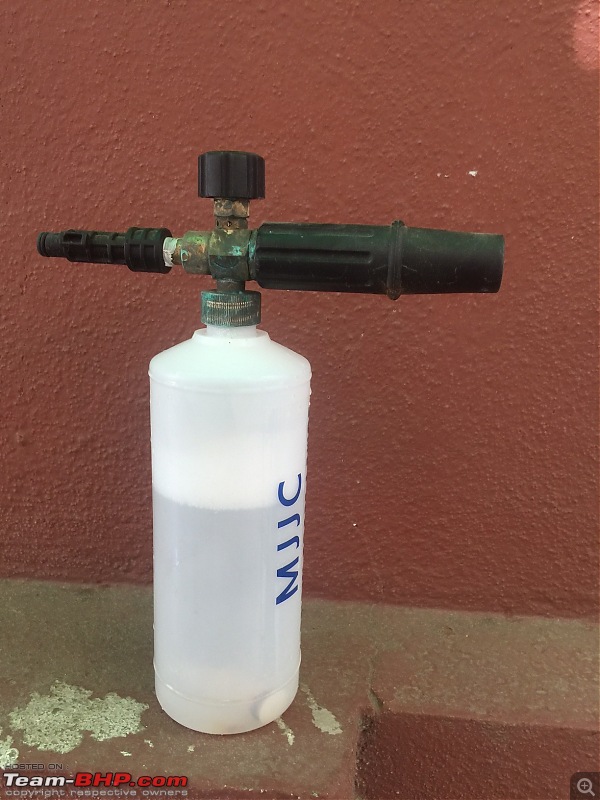
DIY: Detailing my VW Polo-img_2880.jpg
Cheap chinese foam canon. Can be bought for most pressure washers from eBay

DIY: Detailing my VW Polo-img_2883.jpg
DIY: Detailing my VW Polo-img_2884.jpg
Most car shampoos foam up pretty well (seen here is a generic no name car shampoo). But ones that are specifically designed as a pre-wash shampoo usually have decontaminating chemicals in them.

One you are done with the prewash, wash the car using the the usual two bucket method.

DIY: Detailing my VW Polo-img_2886.jpg
A kitchen squeegee like this can be used to get rid of most of the water before using a micro fiber towel.

Decontamination

DIY: Detailing my VW Polo-img_2889.jpg
A look at all the contaminants bonded to the paint. While this is very clear as the car is white you may never notice them on a dark shade. There is so much of it on my car as a result of driving in water puddles.

DIY: Detailing my VW Polo-img_2890.jpg
DIY: Detailing my VW Polo-img_2894.jpg
Iron X working, note how that mosquito is dead on the bonnet? It just flew there after I had applied iron x, sat on it and died. Keep this stuff away from kids and pets!

At this point you should start claying the paint. However I did not clay my car for two reasons,

1. It is white
2. There is way too much non metallic contamination bonded to the paint.

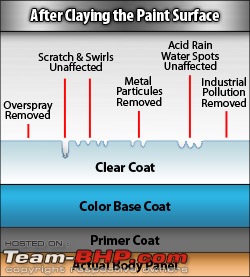
Alright to be a little more clear, we need to understand what a clay bar actually does.

DIY: Detailing my VW Polo-claygraphicwash.jpg
Contaminants in the paint after a wash (Pic courtesy the internet)

DIY: Detailing my VW Polo-claygraphicclay.jpg
This is how manufacturers claim that the paint looks after you clay (Pic courtesy the internet)

Sadly that is not what happens most of the time. Most of the time the part stuck in the coat is left as it is and the part of the contaminant sticking above the clear coat is removed.

So in a white car, you are still going to see all those black spots except that the paint will be smooth if you decide to clay it.

So my alternative method is to use a generous amount of compound and spot polish in these problematic areas without letting the compound go dry this is get rid of all the spots and will not mar the paint too much

DIY: Detailing my VW Polo-img_2915.jpg
Same left door all cleaned up. Judge me not by the shine of my blacks but by the purity of my whites!

Polishing

DIY: Detailing my VW Polo-img_2897.jpg
Waterless wash can double up as quick detailer

DIY: Detailing my VW Polo-img_2898.jpg
You can get surgical spirit from any pharmacy. Always remember to dilute it before using it (10% alcohol)!

Last edited by GTPower : 19th March 2016 at 23:56.
GTPower is offline   (10) Thanks
Old 19th March 2016, 23:45   #3
BHPian
 
Join Date: Jan 2016
Location: Chennai
Posts: 35
Thanked: 242 Times
re: DIY: Detailing my VW Polo

Don't forget to mask rubber and plastic parts

DIY: Detailing my VW Polo-img_2902.jpg
Just make sure that the polish and the sealant do not touch the rubber and plastic parts or the solvents will make them turn white.

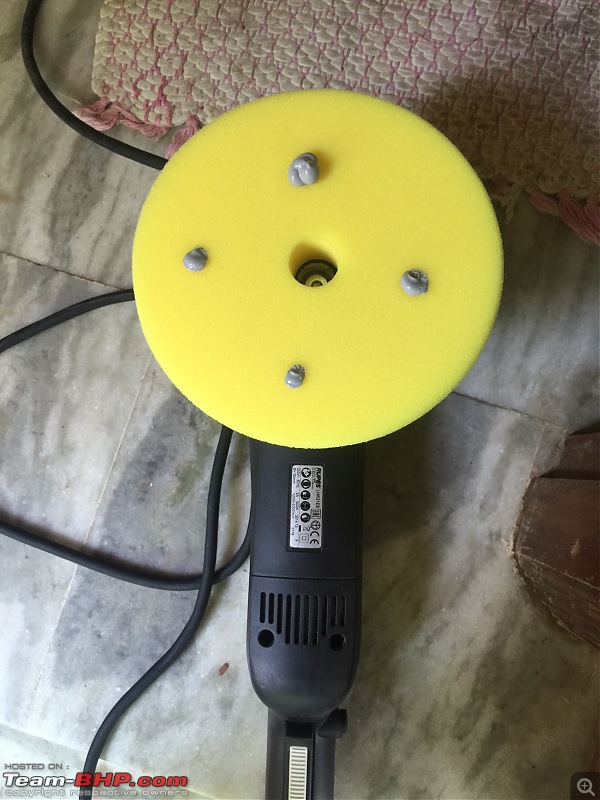
The polisher I use is the Rupes 21ES. I have selected a fine finishing polish for the job at hand

DIY: Detailing my VW Polo-img_2899.jpg
If you are using a new pad, spritz some quick detailer on it before use

DIY: Detailing my VW Polo-img_2900.jpg
4 dots of polish is more than adequate for each section (hood of the polo will be 4 sections)

Name:  ScreenShot.png
Views: 14030
Size:  59.0 KB
Polishing pattern to be used. This is a starting point and works best on flat areas, once you get to more difficult areas you will need to get creative Also with a DA polisher, do not apply too much pressure and keep on eye on the backing pad, if it stops the rotary action then you are applying more pressure than needed. (image courtesy the internet)
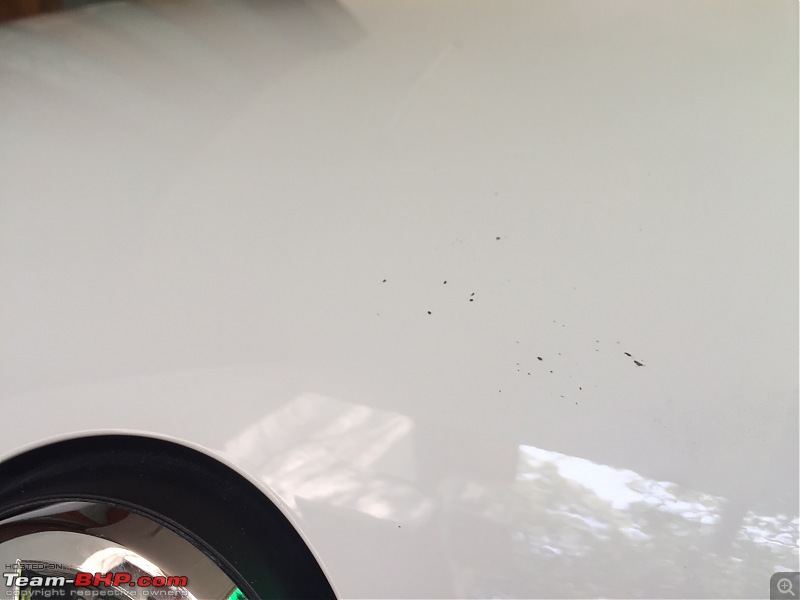
Let me digress for a bit and explain why I chose a finishing polish and didn't start with a rougher compound

DIY: Detailing my VW Polo-img_2904.jpg
Do you see the dots on the hood, very close to the VW logo on the car, well these are not contaminants. What they are is the grey coloured finishing polish stuck inside crevices in the clear coat caused by the insects that you encounter on the highway. The etching caused by stuff like this and bird dirt are quite deep. So even though ideally I should have used a rougher compound to completely remove these and the buffer swirls that the dealer left behind, I am not going to do it as the amount of clear coat that will need to be removed for a show quality finish is way too much. And that would be totally ok if it were a show car, but its not its my daily driver so it does not make sense to over do it.

DIY: Detailing my VW Polo-img_2906.jpg
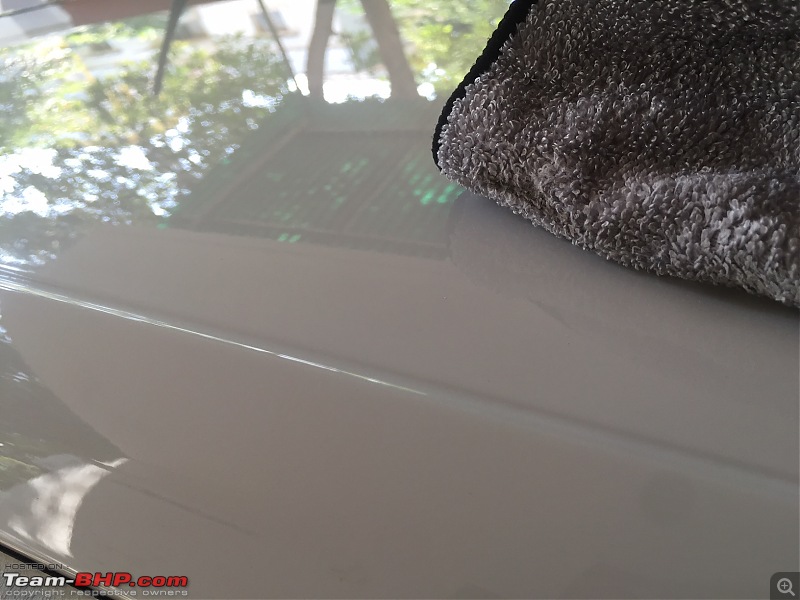
This is a dirt line on the roof at the edge where the original white masking would have been when it left the factory

DIY: Detailing my VW Polo-img_2907.jpg
This line can be removed by hand using a microfiber cutting towel

Don't forget to spritz on some of the diluted rubbing alcohol and clean residual polish to inspect the work done

DIY: Detailing my VW Polo-img_2910.jpg
Ah the shine of the blacks

Sealant
Before applying sealant ensure all the panels are free of any residual polish or quick detailer as they will interfere with the bonding of sealant with the paint. Use the rubbing alcohol solution to remove them.

DIY: Detailing my VW Polo-img_2911.jpg
Apply the sealant by hand using a sponge pad, and buff off with a microfiber towel

DIY: Detailing my VW Polo-img_2912.jpg
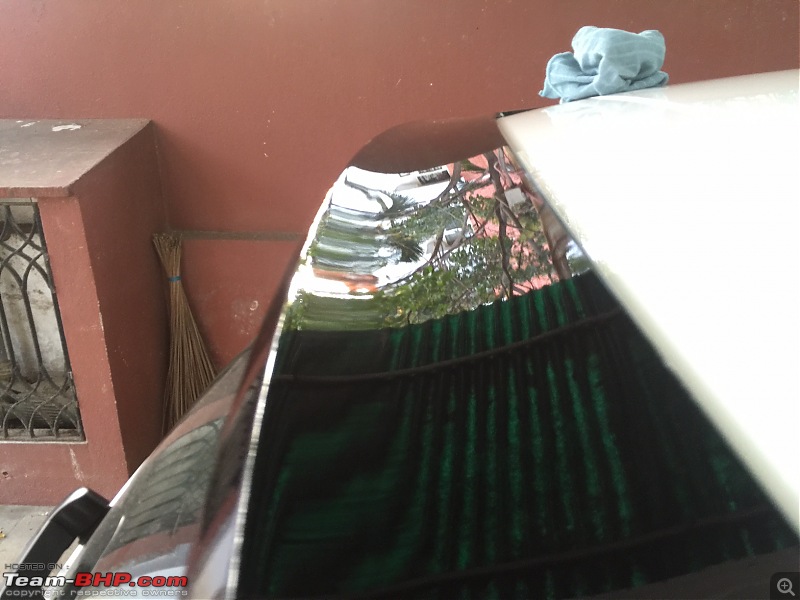
Enjoy picture perfect reflections

I did want to take before and after pictures of the paint but I simply could not capture that using a iphone.

In case you actually did this on your car by this time you hands and feet should have gone numb. And oh we are not done yet, the next coat of sealant has to go on after 4 hours.

Last edited by GTPower : 21st March 2016 at 00:01.
GTPower is offline   (14) Thanks
Old 20th March 2016, 22:13   #4
BHPian
 
Join Date: Jan 2016
Location: Chennai
Posts: 35
Thanked: 242 Times
re: DIY: Detailing my VW Polo

Took the car out in the sun after finishing the second coat of sealant was given enough time to cure

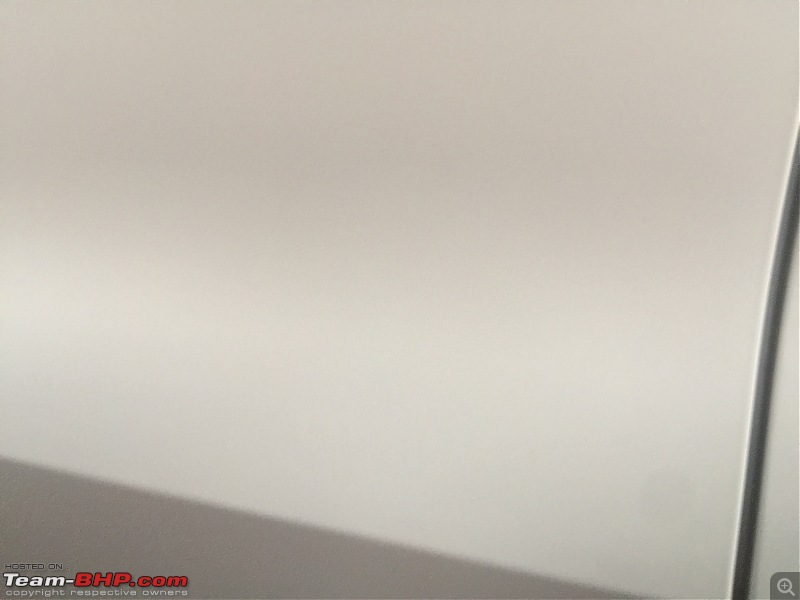
DIY: Detailing my VW Polo-polished.jpg
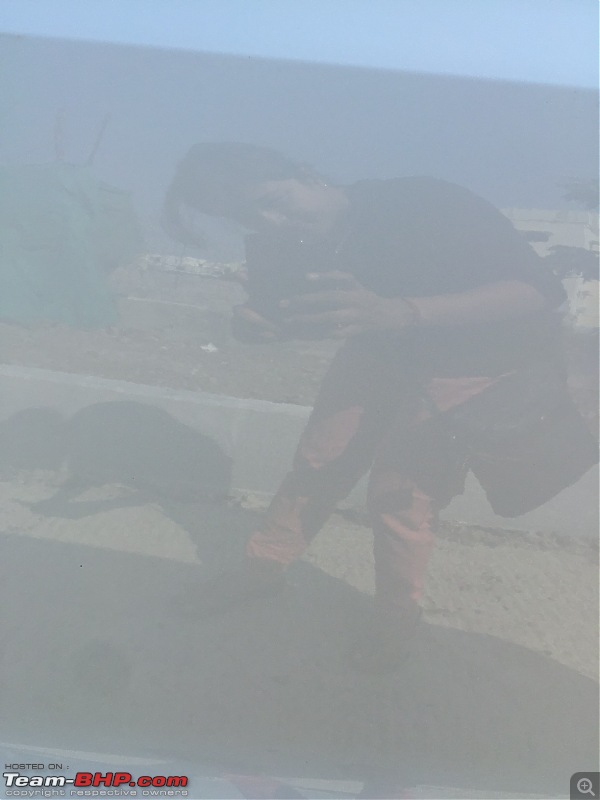
Its hard to tell the difference in a white car, except surface slickness and the decontamination and those are not things that can be seen in a picture

DIY: Detailing my VW Polo-reflection.jpg
Reflections!

Below are some more questions that I've been asked before,

Should you get your brand new car polished and sealed?
Absolutely yes, you can see the damaged caused by everyday contaminants like bird dirt and insects. If you don't have the time or the money to invest in the tools, there are always professional detailing shops to do it for you.

How often should you reapply your sealant
There is obviously no straight forward answer to this. It depends on the type of sealant you used and the usage pattern of your car. I reapply sealant once in 6 months (almost) and wash the car only once in 3 months or when its extremely dirty (driving through mud). For my weekly cleaning I use waterless wash which helps prolong the life of the sealant .

Okay I want to do it myself, do I have to get the most expensive stuff?
Generally you get what you pay for, but there are always exceptions like collinite 845 a wax that rivals the durability of many sealants. Truth is all the stuff you buy is going to last you a long long time. So its more of a one time investment

Can I ruin my car attempting this myself?
Sure you can, you can get wax/polish on plastics parts. You could use a rotary polisher and burn your paint. Yes many things can go wrong but it doesn't mean they will as long as you use a measured amount of caution.

Why do it yourself!!??
You'll know the answer once you actually do it yourself!

Thank you for reading!

Last edited by GTPower : 20th March 2016 at 23:58.
GTPower is offline   (39) Thanks
Old 21st March 2016, 11:26   #5
GTO
Team-BHP Support
 
GTO's Avatar
 
Join Date: Feb 2004
Location: Bombay
Posts: 70,493
Thanked: 300,290 Times
Re: DIY: Detailing my VW Polo

Thread moved from the Assembly Line to the DIY Section. Thanks for sharing!

For those who like it simpler, take a look at this thread.
GTO is offline   (1) Thanks
Old 21st March 2016, 12:40   #6
r.K
BHPian
 
r.K's Avatar
 
Join Date: Feb 2016
Location: Berlin
Posts: 118
Thanked: 90 Times
Re: DIY: Detailing my VW Polo

Quote:
Originally Posted by GTPower View Post
Below is my very poorly illustrated guide on how to detail your car.
Not so bad at all GTPower! In fact it is very informative for noobs like me!

Quote:
Originally Posted by GTPower View Post
Why do it yourself!!??
You'll know the answer once you actually do it yourself!
So true! I can relate to that
r.K is offline  
Old 21st March 2016, 14:06   #7
BHPian
 
amit_purohit20's Avatar
 
Join Date: May 2006
Location: mumbai
Posts: 676
Thanked: 899 Times
Re: DIY: Detailing my VW Polo

Quote:
Originally Posted by GTPower View Post
For my weekly cleaning I use waterless wash which helps prolong the life of the sealant .
Thanks for the detailed explanation. What is "water less wash" and how come you can clean the car only once in 3 months and it still stays clean?
amit_purohit20 is offline  
Old 21st March 2016, 14:22   #8
BHPian
 
swami69's Avatar
 
Join Date: May 2010
Location: Chennai
Posts: 477
Thanked: 1,262 Times
Re: DIY: Detailing my VW Polo

Excellent write-up and a fantastic job done ! BTW, where can I get those yellow polishing pads which you are using. Kindly let me know some more details. Thanks.

Swami
swami69 is offline  
Old 21st March 2016, 14:45   #9
BHPian
 
Join Date: Jan 2016
Location: Chennai
Posts: 35
Thanked: 242 Times
Re: DIY: Detailing my VW Polo

Quote:
Originally Posted by amit_purohit20 View Post
Thanks for the detailed explanation. What is "water less wash" and how come you can clean the car only once in 3 months and it still stays clean?
You are welcome, waterless wash is a polymer which you spritz on the car and wipe clean. I will try to get some pictures next time I clean my car.

Quote:
Originally Posted by swami69 View Post
Excellent write-up and a fantastic job done ! BTW, where can I get those yellow polishing pads which you are using. Kindly let me know some more details. Thanks.

Swami
Thank you and are you talking about the foam applicators? They can be bought at amazon India and there must be other places selling them as well.

http://www.amazon.in/Meguiars-W0004-...words=meguiars
GTPower is offline  
Old 21st March 2016, 19:22   #10
BHPian
 
Mithrandir's Avatar
 
Join Date: Dec 2015
Location: Udupi, M'lore
Posts: 55
Thanked: 42 Times
Re: DIY: Detailing my VW Polo

Many thanks GTPower. Very informative article for all of us Polo owners. Your car looks so good after the detailing. Did you try cleaning the engine bay?. My 3 year Polo's engine bay has got really dirty after some mild off-road drives. No matter how I wish to clean it and make it look like brand new, I couldn't muster the courage to do it myself. People at the service center give different advice every time I ask them about it. Some advice me to just power wash it from above. And some say that just leave it as it is. So I really don't want to trust them with the engine bay.
Mithrandir is offline  
Old 21st March 2016, 21:37   #11
Distinguished - BHPian
 
audioholic's Avatar
 
Join Date: Jun 2012
Location: BengaLuru
Posts: 5,657
Thanked: 19,395 Times
Re: DIY: Detailing my VW Polo

Quote:
Originally Posted by GTPower View Post
Attachment 1487860
A kitchen squeegee like this can be used to get rid of most of the water before using a micro fiber towel.

That is not a good idea IMO. That squeegee is best used within the kitchen. It defeats the purpose of using a microfiber towel. Indeed, the vehicle would have been cleaned prior to using this, but definitely not something that I would do. Generally patting down the panels is much more gentle on the paint.

Anyways, white is a neutral colour for seeing results of detailing but once in the sun, it looks brilliant. Nothing beats a spotless white car in a parking lot.
audioholic is offline  
Old 21st March 2016, 22:08   #12
BHPian
 
Join Date: Jan 2016
Location: Chennai
Posts: 35
Thanked: 242 Times
Re: DIY: Detailing my VW Polo

Quote:
Originally Posted by Mithrandir View Post
Many thanks GTPower. Very informative article for all of us Polo owners. Your car looks so good after the detailing. Did you try cleaning the engine bay?. My 3 year Polo's engine bay has got really dirty after some mild off-road drives. No matter how I wish to clean it and make it look like brand new, I couldn't muster the courage to do it myself. People at the service center give different advice every time I ask them about it. Some advice me to just power wash it from above. And some say that just leave it as it is. So I really don't want to trust them with the engine bay.
I've never really detailed the engine bay. But u certainly shouldn't be using a power washer on it. You are supposed to use a grime remover and then just hose off the dirt, after covering the alternator and disconnecting the battery.

Quote:
Originally Posted by audioholic View Post

That is not a good idea IMO. That squeegee is best used within the kitchen. It defeats the purpose of using a microfiber towel. Indeed, the vehicle would have been cleaned prior to using this, but definitely not something that I would do. Generally patting down the panels is much more gentle on the paint.

Anyways, white is a neutral colour for seeing results of detailing but once in the sun, it looks brilliant. Nothing beats a spotless white car in a parking lot.
Hmmm well I picked this technique up from a pretty good detailer and I haven't noticed any negatives to doing it, no marring etc. But I do wash my car very rarely.
GTPower is offline   (1) Thanks
Old 22nd March 2016, 11:42   #13
BHPian
 
outofthebox's Avatar
 
Join Date: Jul 2014
Location: Delhi
Posts: 277
Thanked: 398 Times
Re: DIY: Detailing my VW Polo

Awesome thread GTPower. Many thanks for sharing. I'm a bit of a detailhead too and use pretty much the same techniques and similar products. (with a Bigfoot clone from China, a Ryobi RSE1250 and a NiCd powered 4 incher for motorbikes.)

Quote:
Originally Posted by GTPower View Post
Hmmm well I picked this technique up from a pretty good detailer and I haven't noticed any negatives to doing it, no marring etc. But I do wash my car very rarely.
Another harmless trick which achieves nearly the same results without a squeegee etc is to use a low pressure stream of water as the final rinse instead of a high pressure spray. The water due to its cohesive properties just rolls off.
outofthebox is offline  
Old 22nd March 2016, 12:43   #14
Senior - BHPian
 
tharian's Avatar
 
Join Date: Dec 2011
Location: SBC
Posts: 3,981
Thanked: 8,011 Times
Re: DIY: Detailing my VW Polo

Very nice report of the detailing.

What caught my eye was the polisher. That is something that I miss when I do the detailing on my car.

Could you let me know how much it costs and where you picked it from?

Last edited by tharian : 22nd March 2016 at 12:58.
tharian is online now  
Old 22nd March 2016, 16:40   #15
BHPian
 
Join Date: Jan 2016
Location: Chennai
Posts: 35
Thanked: 242 Times
Re: DIY: Detailing my VW Polo

Quote:
Originally Posted by outofthebox View Post
Awesome thread GTPower. Many thanks for sharing. I'm a bit of a detailhead too and use pretty much the same techniques and similar products. (with a Bigfoot clone from China, a Ryobi RSE1250 and a NiCd powered 4 incher for motorbikes.)


Another harmless trick which achieves nearly the same results without a squeegee etc is to use a low pressure stream of water as the final rinse instead of a high pressure spray. The water due to its cohesive properties just rolls off.
There's a clone? I never knew that. Where did you get the 4 inch polisher? I need to get one as well.

Quote:
Originally Posted by tharian View Post
Very nice report of the detailing.

What caught my eye was the polisher. That is something that I miss when I do the detailing on my car.

Could you let me know how much it costs and where you picked it from?
I got the rupes from eBay India. It's about 39k for the full kit.
GTPower is offline   (1) Thanks
Reply

Most Viewed


Copyright ©2000 - 2024, Team-BHP.com
Proudly powered by E2E Networks