After 13 years of ownership(Happy and trouble free if I may add) and 156,000km on the odo, the wiper linkage on my Honda City finally gave up the ghost. It sometimes wouldn’t work, at other times when it did it made a horrible screeching rubbing droning noise. Not pleasant.
We tried WD40 and some oil, but nada, the problem persisted. Enough was enough; We needed a new link. A DIY was in order. My dad and me placed an order for an OEM part and decided to have a look at how we could remove the panel housing the linkage. It was easier said than done. The clips below the windshield kept breaking off; It was impossible to get them out in one piece. Then there were the clips under the bonnet which too refused to come out in one piece. It was decided then and there that we needed new clips. Ha-ha. It sounded so easy at that point . We went to our trusted store where we buy our spares and asked them for the clips.(we took a broken sample in our hand).At first a couple of them didn’t seem interested, however there was this one gentlemen who was able to find the last few clips they had with them. ok, so one problem solved, now for the other clips(the ones from under the bonnet). At this point everyone was a bit annoyed and frustrated. They just handed over the box of “Honda Bumper clips” which was an assortment of random clips inside.Bingo. We found the exact clips that we needed. Now we wait for the linkage to arrive.
TOOLS REQUIRED
# Screwdrivers- flat head and star(sizes -small medium and large)
# Sleeve remover
# Nose pliers
# Ratchet/spanners
# Paint brush ( to clean off the dust and grime deposits)
# Nail puller
# Vacuum cleaner
# Bucket or mug with a disposable cloth
# Some cleaning liquid such as car wash
 PARTS NEEDED
# Wiper linkage
# Windshield clips(Circular in appearance)
# “V” shaped clips
The required clips  The required clips (Another View)
  A Third View
  The New Linkage
We picked up the linkage the day it arrived and immediately got onto the job of fixing it. We take off the nuts holding the wiper arms and remove the wiper arms .(Note that on the driver side there is a small black washer-cap type of cover once the arm is removed). We break off the top of the clips, Push the center into the cavity. A Total of 7 clips. Done.(We did try to remove the clips without breaking them off but we failed miserably).Now onto the clips under the bonnet. After breaking off a few of them off, my dad came up with an idea of using a nail puller! Guess what. It worked. We managed to take off a few of them in one piece. Clips off, now we gently remove the cover to see what’s making all that racket. Low and behold, dust, rust, muck, grime and whatnot had ruined the passenger side mechanism.
The 10mm Nut holing the wiper arm in place  The Nut and the Arm off
  The ”V” shaped clips holding the cover( under the bonnet)
  A Few circular clips off
  The cover off the car.
The rubber beading has to be removed off the clips. This beading prevents water entering the engine bay and diverts water into the outlet channels.
 A view of the engine bay once the plastic cover is taken off.
Once the cover came off we noticed a small metal plate on the passenger side held by a single clip. A different one If I may add. Once again the nail puller came to the rescue. With the clip off the metal plate came off. Notice a rubber gasket and a black plastic clip on the driver's side? These have to be taken off.
The cap and gasket on the driver's side  A view of the metal plate and the clip
  The metal plate out of the car
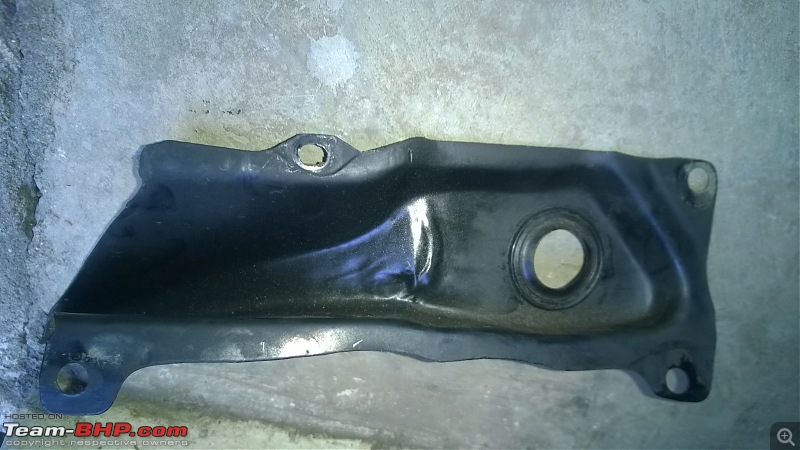
Now with everything out of the way we could get to see what was causing all the trouble.
A view inside.  Here’s the Culprit
 Notice the residual pieces of the clips that were broken off
now we get on to removing the old wiper arm. But first it's time to clean off as much dust and grime as possible. we break out the vacuum cleaner and get to work.

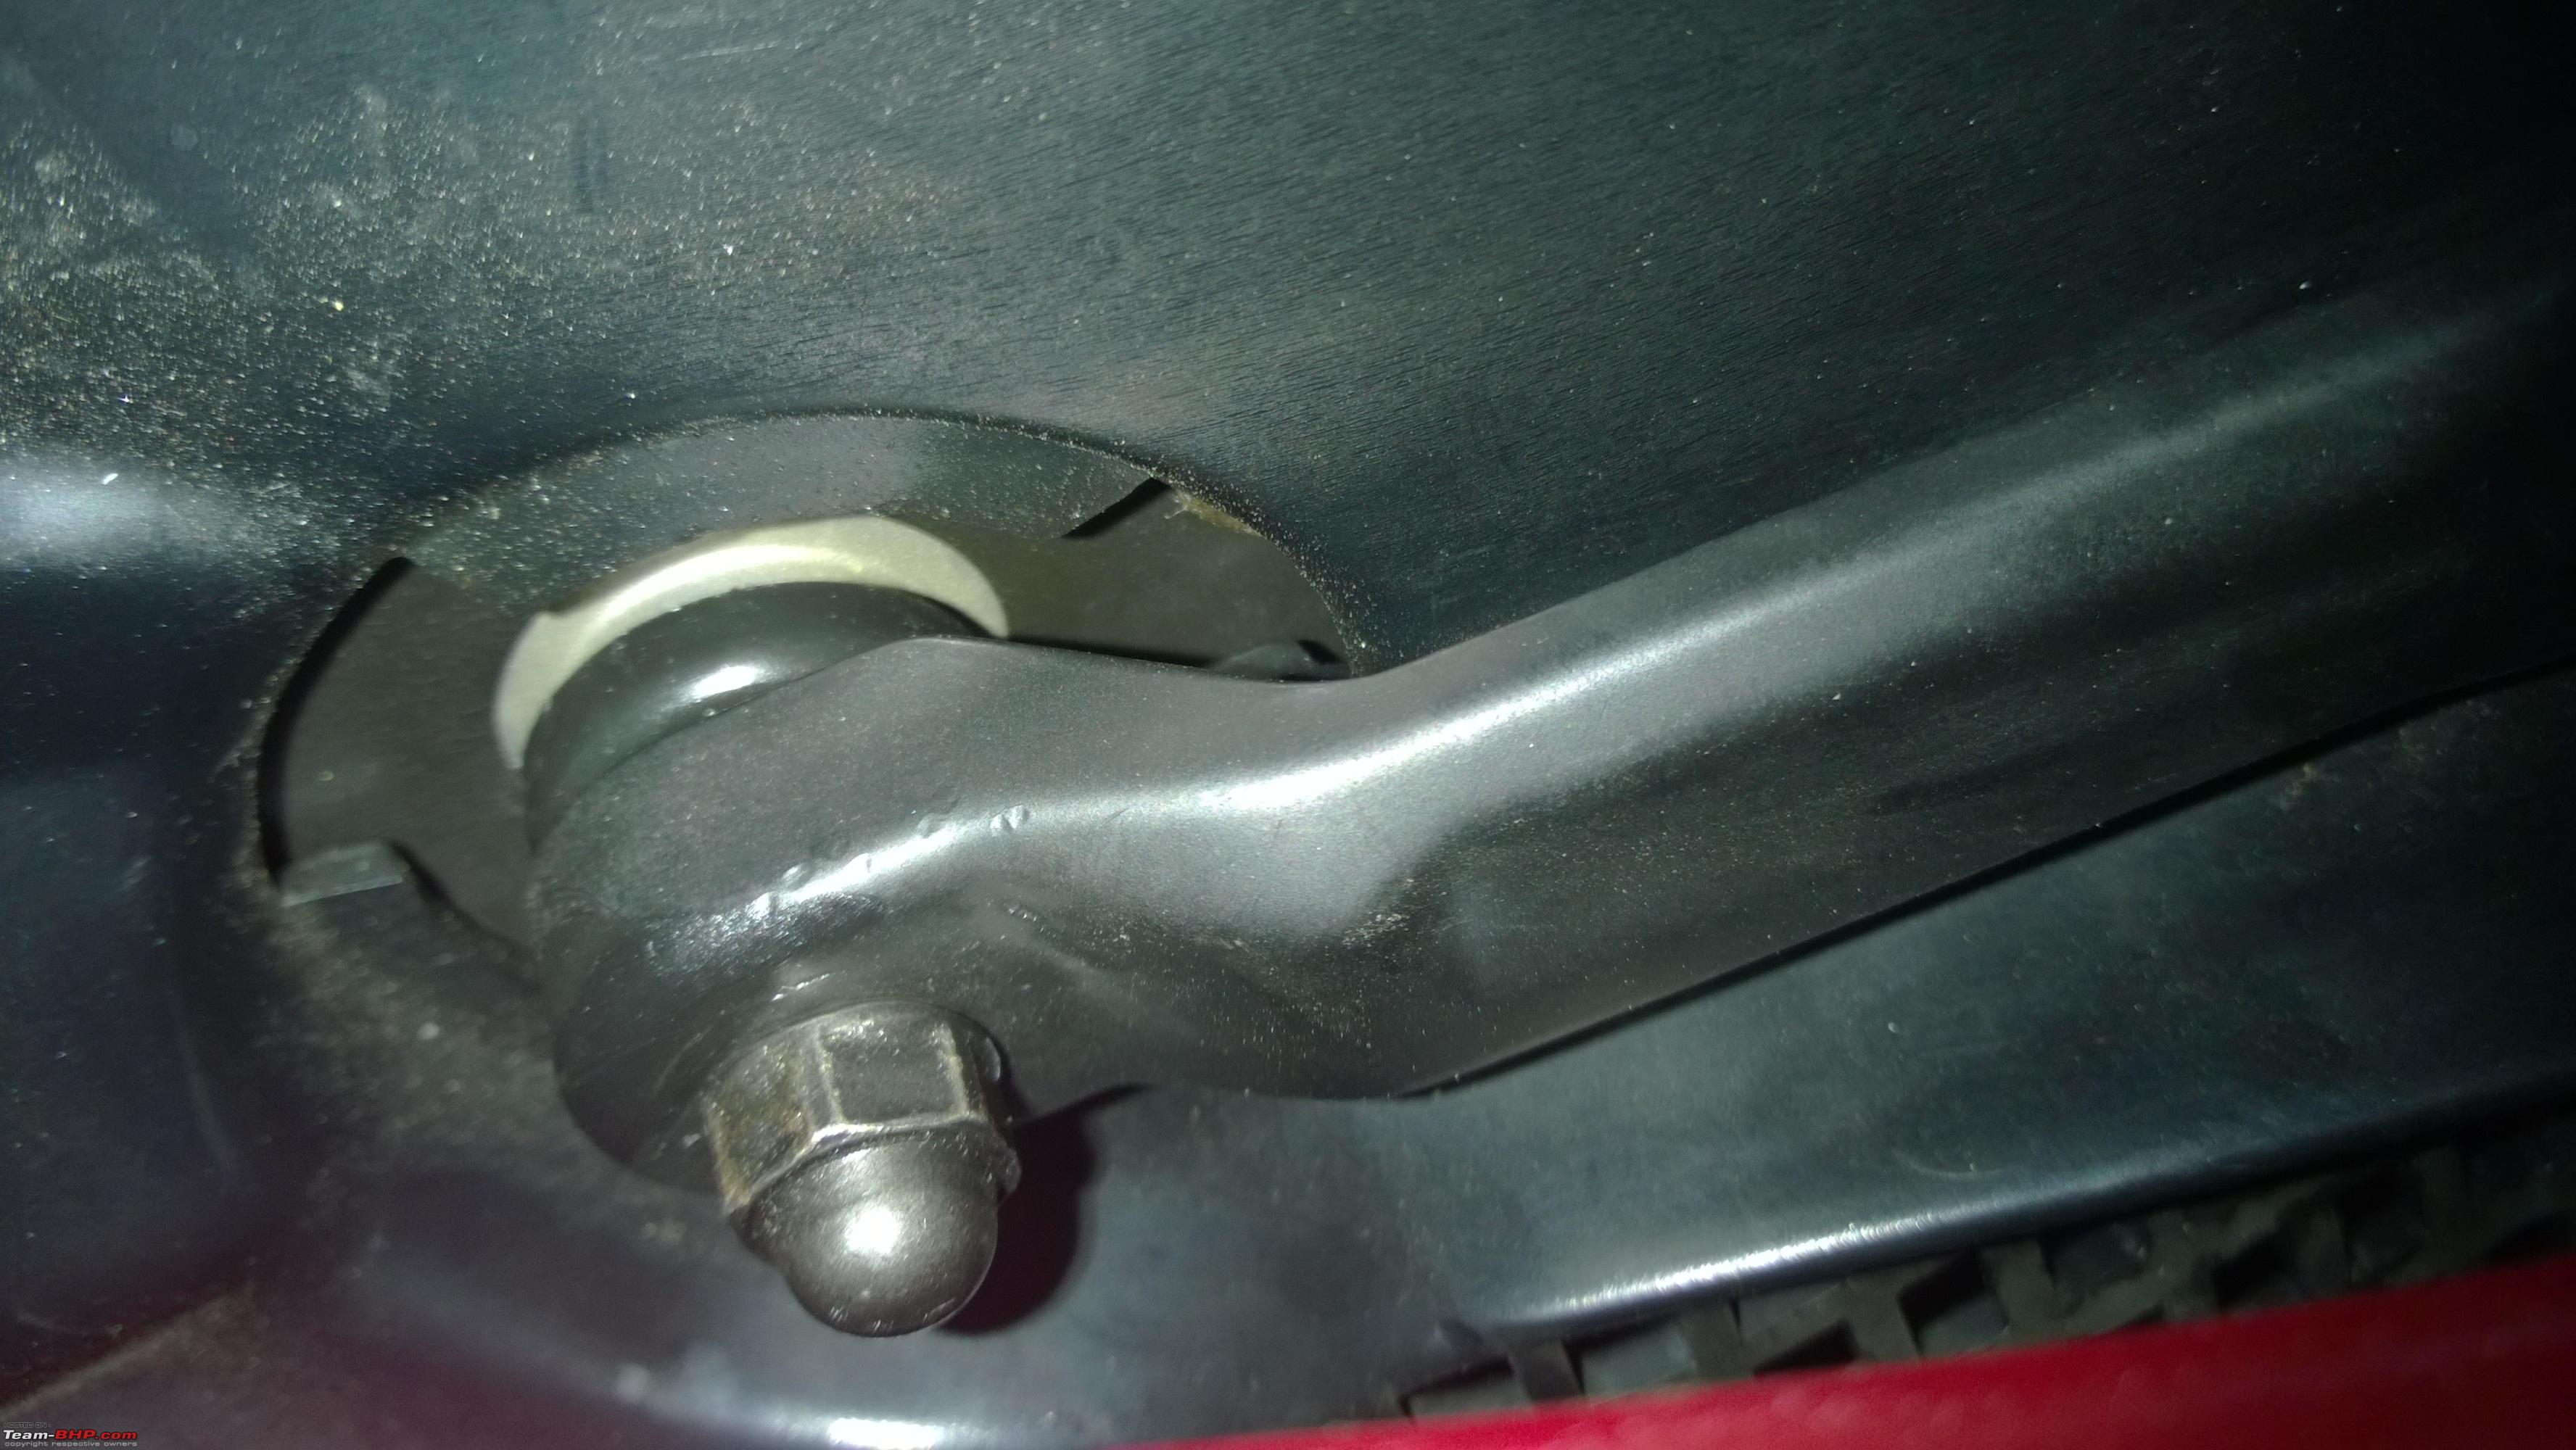
The wiper link is attached to the motor with a snap on ball and socket joint. A tug and a wedge with a ratchet; it comes off.
The ball and socket joint 
3 bolts hold the link to the frame on each side. (10mm or 12mm-don’t remember) .A little wiggling and with proper placement the old link came off.

A closer look revealed that the driver's side and passenger sides are marked with the lettering “CR” and “BR” respectively.
The Drivers side  The Passenger side
  A look at the old wiper arm
  A closer look at the culprit

After a thorough cleaning of the frame near the firewall with a bucket of water some car wash and a cloth(make sure the cloth is just about damp, nothing more), we got to the installation of the new linkage.
The new linkage in place 
While installation, make sure to attach both the driver’s side and passenger side with the ball and socket joint before putting the link into the car. place the marked sides (read: “CR” “BR”) in the respective slots. Attach the other joint to the motor; tighten the 6 nuts (3+3) to the frame and it's good to go!
Ensure that the arm with the red sticker has to be above the other arm 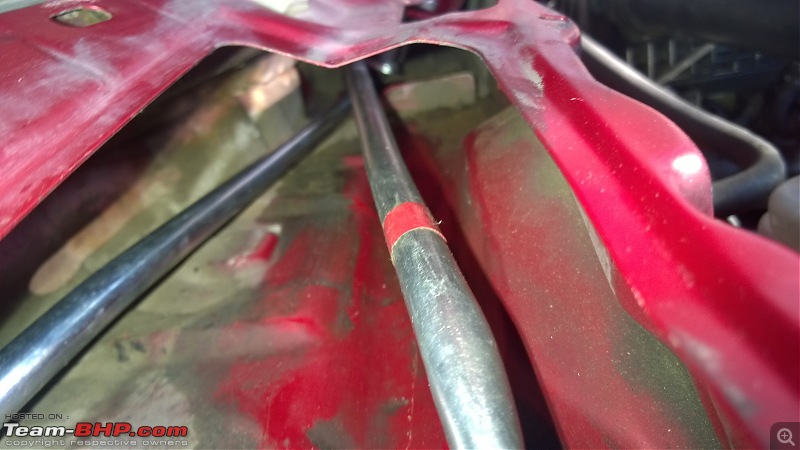 The joint attached to the motor
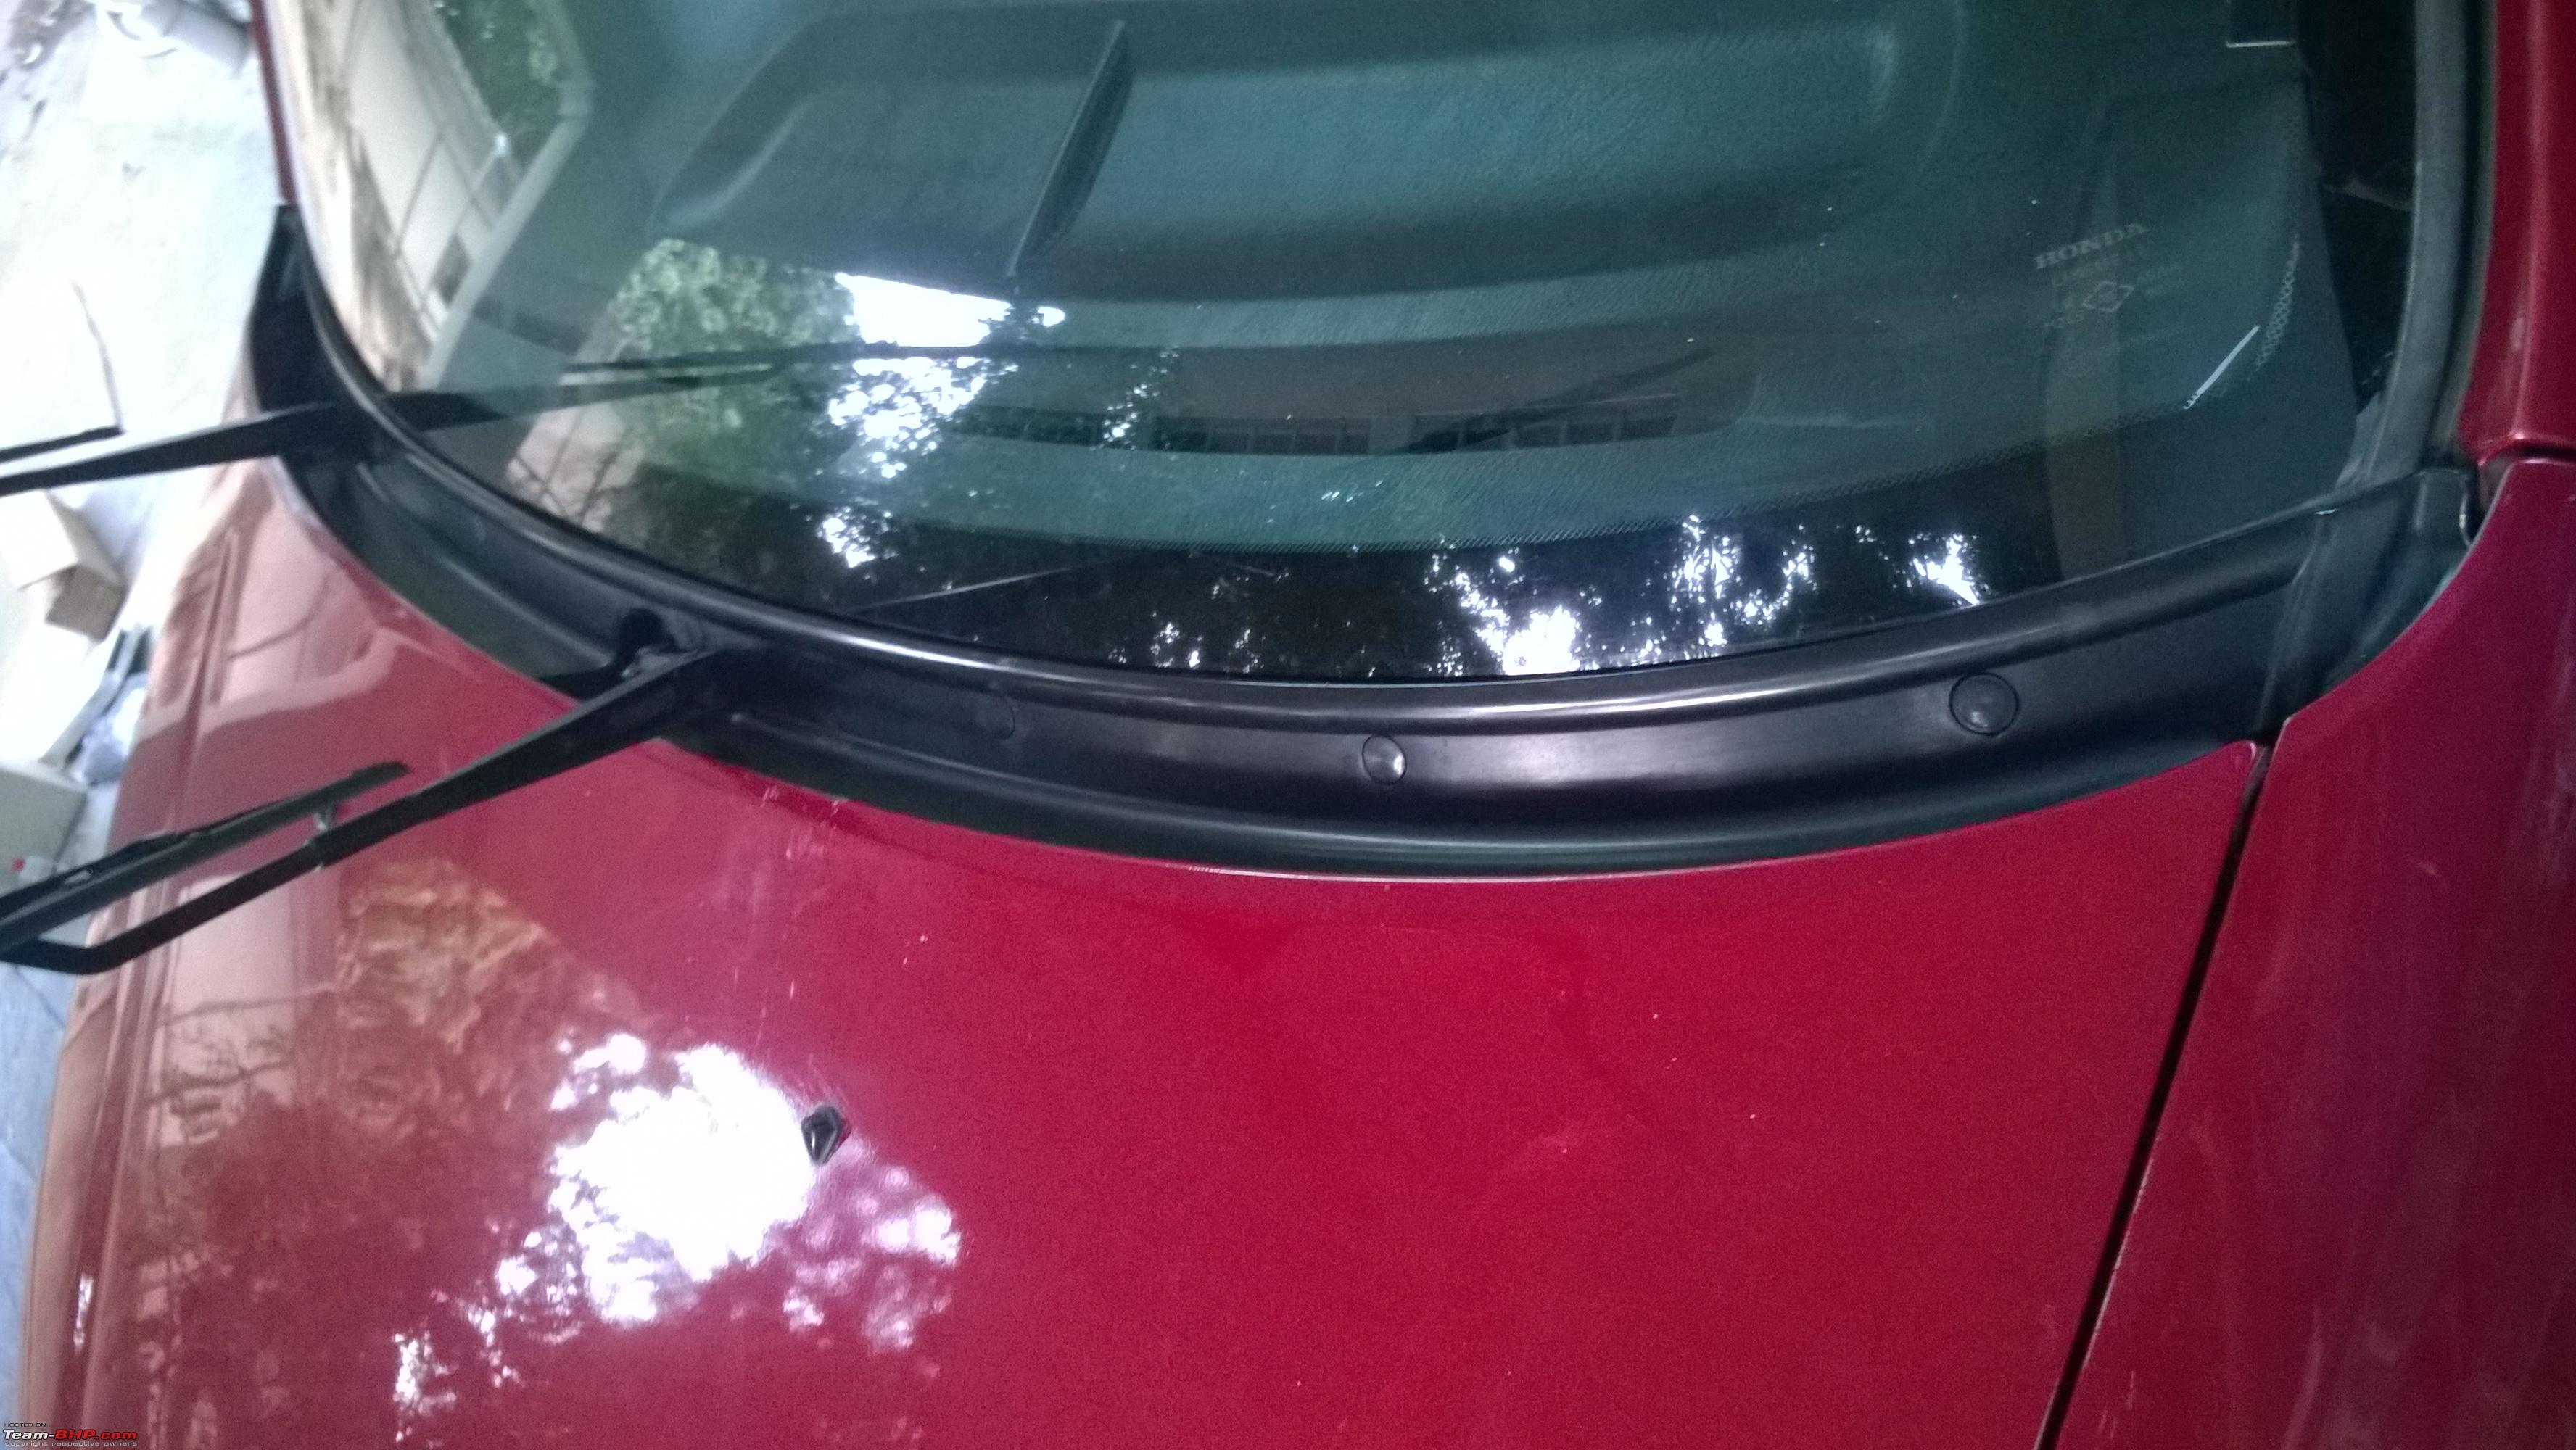
We Ran a check of the Wipers before closing the panels . Closing was just the reverse of taking everything off. Metal plate, clip, panel, ”V” clips, circular clips, wiper arms.(Align the wiper arms properly so that they don’t hit the panel or the side of the winshield. Ensure perfect alignment so that the sweep area is maximised)
After everything was put back in place 
RESULT: A success! clap:
The wipers move as silently as ever and we couldn’t be happier.:D
Great job on the DIY. I always wondered, even after new wipers, why would it make noise. Hope this helps me solve my car's problem too.