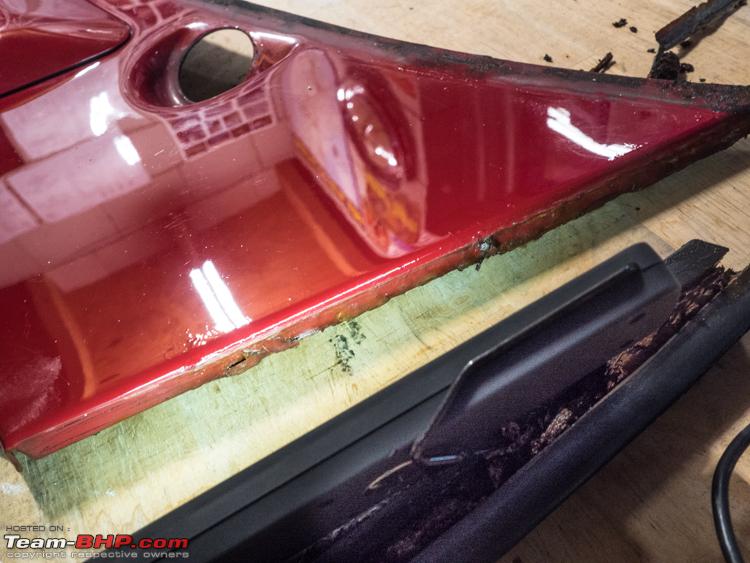
Rather than to finish work on the Spider wiper motor, I decided to spend my Sunday working on the W123. As I mentioned the left lower steering knuckle had some play.
Time to replace it. A word of caution. When working on cars suspension always be careful. Make sure the car is well supported on multiple axle stands. Suspension bits always require lots of force to undo, so you will be pulling and pushing against the car all the time. Also, when in doubt, put a spring retainer on the spring! It can be very difficult to tell what will happen when you undo a strut or so. Better safe than sorry, compress the spring with a proper spring retainer tool. Get the best money can buy. Dont use those cheap threaded rods with two hooks. They are pretty lethal!
When doing suspension work, eat lots of spinach the night before. Break out all the heavy big tools. Suspension works is hefty work, requiring special heavy duty tools, a bag full of tricks, lots of muscle power. Of course, knowing how to swear helps a lot too!
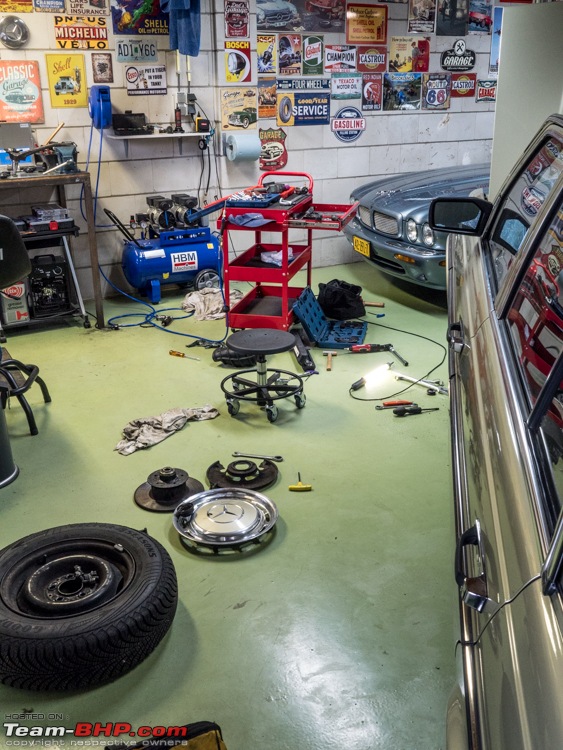
Out comes the tools: At the bottom in the blue box my new spring retainer

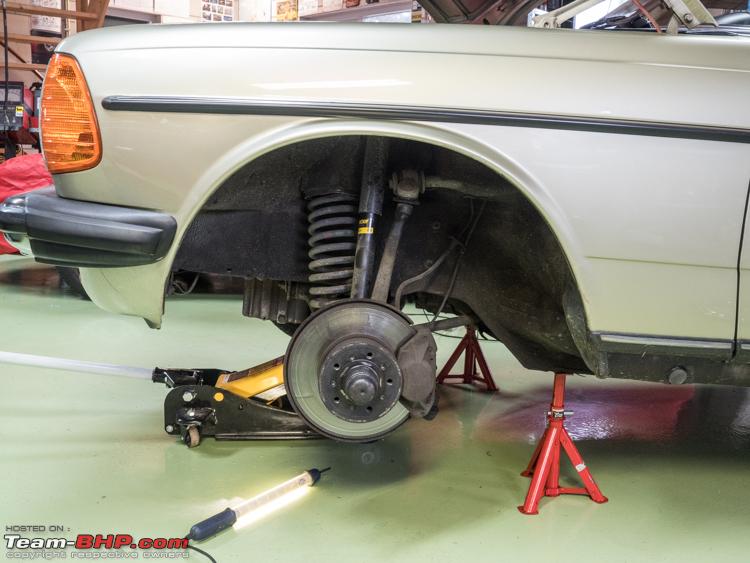
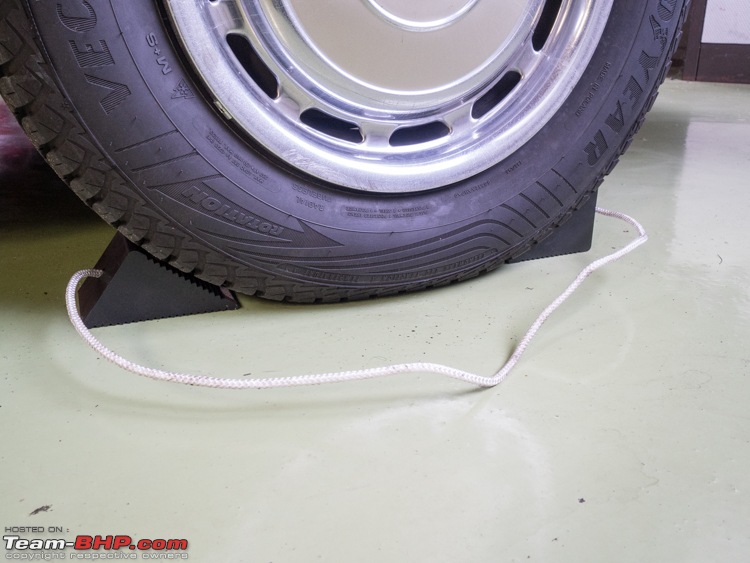
Both rear wheels blocked front and rear. Hand brake on and car in gear (the is a rear wheel driven car)
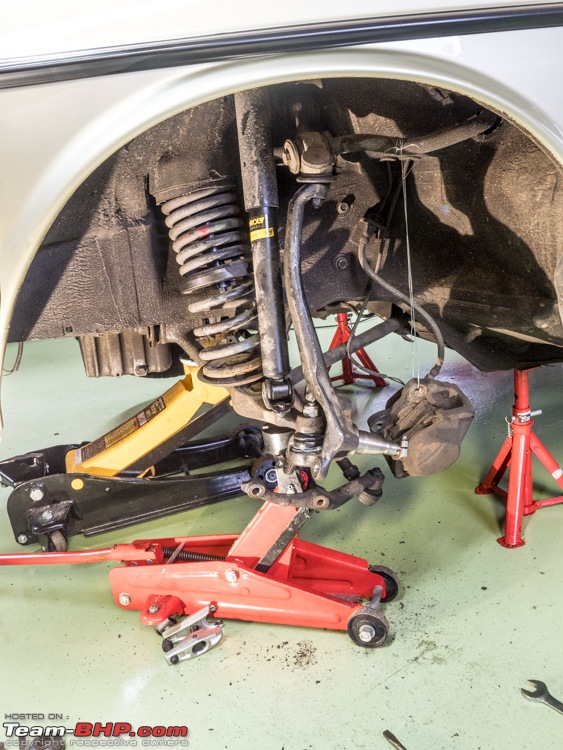
Jack up the car and put two axle stands underneath. I always keep the jack in place too. But it is the axle stands that are taking the weight.

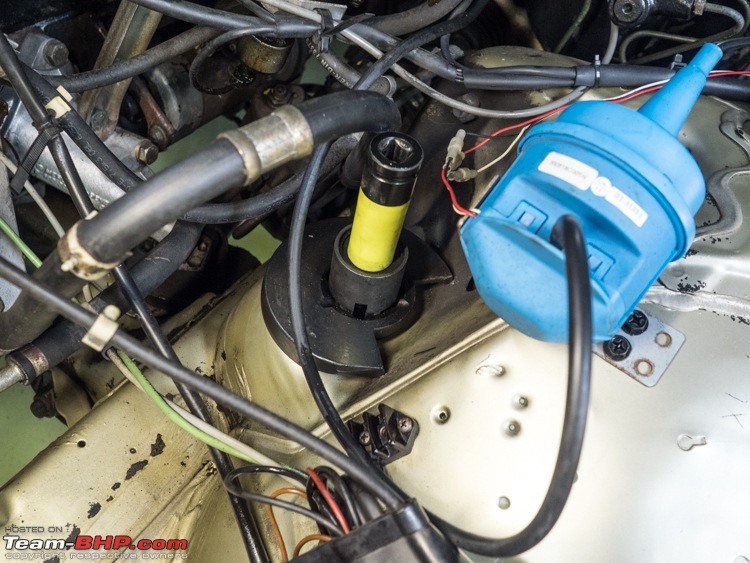
I tried to get my new spring tensioner in position. But for some reason it would not fit as advertised. Still I managed to get the lower plate into the spring, the top plate on top inside the engine compartment and with my pneumatic wrench attached I can very carefully take the load of the spring. Perfectly safe!
First thing is to remove the brake calliper. Two big bolts and they were very very tight. I had to use all my might to undo them. Note to self: must get a breaker bar!
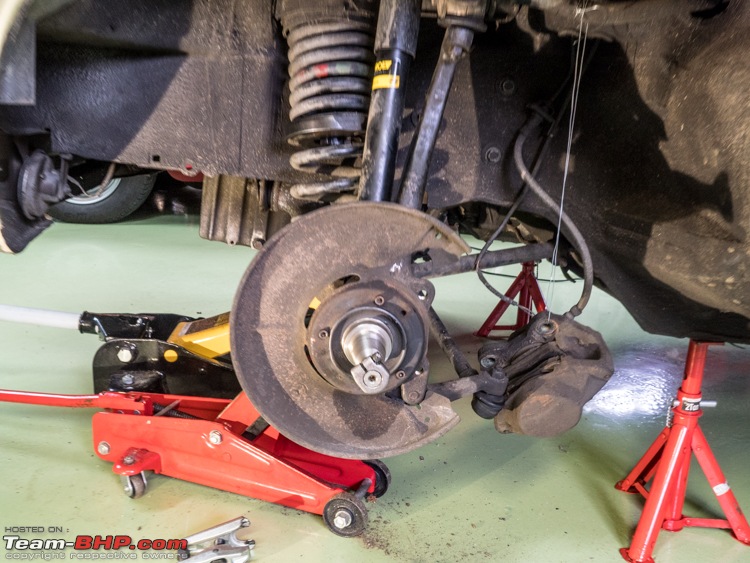
Calliper is hung up with a piece of metal wire. Make sure no tension on the electrical wire or the brake hose.

Next of comes the little cap on the main shaft:

Have a close look; there is a little electrical contact mounted in the centre of the shaft! This is a contact spring for Radio suppression.
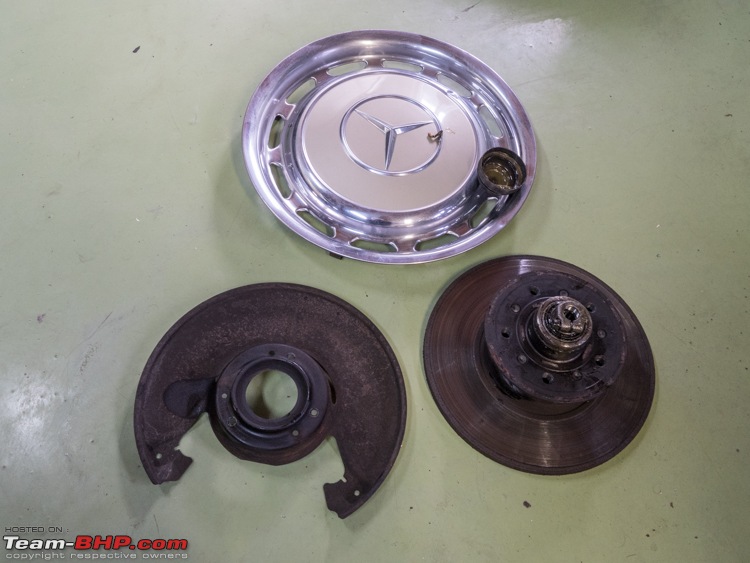
Undo the hex socket screw of the clamping nut. Unscrew the clamping nut. Next the whole disc / bearing assembly comes off!

Next the dust brake covering plate needs to come off, thee hex socket screws
Lastly the steering linkage needs to removed. Two large M19 bolts, almost impossible to loosen up!


Parts everywhere!
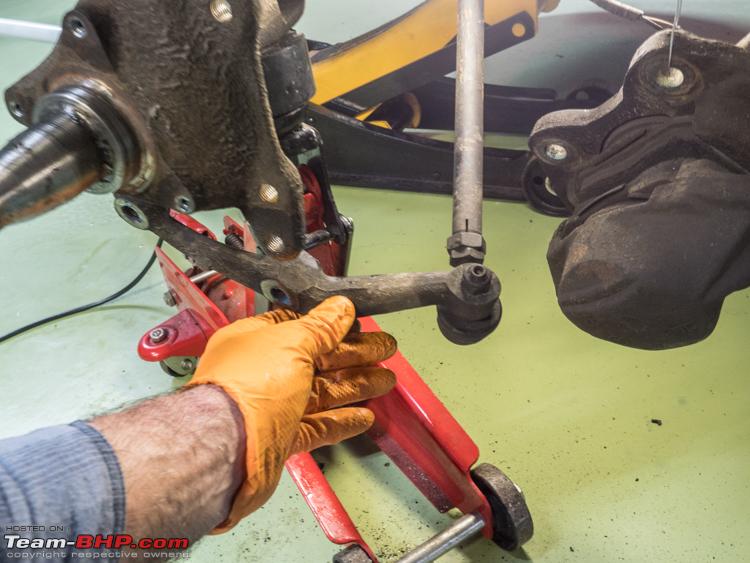
Now comes the fun part. Popping the knuckles. Top one went pretty smoothly, I always loosen up the nut, about one turn. Then try and crack it open with one of these ball joint removers.

As I tightened it up, it popped off with a very satisfying tak.
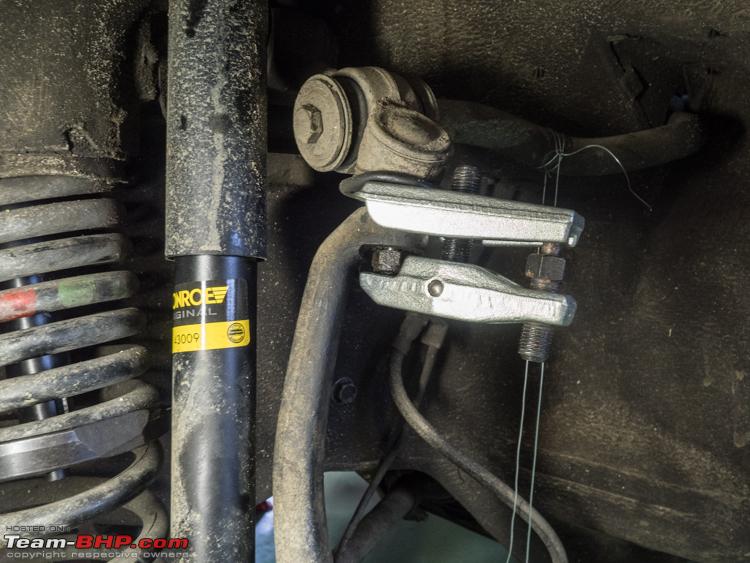
Next the bottom one. Not so easy.

I could not get my tool in properly. Tried a pickle fork. Then I decided to remove the rubber boot to get better access.

That did the trick!! You need to take this whole strut out.
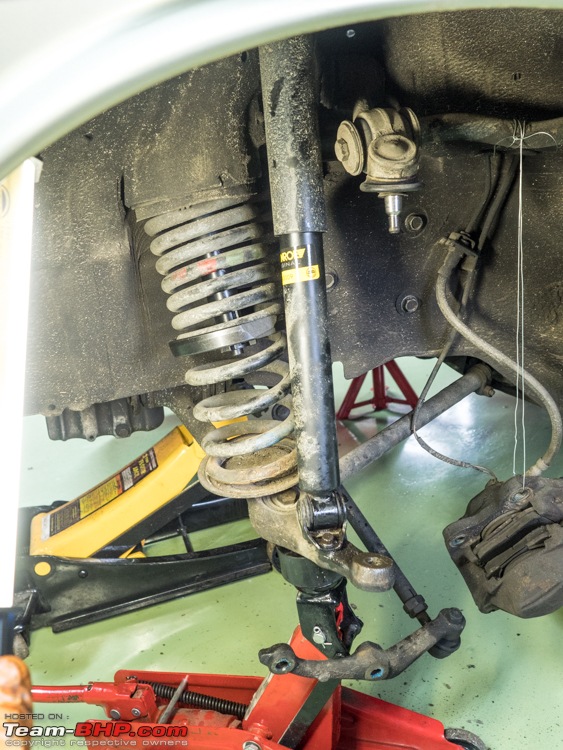
Clearly visible, the offending part. It was very loose, but with very little play. But then again, there is supposed to be no play at all on these ball joint. Once you have a little play, usually within a few thousands of kilometers it will become a lot worse. More than 1mm play is also a MOT failure!
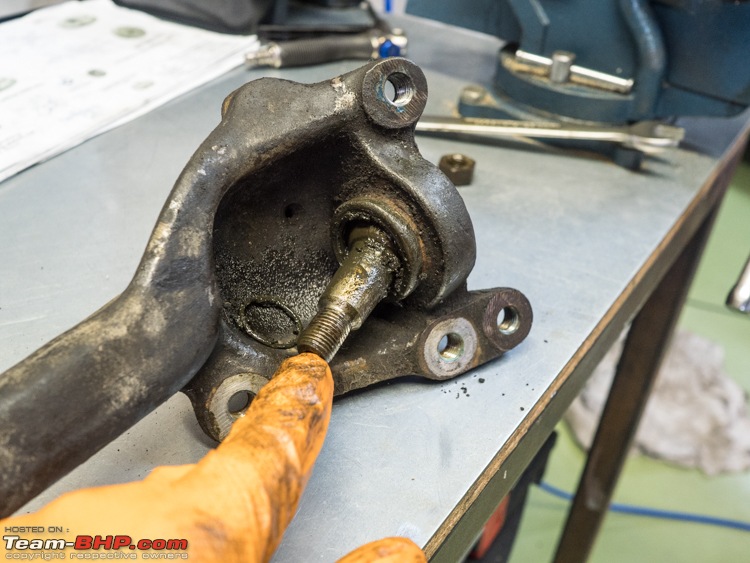
The big challenge with these W123 struts / knuckles is there are pressed together. And the strut is a very odd shape, very little room on the inside. And you cant clamp the strut down at all. Wont fit properly in a vice in any shape.
I modified some of the bushings of my new ball joint remover/installation tools. But it was to no avail. Could not get it to butch at all.


Which meant I had to resort to the last trick in my little book: Take a shovel and dig a hole in the garden!!!!


Next put the whole strut upside down in the hole, fill with earth and sand and stamp it down properly. This makes for a very sturdy hold on the strut!
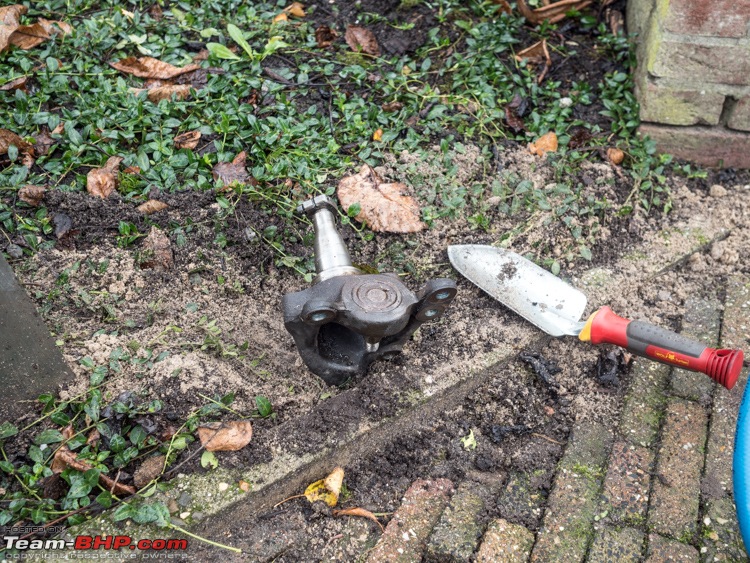
Next, get your sledgehammer and a large socket out and start pounding away!!

It took 4 or 5 whacks and then the knuckle came free of the strut. Very satisfying. I have had cases where I was pounding (and swearing) away for 10-15 minutes. But in the end it will pop out!!
Next a very careful cleaning of all the sand and dirt. I keep the nut on the thread of the axle, just as protection. Used my pneumatic tools to brush the surfaces really clean.

Getting the new knuckle pressed into the strut was a bit of a challenge as well. Again, lots of patience, muscle, swearing and various tool bits will see you through!

Time to take stock and get ready for re-assmebly

Strut went back on without any problems
All the bolts get brushed/cleaned and I put anti seize paste on too.

Always check upon the correct torque values for all these bolts. Really important to tighten them correctly!!

More bits going back on


 9th November 2020, 20:31


 (6)
Thanks
(6)
Thanks