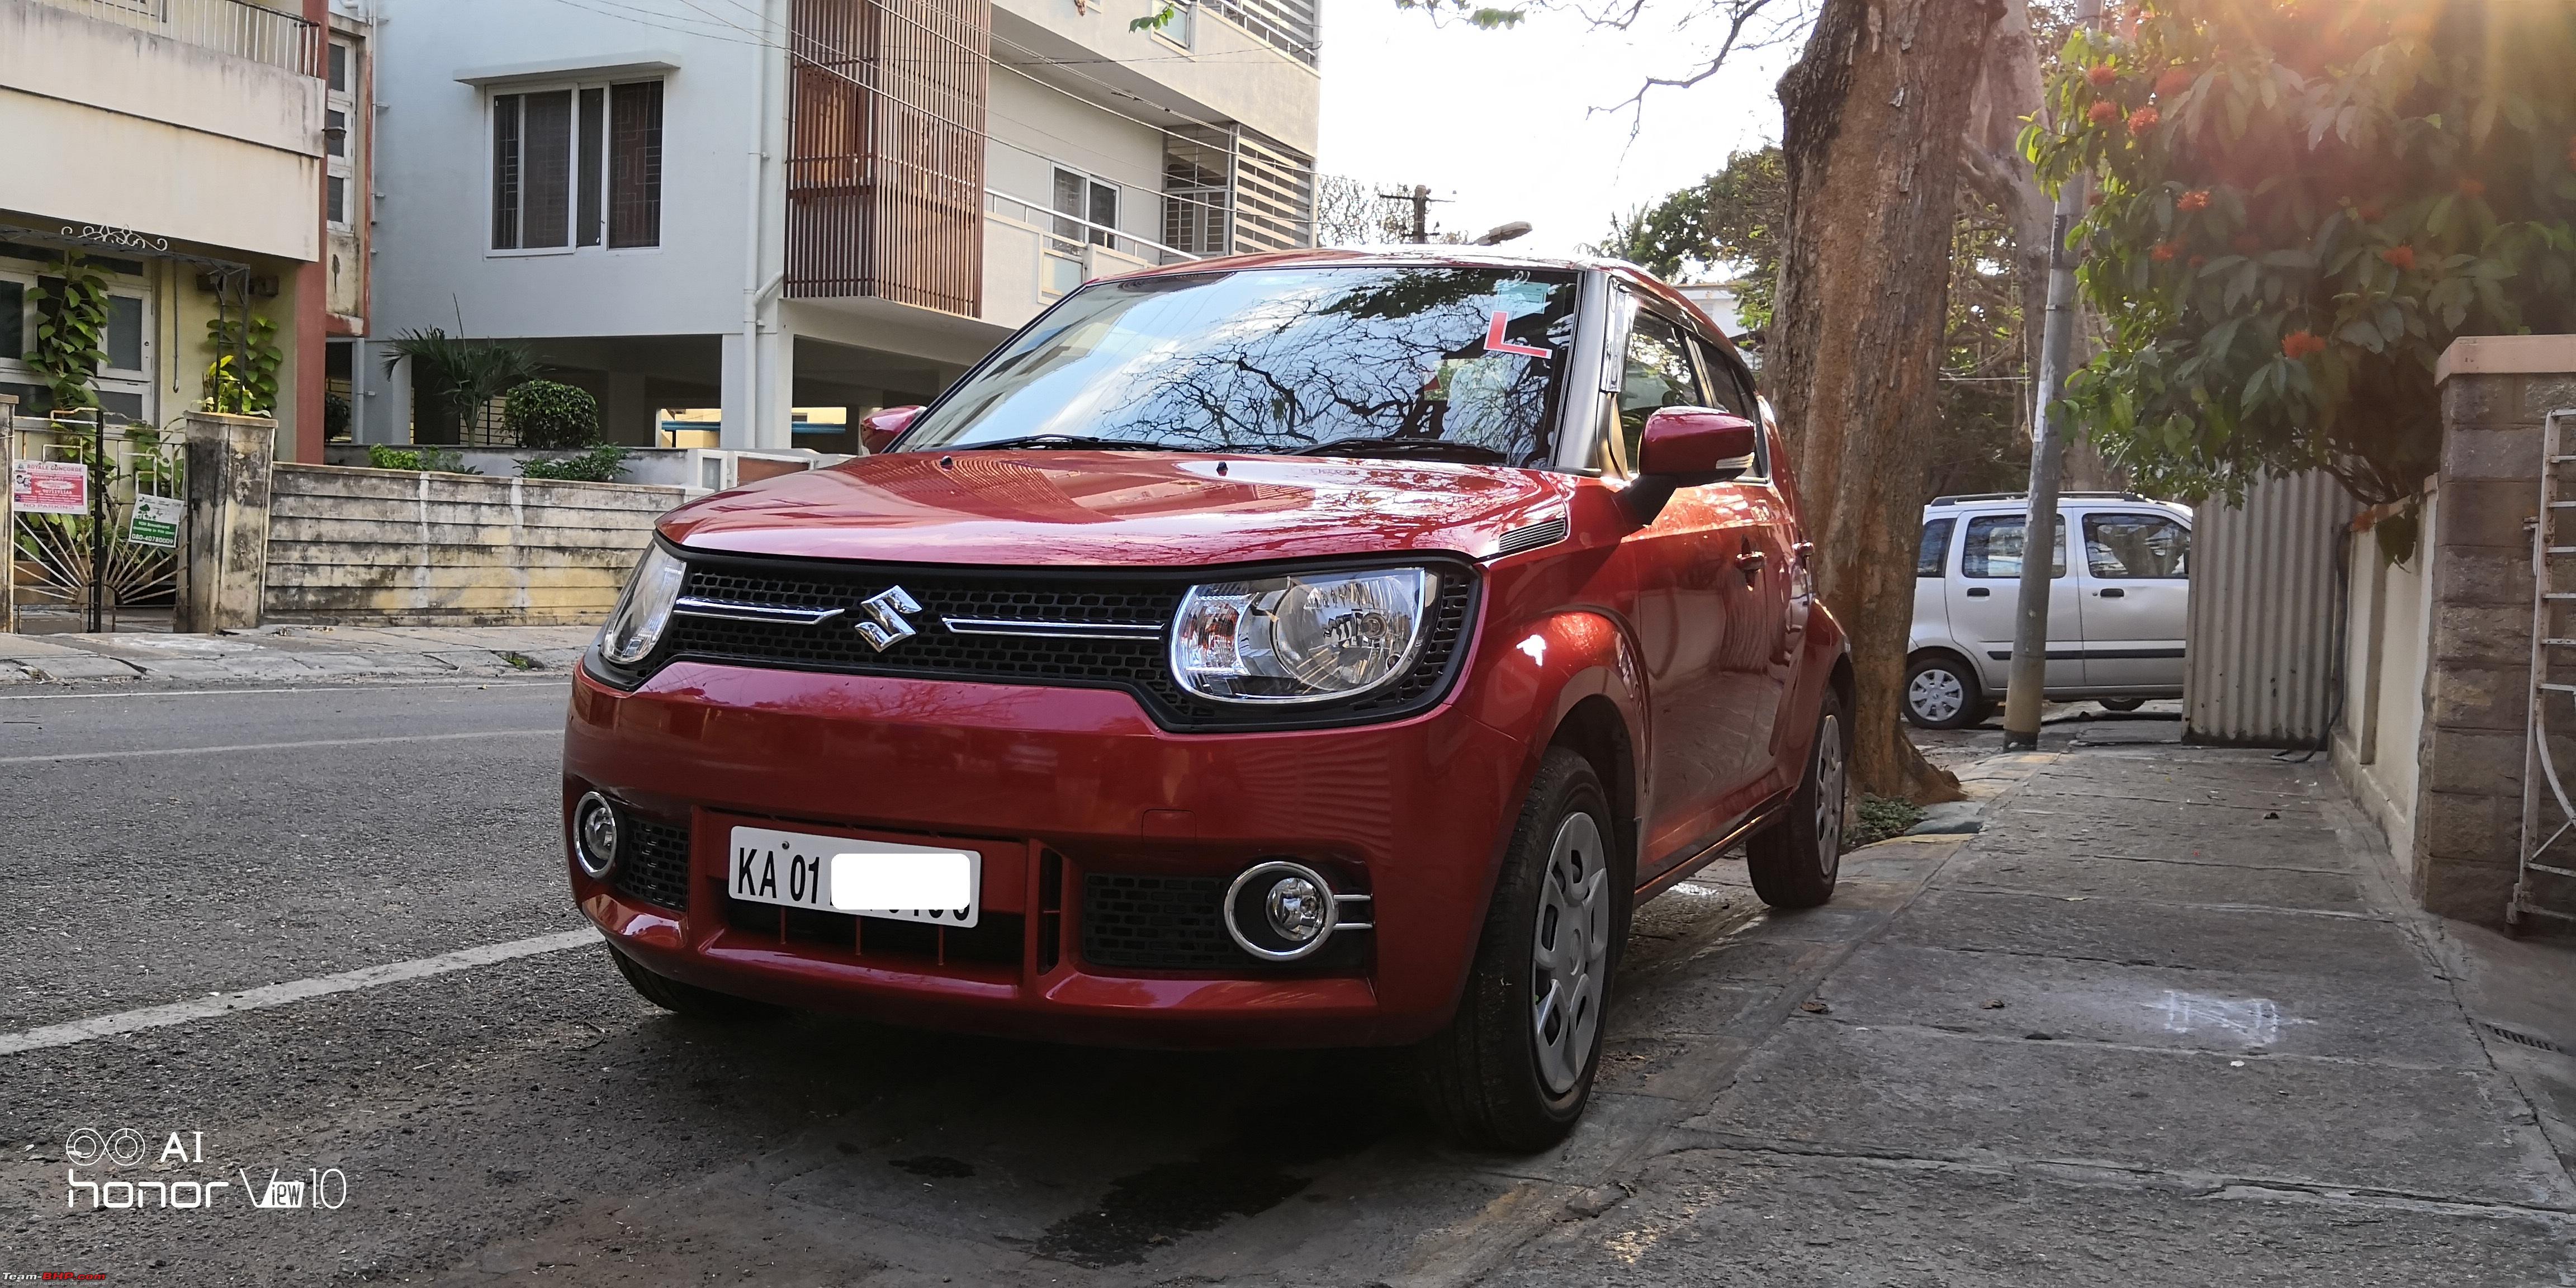
My Ignis Delta AMT has recently completed 10,000 kms and I am extremely happy with its performance as a city runabout car (read Beater Car in Team-BHP lingo).
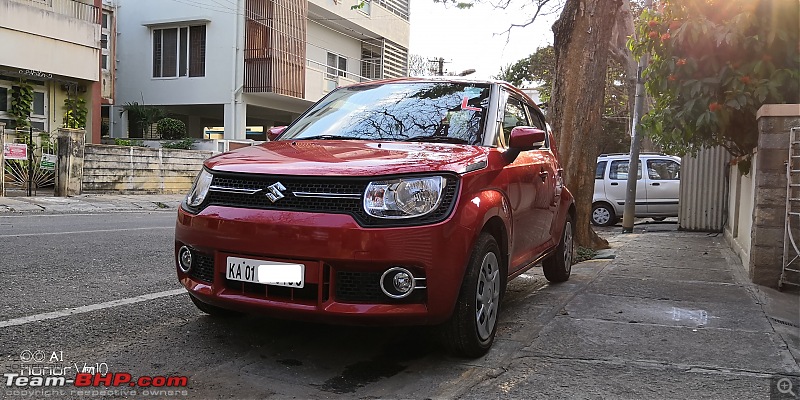 The Ignis
You can read more about my overall Ignis ownership experience right here on Team-BHP:
URL (Uptown Red Racer - The Maruti Ignis Delta 1.2L Automatic comes home)
It had been quite some time since I made any accessory upgrade on the Ignis and hence decided to upgrade the headlights to LED headlights. I would say this has become one of the most popular trends today with most automobile enthusiasts swapping the stock headlights with LED headlights with varying results.
The main issue in going in for LEDs has been that LEDs and Reflector Housings are not really made for each other. However, many of the Bulb manufacturers seems to have realized this and there are LEDs bulbs available today in the market that are able to provide the beam cut-offs in the same way as stock Halogens do with the benefit of better throw and intensity. The problem though is that there is no way to easily figure this aspect out based on the claims and specifications that are meted out by the manufacturers but usually an aftermath realization after having fit the bulb in the cars headlight housing.
I do have some prior experience in doing headlight upgrades and I did the headlight upgrade for my other car, the Honda City on my own. I have documented these experiences as part of my ownership thread here:
1. Low Beam Upgrade
-
2. High Beam Upgrade
-
The Bulb type for the Ignis is different from the Honda City. The Honda City uses single filament bulbs and hence the Low Beam and High Beam each requires a separate pair of bulbs. In case of the Ignis, this is simpler as it uses the
H4 type of bulbs. The H4 Bulbs are
dual filament bulbs which means the same bulb supports both the Low Beam as well as the High Beam. The exact specification details from the Manual is shown in the screenshot below:
 Ignis Delta Variant - Headlight Specification [Manual] Choosing the Bulbs
Now that the decision was made to replace the Bulbs, the next step was to choose the bulbs. Having gone thru various threads on team-bhp and based on my own experience with the Honda City, I knew this was going to be a tough task.
The first bulb on my short list was the one from Oedro [
URL] as I was very happy with the experience of H11 and 9005 HB3 bulbs from this brand on my Honda City. After having completed the LED Upgrade for my Honda City, I had come across this website called
www.bulbfacts.com which has an independent review of most of the bulbs sold on Amazon.com USA. This seemed like a very valuable resource to be but there was no guarantee that the claims made by this site would indeed add up in terms of the ground level reality.
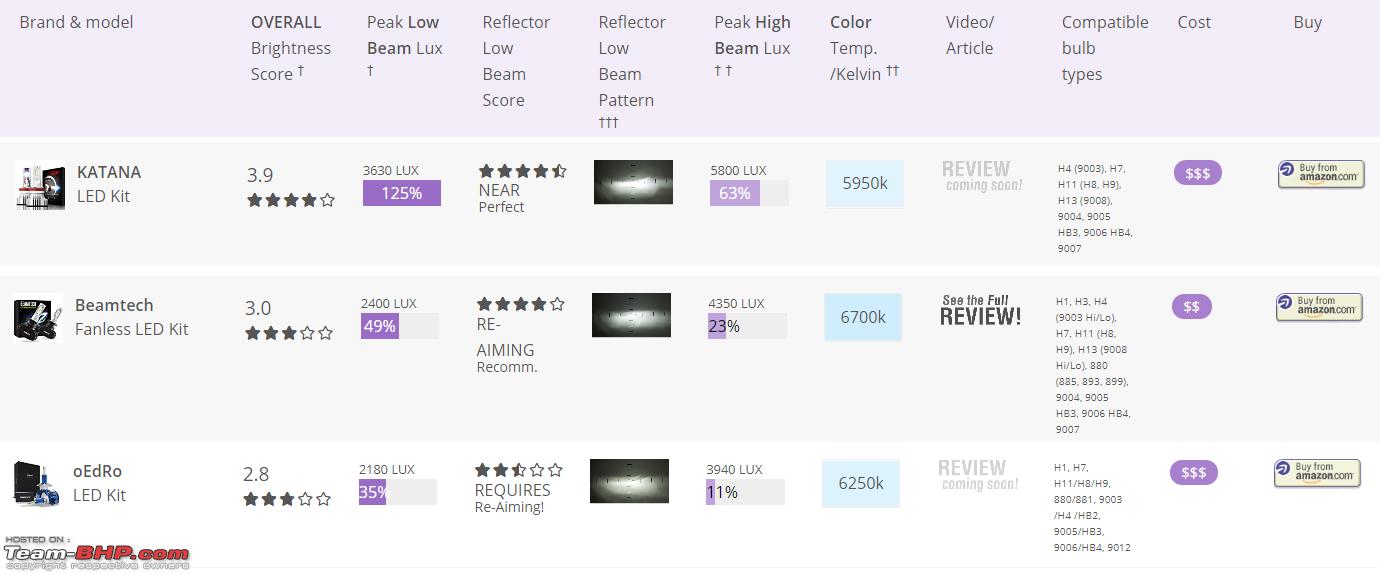
I went thru the ratings on this site and shortlisted two more bulbs based on the ratings provided on the site and my budget was a maximum of Rs.4000/-. The website does list higher rated bulbs which cost upwards of this budget.
 Comparison Chart [Ratings Source: www.bulbfacts.com] The Shortlisted Bulbs
As I weighed my options, I leaned more towards going for either the Katana Bulbs or the
BeamTech after reading more reviews on Amazon.com USA. As per the reviews the Katana Bulb [
URL] is better than the BeamTechs but some of the people felt it is way too bright and may not be suitable for day to day city use. Given that the Ignis is primarily a city runabout, I felt it was better to go with something which is more practical for city driving conditions.
Finally the decision was made towards
BeamTech. These bulbs come with a fanless design as well as a driverless design. All my earlier LED upgrades have been based on the LEDs having a fan. I felt if I was going outside of the Oedro bulbs which are super silent it maybe a risk going for a fan based design given the chance of fan noise getting into the cabin.
The BeamTech Bulbs have the following specification: URL
H4 led headlight bulb, Newest Korean CSP LED chips (Double-sided)
Super bright with output 4000lm per light, 6500K xenon white color
Super long lifespan: > 30,000hrs
25W x 2, Waterproof driver and connectors level IP65, Fan less design
Purchasing the Bulbs
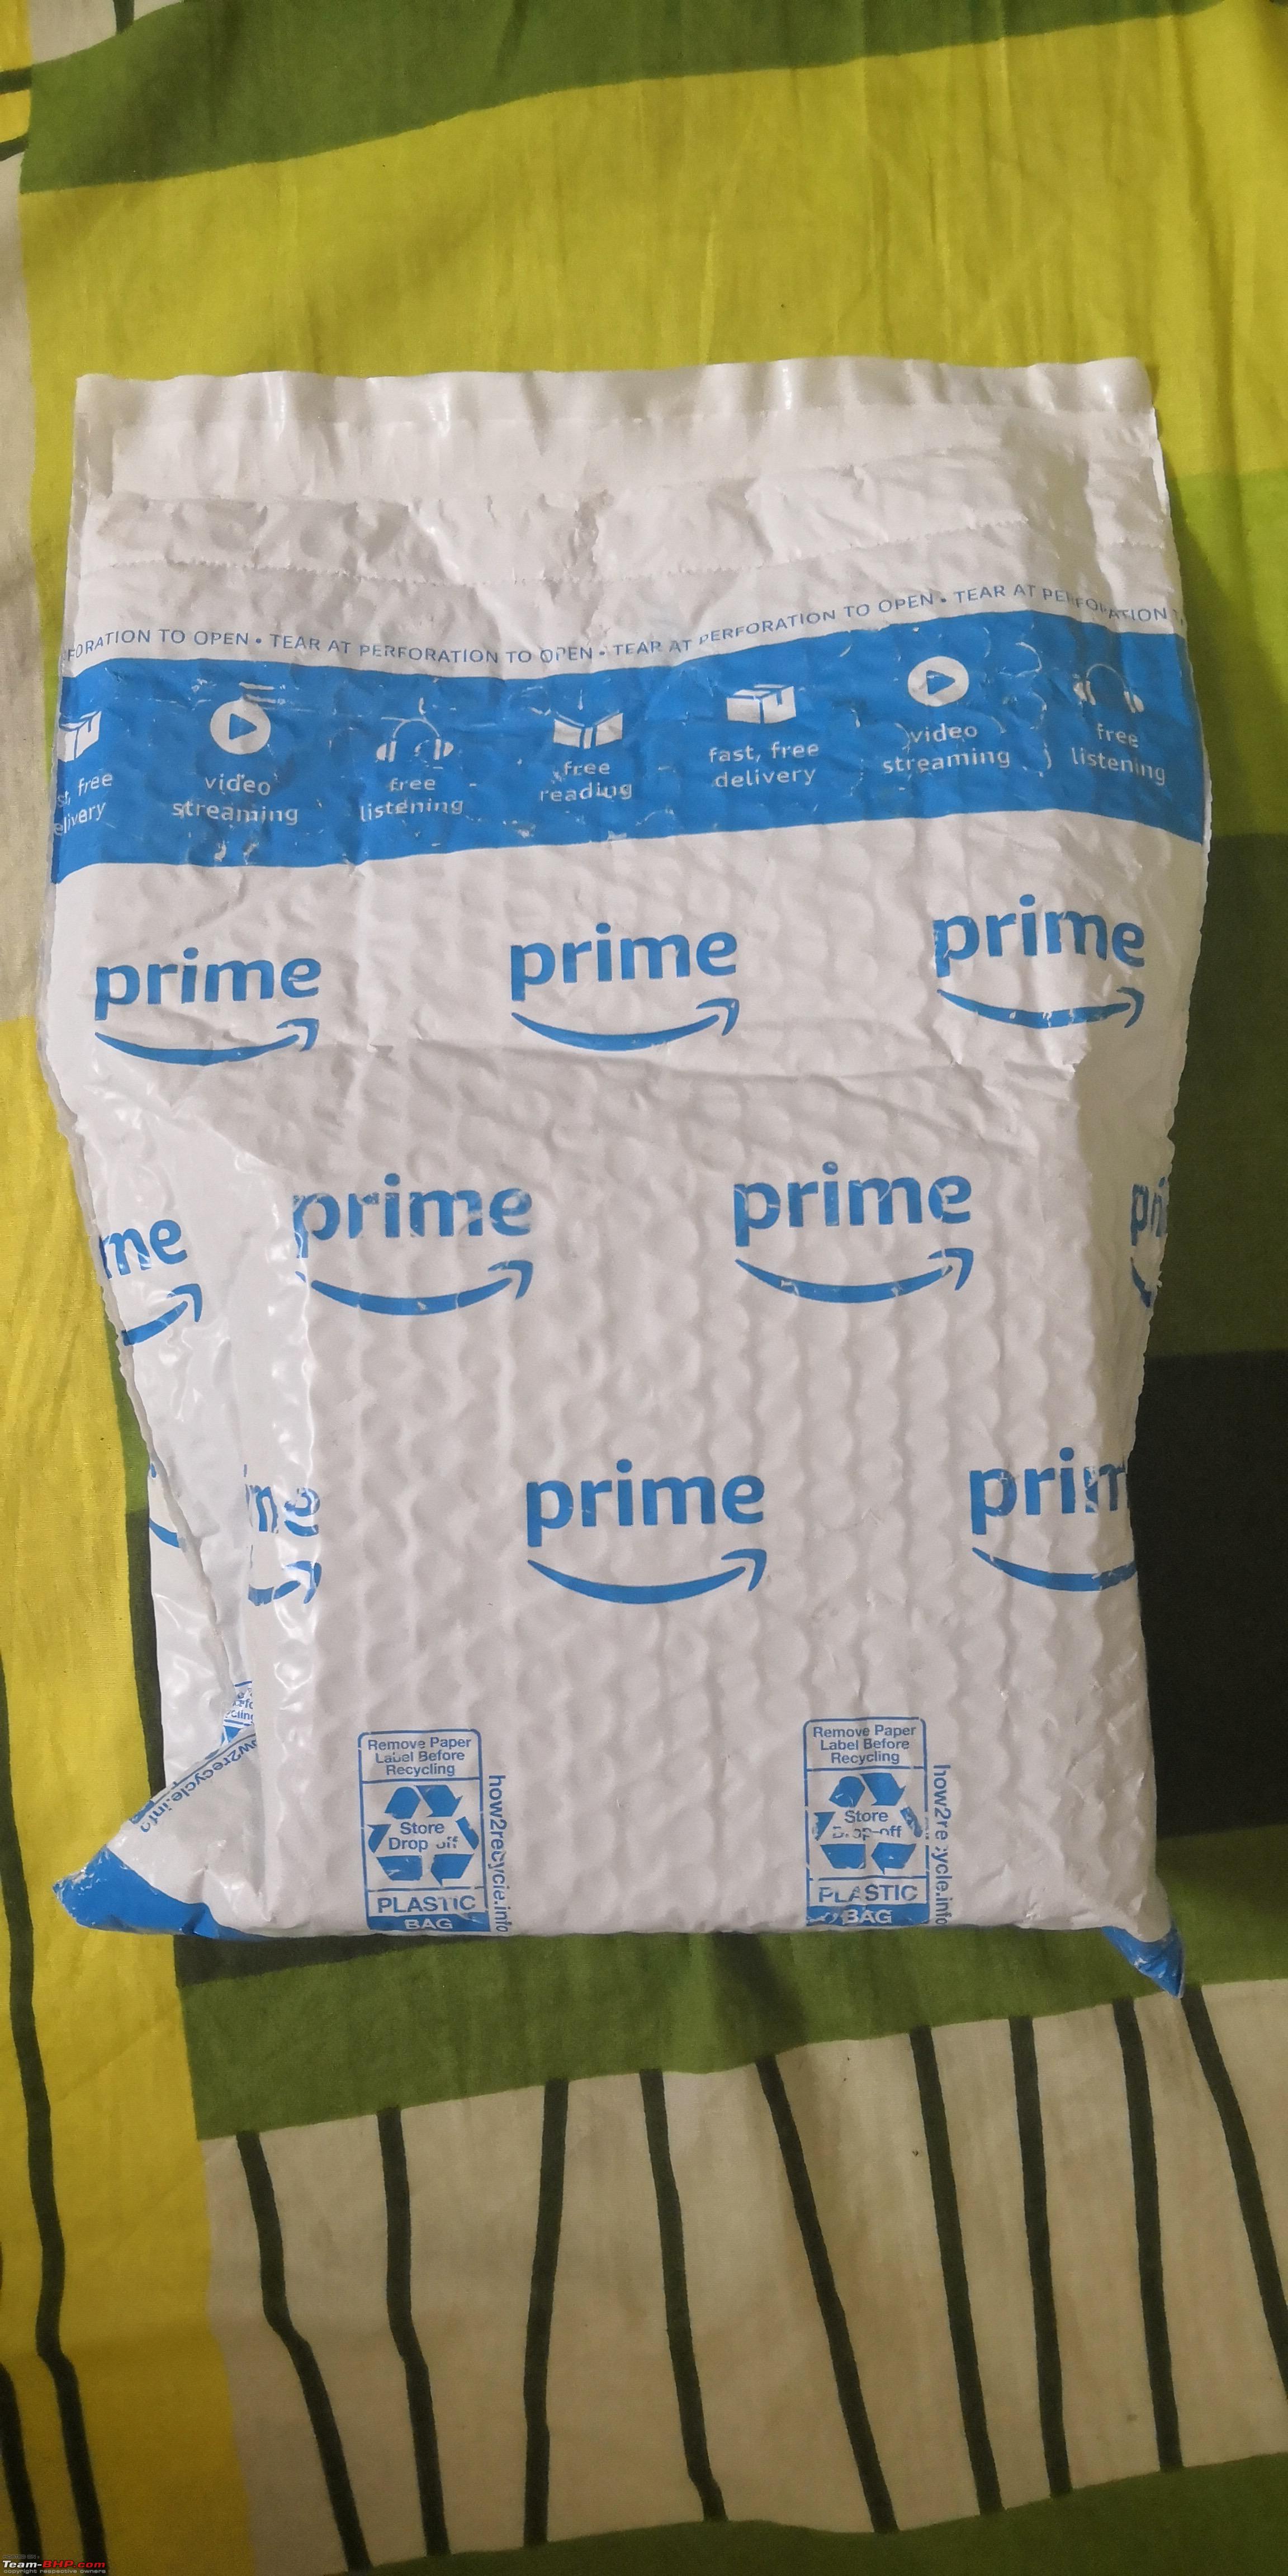
Luckily my colleague was travelling to the US in the first week of October to Hawaii for a short business trip. So I decided to source the bulbs thru him. I ordered the Bulbs via Amazon.com and shipped it to the Hotel where my colleague was staying and he brought the bulbs for me. The dent on the pocket was $38.99 and in addition a two-day shipping charge of $6.99 taking the total to $45.98 which is approximately Rs.3,400/- The bulbs arrived in mid-October and my colleague handed over the package to me.
Unboxing the BeamTech LED Headlight Bulbs 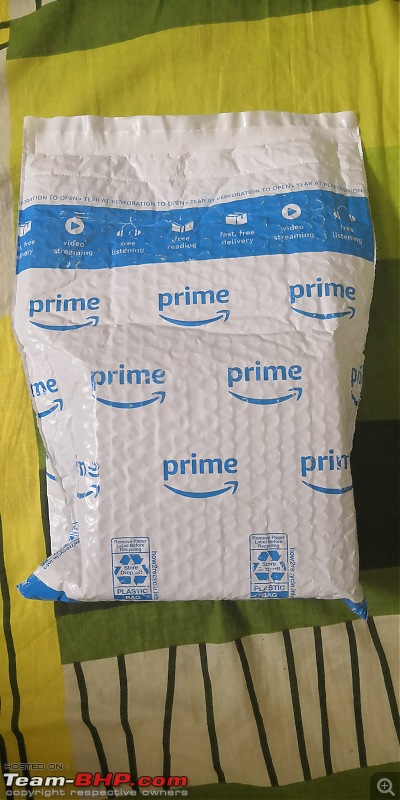 The Amazon USA Package
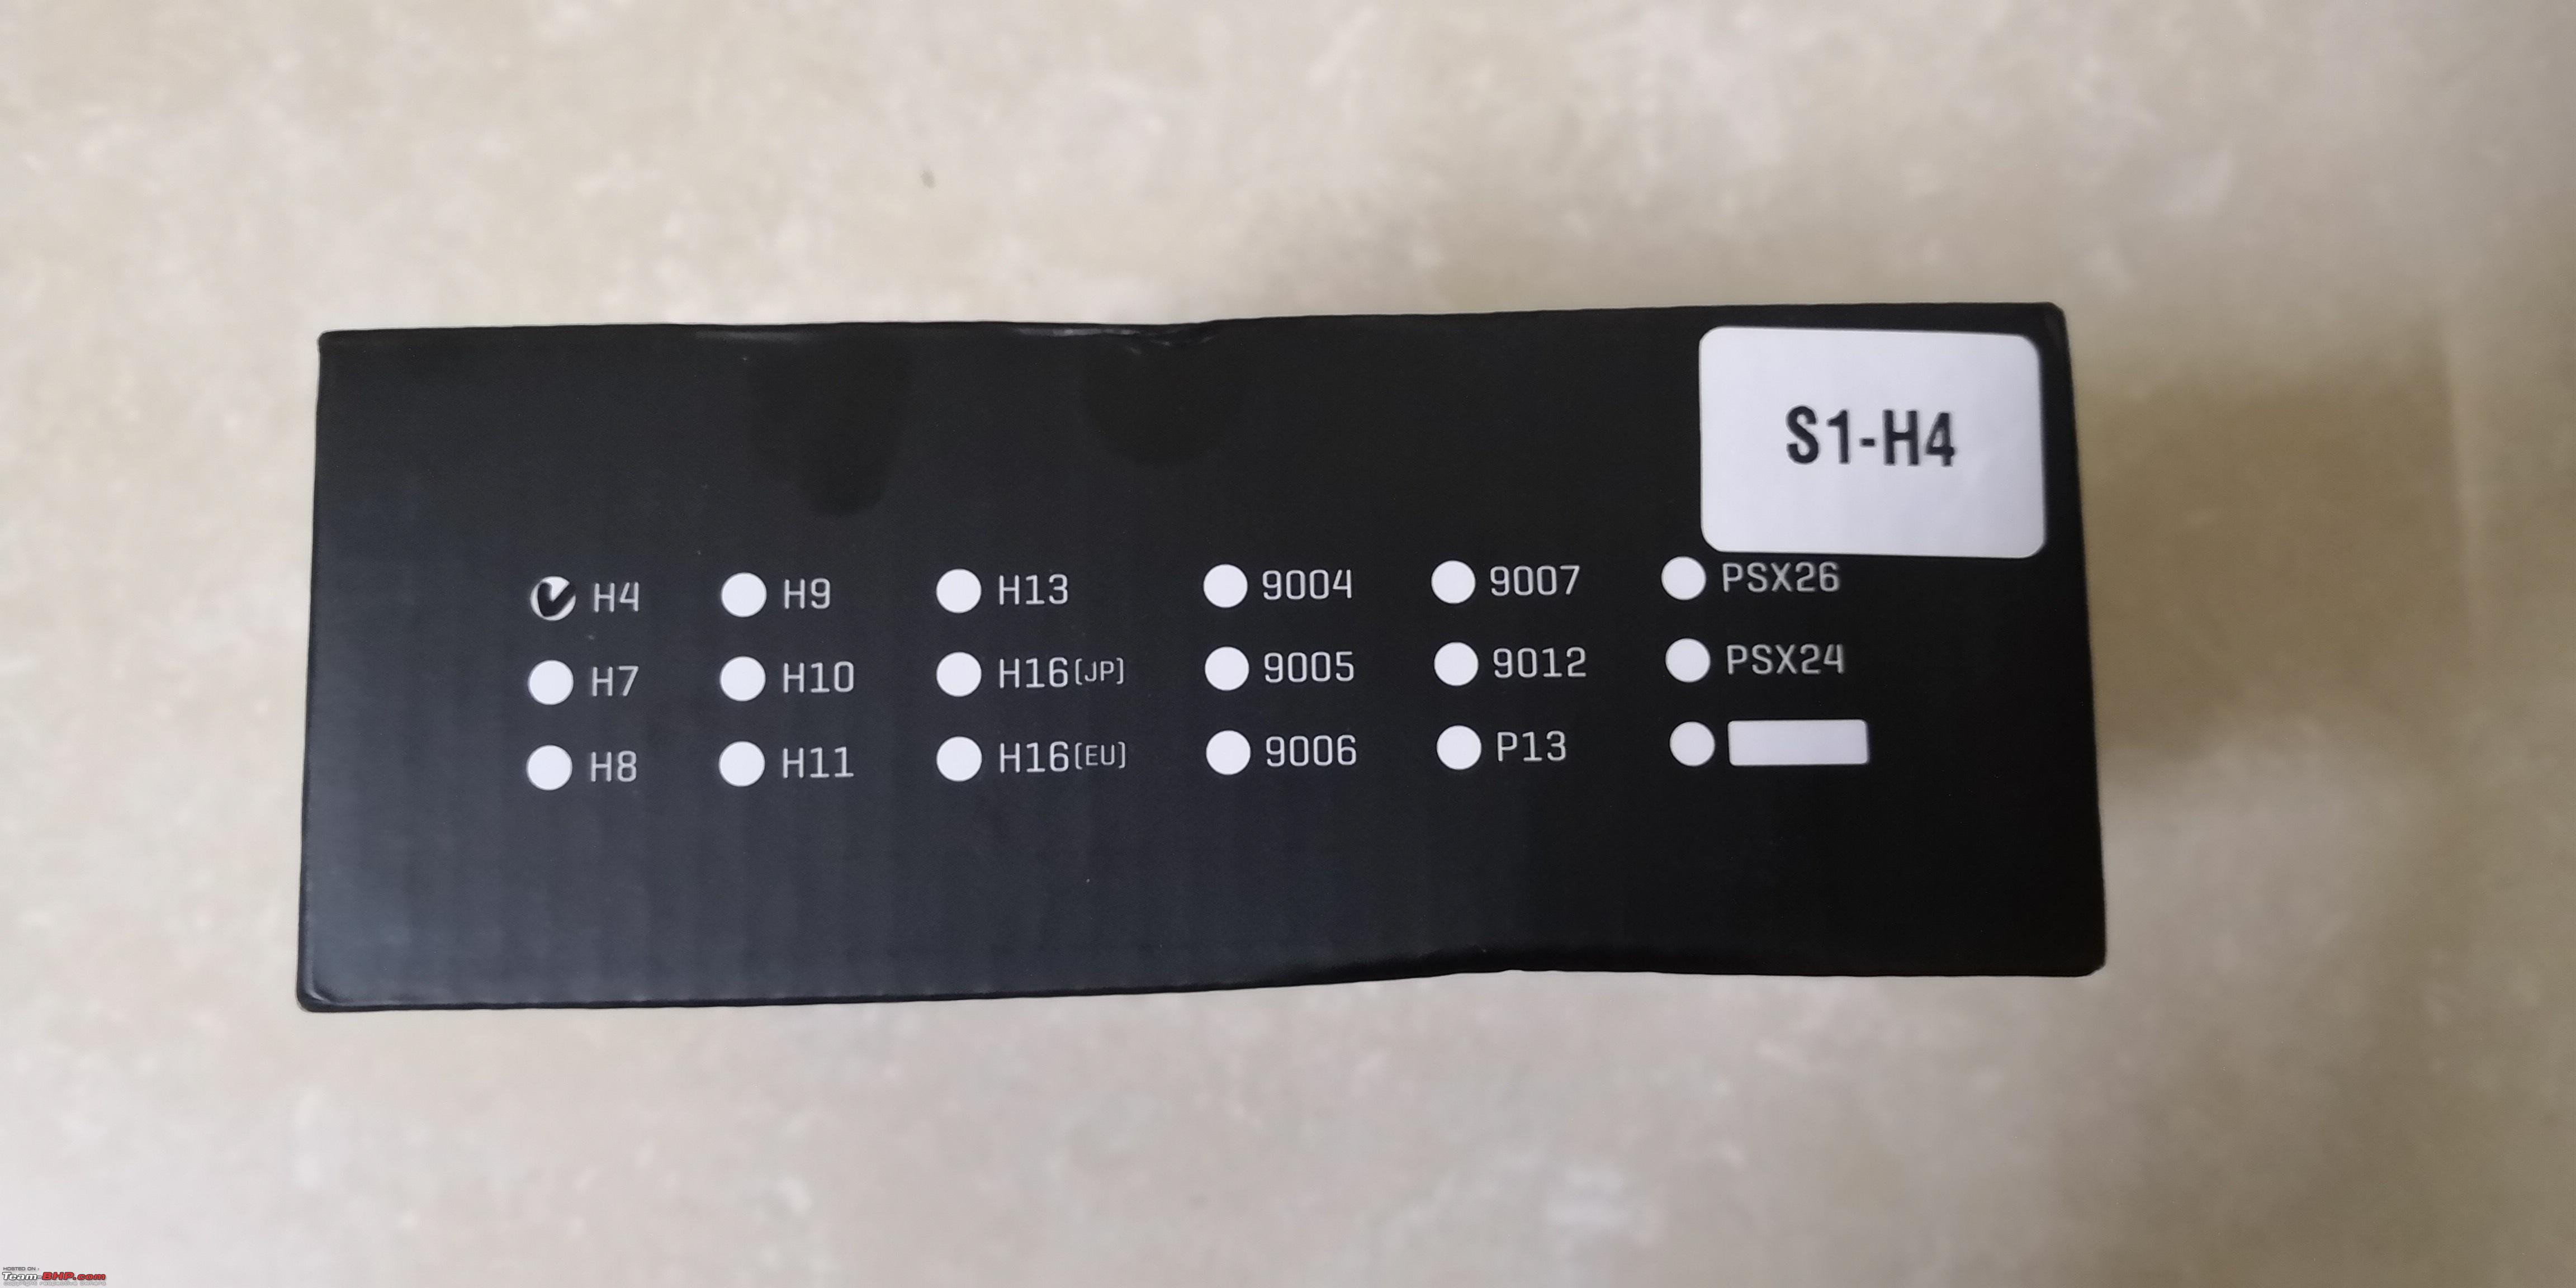
  The BeamTech LED Kit - Box Packing
  The BeamTech LED Kit - Unboxed
  Side View
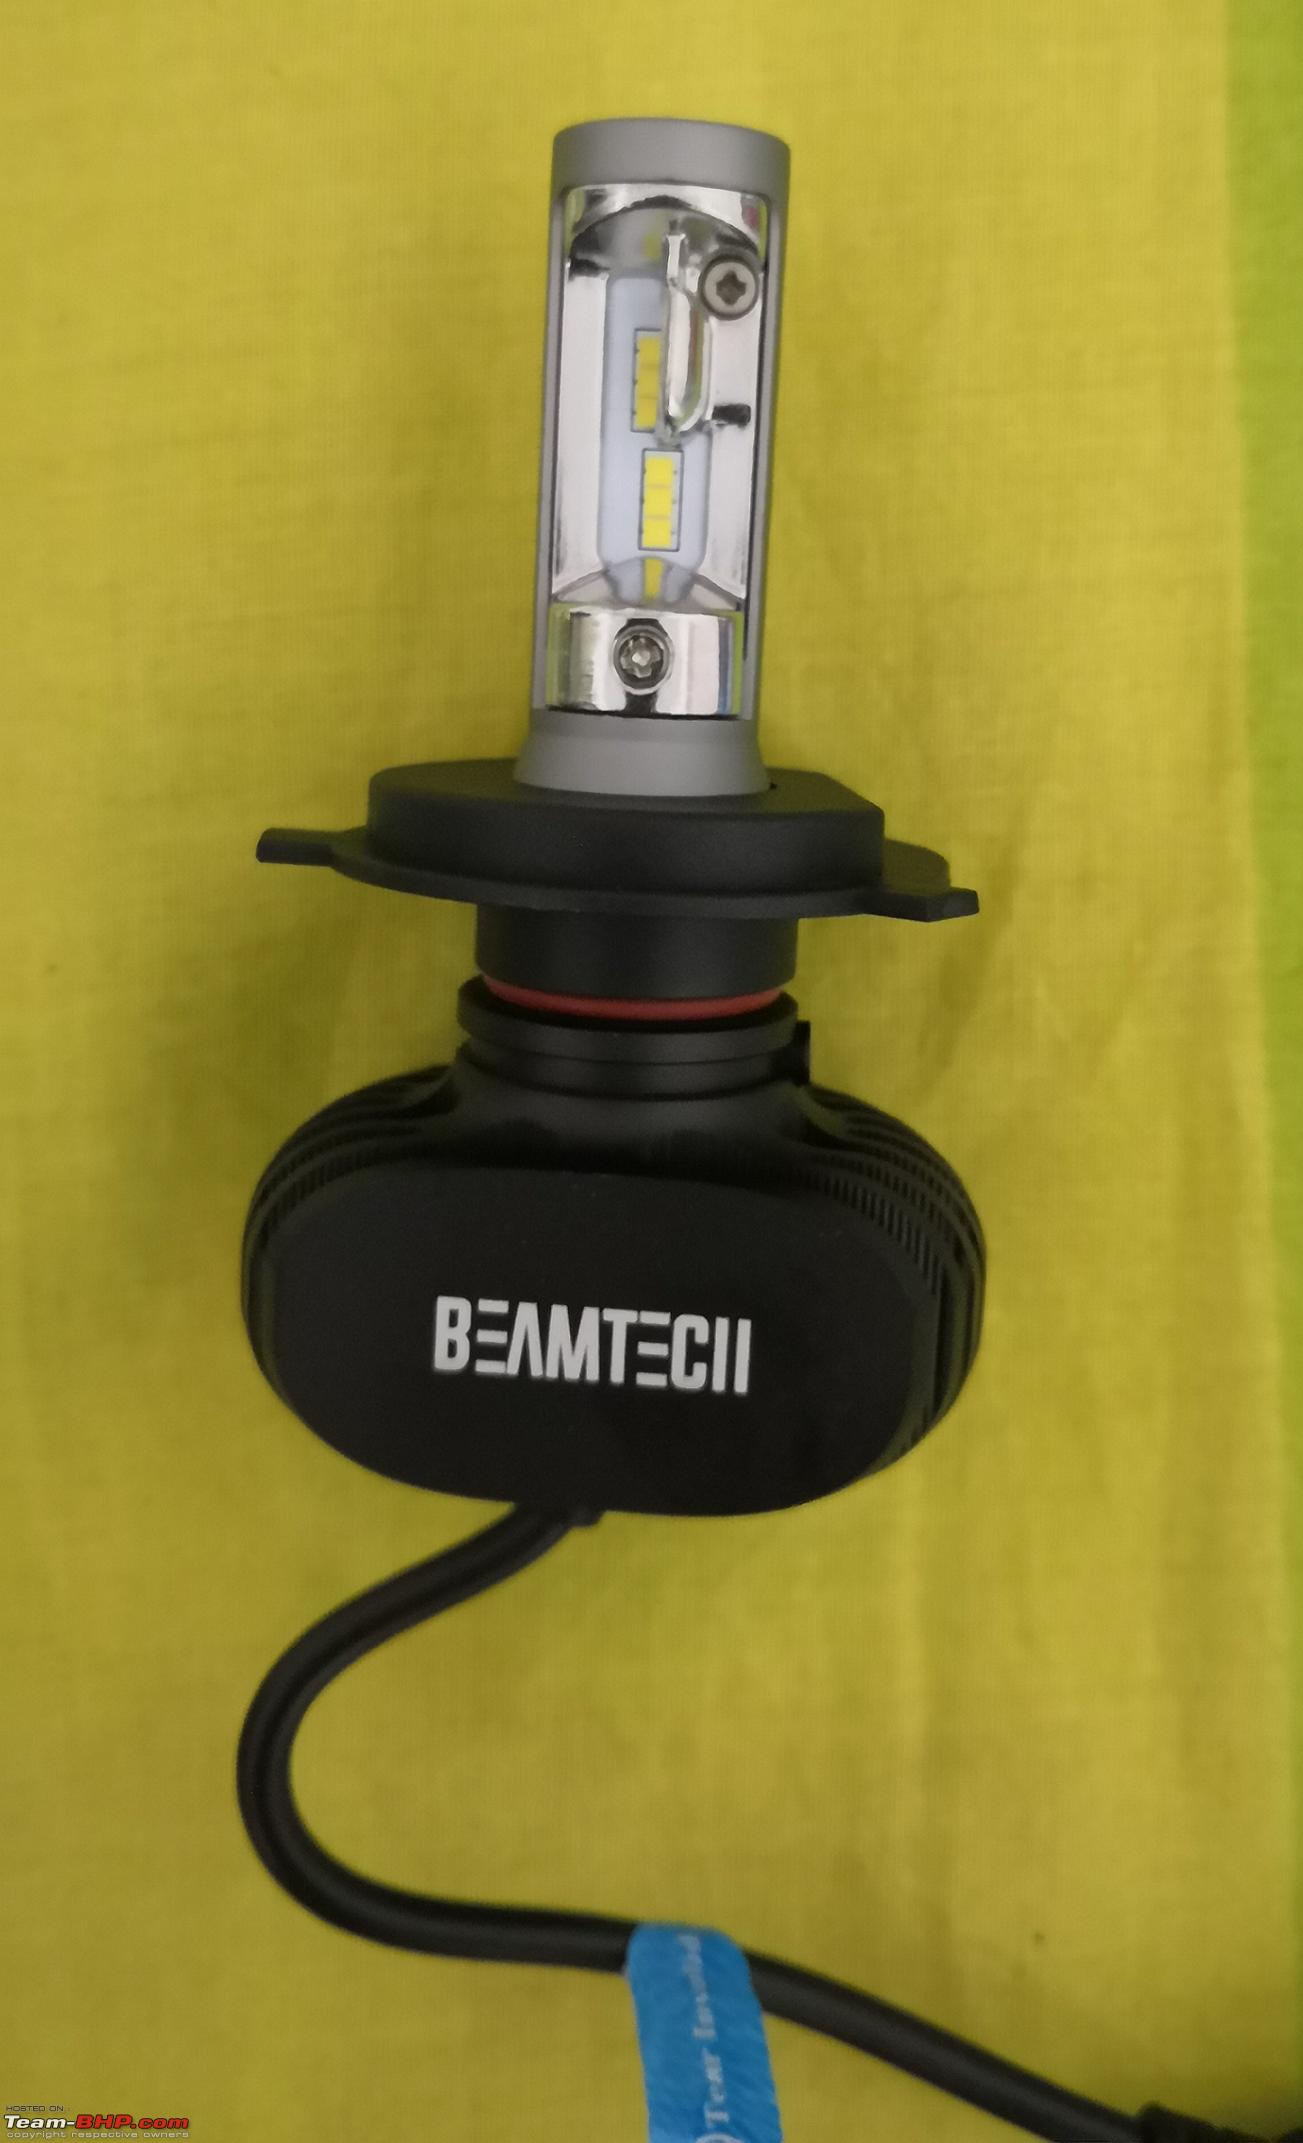
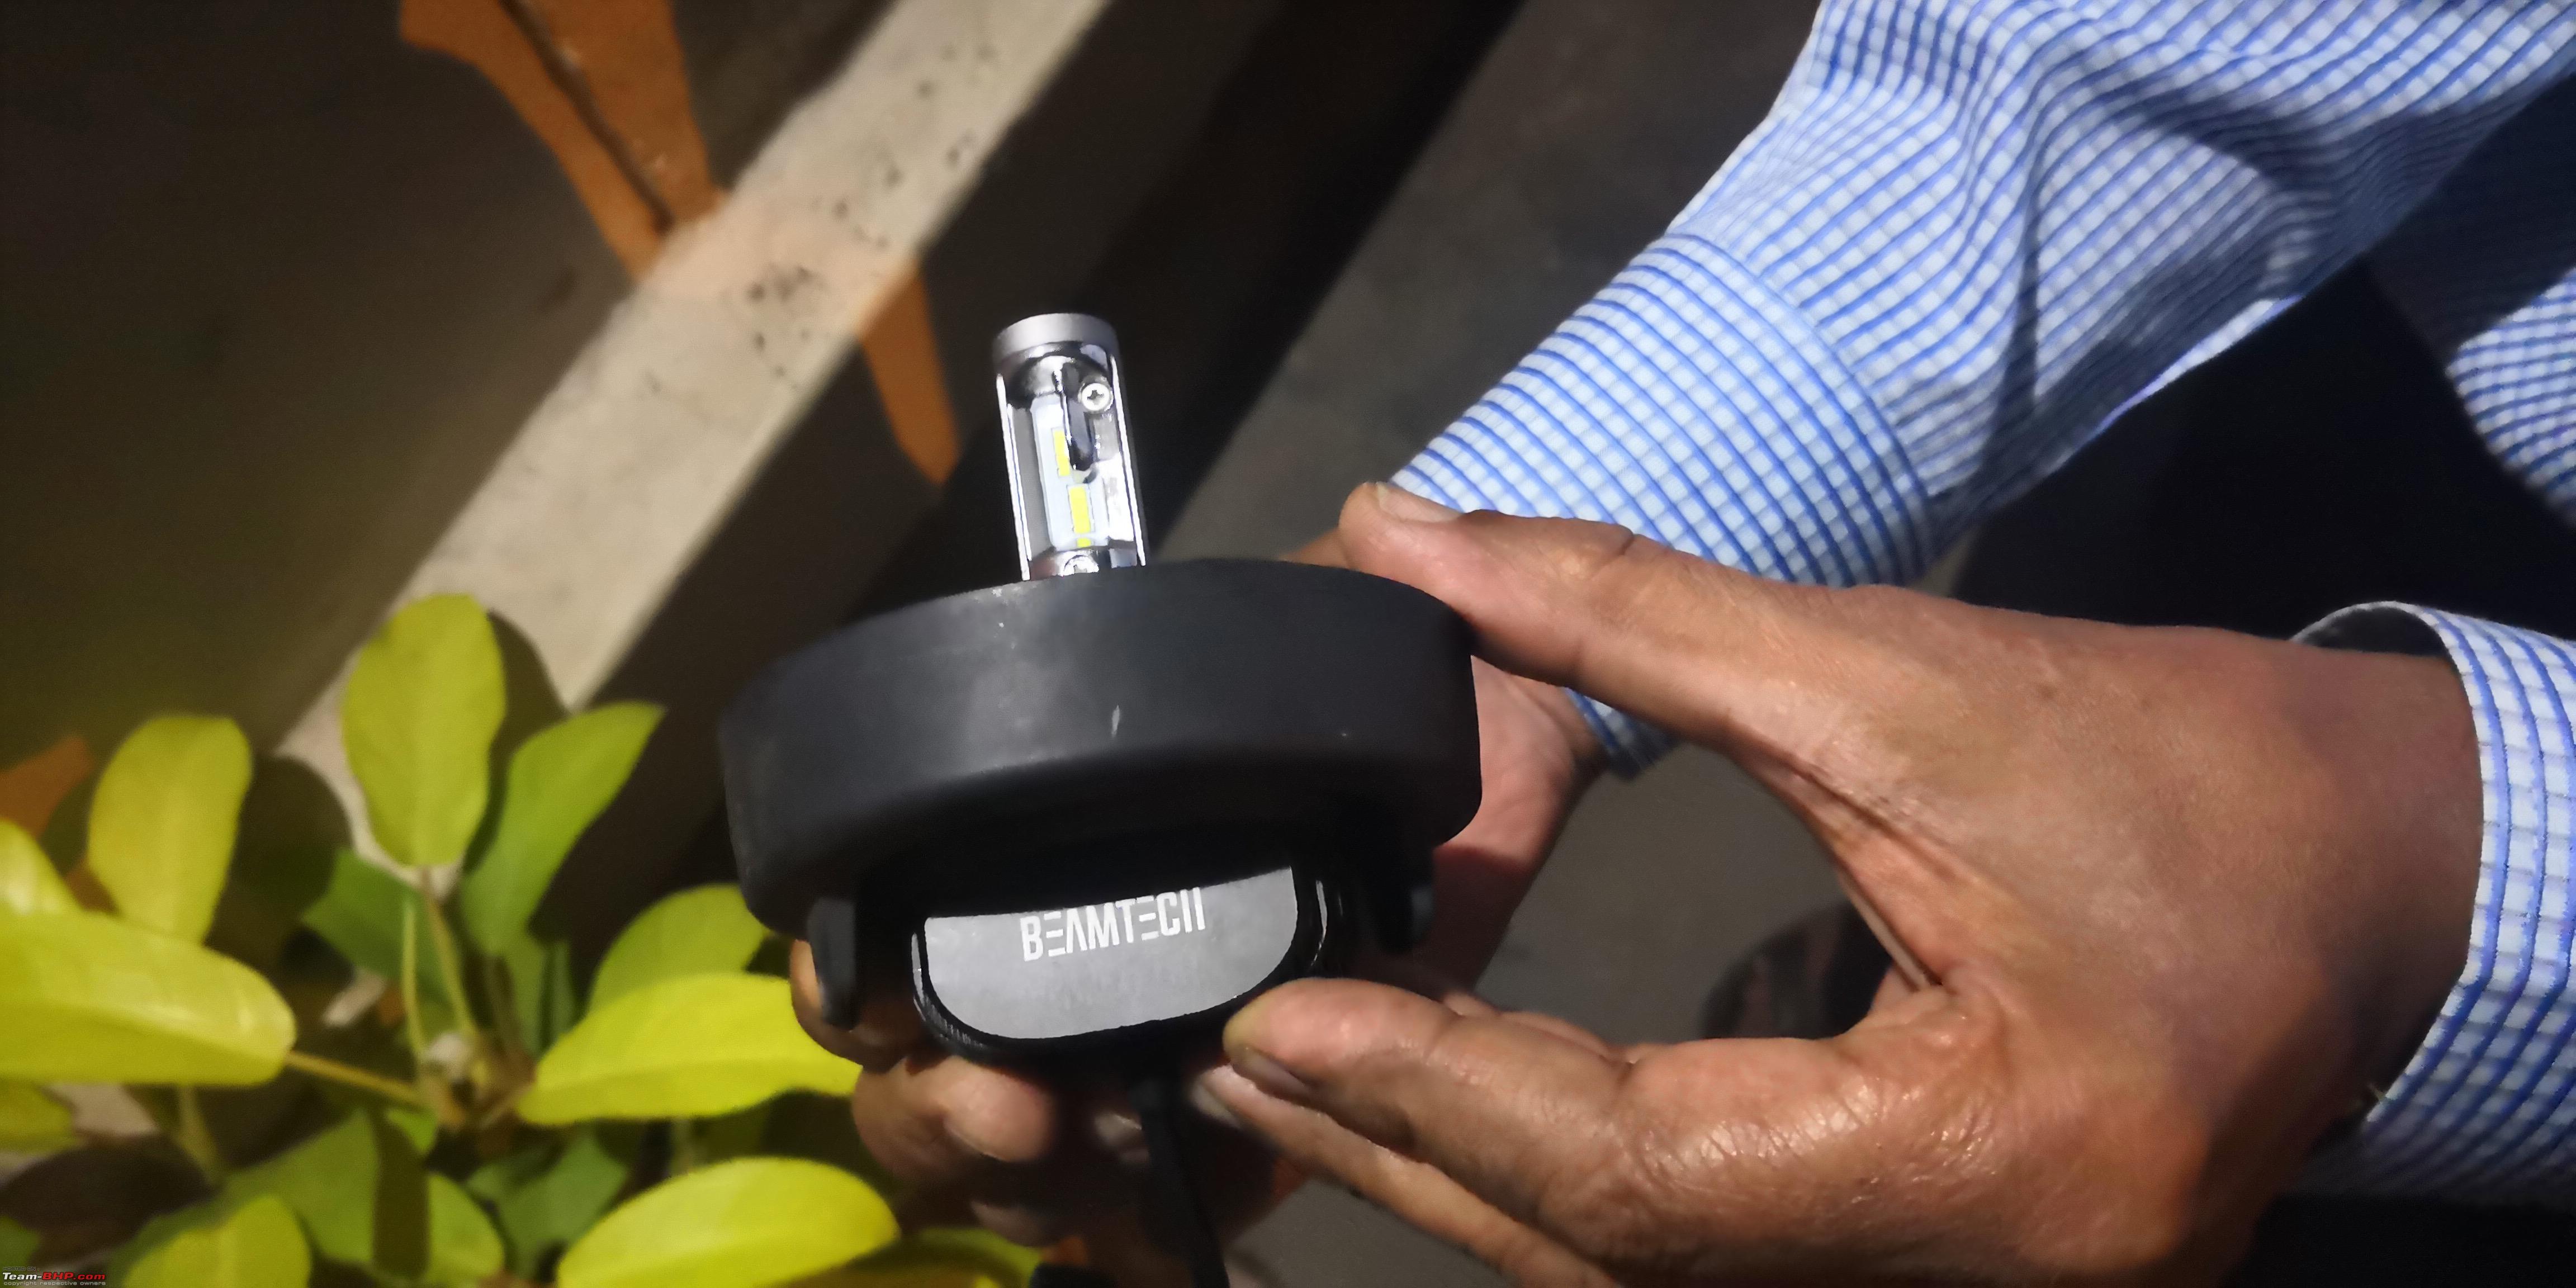
  Full View of the BeamTech H4 LED Bulb Installing the BeamTech LED Bulbs
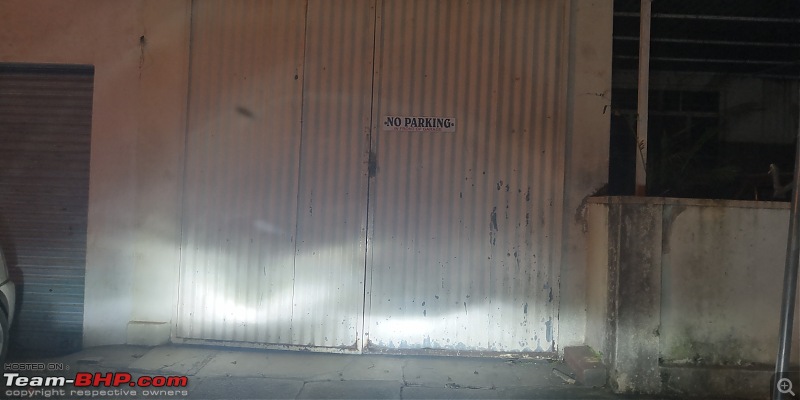
The first step before installing the newer LED bulbs, we went on a drive, found a road with darkness and took some pictures of the stock Halogen bulbs on the Ignis.
The next step is the installation of the Beamtech LEDs in the Ignis. The installation was done as a team work between my cousin, myself and my Dad joined in as well. The access to the bulbs is easier on the driver side as compared to the passenger side due to the presence of the battery on the passenger side.
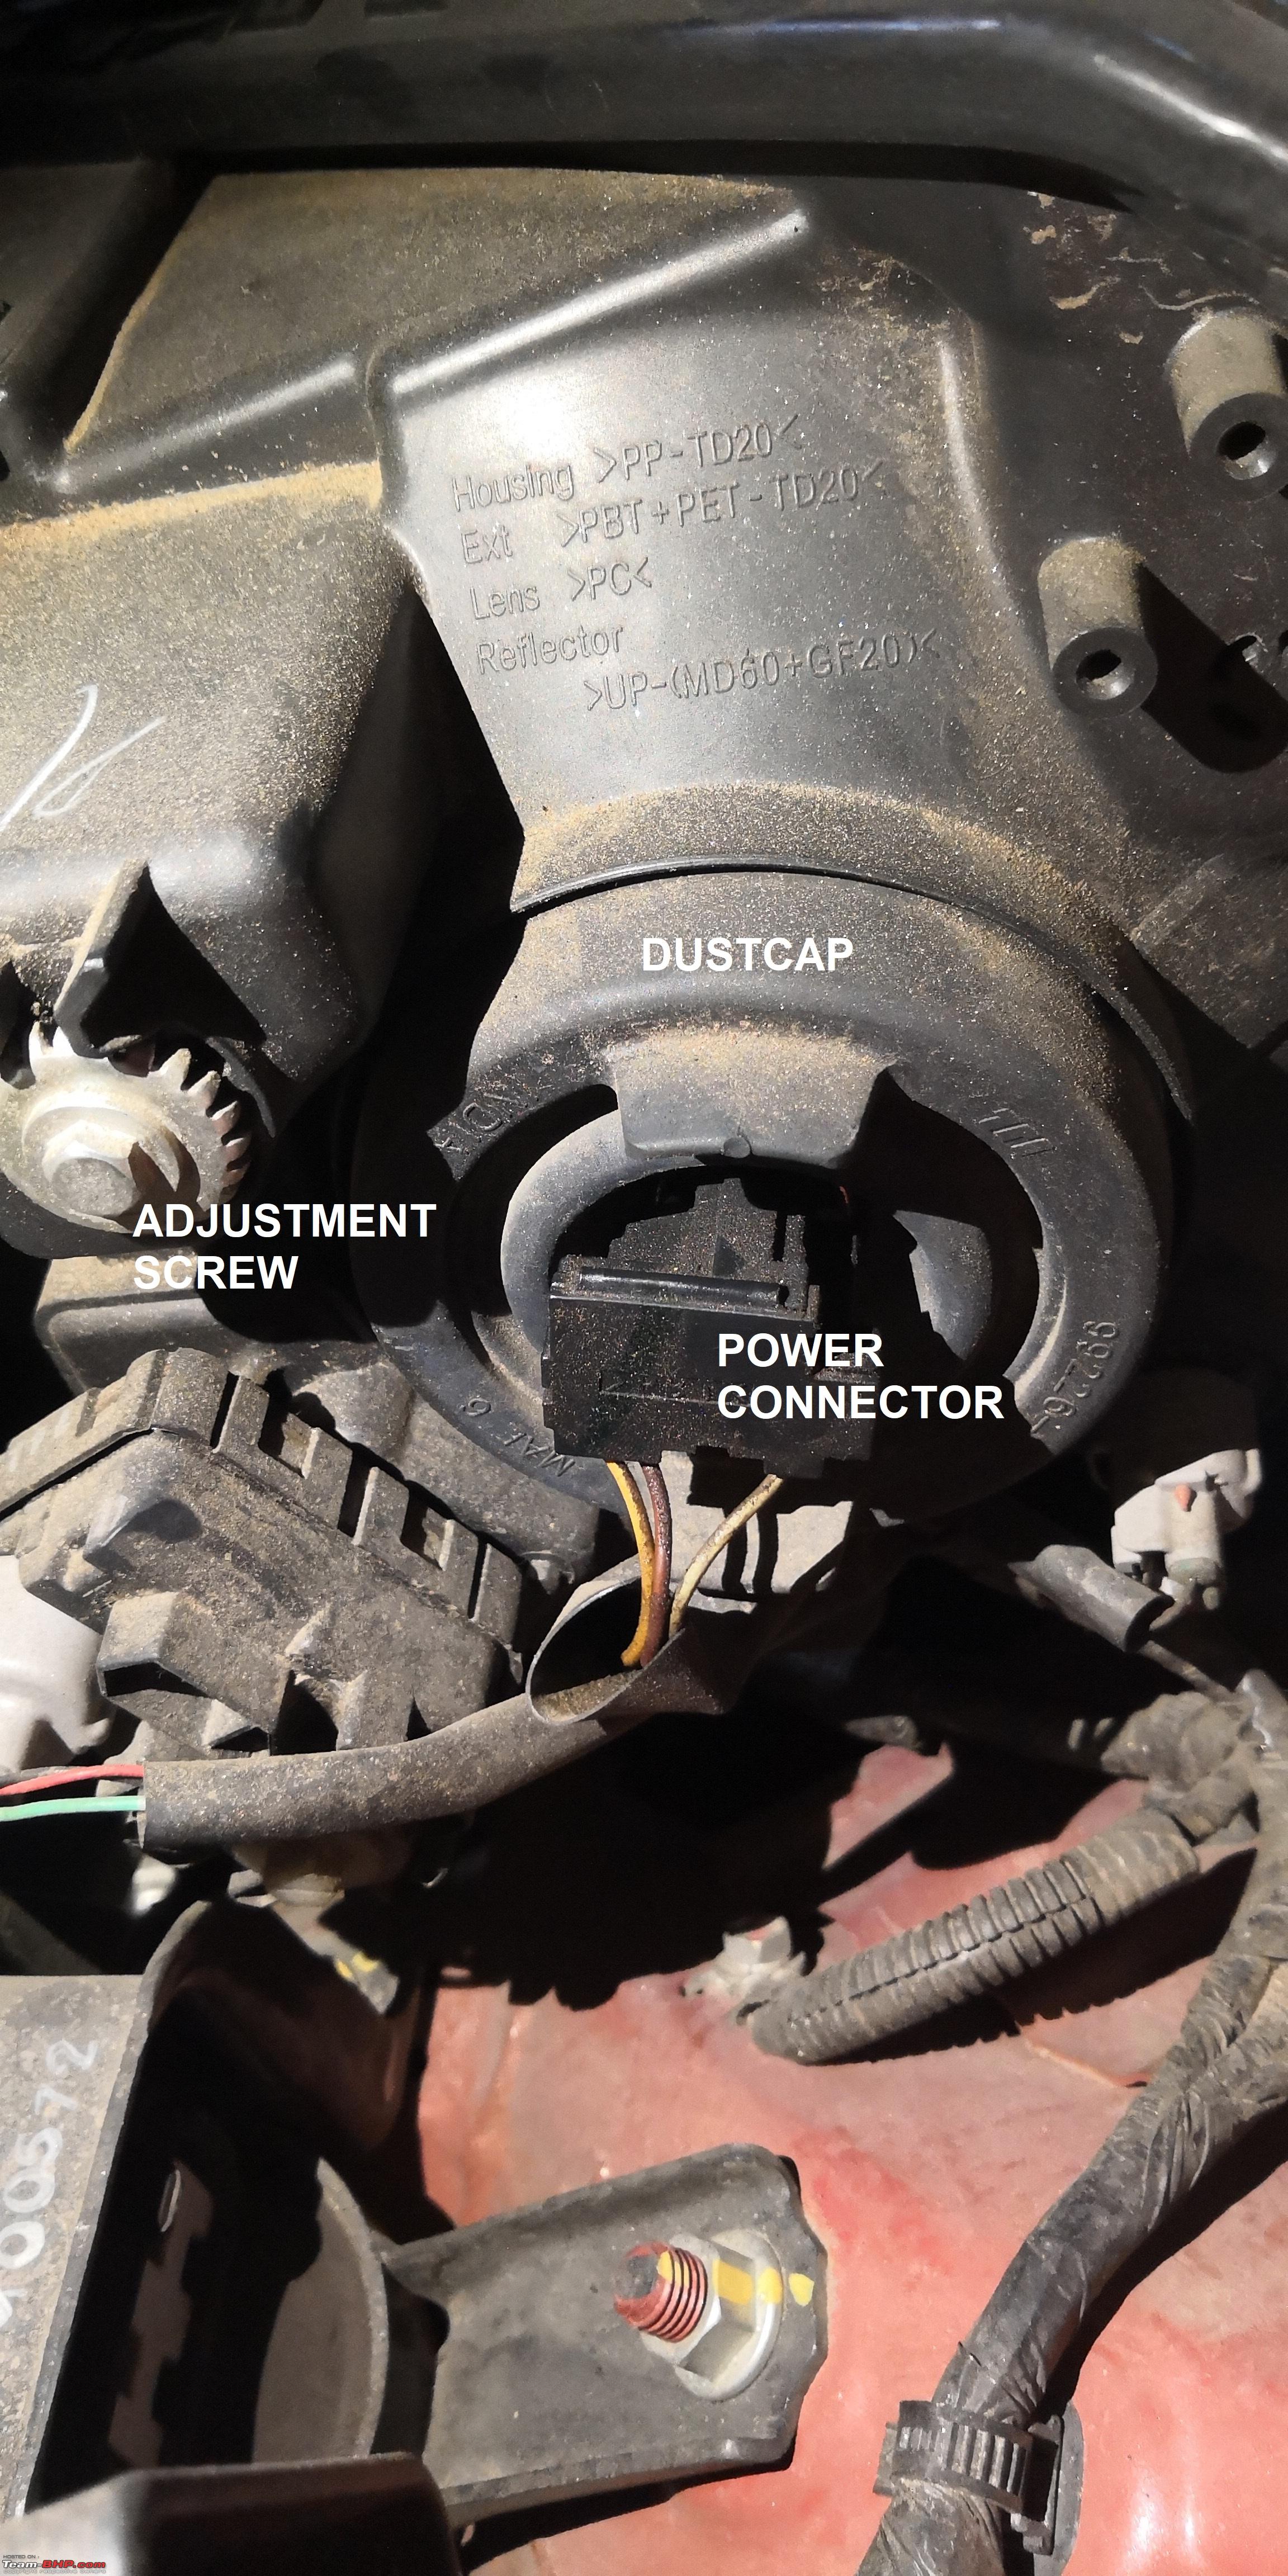
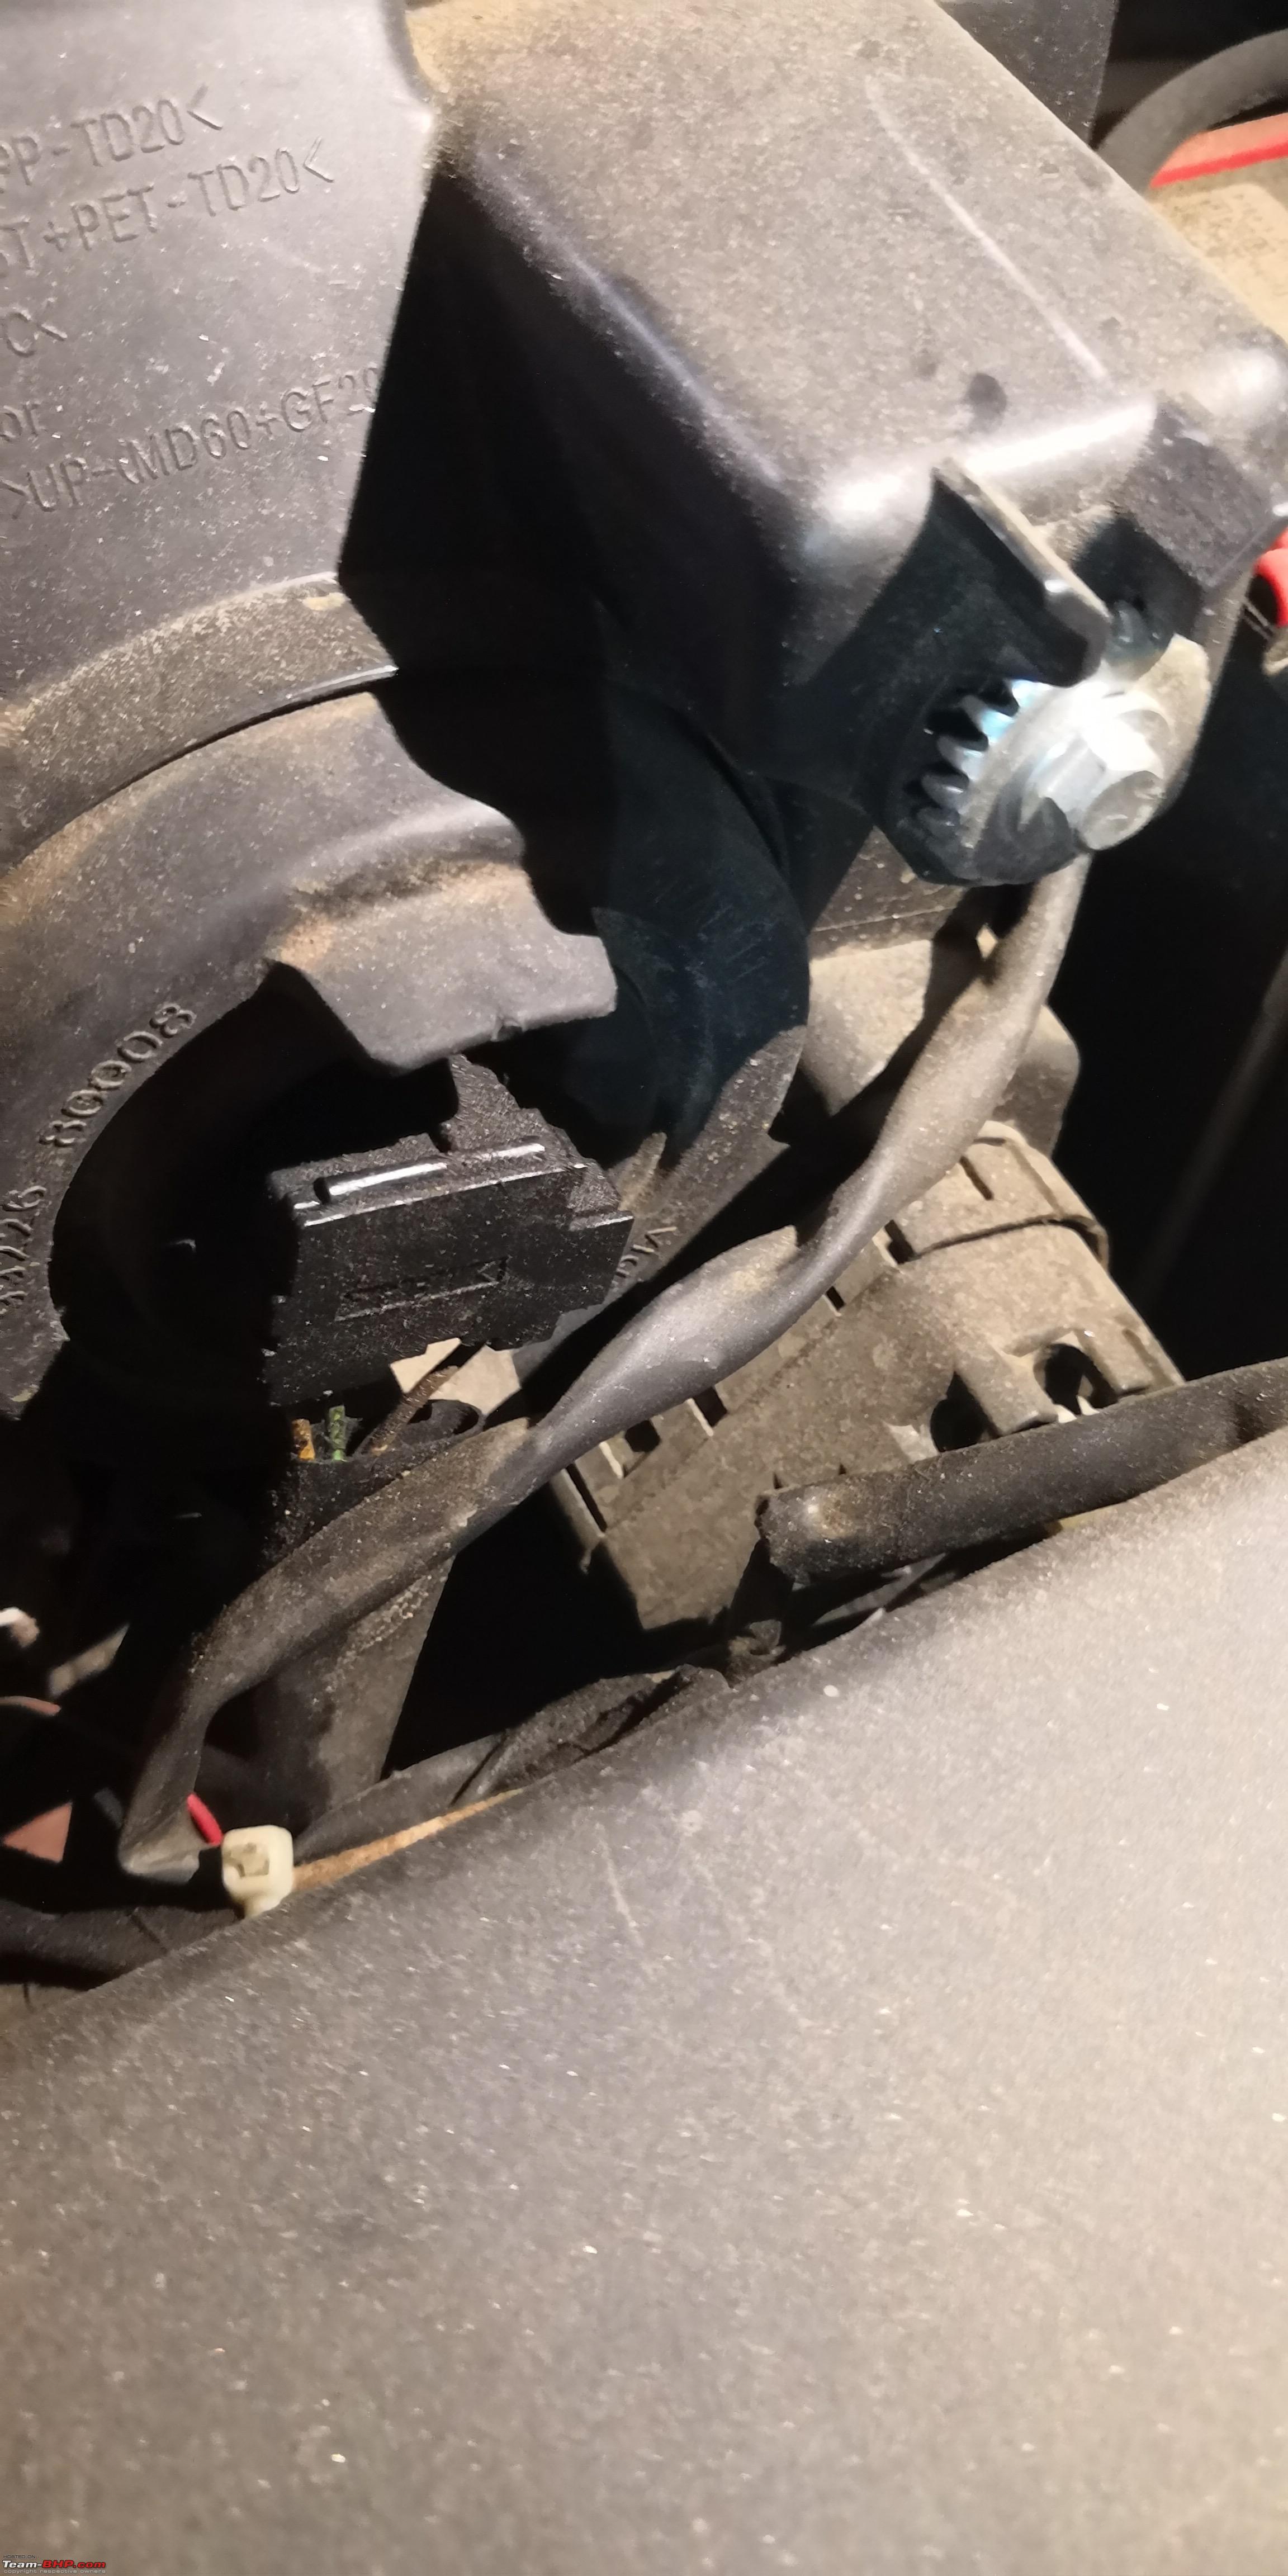
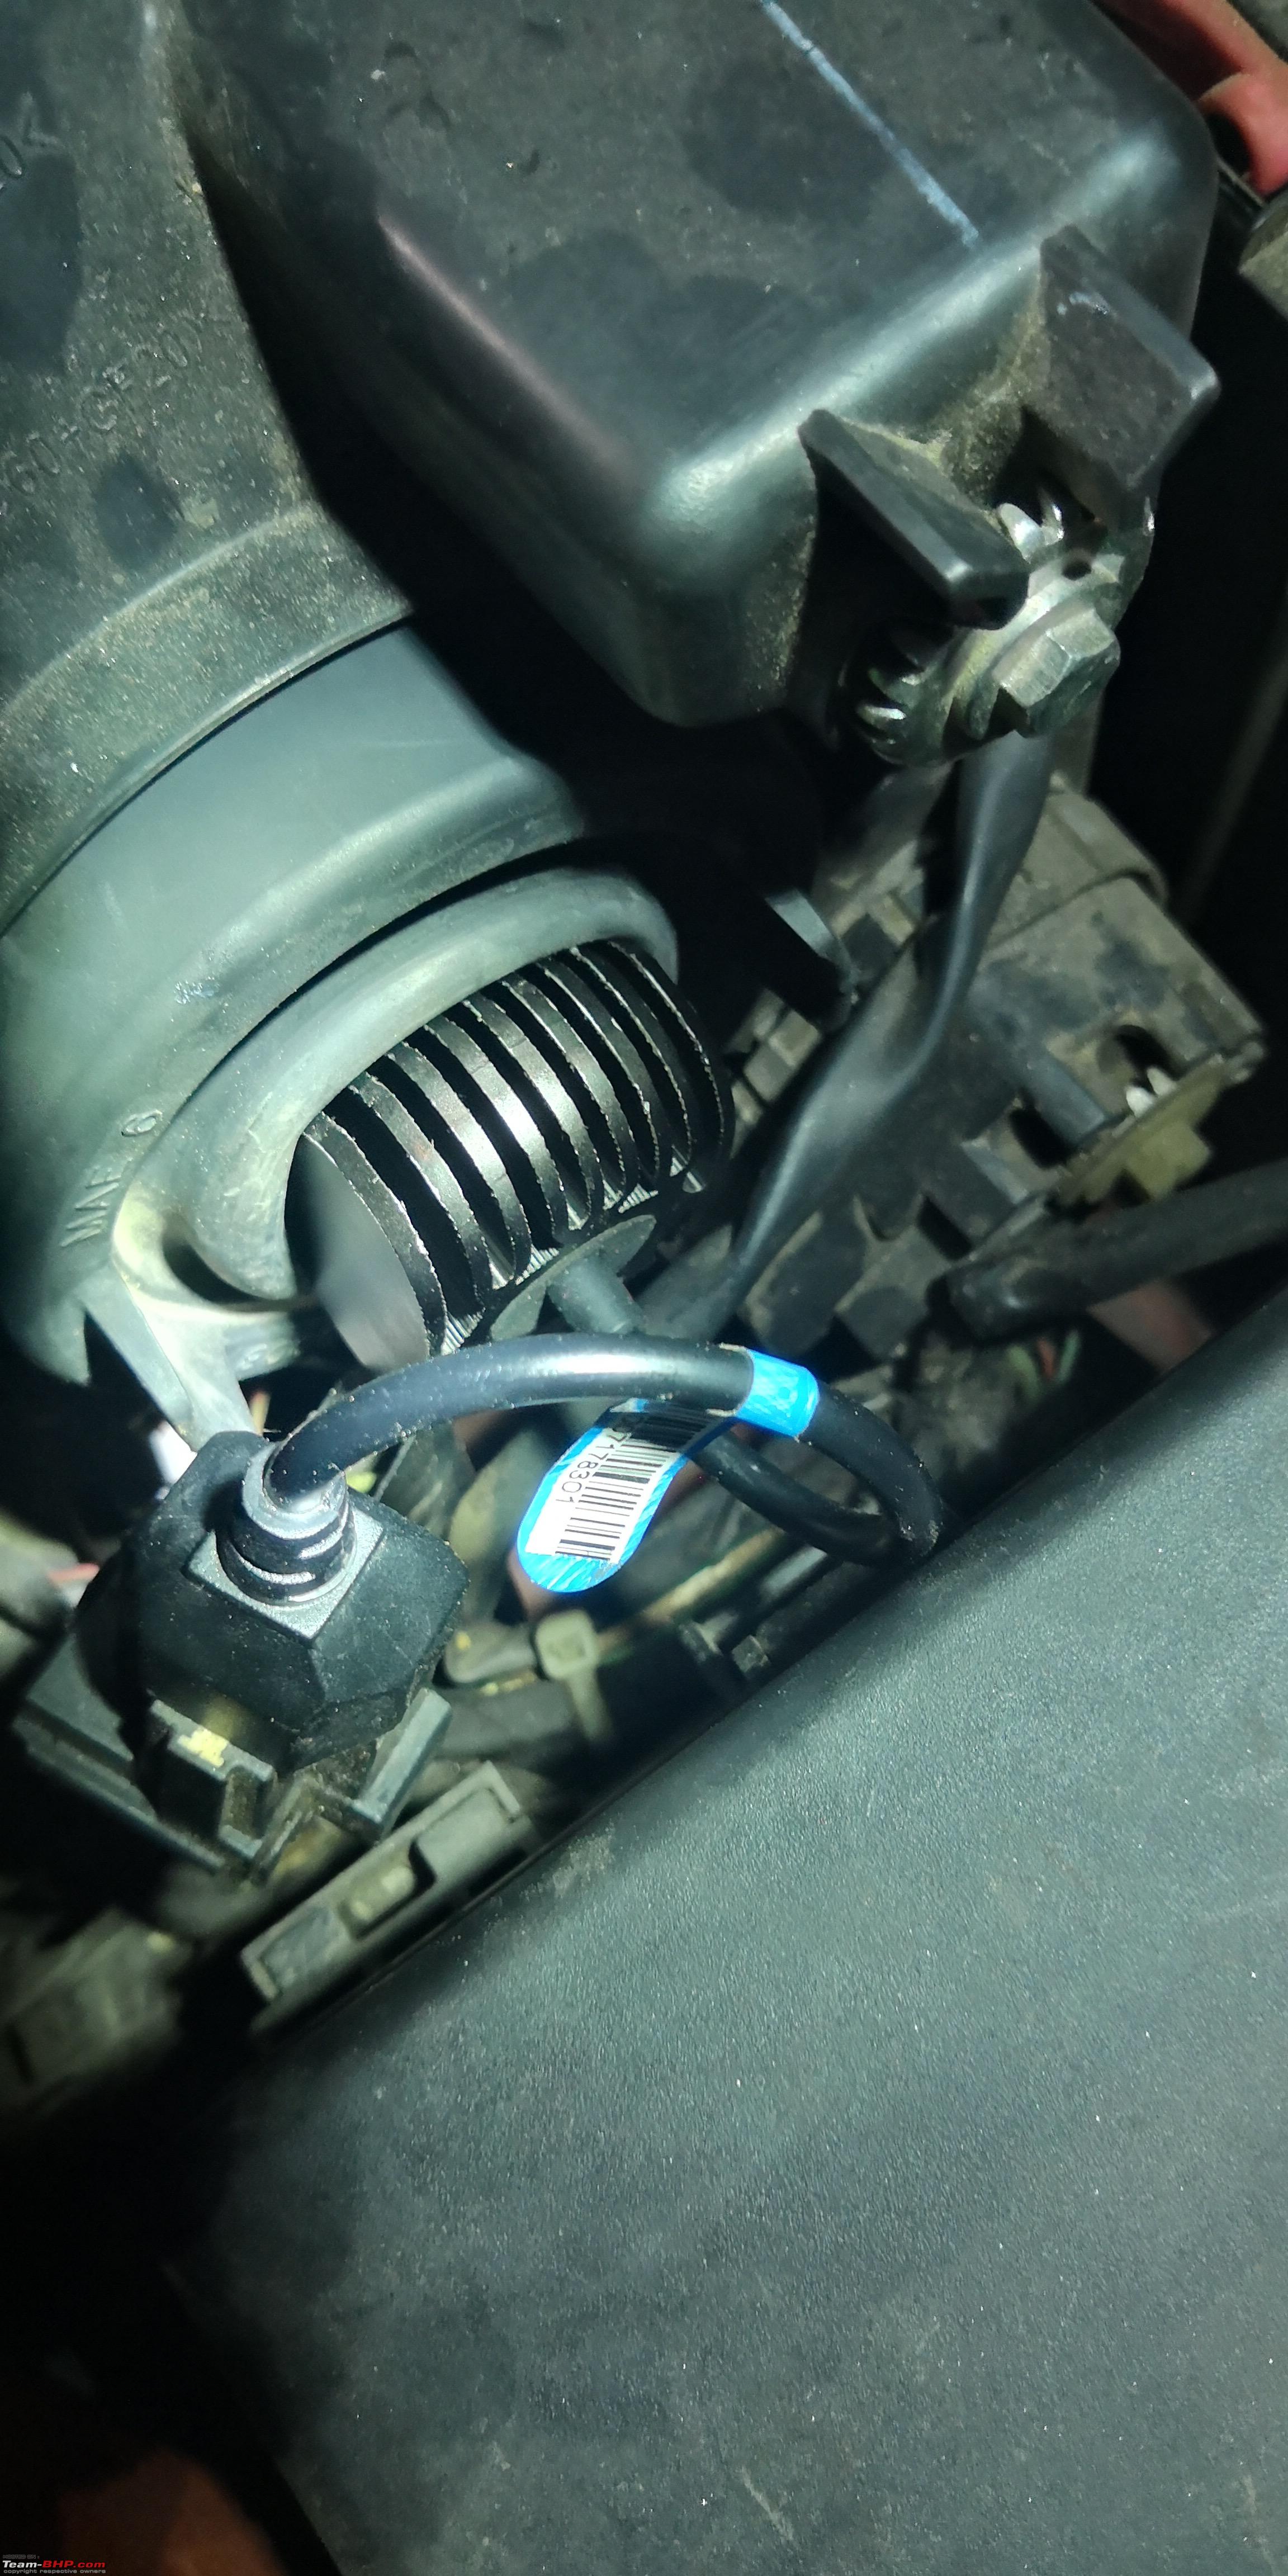
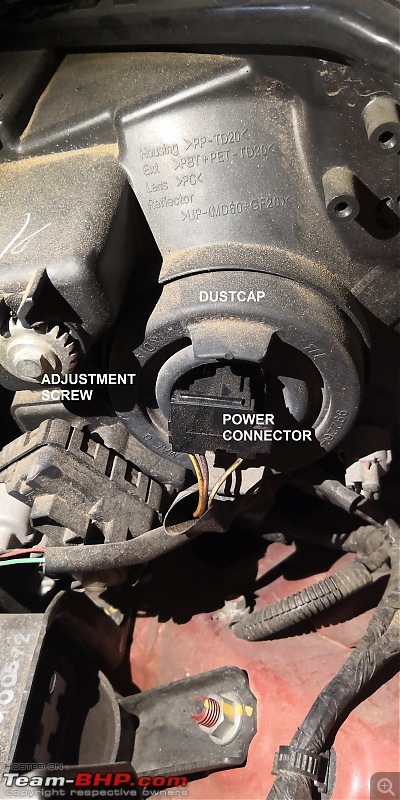 Rear View of the Headlight Housing - Driver's Side
Shown in the picture above are the dust cap, the power connector and the Headlight Adjustment screw. As can be seen, everything is easily accessible on this side. So, the easier side was done first. The dust cap was removed, then the plug from the existing Halogen was disconnected and the Halogen bulbs were pulled out.
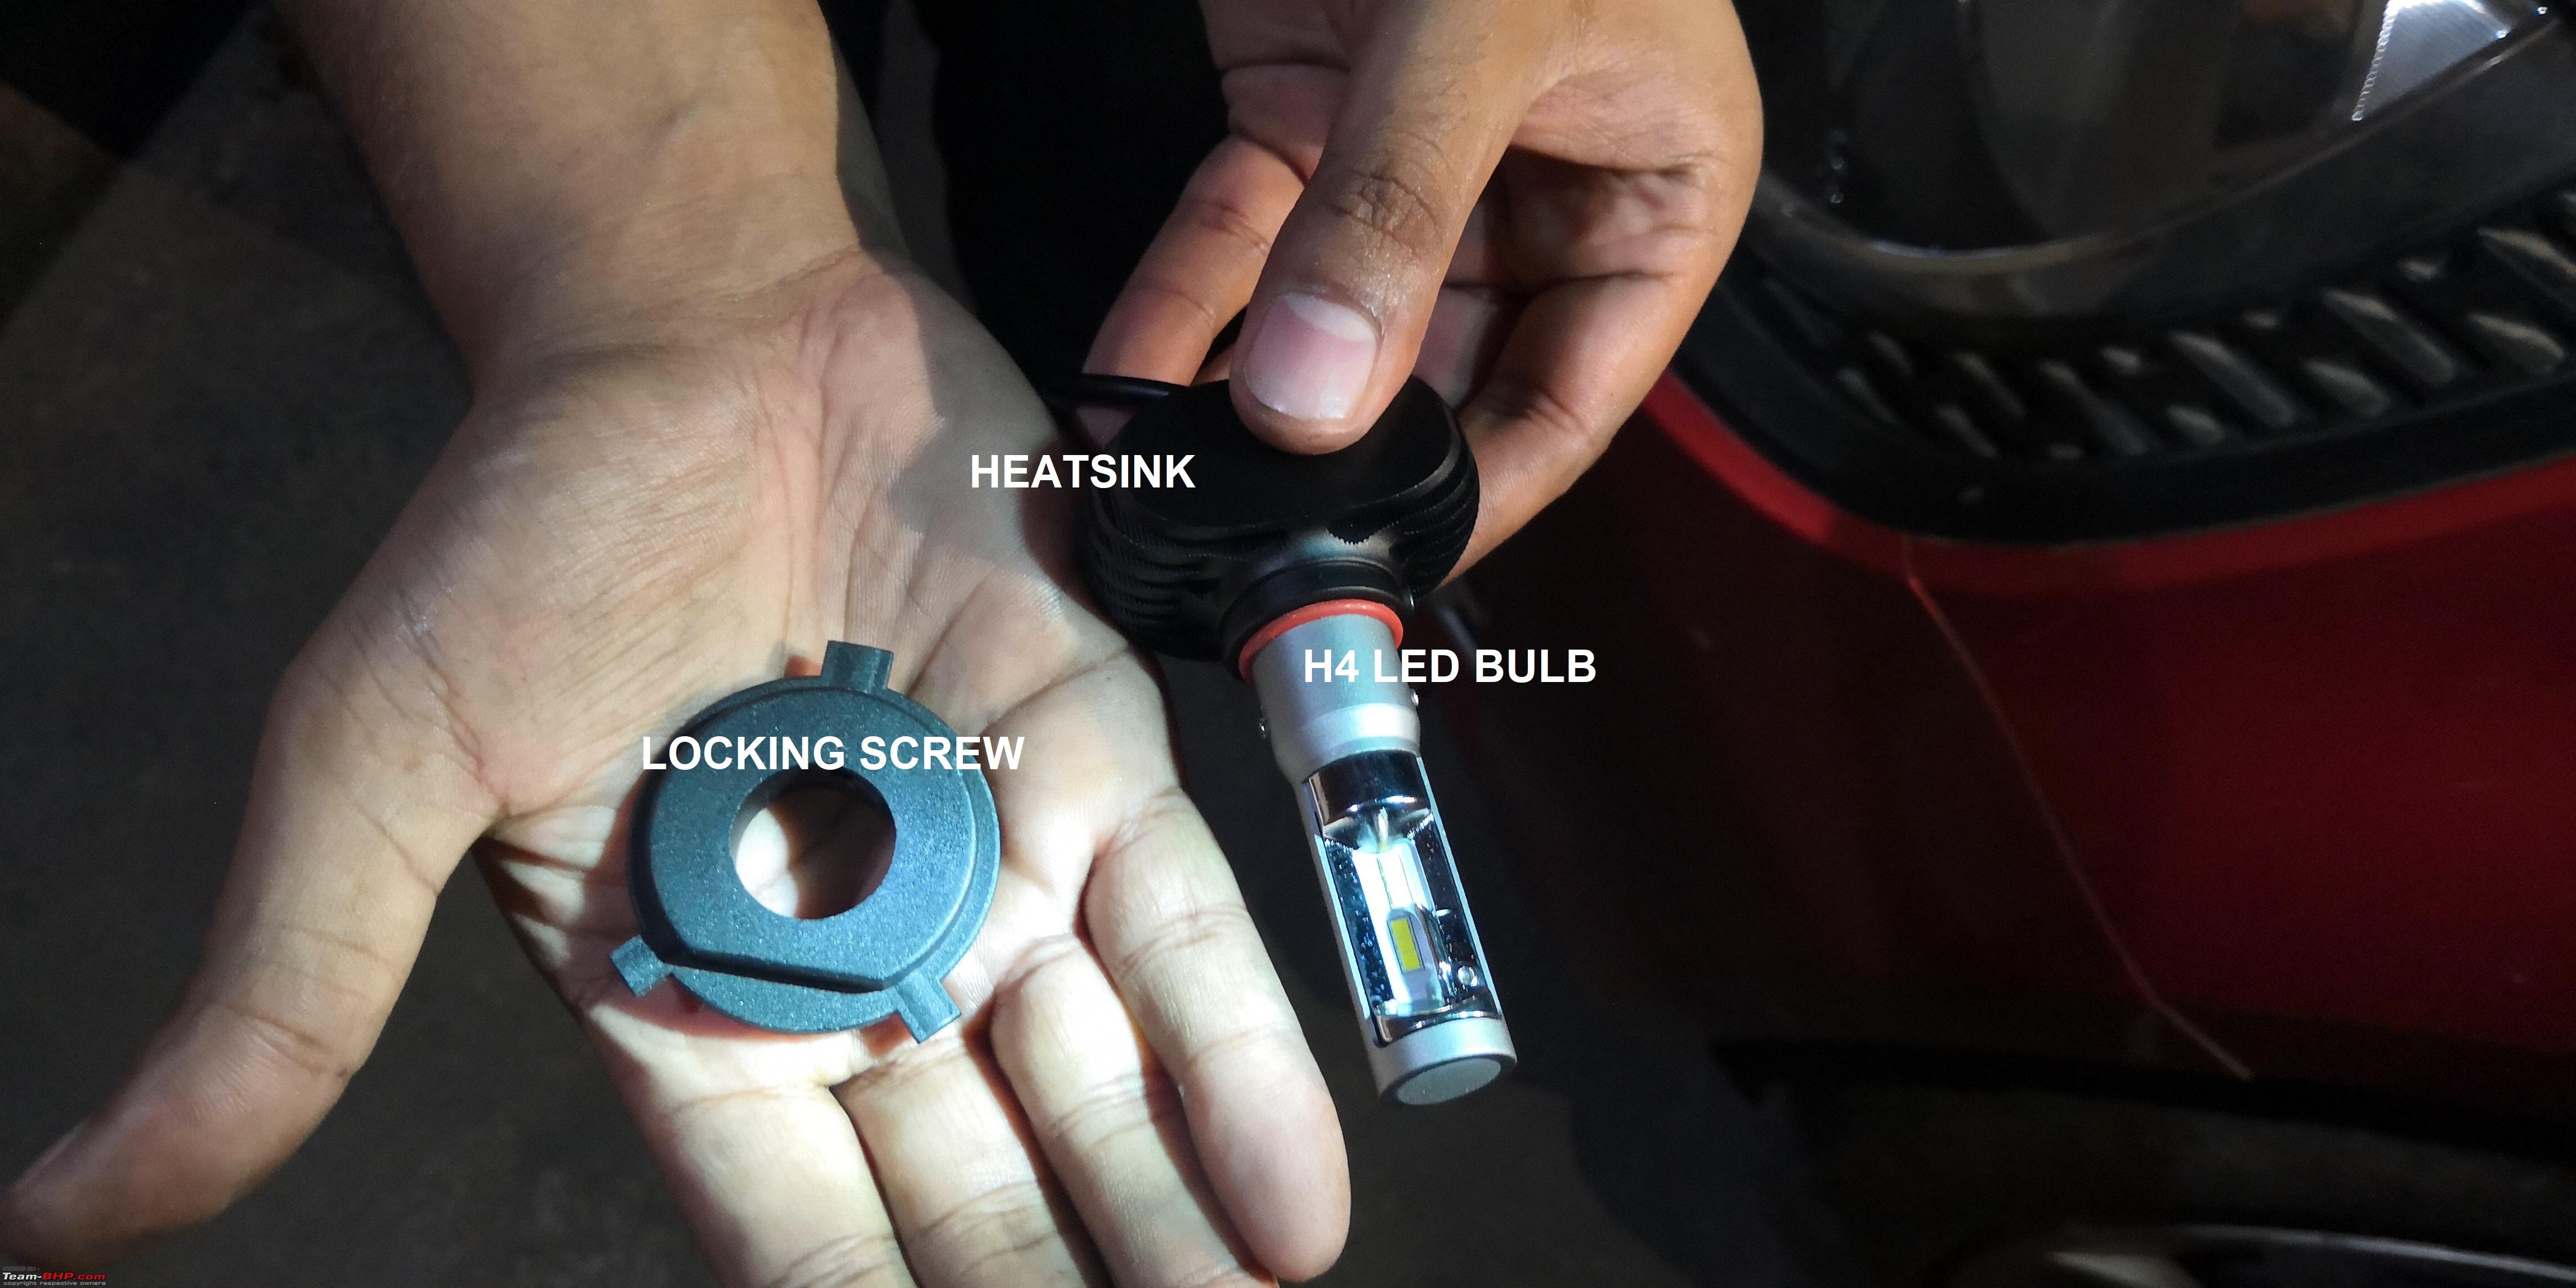
 LED Bulb - Closer View
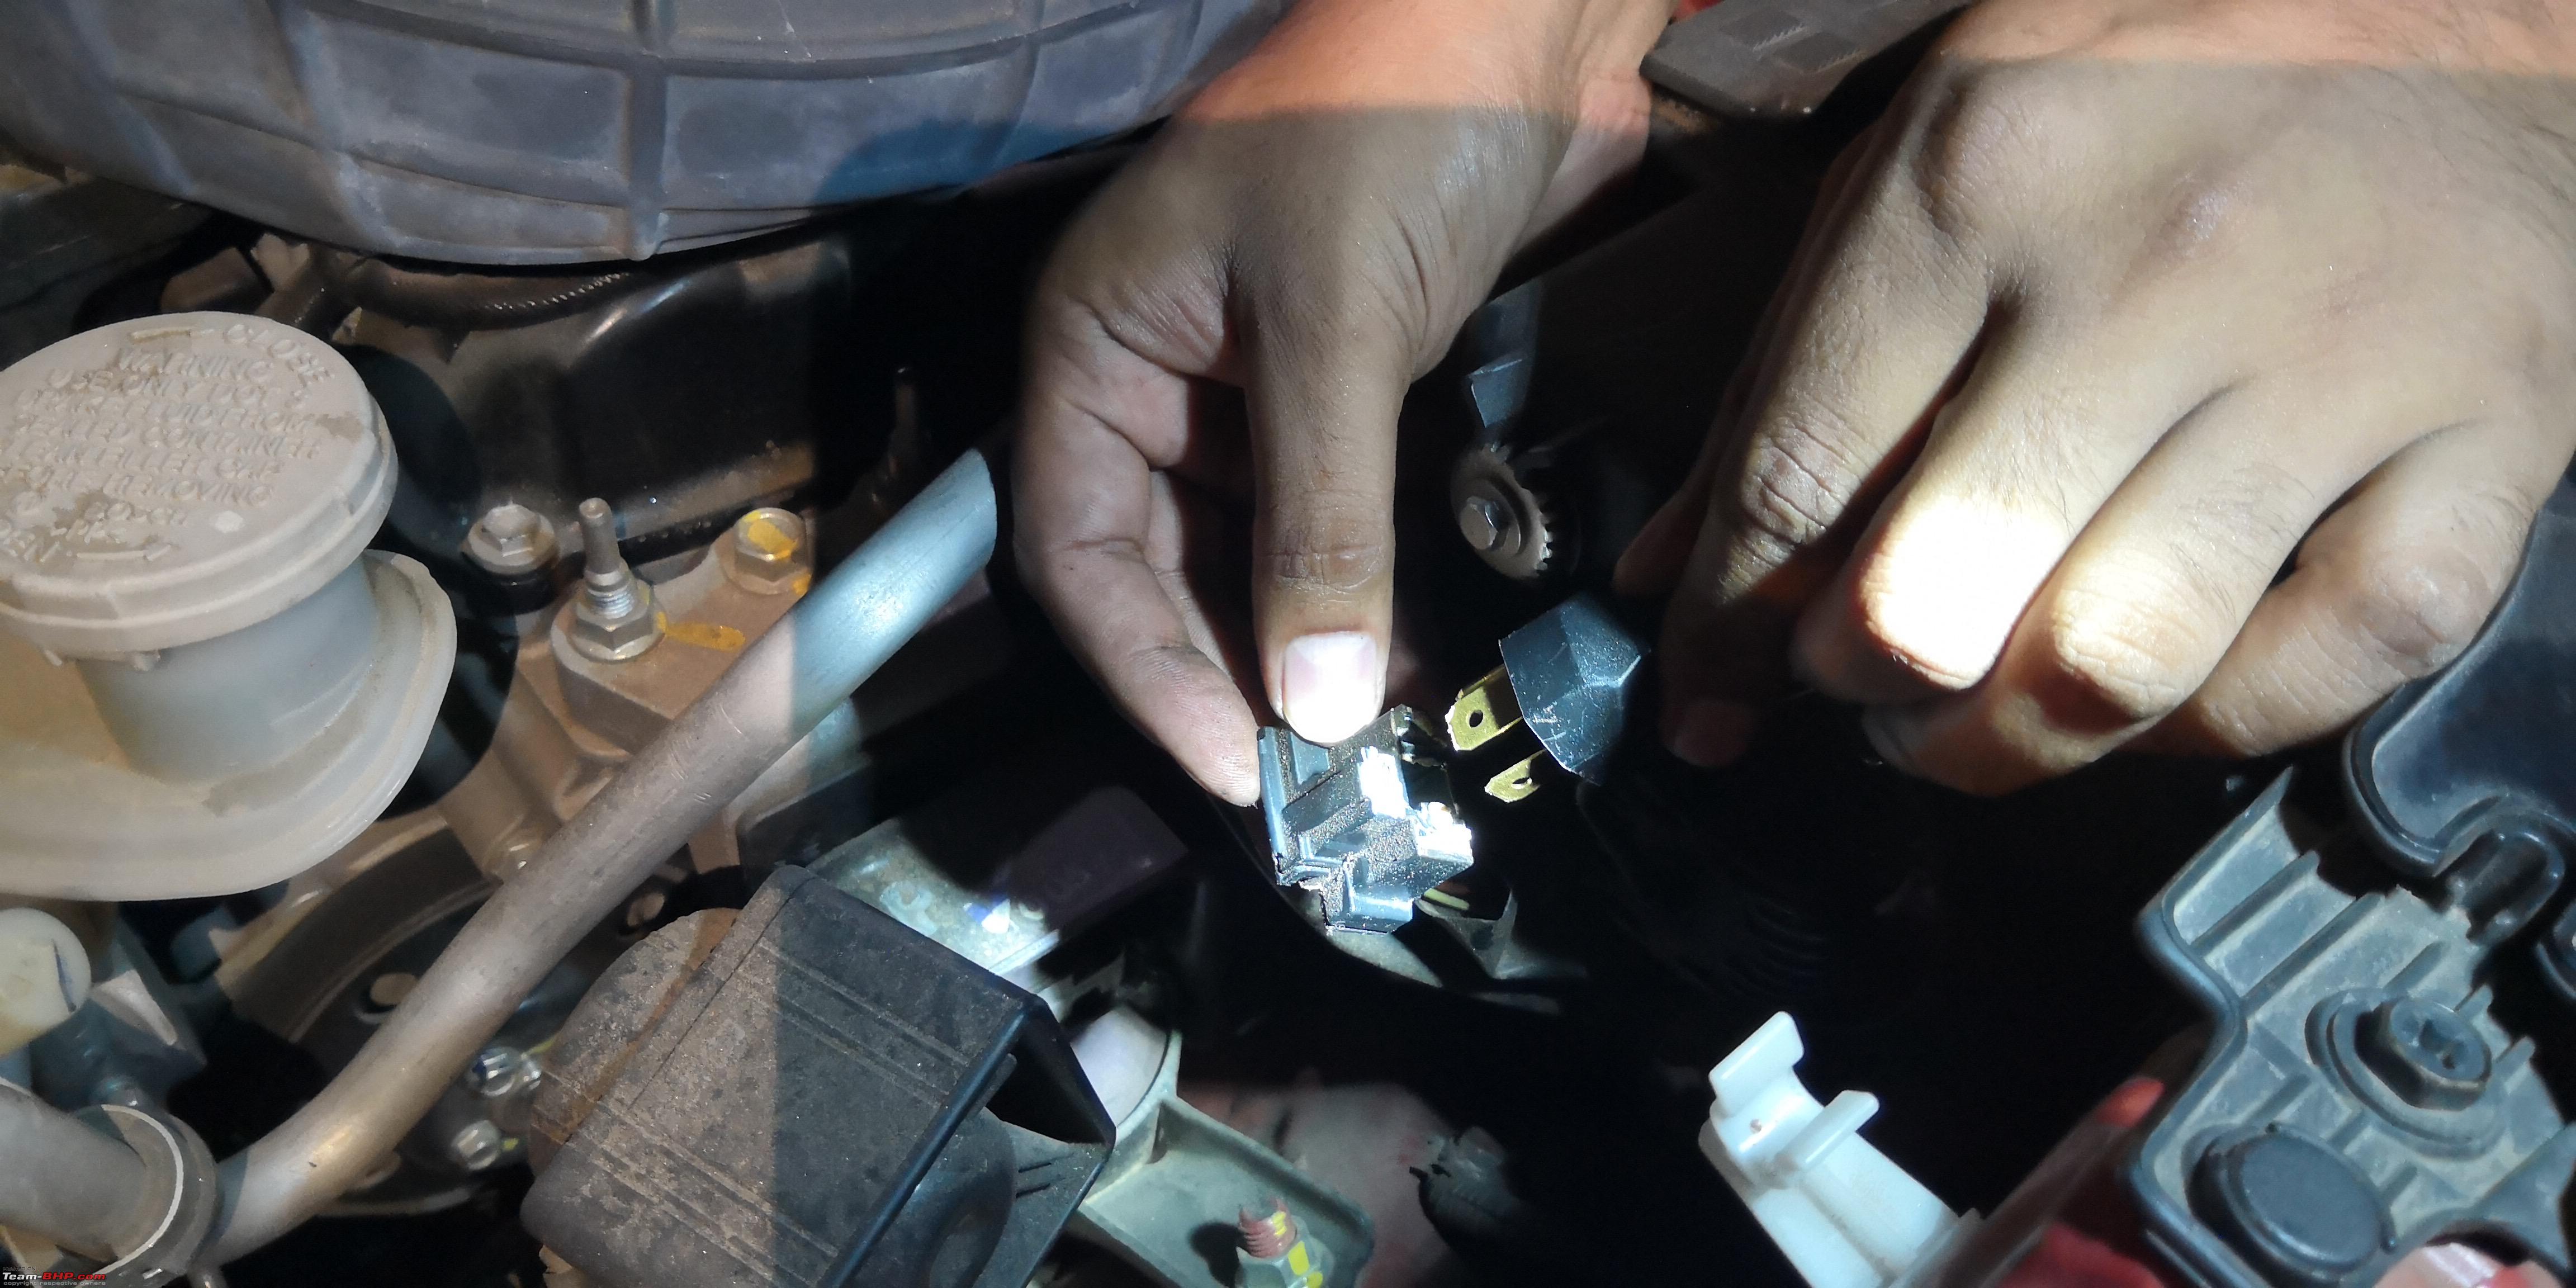
The Locking Screw is attached to the bulb in some bulbs but here Beamtech has provided a detachable one. The Beamtech LED was then placed in the same place and the plug connected. Everything here is simple and plug and play.
 Bulb After Fitment
After we had done this we realized that the dust cap would not fit anymore due to the large base of the BeamTech bulbs due to the presence of the heat sink.
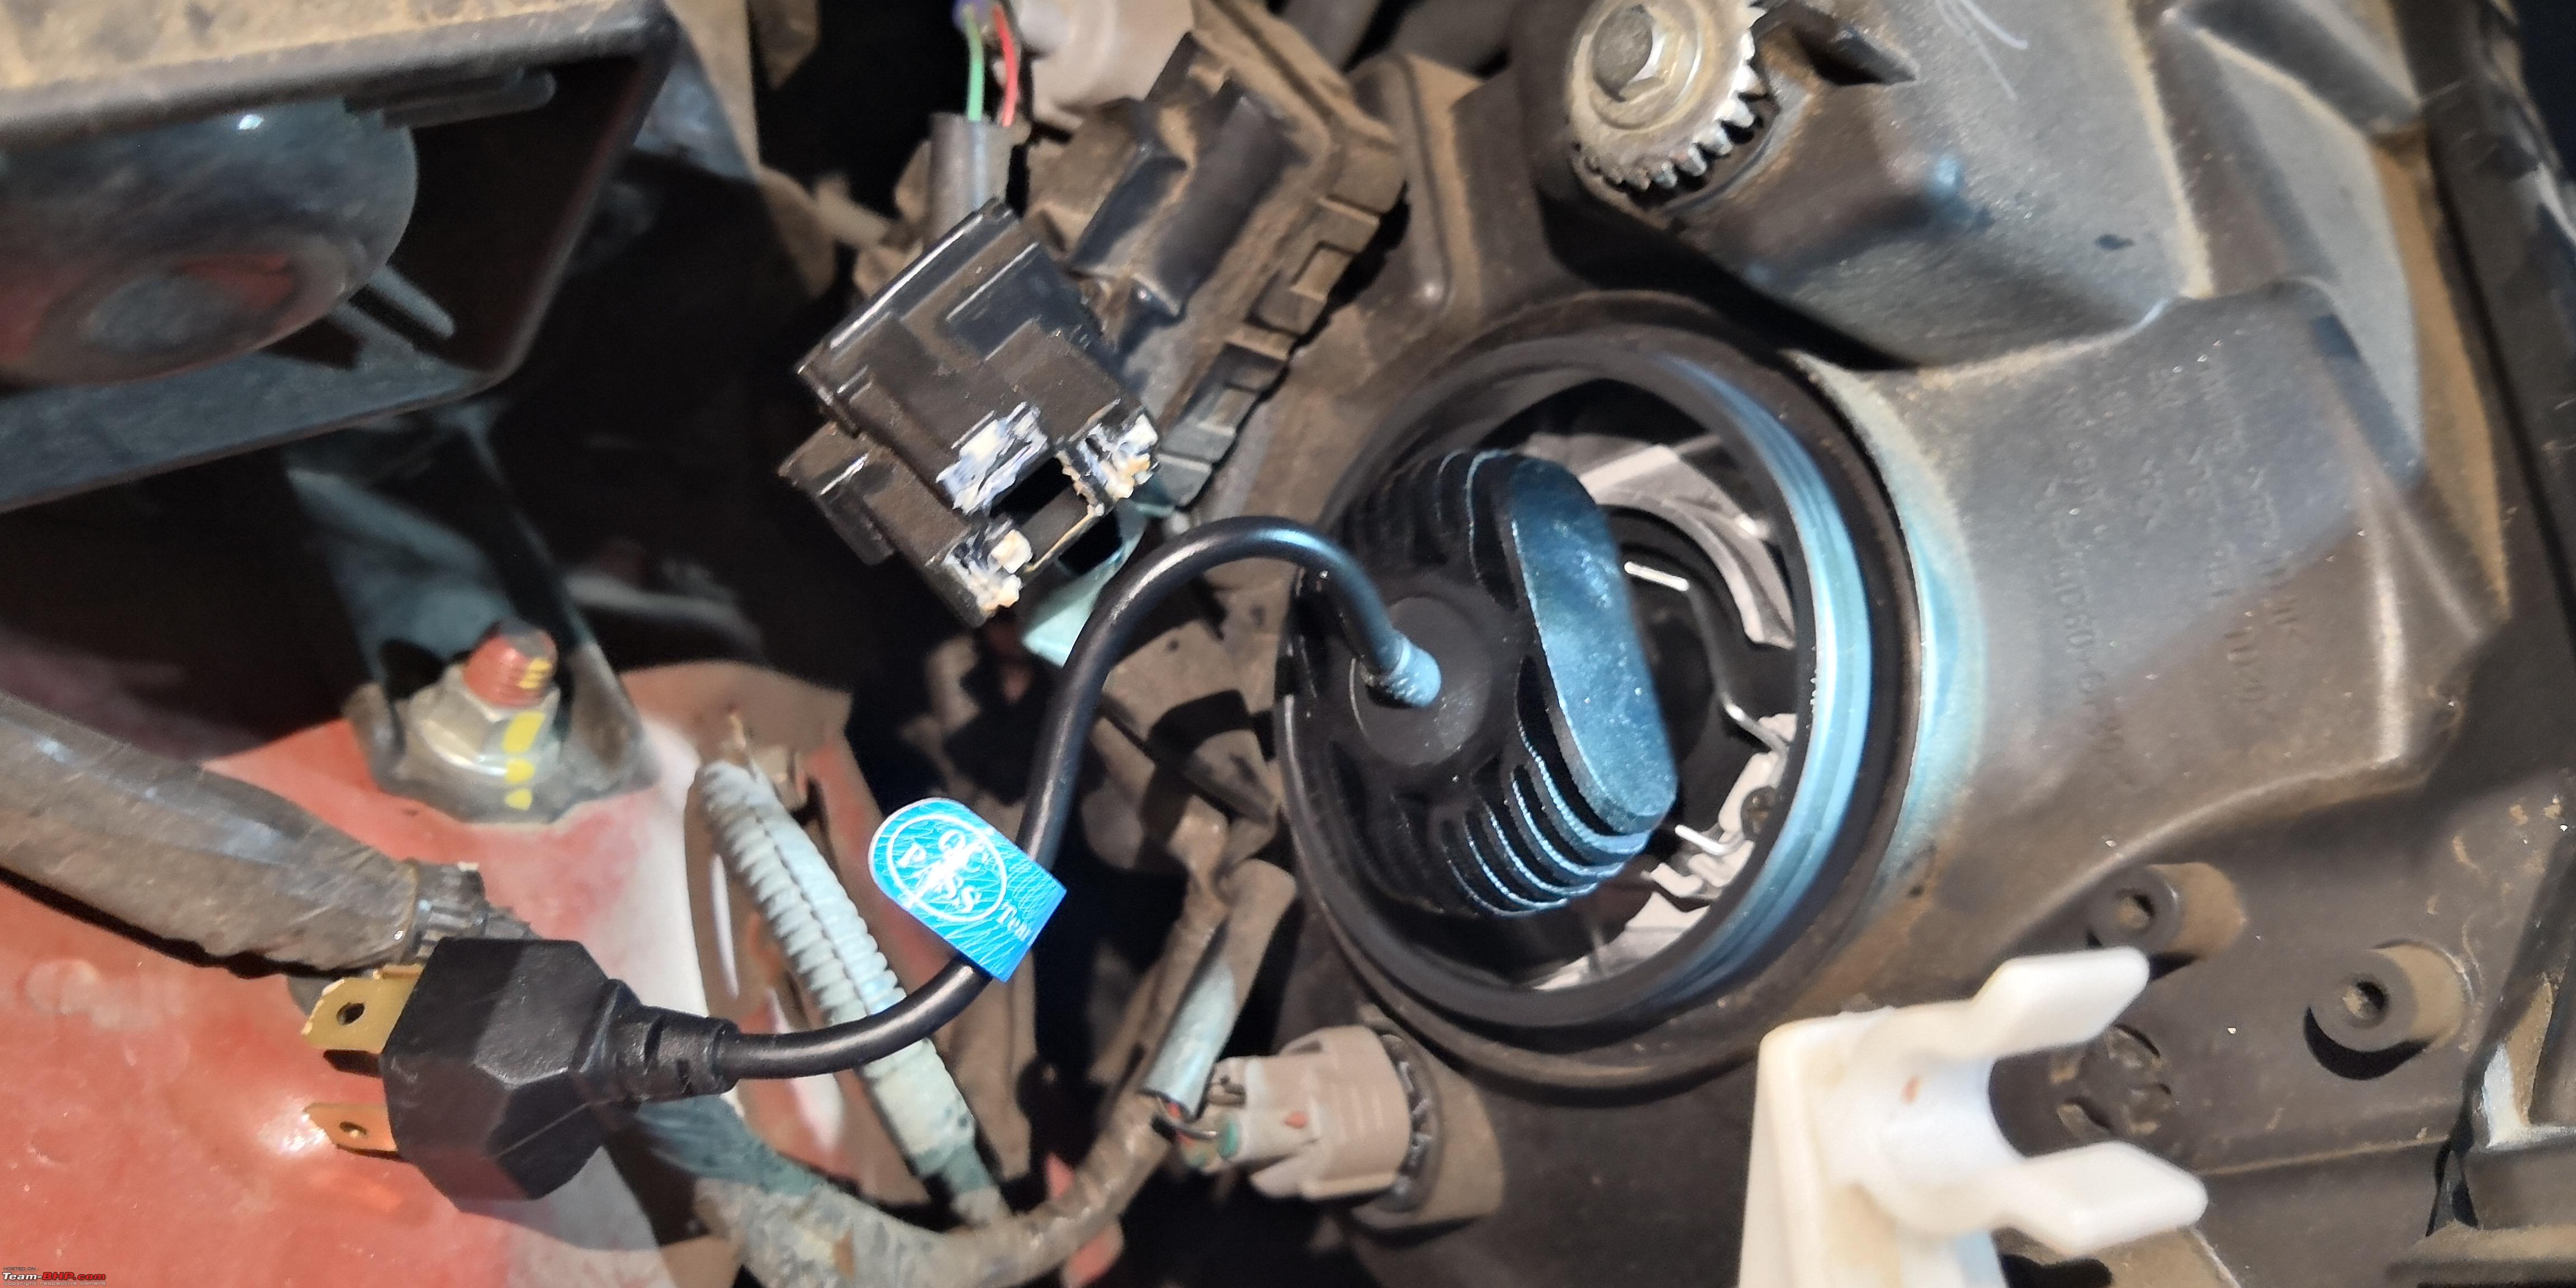
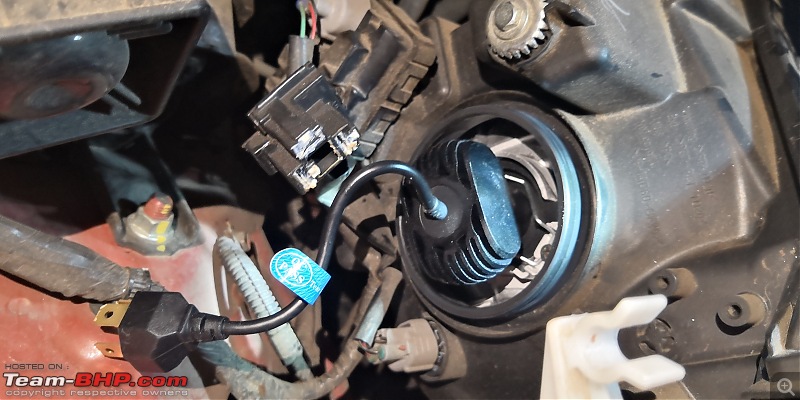
 Plug and Play Power Connector
Next we connected the Power connector - Switched on the Headlights and found that the lights were working fine emitting the White light so typical of the LEDs.
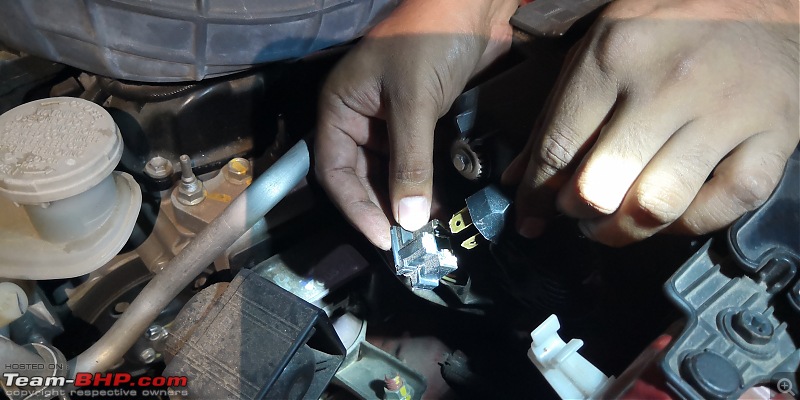
 Rear View of the Headlight Housing - Passenger Side
After we had completed the install of the LED Bulb on the Driver's side successfully, next it was the turn of the Passenger side, this seemed a bit more complex due to lack of space behind the bulb due to the presence of other components. After trying from various angles, the bulb was lodged into the housing for the passenger side as well.
Headlight Evaluation & Adjustment
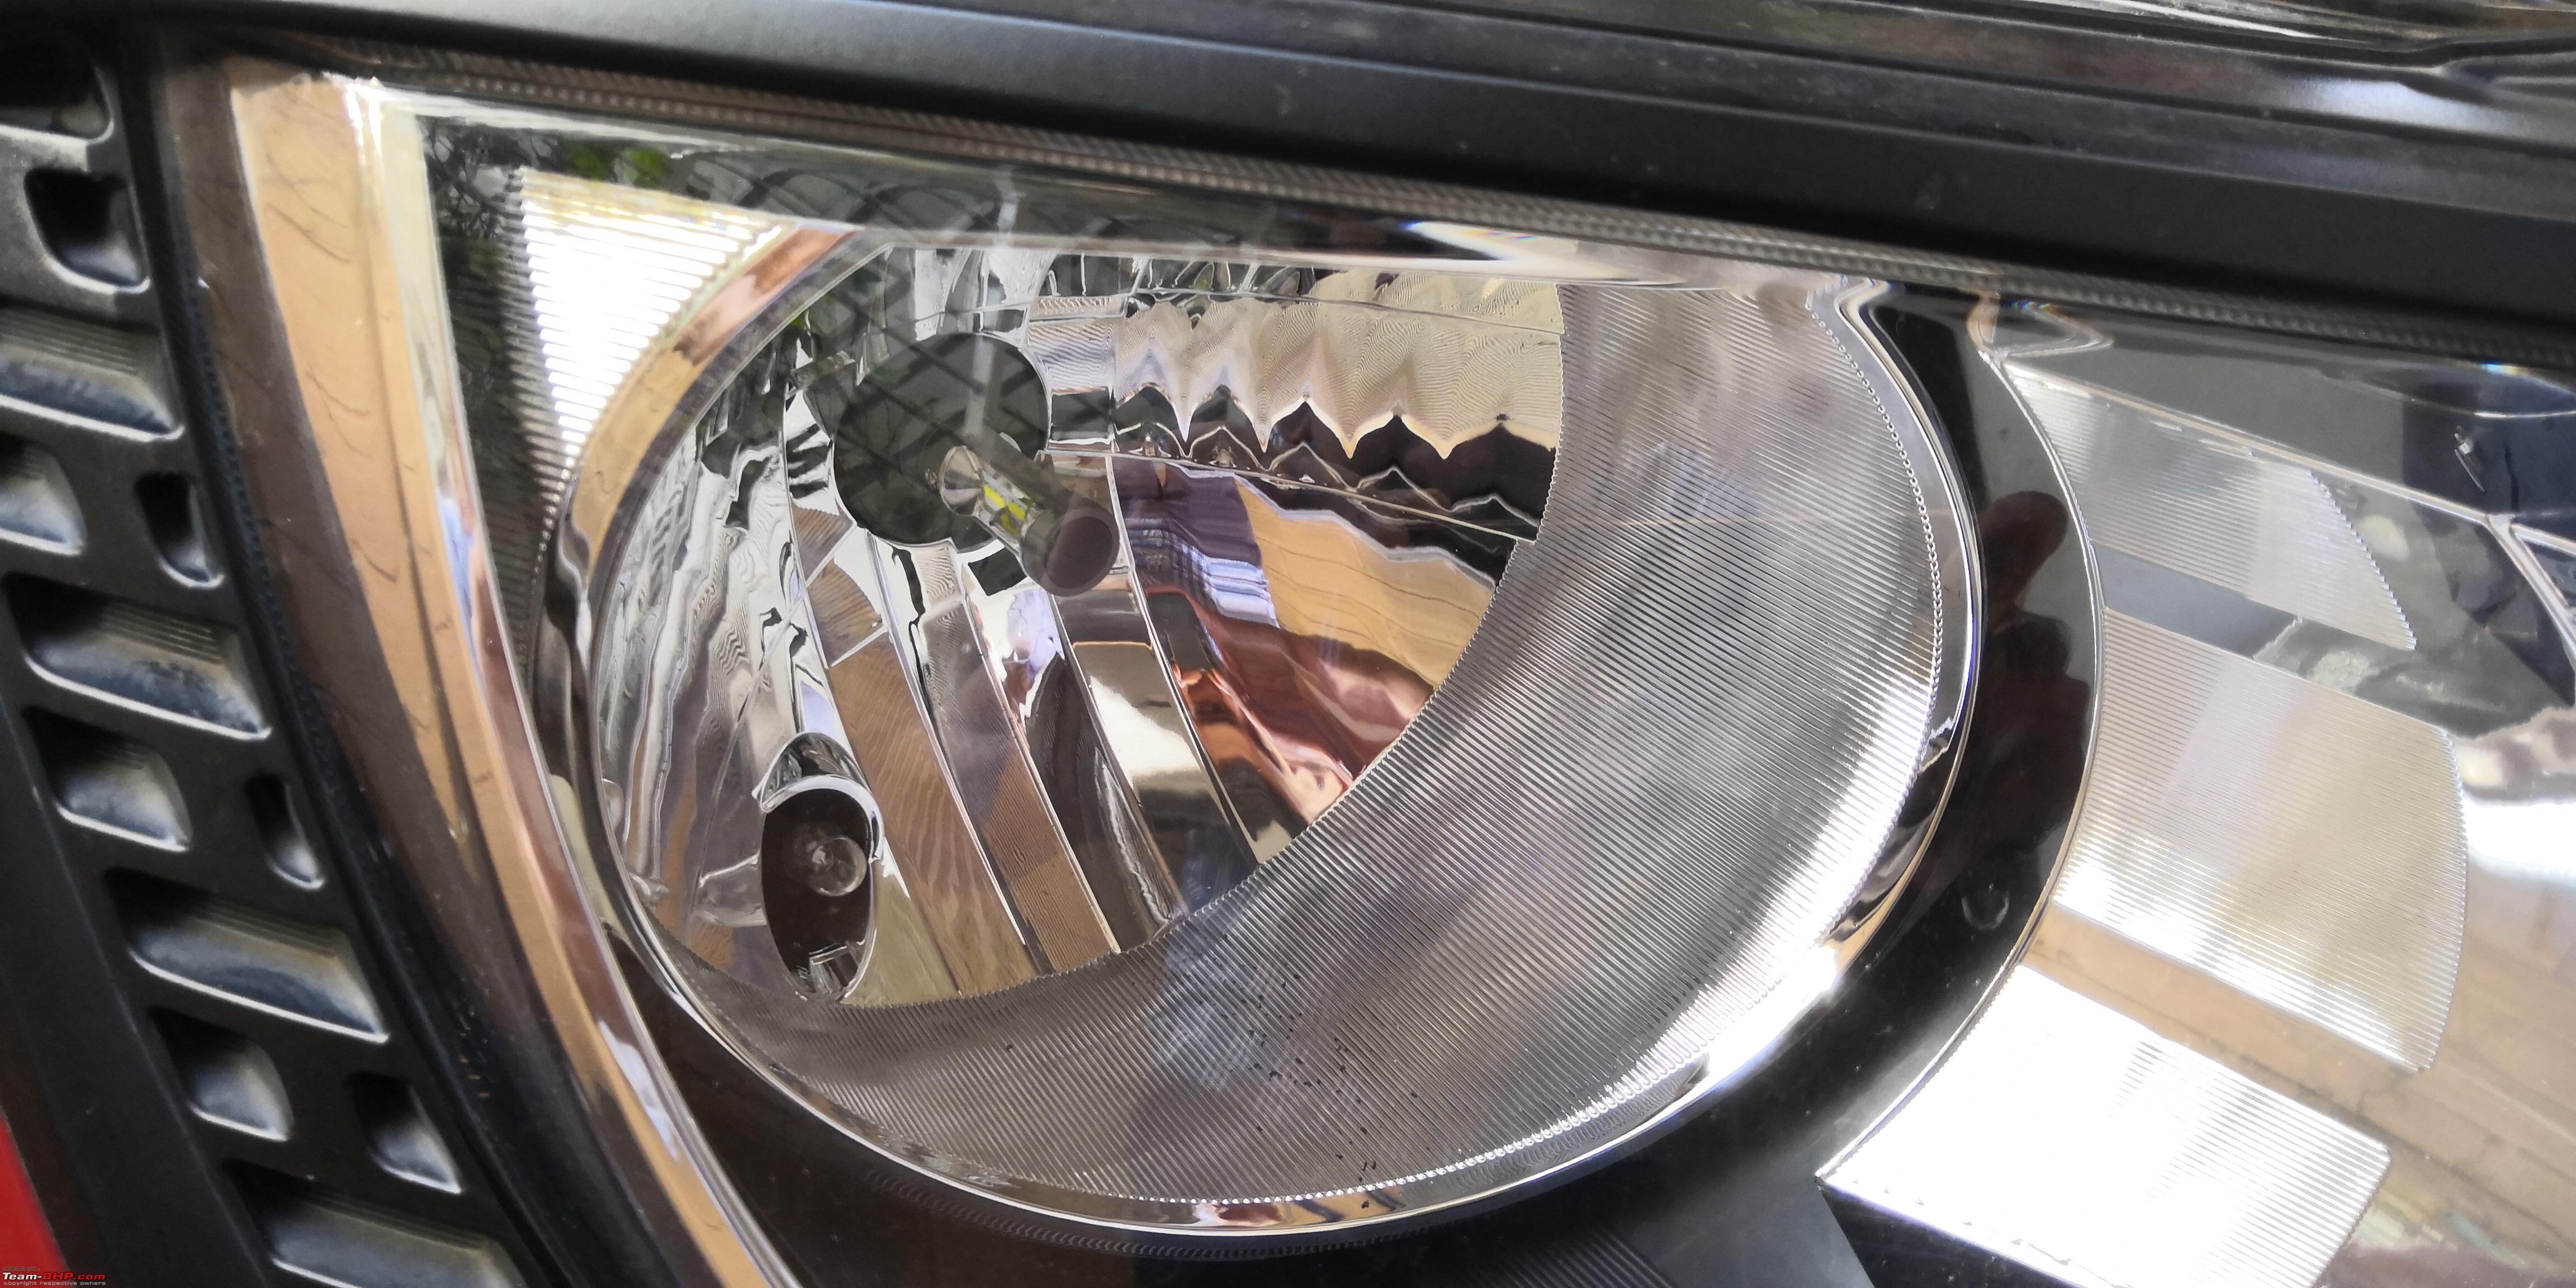
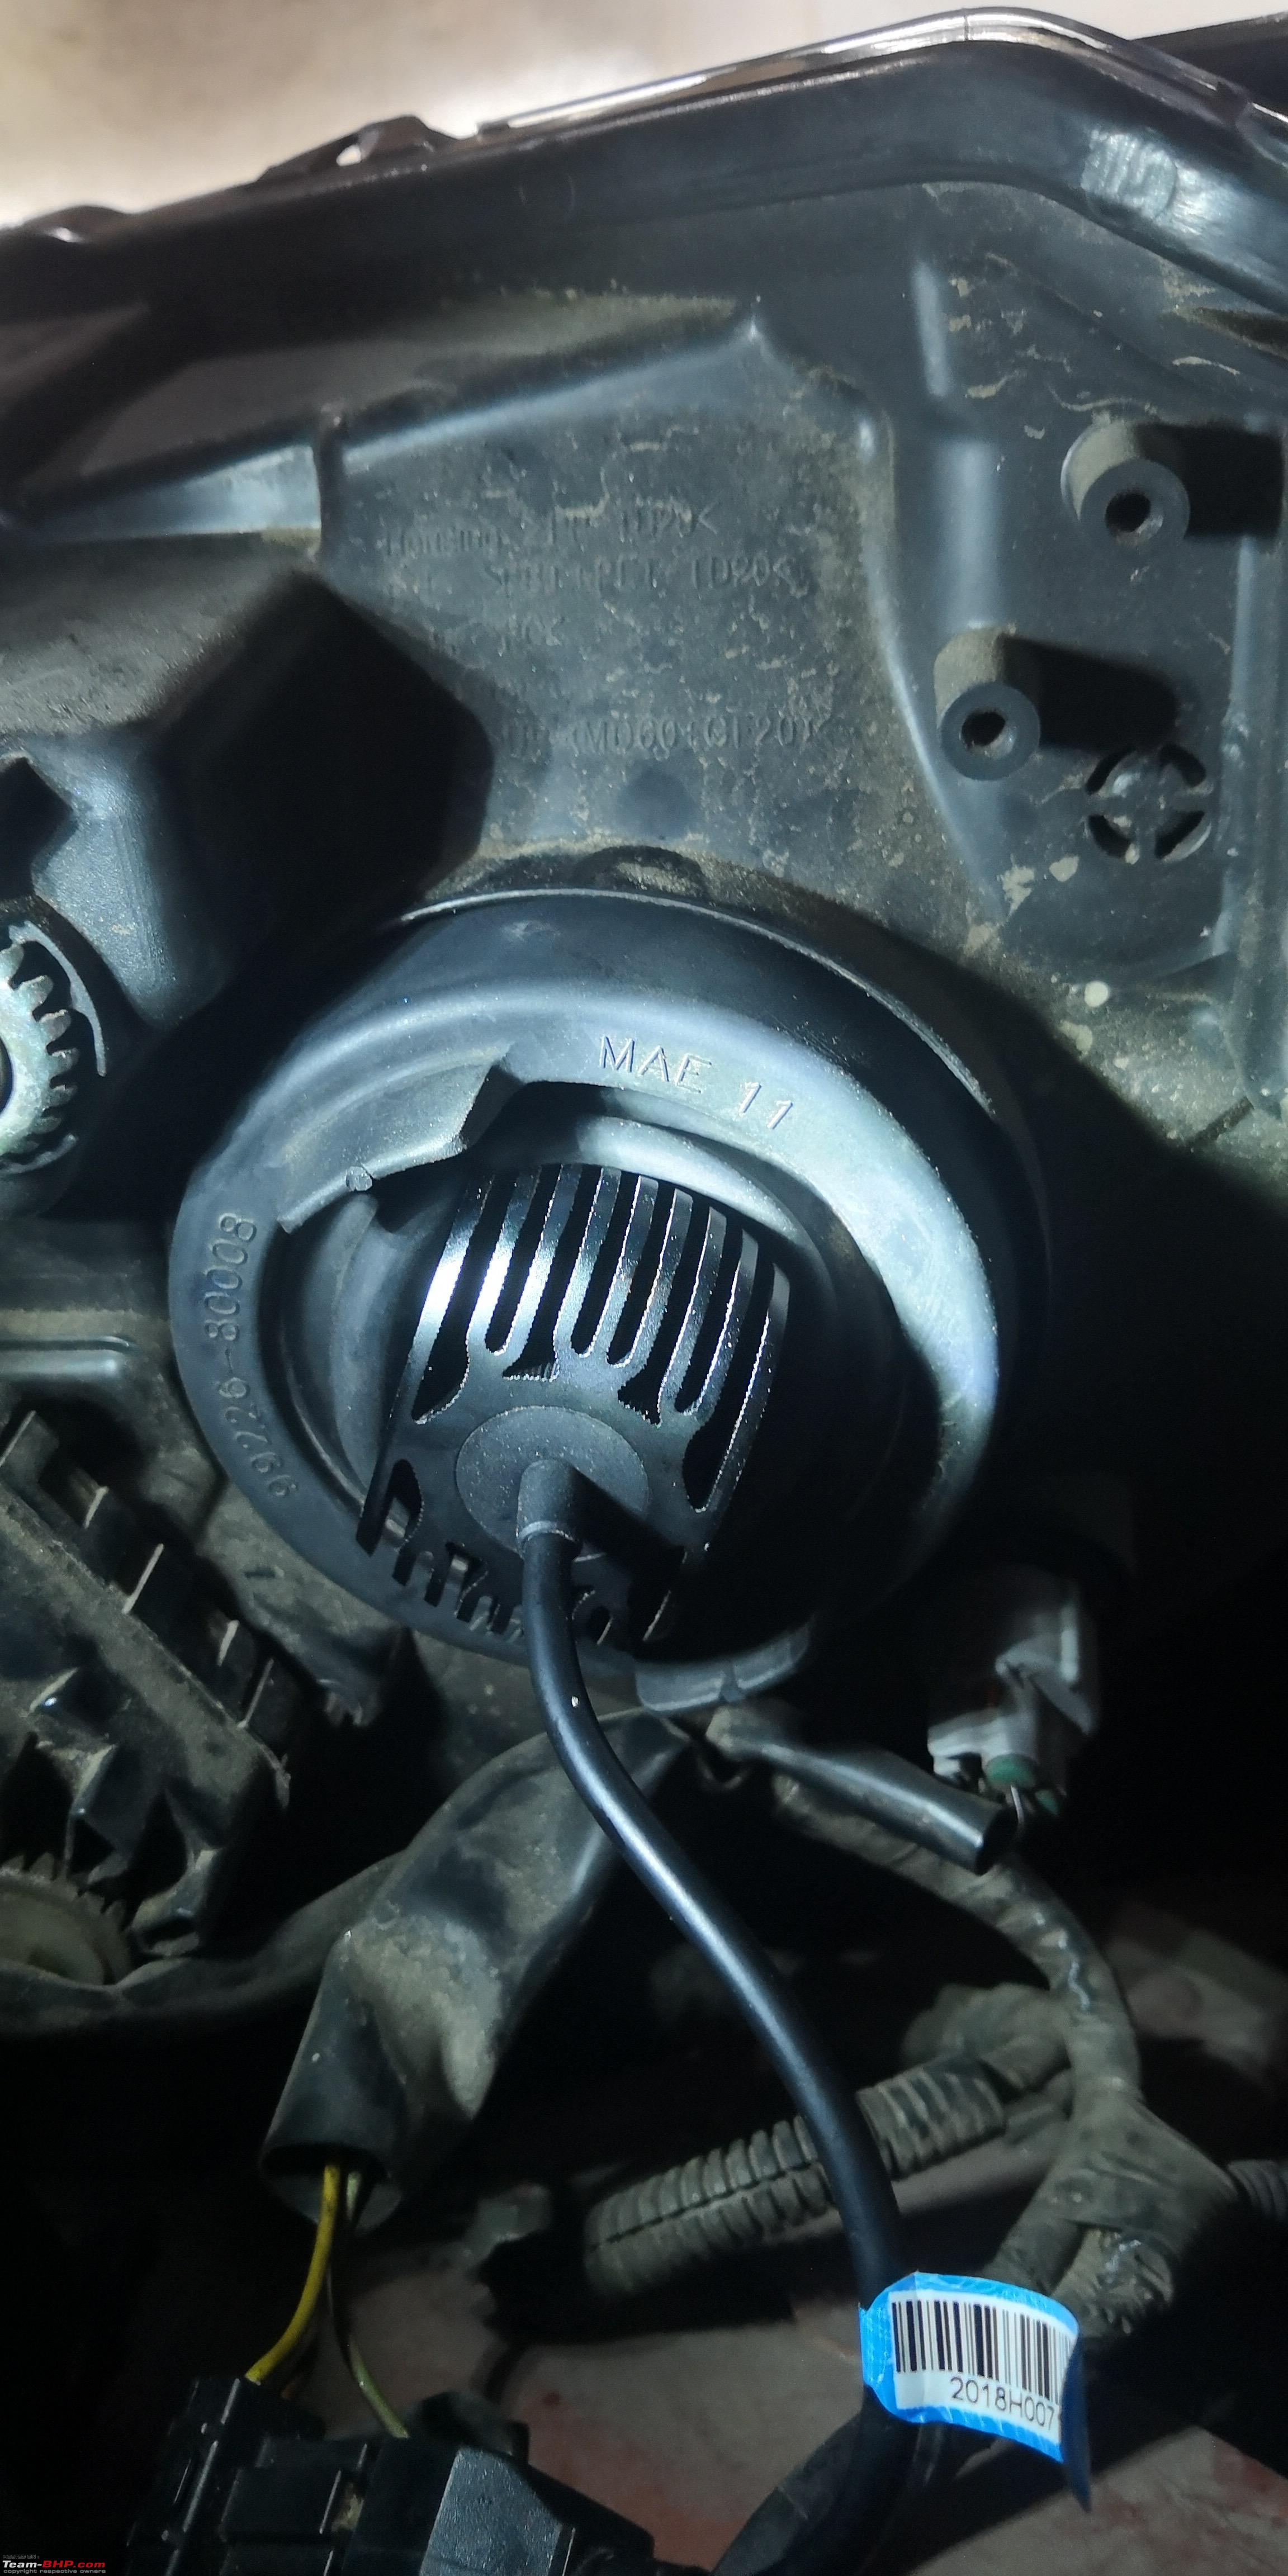
Here is a view of how the LED Bulb looks within the Reflector Housing of the Ignis:
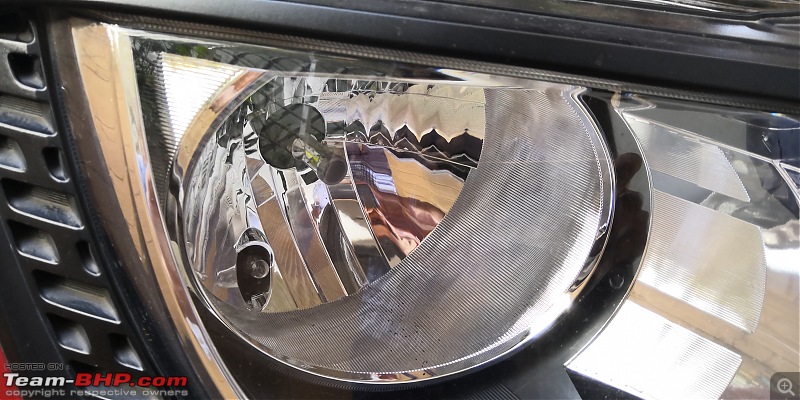 LED in Reflector Housing
After fitment of both the bulbs, did an initial check of how it looks like and here is a view of the initial setup:
 Initial SetUp - Left Side seems odd
As can be seen from the image there appeared to be an issue with the left side beam which seemed to scatter more and also it was not in the same line as the right hand side beam. After some trial and error we found that rotating the bulbs by 90 degrees from the current position helped get a good cut-off! Also we noted that the Bulbs seem to lock into place at every 90 degree angle rotation - so multiple combinations were possible.
 Rotation by 90 degrees fixed the Scattering Issue
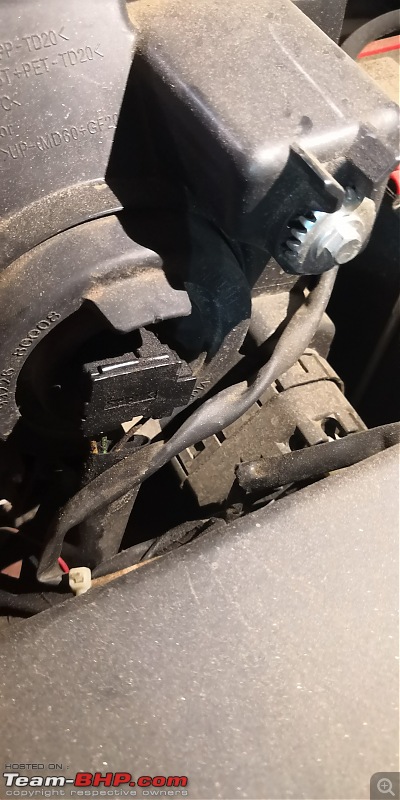
At this point of time since we were confident that we have got the fitting correctly, we decided to align the Headlights as well. The Headlight alignment screw is easily accessible in the Ignis and can be rotated using the Size 8 Spanner.
 Headlight Adjustment Tools: Size 8 Spanner for Headlight Alignment
We took the reference height of the beam from the ground on a flat surface and then adjusted the headlights to get it as near as possible to the stock Halogen setup. After this did a test drive and felt that the beam was falling too close and hence re-adjusted the height again. Here is a picture of the Headlight Alignment:
 Headlight Alignment
Now let us get back to the evaluation, let me first share the reference image of the stock Halogens
The Comparison  Reference - Stock Halogen Low Beam & High Beam (Click on image to Zoom)
And now for the upgrade Beamtech LED Bulbs:
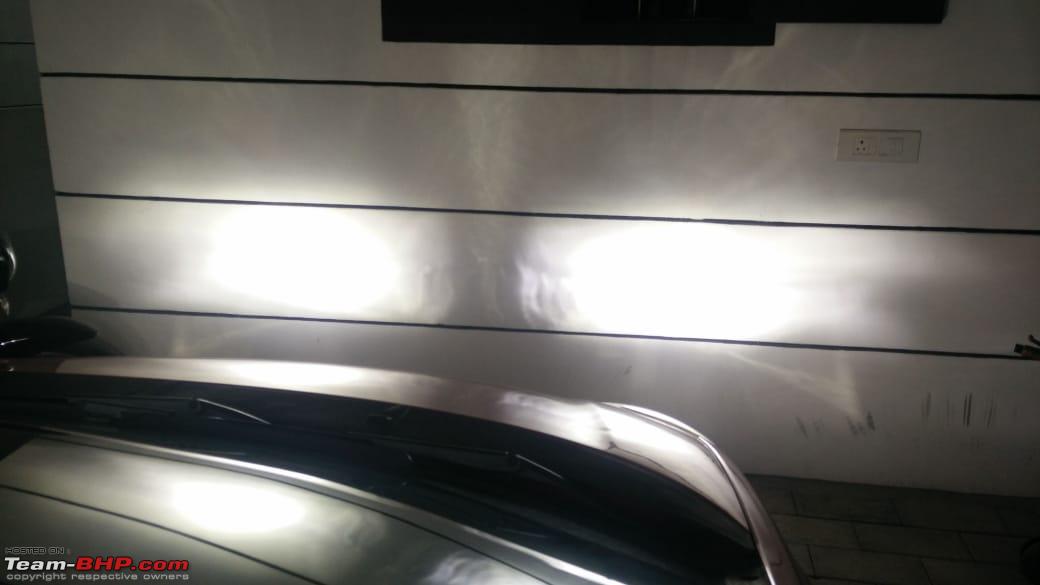
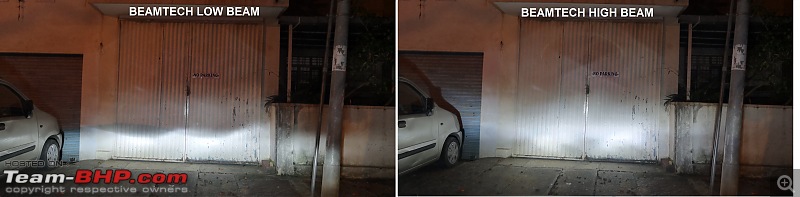 Beamtech H4 LED Headlight Bulbs (Click on image to Zoom)
Based on the above, I would say the cut-offs seem well defined and in line with the stock Halogen Bulbs. The usual excessive scatter associated with LED bulbs is definitely not present. Kudos to Beamtech for the good design!
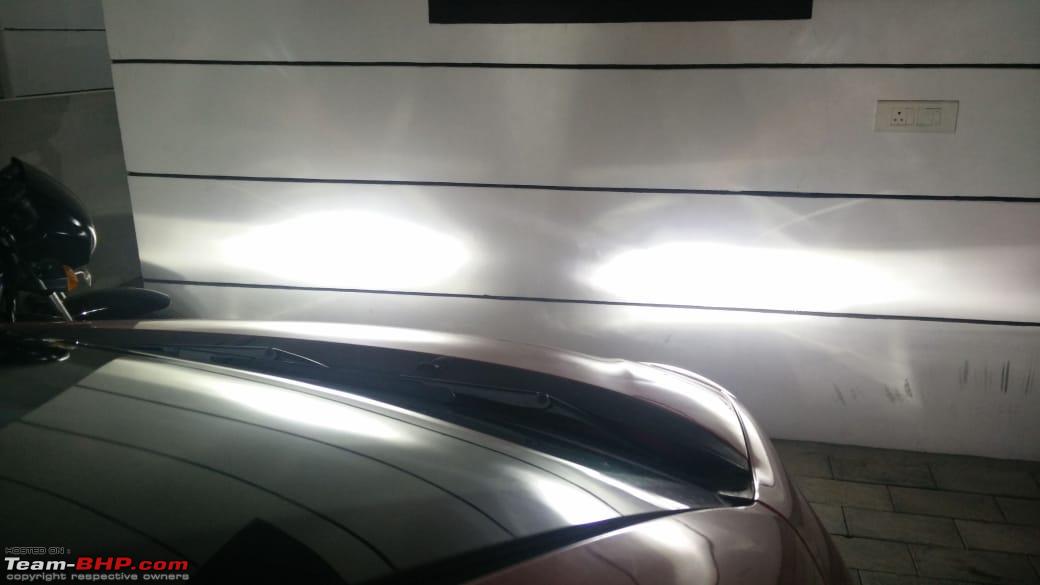
The below picture shows the Low Beam and High Beam with the Bulbs adjusted for a lower aim. I did readjust and slightly change the aiming after this picture.
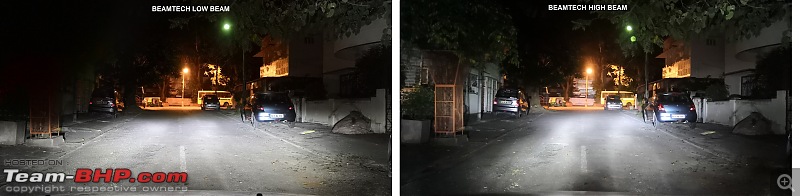 The Beamtech LED Lights!! (Click on image to Zoom)
Here are some additional images of the LED Headlights:
 Reference - Darkness
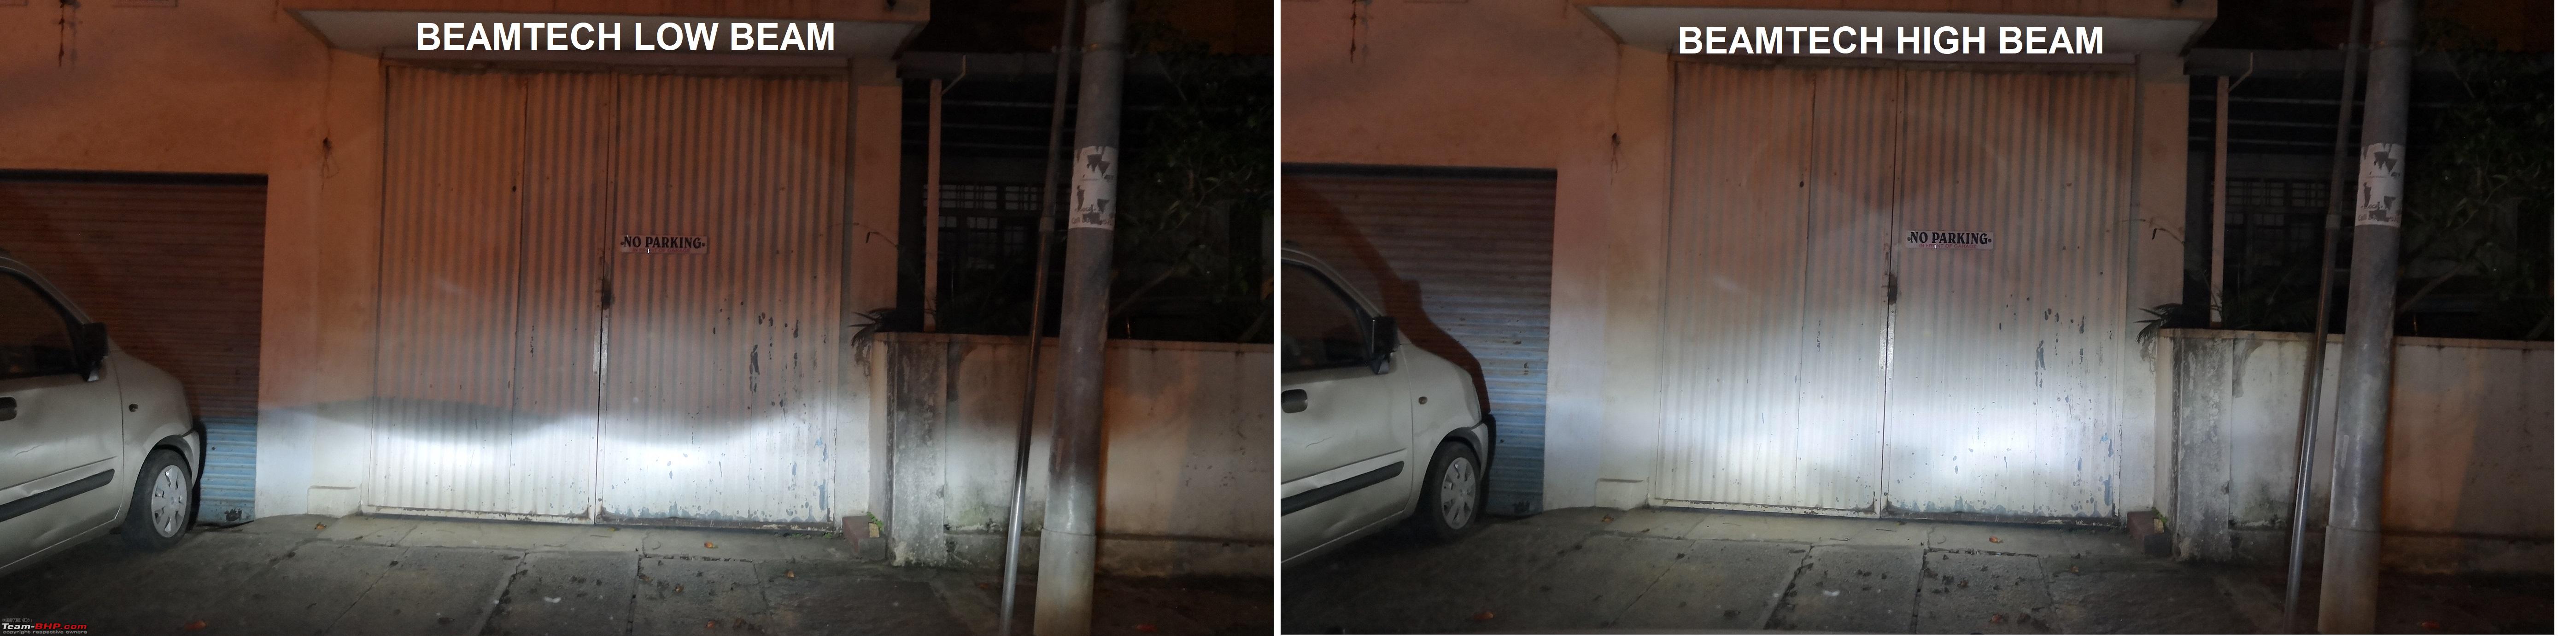
  Beamtech Low Beam
 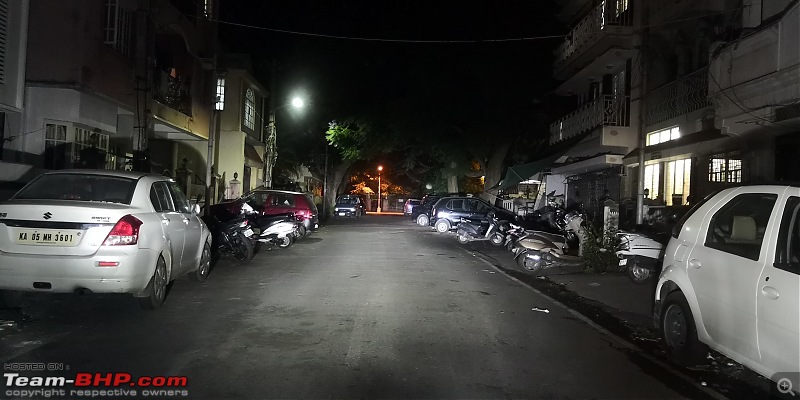 Beamtech High Beam
  Zoomed in Comparison View for Low vs High Beam (Click on image to Zoom) Conclusion Overall very happy with the setup and the results. I would recommend the Beamtech LED Headlights for anyone wanting to upgrade their headlights.
 I would also like to share my appreciation for the
www.bulbfacts.com website for sharing accurate results from their independent testing
 But wait...there is still one interesting bit left... The Dust Caps
As called out earlier, the heatsink of the Beamtech LED Bulb at the base of the bulb is large as compared to the stock halogen bulb and hence it was not possible to fit the dust cap. I checked on Amazon.in and found that some universal dust caps for LEDs were being sold which would potentially fit/replace the stock dust caps. Meanwhile, before ordering on Amazon I felt I should check the local stores and headed to
A1 Car Care near Ashoka Pillar. In the past I had got the reverse camera fitted on the Ignis at A1 Car Care itself and hence I am familiar with the folks there. I enquired if they could get Dust Caps for my Headlights and explained the context.
Immediately one of the mechanics there asked me to show the Dust Caps - he then just inverted it and said - now try it this way and it will work. He said he has used this approach before for multiple vehicles before as well. And yes, Lo and Behold, after just inverting/reversing the flexible rubber Dust Cap - it fits like a charm!! Thanks to A1 Car Care folks for this amazing tip!
Here is a picture of the the Dust Caps in both positions:
 Dust Caps - Showing Normal Position and Inverted Positions
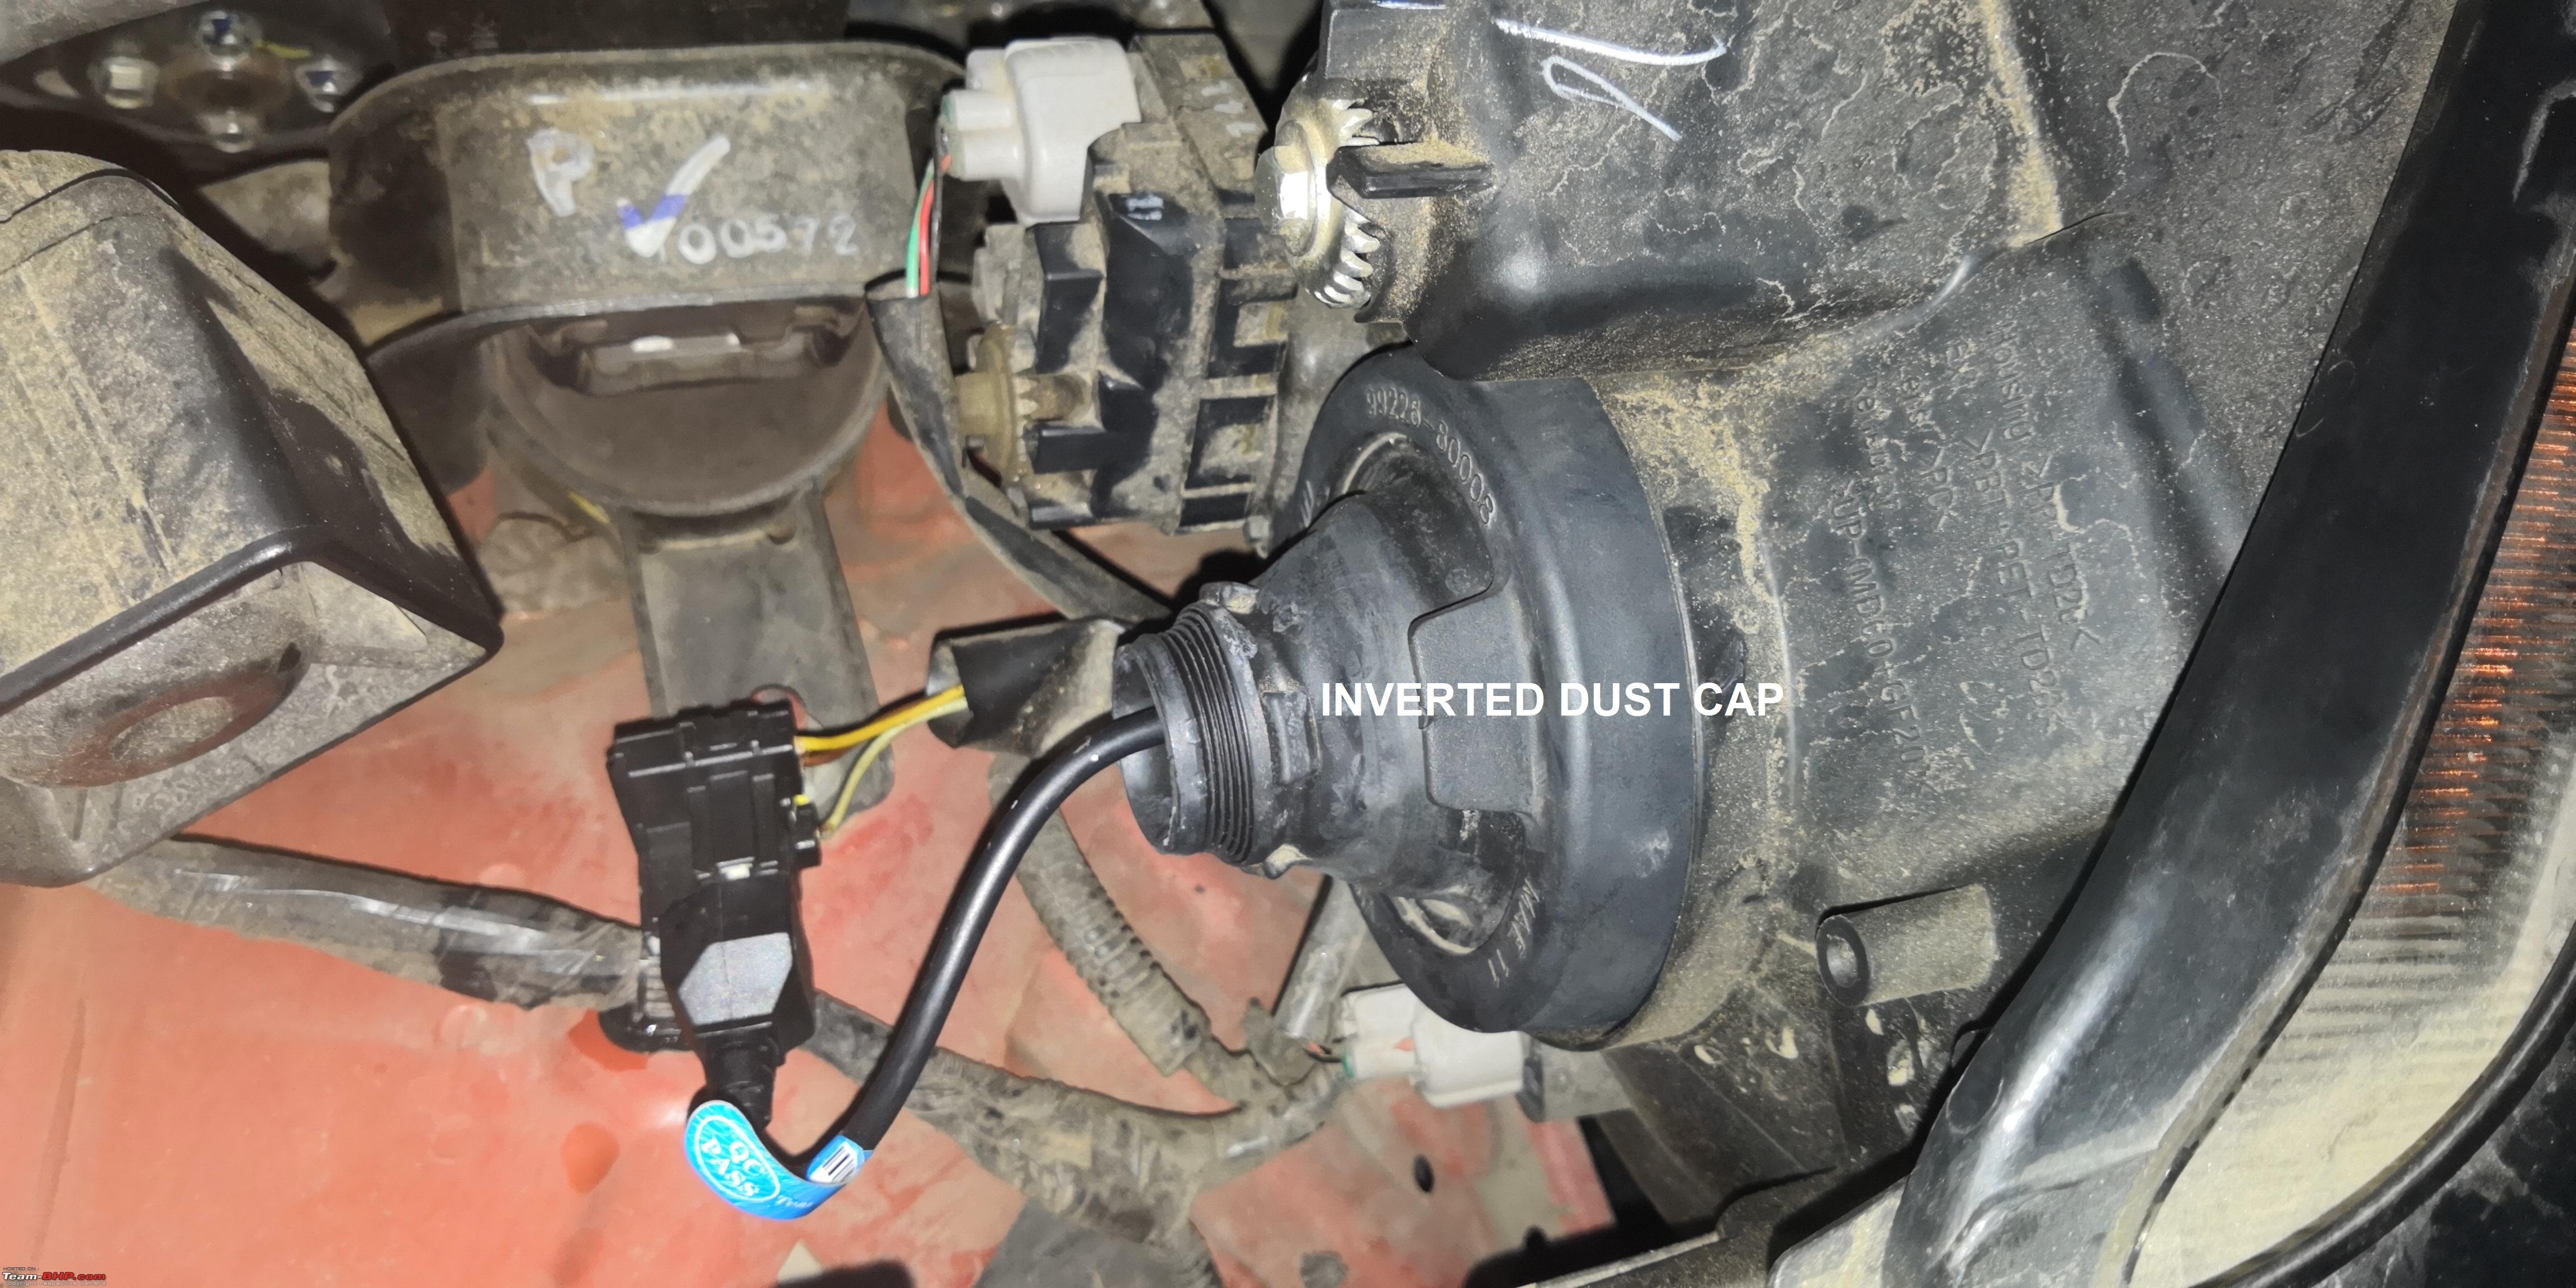
As can be seen in the picture, inverting the dust cap creates more space at the base and with this additional space, the Heatsink of the Beamtech LED was accomodated within the same stock dustcap as a snug fit!
Here is a picture of the Dustcap in place over the Bulbs:
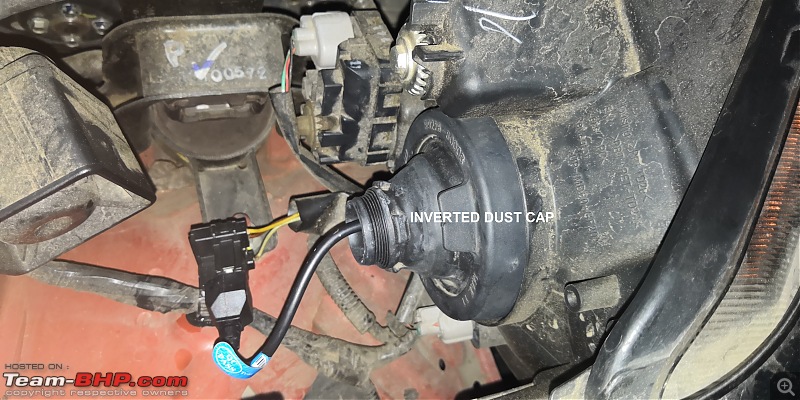 Inverted DustCap - The Perfect Fit...!
All is Well that ends well. Thanks a lot for reading my post and hope you find it helpful and I will end by saying "
Let there be Light...!"


 27th October 2018, 17:36

 (35)
Thanks
(35)
Thanks