Has someone tried to figure out what the other the wires are meant for? I believe one would be for the reverse signal so that the mirror wont dim while reversing and the other two?
Boodmo hasnt delivered my order since Oct'21, and kept revising delivery dates every 4-5 days. So finally, last week I contacted Mechdeals.com via whatsapp to check if they have the mirror in stock. Mechdeals confirmed that they will be getting fresh stock soon. Today I got confirmation from them that they have just received fresh stocks, and I immediately placed order. Lets see if they ship on Jan 21st morning as promised.
Did anyone receive shipment from Boodmo?
I finally received the mirror ordered on Mechdeals. Order was placed on Jan 20th, and mirror received on Jan 23rd. My other order on Boodmo placed in Oct 2021 is still not delivered. Every week, Boodmo keeps pushing the expected date of delivery.
Some observations on this mirror:
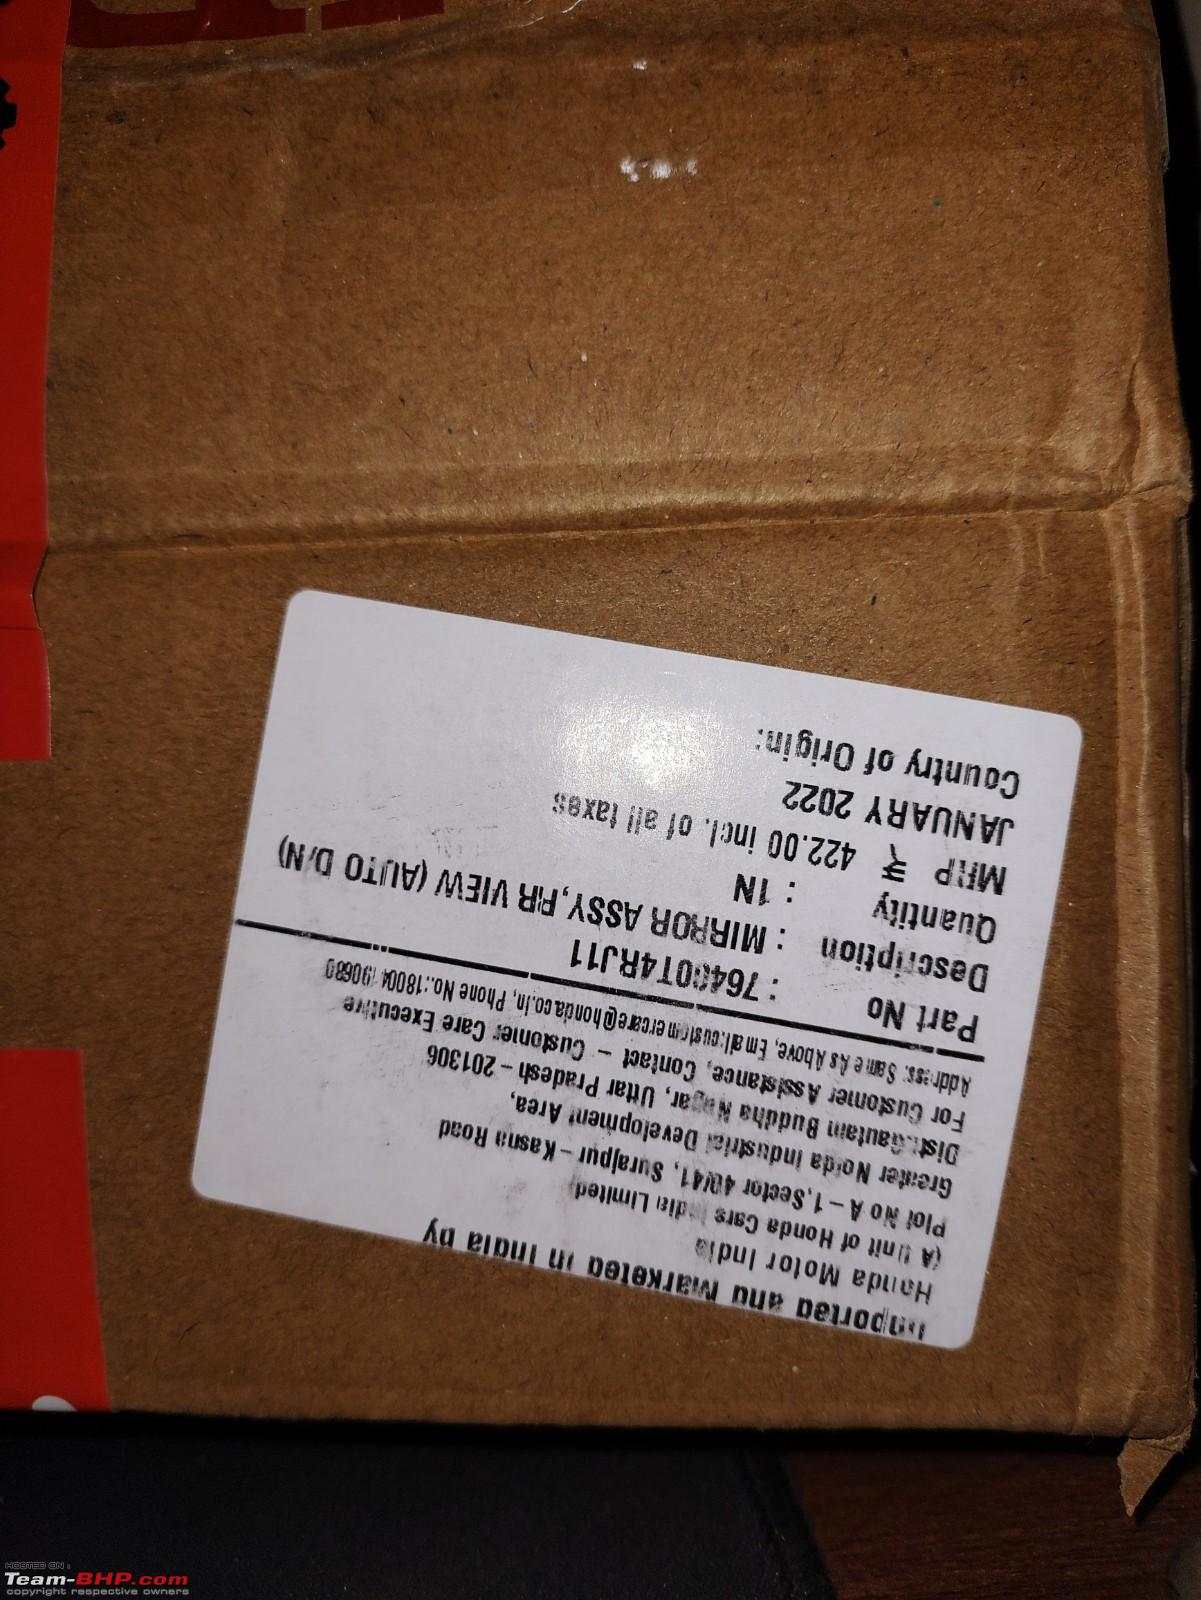
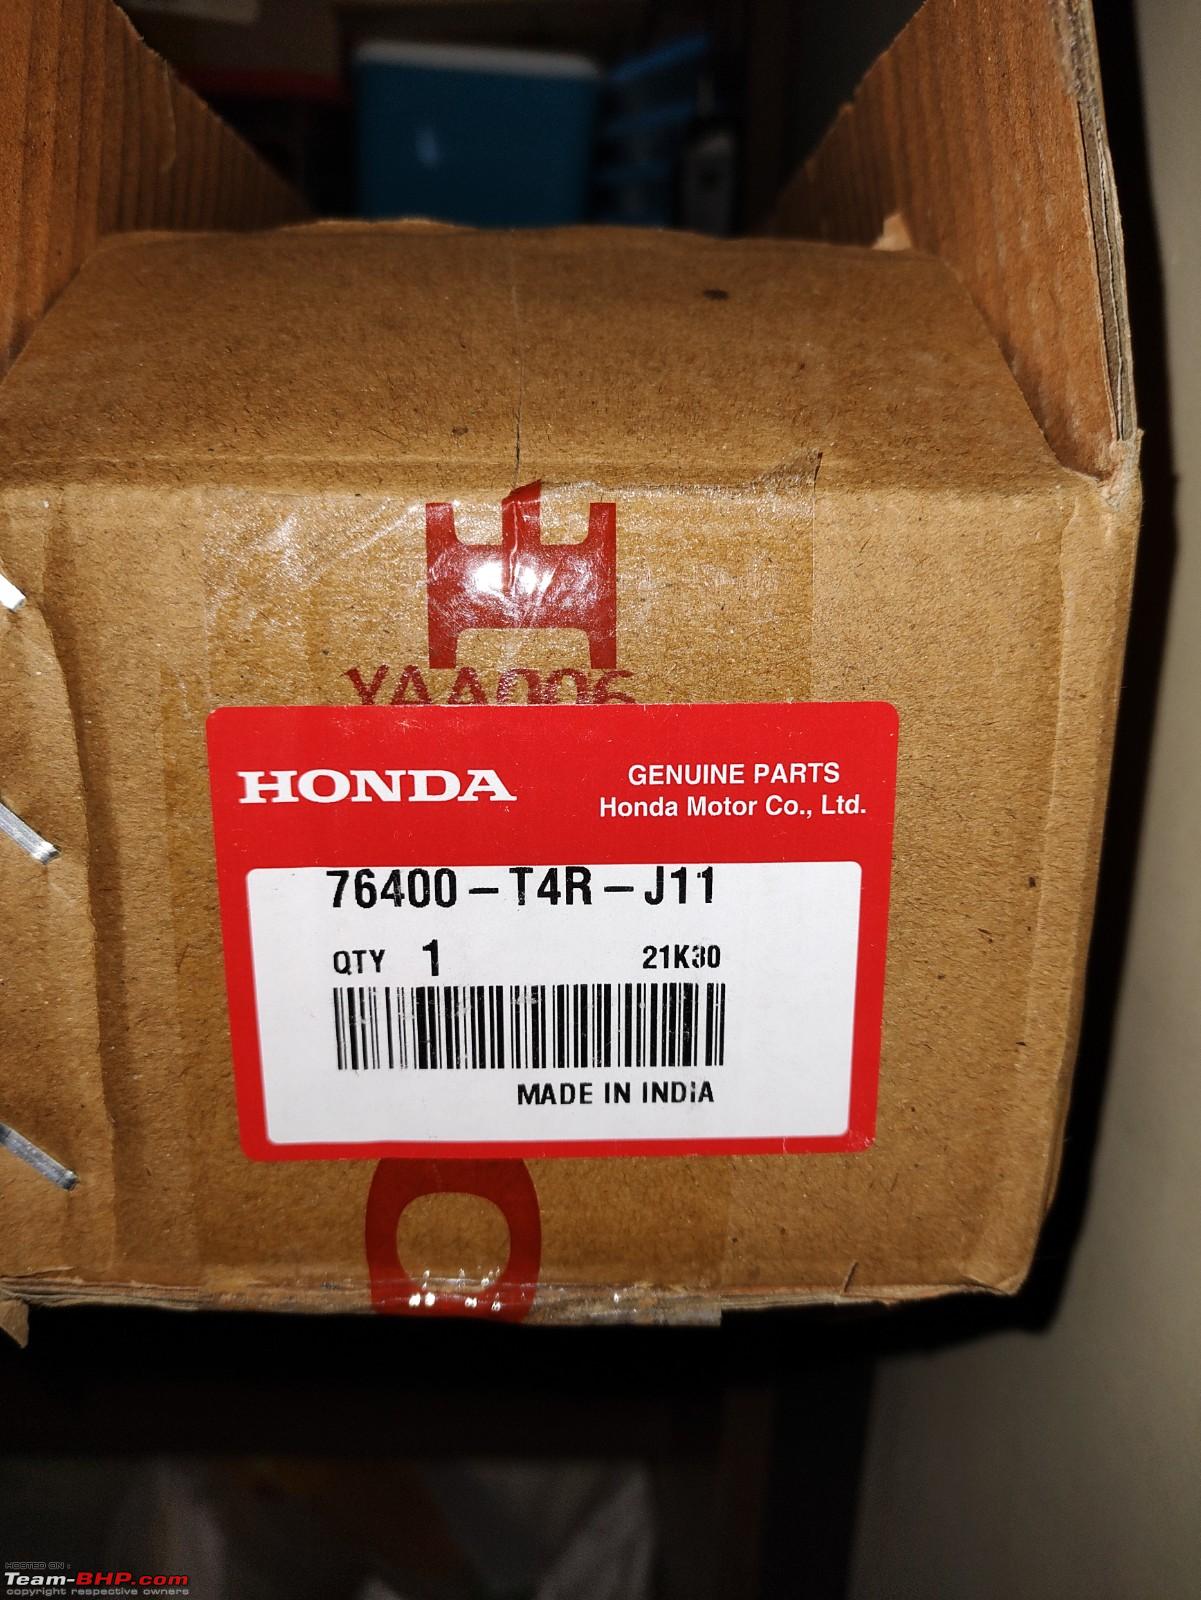
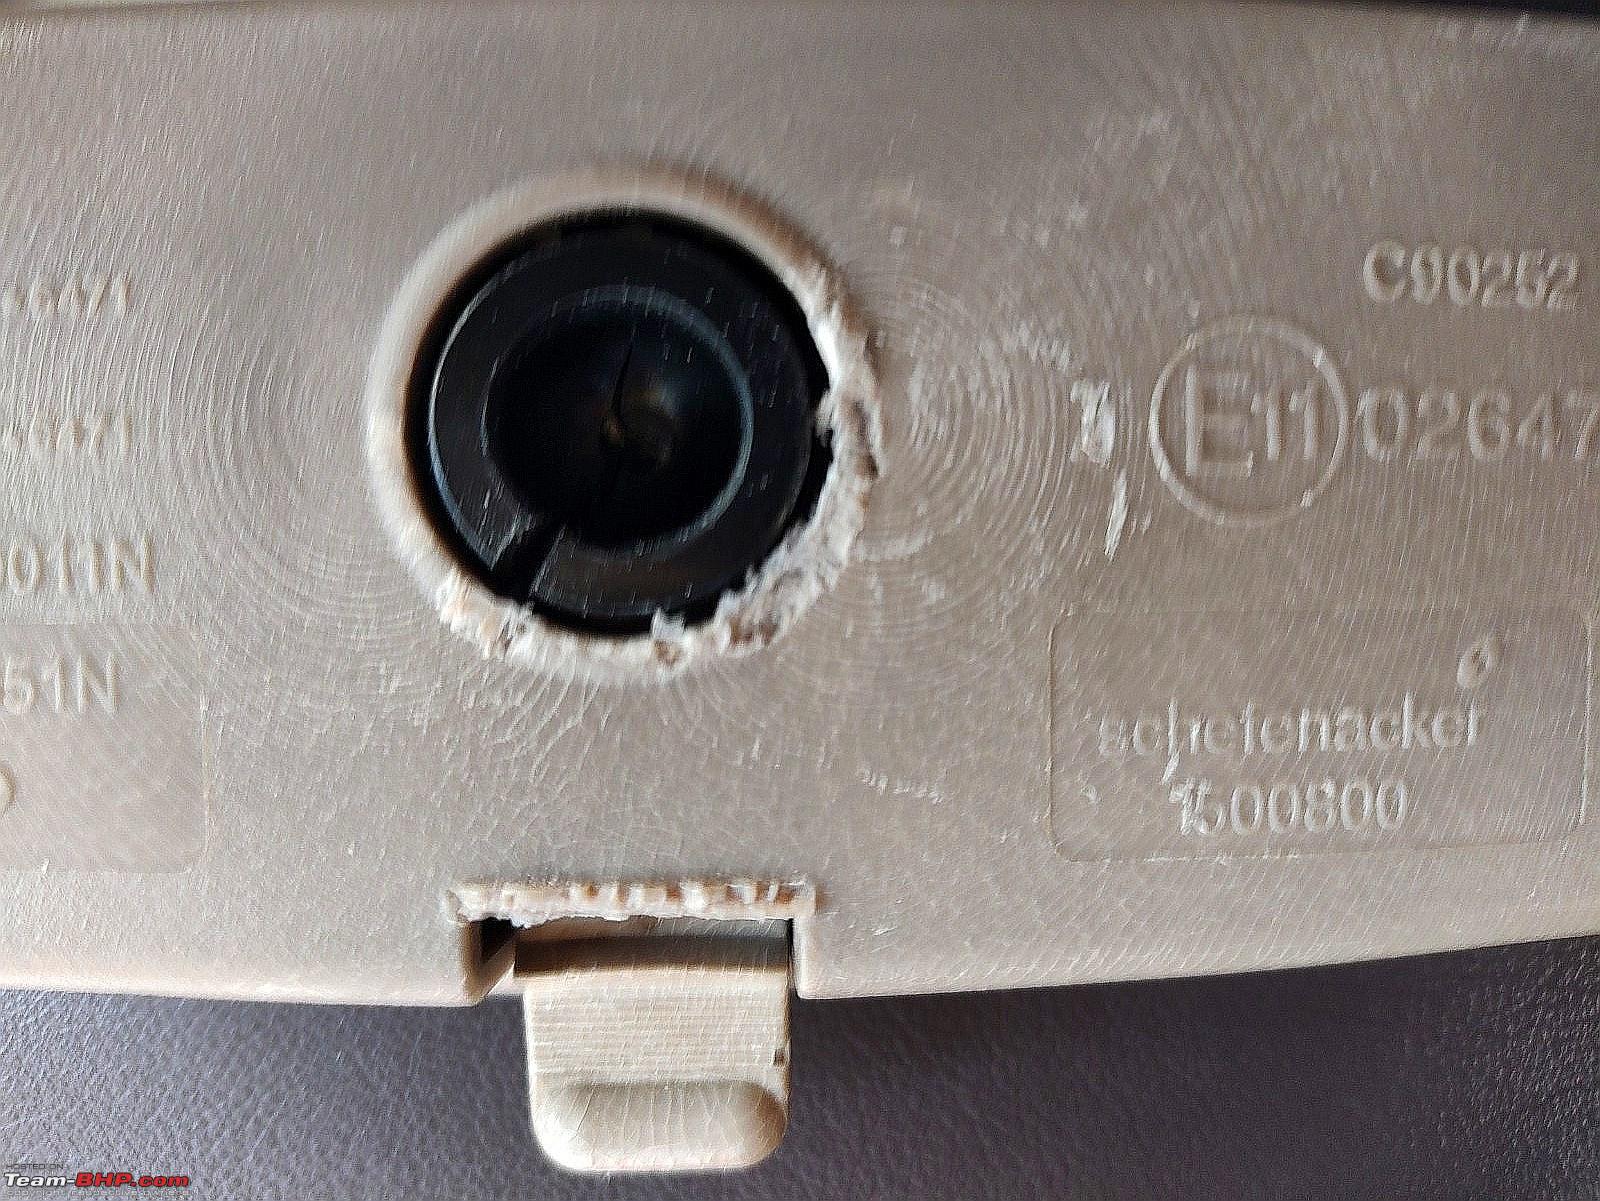
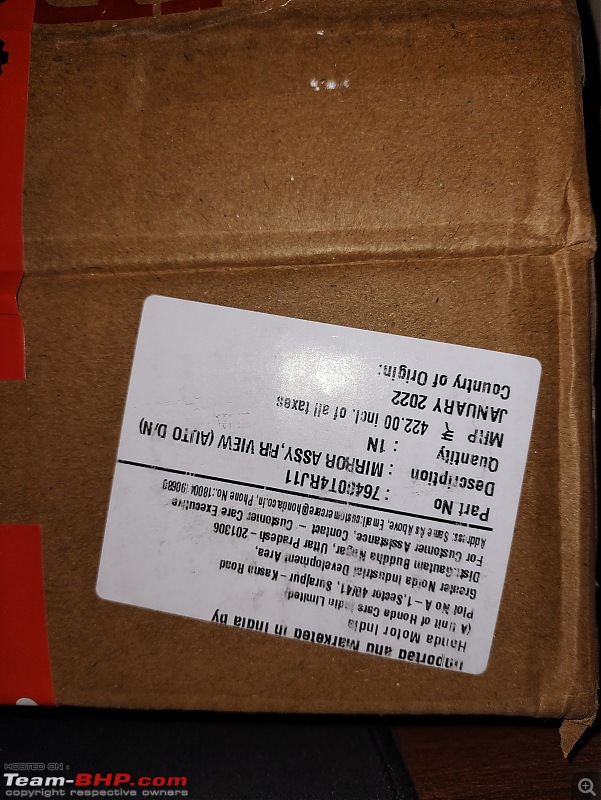
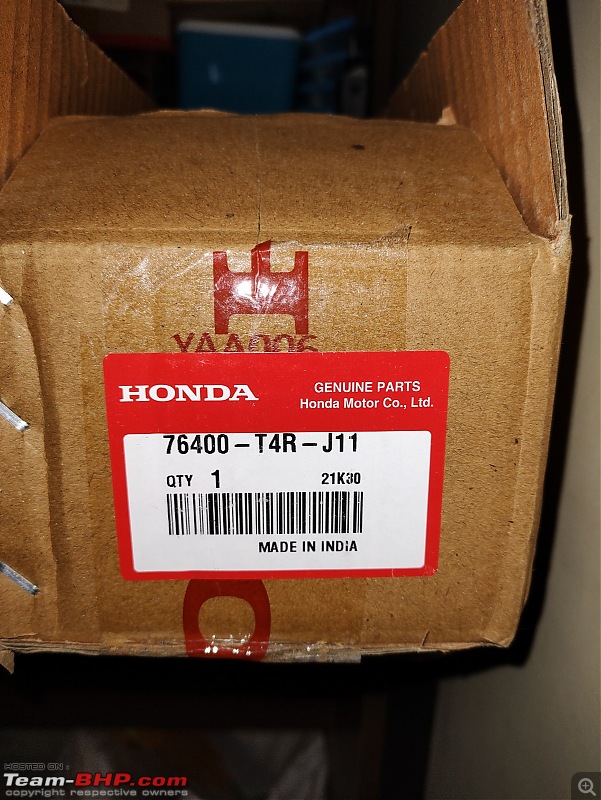
1. The box had minor damages, although came factory sealed (Honda branded adhesive tape). Product label on the box shows "Made in India" unlike the pics shown on the website and posts from other BHPians. Country of Origin shows blank. Manufacturing date Jan 2022!
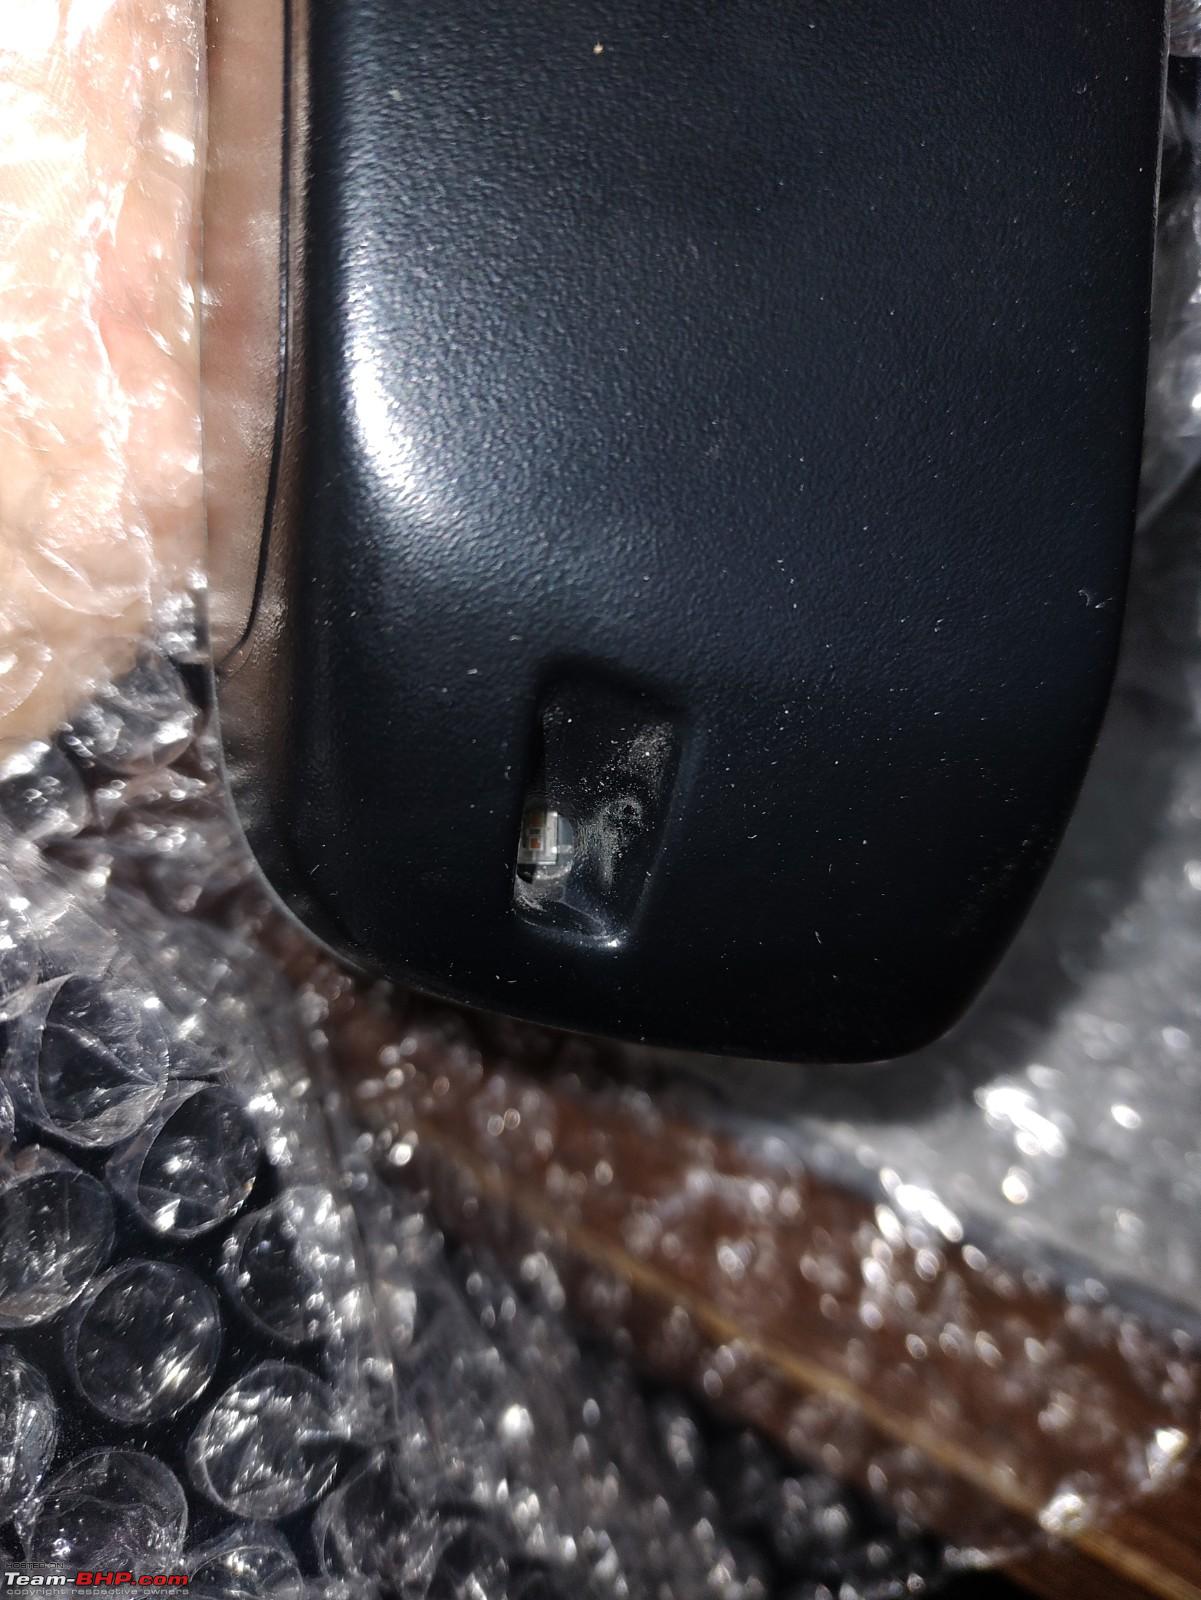
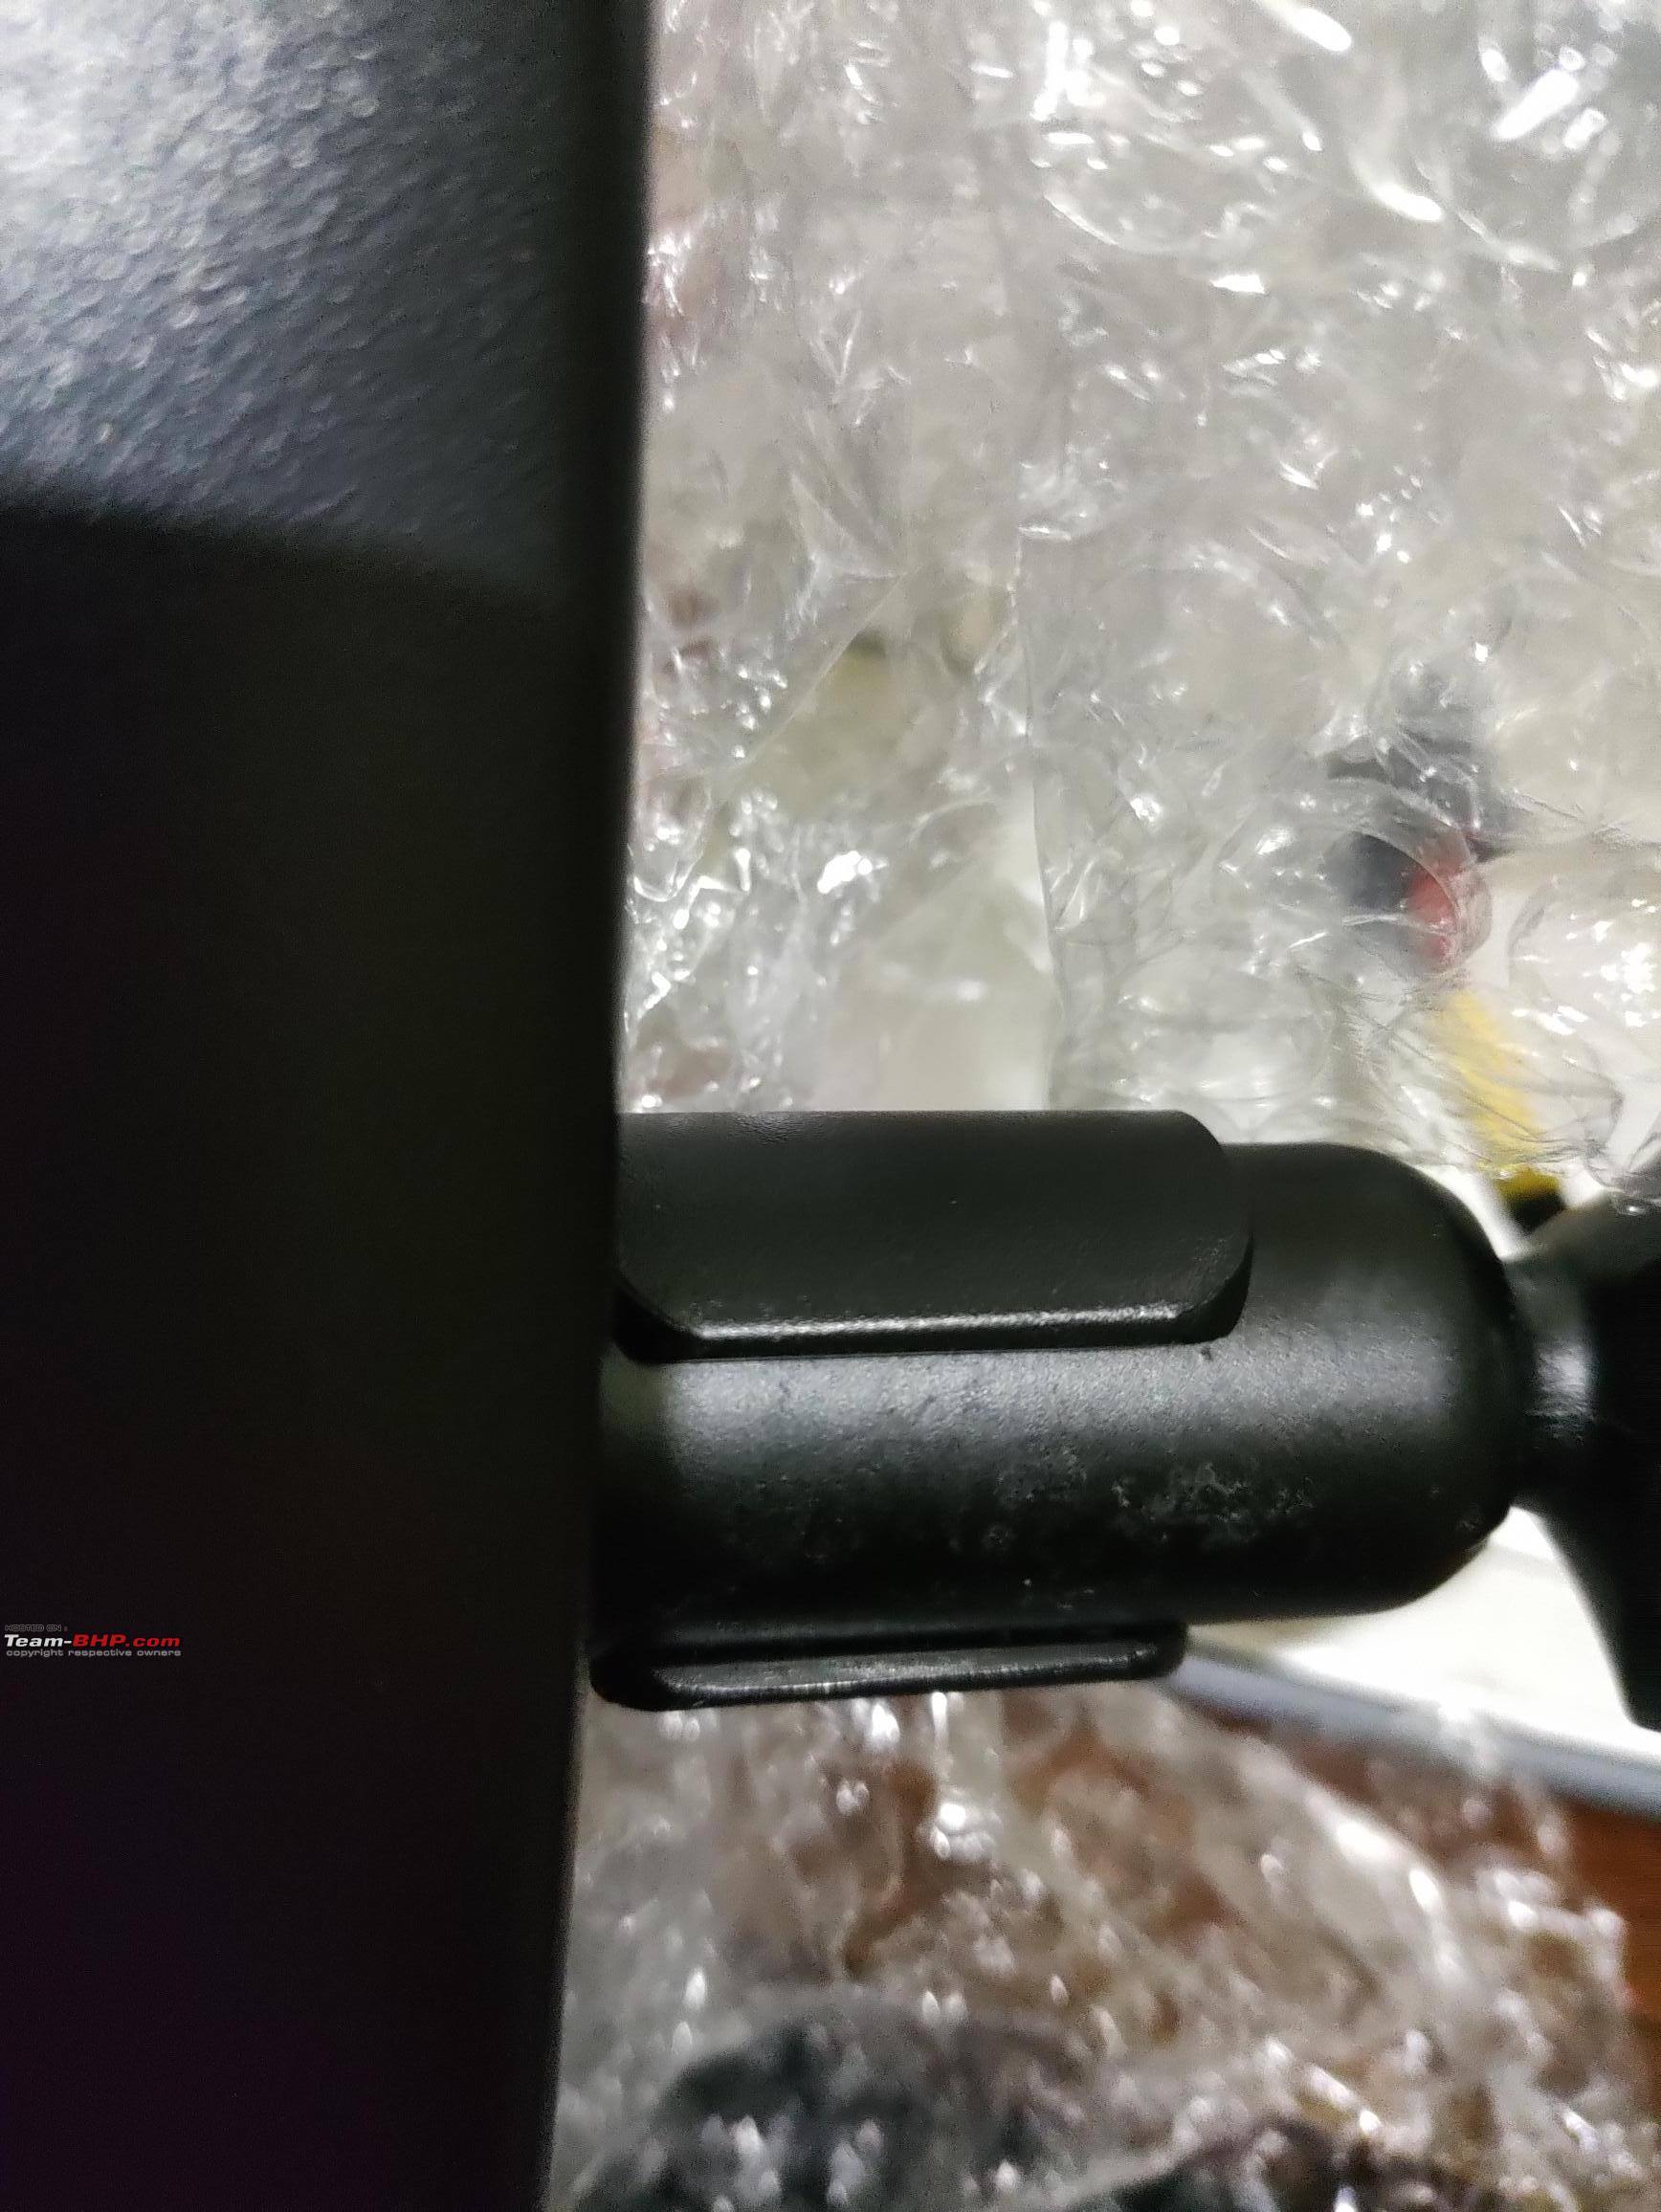
2. The product has dust accumulated (a lot in the cavity for the light sensor), fingerprints on the mirror surface and smudges all around and micro-scratches at edges of the glass, as if the product is refurbished/repaired or returned and repackaged and resold. The mirror was bubble wrapped inside the box and even when the external box had minor damages, I am sure, the dust, smudges etc existed before packing at factory! Definitely a QC issue at the manufacturer's facility.
(pics are taken after removing dust on external surfaces, still can see dust inside the sensor cavity, so you can imagine how bad it was. Surprisingly, the box did not have any dust inside it in spite of damages)

3. After cleaning the mirror, and testing using 12V supply, I found the mirror working as expected. So the electronics seems to be fine.
I provided video of the damaged box and feedback about the product to Mechdeals and asked them to forward the complaints to Honda.
Taking inspiration and inputs from other BHPians who already done the DIY installation of Auto D/N interior mirror, I also completed the installation on my XUV500 W6/2011.
Why:
My XUV's stock IRVM started to give some trouble in Oct and thats when I started looking for Auto D/N mirror and came across this thread. The IRVM had become extremely loose, would not hold in position especially during sunny day and would vibrate a lot when the engine is running, until the car's AC cools brings the cabin temperature down.
I noticed that the plastics had become extremely brittle possibly due to exposure to sun. Even slightest rubbing for cleaning dust removed lots of plastic as if this the back is scratched violently with a baster file.
The IRVM's ball socket had two major cracks, which would not allow the mirror to be held in position firmly. I used single sided adhesive tape layer on the ball to tighten the joint while waiting for replacement and refitted the mirror. This held the mirror in position slightly better, but had to put additional layer of packing within a few days, and would become loose within a month.

I had two options:
1. Replacing with similar Mahindra mirror, cost Rs. 828, fastest, easiest. (
https://boodmo.com/catalog/part-mirr...heat-33065736/).
2. Replacing stock mirror with auto D/N with some DIY mod. I decided to proceed with this and will installing same on my Nexon too.
Posts in this thread were extremely useful and I would like to thank all those BHPians who posted their experience in DIY, pictures and pointers to the Honda mirror and other parts. Since nobody covered installing this mirror on XUV500, I am writing this and posting my experience.
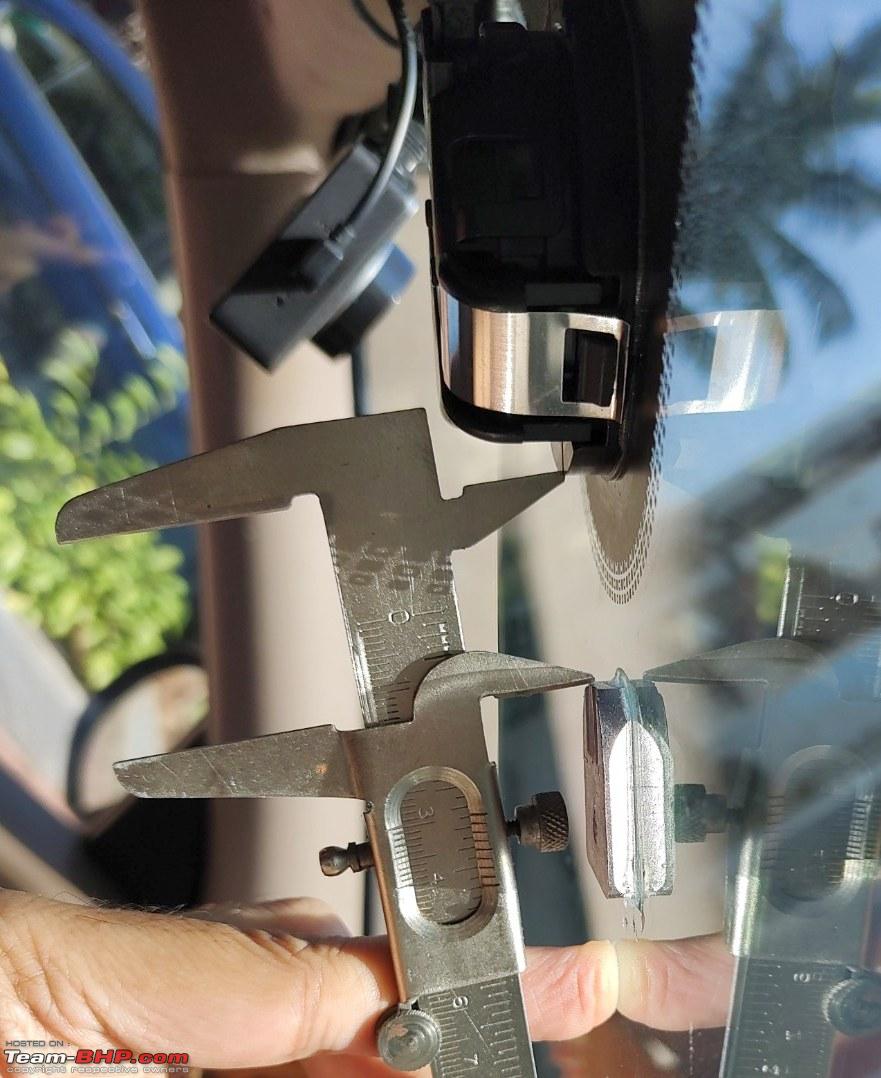
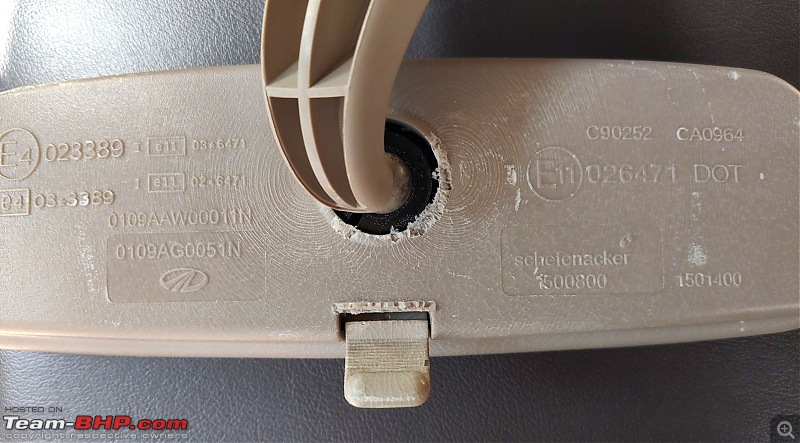
I placed the order on Boodmo in mid Oct 2021, hoping the mirror would arrive in a week or two. In the meanwhile I went to a local windshield repair shop to buy the metallic mounting button for the Honda IRVM, although I did not have the mirror yet. The local boy said he will arrange one next week and would charge me Rs. 100 for it and I agreed. Unfortunately, the shop remained closed during the next week, so I went to the nearest Maruti workshop and showed the picture of the button to the workshop manager. The manager directed me to the glass scrapyard and asked me to check if I can find one. There was only one broken windshield in scrapyard, however, to my surprise, it had the exact mount as I was looking for. The workshop manager ordered one of the mechanics to bring a hammer, and with a single stroke, the button came out with some glass still sticking on it. I thanked him profusely, picked up the mounting button and came back home.
Spent a few minutes with hammer and the button in the balcony to get rid of the stuck glass but realized there must be better way than to crush the glass pieces to powder. Heat! I held the button with a pliers, put in on LPG burner in kitchen to heat it for some 20 seconds, used a box cutter to try remove the glass with the thin black mounting tape, and to my surprise, it came out one piece, cleanly in just a second, without any effort.
For several days, I kept waiting for Boodmo to ship the mirror. Every week, Boodmo would send me an email with revised expected date of delivery. Nothing came for over two months even even after several reminders to Boodmo. I decided to check local Honda workshop if they can sell me one mirror. The workshop manager flatly refused over-the-counter sale but suggested I can ask any of my friends who owns Honda City 6th gen to 'get its original one replaced with new and keep the old' (i.e. on paper). I contacted a few friends, all of them had older version of City and this effort to buy the mirror failed.
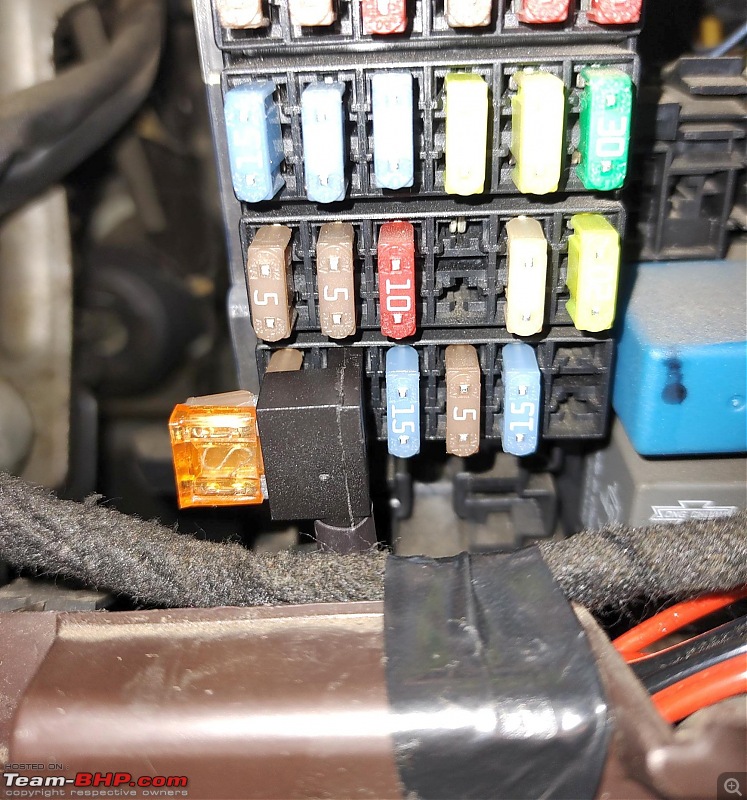
In the meanwhile, I had purchased a set of 3 Mini fuse taps from Amazon (Rs. 299)(
https://www.amazon.in/Mini-Blade-Cir...dp/B084V51J3Q/), which arrived with 20Amp fuses. The mirror would need less than 0.2Amp, and the lowest rated fuse I could get from local workshop was 5Amp.
I used available 0.5sqmm 2 core wire already available at my home, and laid it from the cabin fuse box to the mirror's location. It was easy to open the A pillar trim (there is a single bolt to be opened) to route the cable and had done it before for installing rear view display. I tapped the circuit used for vanity mirror, which had a fuse of 5Amp, and this gets switch on when the key is turned on to Accessory mode. Connected the black wire to one of the chassis screws near the fuse box under the steering.
I used 2 pin JST connectors at the mirror end (
https://www.amazon.in/gp/product/B08SJ58LN5/) and kept the whole circuit ready for plugging in the mirror when available.
One of the posts in this thread mentioned about Mechdeals.com. I contacted their sales guy (number available on website) who mentioned that Honda is not taking any new orders for last few months, however, they are expecting some fresh stocks in next 8-10 days. I requested the sales guy to update me when they they get confirmation about new stocks. On Jan 20th, the mechdeals.com person confirmed they received some 90 units and asked me to place prepaid order online ASAP. I immediately did so (Rs. 422 + 248 shipping). Next evening, I received tracking on WhatsApp. On 23rd Jan, Sunday, tracking showed mirror has reached DTDC Vashi hub, which is not very far from my home. I decided to make an attempt to collect it from their hub and the cooperative DTDC guys handed over the box to me! The mirror had lots of dust deposited (although the box came factory sealed) but still worked when tested.
This Honda auto-D/N IRVM has far better build quality than stock Mahindra IRVM, and is relatively heavier. But please note, this mirror is black in colour, while the original mirror and interiors on my XUV500 are beige.
Installation and key challenges:
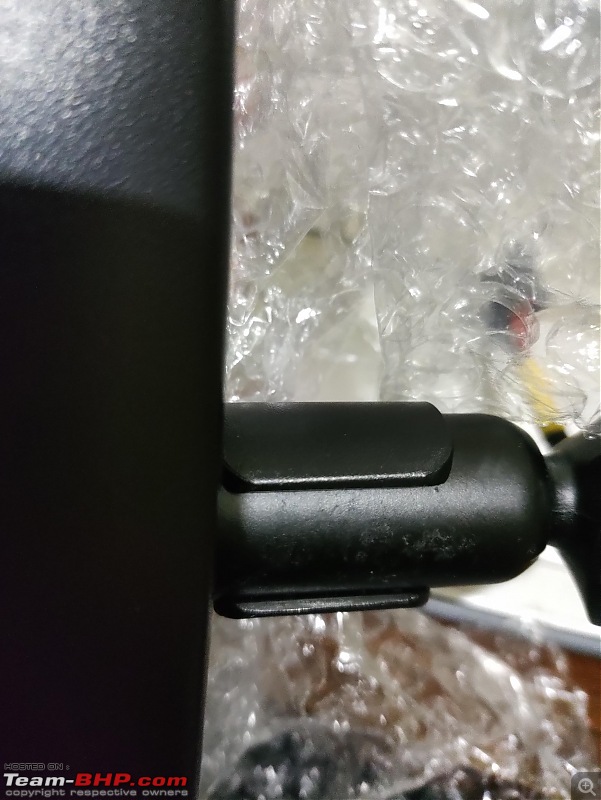
The first challenge was to find an optimal position for the mount. The stock Mahindra mirror has an arm that extends from the mount near the roof, so that the mirror glass is at a position a couple of inches from roof and several inches away from the windshield. The Honda IRVM doesnt have such an extended arm for mounting near roof, but needs the button / base to be mounted right behind the mirror, and the mirror stays just a few centimeters away from the windshield glass (i.e. farther away from the driver) with its short hollow arm with ball sockets at both ends, but with limited permitted movement. In any case, the mounts are different.
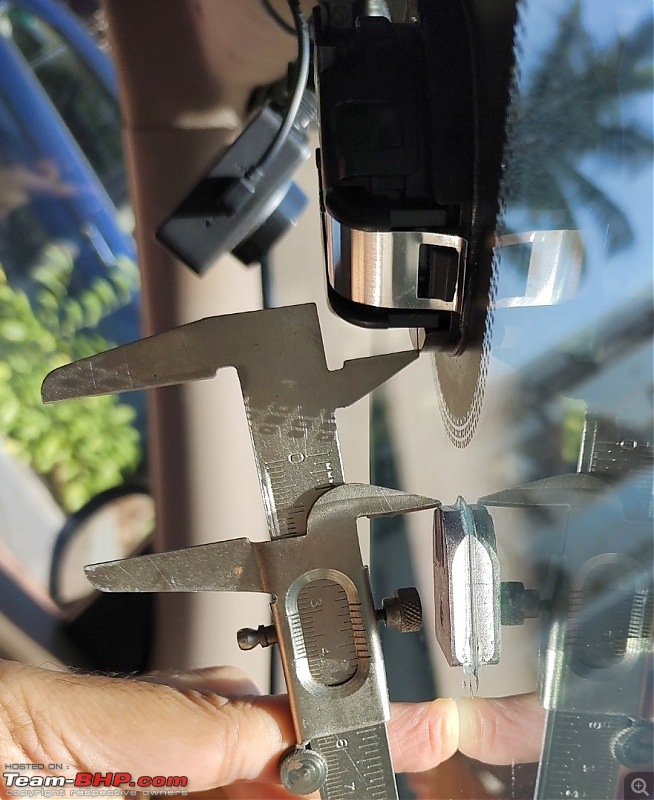
Mahindra XUV500 W6 has a rain sensor right below the stock mirror mount and a plastic case covering the original arm and rain sensor. So the Honda mirror mount needs to find a place below the rain sensor cover. The new mount needs to be atleast 30mm below any obstruction at top. And the new mirror arm is very short, touching the rain sensor case and could cause noise with vibrations. This forces the position of new mirror to be way below the original one. Further, the Honda mirror has limited degree of rotation in the ball joint, that makes finding ideal position for the mount a bit challenging.
I had two choices. Mounting the mirror some 35 mm below the rain sensor cover, but I found the new mirror position too low and cause extra obstruction of front view. The other option was a bit compromise, which would need the mirror case to be rotated upside down to allow the mirror mount to be placed a little upwards. The Honda IRVM is large, wide, and still provides me a good and full view of the rear. Even better than stock mirror.
I decided for the second option, i.e. stick the mount 30mm below the rain sensor. This would leave minimum gap between the rain sensor cover, but still provide me good view and flexibility to turn the mirror to suit slightly different sitting positions than my normal, even if the driver seat is pulled a bit ahead or pushed back. If your height is more, or sitting position very different, you may have to mount the mirror a few millimeters lower than what I opted for.
I had roughened the surface of the mount using a rough file. Removed the stock mirror, cleaned the windshield freshly where the new mount will be positioned, applied the Araldite Epoxy mixture on the button and stuck it on at the desired location on windshield, holding it pressed for a few seconds. To hold the button in position and with some pressure, stuck some regular electrical insulation tapes (cross patterns). The insulation tapes had some flexibility, providing some pressure. Additionally I applied another layer of masking tape vertically and horizontally to hold the button in place better.
The magnet was removed after some 4 hours but I left the tapes / Araldite epoxy to cure for 23 hours.
Since the wiring was kept ready, the last step was easy. I removed the tapes, inspected the joint, cut the original connector on the Honda IRVM cable, soldered the JST connector, plugged in the new IRVM, adjusted the angle and viola.
Pending:
The original plastic cover over the rain sensor may need some slight modification, so that the ugly hole (for the original IRVM arm) can be shut and wiring for IRVM can be hidden. Inside the cover, I am thinking of installing a DC-DC converter for powering the dashcam so that the old 5V wiring installed from the other A-pillar and its adapter can be removed. I can also add a small rocker switch for the mirror and a DC voltmeter to show battery voltage.
I tried installing the mount on my Dad's Nexon , sourced the mount of a VW Polo from a close-by junkyard. However, when I tried pasting it with Pidilite Araldite, it didn't work. Not sure what am i doing wrong. Do i need to change the mount? Please suggest
This auto dimming mirror is not available anymore and shows out of stock.
Is it possible to cut the mounting bracket and fix another type?