

 26th November 2021, 16:50
| #1 |
| BHPian Join Date: Aug 2021 Location: Manipal
Posts: 254
Thanked: 2,061 Times
| |

|  (123)
Thanks (123)
Thanks
|
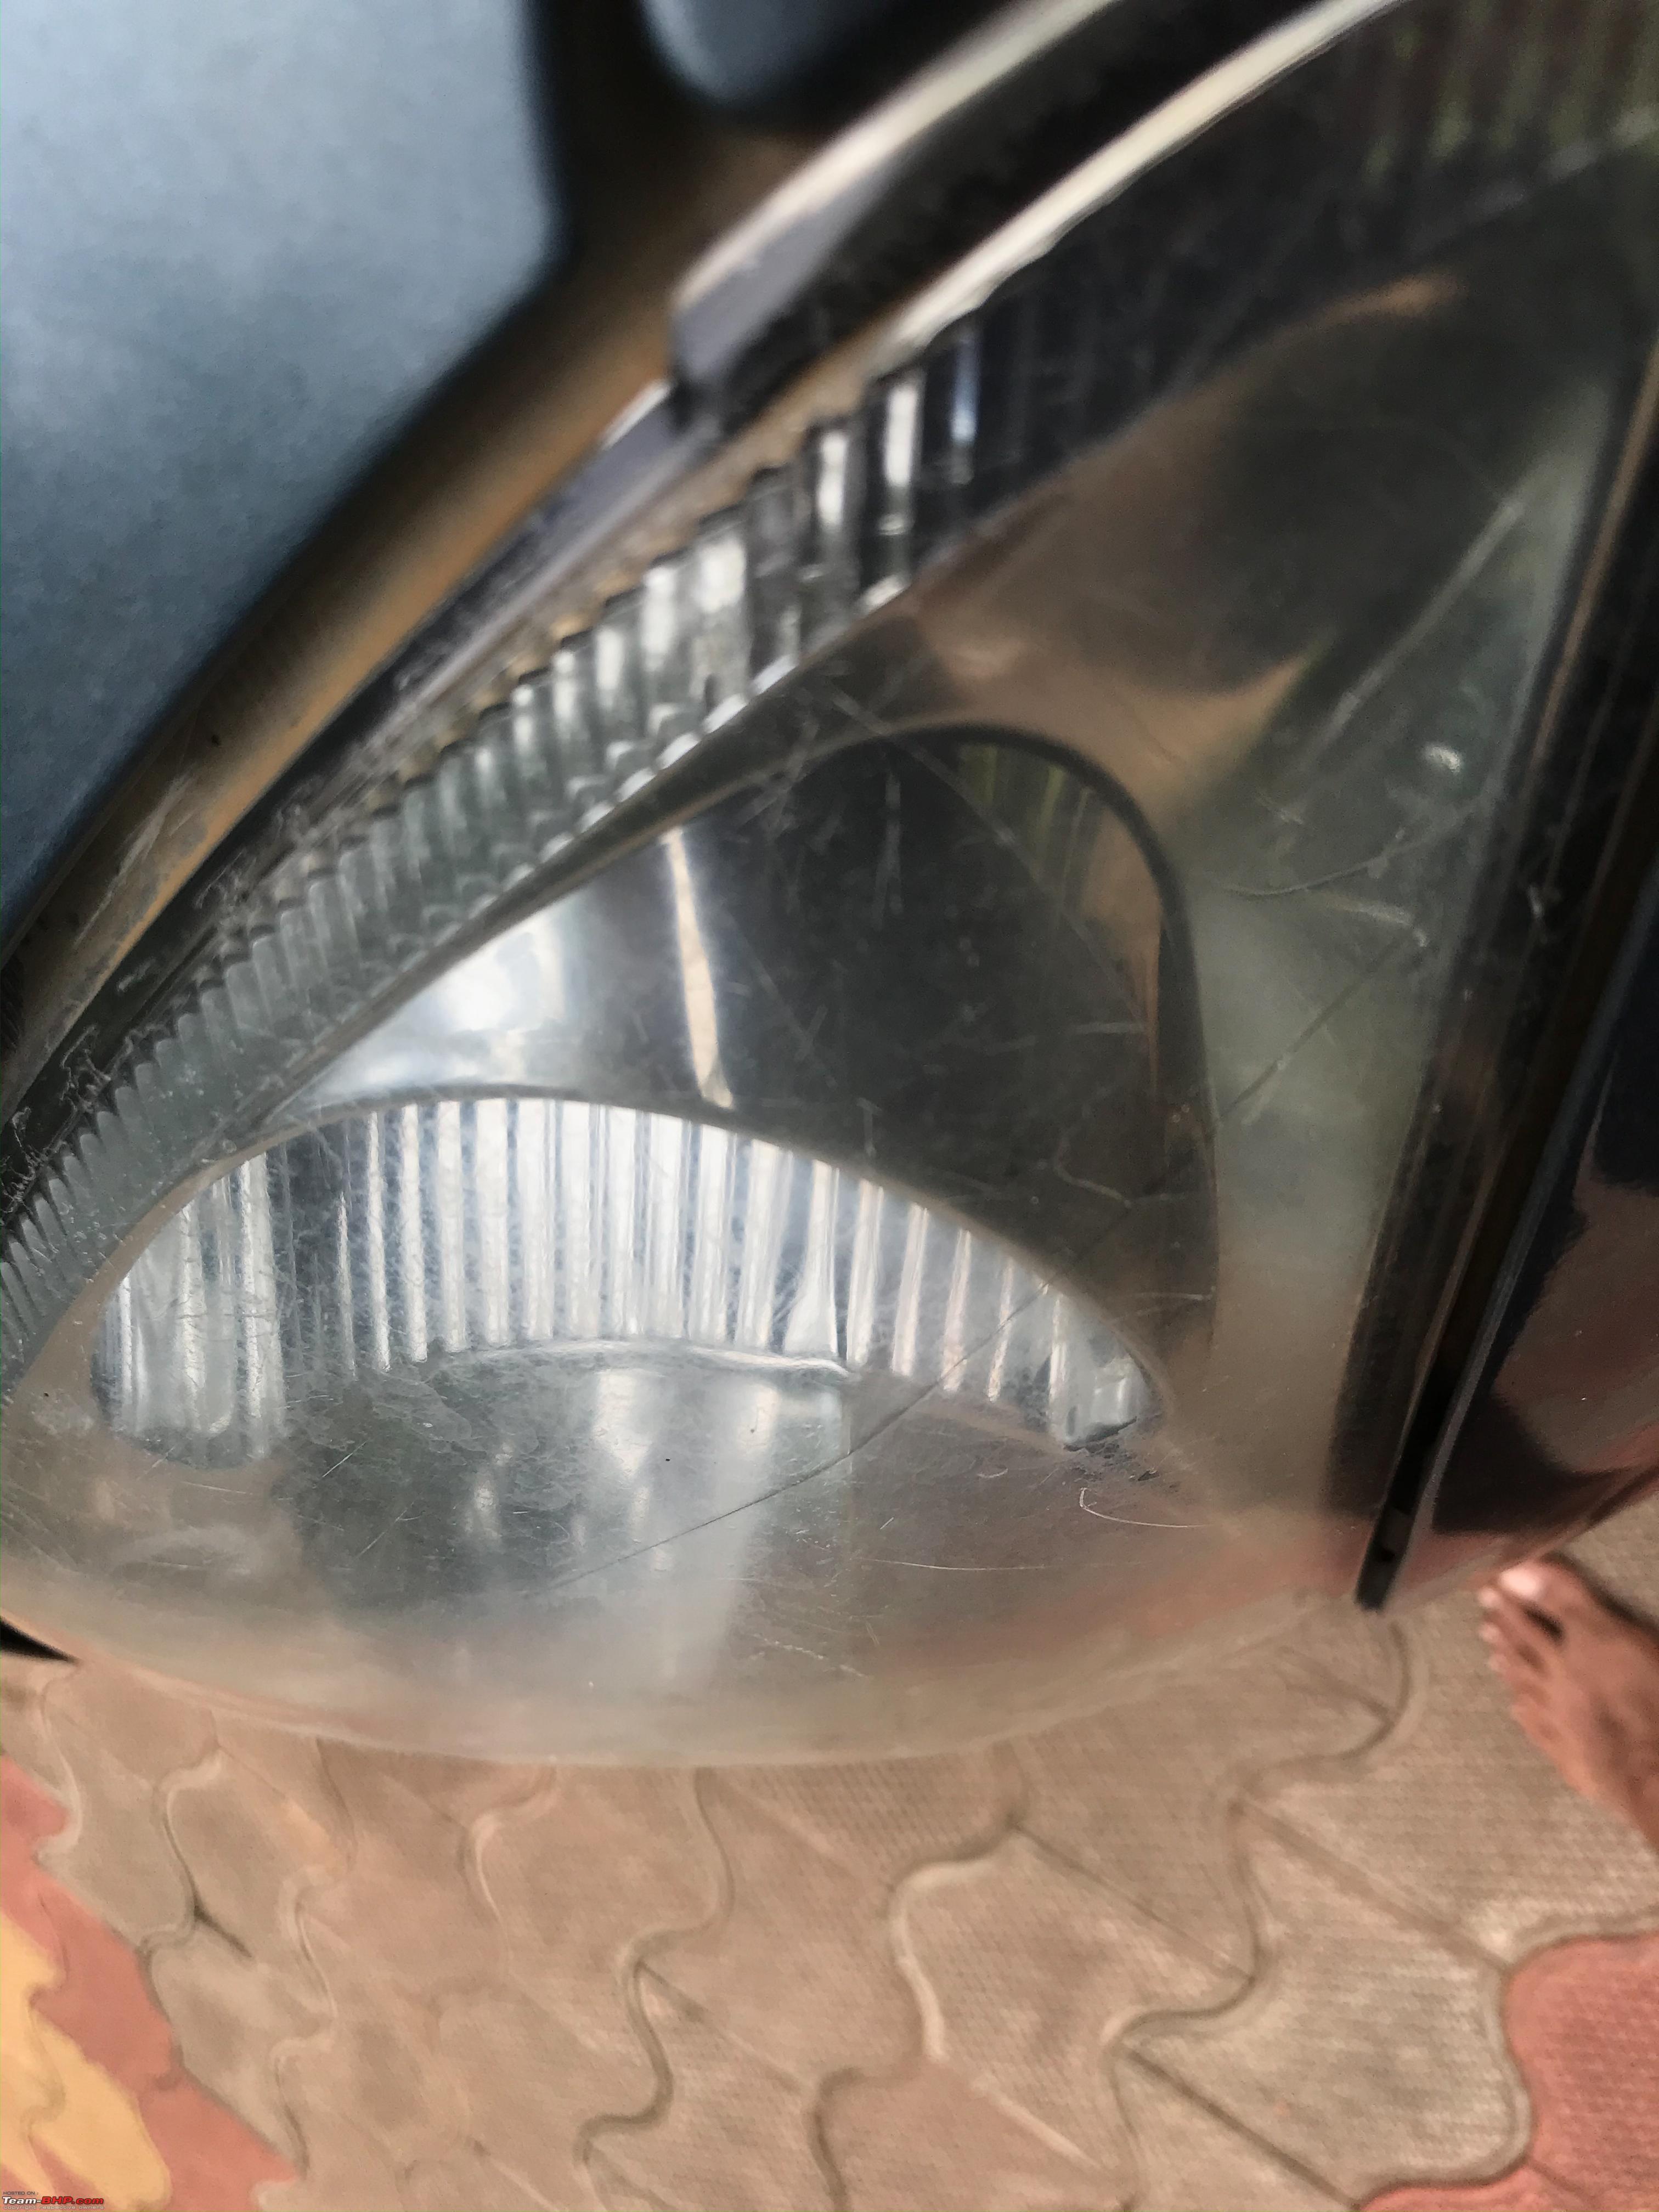
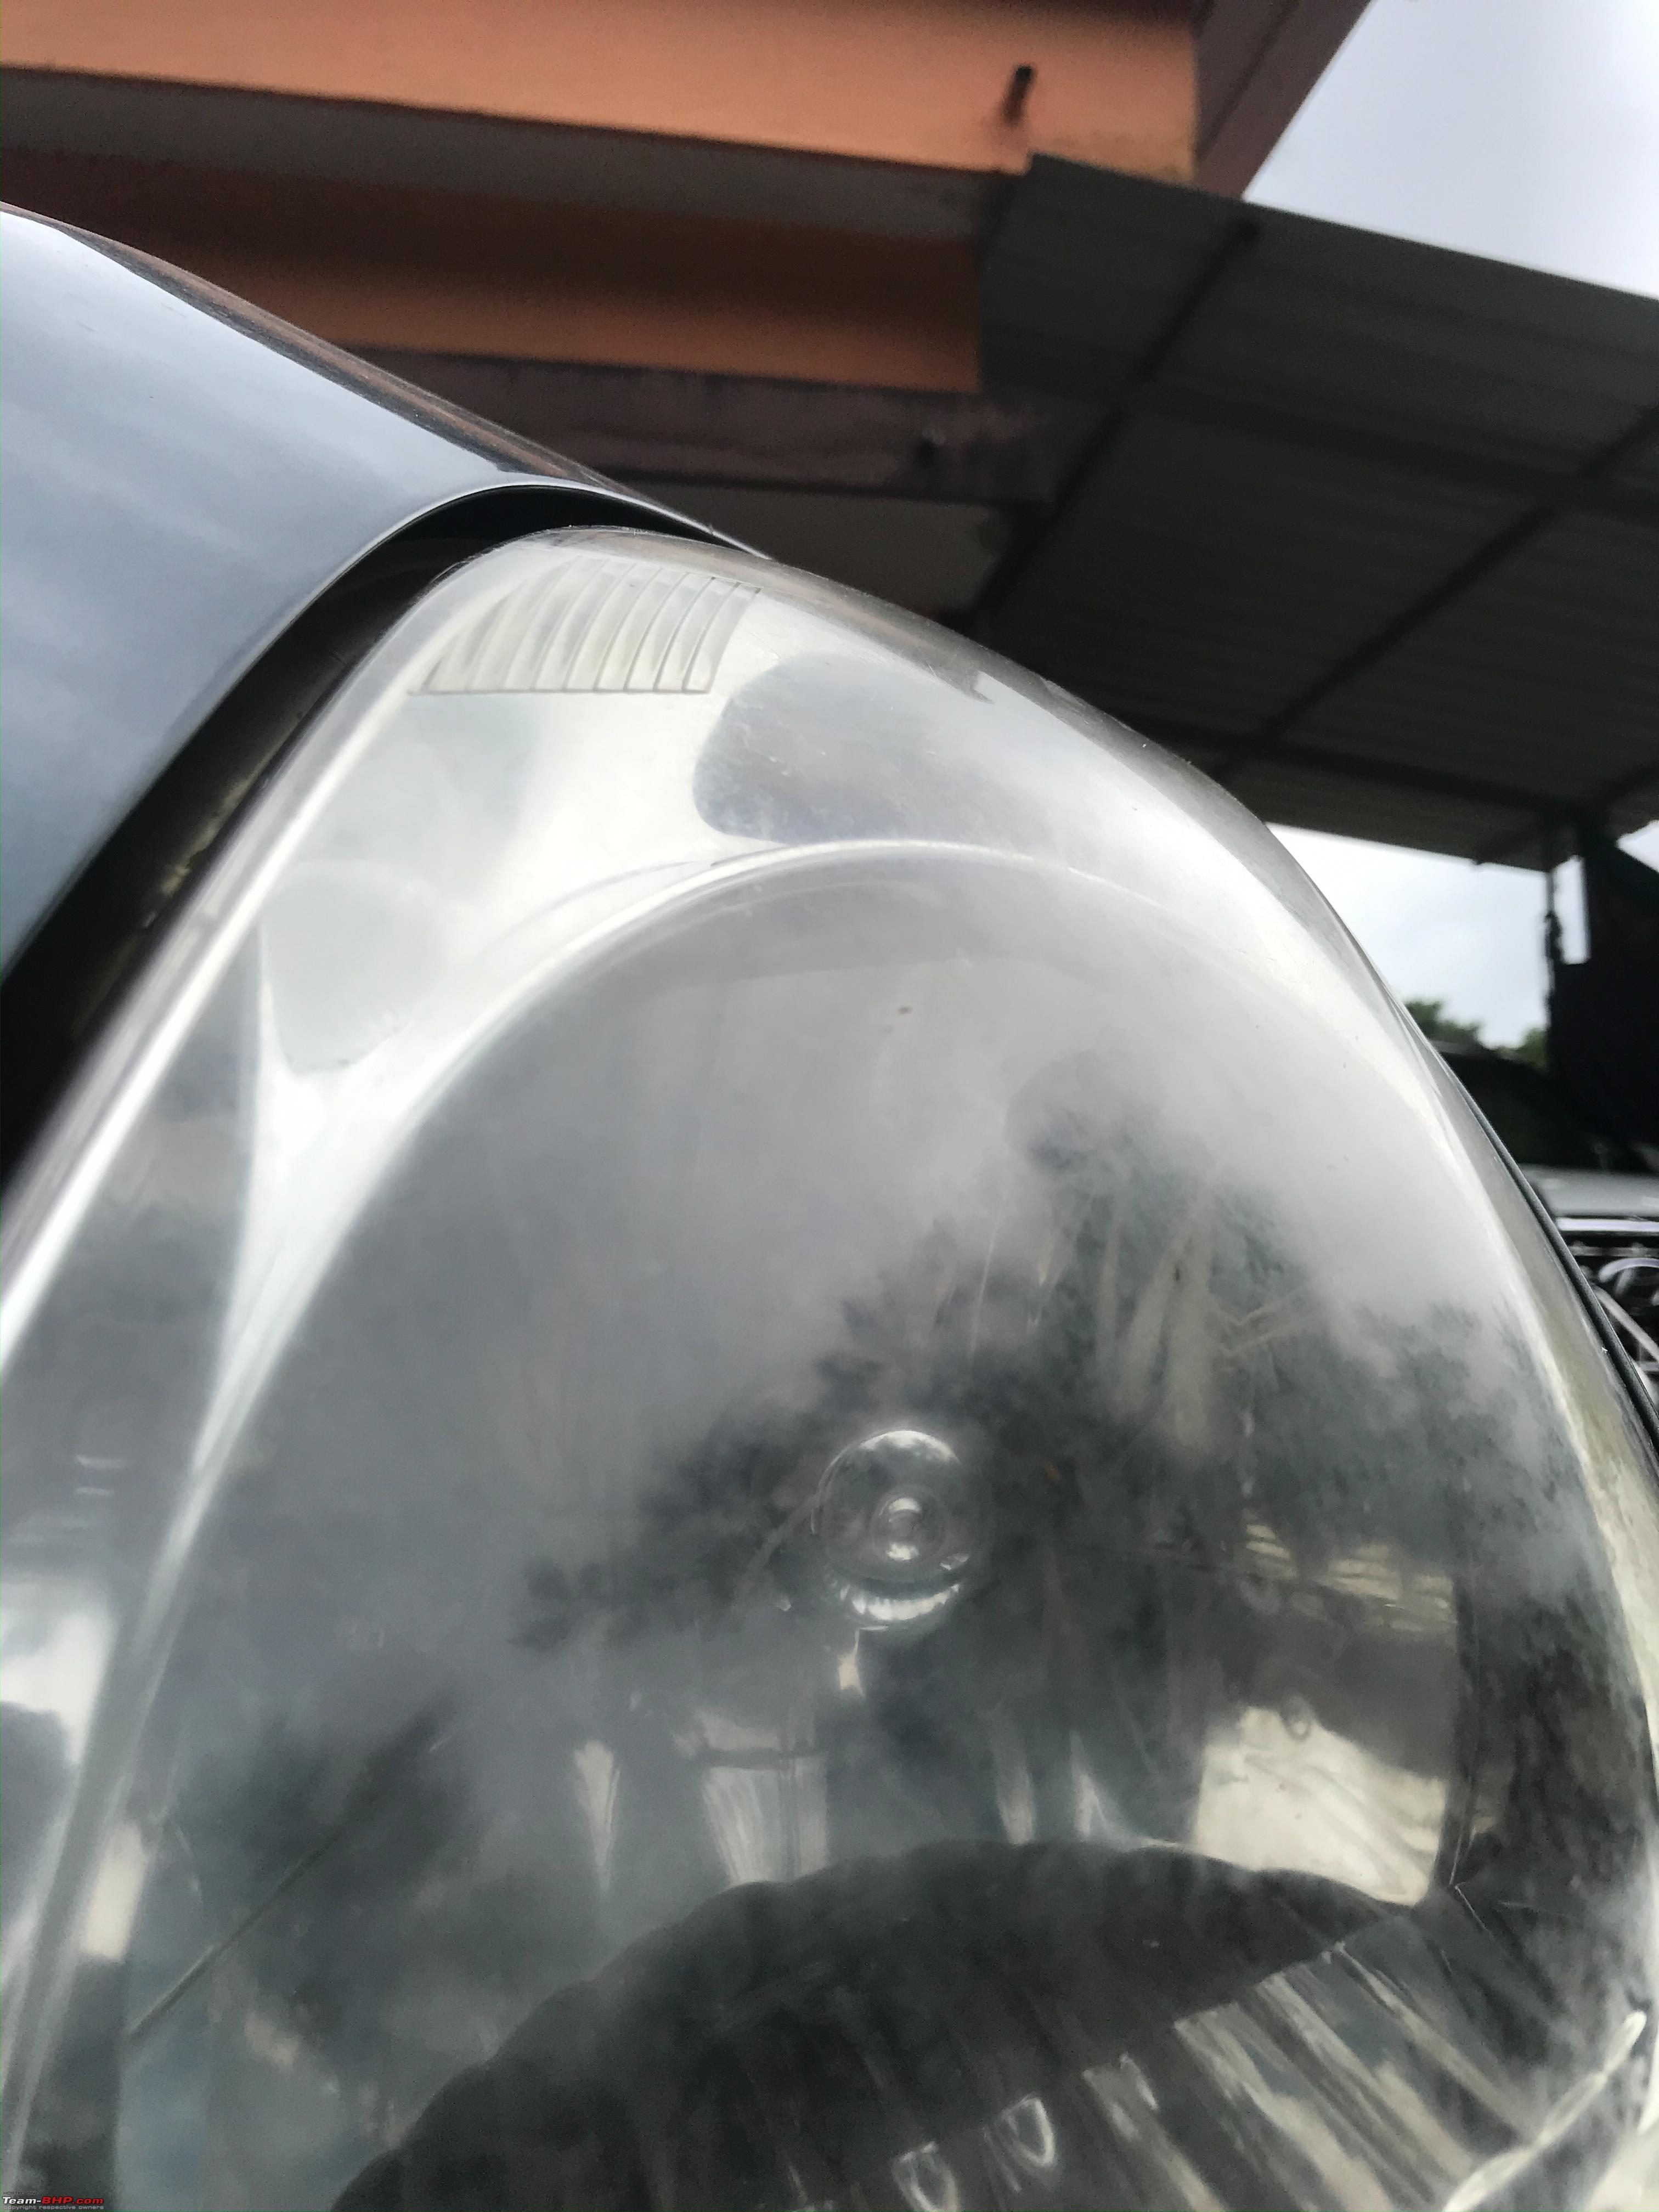
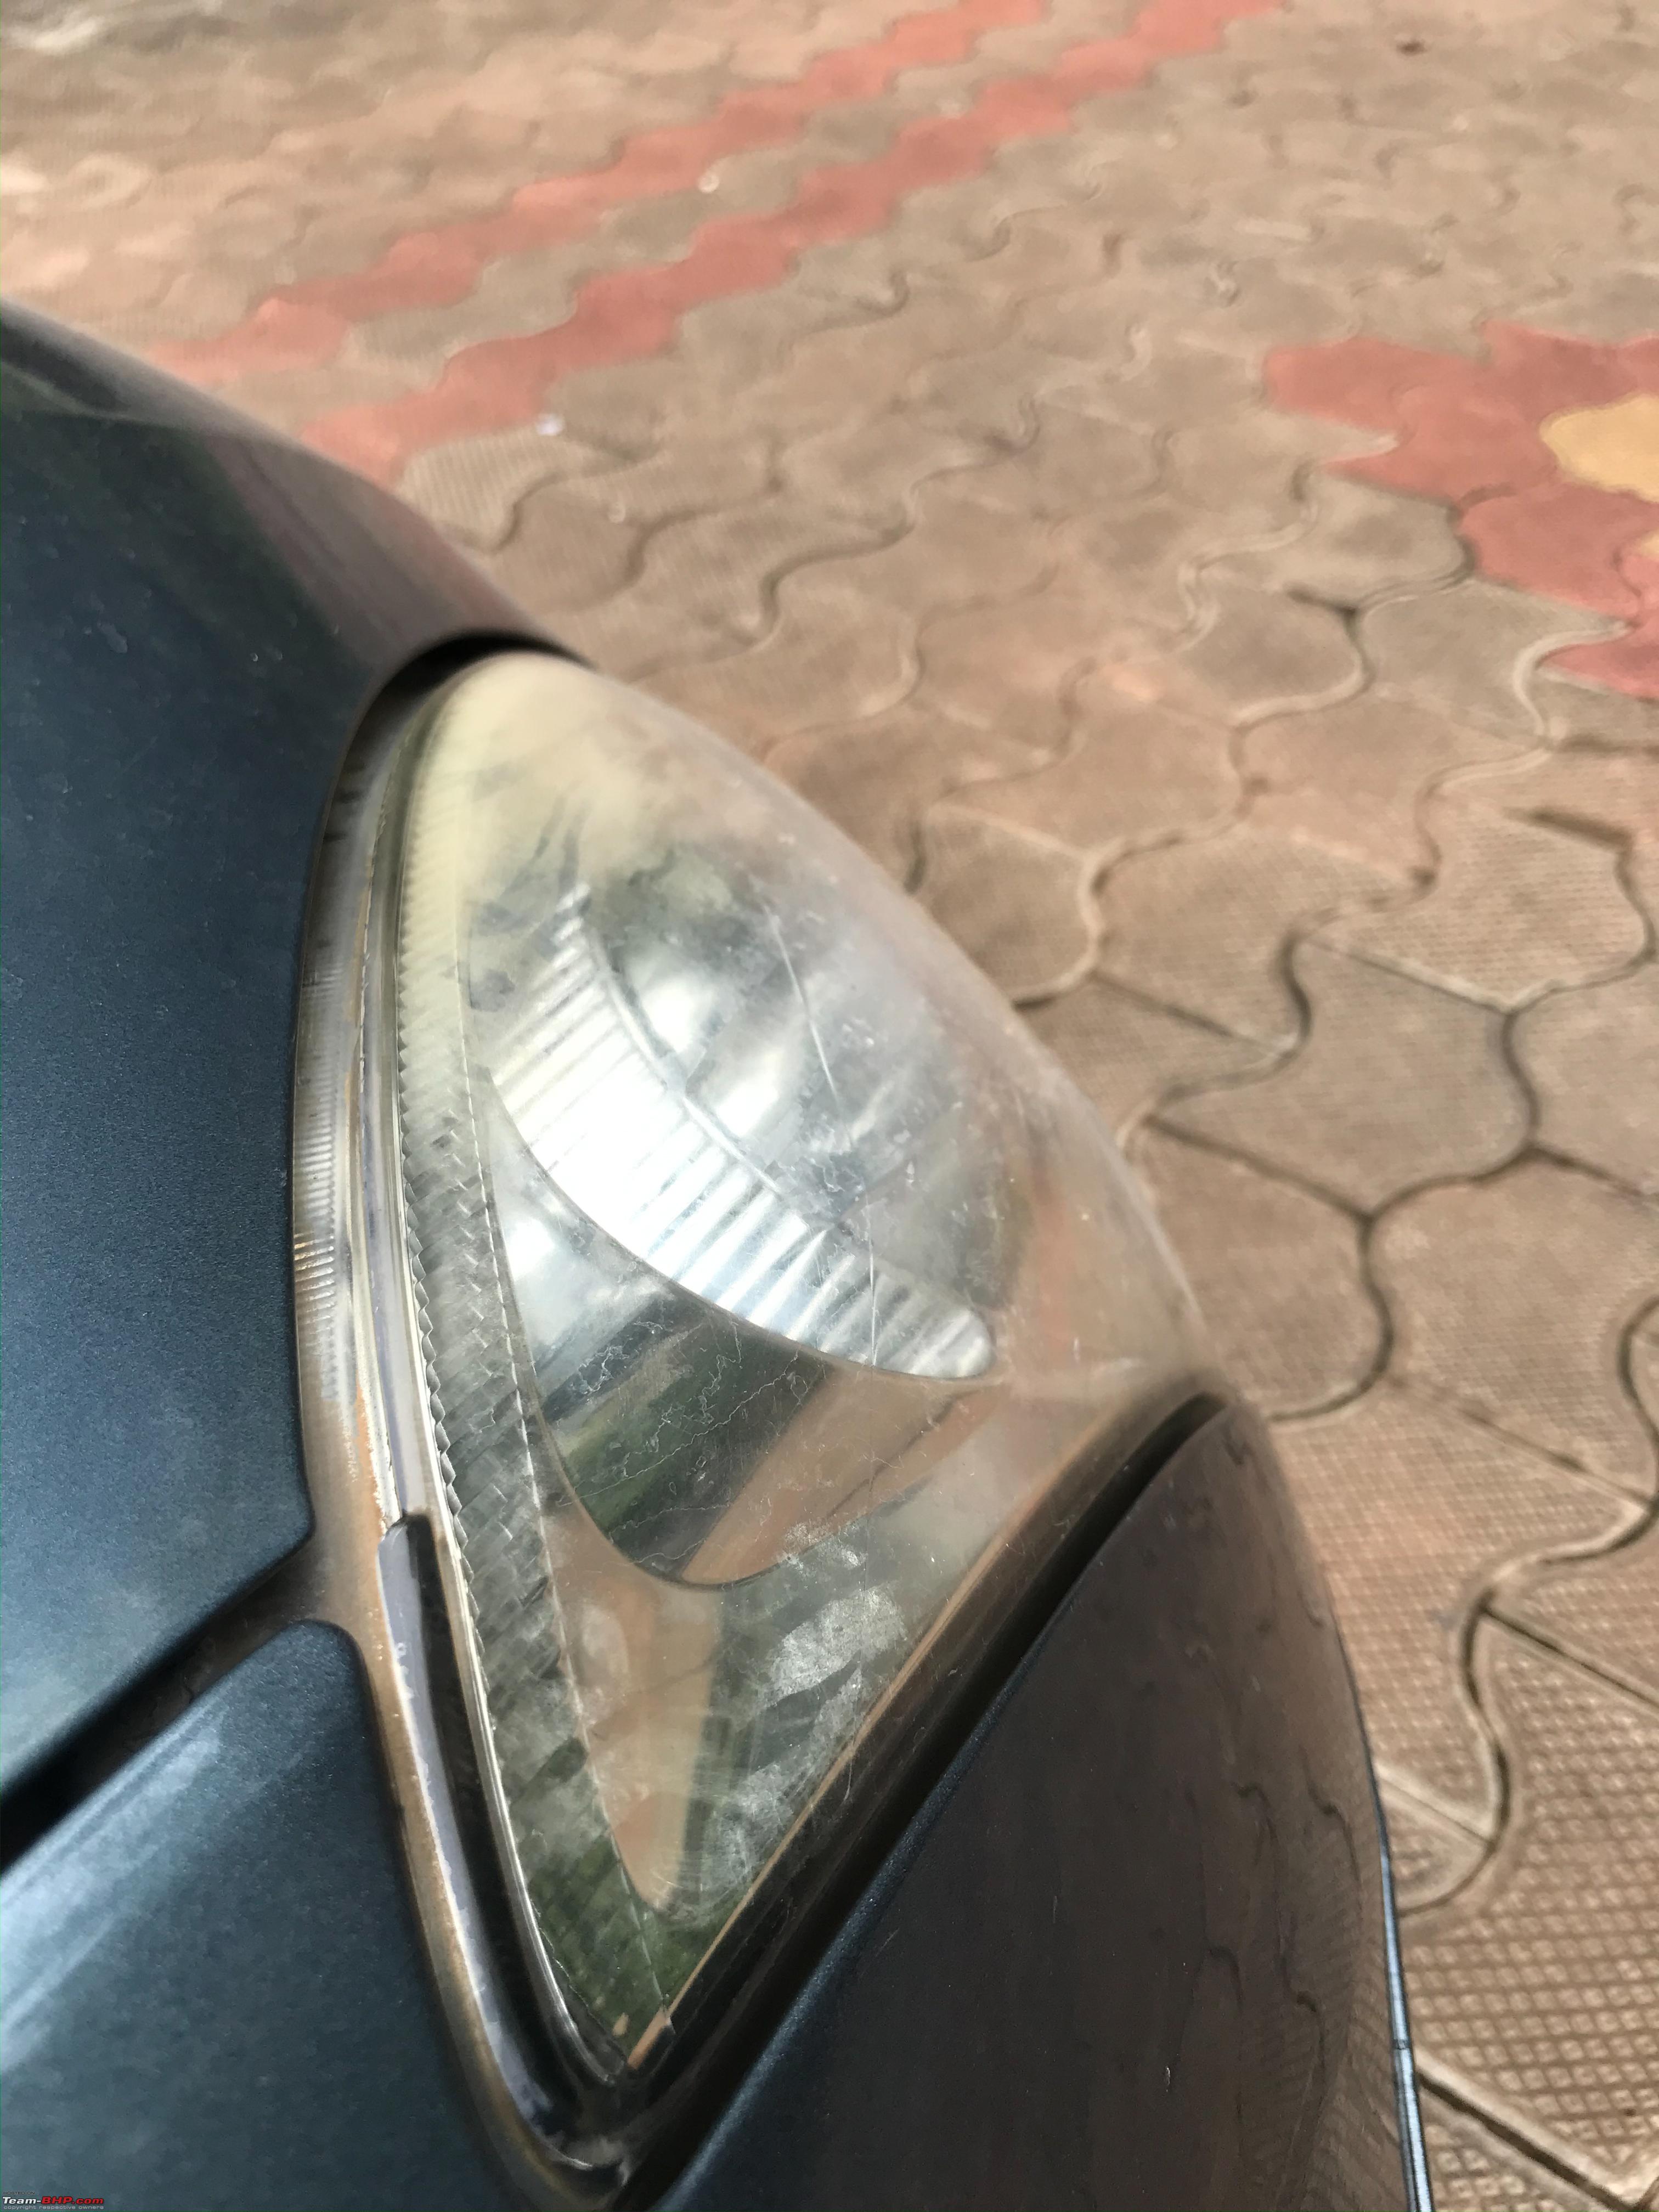
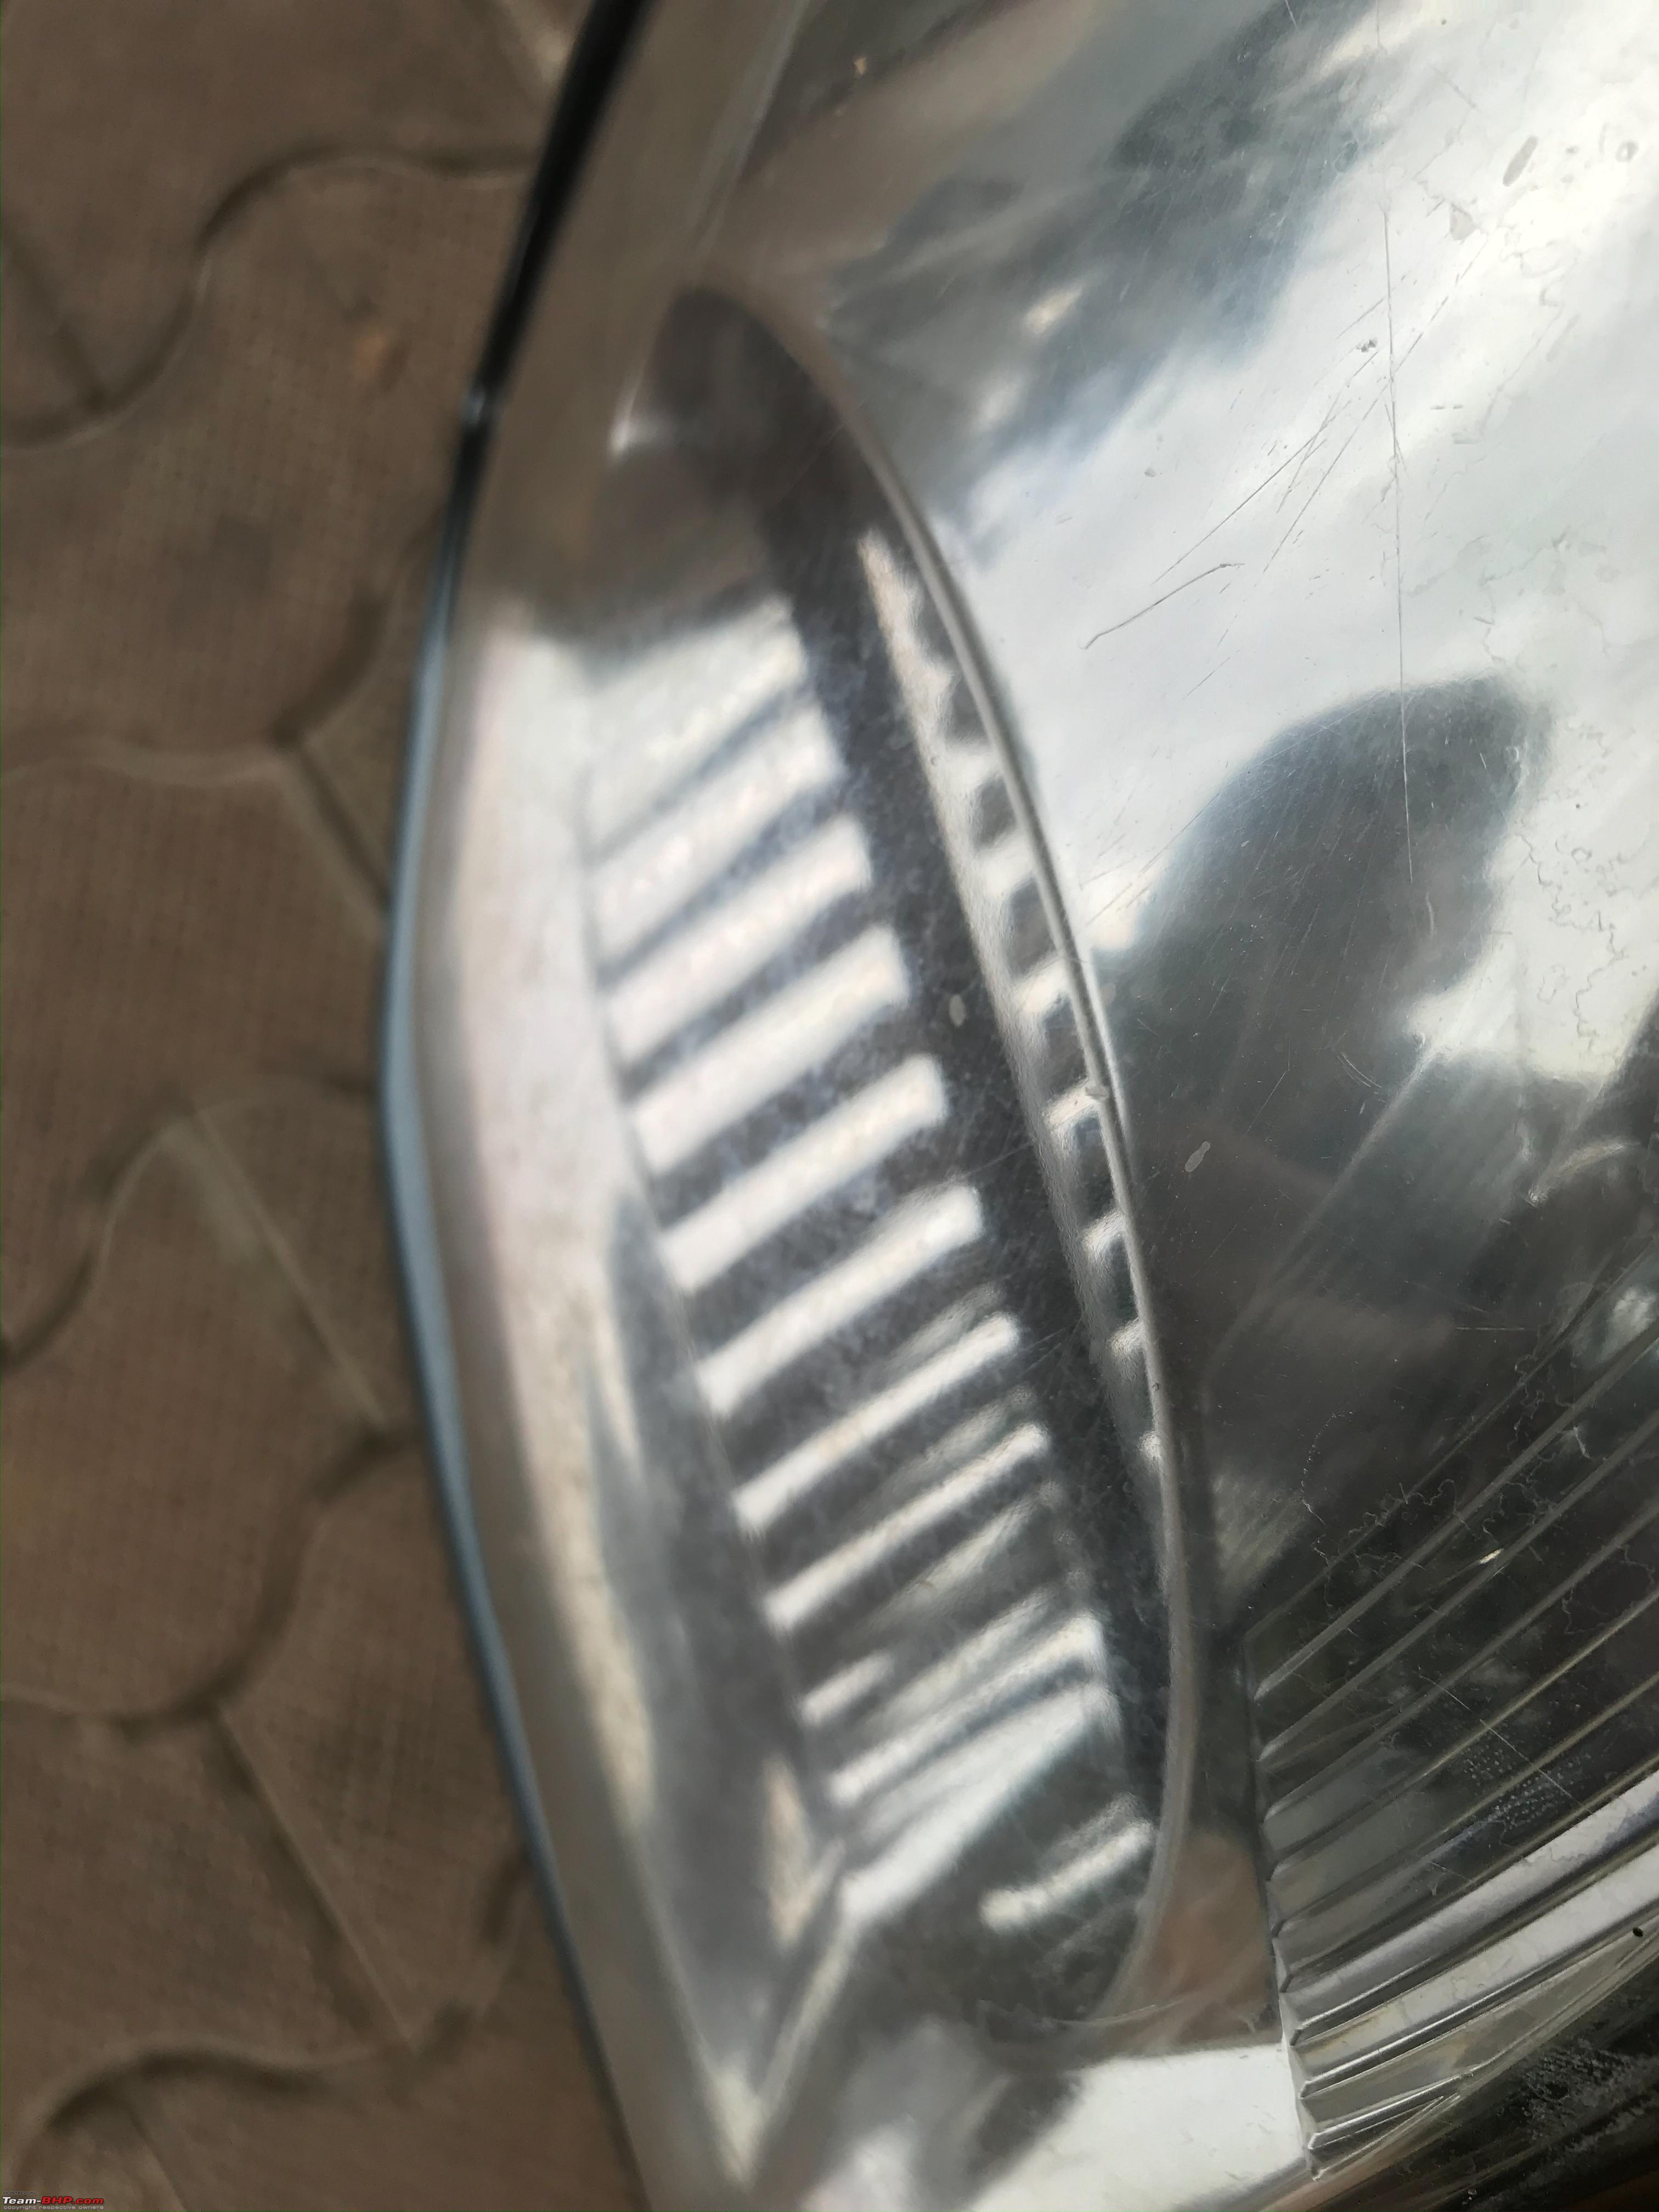
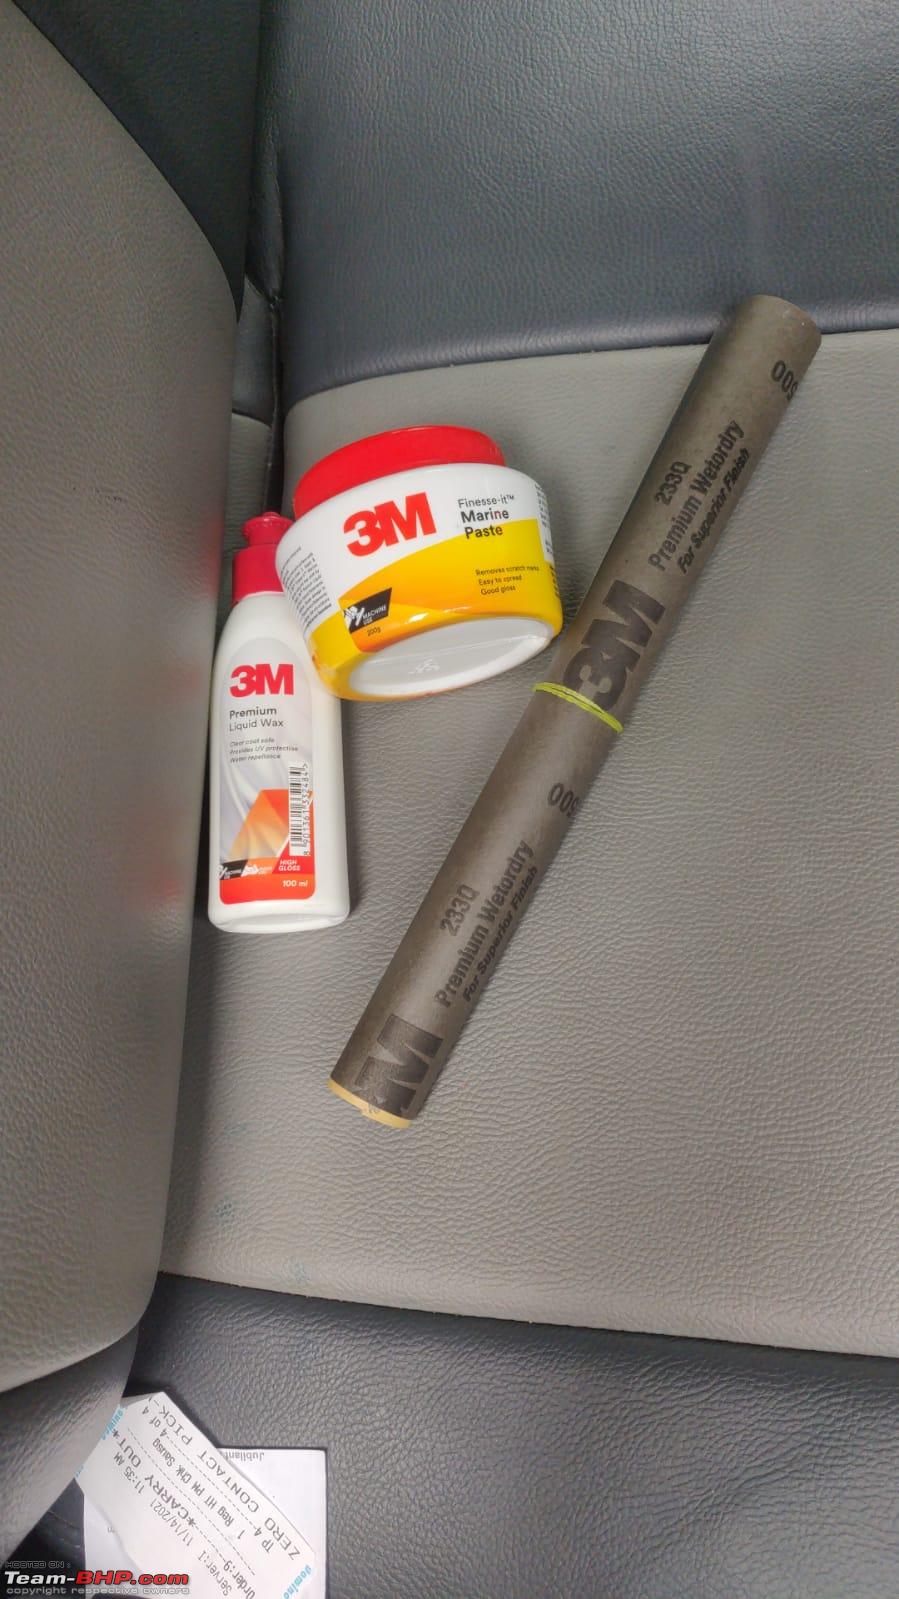
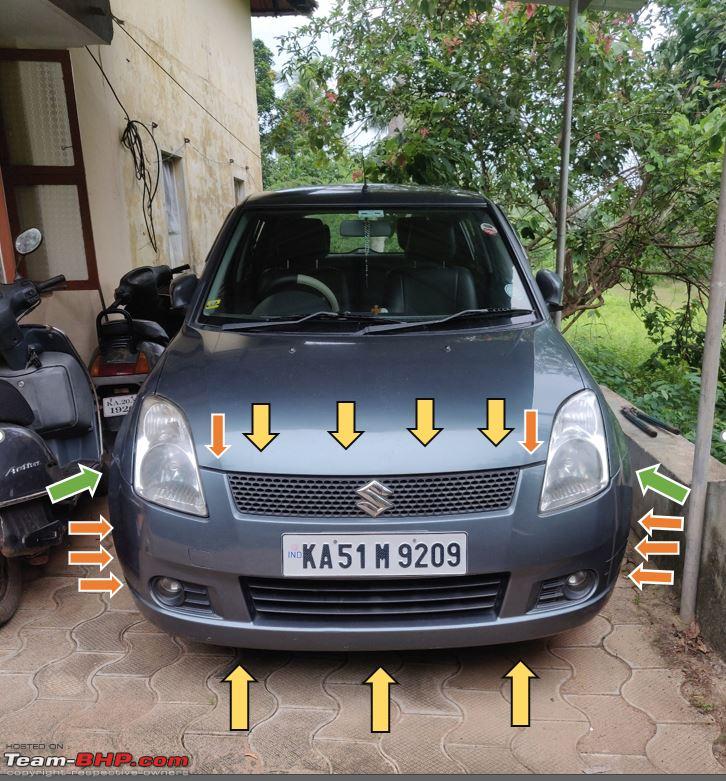


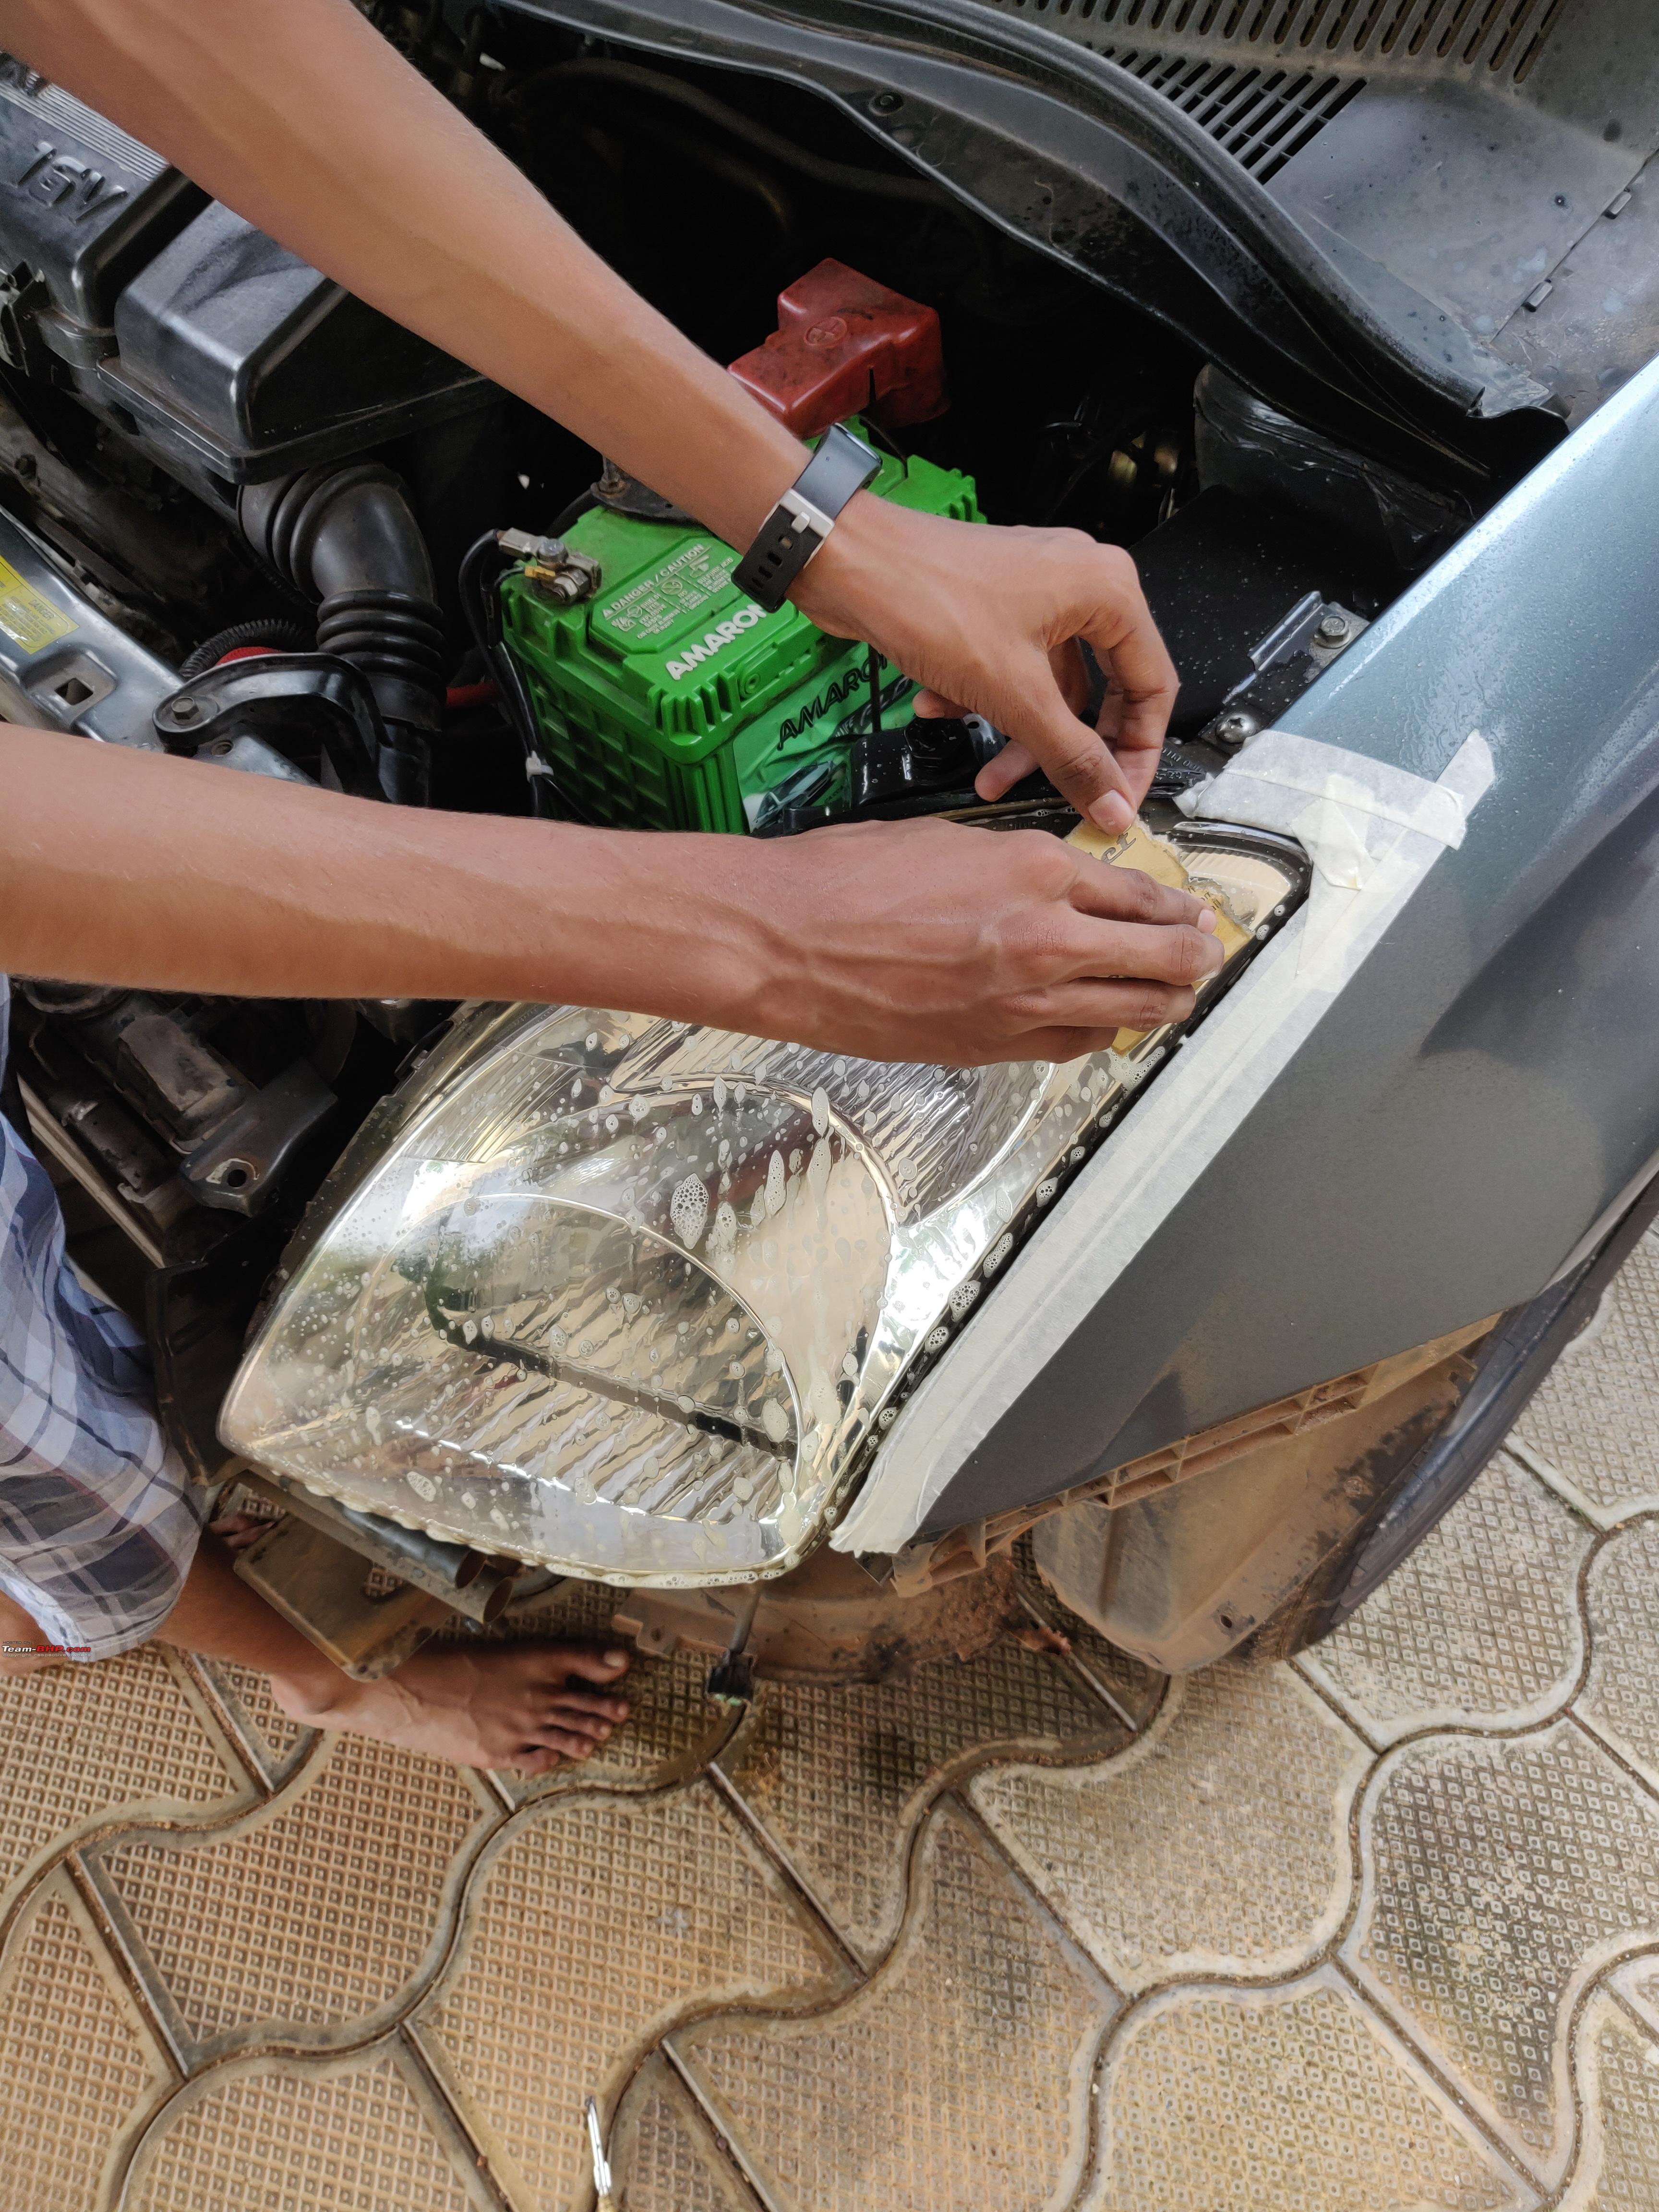

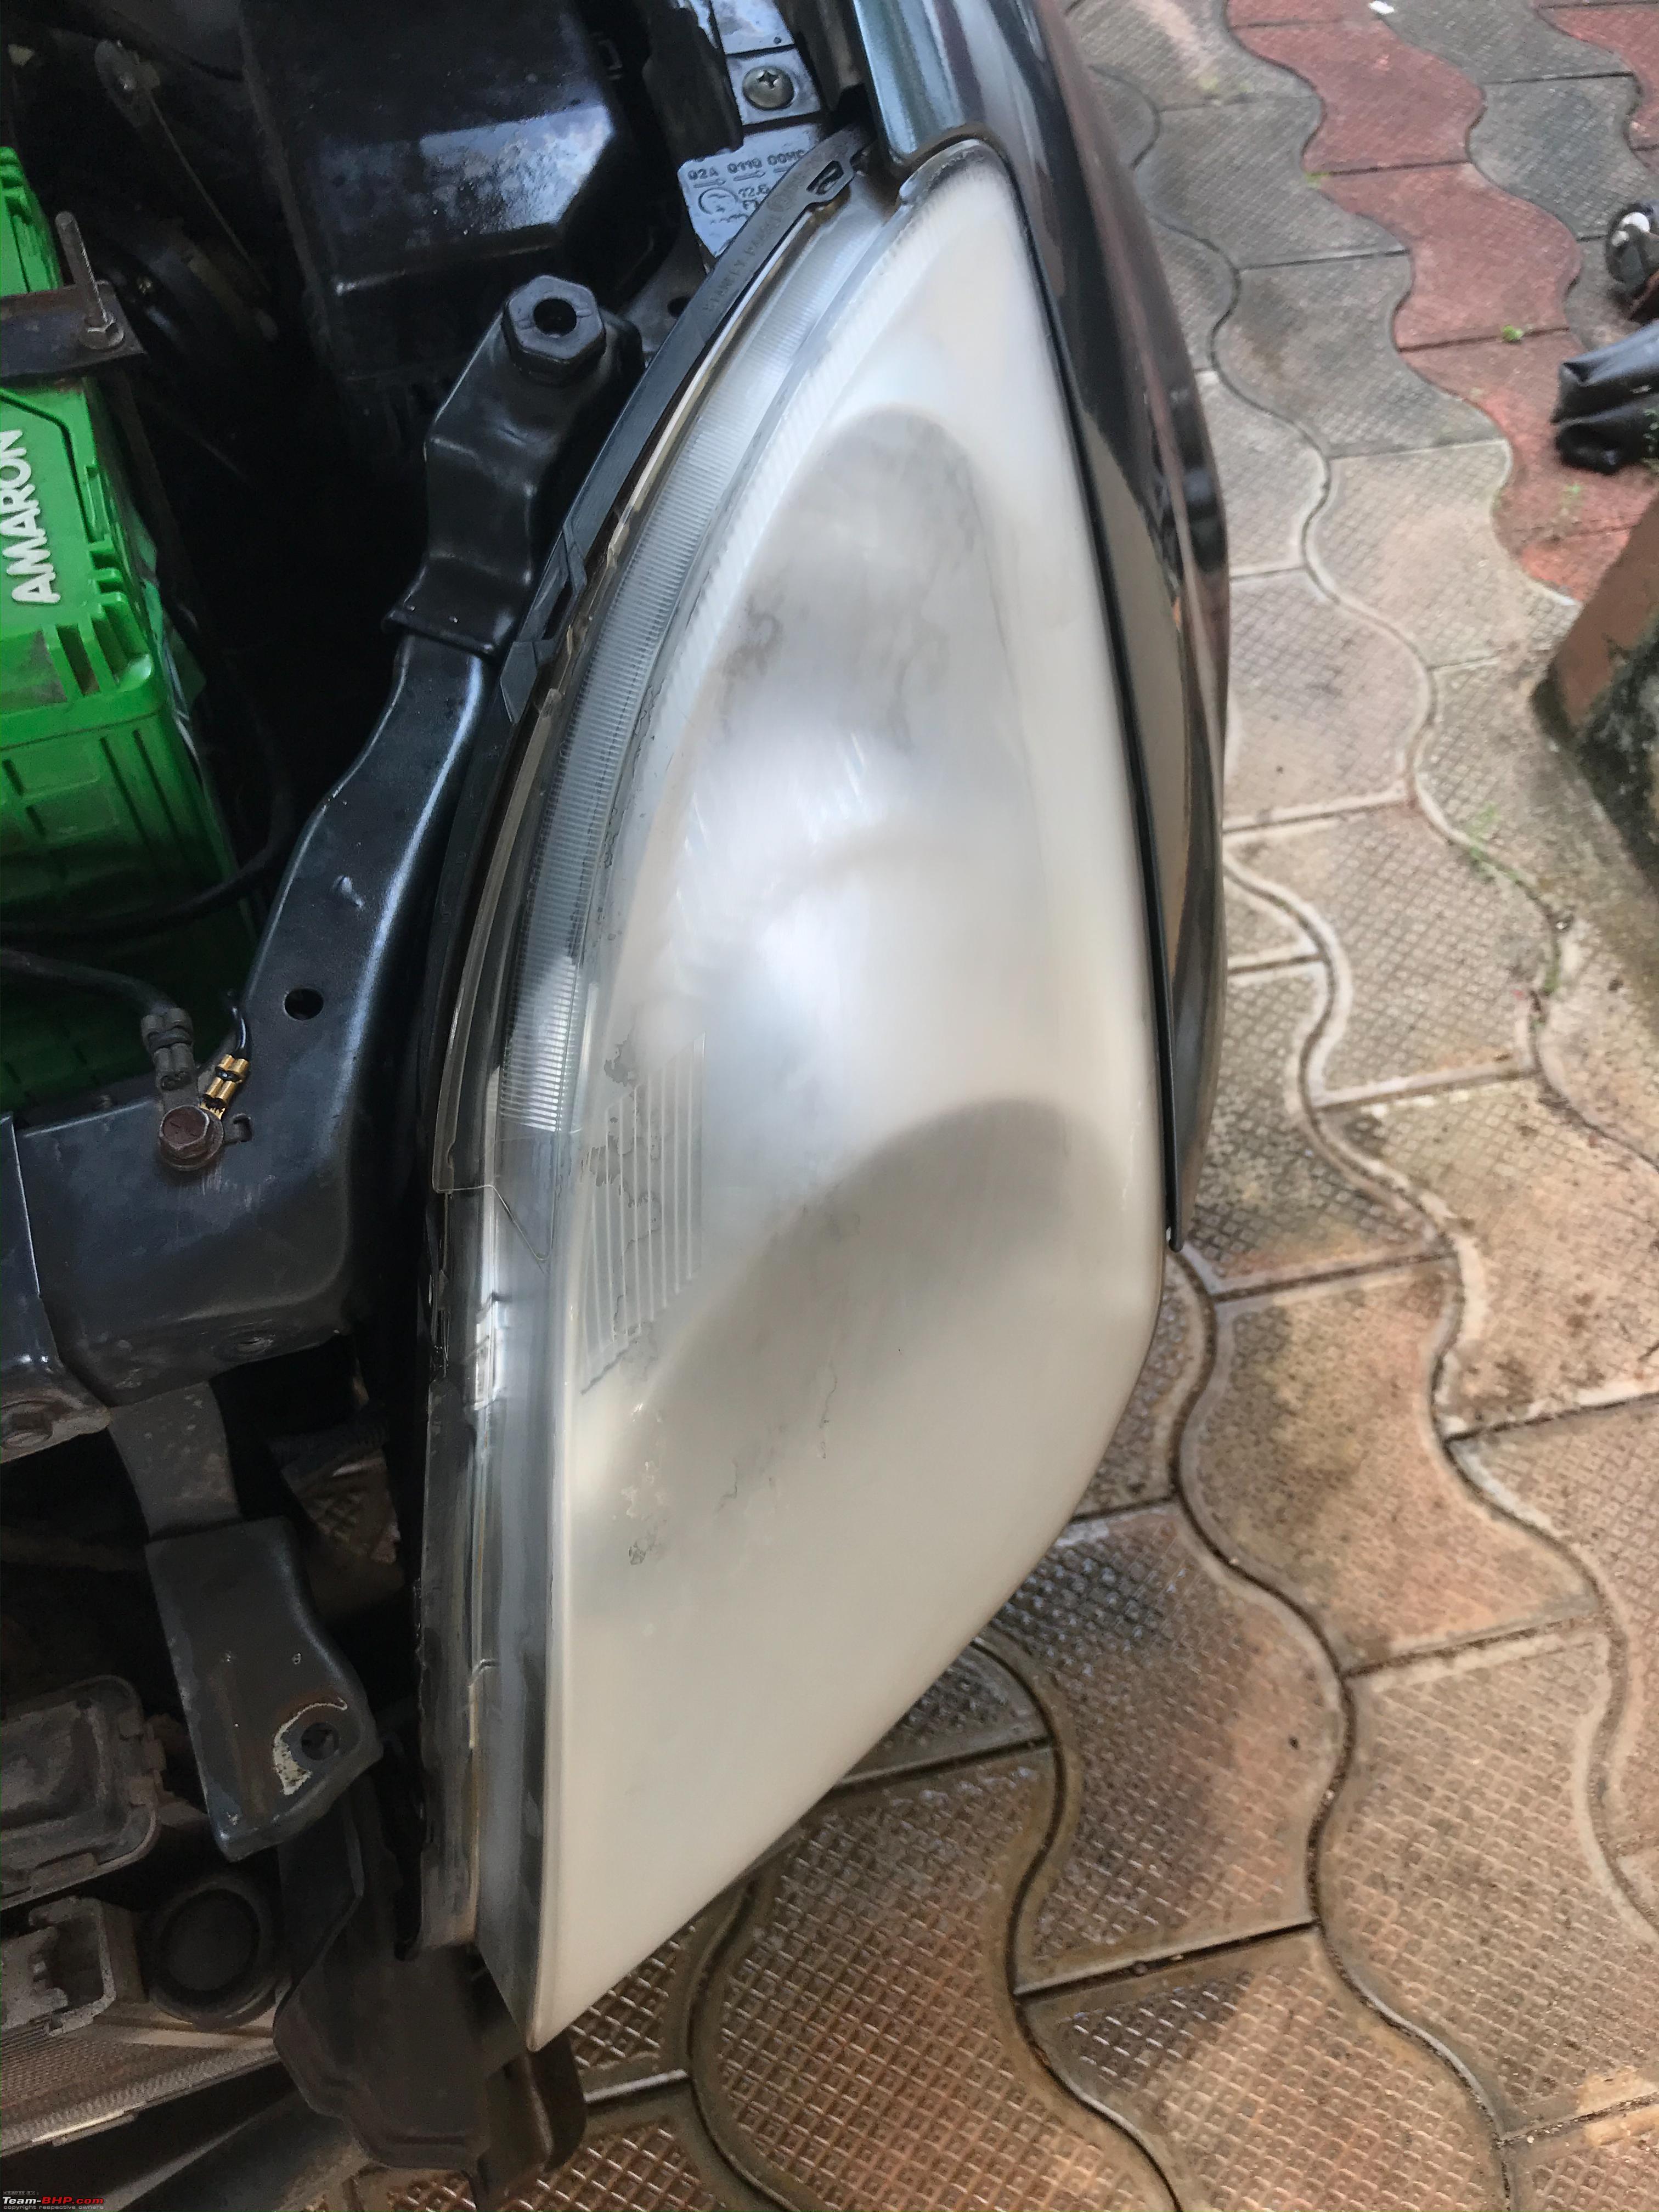

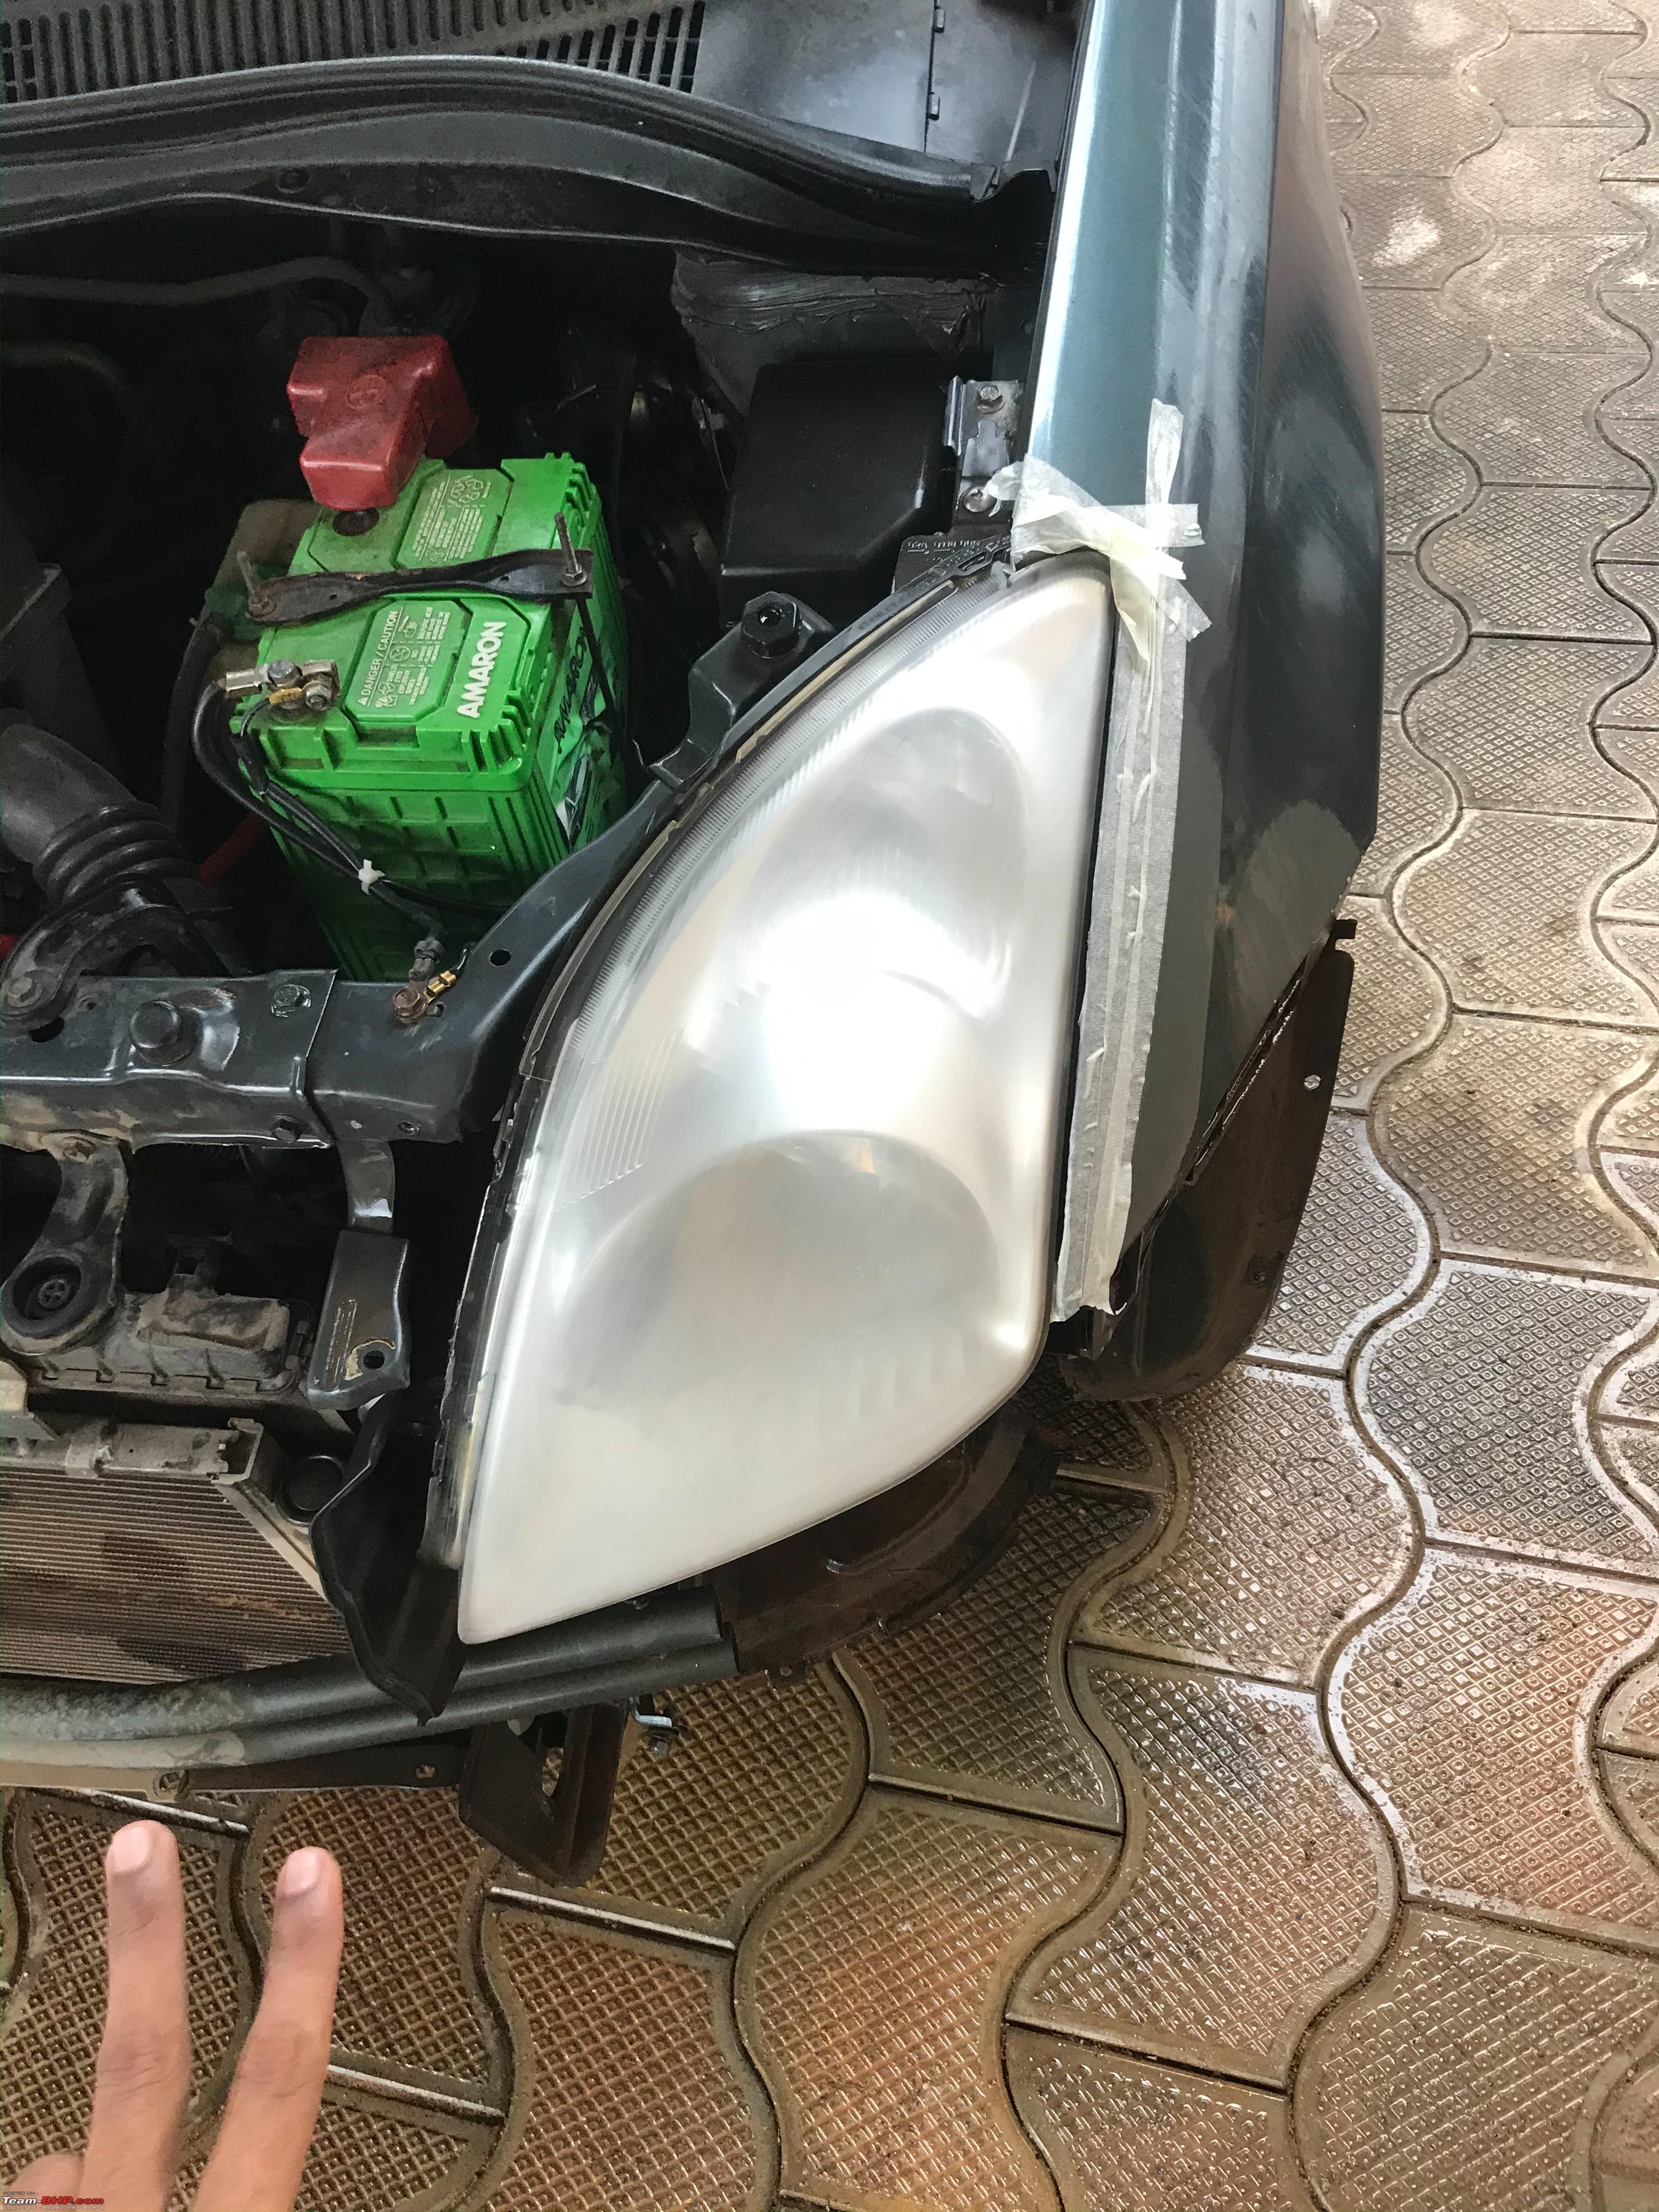
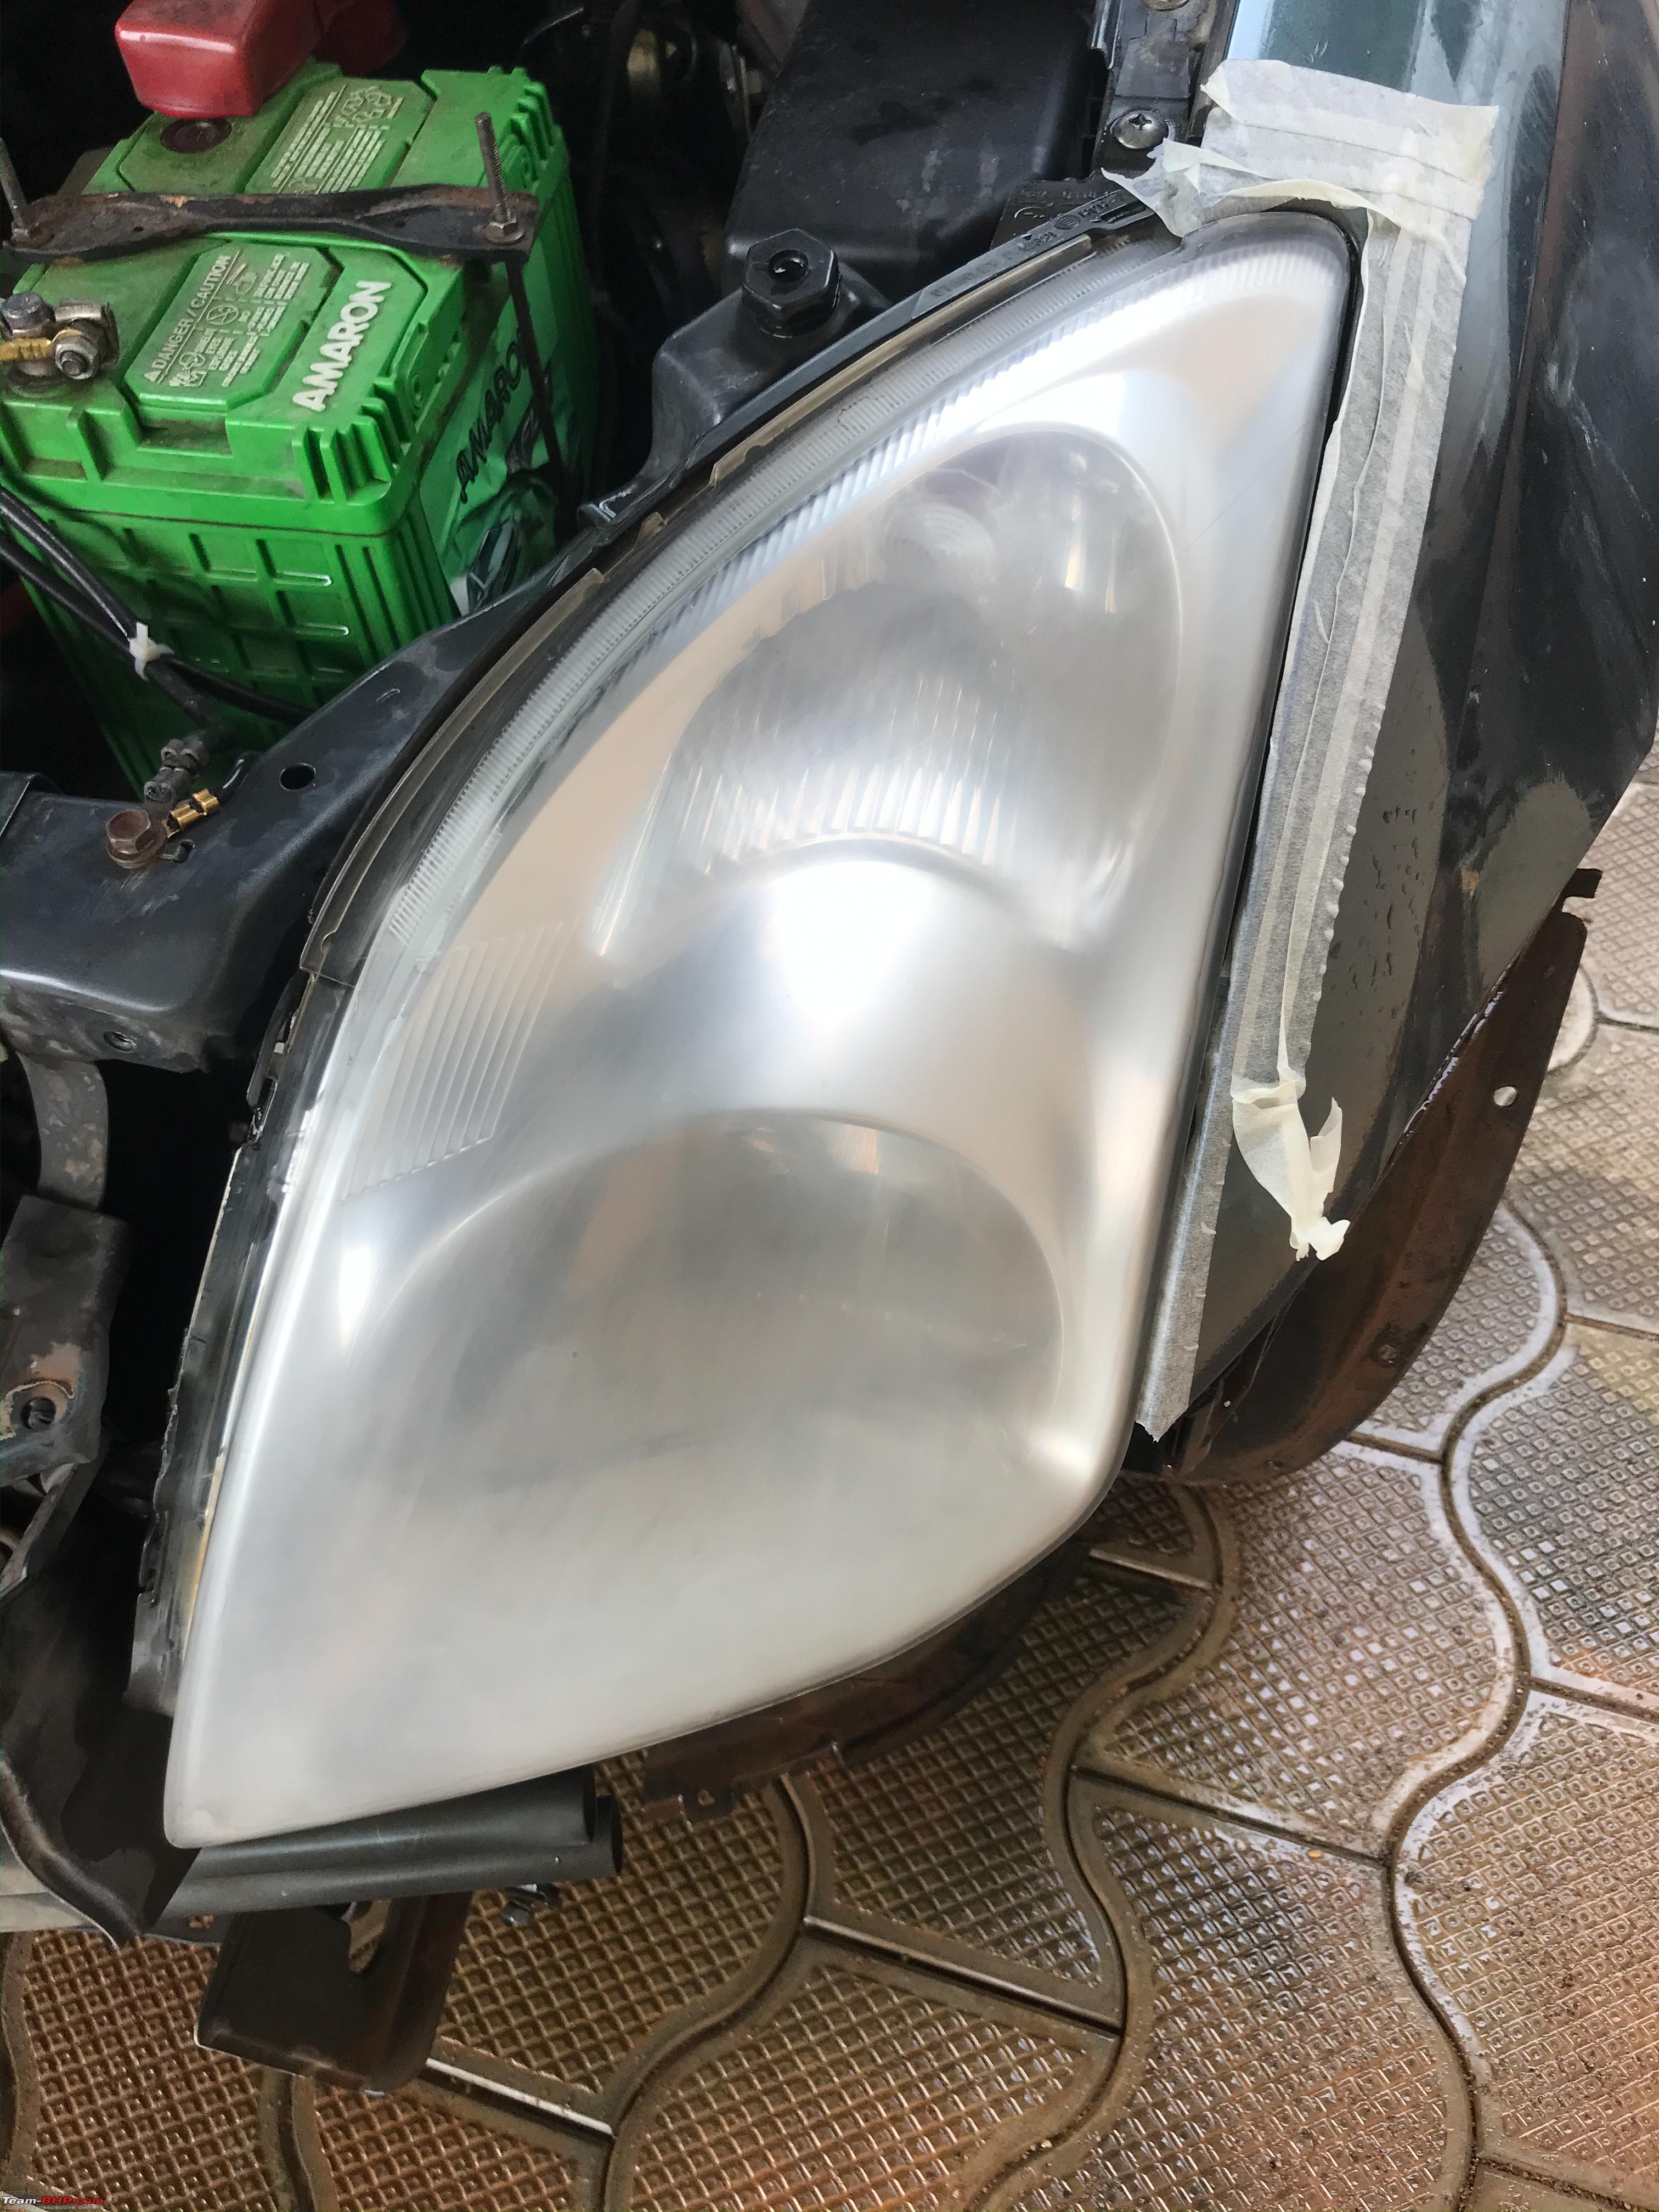
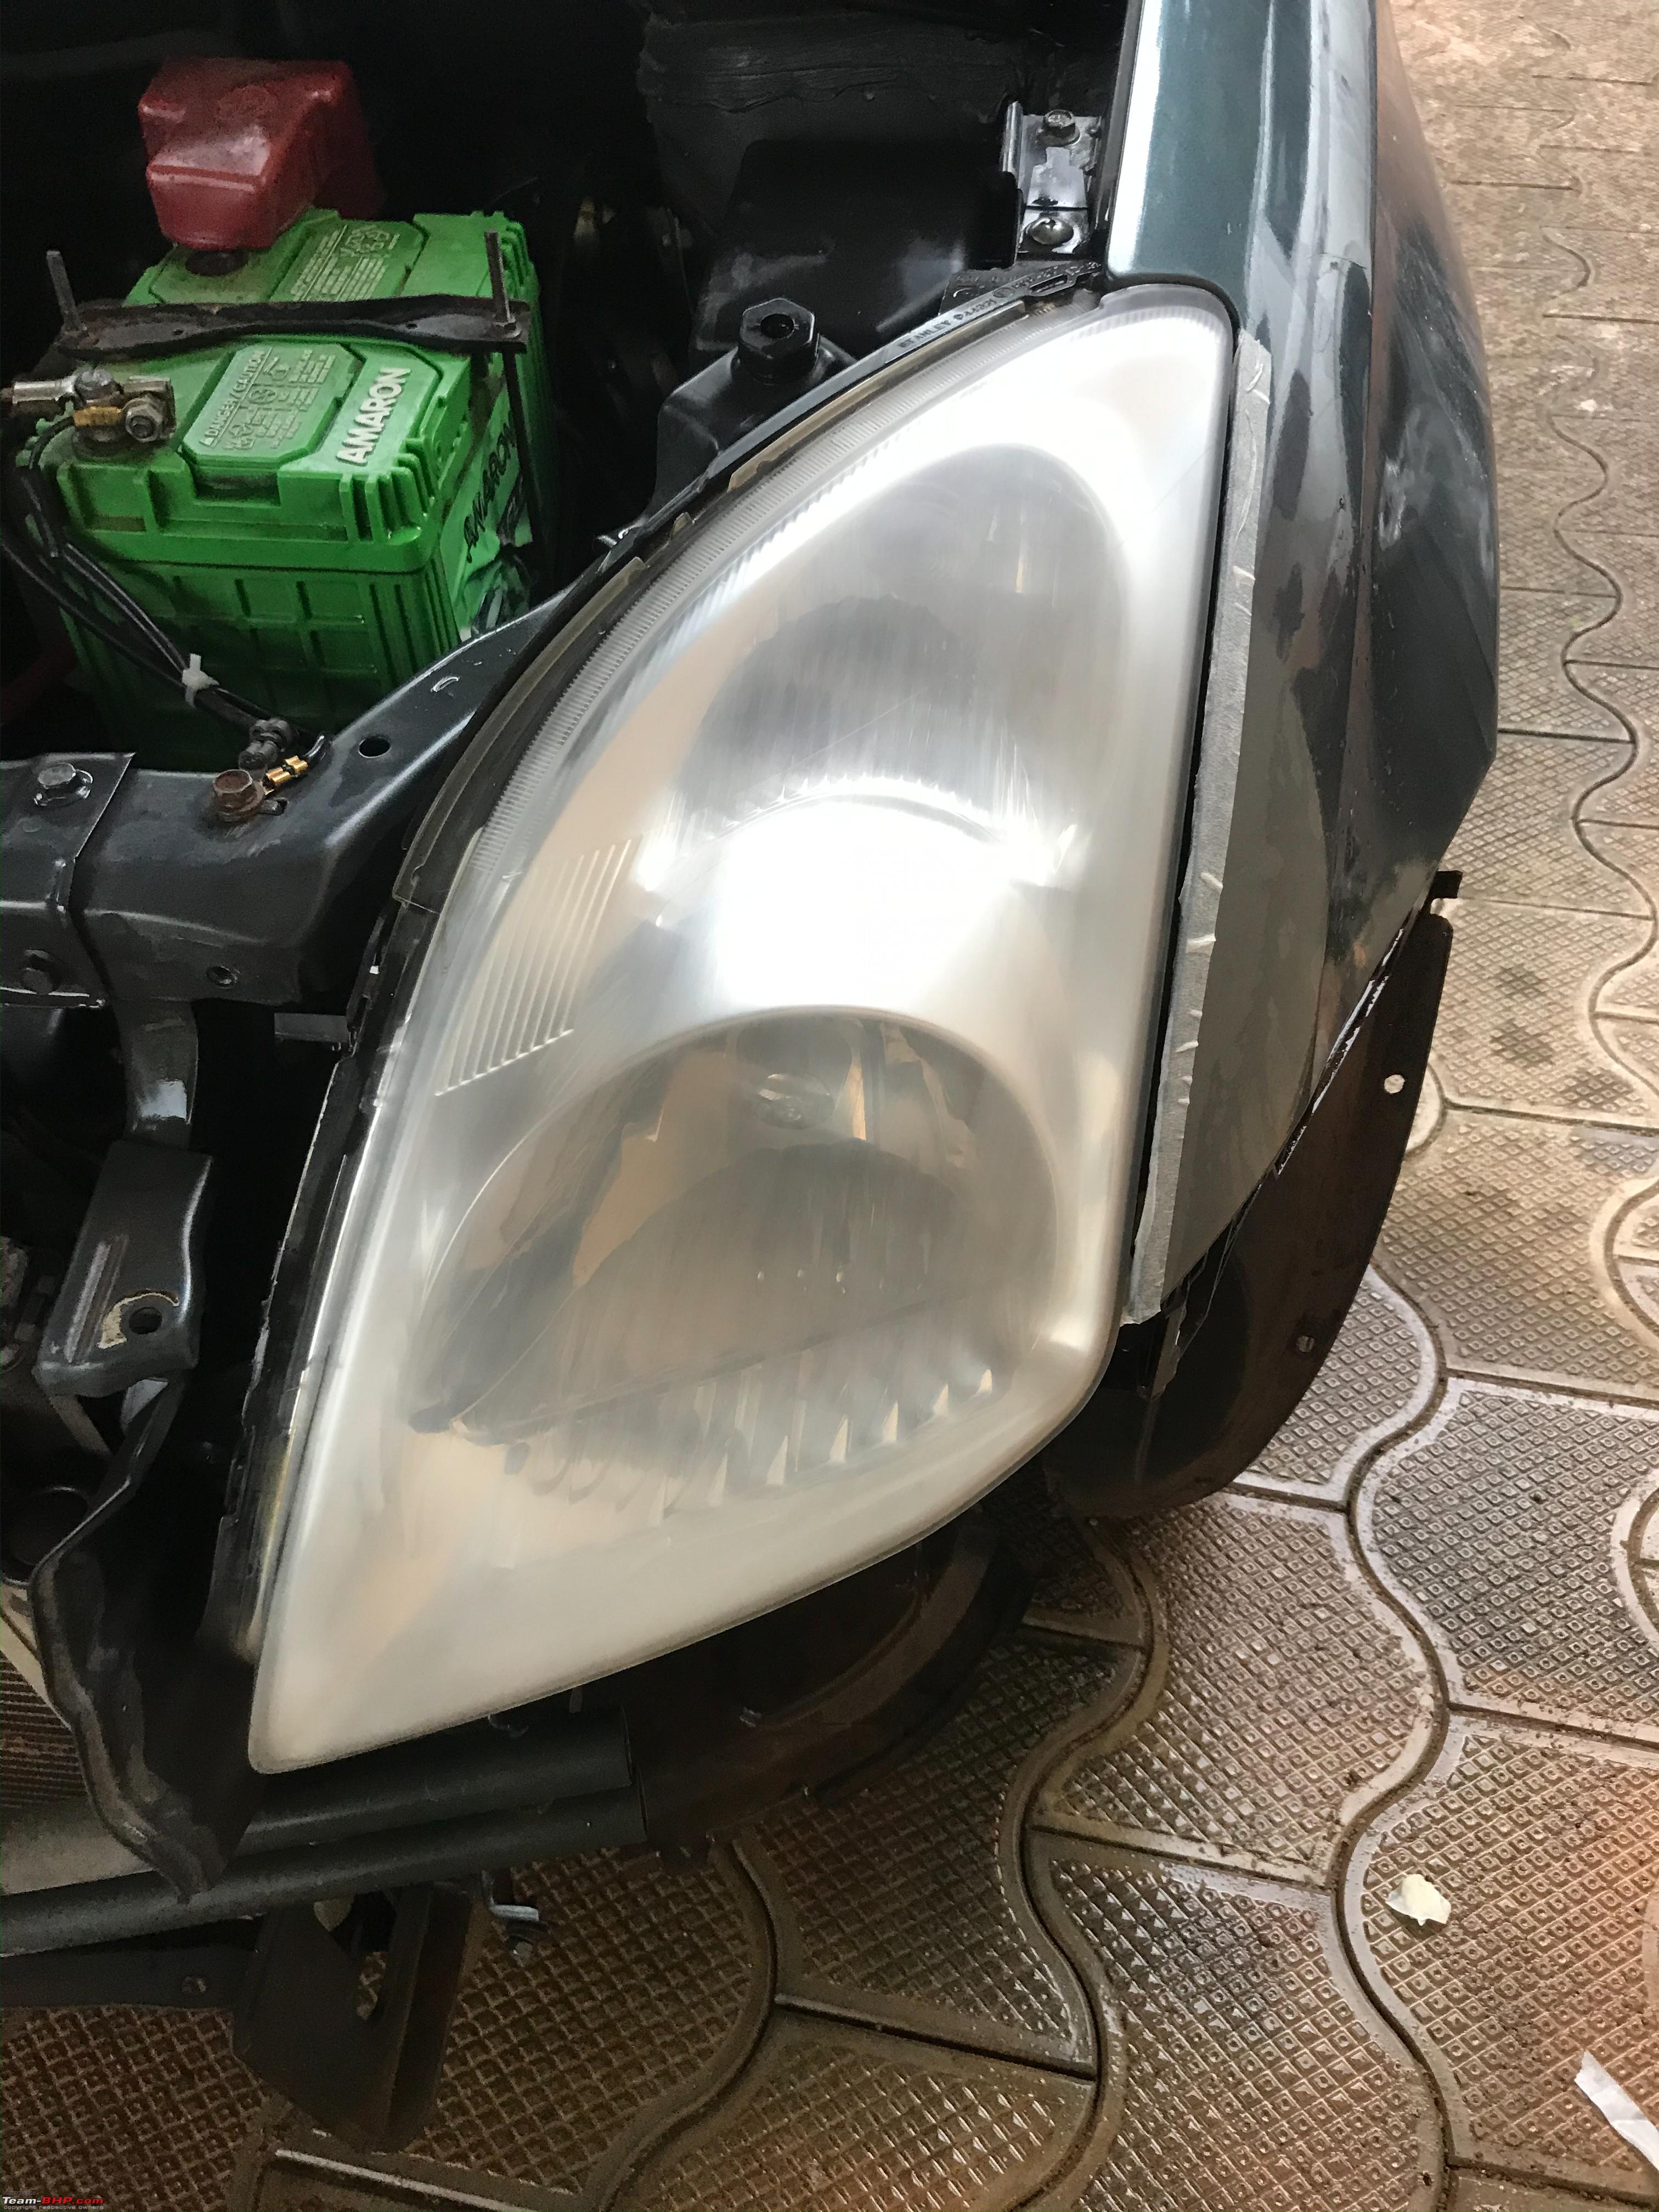

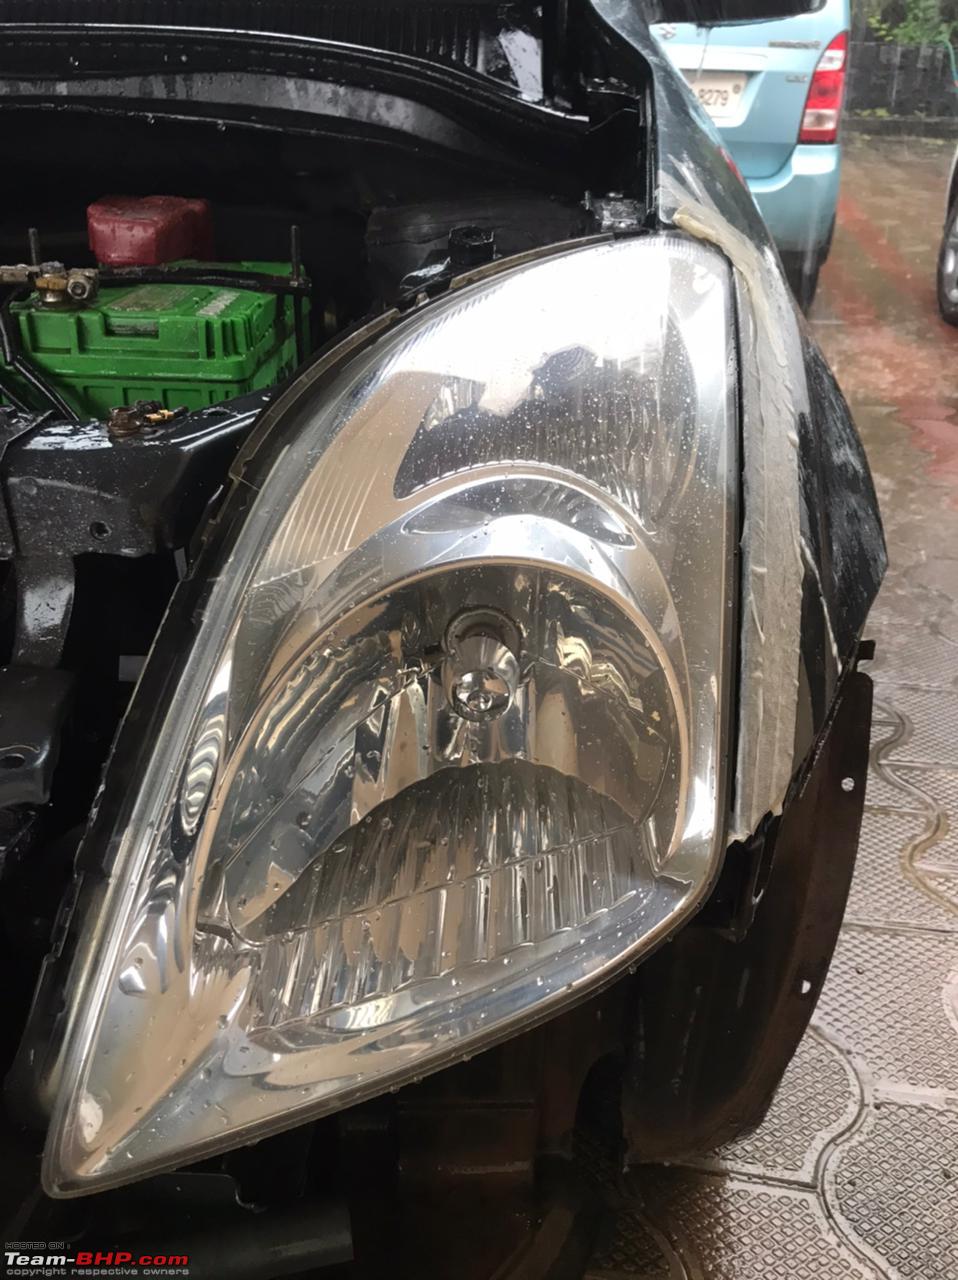
 so applying PPF a good transparent film on the headlight would maintain its condition and protect it further.


| |
|
26th November 2021, 17:23
| #2 |
| Newbie Join Date: Dec 2020 Location: Gurugram
Posts: 16
Thanked: 143 Times
| |
|
| (6)
Thanks
|

|
26th November 2021, 17:50
| #3 |
| Distinguished - BHPian  Join Date: May 2010 Location: Bengaluru
Posts: 4,211
Thanked: 5,863 Times
| |
|
| (16)
Thanks
|
|
26th November 2021, 19:00
| #4 |
| BHPian Join Date: Jan 2019 Location: TN-11, AP-03
Posts: 942
Thanked: 2,428 Times
| |
|
| (1)
Thanks
|
|
28th November 2021, 09:17
| #5 |
| BHPian | |
|
|
|
28th November 2021, 11:40
| #6 |
| BHPian Join Date: Jan 2020 Location: Tokyo/Ahmedabad
Posts: 121
Thanked: 643 Times
| |
|
| (1)
Thanks
|
|
28th November 2021, 12:01
| #7 |
| BHPian Join Date: Jul 2021 Location: Gurgaon
Posts: 572
Thanked: 2,197 Times
| |
|
| (3)
Thanks
|

|
28th November 2021, 18:38
| #8 |
| Senior - BHPian Join Date: May 2006 Location: Greater Chennai
Posts: 4,667
Thanked: 559 Times
| |
|
| (1)
Thanks
|
|
28th November 2021, 20:27
| #9 |
| BHPian Join Date: Aug 2020 Location: Mumbai
Posts: 27
Thanked: 18 Times
| |
|
|
|
29th November 2021, 08:22
| #10 |
| BHPian Join Date: Dec 2009 Location: Bangalore
Posts: 148
Thanked: 208 Times
| |
|
| (1)
Thanks
|
|
29th November 2021, 09:25
| #11 |
| BHPian Join Date: Jul 2020 Location: BDQ/PNQ
Posts: 57
Thanked: 250 Times
| |
|
| (2)
Thanks
|

| |
|
29th November 2021, 10:18
| #12 |
| BHPian Join Date: Mar 2021 Location: Bengaluru
Posts: 64
Thanked: 536 Times
| |
|
|
|
29th November 2021, 11:13
| #13 |
| BHPian Join Date: Dec 2009 Location: Bangalore
Posts: 148
Thanked: 208 Times
| |
|
| (1)
Thanks
|
|
29th November 2021, 11:56
| #14 |
| Senior - BHPian Join Date: Apr 2011 Location: Dubai/Bengaluru
Posts: 3,590
Thanked: 11,093 Times
| |
|
| (1)
Thanks
|
|
29th November 2021, 13:29
| #15 |
| BHPian Join Date: Jul 2021 Location: Gurgaon
Posts: 572
Thanked: 2,197 Times
| |
|
| (6)
Thanks
|
 |
Most Viewed