Team-BHP > Technical Stuff > DIY - Do it yourself


Reply
  Search this Thread
14,688 views
Old 25th April 2010, 20:16   #1
BHPian
 
ghpk's Avatar
 
Join Date: Mar 2009
Location: Ghaziabad
Posts: 870
Thanked: 211 Times
D.I.Y. Door Safety and Foot Light on Santro

after not finding time for my earlier door/foot light, and couple of reminders from my fellow Bhpian I've
completed the door safety light on my santro.

Installation was damn simple logic :-
1). connect a Relay to prevent extra loads on existing wiring of cabin light, as this would come up sure shot when
any door is opened, no matter iginition is ON or OFF, car is running/stopped.

2). connected a Relay which gets on/off using small current from existing Cabin lamp.
3). connected a parallel wire from Hazard Light to relay so it provide current even when car is not running.

and its more of a utility than the bling bling factor.

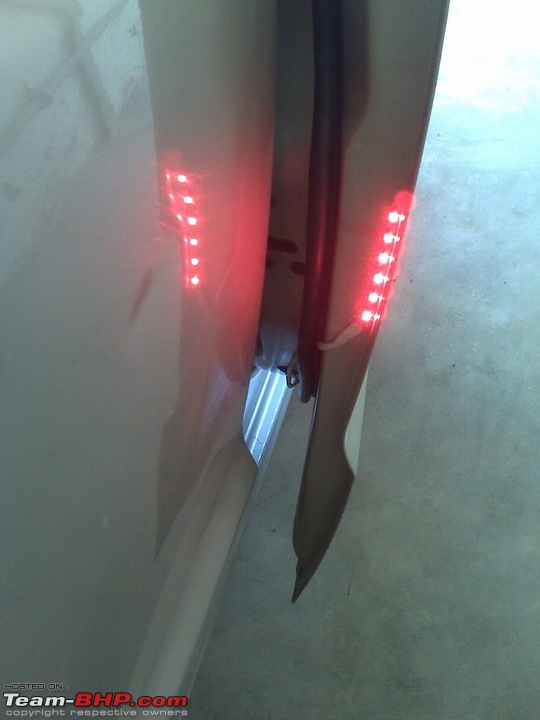
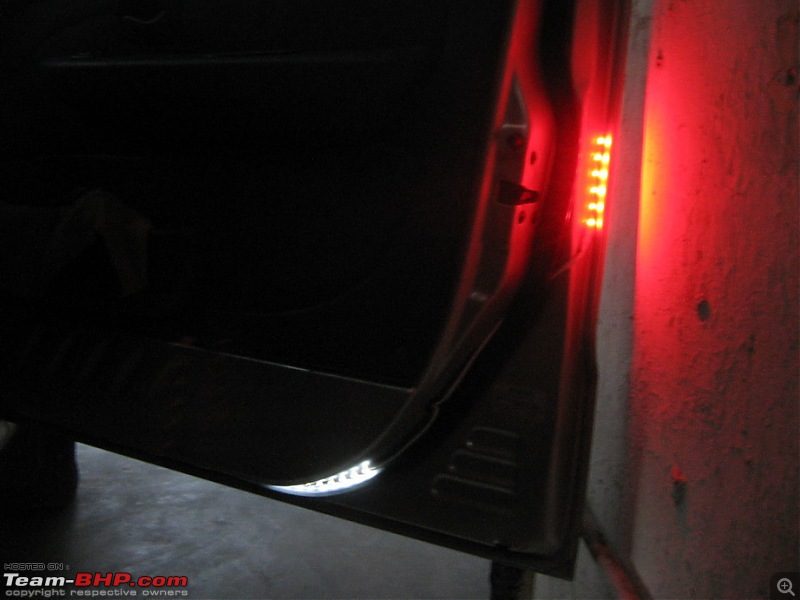
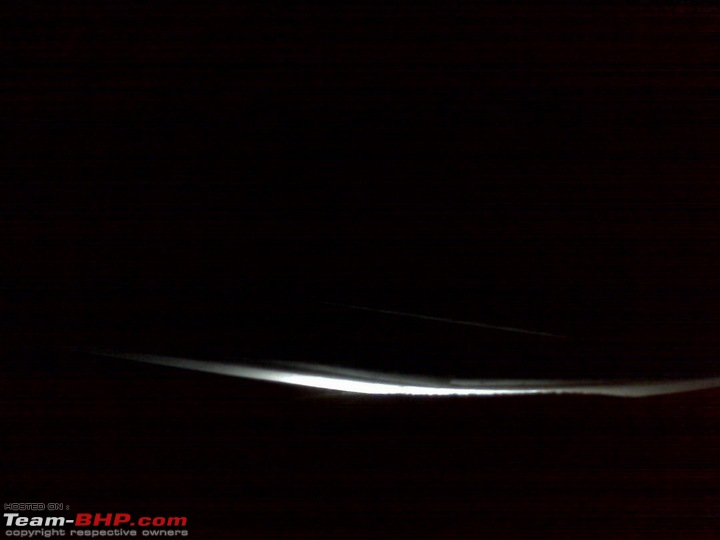
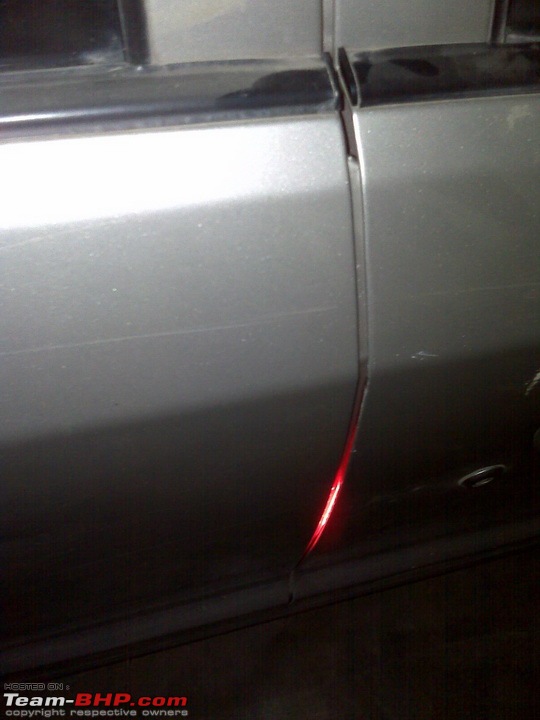
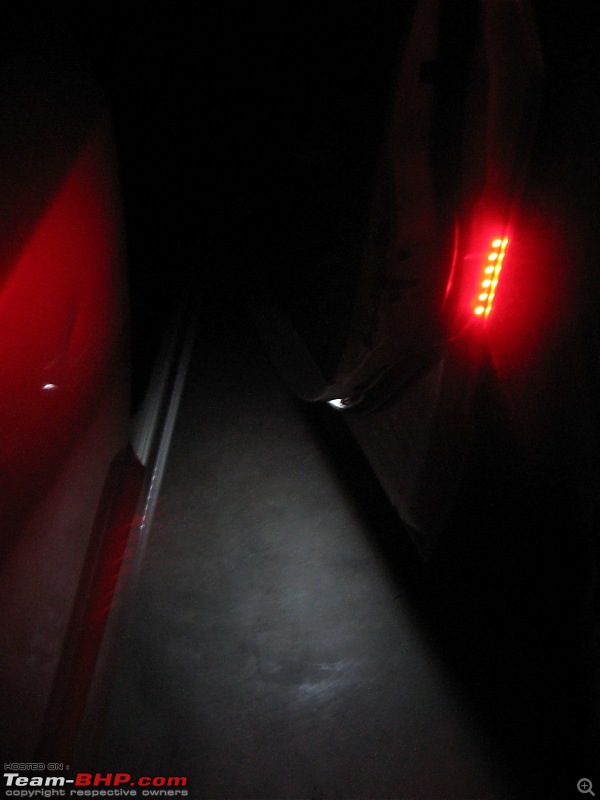
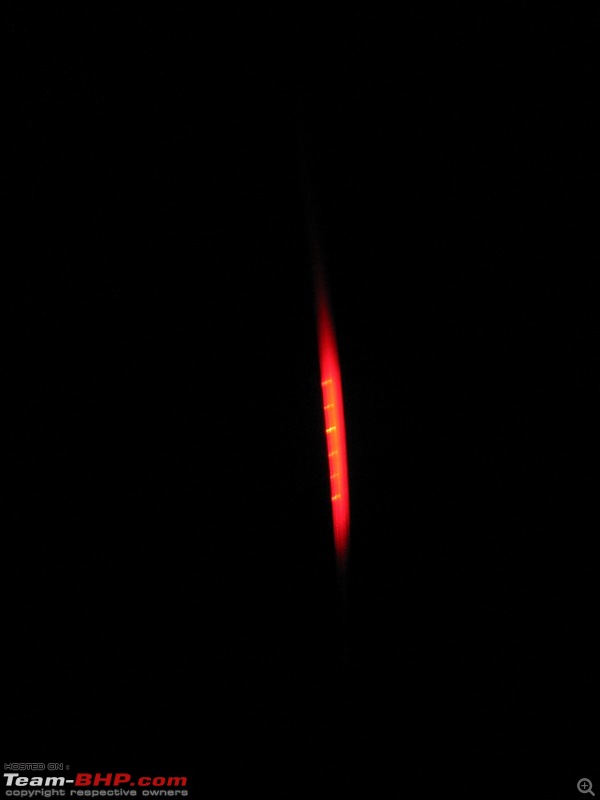
Used L.E.D. Strips, using 6 Reds on Door, and 9 whites to lighten up the foot area, door opens and you know
that you are not stepping on to some sticky chewing gum,cow-d**

for 1 meter of strip you get 60 L.E.D.'s @Rs.250
you can cut it for each 3 L.E.D.
so using it for four doors you need 6L.E.D x 4 doors = 24 L.E.D. 30 incase you want boot door to also be covered.

Same is for white L.E.D. Strip. for each door use atleast 9, so you need 36 or 45 when including boot.

With all this much details, I am sure pictures would be able to speak much more than the words can.

Enjoy

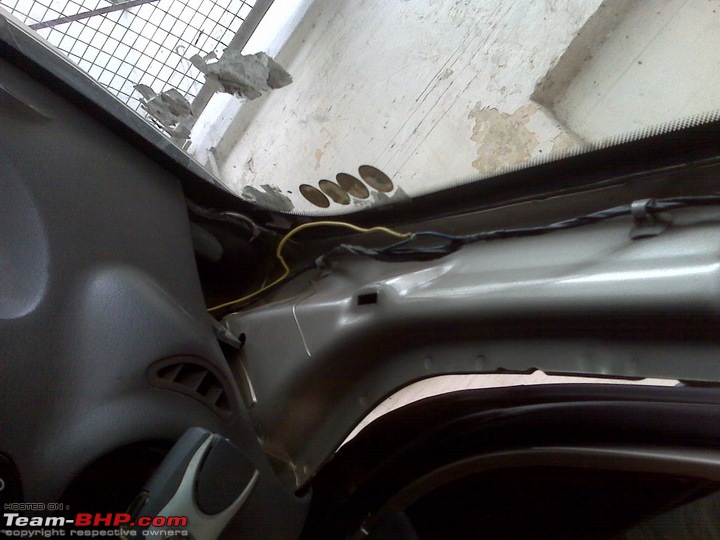
D.I.Y. Door Safety and Foot Light on Santro-removed-side-panel-pillar.jpg

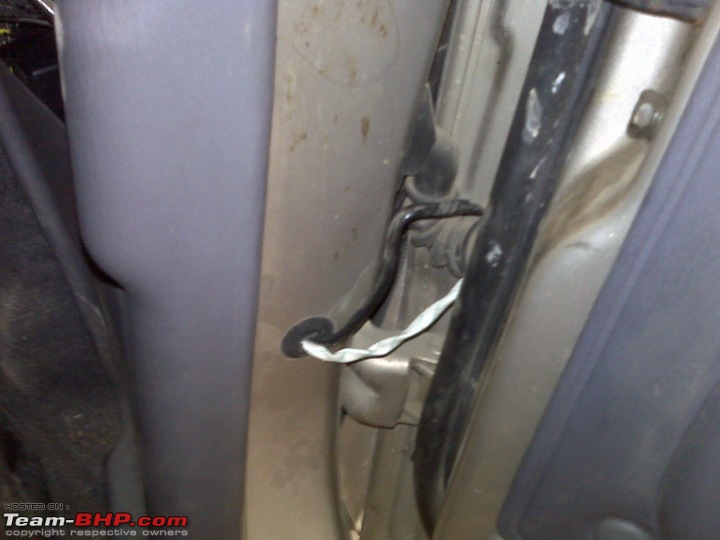
D.I.Y. Door Safety and Foot Light on Santro-joinedawiretocabinlight.jpg

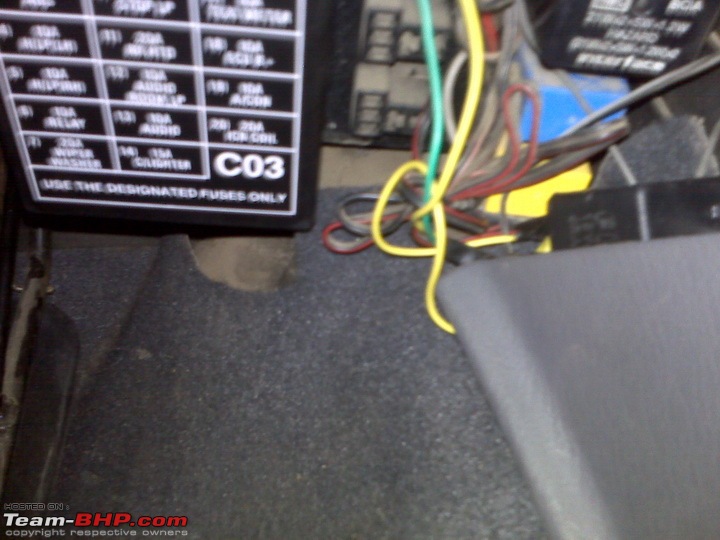
D.I.Y. Door Safety and Foot Light on Santro-soldered-tapped.jpg

D.I.Y. Door Safety and Foot Light on Santro-relay-clips.jpg

Name:  tapped both.jpg
Views: 4363
Size:  101.6 KB

D.I.Y. Door Safety and Foot Light on Santro-connectedrelay.jpg

D.I.Y. Door Safety and Foot Light on Santro-door1.jpg

D.I.Y. Door Safety and Foot Light on Santro-door2.jpg

D.I.Y. Door Safety and Foot Light on Santro-usedwirethroughexistingwire.jpg

D.I.Y. Door Safety and Foot Light on Santro-relayfixed.jpg

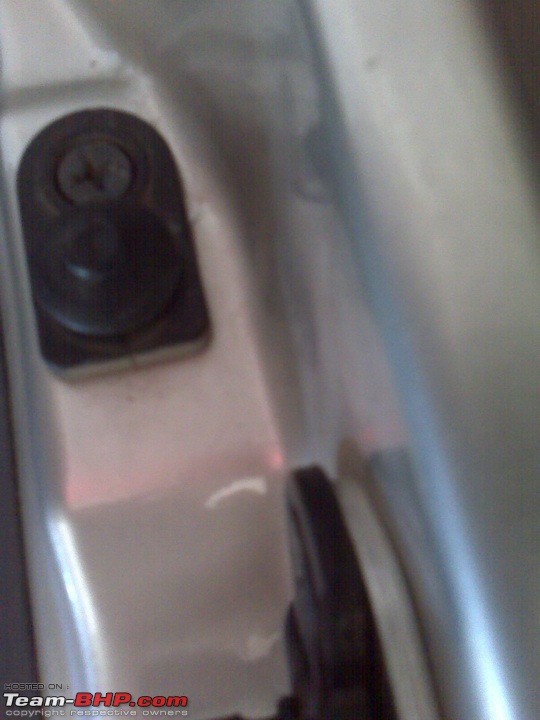
D.I.Y. Door Safety and Foot Light on Santro-existingdoorswitch.jpg

D.I.Y. Door Safety and Foot Light on Santro-door3.jpg

D.I.Y. Door Safety and Foot Light on Santro-daylight.jpg

D.I.Y. Door Safety and Foot Light on Santro-img_0088.jpg

D.I.Y. Door Safety and Foot Light on Santro-img_0089.jpg

D.I.Y. Door Safety and Foot Light on Santro-img_0090.jpg

D.I.Y. Door Safety and Foot Light on Santro-img_0095.jpg

D.I.Y. Door Safety and Foot Light on Santro-nightview.jpg

D.I.Y. Door Safety and Foot Light on Santro-night2.jpg

D.I.Y. Door Safety and Foot Light on Santro-night4.jpg

D.I.Y. Door Safety and Foot Light on Santro-night5.jpg

D.I.Y. Door Safety and Foot Light on Santro-night6.jpg

D.I.Y. Door Safety and Foot Light on Santro-img_0098.jpg

D.I.Y. Door Safety and Foot Light on Santro-img_0099.jpg

D.I.Y. Door Safety and Foot Light on Santro-viewfrominside.jpg

D.I.Y. Door Safety and Foot Light on Santro-otherdooropen.jpg
ghpk is offline   (2) Thanks
Old 25th April 2010, 20:22   #2
BHPian
 
vaisakhr's Avatar
 
Join Date: Aug 2009
Location: KL-32
Posts: 381
Thanked: 197 Times

Great. Looks so nice. As you said its a safety factor than bling bling.
vaisakhr is offline  
Old 25th April 2010, 20:41   #3
BHPian
 
shyamhegde's Avatar
 
Join Date: Dec 2006
Location: Bangalore
Posts: 284
Thanked: 5 Times

Good stuff mate. Does look good and also sure, they help.
Not sure, if a relay was necessary as LEDs use pretty less current, may not be more than the relay actuator current itself.
Also please add a fuse to be more safe on wiring part.
Thanks for sharing.
shyamhegde is offline  
Old 25th April 2010, 20:47   #4
Distinguished - BHPian
 
vigsom's Avatar
 
Join Date: Feb 2006
Location: NSEW
Posts: 3,759
Thanked: 25,455 Times

Good job ,mate.

the nicest part is - it is a DIY.
vigsom is offline  
Old 25th April 2010, 23:10   #5
BHPian
 
ghpk's Avatar
 
Join Date: Mar 2009
Location: Ghaziabad
Posts: 870
Thanked: 211 Times

Thanks all,
shyam, Relay is to prevent load and any shorts on original wiring.
i know L.E.D. don't put much load, but to avoid any possible wiring problems, I've used the Small Relay.

A fuse is already planned but not connected yet, as I'll be removing main power to connect other door tomorrow then the fuse goes in.
ghpk is offline  
Old 25th April 2010, 23:16   #6
Senior - BHPian
 
prince_pervez's Avatar
 
Join Date: Dec 2006
Location: Redwood shores, CA, USA
Posts: 4,210
Thanked: 51 Times

This is great. Nice and neat job. It is great to have such talent. Good work.
prince_pervez is offline  
Old 25th April 2010, 23:42   #7
BHPian
 
anku94's Avatar
 
Join Date: Dec 2009
Location: Bangalore
Posts: 249
Thanked: 351 Times

Err...it's gotta be the stupidest question around, but what's the utility of those lights ?

Ah...missed the 'stepping on cow-dung, chewing-gum etc..." part. Apologies. Cool DIY though.

Last edited by anku94 : 25th April 2010 at 23:44. Reason: Asked a question that already had been responded to.
anku94 is offline  
Old 26th April 2010, 00:19   #8
BHPian
 
ghpk's Avatar
 
Join Date: Mar 2009
Location: Ghaziabad
Posts: 870
Thanked: 211 Times

Anku, the Red ones may also help the cyclist to have a mercy on your door who mostly Bang your door when you open up in a hurry.
ghpk is offline  
Old 26th April 2010, 00:32   #9
BHPian
 
shyamhegde's Avatar
 
Join Date: Dec 2006
Location: Bangalore
Posts: 284
Thanked: 5 Times

Quote:
Originally Posted by ghpk View Post
Thanks all,
shyam, Relay is to prevent load and any shorts on original wiring.
i know L.E.D. don't put much load, but to avoid any possible wiring problems, I've used the Small Relay.

A fuse is already planned but not connected yet, as I'll be removing main power to connect other door tomorrow then the fuse goes in.
yeah. relay and fuse will help, in case of any issues later.
i am planning to copy your efforts
I know it is not that easy one to complete with good finish as yours. needs lots of effort, patience etc.
shyamhegde is offline  
Old 26th April 2010, 00:51   #10
Newbie
 
Join Date: Dec 2009
Location: Bombay
Posts: 24
Thanked: 0 Times

THats a ver neat job there
THanks for Sharing it here.
winzeee is offline  
Old 26th April 2010, 01:09   #11
BHPian
 
ghpk's Avatar
 
Join Date: Mar 2009
Location: Ghaziabad
Posts: 870
Thanked: 211 Times

^ But i am sure you have the same L.E.D. insect as of mine :-)

To make it stick longer you can use few drops of fevikwik on the self adhesive tape which comes along these strips, it would make it stay much much longer on the place.

Another point which i forgot to mention would be waterproofing, as door can get real wet when car is washed or in rains, so use a transparent tape to closely cover the L.E.D. Strip and it would be quite well waterproof, Cello-Tape would not let water get inside easily.
ghpk is offline  
Old 26th April 2010, 13:20   #12
BHPian
 
UniqueMods's Avatar
 
Join Date: Nov 2008
Location: Mumbai
Posts: 308
Thanked: 50 Times

Nice DIY.

In the wiring going to the cabin light on the A pillar of your santro, what is the color of the "door open +ve" and "-ve ground"?

I assume black is -ve ground connected to the yellow cable you put ()2nd pic). What is your green cable connected to ?

UM

Last edited by UniqueMods : 26th April 2010 at 13:21.
UniqueMods is offline  
Old 26th April 2010, 13:27   #13
Distinguished - BHPian
 
naveen.raju's Avatar
 
Join Date: Apr 2010
Location: Cochin
Posts: 4,828
Thanked: 8,887 Times

that's a neat install. really liked the white leds... Wish I had those in mine..
naveen.raju is offline  
Old 26th April 2010, 13:52   #14
Senior - BHPian
 
thedreamcatcher's Avatar
 
Join Date: Mar 2009
Location: Dubai
Posts: 1,204
Thanked: 66 Times

Hey, can you post some more pics of the same, but this time zoom out a little as it is a bit hard to make out clearly

Thanks
thedreamcatcher is offline  
Old 26th April 2010, 14:04   #15
BHPian
 
ghpk's Avatar
 
Join Date: Mar 2009
Location: Ghaziabad
Posts: 870
Thanked: 211 Times

Quote:
Originally Posted by UniqueMods View Post
Nice DIY.

In the wiring going to the cabin light on the A pillar of your santro, what is the color of the "door open +ve" and "-ve ground"?

I assume black is -ve ground connected to the yellow cable you put ()2nd pic). What is your green cable connected to ?

UM
+ve which is coming from door switch is Blue Color.
-ve is brown, I don't remember now, but using the car chassis ground was not turning ON the relay so u used two wires.
3rd wire (which i didnt used is cabin light over-ride)

Quote:
Originally Posted by thedreamcatcher View Post
Hey, can you post some more pics of the same, but this time zoom out a little as it is a bit hard to make out clearly

Thanks
sure, please let me know which pic you wish to see, I can post them for sure.
ghpk is offline  
Reply

Most Viewed
Thread Tools Search this Thread
Search this Thread:

Advanced Search

Copyright ©2000 - 2024, Team-BHP.com
Proudly powered by E2E Networks