![]() | #616 | |
BHPian ![]() | ![]() Quote:
![]() But for the MZM7256, you say it ran for 2.5lakh kms and nothing happened to the engine and transmission! But didn't the guys testing the car face any vapour-lock issue? I am amazed | |
![]() |
|
![]() | #617 | |
Distinguished - BHPian ![]() Join Date: Jul 2007 Location: MUMBAI
Posts: 3,060
Thanked: 4,993 Times
| ![]() Quote:
![]() Best regards, Behram Dhabhar | |
![]() |
![]() | #618 | |
BHPian ![]() | ![]() Quote:
![]() I remember one of our neighbor had fitted a Unicla Superking AC in his 91 model 118NE and it used to chill like a freezer. My specs always got fogged after getting out of the car - such was the power. As I plan to install AC in mine, can you give a synopsis on the things to take care of? | |
![]() |
![]() | #619 | |
Distinguished - BHPian ![]() Join Date: Jul 2007 Location: MUMBAI
Posts: 3,060
Thanked: 4,993 Times
| ![]() Quote:
Best regards, Behram Dhabhar | |
![]() |
![]() | #620 | |
BHPian ![]() | ![]() Quote:
On the fan part, I remember, that even factory fitted AC 118NEs used to have a 8 or 9 fin fan that emitted a loud shriek when revved hard. Does that means AC 118NE was less powerful then NON-AC variant because of the power sapping fan? | |
![]() |
![]() | #621 |
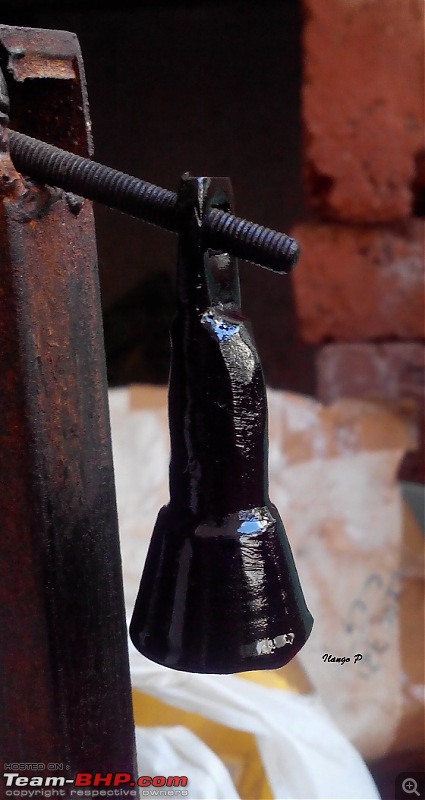
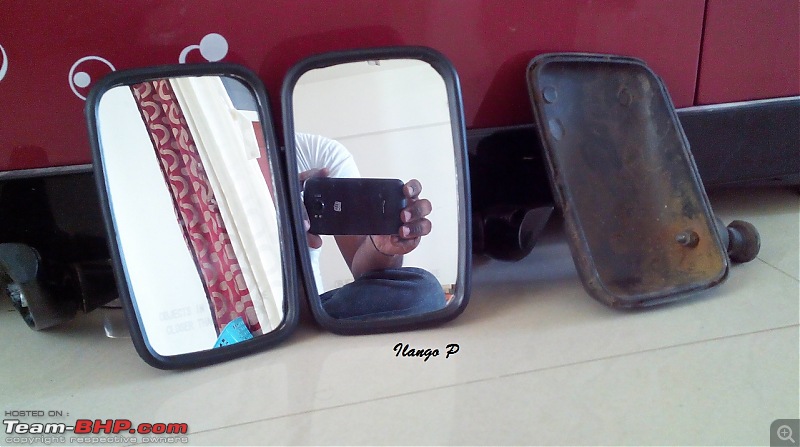
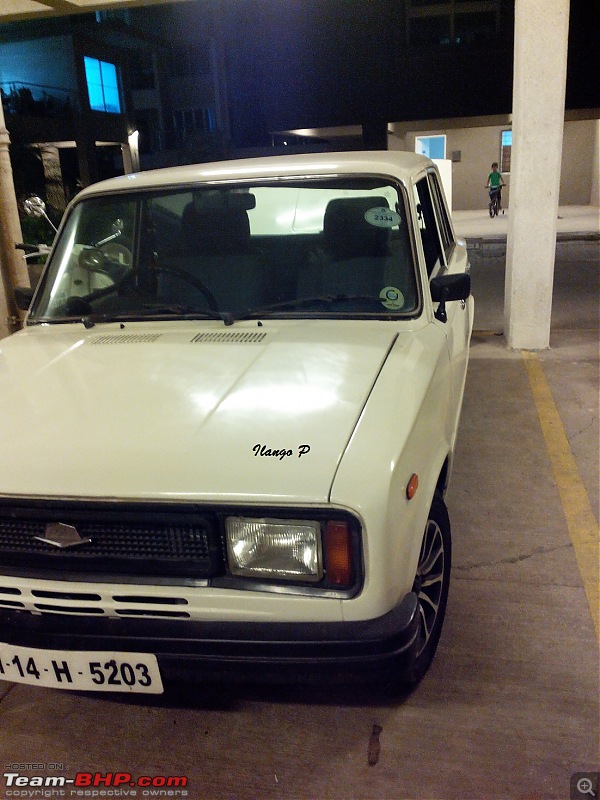
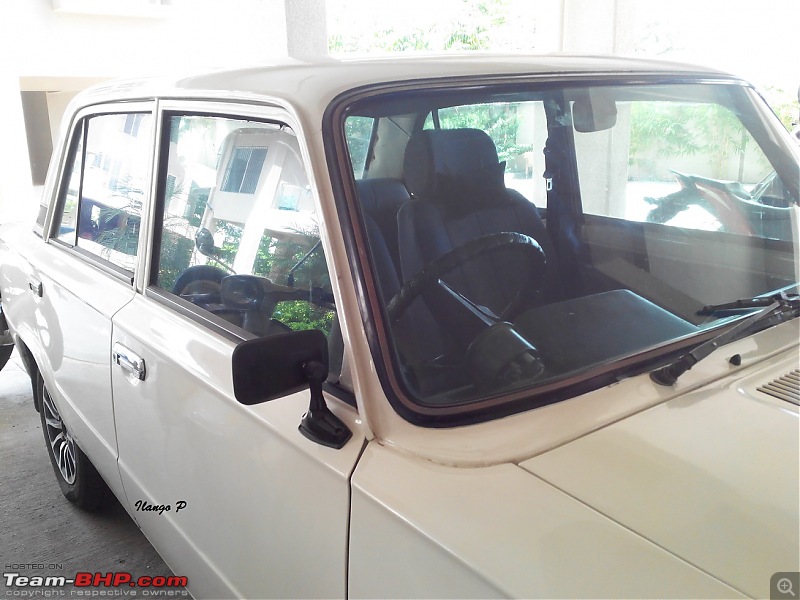
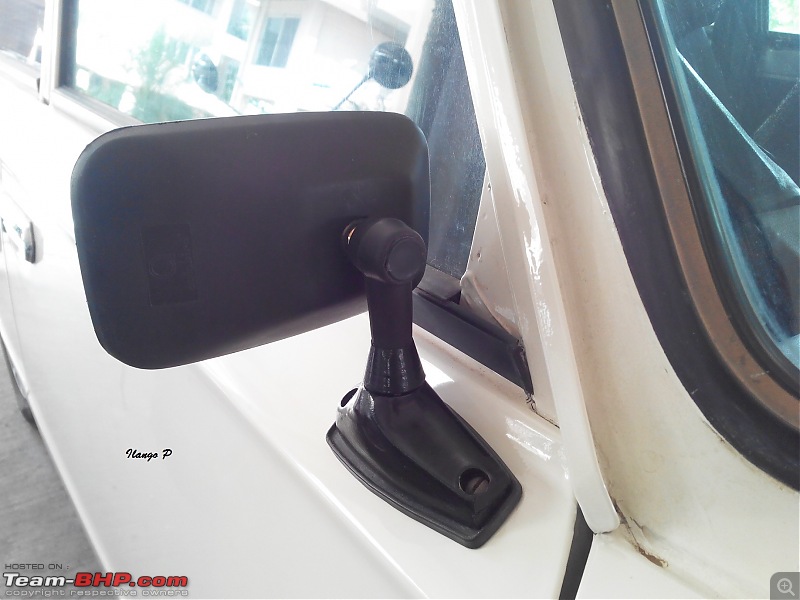
BHPian ![]() | ![]() The quest for an indigenous, low cost, readily available option for a side mirror for my 118NE started after the original side mirror in my car was broken by the menacing kids in our society. Though the universal side mirror would have solved the problem functionally, I wasn't convinced in fitting them up for the reason that the mirror orientation is little tilted towards the ground whereas they fit well on the door shoulders of Padmini & Amby. My requirement was simple, no new holes in the door for a new mirror. Hence I started looking adapting commonly available mirrors on to the base of the broken 118NE mirror. Here are the trials. 1. Maruti 800 mirror - Somehow with great care I was able to remove the glass from its housing, unbolt the housing from the mirror base. Got an aluminum adaptor base turned in a lathe to mount the M800 mirror on 118NE mirror base. Seemed like I was close to success. So tried to gentle pry out the glass for the opposite side. This time the mirror got cracked. SO I stopped here concluding that the success rate in removing the mirror intact was too low. 2. Tata Nano mirror - There are 2 types. A cheaper variety where the mirror housing is supported on the stem by a ball joint and adjustments are very much like a motorcycle mirror. Other type is quite complex for this adaptation. Bought the first type and separated the mirror from its stem. Seemed like the 118NE mirror base would need some level of cutting and machining and hence dropped this idea too 3. WagonR & Omni mirrors would fit, but at the place where the 118NE mirror fits. A friendly shop keeper returned my money back ![]() ![]() Still I had kept my eyes open scanning for a side mirror from another vehicle. Spotted Piaggio Ape and Avenger mirrors which were very much close to 118NE side mirrors in their shape. Since it is a chrome plated part a pair of Avenger mirror was too expensive for the budget I had fixed, I eyed on the Piaggio Ape side mirrors. Went to a tempo parts shop and to add to my confusion, there were 2 types. One with socket for a ball joint in the back side (the ball is a part of mirror stem) and other with a ball and a small stack with a nut (the stalk fits in a square slot in the mirror stem). As they cost only Rs40/- each I took 1 of each type. Decided to go with the second option which came with the ball joint included. Bought 2 mirror stems, chopped them off at the required length. A friendly lathe guy machined 2 cones to adapt the stem to 118 mirror base. Welded the 2 parts and again got them leveled on the lathe. The rubber protectors from the Ape mirror stem came handy in hiding the weld job and the nut behind the ball joint. The result is evident from the attached pictures. ![]() ![]() ![]() ![]() ![]() ![]() The rubber base for the mirror are from my old broken mirrors. Had 2 extra pieces. So got a mirror for left side as well. Drilled similar 8mm holes on the left doors, placed the mirror base rubber with self-locking arrangement and fitted the mirror for left side as well. ![]() ![]() ![]() ![]() |
![]() | ![]() |
![]() | #622 |
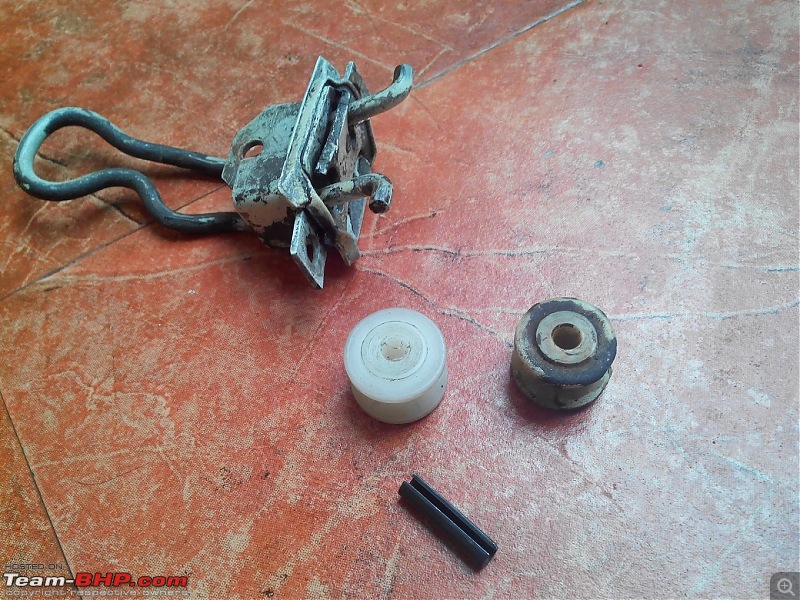
BHPian ![]() | ![]() After repeated complaints from my better half that the door doesn't stay open during ingress & egress, I had to take up this work on priority. Rather used this opportunity to spend some time working in the 118NE. The culprit was the worn out Nylon bush which is supposed to hold the door in place when fully opened. Attachment 1399509 A friendly lathe guy got the nylon pulleys turned. Used 6mm cotter pins in place of the factory fitted rivets. And with a packing of grease now it is ready to go into the car. ![]() ![]() ![]() |
![]() | ![]() |
![]() | #623 |
BHPian ![]() | ![]() Need to adjust the caster/camber angles on my car but unable to source the shims needed for setting. The alignment guy told me to source a 4 anna washer that fits size 13 bolt and cut it from one side but i am skeptical to use it. Any other better way of doing it? |
![]() |
|
![]() | #624 | |
BHPian ![]() | ![]() Quote:
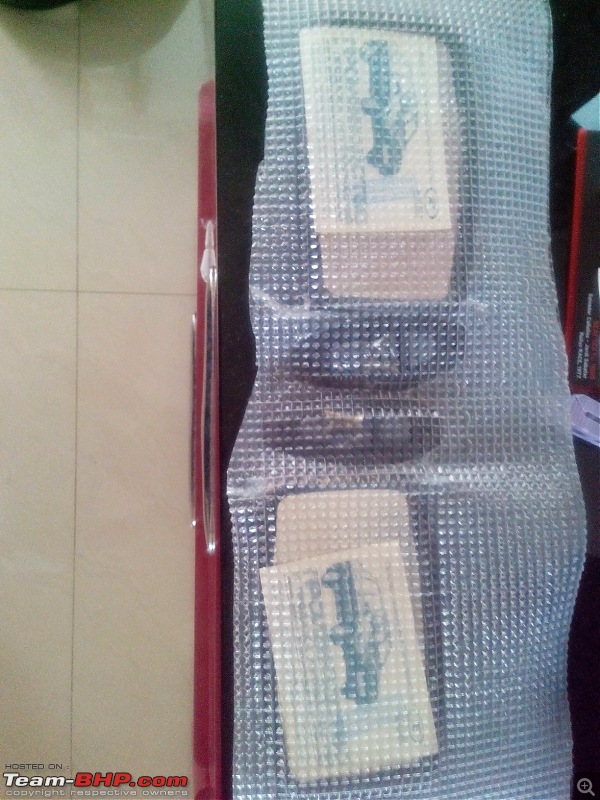
Dear Behram Sir, Could you please help me out with the MS word Font type of the characters "PREMIER 118NE" in the badge of this car. Thanks in advance. Attached are pictures of 1:43 scale model of a SEAT 124FL Rally car & Lada side mirrors, purchased off www.ebay.de. Gift from my brother ![]() ![]() ![]() Last edited by ilangop : 8th September 2015 at 16:48. | |
![]() |
![]() | #625 | |
BHPian ![]() | ![]() Quote:
| |
![]() |
![]() | #626 | |
BHPian ![]() | ![]() Quote:
| |
![]() | ![]() |
![]() | #627 |
Distinguished - BHPian ![]() Join Date: Jul 2007 Location: MUMBAI
Posts: 3,060
Thanked: 4,993 Times
| ![]() Dear K.K.Vaidya - hello after a very long time, I was not having access to net as I was offsite, sorry for the delay in replying. The so-called "wheel alignment shims" are nothing but plain washers. When they are added or subtracted, the position of the lower wishbone with respect to the upper wishbone changes. The process of adjustment is very simple and you only need to use CS (common sense) to know where to add the shims and where to remove them from. The lower control arm is attached to the engine mounting sub-frame by a forged rod having 2 holes in it and they engage in 2 studs welded into the construction of the cross member. In order to provide a minimum working clearance, 4mm thick washers are already provided between the vertical faces of the cross member and the forged rods. With this initial setting, the camber and caster is recorded. Now read carefully: "Increase" means go from less to more. To increase only camber, remove equal thickness of shims from both studs. To reduce only camber, add equal thickness of shims from both studs. To increase only caster, remove shims from the rear stud and add the same shims to the front stud. To reduce only caster, remove shims from the front stud and add the same shims to the rear stud. To change both camber and caster, remove or add shims to one stud. By the way, first adjust toe, then do everything for camber and caster and finally again adjust toe. Now to answer your question. Buy plain washers from hardware stores, available at 1 rupee each, cut them and use them, nothing will happen OD should not touch anywhere. But you must buy washers of the correct ID. So your technician was correct, but the size he mentioned is not correct. Please check, if the nut size is 17mm, it is M10*1.25, if it is 19mm, it is M12*1.25. Cars were released with both sizes, one Fiat specification and one Lada specification. I am finding it very funny to read that wheel alignment shims cost 25 rupees each or cost 900 rupees for 100 shims, hahaha! Please remember to use patience while adjusting shims. If you work in garage, you will understand. The whole thing will take around 5 hours to do, so choose your location carefully otherwise the guy will throw you out because he has to make 400 rupees bill every 15 minutes, he is not as mad as you and me. Be careful. Best of luck. (I am insulated from all this nonsense as I have my own "Bear - Made in USA" bubble type wheel alignment gage, and I can spend any number of hours that I want to, to do what I have to do). ![]() ![]() Best regards, Behram Dhabhar |
![]() | ![]() |
![]() | #628 |
BHPian ![]() | ![]() Dear Behram Sir, Could you please share some info on the venturi & jet sizes on the Mikuni carburetor for 118NE? -Ilango |
![]() |
![]() | #629 |
BHPian ![]() | ![]() The distributor takes a 0.22farad capacitor which is not available here. We only get a standard 0.25 farad capacitor for Maruti which too is getting difficult to source. Finally I laid my hands on a NISSAN 0.22MF Capacitor on ebay and grabbed it. Had to do some juggad to fit it in the LUCAS distributor as this one is probably made for HITACHI or MITSUBISHI make distributors. But finally made my car run on 0.22mf. Not much of a difference but peace of mind for going 'by the book' |
![]() | ![]() |
![]() | #630 | |
BHPian ![]() | ![]() Quote:
Going by the electrical fundamentals the charge accumulated in the capacitor is a function of the ignition coil primary resistance, the dwell time and of course the battery voltage. When these 3 remain unchanged, the charge accumulated in the 0.25MF capacitor will remain almost same as in 0.22MF capacitor. Increasing the dwell by 1 or 2 degrees more would give the time for 0.25MF to get charged fully and also deliver a stronger spark. In theory the points might get eaten away with stronger current due to higher dwell, but since the same point goes in M800 also, I wouldn't worry about this part. Finding a M800 point condenser is not that difficult at least here in Pune. | |
![]() | ![]() |