Quote:
Originally Posted by samsag12  The car paint matches rally specs. Waiting eagerly for the step by step refitting of the car. Please do keep updated on this tantragna. |
Rally specs LOL! If I can acquire her, sure will get into rallying. Have a lot of mods in mind with that perspective!
Quote:
Originally Posted by sidindica Suzuki SS80 3 door in Australia. |
Hey sid, its called mightyboy in Australia (if I am not wrong!). Nice color though! We have a zen in that color too!
Quote:
Originally Posted by PAVAN KADAM The car has come out really well.
If only you could have had the base paint white, the Red would have been killer.
Maybe that shade is your choice, waiting to see the final outcome. |
Thanks Pavan, even I thought the same, a short while after the base coat (NC Paint) since the white bonnet & fenders were looking bright in their real red shade (German RED, to be precise). But I noticed the PU coat didn't do any such injustice to the final shade with respect to the base coat variations. It looked much the same even when painted on white (Pure White), as well the variations in base red. I guess the tint in the PU is good enough to cover the mismatch in the base coats.
Quote:
Originally Posted by Stanher Thanks again for the info! 'will try it out.
Also remember having drank (just) some thinner from a water-bottle accidentally too once, around 2003, when I was in Singapore! I too luckily spat it out at once, but not before it left a similar burning in my mouth! 'was paranoid about seeing an unmarked water-bottle since then!
Thanks again! However, looks like I'll need a lot of 'junk' trims to experiment on before getting it right. |
Stanher, try it out, me too thinking the same since the trims in the SS80 am working is also in a typical mess (dents). Best of luck!
----------------------------------------------------------------------
So for the Update:
Ok, after a short gap of 3 days away from the SS80 (it was a rejoice on finally getting the paint on), & after I got back noticed a few large area with shallow dents on the car top

. Don't know whether it was deliberate or accidental. But almost took care of it without damaging the newly painted surface, yet one is mischievous to repair!
Took nearly 3 days to clean the window panes (glass) & its rubbers as it had old scratched cooling film. It was in real mess.
(I like the glass panes the most in this car, They are matchless to even today's Maruti Suzuki's in the looks. They are flawless in terms of the surface finish, no ripples altogether anywhere!)
Installed Front windshield (actually a replacement one, not OEM that came with the car while purchase), rather slowly to be sure & scratch free (so far!).
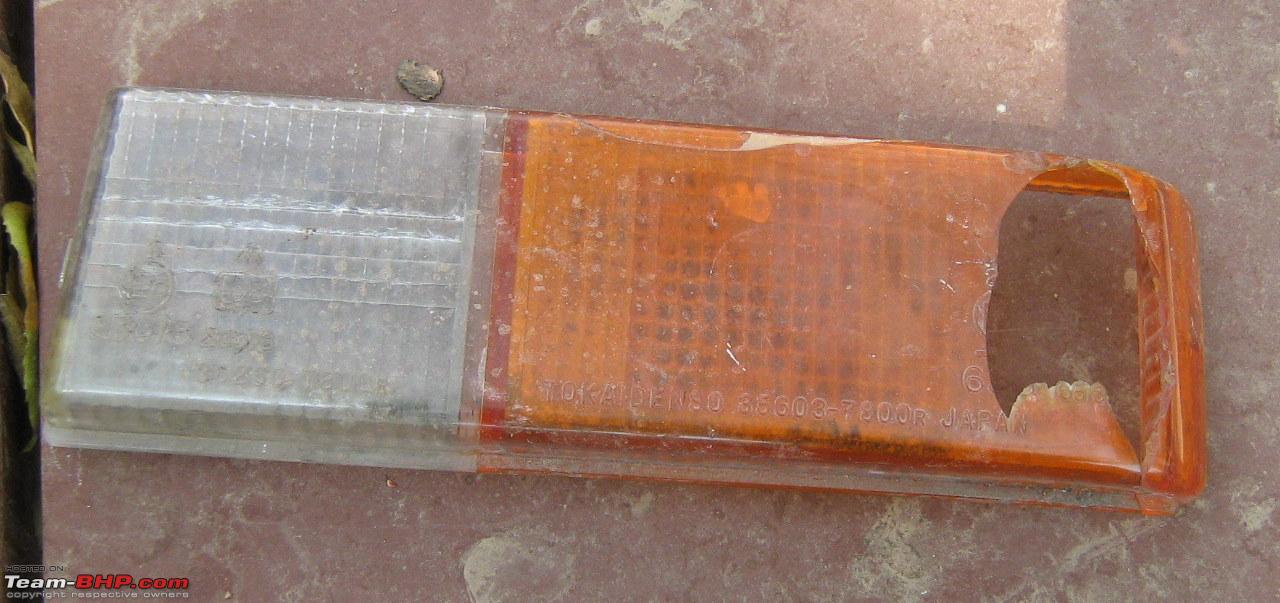
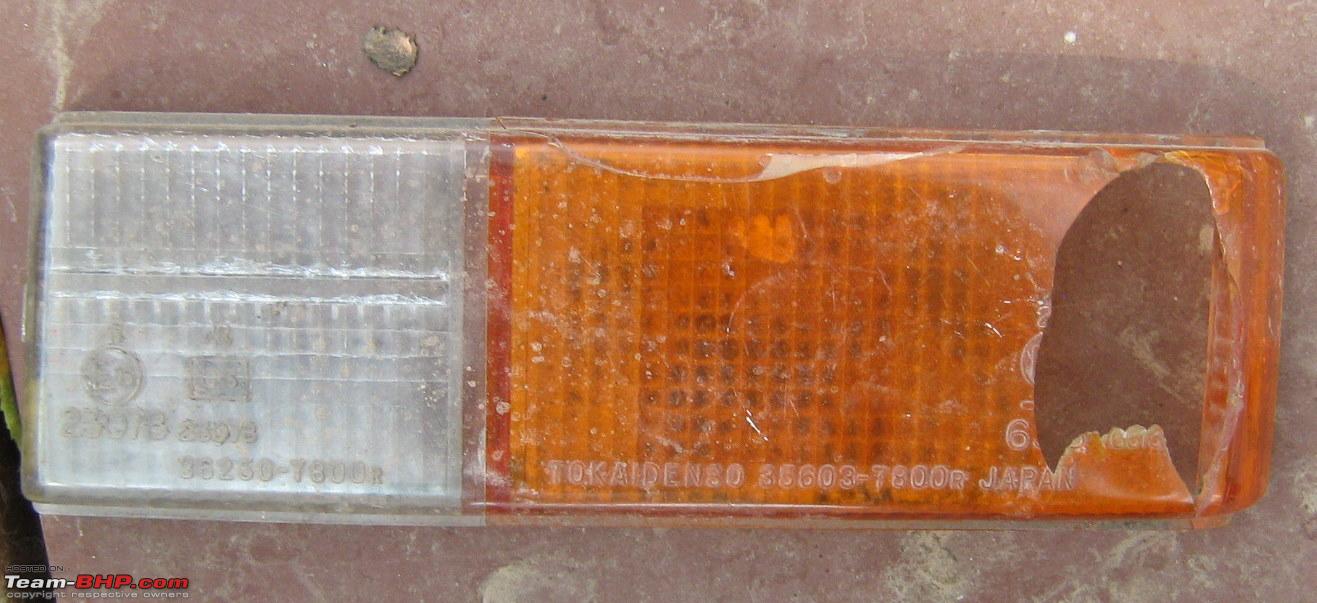
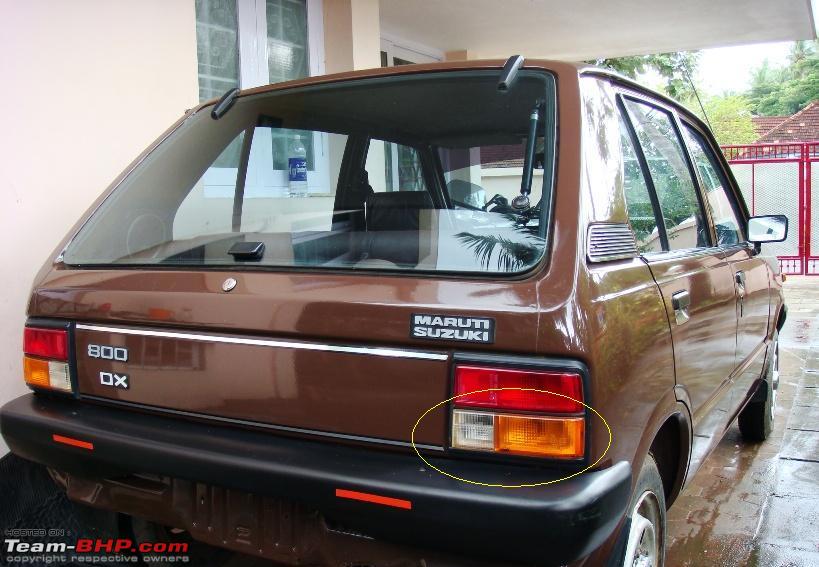
Front windshield fixed, brake lines installed, rear Glass boot lid lock assembly fixed, black paint sprayed on the originally black parts (Matte & Gloss, both), such as, brake, clutch, throttle pedals, windshield wiper arms, rear door glass pane guide, battery stand & parking-brake lever. Additionally blackened the Front Grill & C pillar trims in matte.
Electrical System: Now this is in real mess! I need help

from fellow bhpians on this & also on the 5th pic, the mud flap in between the wheel well & engine compartment is it only on the left side or on both sides (I have only the left side). I would need a electrical wiring/system diagram if anyone has it. I have prepared a partially done sketch. But have to understand the circuitry logic to rectify the issues.
The wiring had many issues, like the ignition key harness been melted due to overload/short circuitry, & it had done damage to the connectors & had spread across the main wiring harness. So I had taken out the complete bunching insulation to clean & repair, it was real sticky & greasy. I have cleaned it thoroughly, but need time & some consumables like glue-less insulation tape, similar spec wires (for repairs) & some connectors too. At this rate of work, it would need atleast 3-5 days of complete dedicated work to make it as good as new, I guess!
So folks, I would really appreciate any help on the circuit diagrams .
Today, I also finished assembling the in-door comps, glass pane, its mechanism & locking system for the rear doors after thorough cleaning.
Pending jobs for another 3 days: Cleaning & installing the door panes mechanisms, & door locking mechanisms. Installing brakes, steering column, fuel filter, the engine with transmission & radiator.
Some photos of update:


 17th February 2010, 23:17


 . Was it stored in vacuumed space? To keep something which can transport people be kept like that
 , is unbelievable!
 ).
).