

 31st October 2017, 10:42
| #301 |
| Distinguished - BHPian  Join Date: Oct 2008 Location: Pune
Posts: 3,231
Thanked: 5,742 Times
| |

|  (3)
Thanks (3)
Thanks
|


| |
|
31st October 2017, 11:05
| #302 |
| Distinguished - BHPian Join Date: Jun 2012 Location: BengaLuru
Posts: 5,658
Thanked: 19,398 Times
| |
|
| (6)
Thanks
|

|
31st October 2017, 15:47
| #303 |
| Distinguished - BHPian | |
|
| (9)
Thanks
|

|
1st November 2017, 01:11
| #304 |
| Distinguished - BHPian | |
|
| (13)
Thanks
|
|
2nd November 2017, 00:43
| #305 |
| Senior - BHPian | |
|
| (6)
Thanks
|
|
6th November 2017, 21:33
| #306 |
| Distinguished - BHPian | |
|
| (26)
Thanks
|


|
8th November 2017, 00:18
| #307 |
| Distinguished - BHPian | |
|
| (18)
Thanks
|


|
8th November 2017, 08:15
| #308 |
| BHPian | |
|
| (5)
Thanks
|
|
8th November 2017, 12:37
| #309 |
| Distinguished - BHPian Join Date: Oct 2008 Location: Pune
Posts: 3,231
Thanked: 5,742 Times
| |
|
| (2)
Thanks
|
|
8th November 2017, 14:00
| #310 |
| Distinguished - BHPian | |
|
| (12)
Thanks
|
|
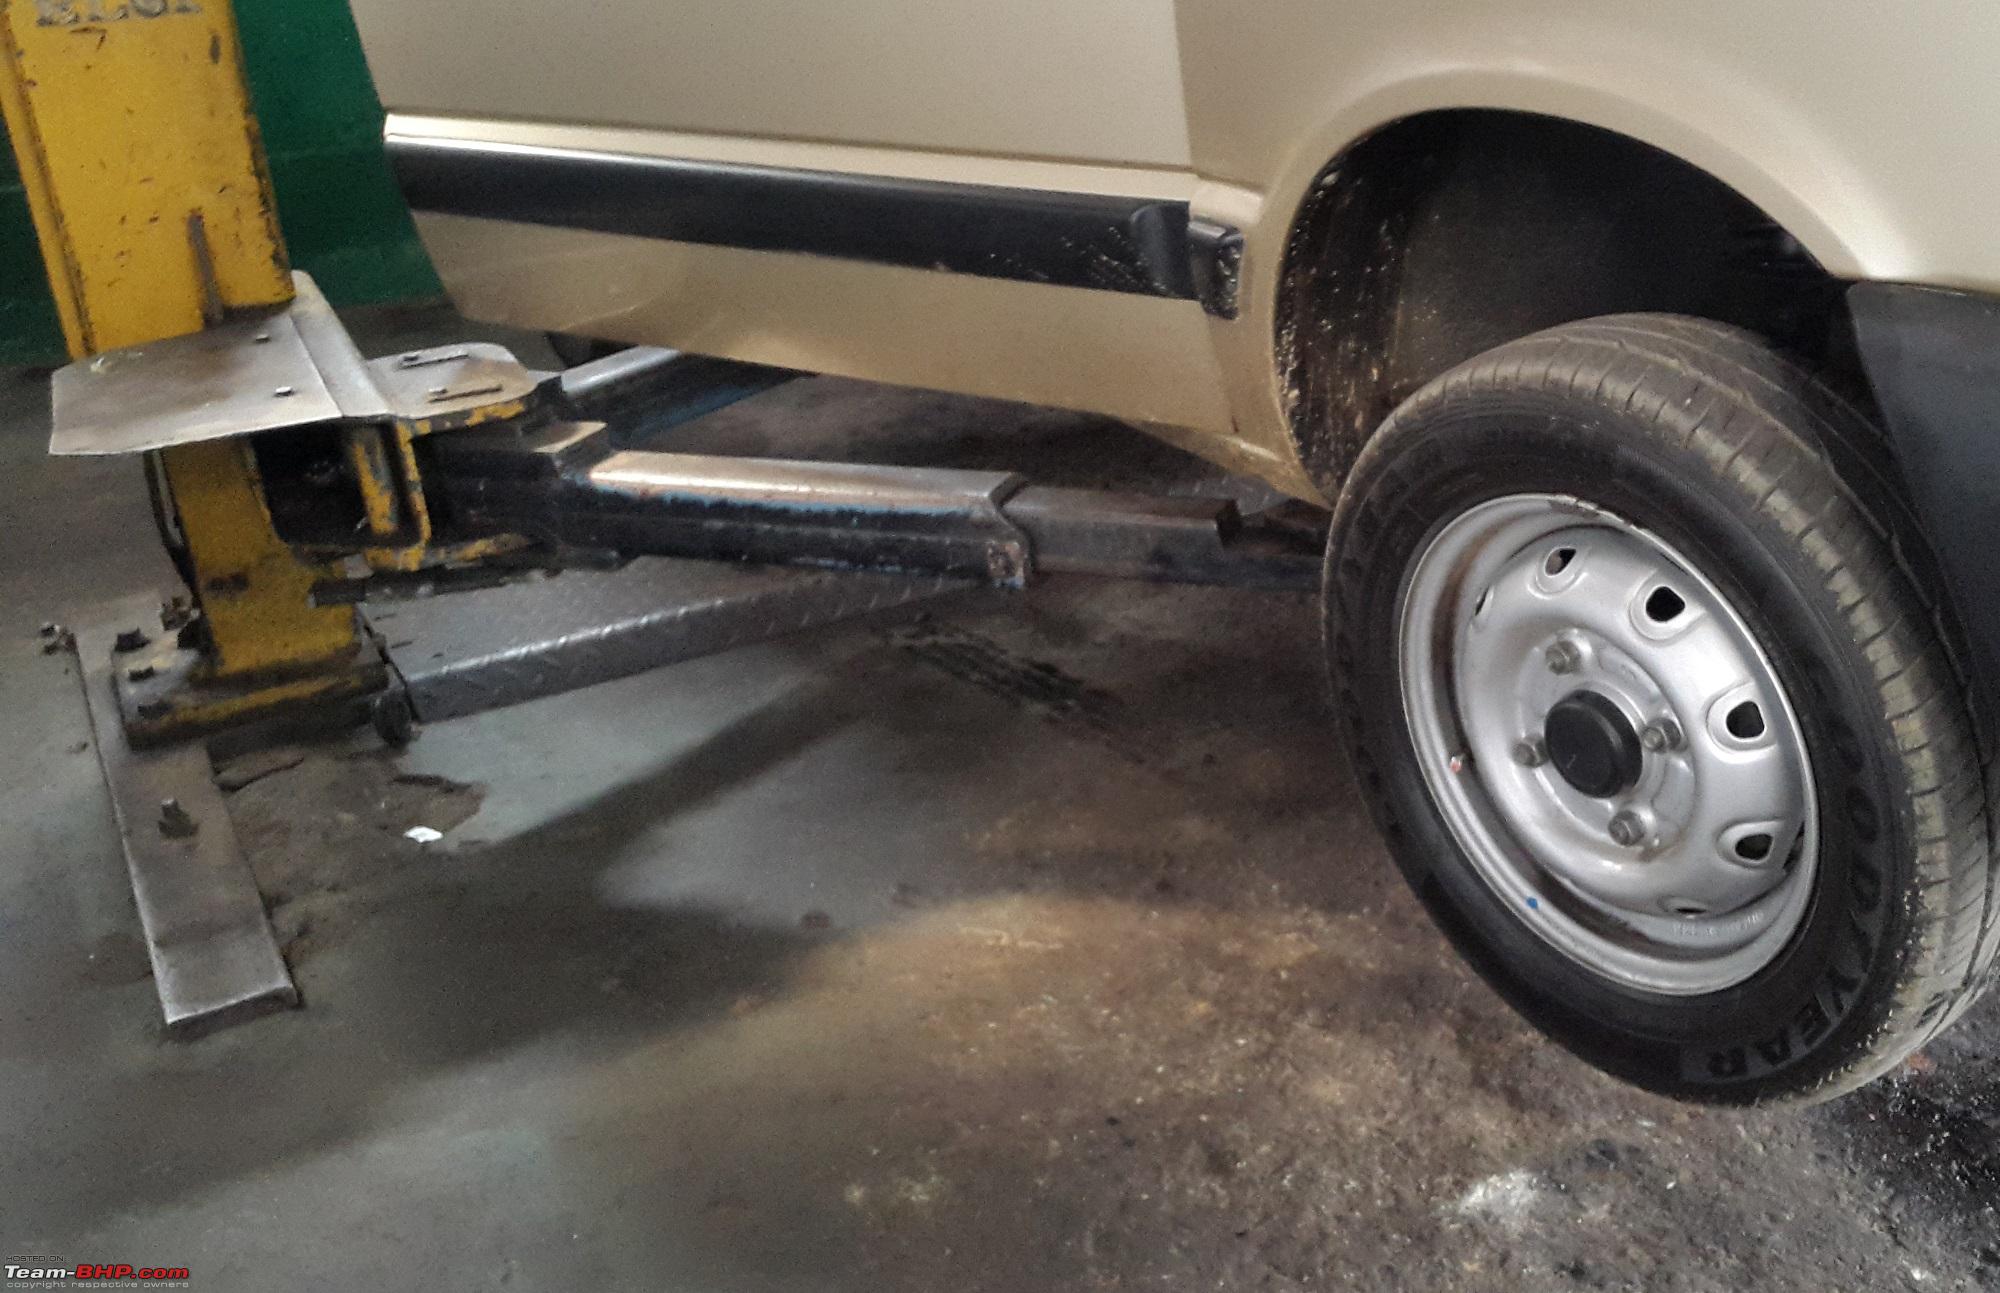
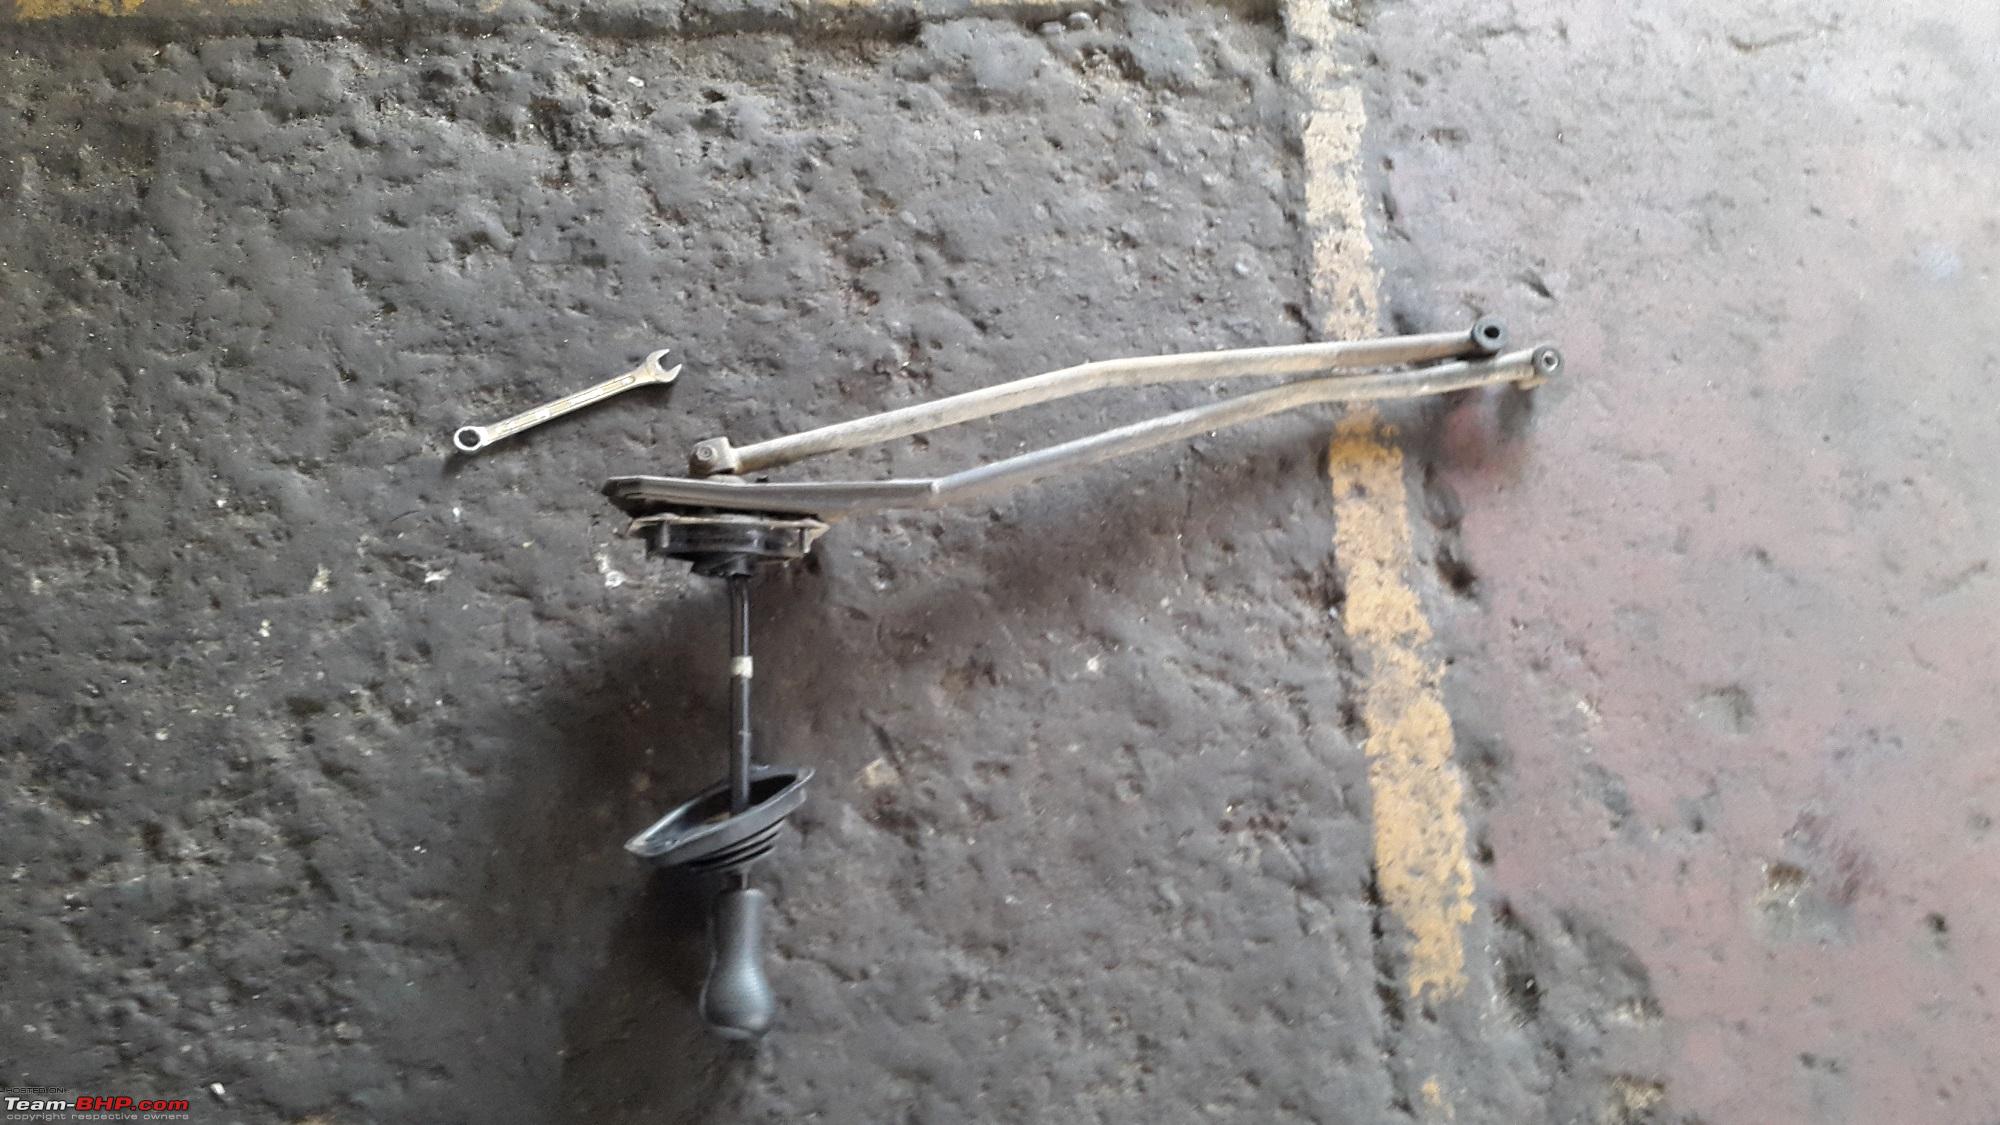
8th November 2017, 17:03
| #311 |
| Distinguished - BHPian Join Date: Oct 2008 Location: Pune
Posts: 3,231
Thanked: 5,742 Times
| |
|
| (6)
Thanks
|

| |
|
12th November 2017, 22:25
| #312 |
| Distinguished - BHPian | |
|
| (21)
Thanks
|


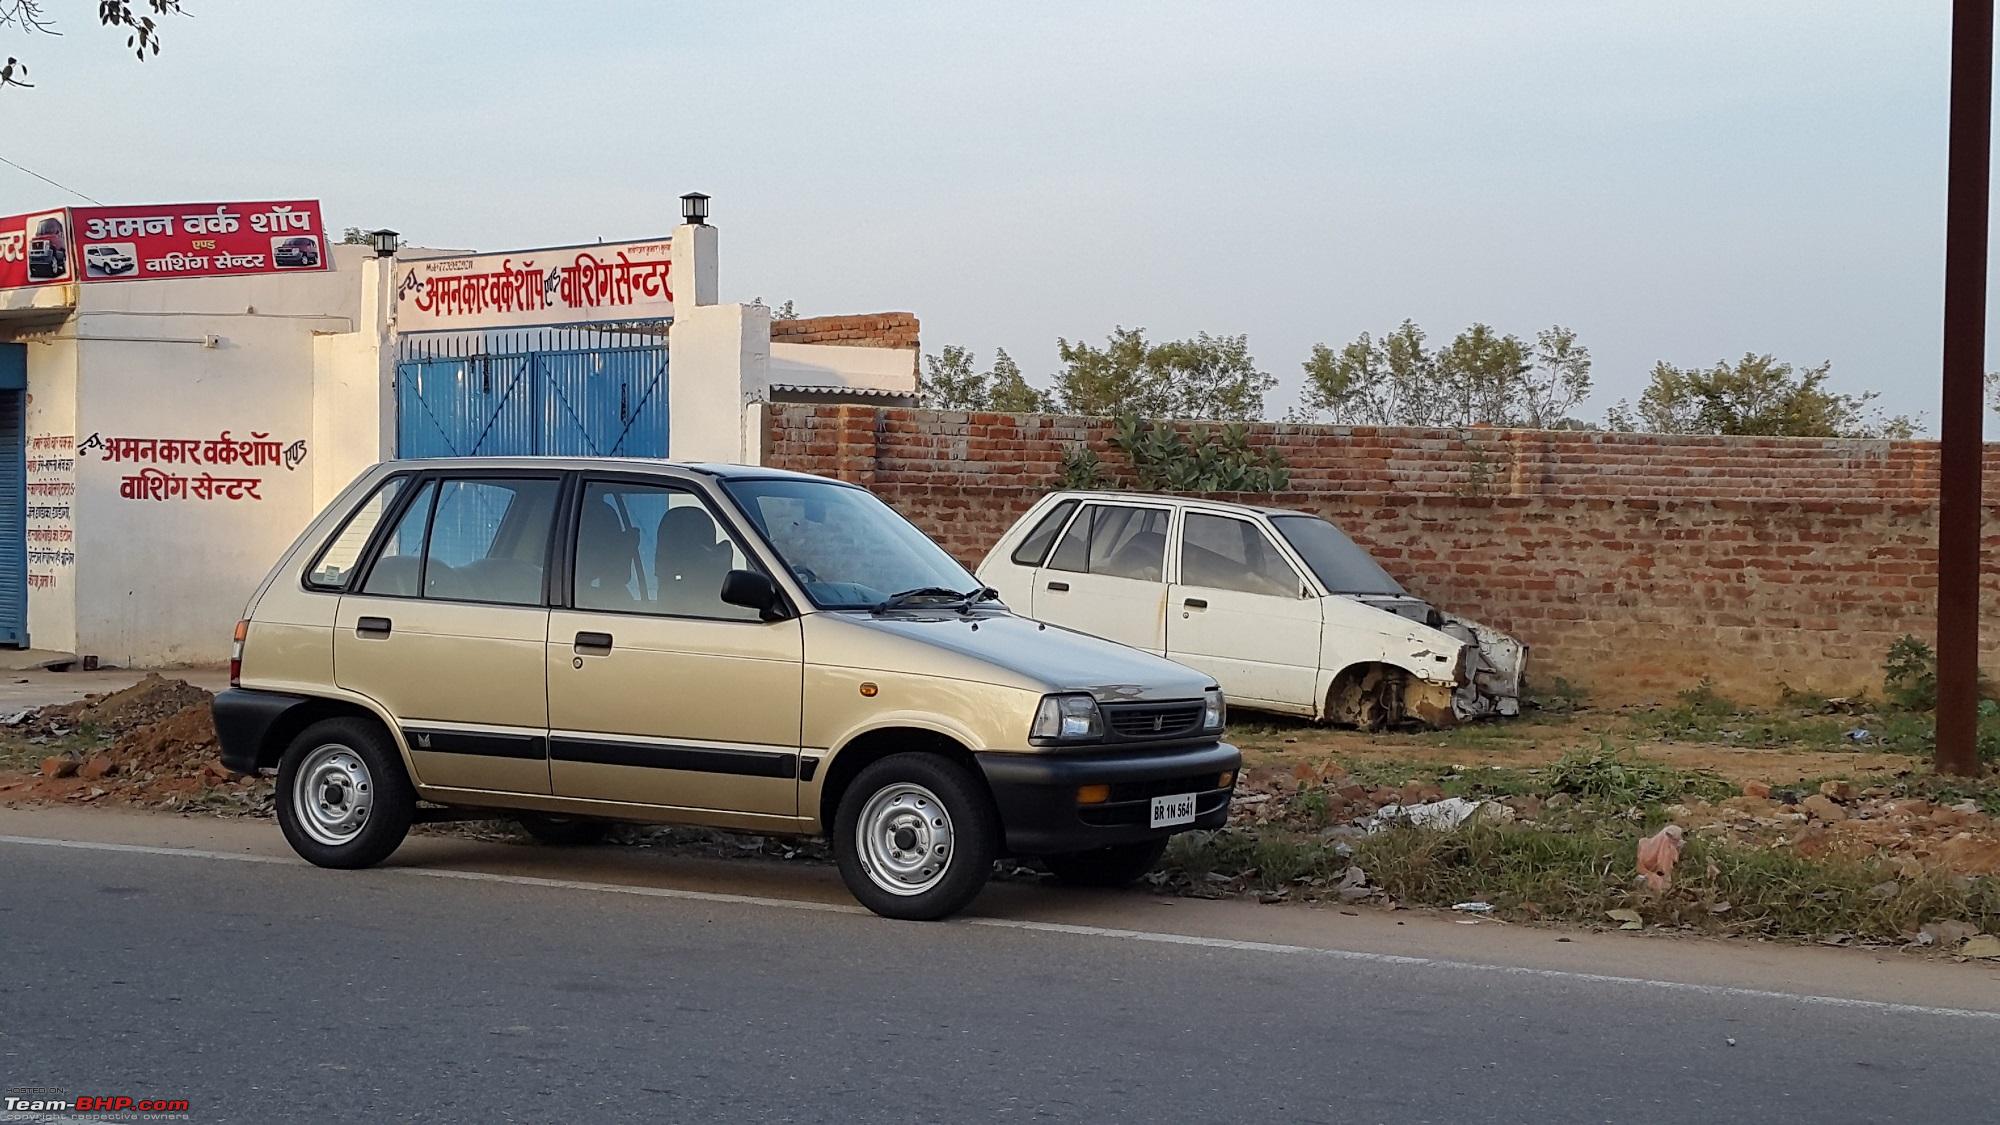
 He sold this car in 2002 and was spotted today after some 15 years.

|
12th November 2017, 23:04
| #313 |
| Distinguished - BHPian Join Date: Dec 2012 Location: Ranchi
Posts: 4,390
Thanked: 11,983 Times
| |
|
| (6)
Thanks
|
|
13th November 2017, 13:08
| #314 |
| Distinguished - BHPian | |
|
| (7)
Thanks
|
|
20th November 2017, 21:14
| #315 |
| Senior - BHPian | |
|
| (1)
Thanks
|

 |
Most Viewed