Imagine the excitement one gets when you receive a new toy or accessory. You can't wait to get your hands on it. After a 3 week wait, the short fly screen was delivered. Things take time in New Zealand as motorcycle parts are shipped from Australia and they usually come as part of another bulk order. With the recommended time to install suggesting 45 minutes, I could not wait to install it. I decided to wait till the weekend and that turned out to be a good thing as it took just over two hours to install the fly screen.
Preferred Tools: Torque wrench and Phillips head screw driver. I had the latter and a set of spanners. The former is better as there is limited working room to use a spanner set when you need to loosen and tighten the indicator nut. You'll have to constantly turn and remove the spanner from the nut. A torque wrench will be easier and also allows for correct torque application when you tighten the nut.
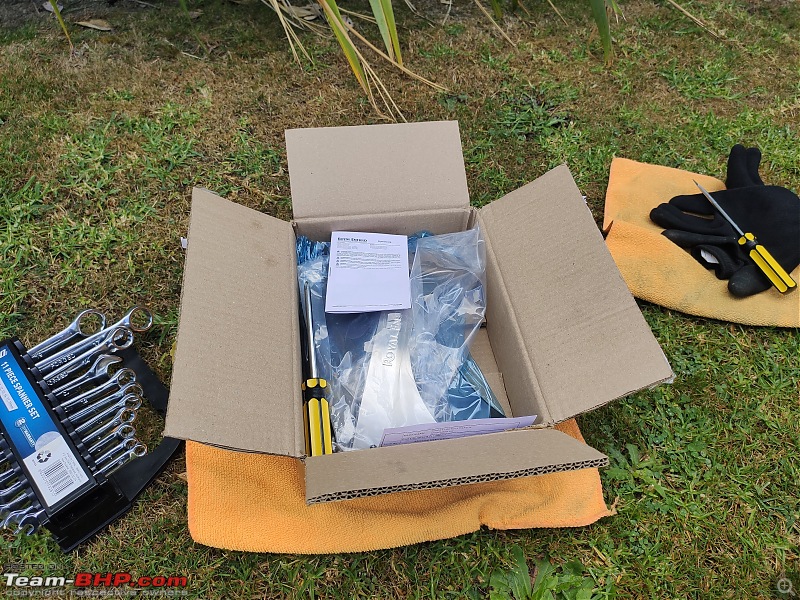
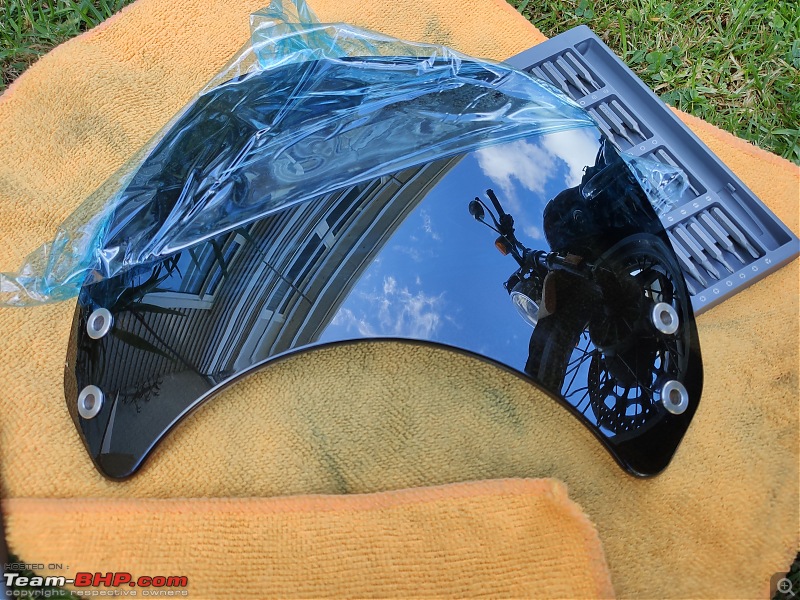
In the Box : Fly screen (Acrylic), Embellisher unit, 2 bolts, 2 mounting brackets, 4 allen key screws, 4 rubber grommets, 4 metal washers or sleeves (RE calls it a Top Hat), Instruction booklet.
What Royal Enfield can do is improve the quality of Instructions for fitting this fly screen. One is the tiny little booklet with letters so small that some may need to magnifying glass to read it. When you cram in some much information, there is only so much illustrations can provide. Its also not clear if you are supposed to fit the rubber grommets or just the metal sleeves between the fly screen and embellisher. Clearly you need both, or, I screwed up.
My bike was manufactured in 2020, which means the headlamp release screws are on the lower side of the headlamp bowl. There is a screw on each side. The instructions tell you to loosen the screws, not take them out entirely, like the central top mounted screw for the previous dome unit. You need to take them out for this new design. Once you get the screws out, it takes considerable effort to release the front headlamp bezel which holds the headlamp glass. Its a tight fit and its not due to any internal wiring. The unit is hinged at the top. Releasing the electrical terminals for the headlamp and pilot lamp are easy. Once you pull these out, its best to place the bezel unit on some soft surface. I must have spent about 30 minutes just to take out the headlamp bezel. To Royal Enfield's credit, I will say this new screw placement is better as with the old top mounted screw, you will have difficulty putting it back or tightening the screw if you do not have a long screw driver, as the embellisher comes in the way after you've installed it.
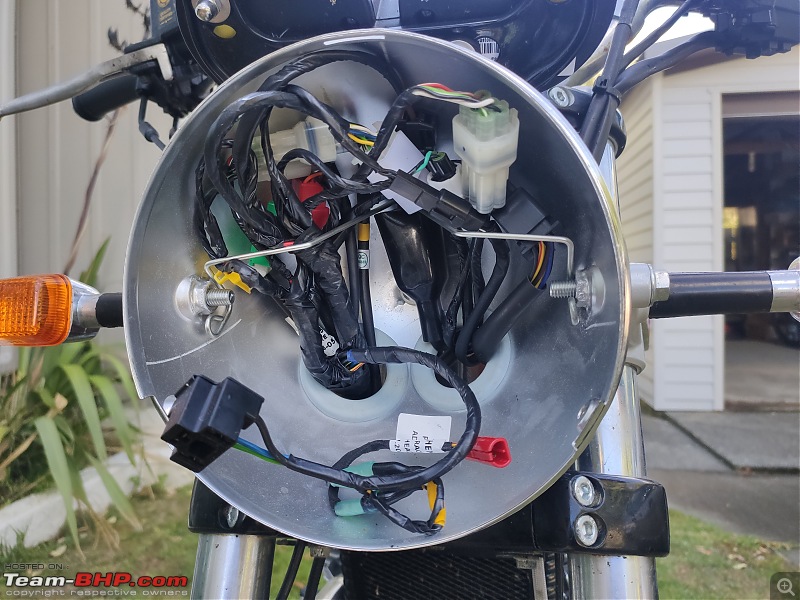
I followed the advice on the instructions book to install the brackets one side at a time so you don't loose factory alignment of the dome unit. I started with the left indicator. When you get access to the dome unit, you'll find all the wires fastened behind a stressed fastening clip, which is screwed to the back of the dome unit. There is a technical word for this part that I am unable to recall. Due to this spring contraption (fastening clip), its a bit hard to get your little screw driver to push the tiny notch on the black electrical (or molex) connector for the left hand indicator. Once you release the connector, take the wire out carefully from the behind the dome unit. You may want to release the wiring for the right hand indicator at this stage. Up to you. That's a white connector. It is possible to remove the spring kind of contraption that's holding all the wires by using a T Spanner. Will make it easier to get to the molex connectors. Once you've got the wires out of the dome unit, you can loosen the nut holding the indicator. At this stage, the manual tells you to keep the nut, washer and bolt safe. Thing is, there isn't a washer for the left hand indicator. The washer is replaced with a metal wire stay. The right hand indicator unit does have a metal washer. Once you've got the nut out, you can slowly pull out the bolt holding the left indicator unit. It takes a little effort as there is the stress of the cable stay. Take care to guide the wires out.
Loosen and taken out the left side headlamp dome nut. This nut is replaced by the two that comes with the packaging. Take the left mounting bracket with the top screw holes facing away from the headlight dome. I'd secure this first with the headlamp dome unit. With the bracket secured with one bolt, you can now prepare to put back the left indicator unit. Once again, take care to route the cables carefully. It takes a little jiggling to push the indicator unit through the hole. There is a notch on the indicator unit and it can go in only one way. Tighten the indicator and headlamp dome bolt. Dome bolt to be tightened to 20nm. Reconnect indicator wiring, that is the black to black molex connector.
Repeat the above steps for the right hand side bracket mount. Right hand indicator molex connector is white.
Once you've got the brackets fixed, you can refit the headlamp bezel unit. Before you put back the bezel screws, check that all lights work. There was a yellow unused molex connector that is sealed off from use. You may also want to tidy up the wires behind the fastening clip that is secured by a central screw inside the dome.
This next bit is the easiest, that is, fixing the embellisher with the flyscreen. I've done it my way so open to discussing this. The instructions (Paper or online) are not clear and no YouTube video explain the purpose or existence of metal sleeves or top hat. I have fixed 4 rubber grommets on the acrylic fly screen and inserted the metal sleeves through it (From the riders side) so it firms up the rubber grommets. Hold and align the screw holes of the fly screen and embellisher to the brackets and insert 4 allen key screws. Give it a few turns to start with. Once you secure all screws, tighten to 2nm.
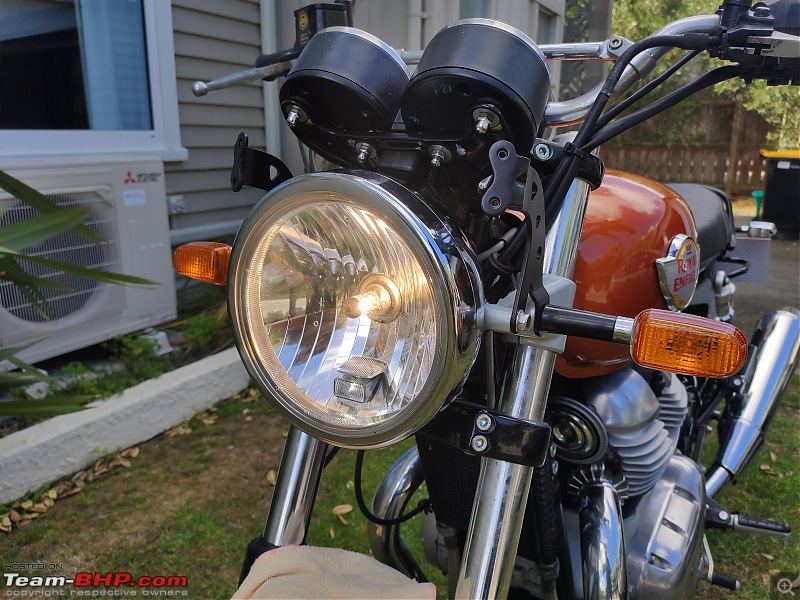
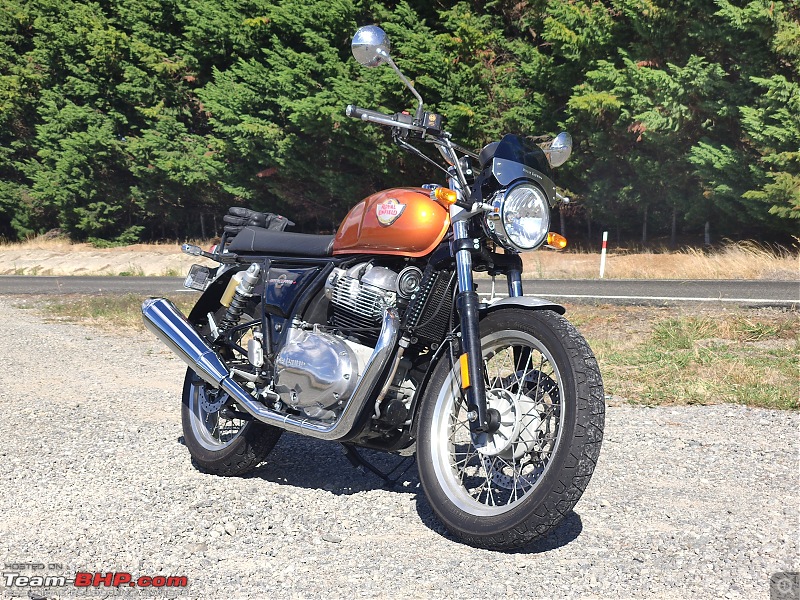
That's it. You have installed your new fly screen. I think the fly screen is more for aesthetic improvement and to offer some protection for the clocks. It does change the appearance of the bike. Takes a little away from that all macho look. The following day, I did a ~300km ride for the heck of it. The fly screen was secure and there were no vibrations or the unit flapping due to 30kmph winds.
Box of goodies
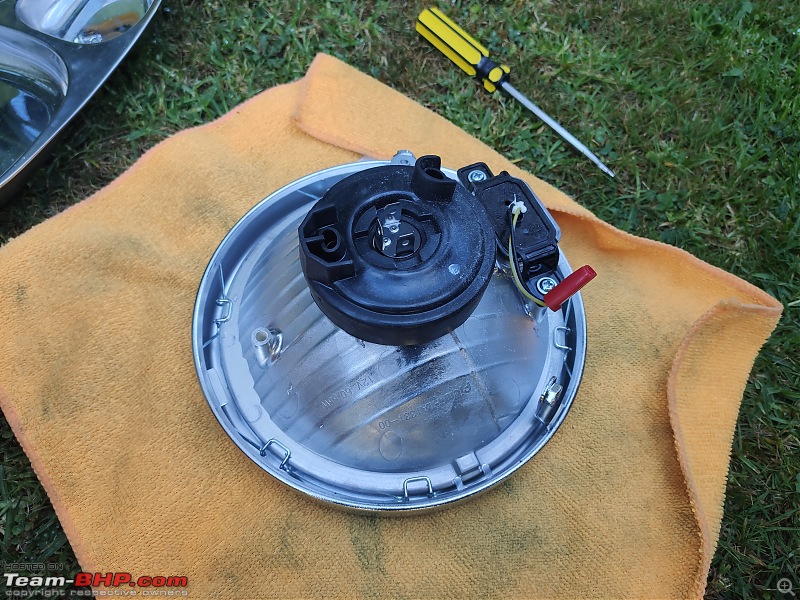
Headlamp bezel, reflector assembly. Was a struggle taking it out.
Headlamp dome. Note the fastening clip securing all the wires.
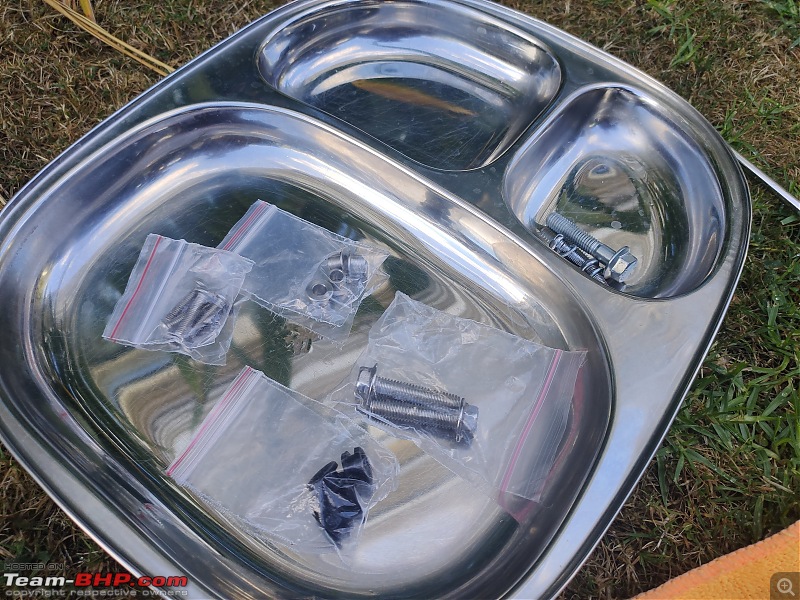
Rubber grommet, metal sleeve or top hat, replacement bolts for the dome and allen key screws and the ones I took out from the bike.
Left hand indicator unit showing the notch. You align this notch to the metal alloy bit that holds the headlamp unit.
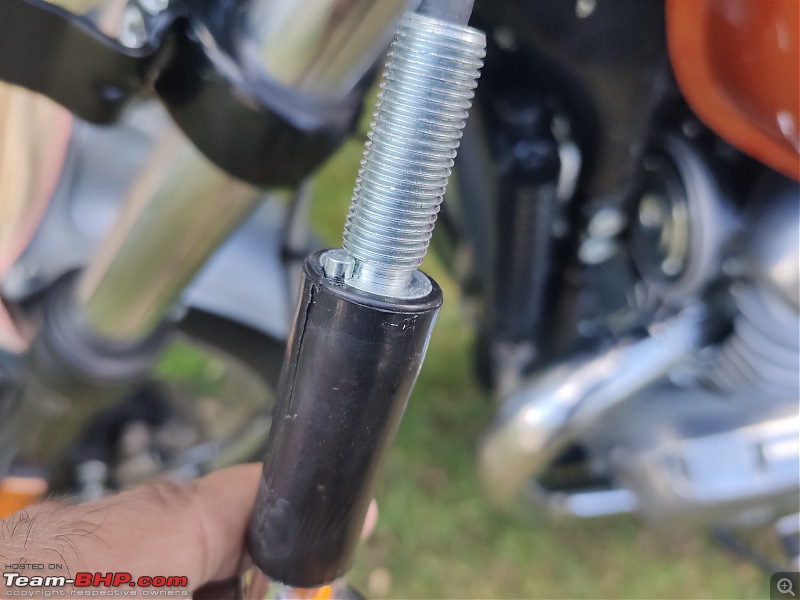
The metal wire stay for the left indicator. The side with no metal washer.
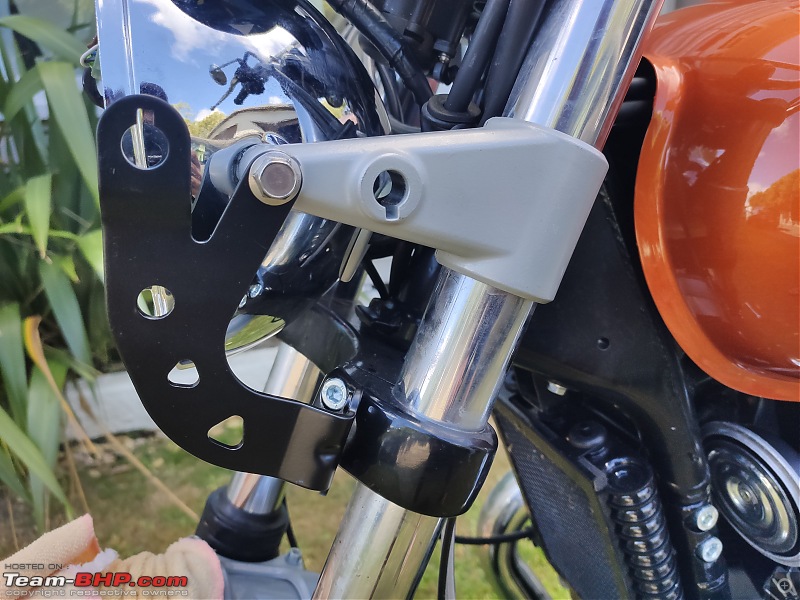
Metal brackets installed. All wiring connected and checked. Headlamp bezel fixed.
I believe what I did here is wrong. Embellisher with only the metal sleeves installed. This is what the instructions say.
The right way to do it. Install rubber grommets and slip in the metal sleeves through it.
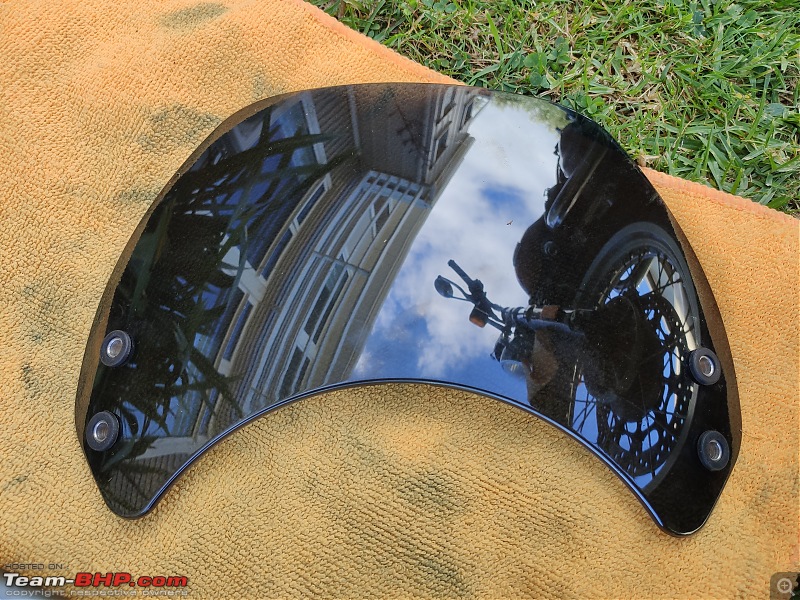
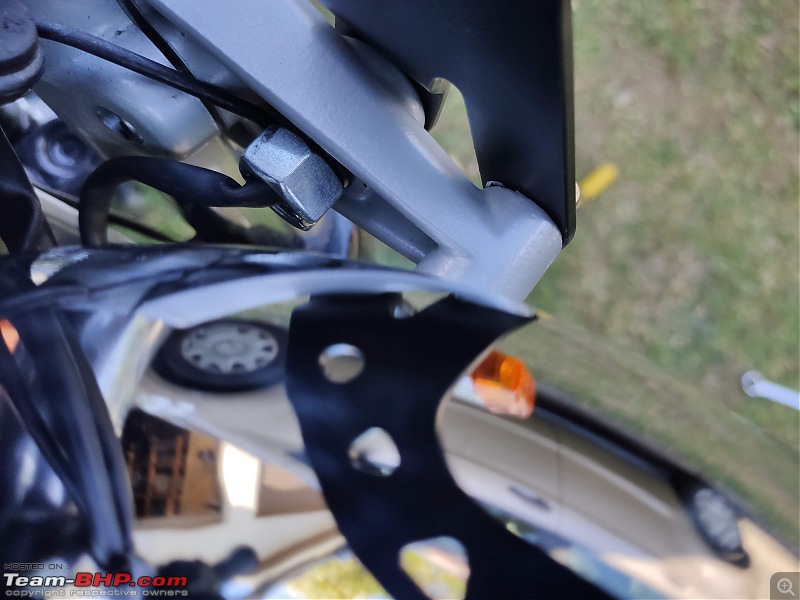
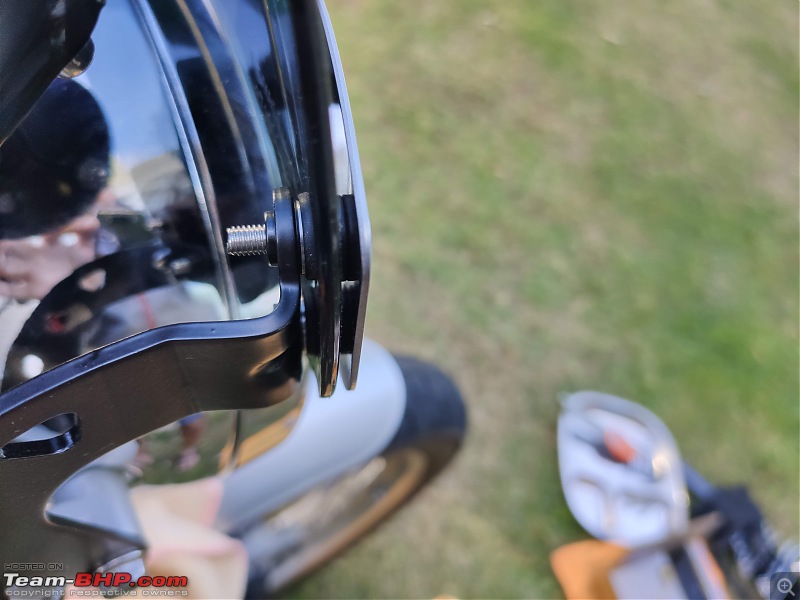
A close up view of the fly screen, embellisher secured to the metal brackets.
We are done.

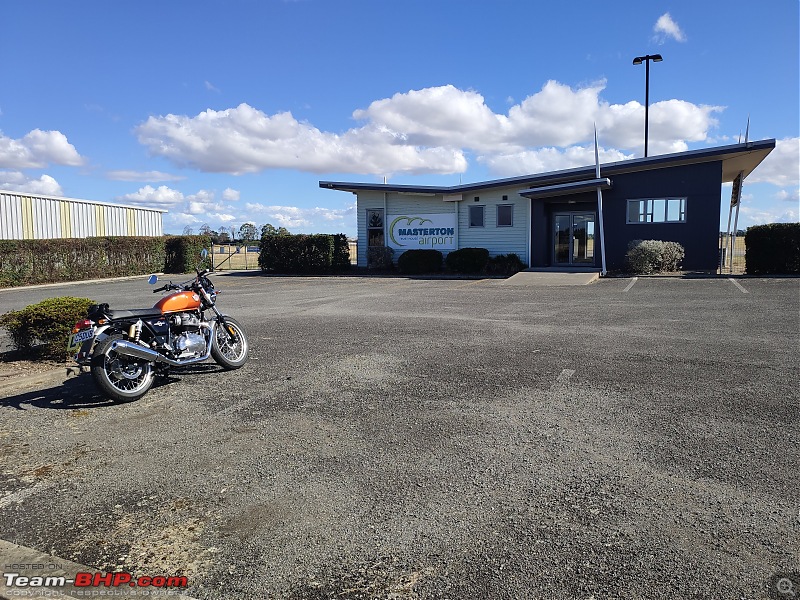
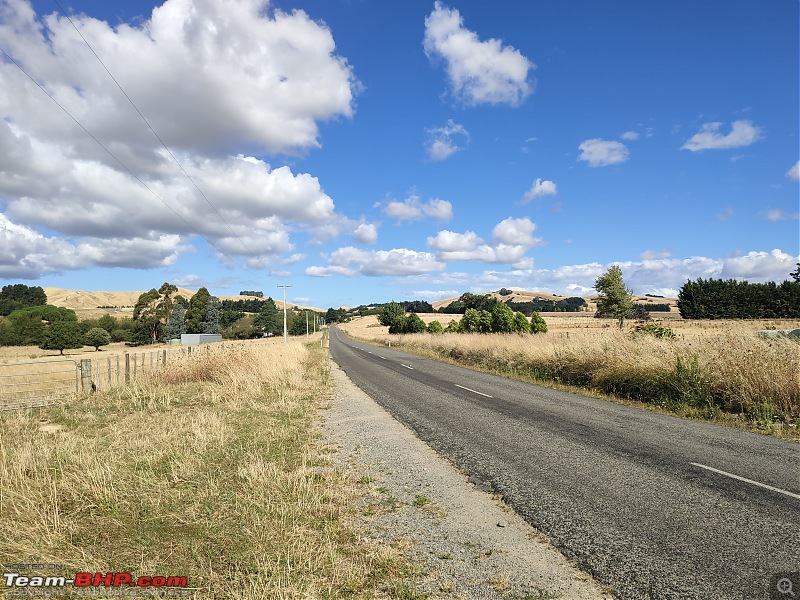
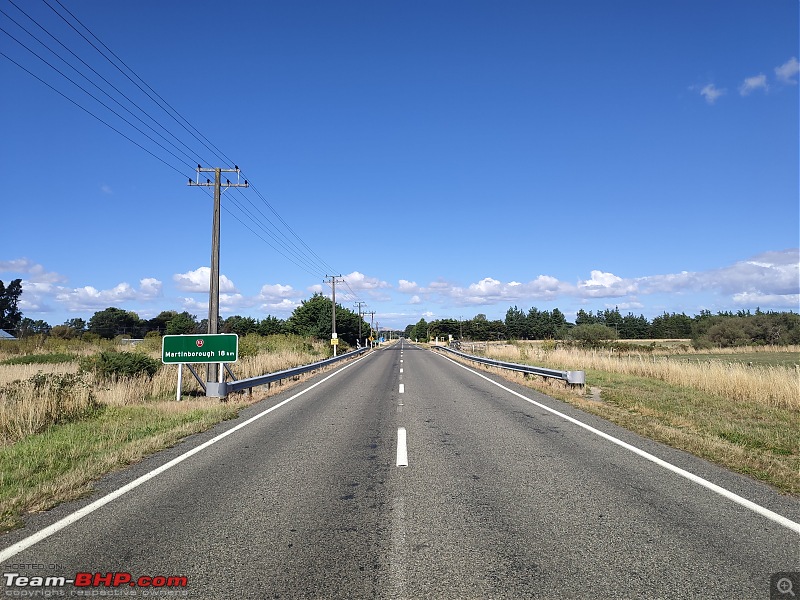
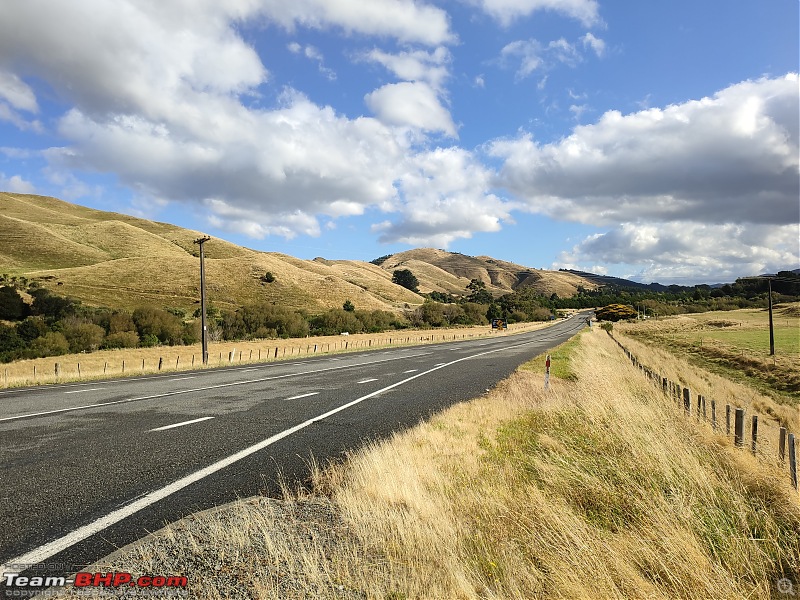
Test spin and cruising around the country side.


 8th March 2021, 08:12

 (16)
Thanks
(16)
Thanks


