Team-BHP
(
https://www.team-bhp.com/forum/)
-
Motorbikes
(
https://www.team-bhp.com/forum/motorbikes/)
Disclaimer
1) This is not some patent winning project or a ground breaking technology; there are 100's of such examples on youtube & internet and I totally learnt from such projects and copied most of the ideas but implemented them with my own take on few things.
2) Neither TBhp nor me personally would approve of under-age & un-authorized persons to drive any automobile on any public-utility-road whatsoever & howsoever.
----------------------------------------------------------------------------------------
Circa July-2017 https://www.team-bhp.com/forum/motor...cket-bike.html
Scooty project turned out to be a success, along the way the cylinder bore packed up due to some hard revving runs. Tried to fix it once, but beyond a point son lost interest due to the hard suspension and he grew lot faster than I knew kids grow up...!! LOL.
 Fast Forward >>>> Nov-19
Dusherra Pooja Holidays
Me and son were trotting around in my Rx135 and he showed interest to try the clutch and brake for a while. As expected from the scooty project, he picked up the basics of A-B-C of a geared bike but not before his left palm hurt, natural for a beginner.
One thing led to the other and thus landed the idea of a Pocket-e-bike, we call it the 'eCati'.
Purpose - has to be some purpose always, right?
1) A proper 'Geared' Motorbike (Accelarator-Brake-Cluch) - light weight, minus the risk of peppy petrol mill.
2) Infuse some thought process in my sons head along the way of the project, some creativity if I may say so...
3) E-mobility! He knows enough jargons by now about my (Chevy Sail-UVA) car parts and his Pocket-Scooty, but something new to both of us was e-cars and e-bikes.
1) Lots of Youtube fun projects provided vital, key inputs, some good and not-so-good ideas also. (Credits to Youtubers like 'Technical Partha', Jayanta Tech', BLDC bike' from whom I got the idea in the first place)
2) Pickup a low cost geared 4-stroke, preferably a Yamaha Crux - Why a 4S and a Crux - more on that later.
3) Risk it all and 'phonepe' funds to a unknown person off a youtube video and hope to receive the eKit. (I purchased it from 'Jayanta Tech' FYI - I am not associated commercially with anyone)
4) 4 Batteries to power it all
5) Basic tools, a handy mechanic, fabricator and a machine shop and lots of dirt-under-nails fun
--------------------------------------------------------------------------------------------------
The Bike
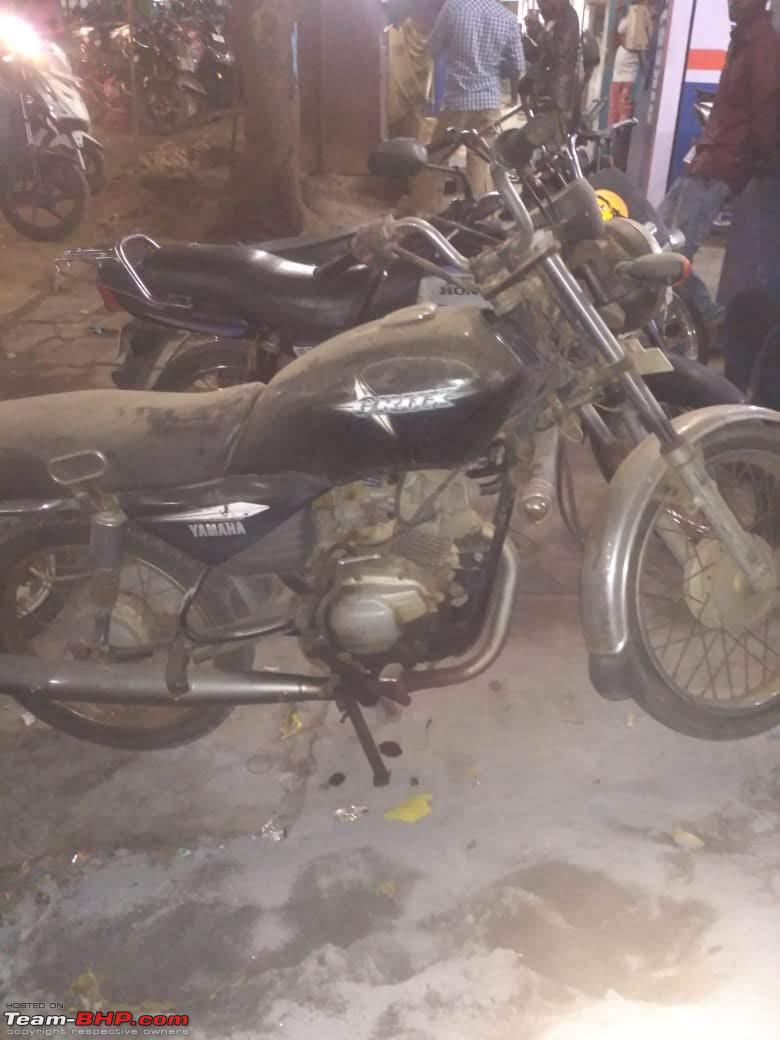
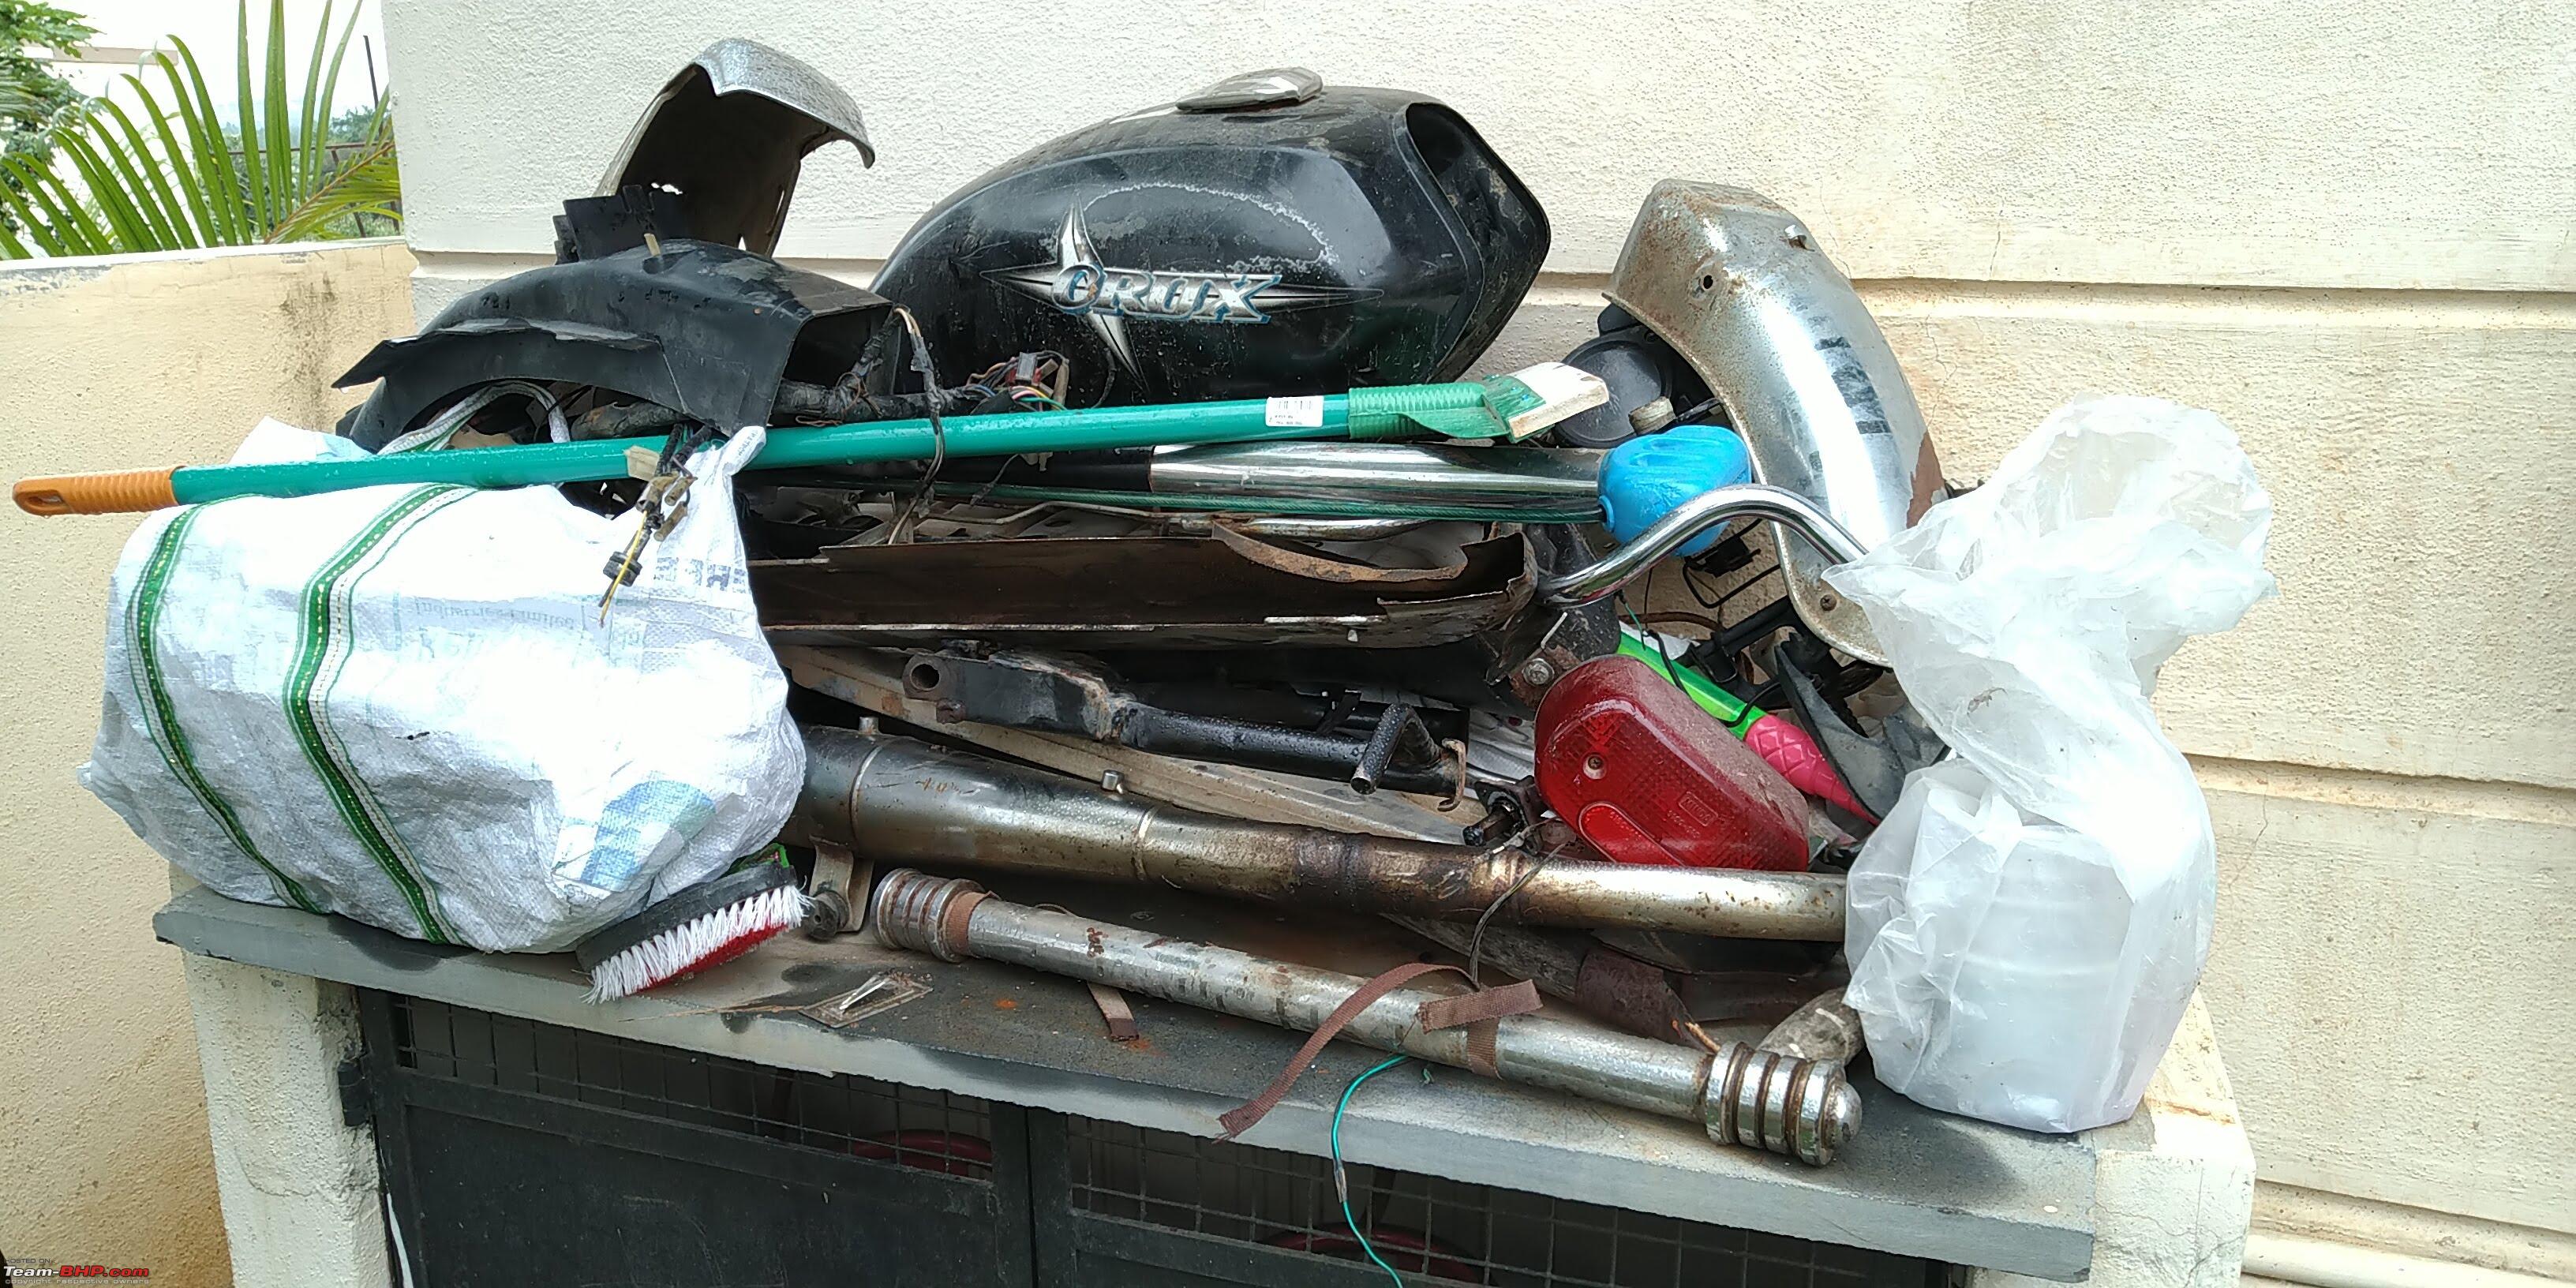
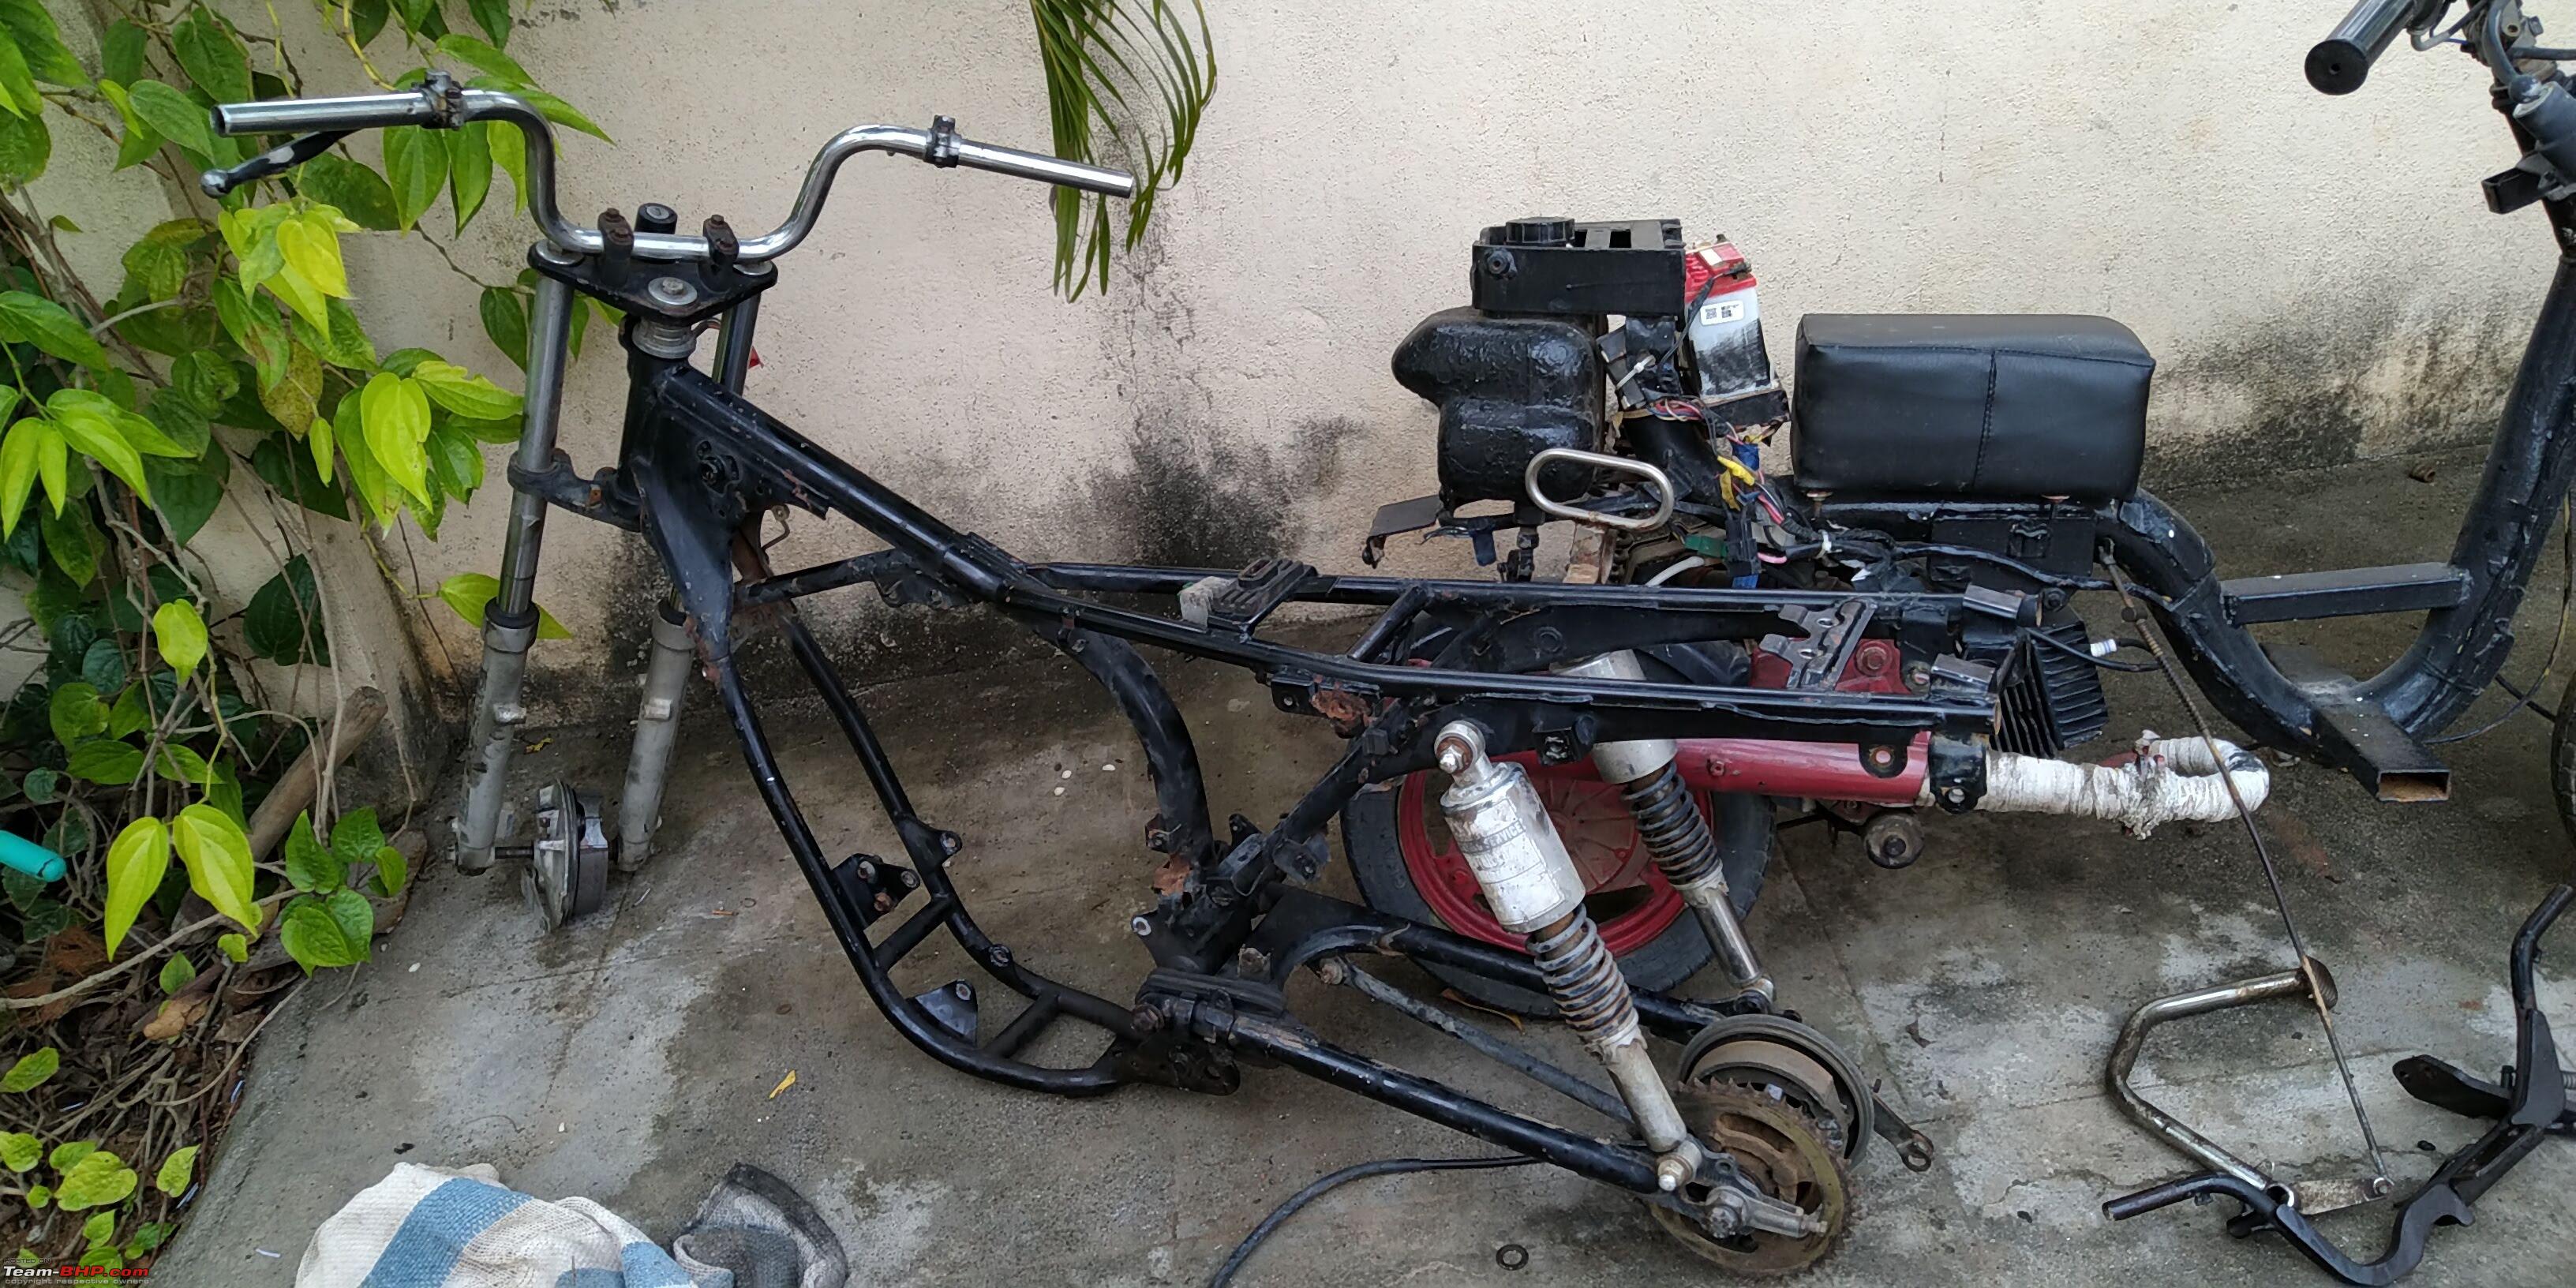
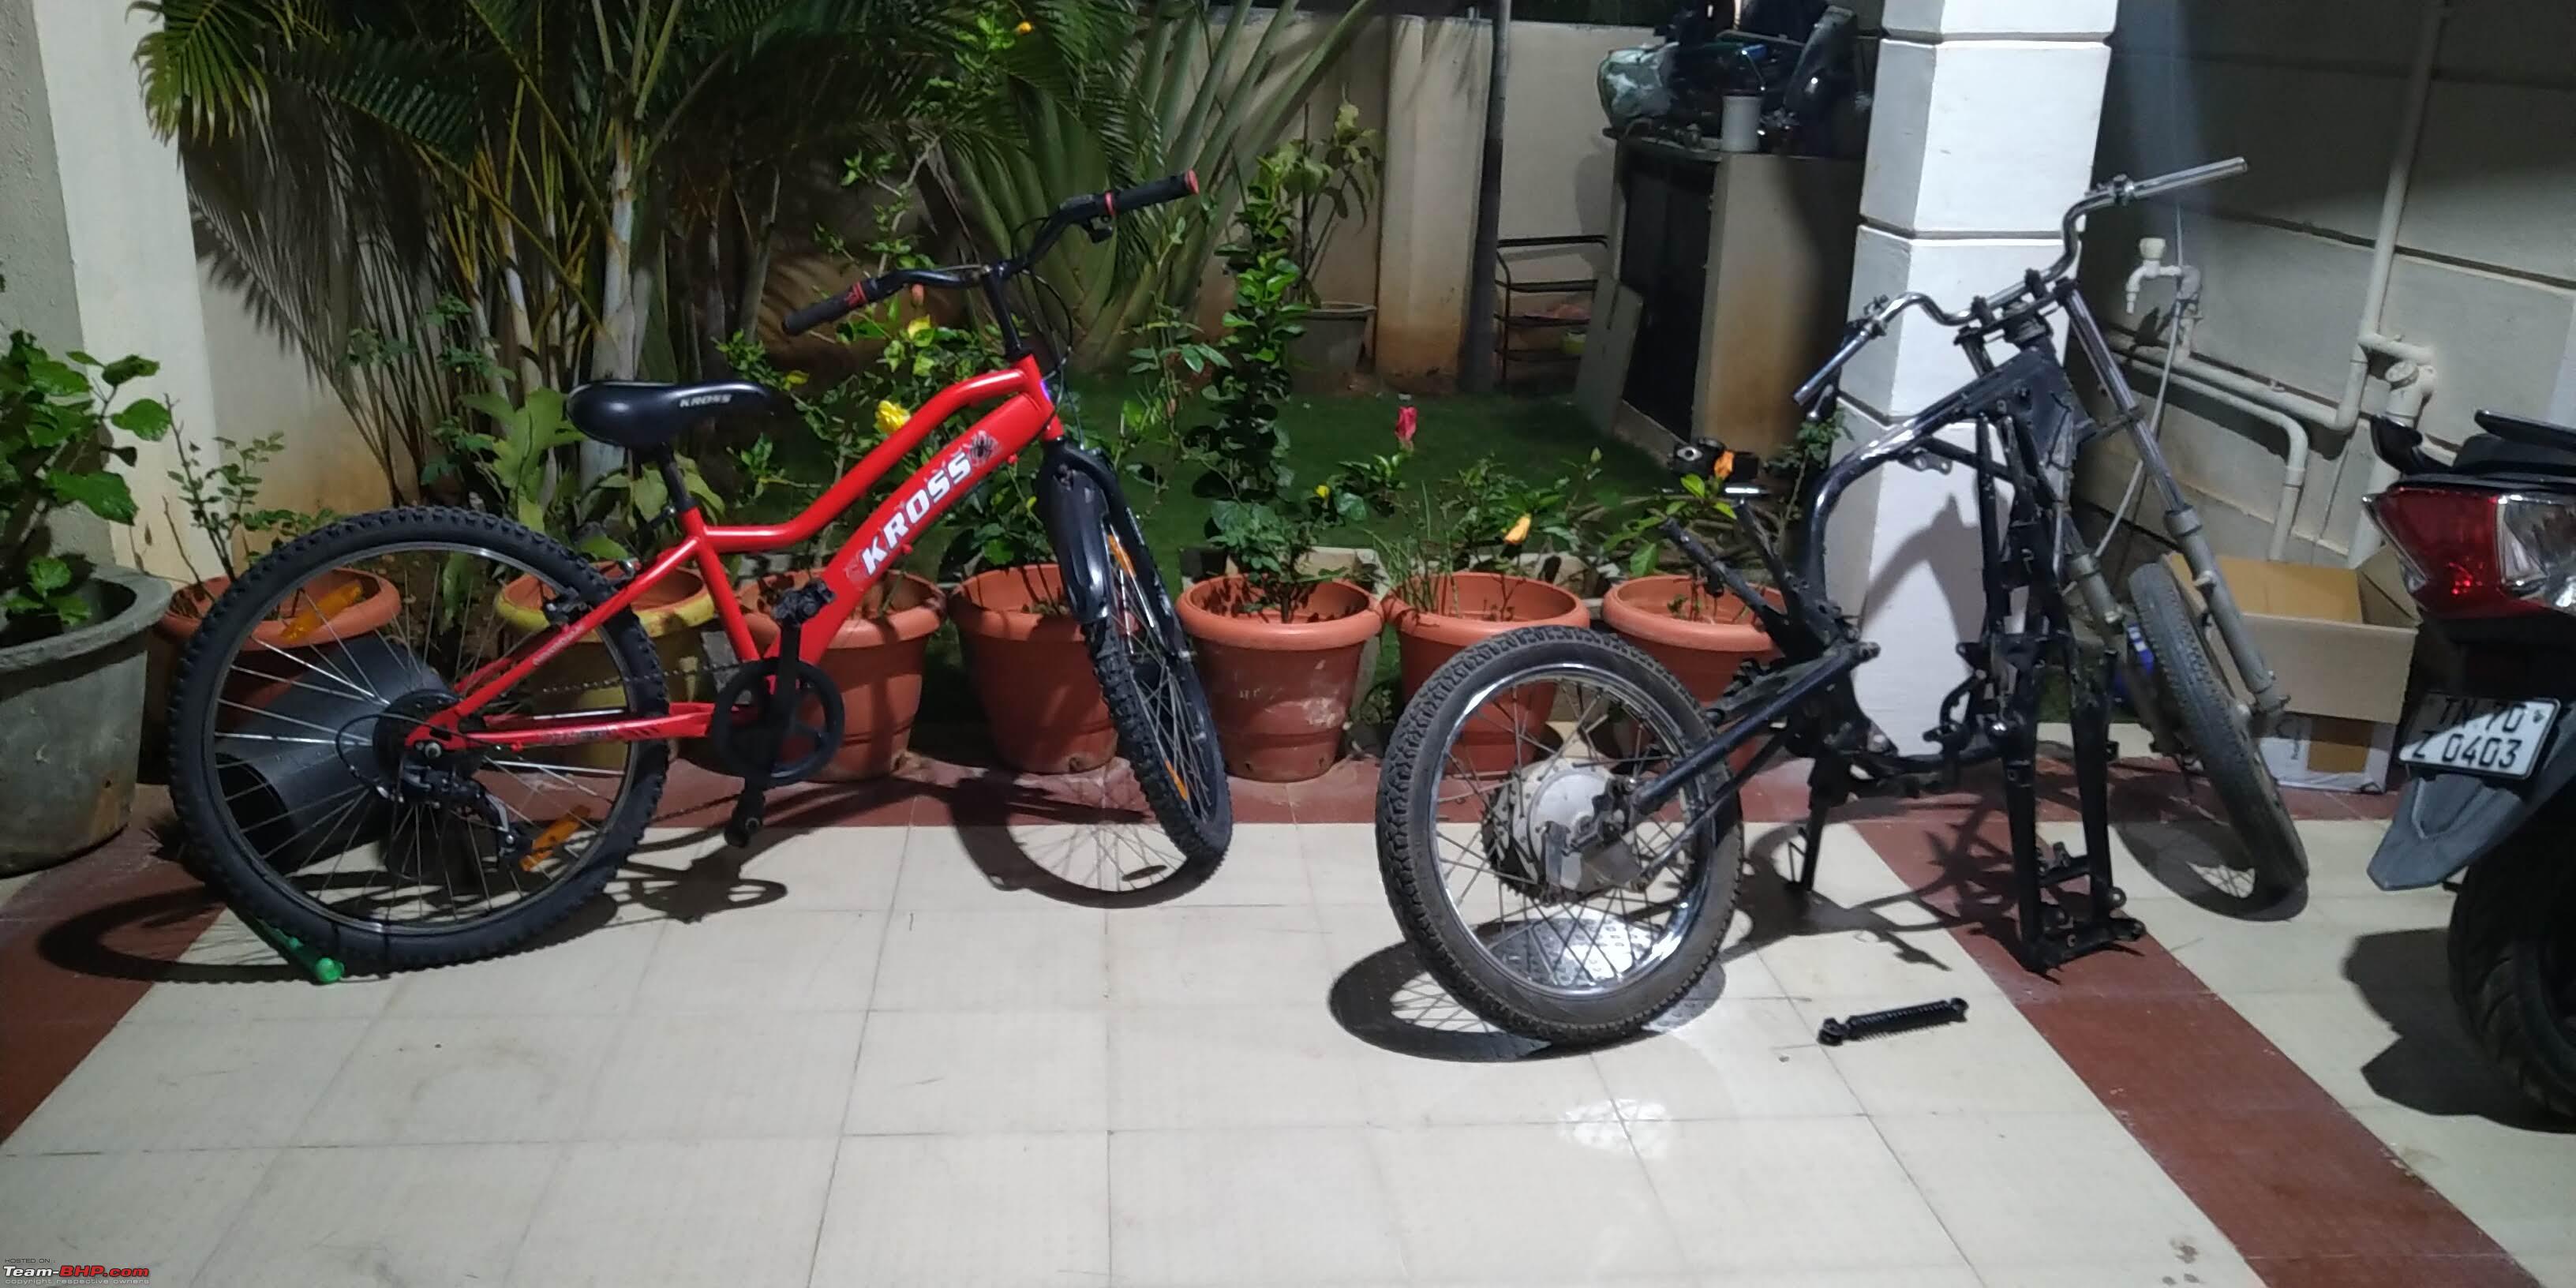
--Picked up a Yamaha Crux. It is a 4S engine and shares the RX100 chassis to a great extent. The best part of the RX chassis is it is pencil thin in profile, great for kids who would find it difficult to spread their legs in any other bikes. I had it home delivered from a old pal-mechanic of mine, on a Tata Ace. Only got this pic on whatsapp, I never met him coz his workshop is on the other side of town). Paid via google pay.
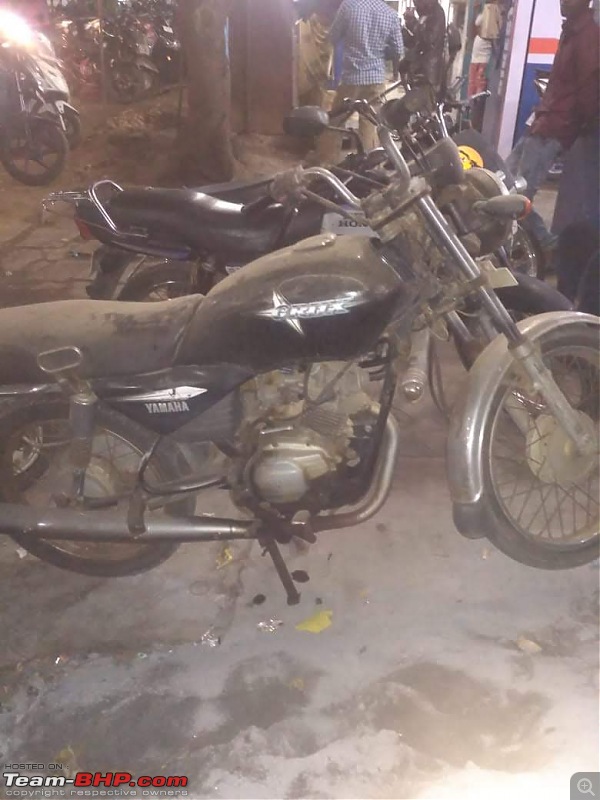
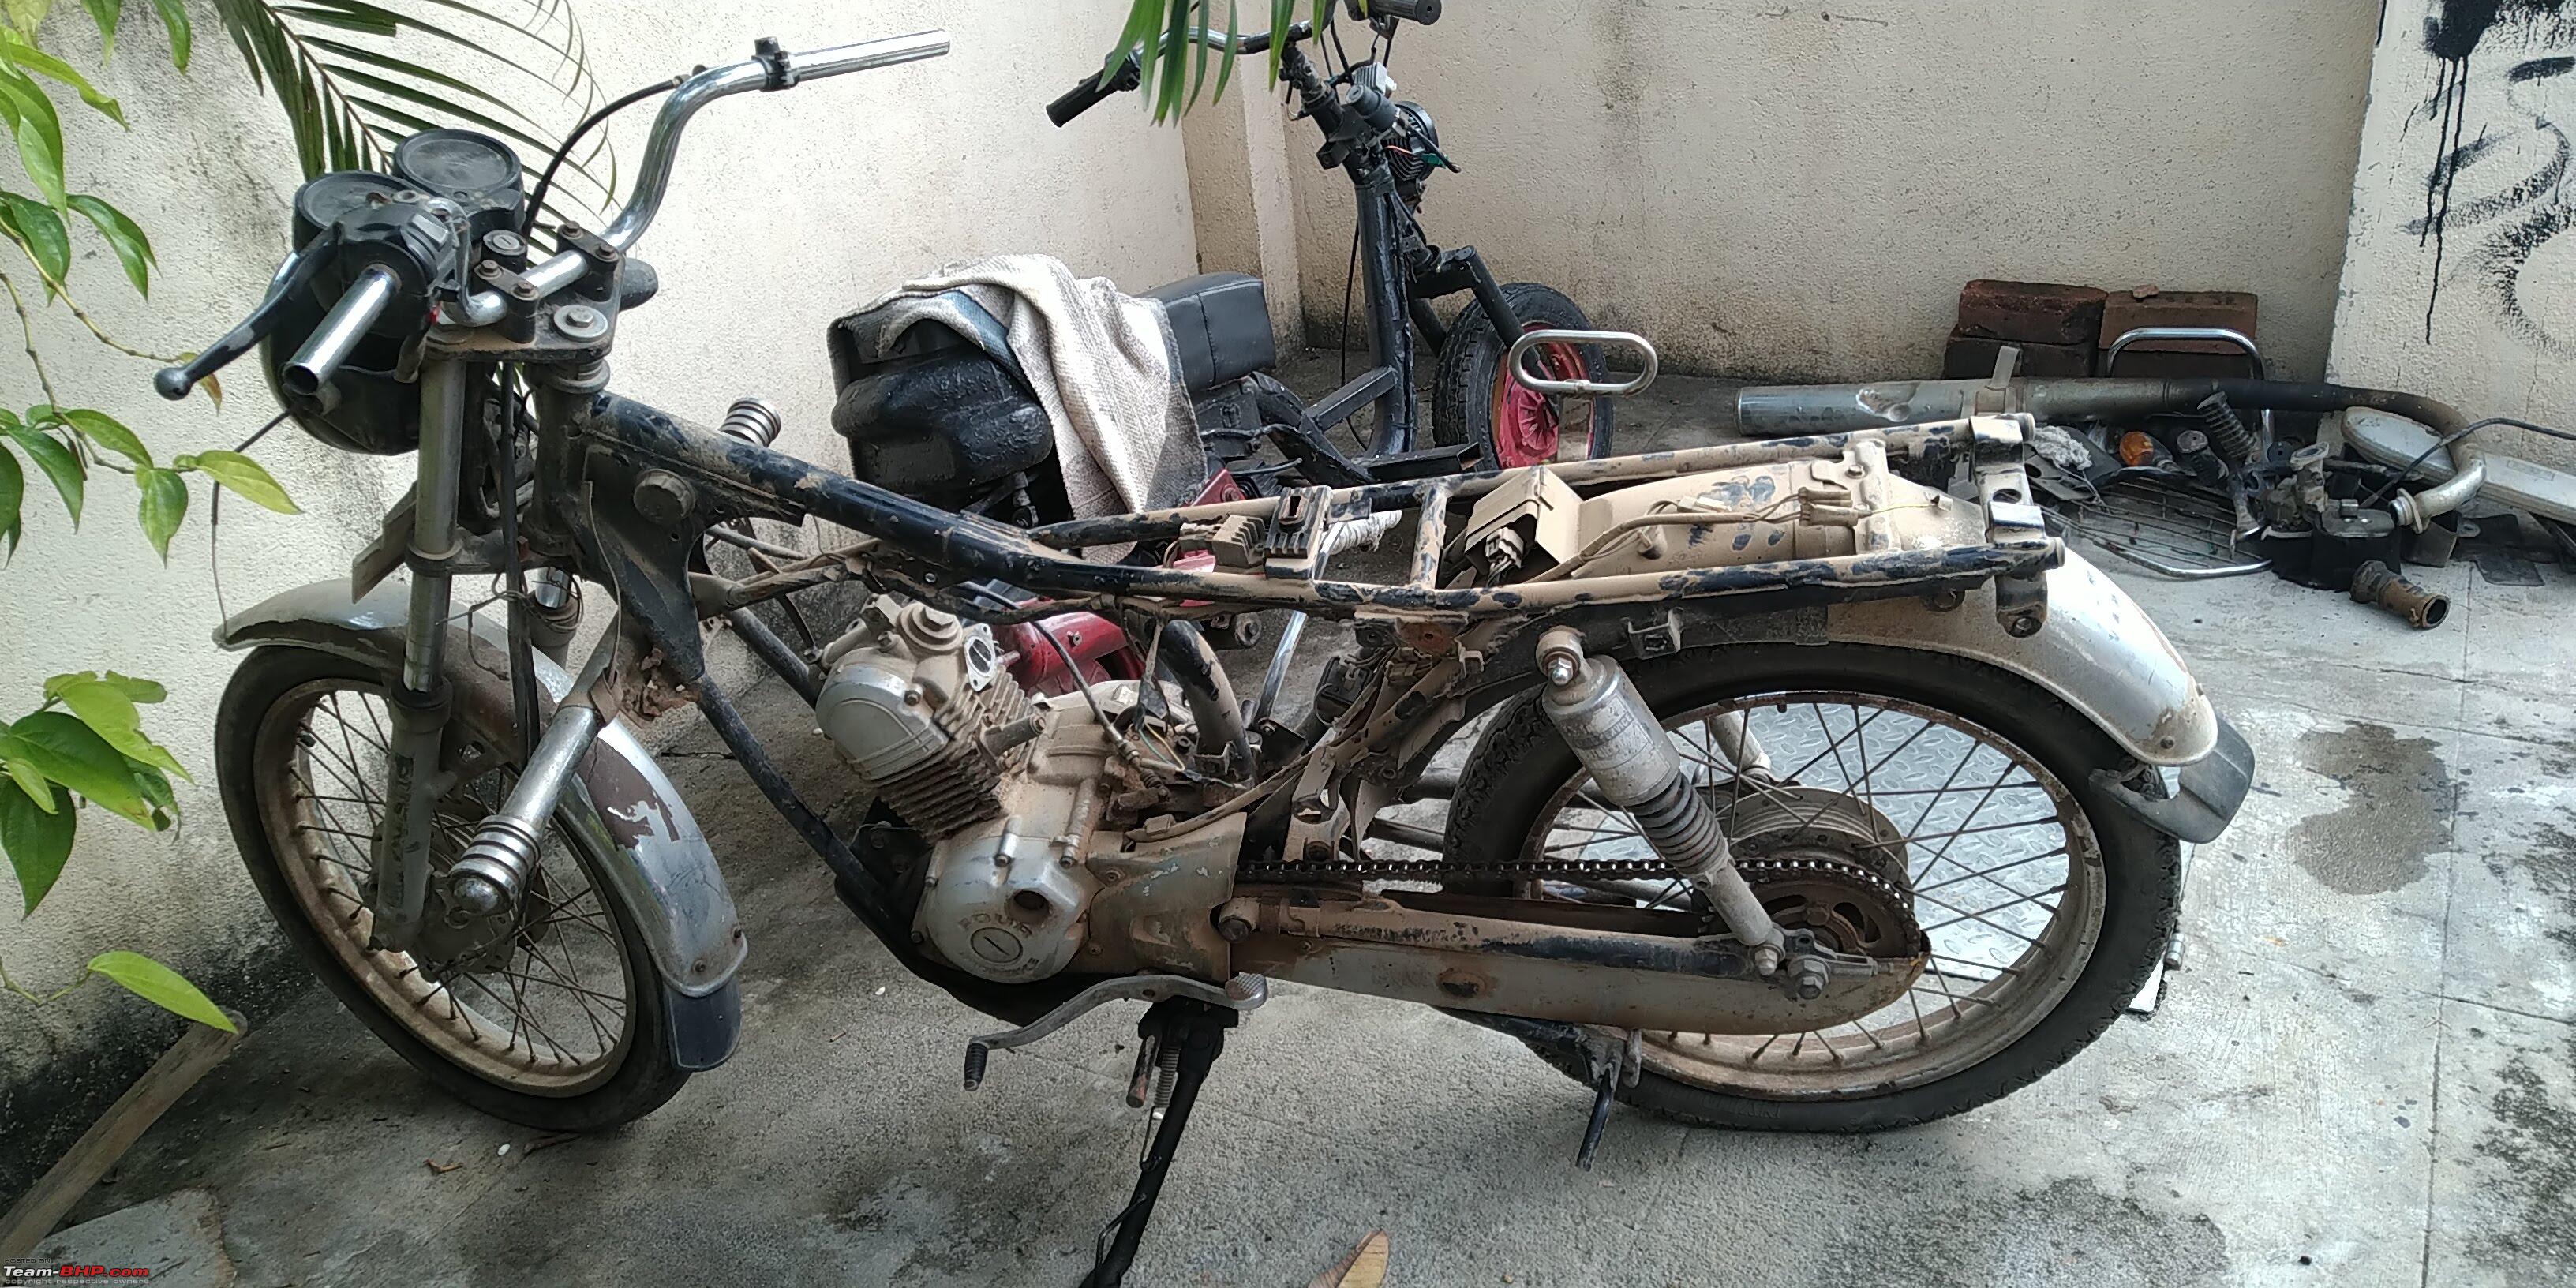
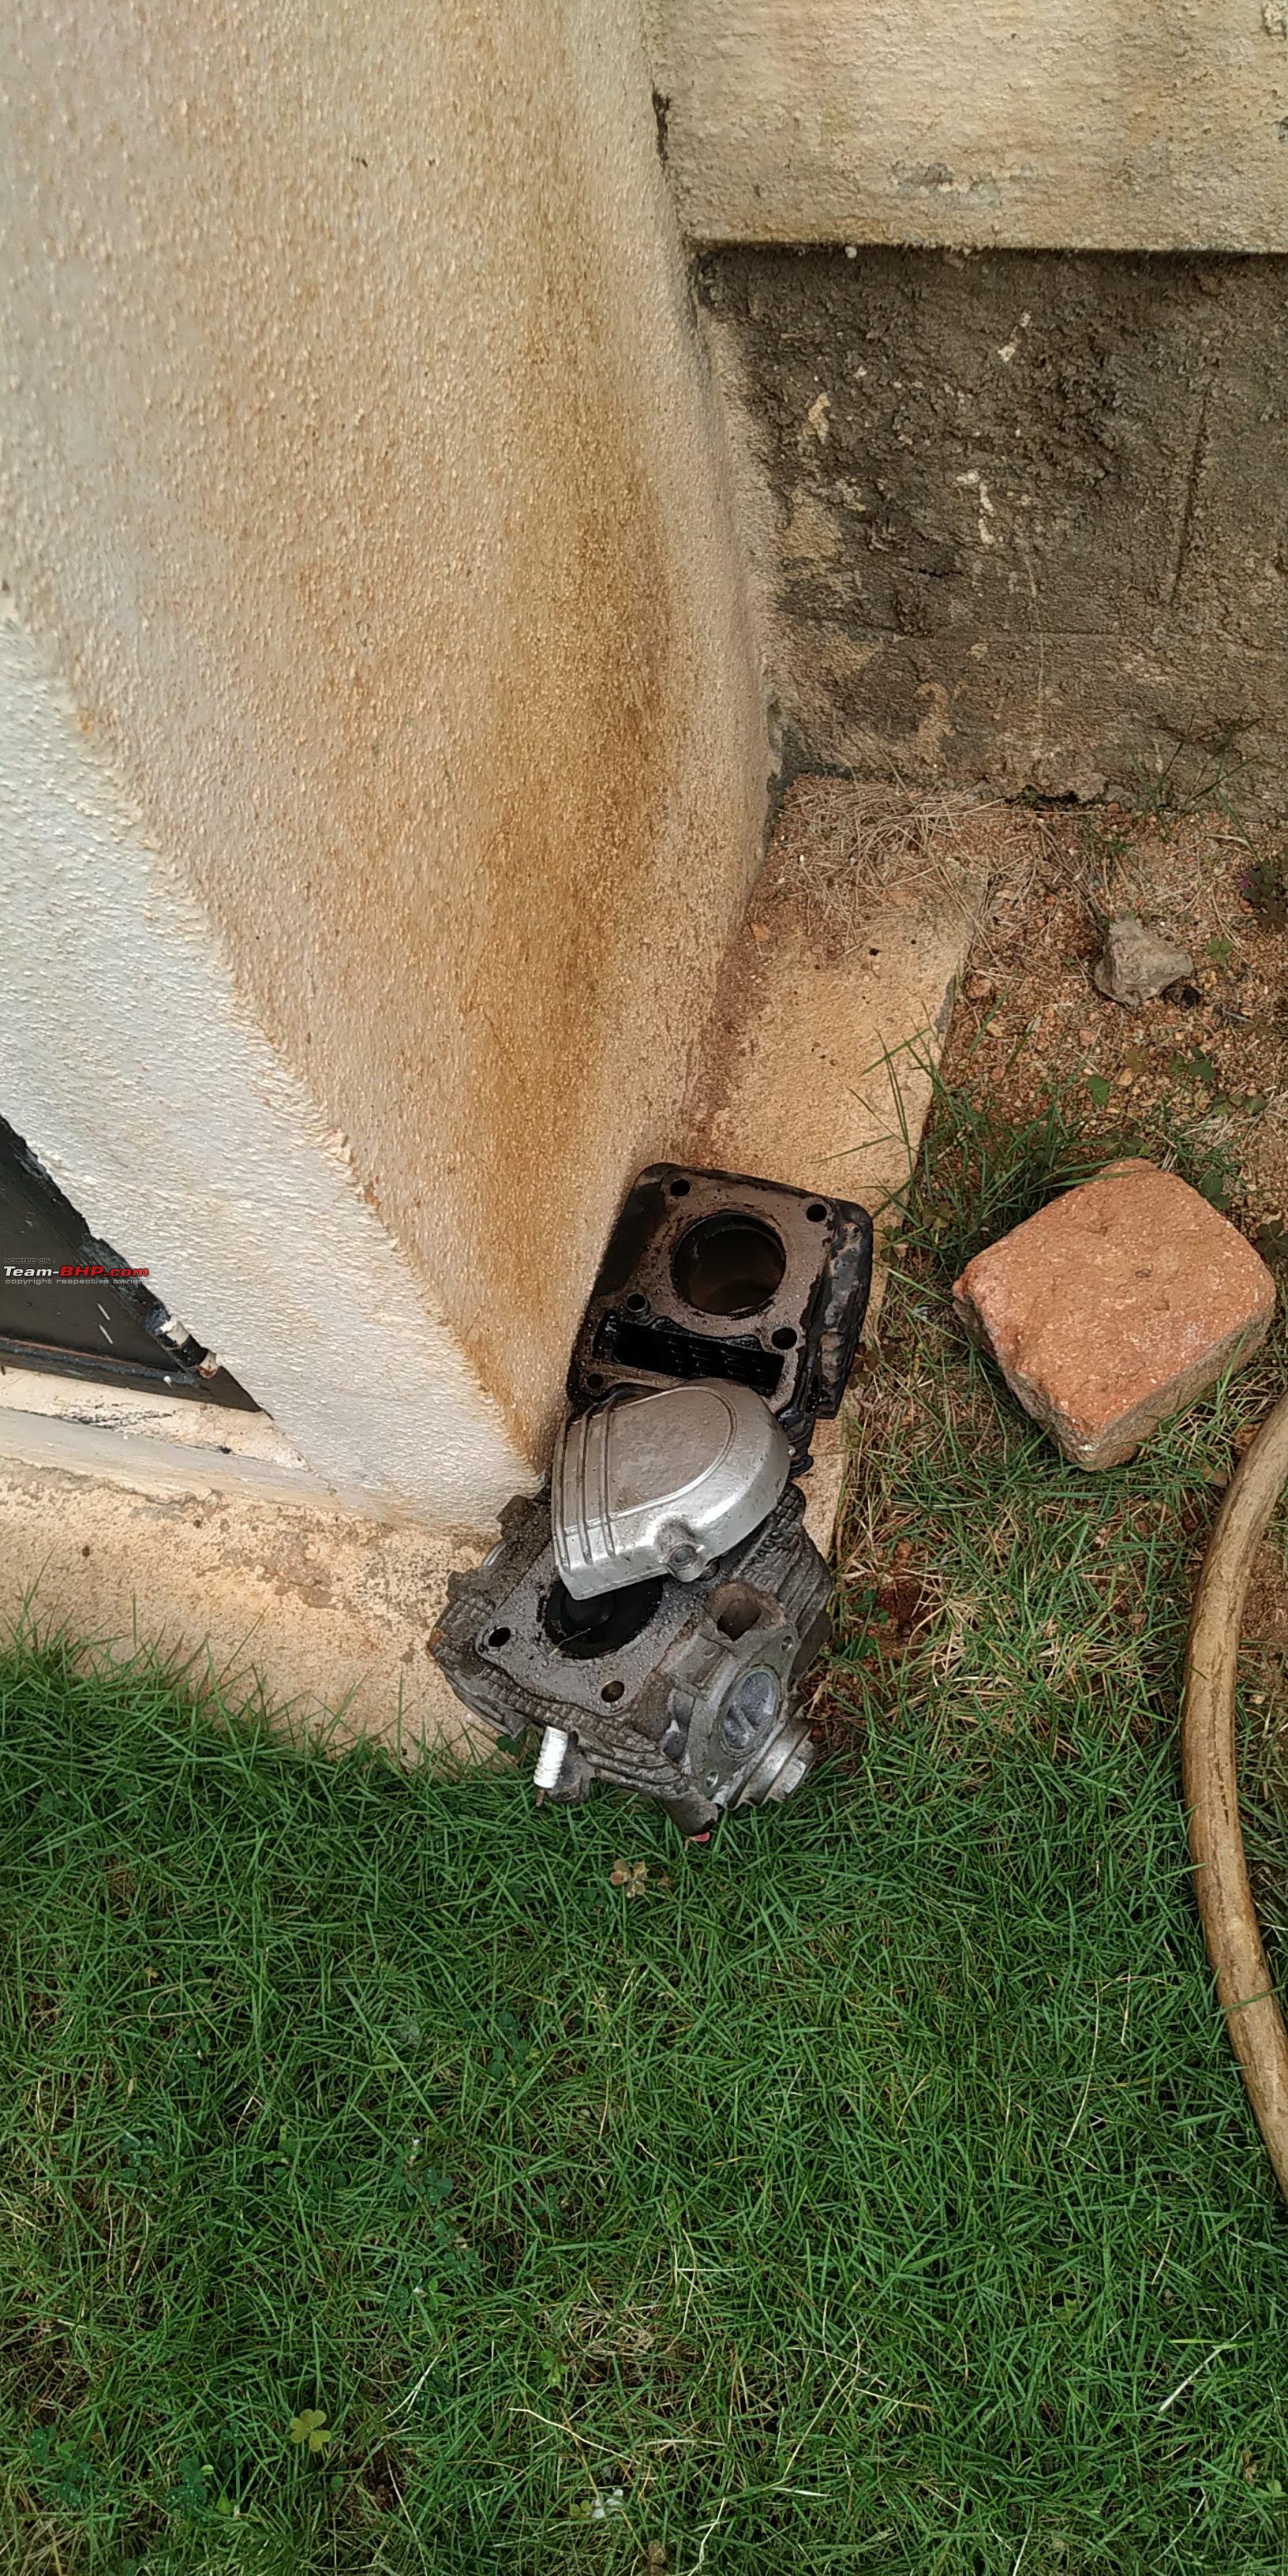
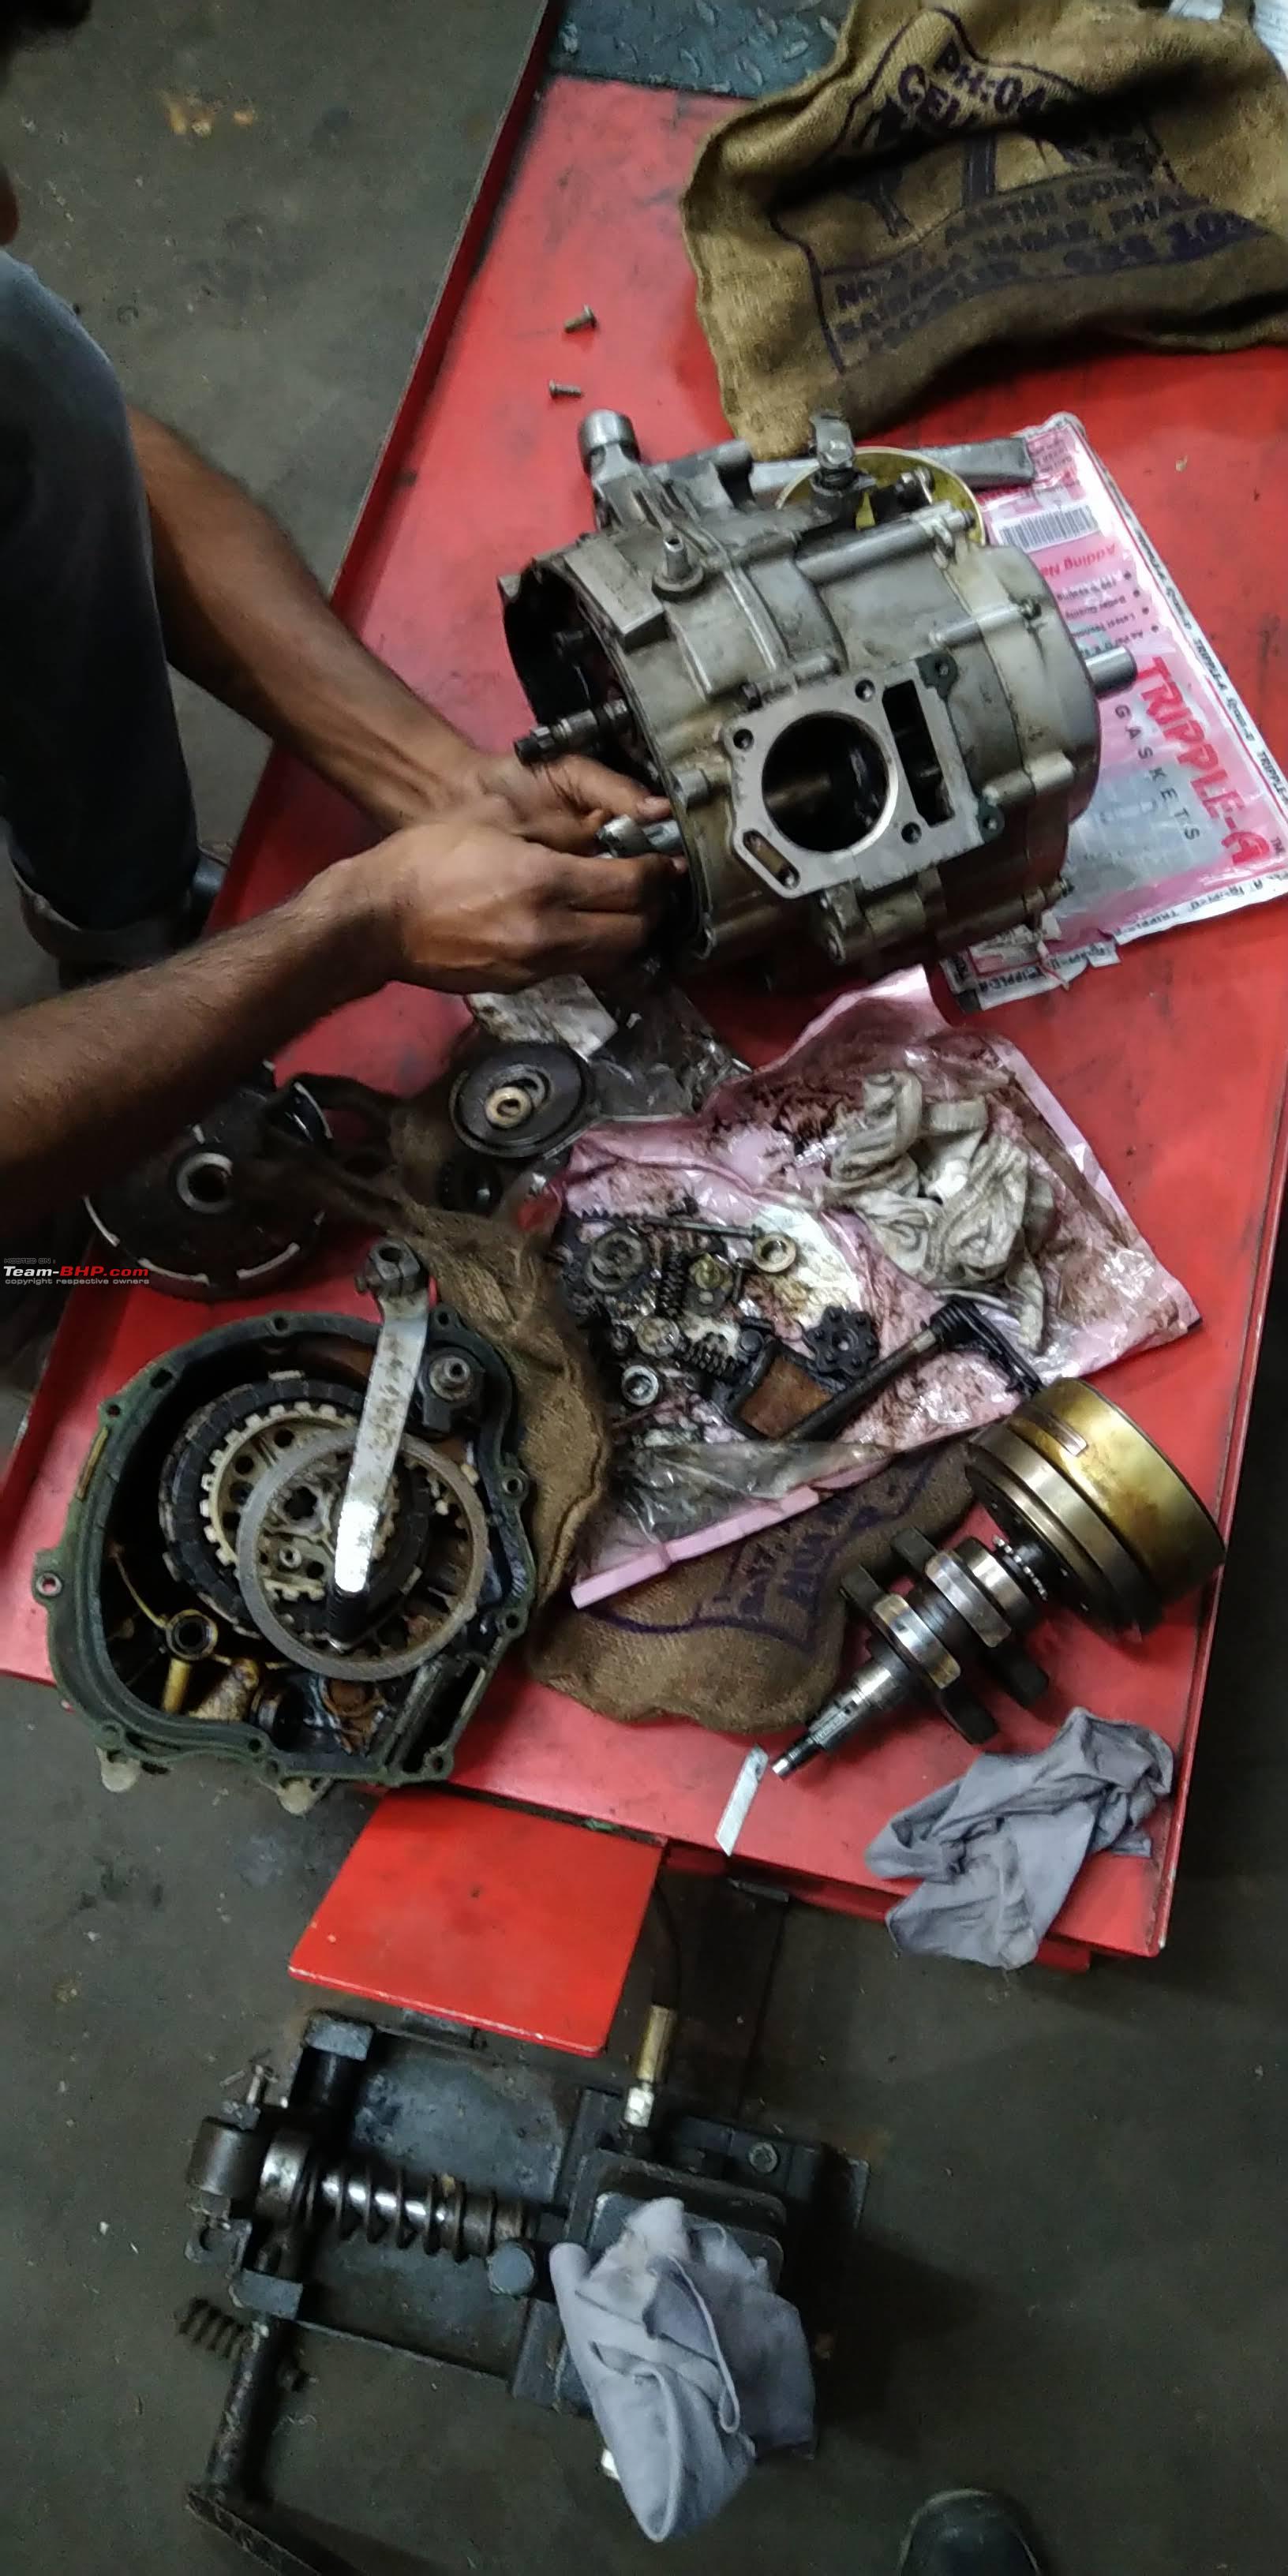
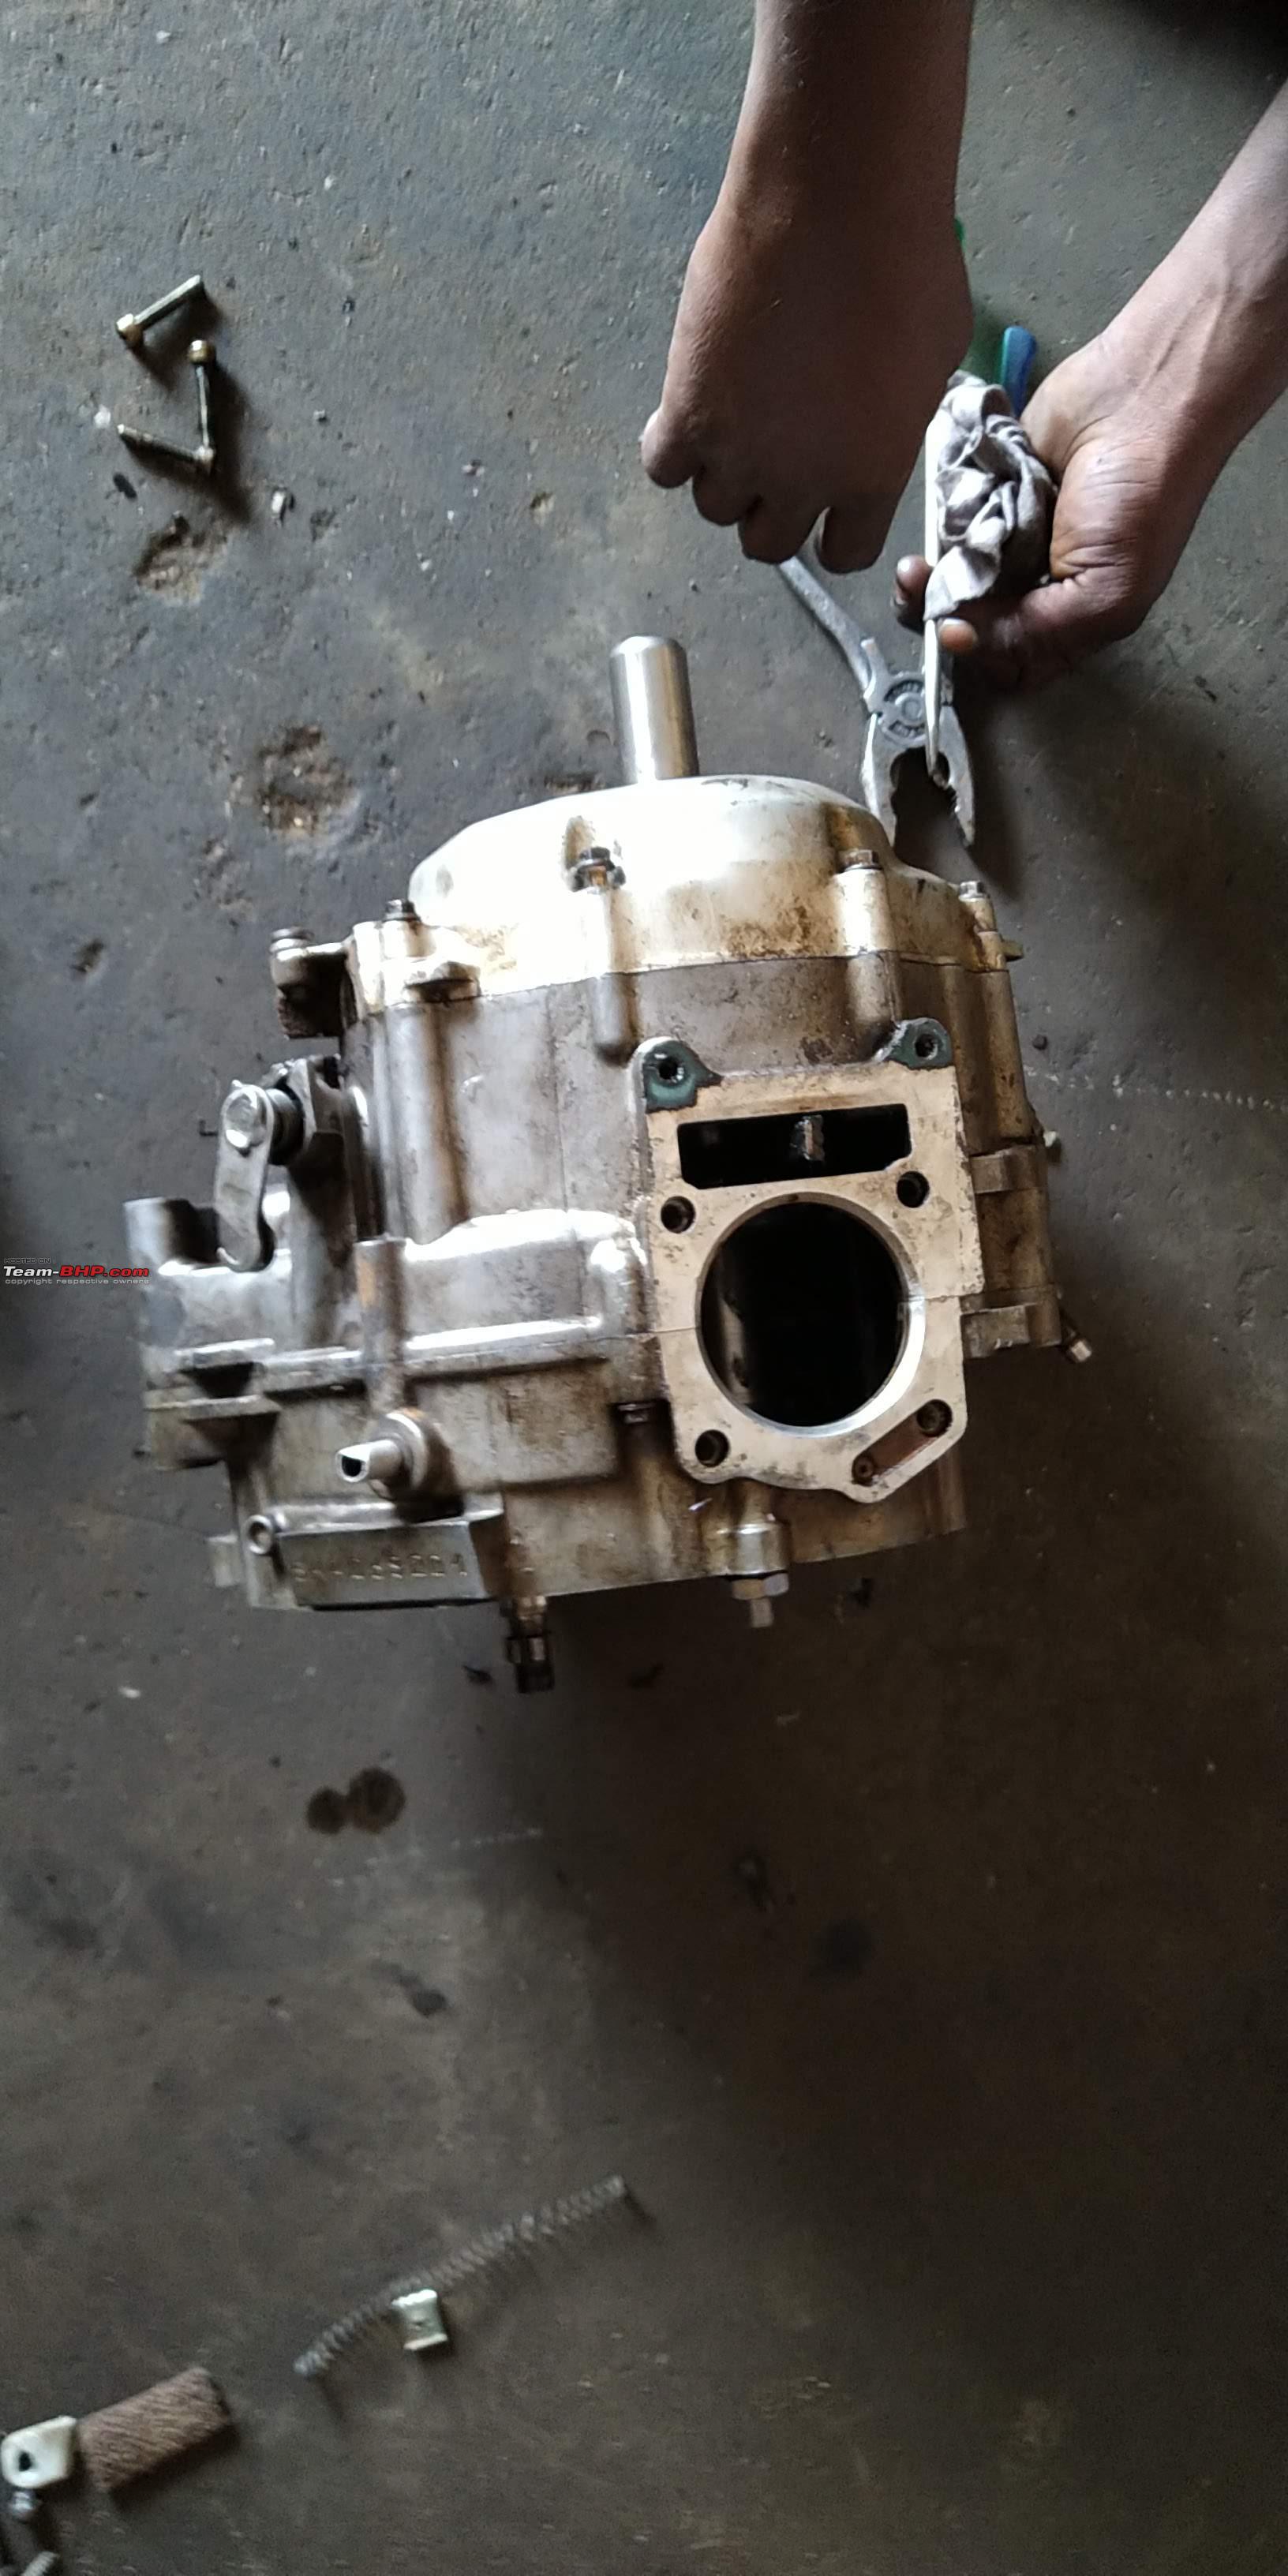
--First few days went away in dismantling the bike down to its chassis and stowing away any and all unwanted parts. A good wash and removing the engine releaved its connection to the legendary RX. In hindsight, the Crux (Series) was the very 1st bike from Yamaha stable after stopping of the RX135-5Speed. No wonder they just retrofitted the 4S engine onto the 2S chassis with minor changes.


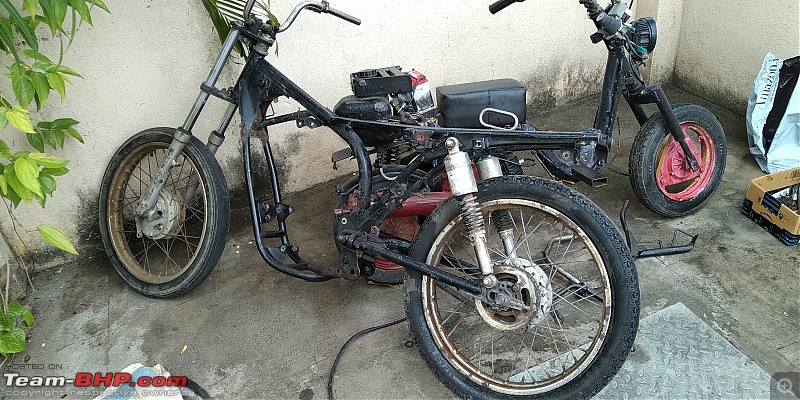

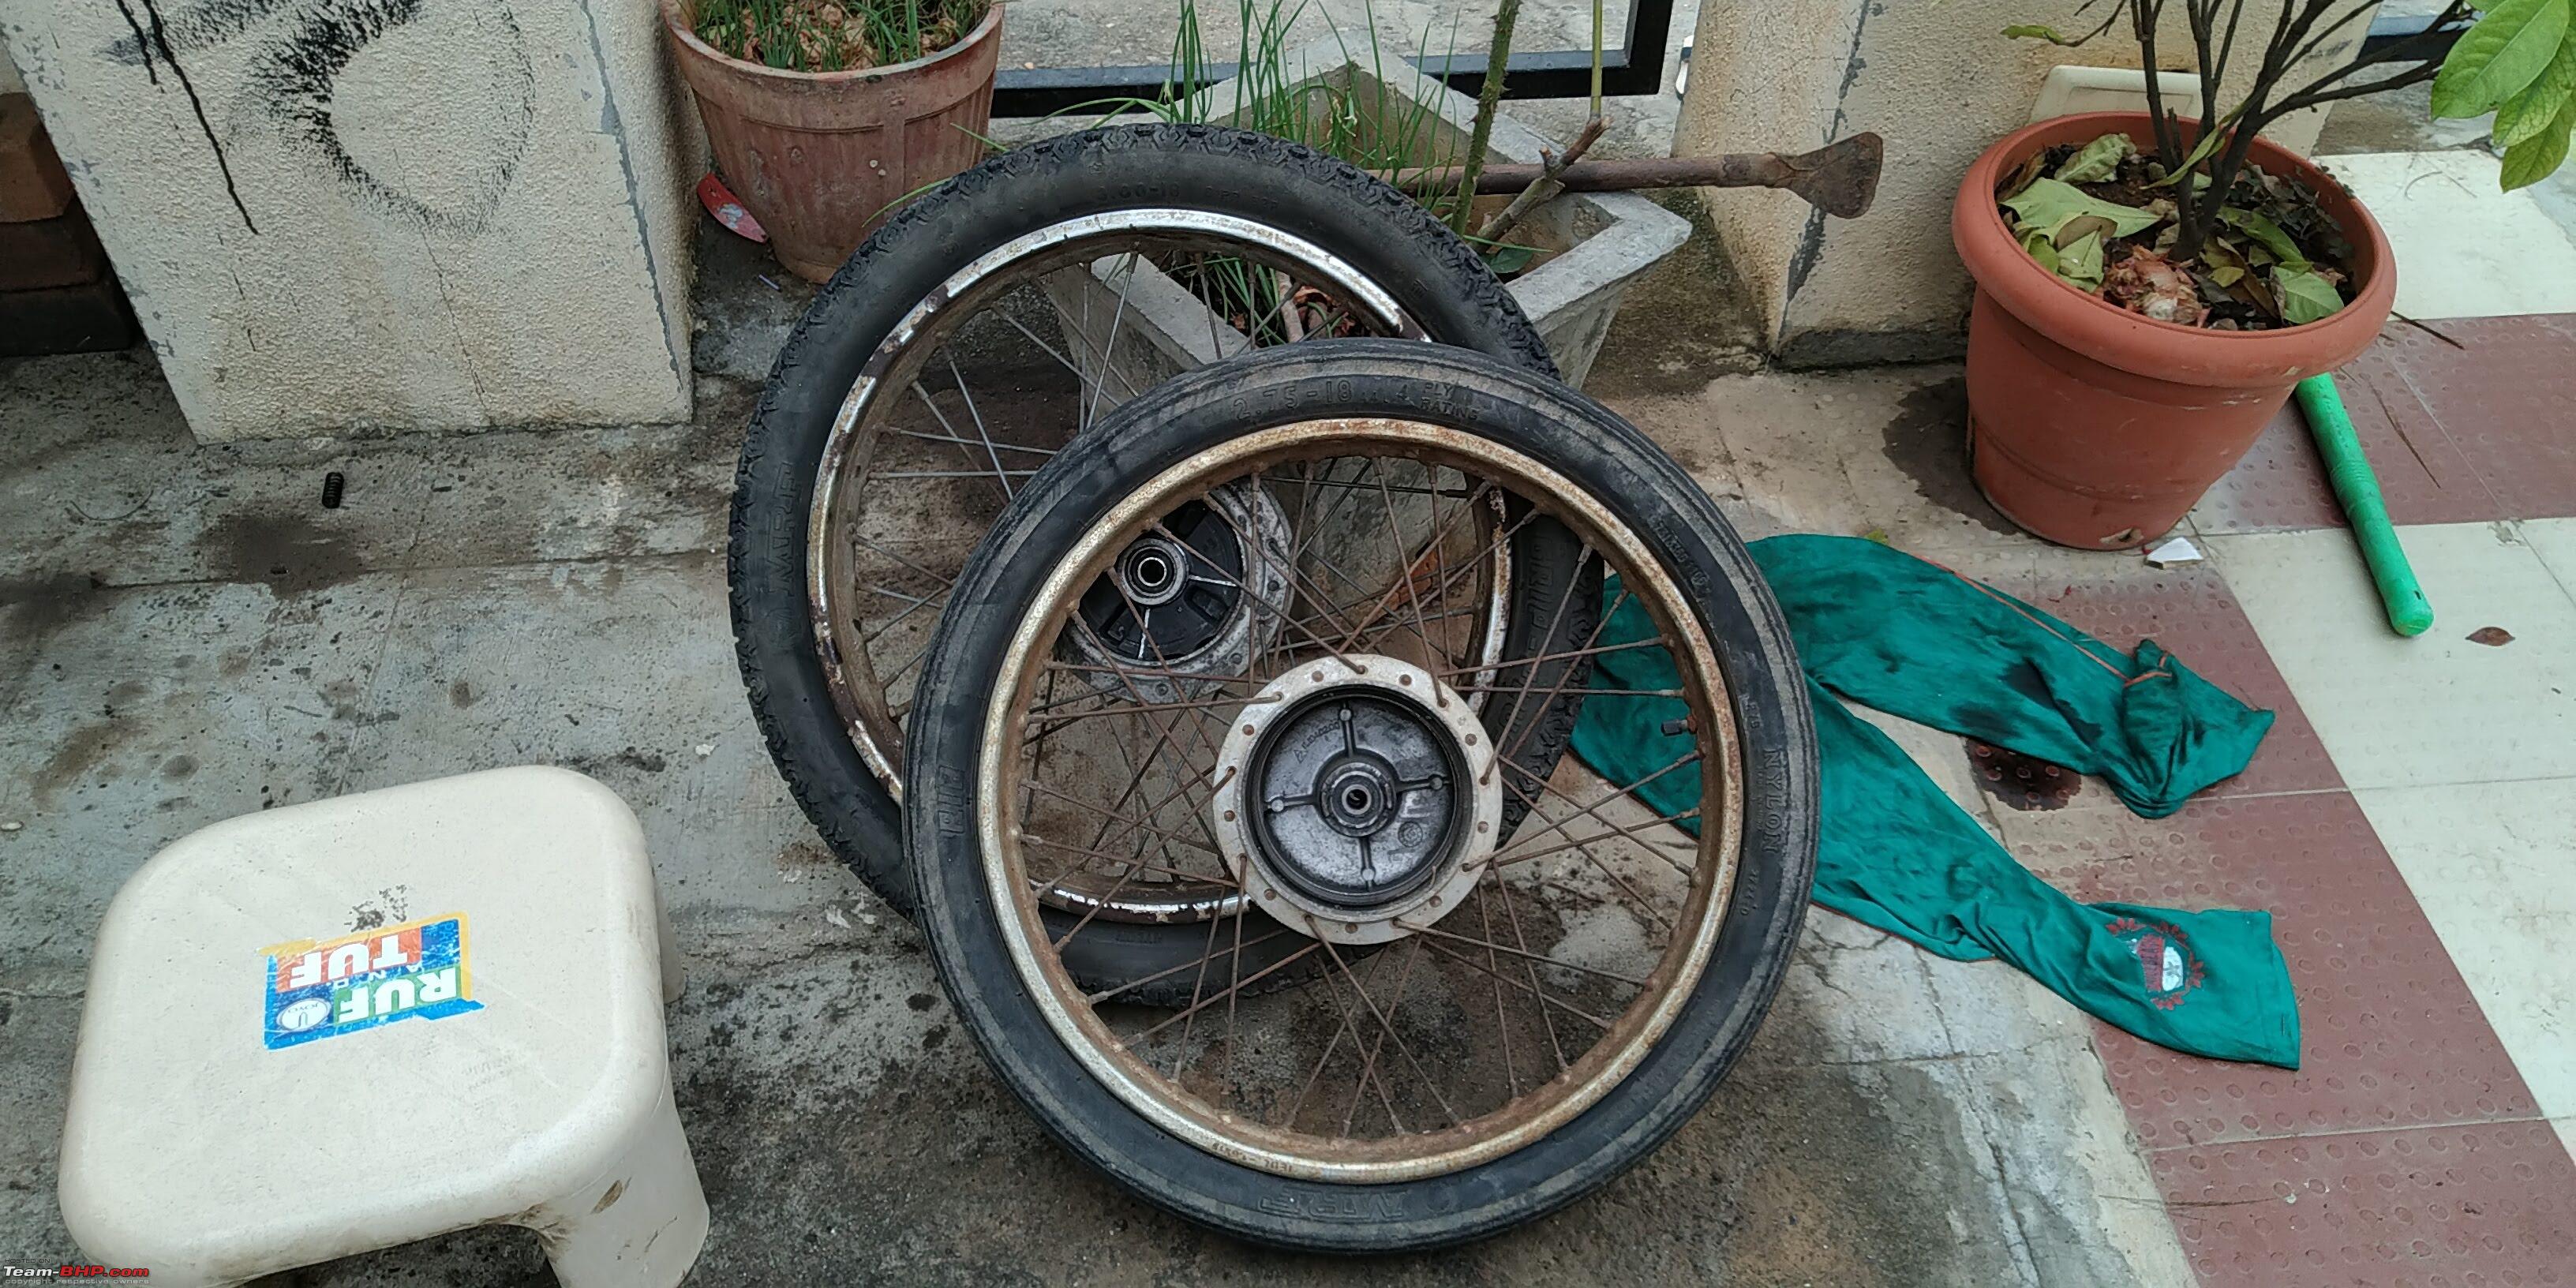
--First change attempted was to reduce the overall height by reducing the 18" rims to 16" TVS50 rims. Retained the hubs for easy refittment and just exchanged the existing tyres and rims and spokes with a TVS50 wheel from scrap market.


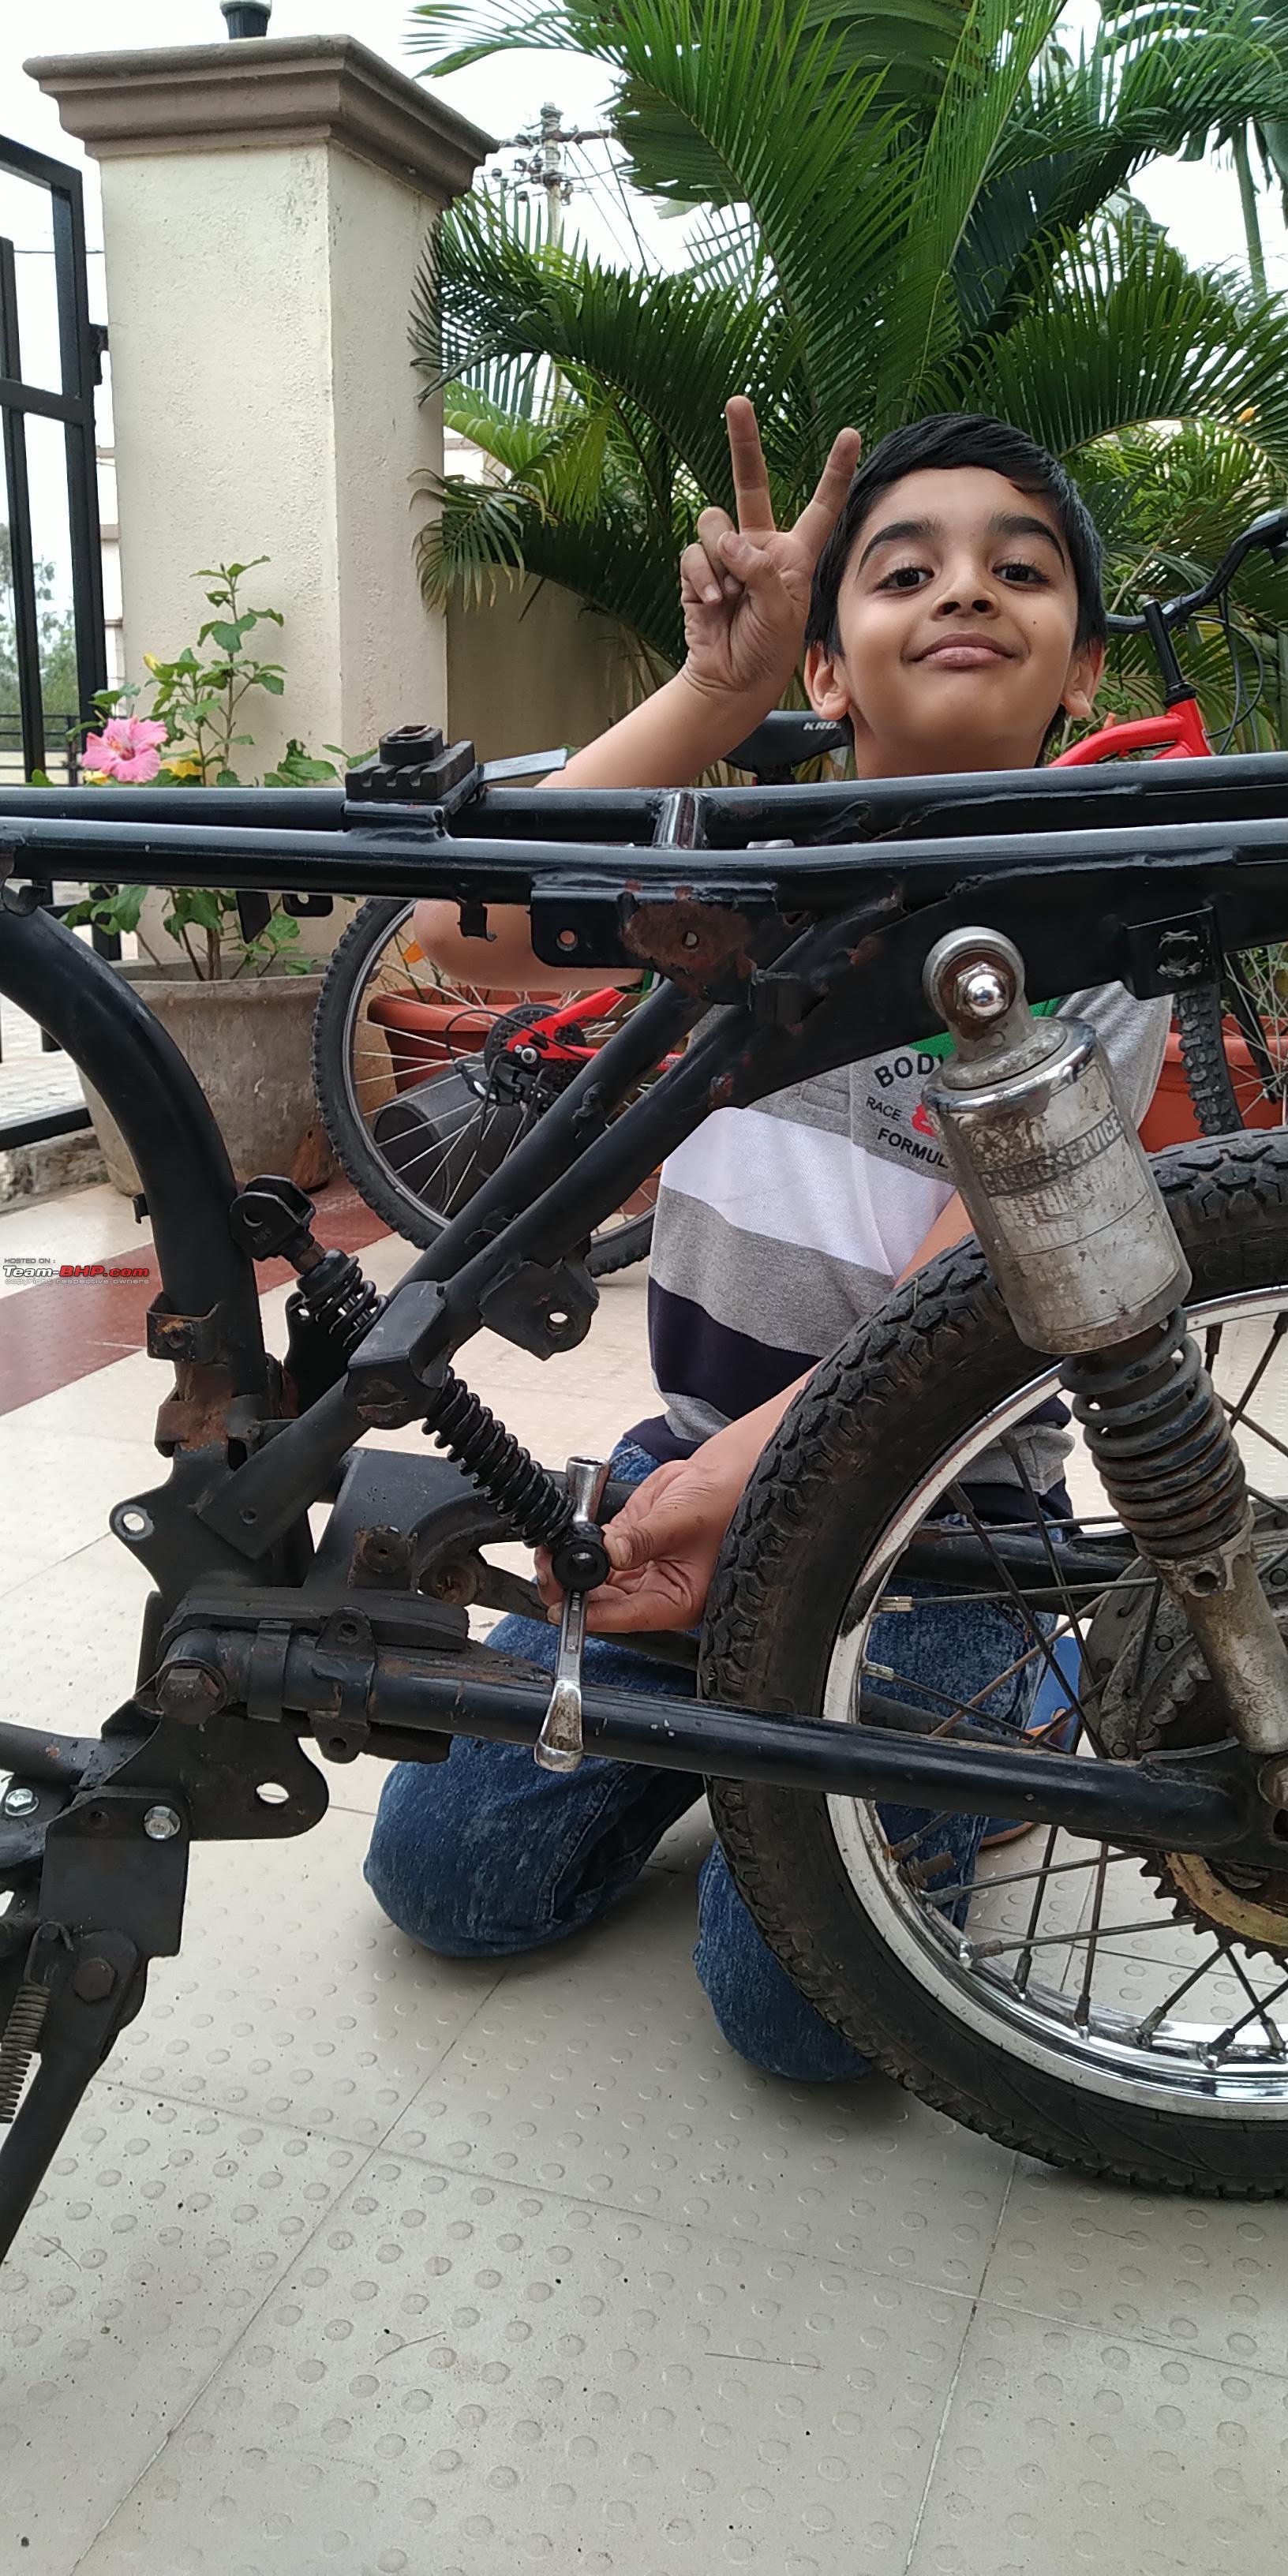
--Refit the wheels and by then son had taken cognizance of the fact that the project was a full-Go & got impatient to get onto a bike Viz-a-Viz a bicycle. Some 'flintstones type' fun with cousins and grampa on the empty shell revealed that bike is still too high for my son.

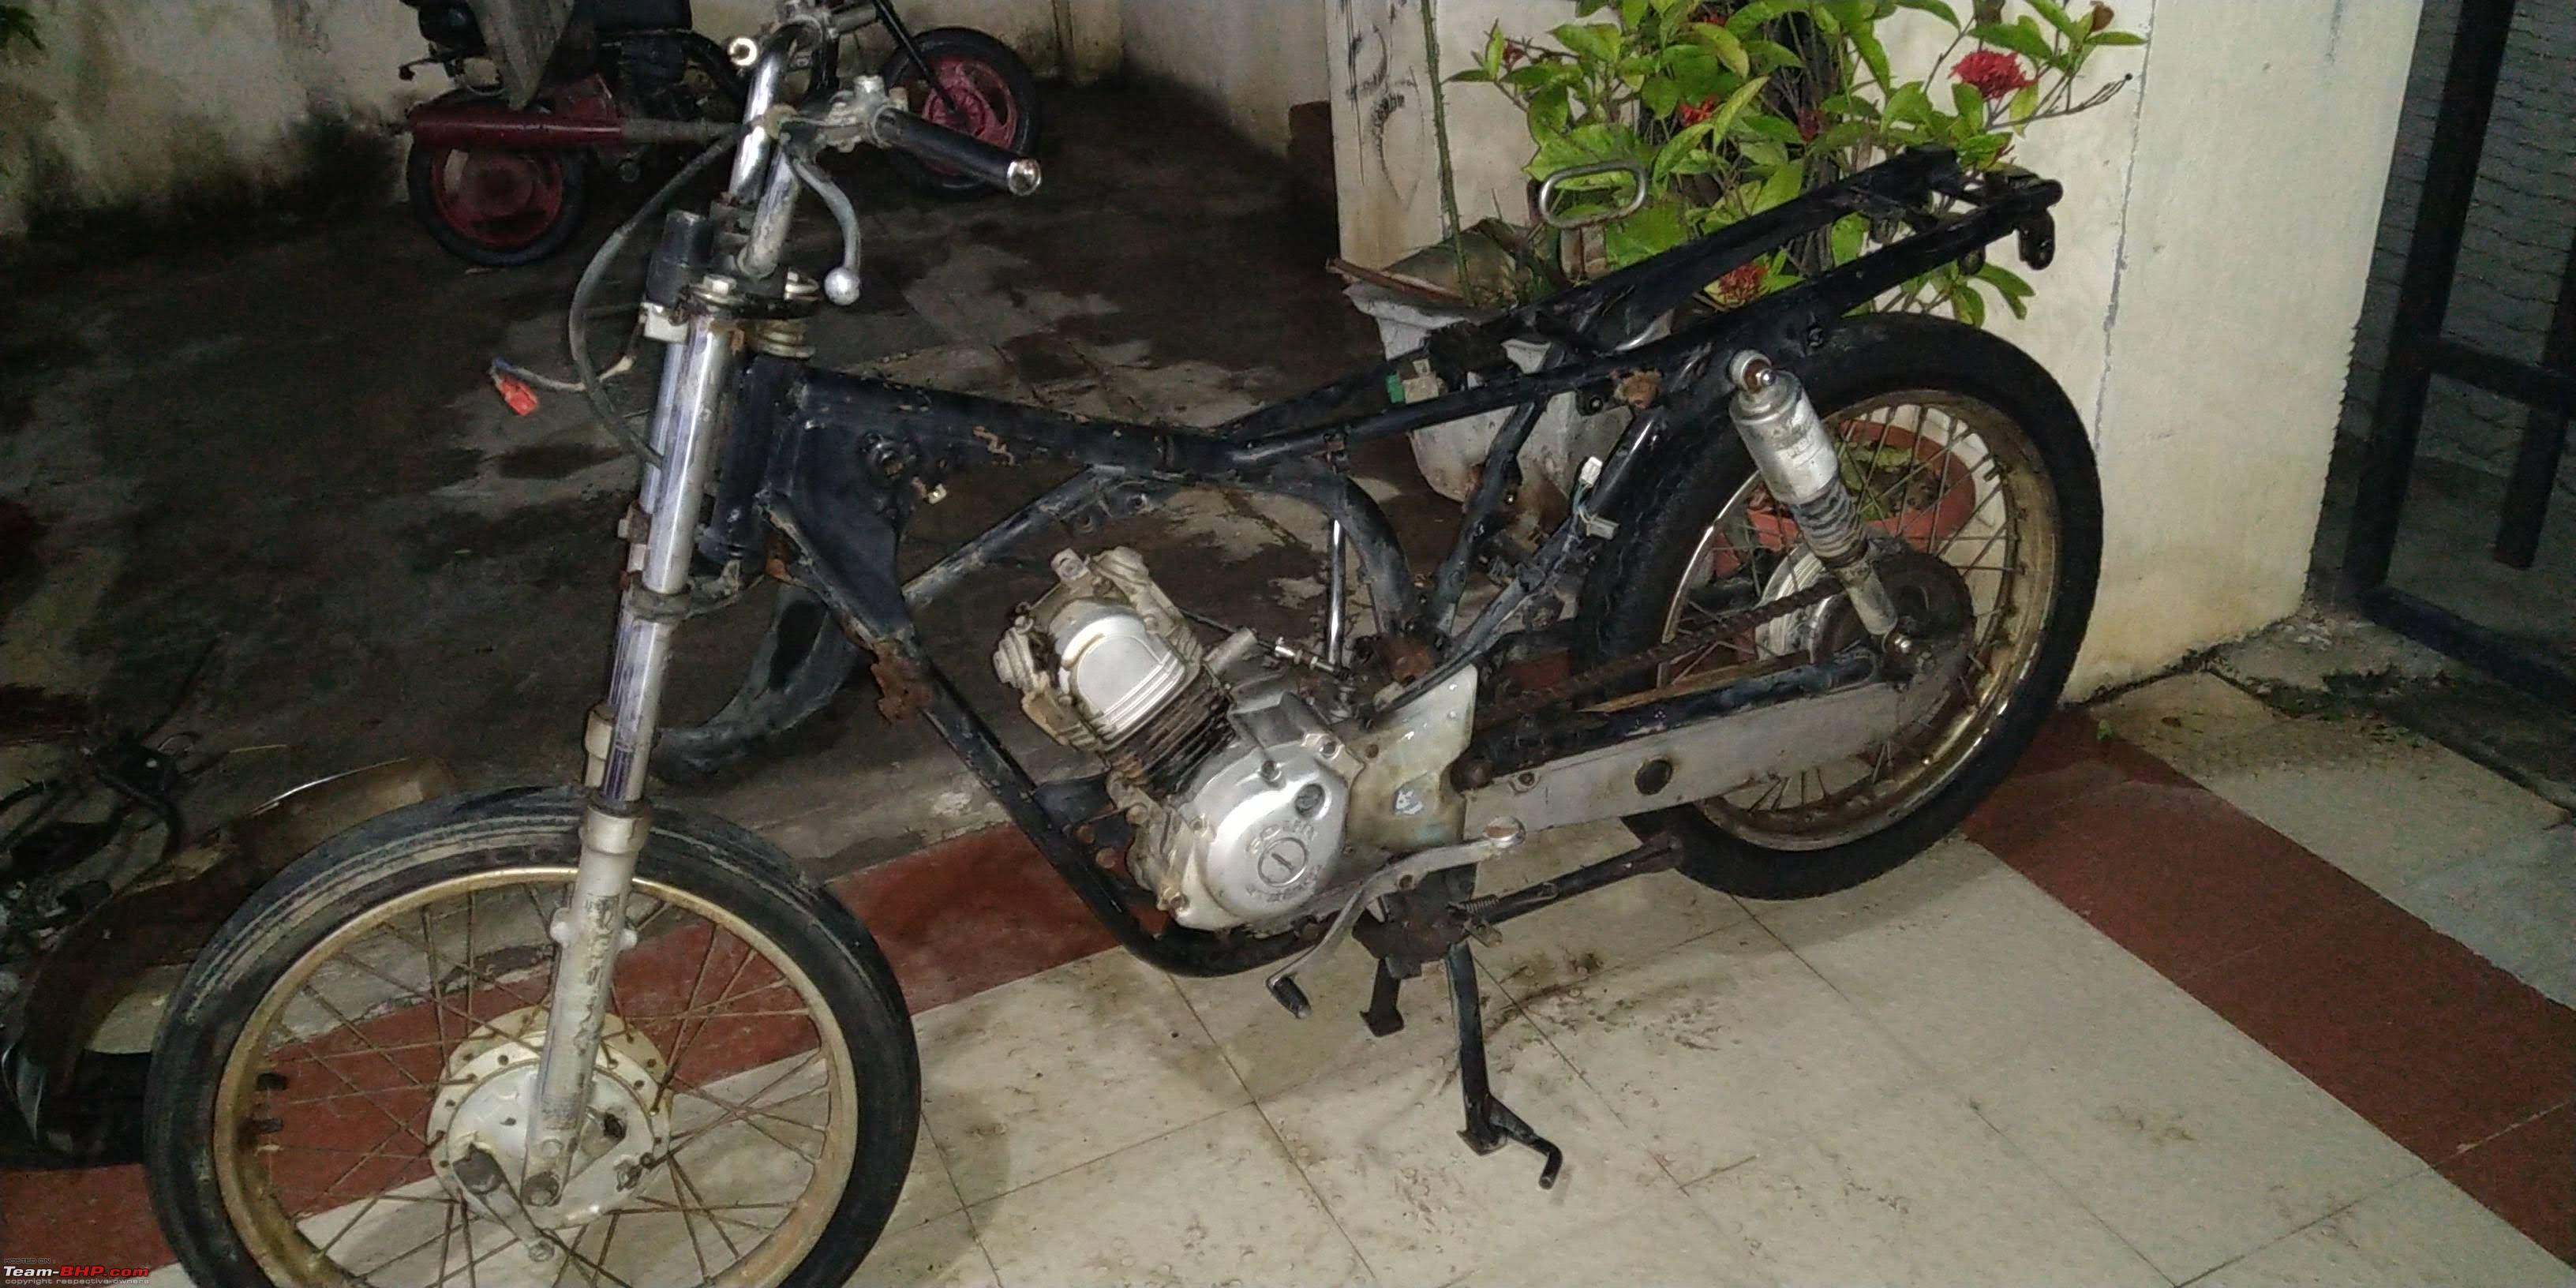
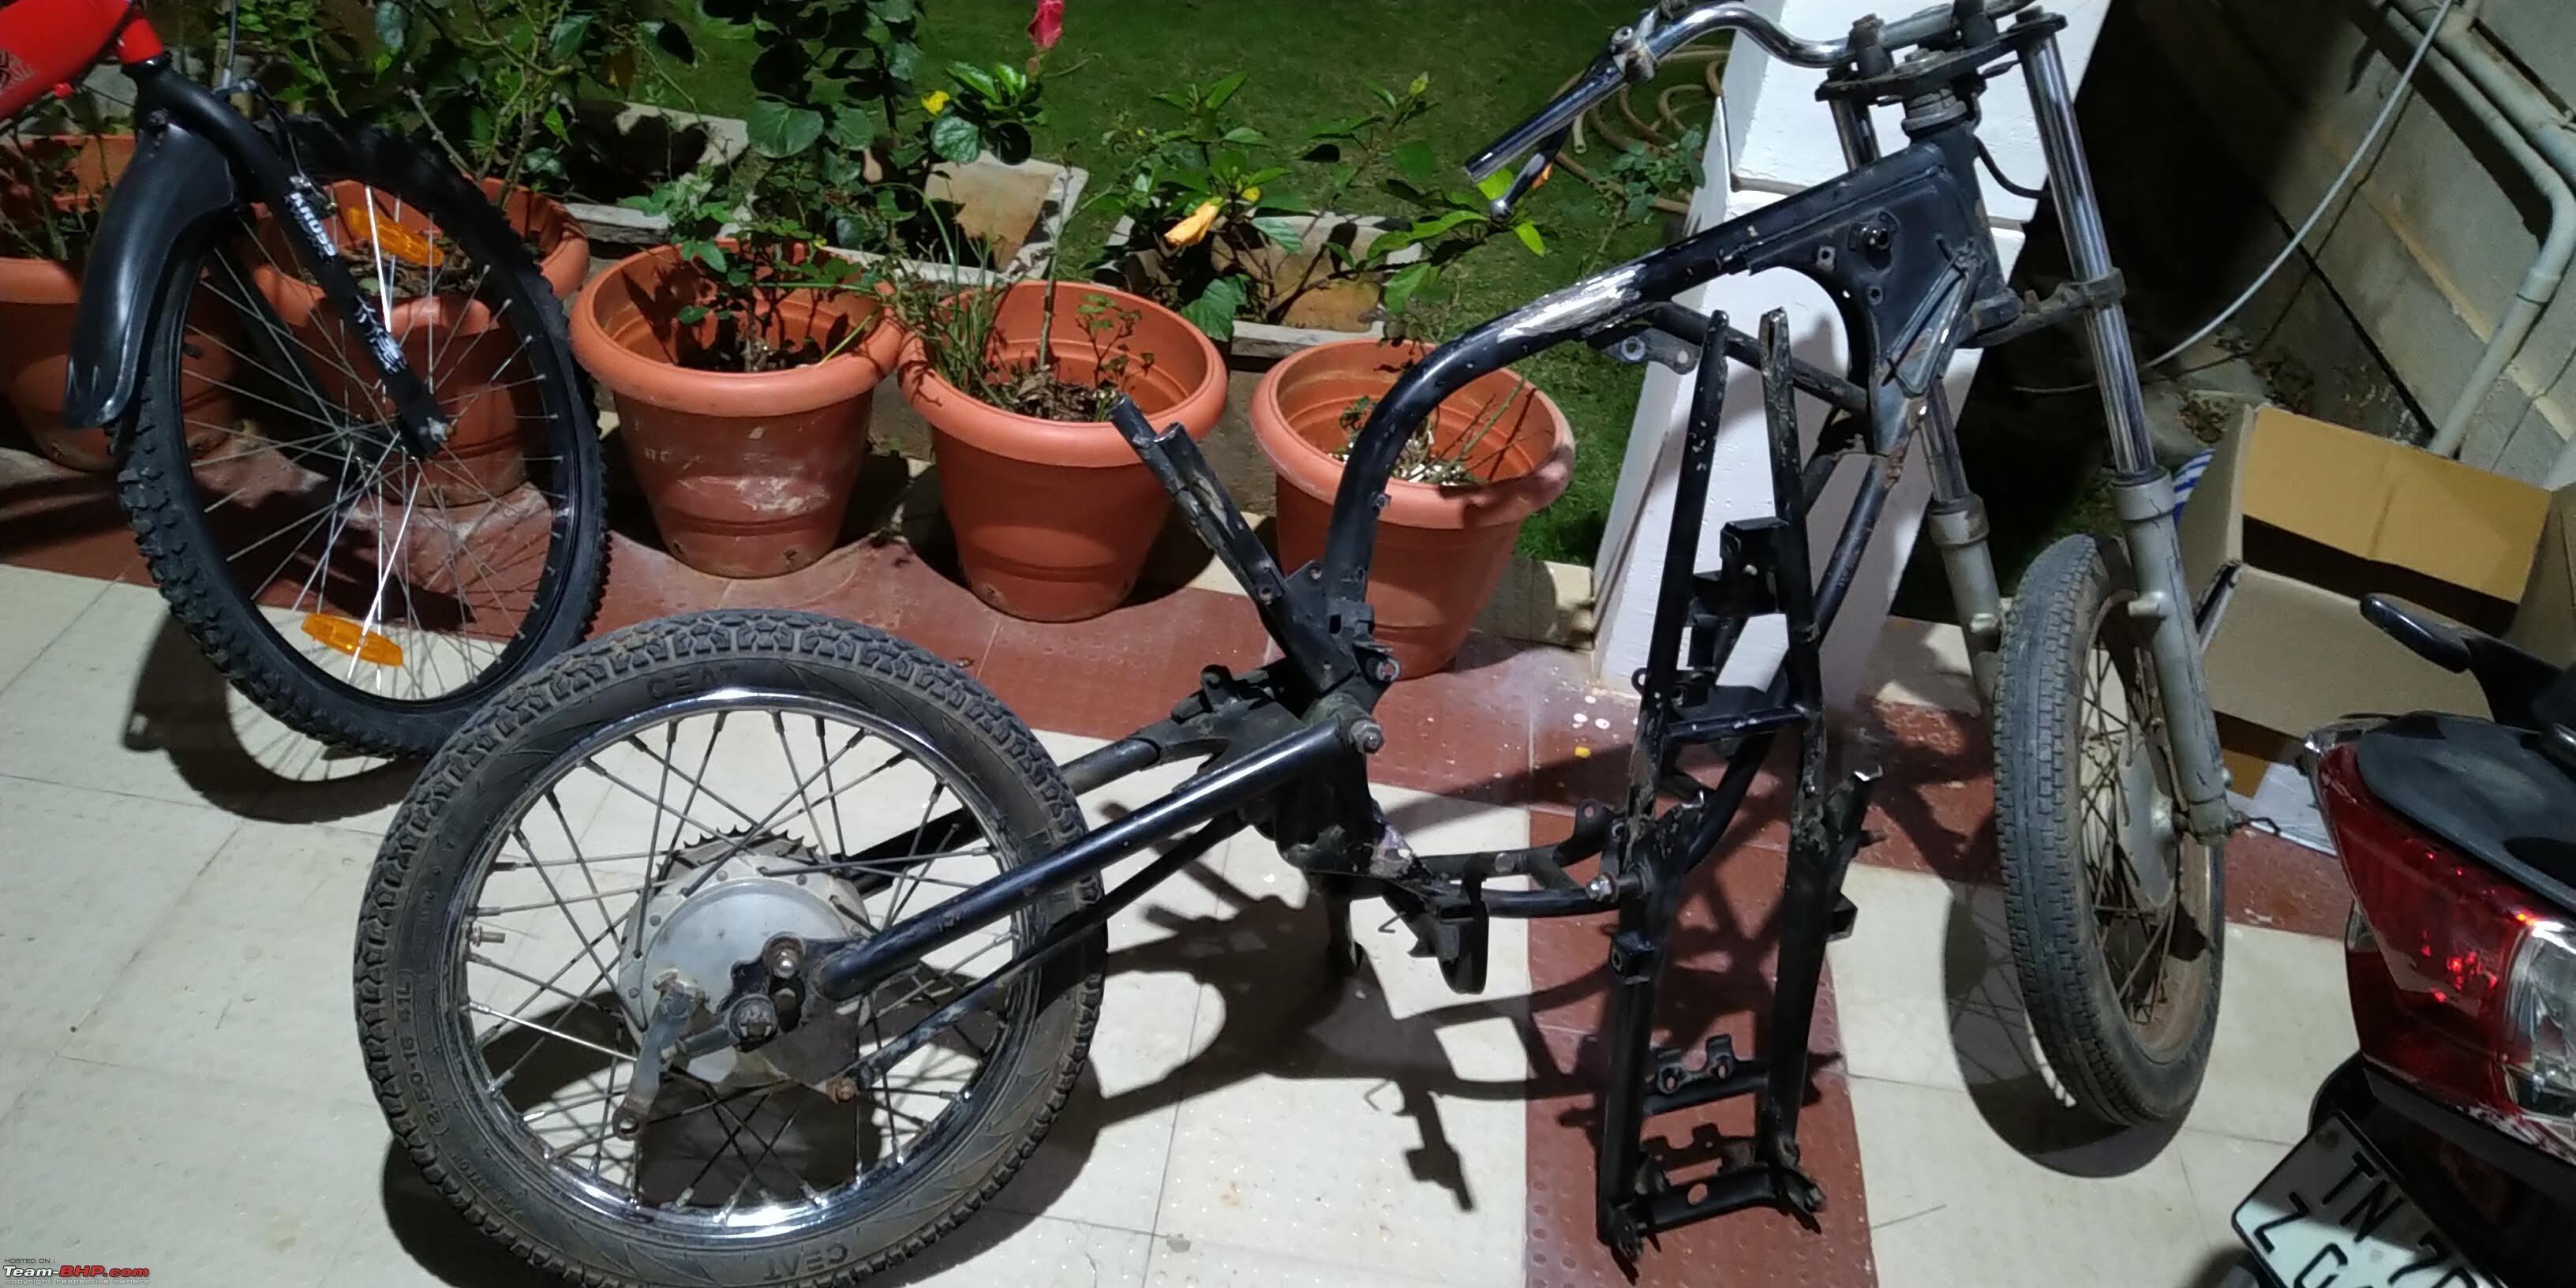
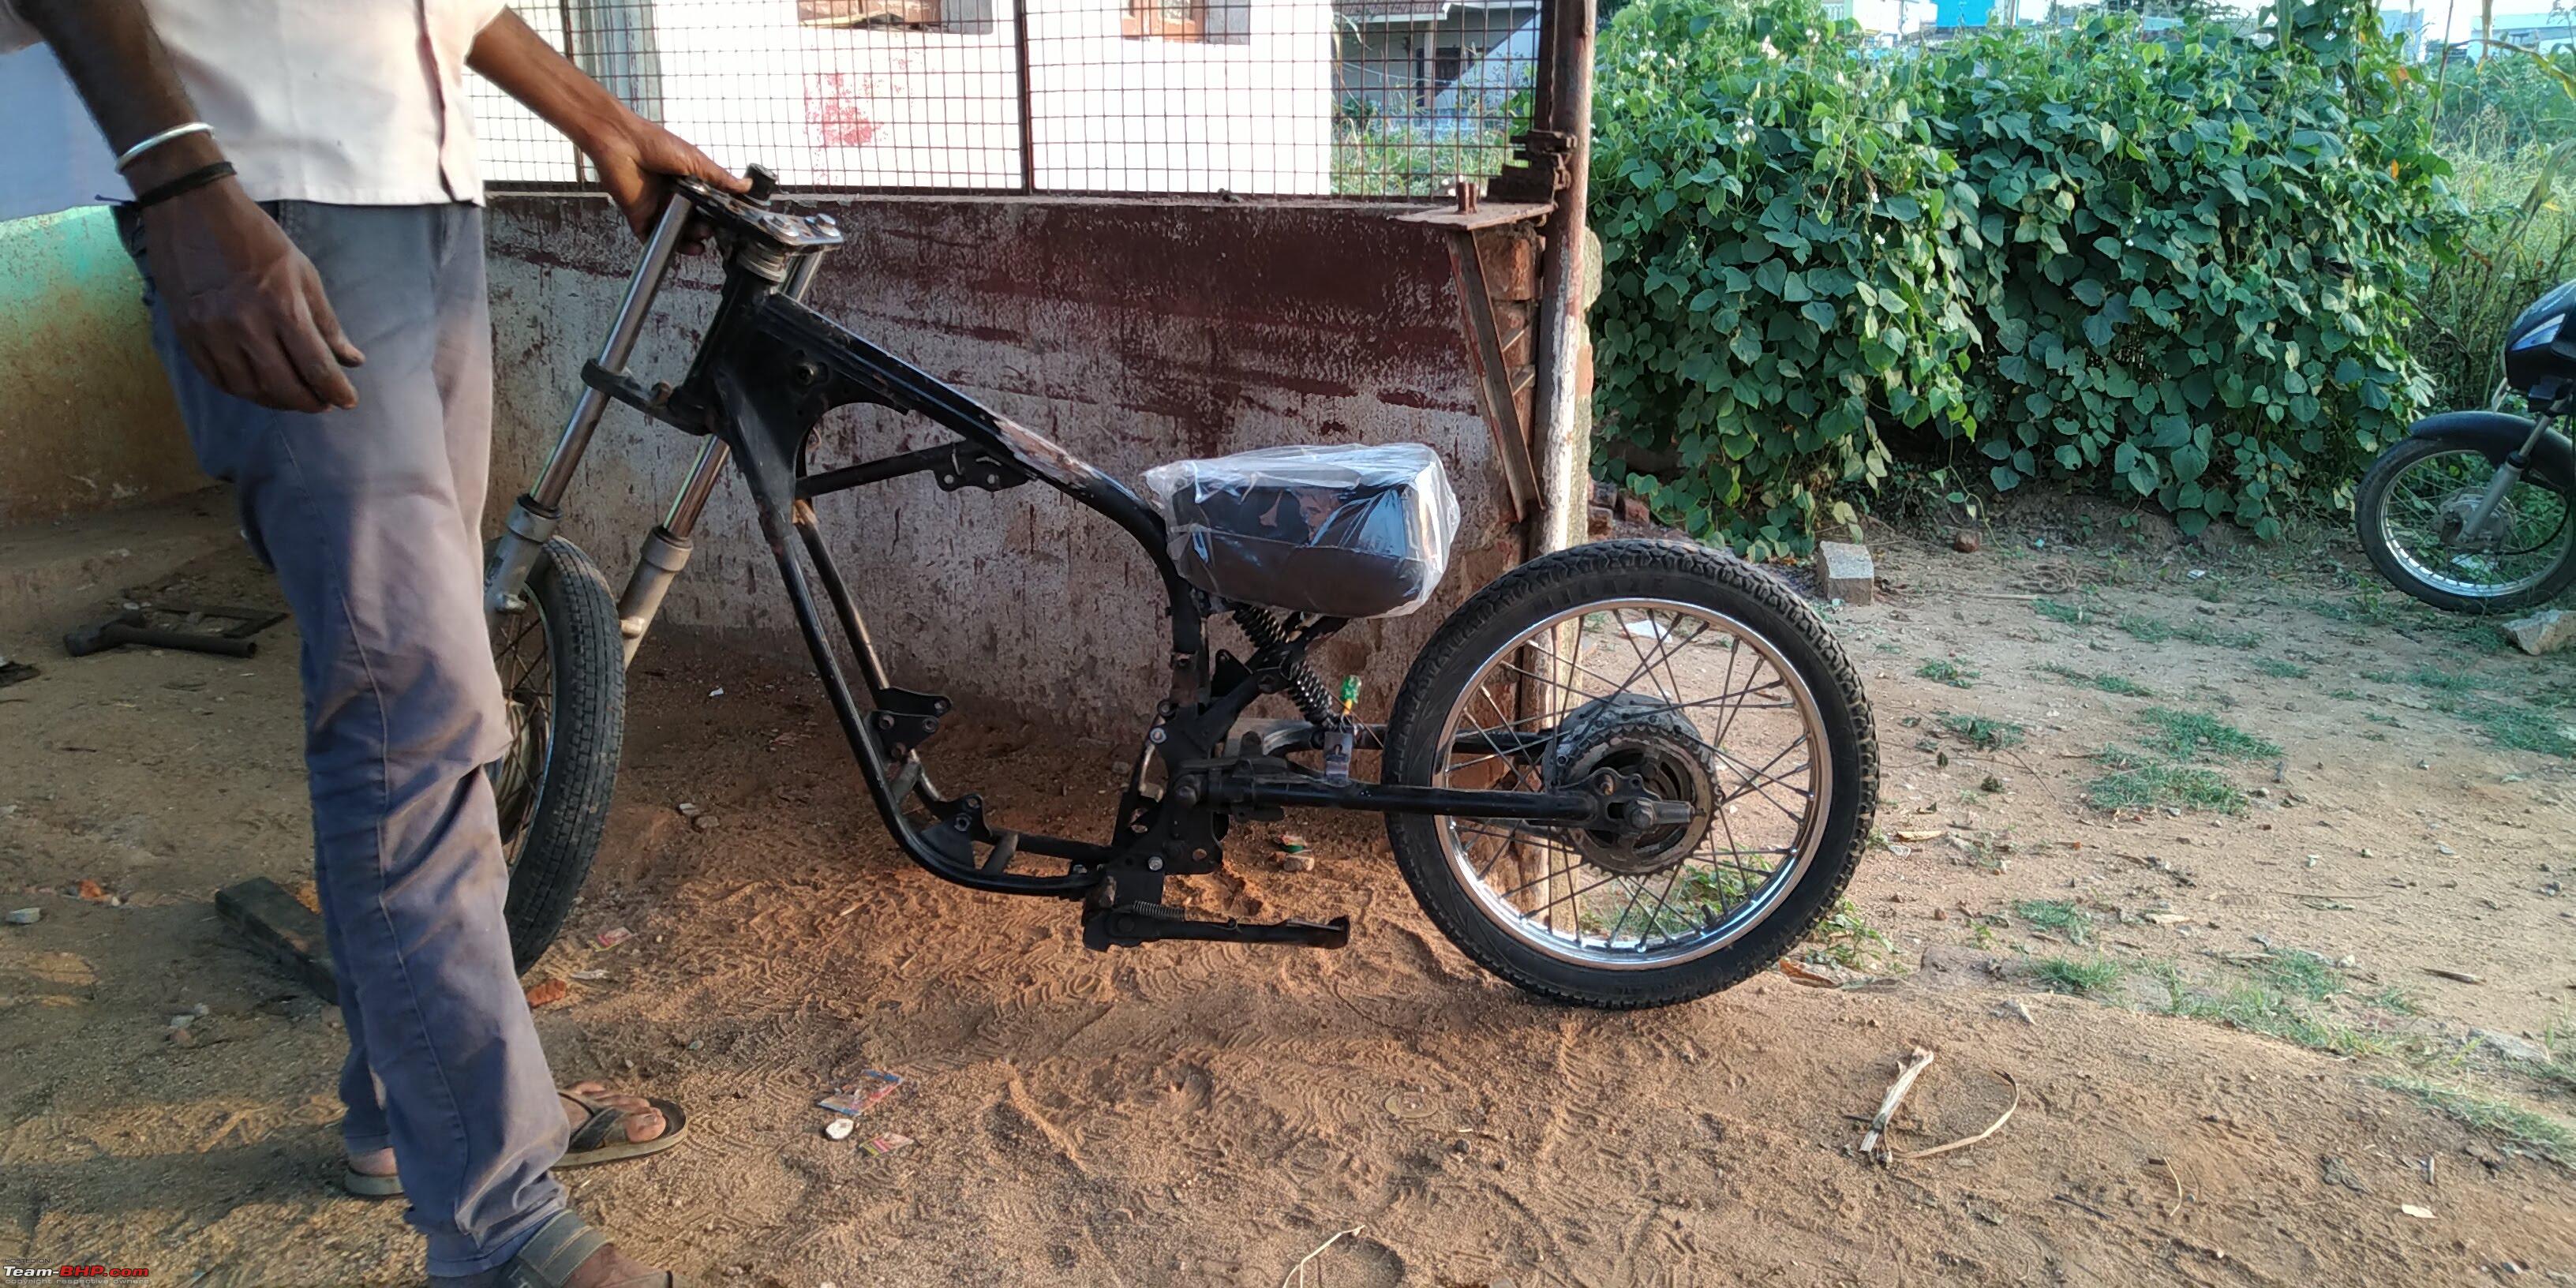
--Next key decision was to chop the chassis down fully to accomodate his bum-to-feet height. One of the way I could think was to go mono-shock (or something similar to it). Got some mono-shocks from scrap market and fabricated a bracket to accomodate the two small shockers, acheived the height perfectly, but lost out on the damping, they were way too soft!!
Rough idea of mono shock

OE Angle of swing arm

Bicycle Handle height reference

Chopped
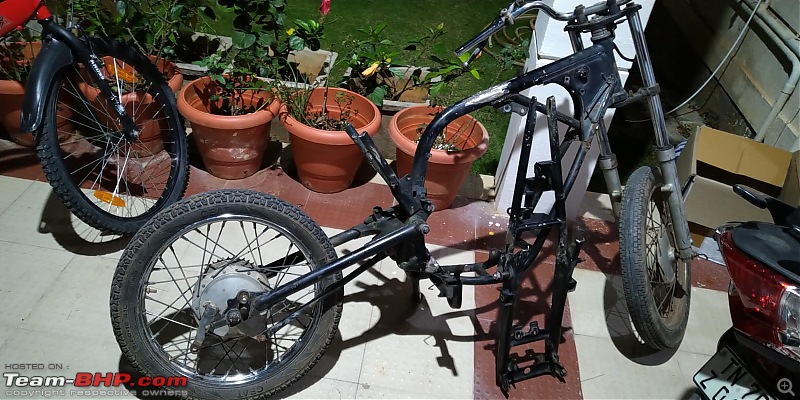
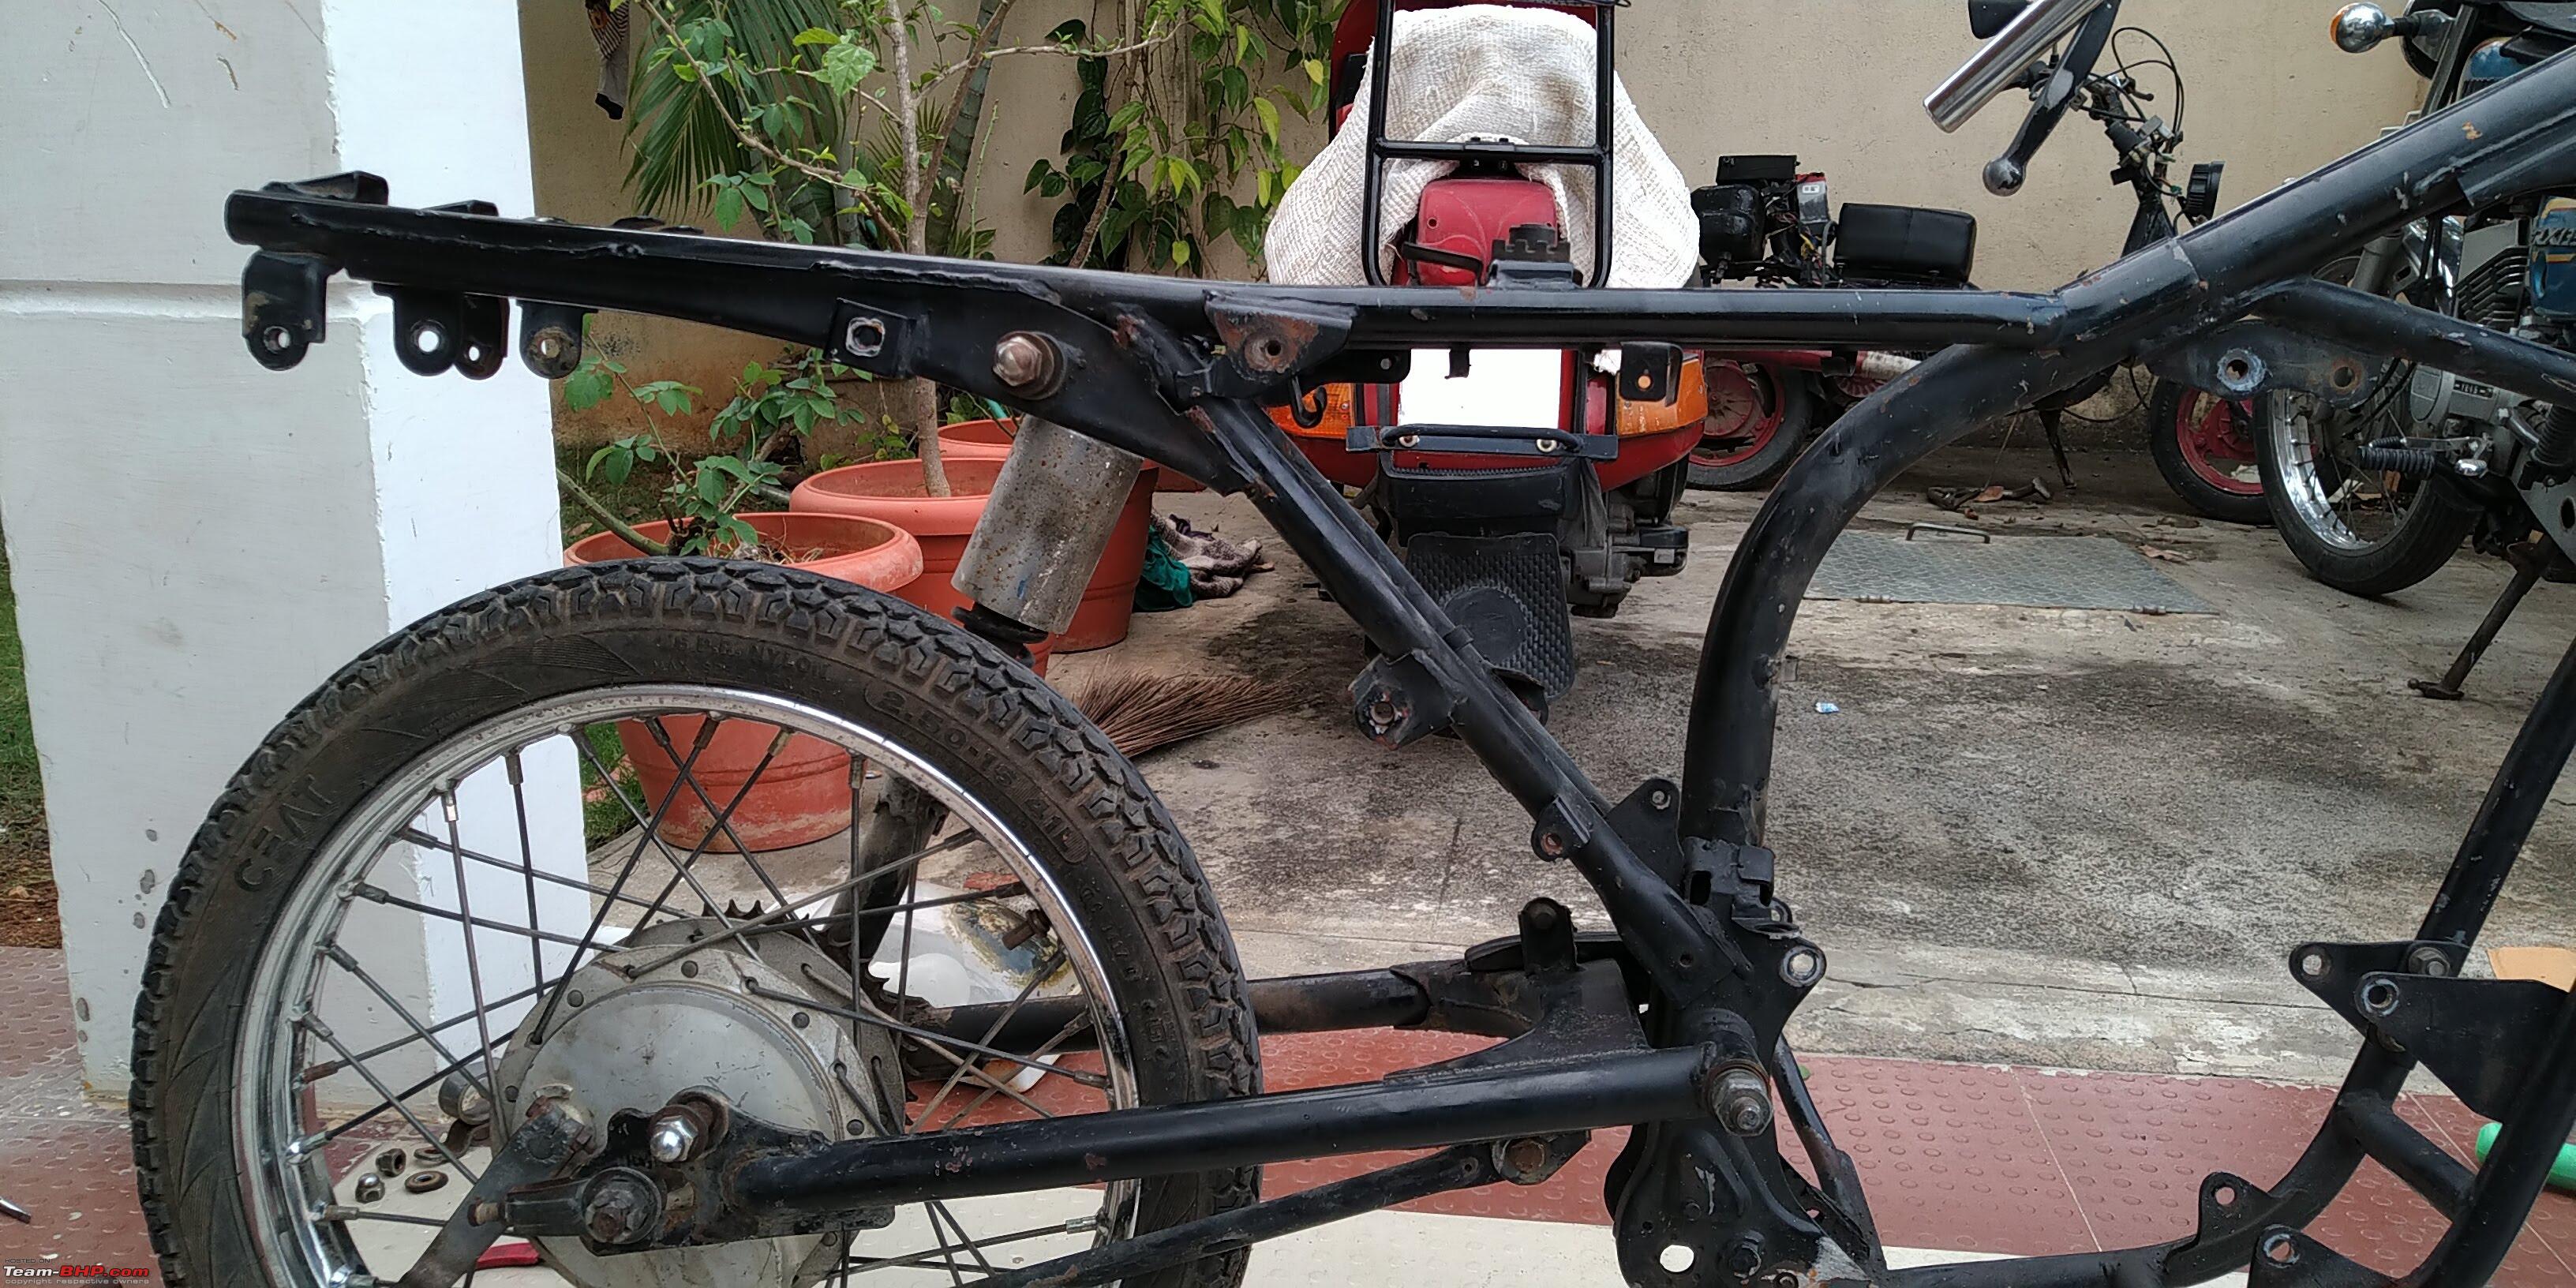
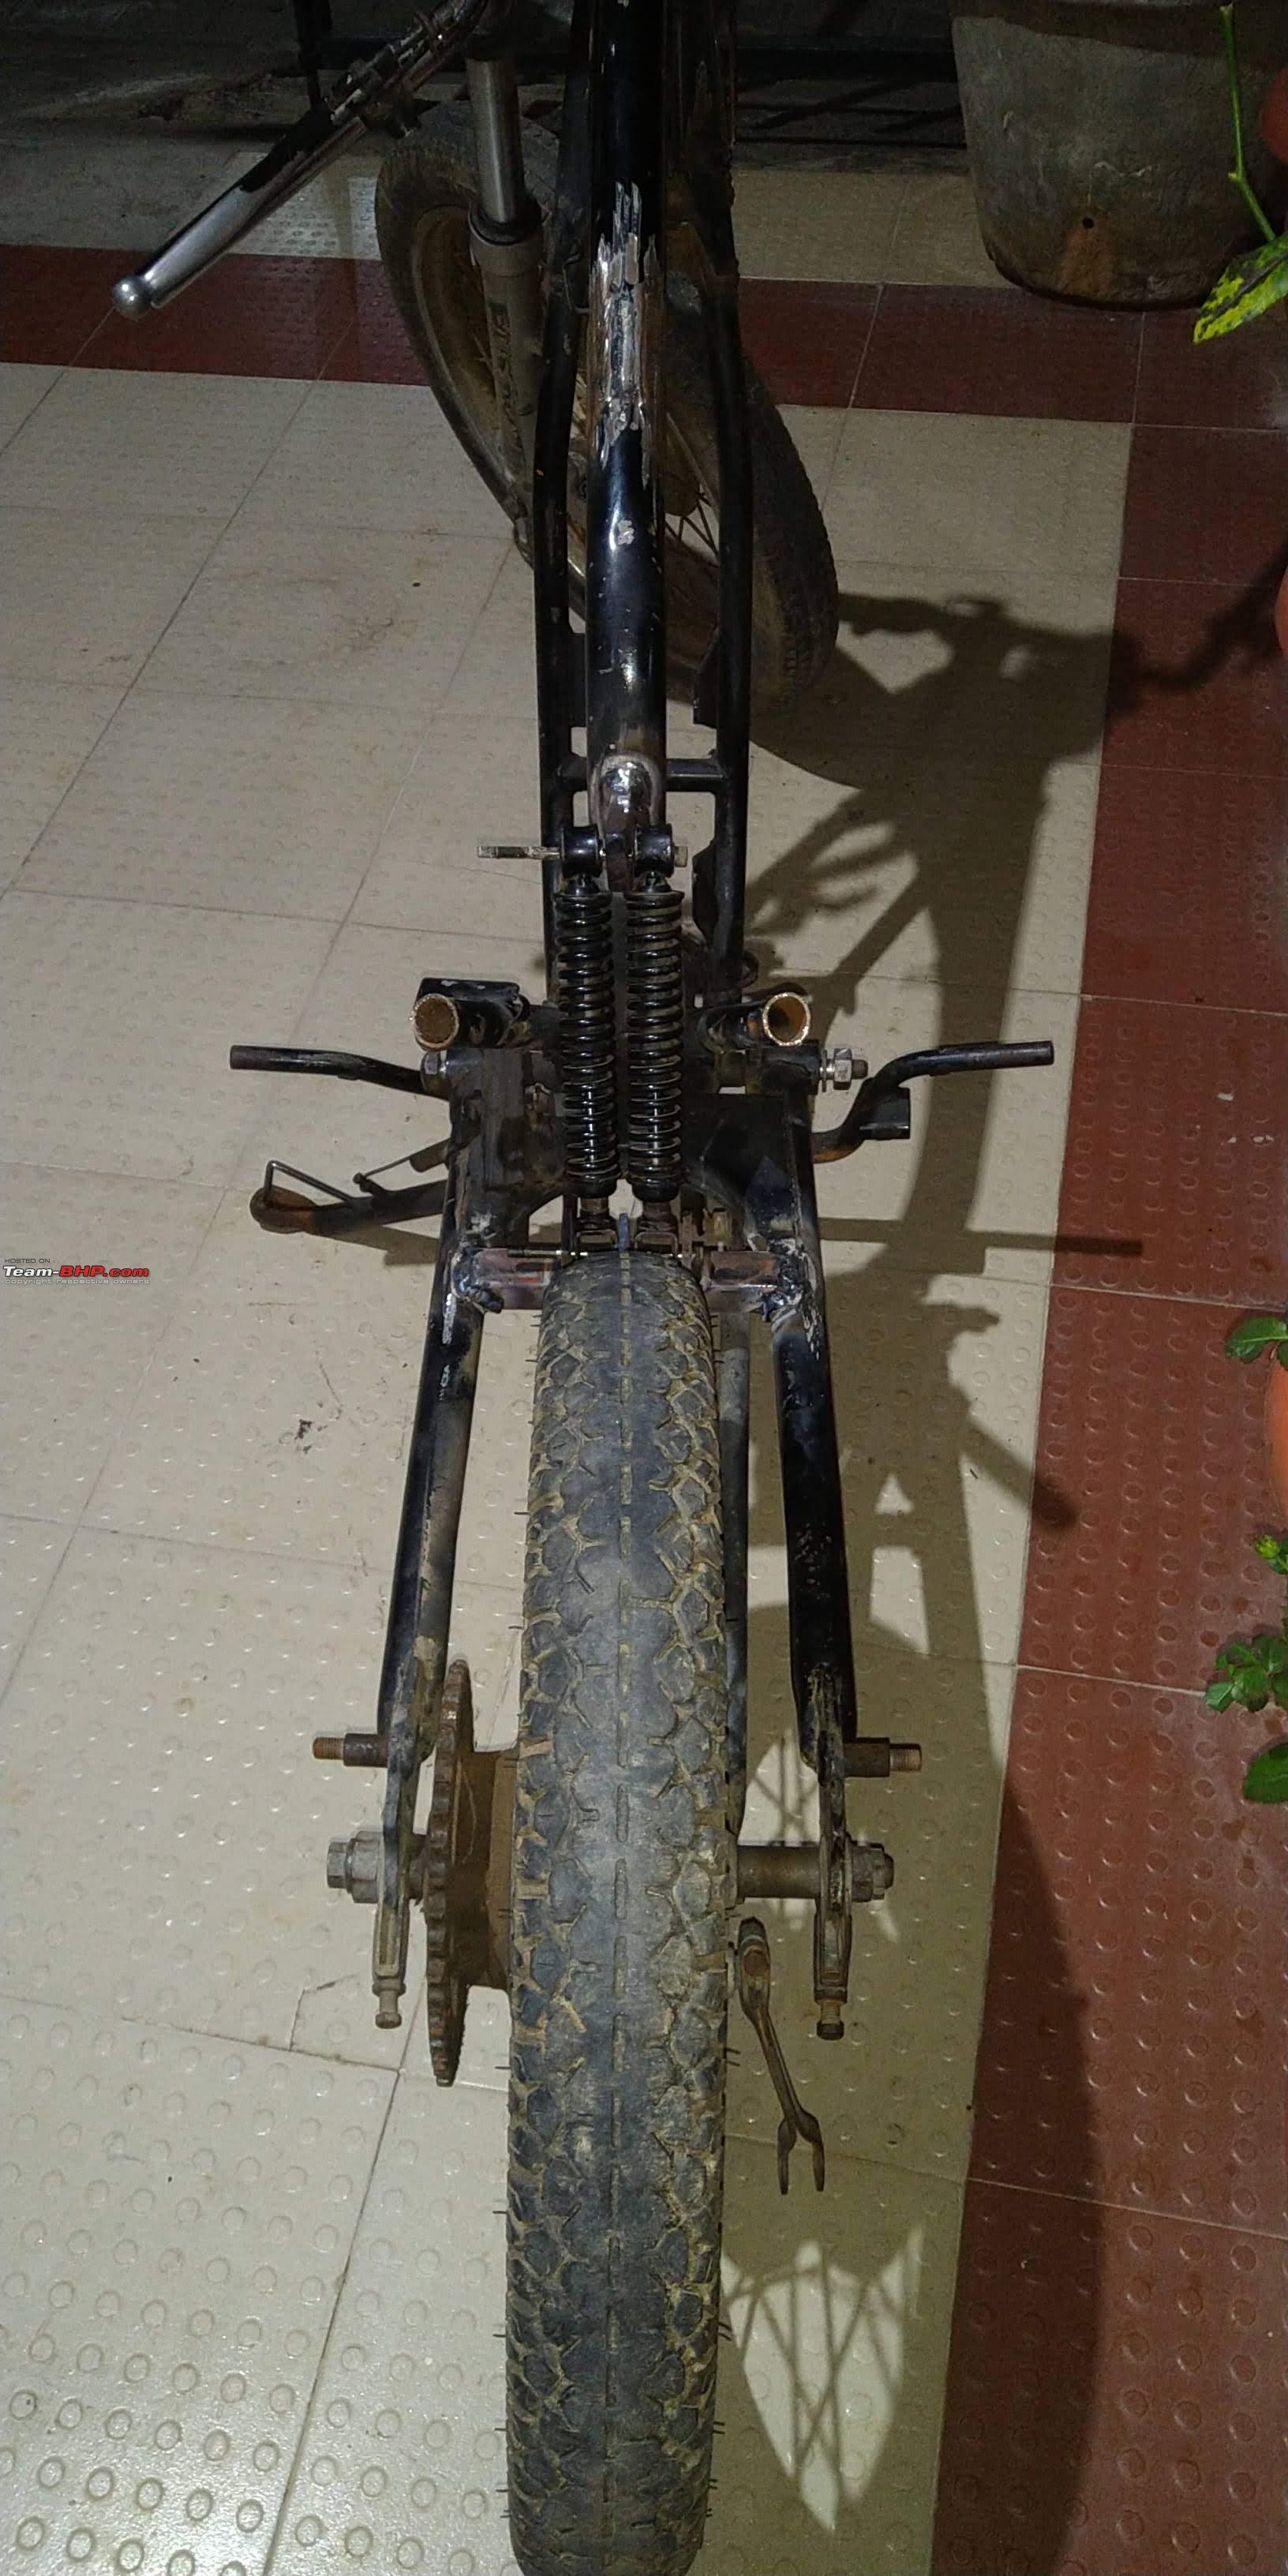
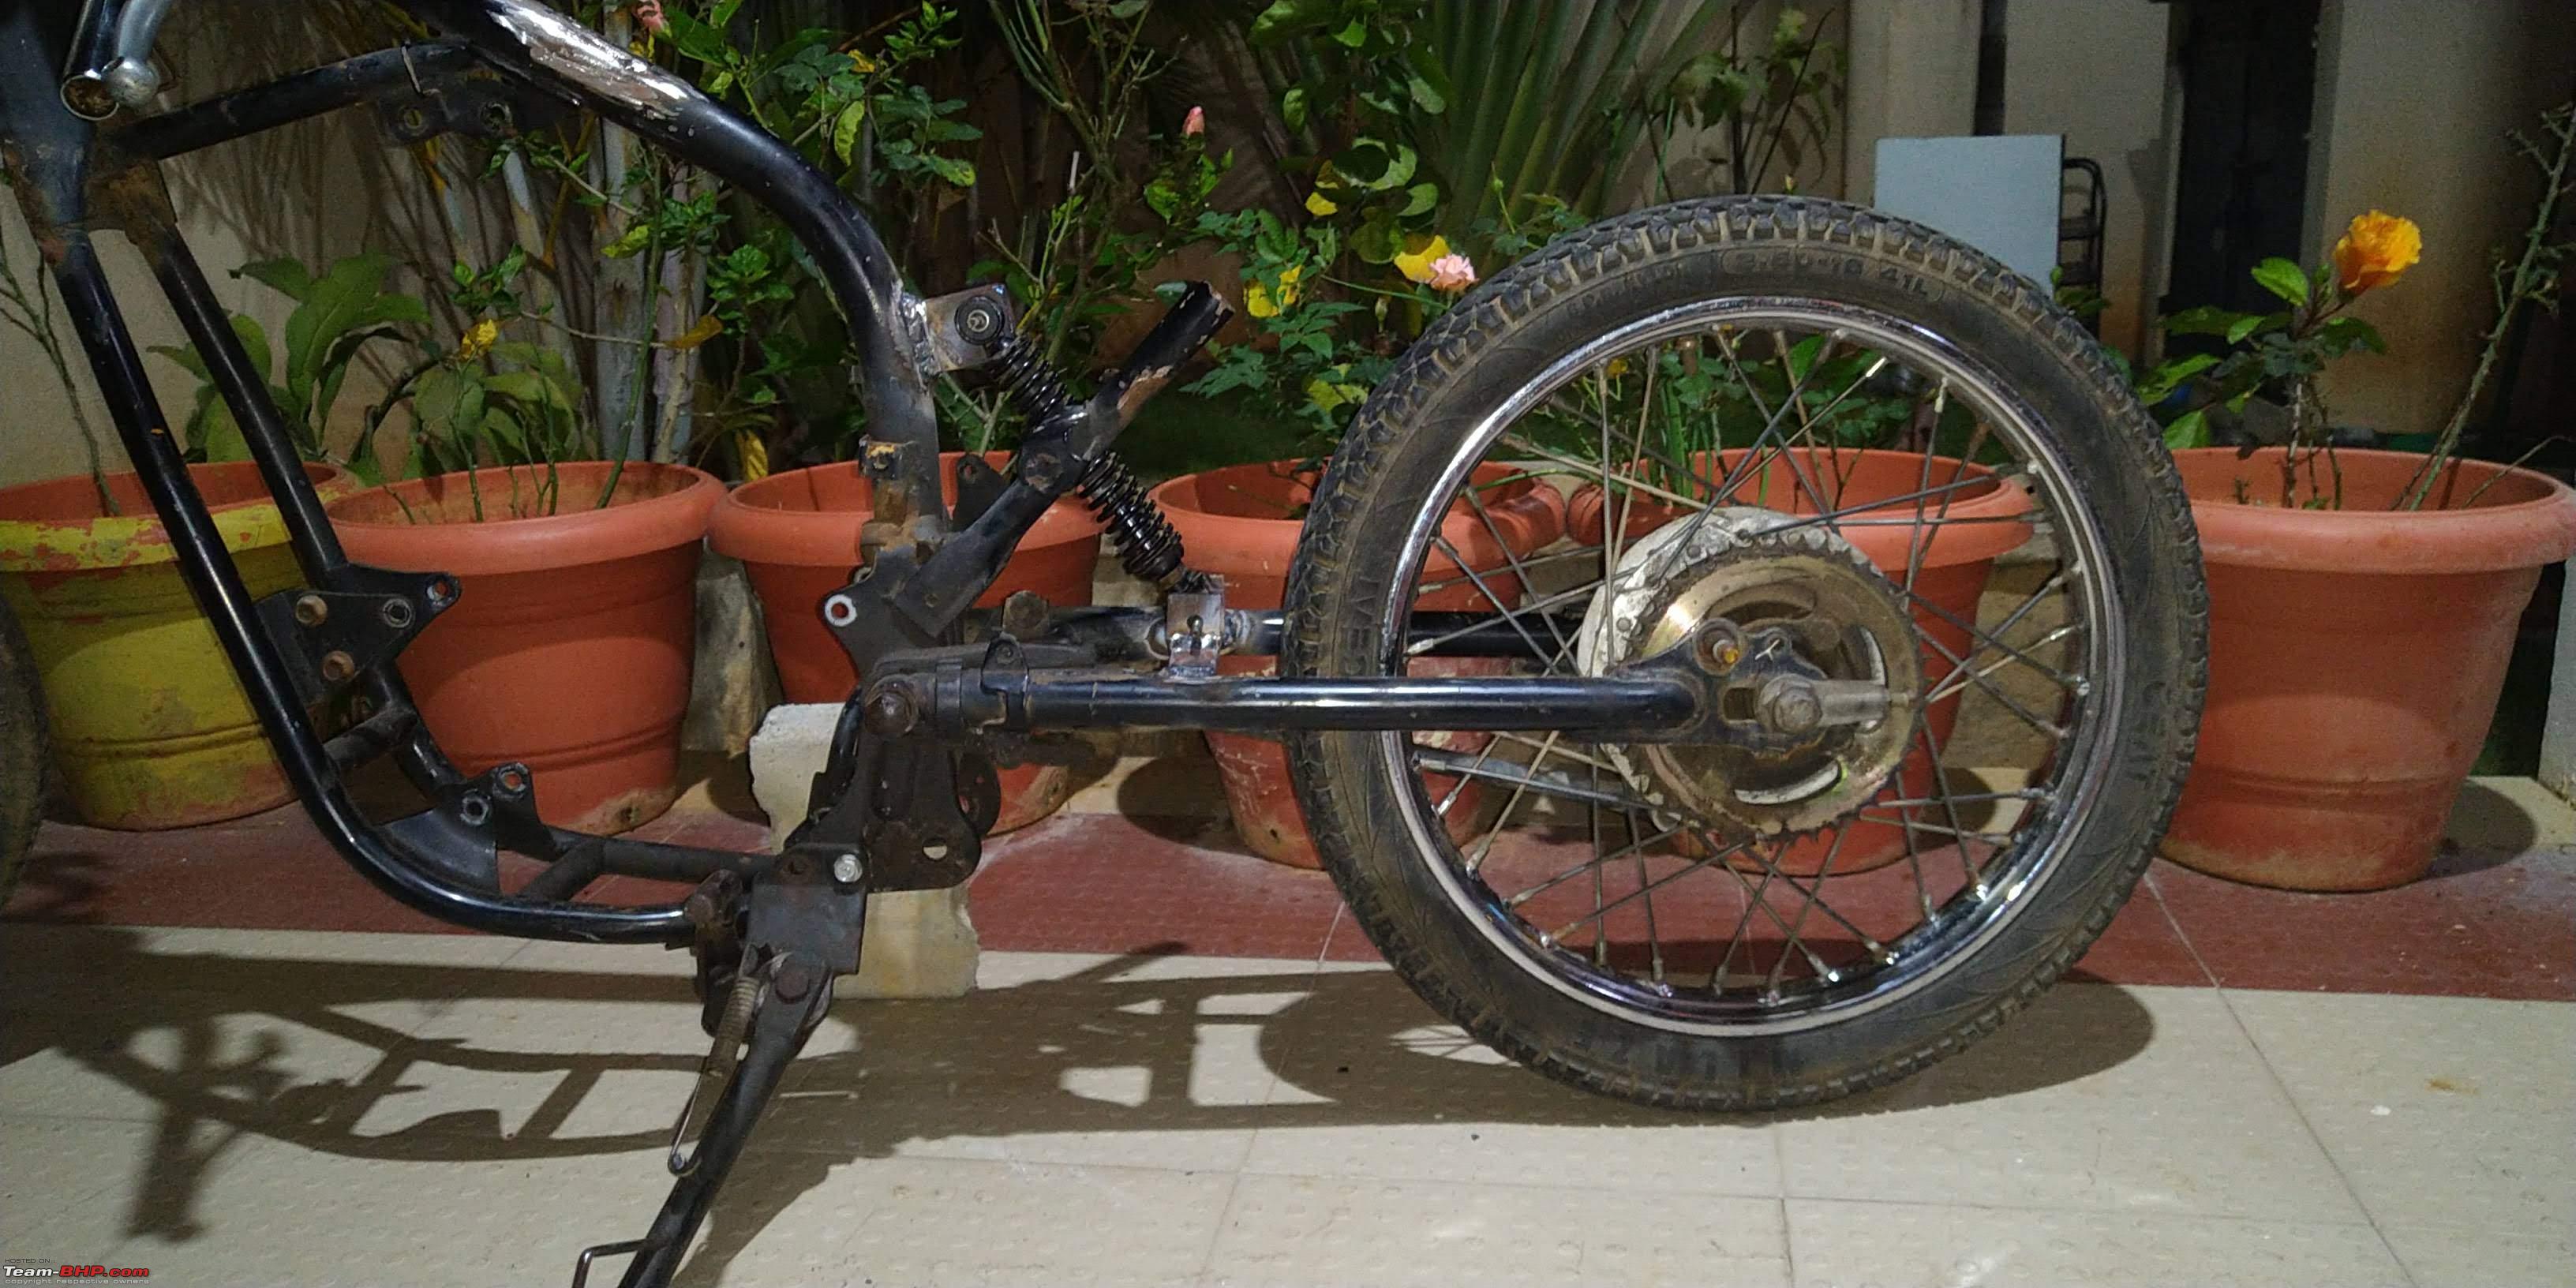
--So we went for a dual shock with a twist! Dual OE Shocks albeit on a different mount...!
3rd Idea
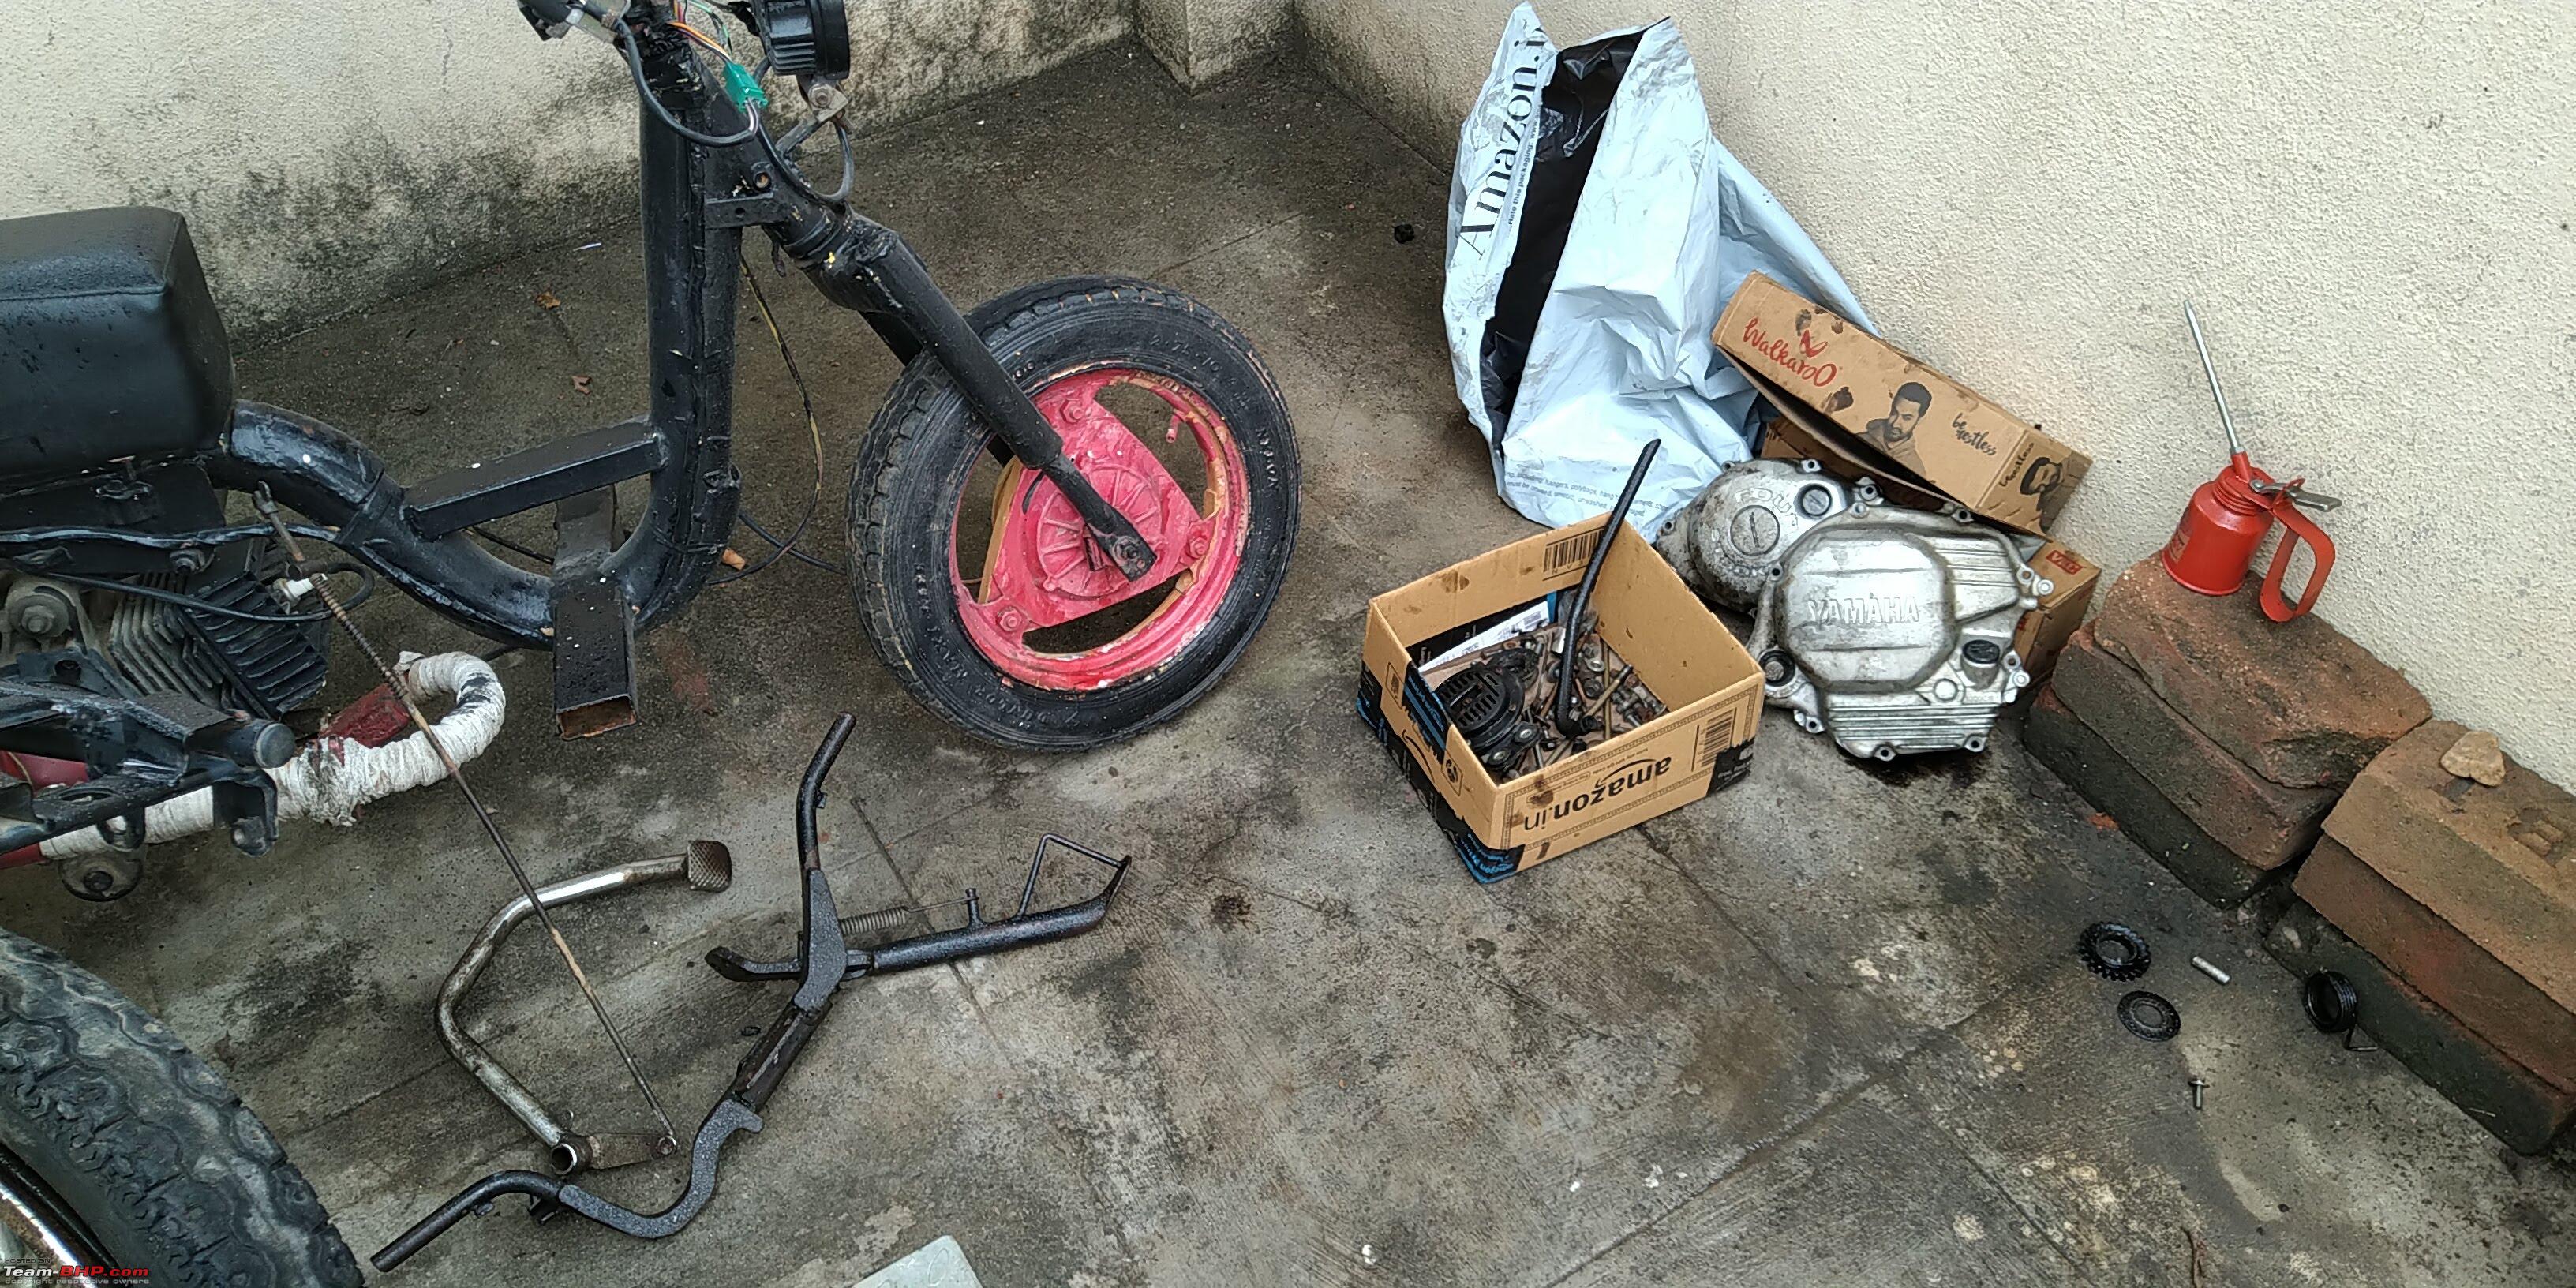
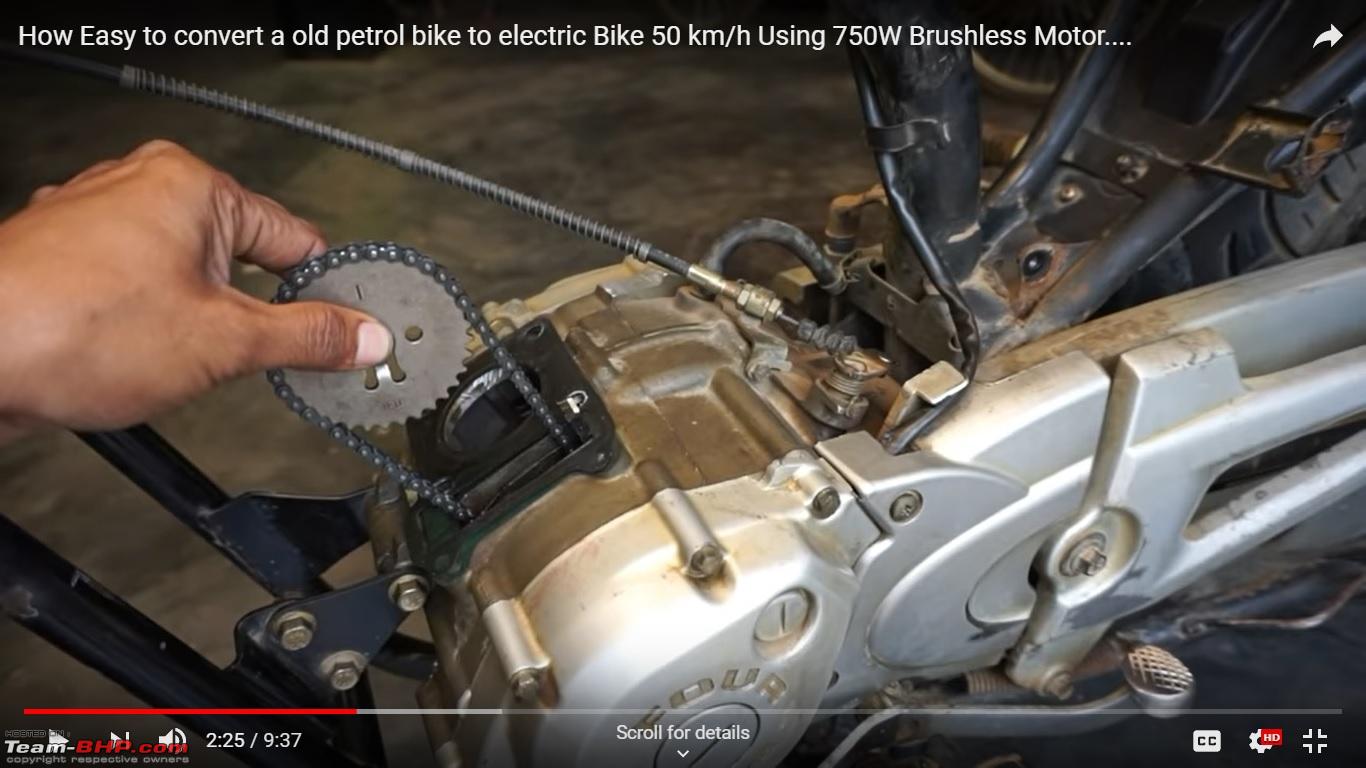
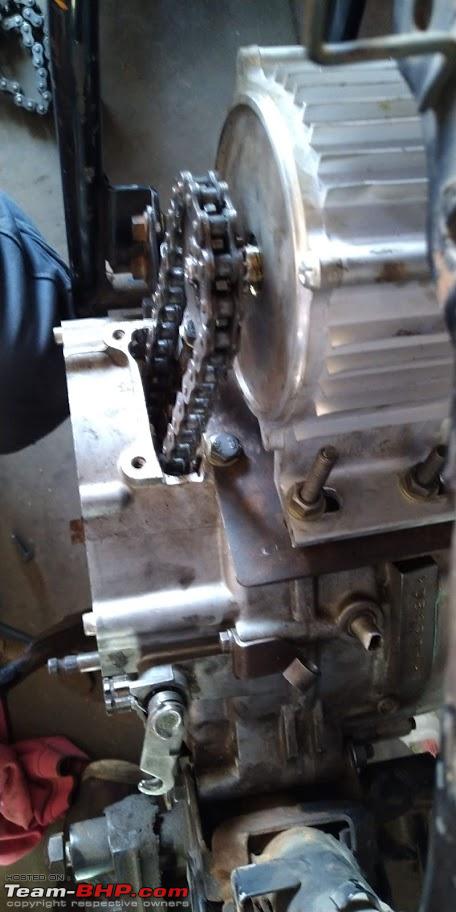
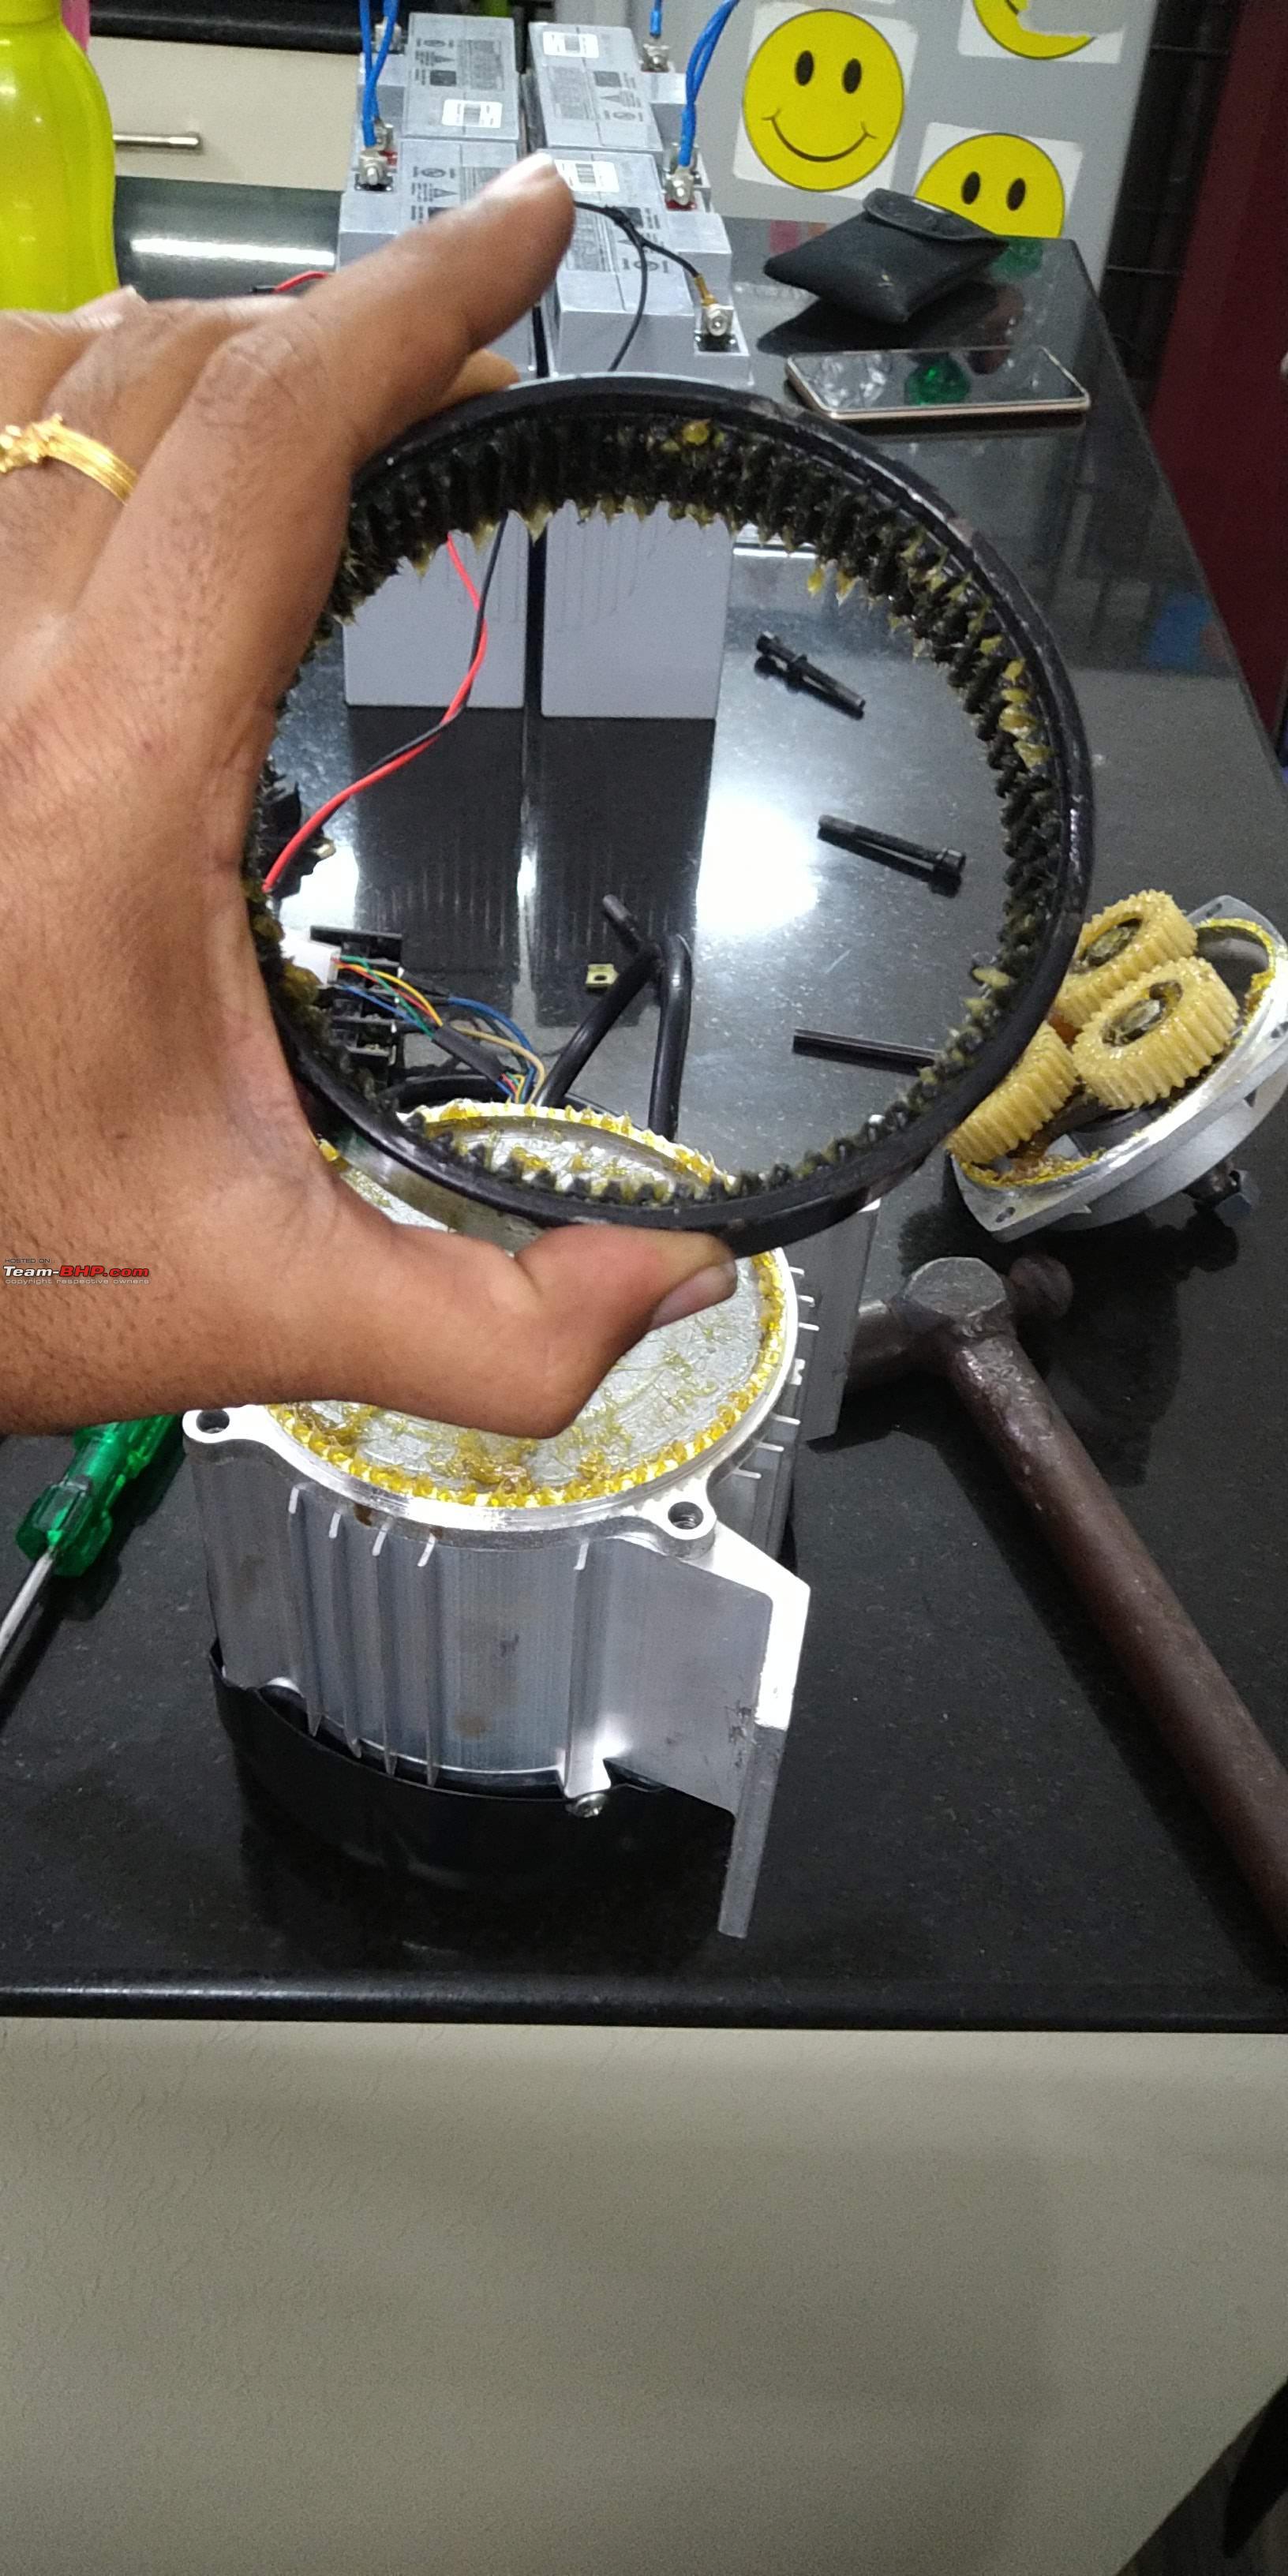
--Some smart person (On you tube) pulled it off by a very very smart and simple idea. I really loved the simplicity in which he achieved the project closure and his idea involved using the entire bike's engine in as-is condition except for the head & bore removed, con-rod cut off with a cutting wheel, using the 'Timing' gear (driven) as the motor's drive gear and use the existing crankshaft's integrated sprocket as the driven and run the motor.
Credits - To You tuber 'Technical Partha' 
--I saw few potential issues in the above idea. The flywheel weight and the magneto weight still is putting unnecessary load on the electric motor. And more importantly, the timing chain doesn't come with serviceable links, if it snaps you anyways needs to disassemble the entire engine to replace it.
4th Idea (Not Final)
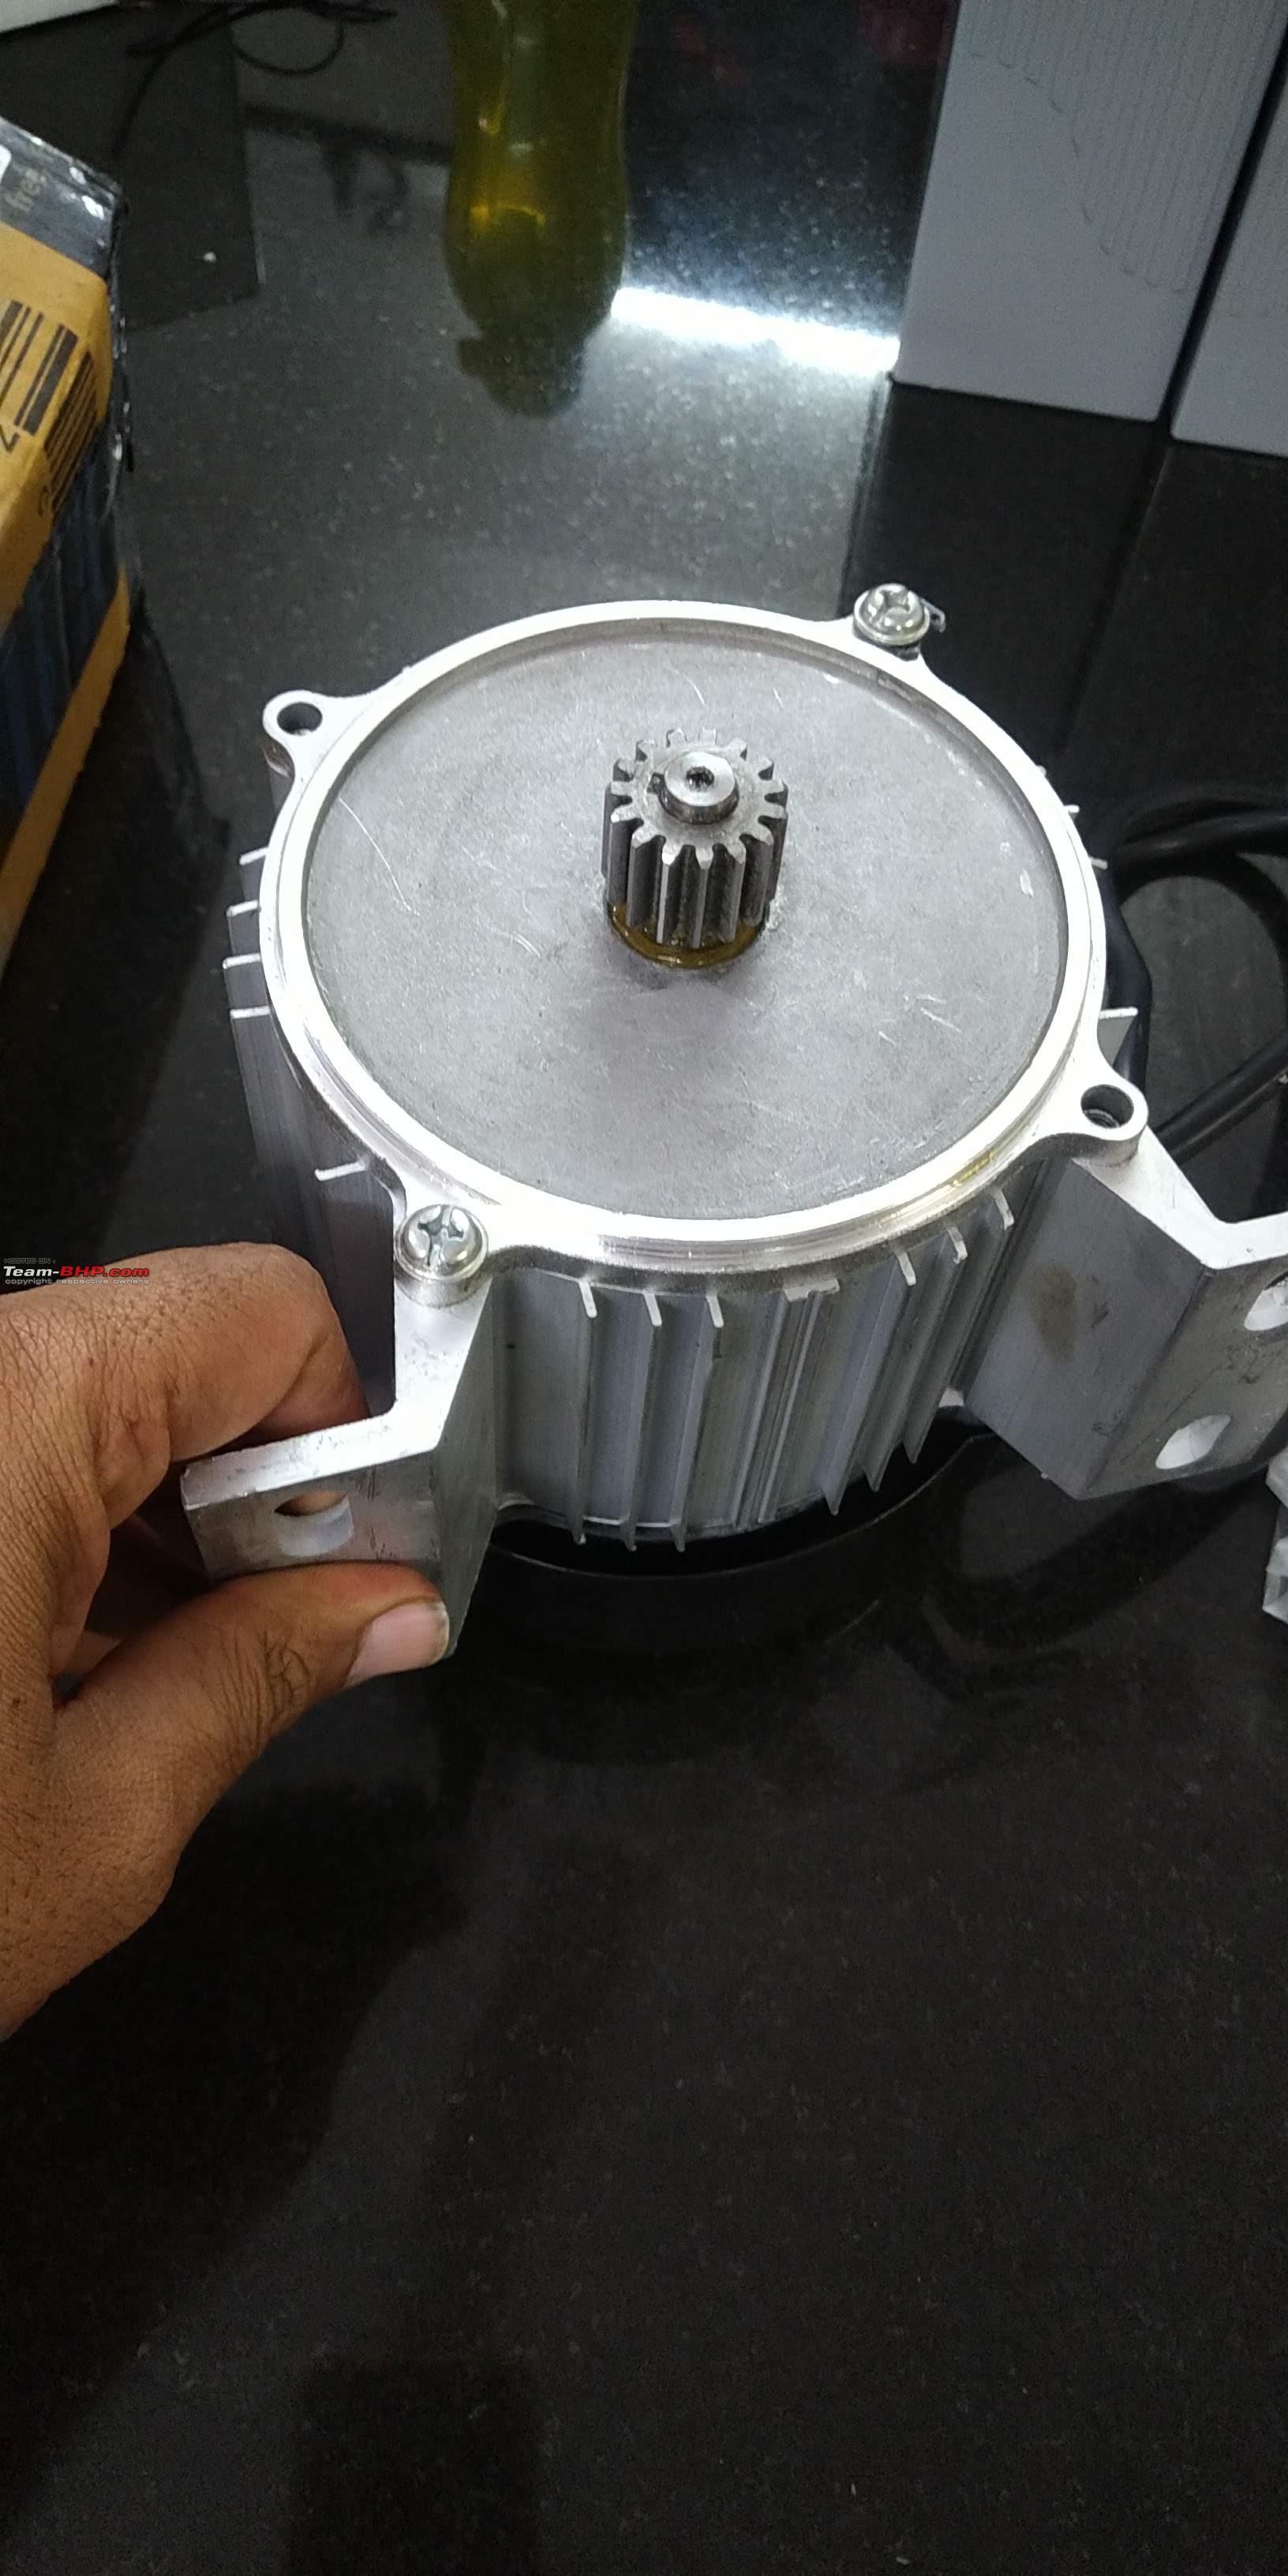
--Mashed up all the above ideas and ended up using the engines die cast body's timing chain slot to drive a fatter chain and thus shortening the drive rod + saving the riders feet + strengthening the drive chain + deleting the heavy crank shaft & Magneto.

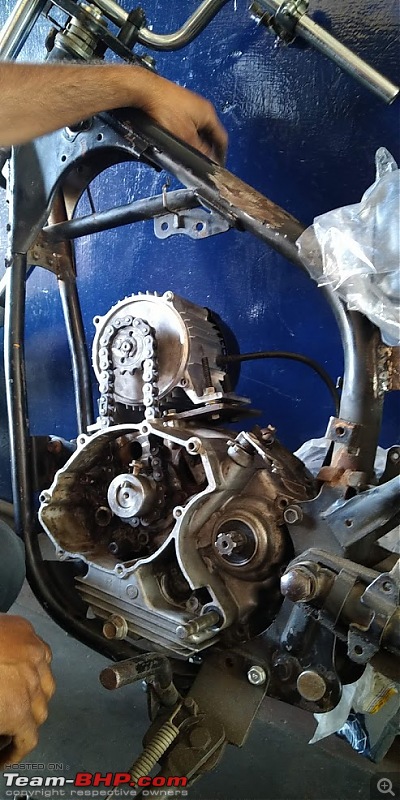
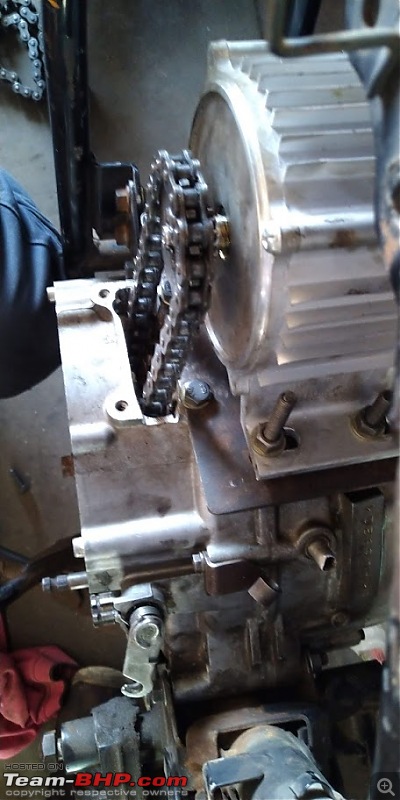 --This way engine's OEM outer dimensions are maintained.
Wow. clap:
I remember reading your other project thread. This one is equally interesting. The level of expertise when dealing with mechanicals is way beyond my understanding. stupid: I'm an electronics man, so I won't be asking you any questions but would love to see the final product.
Wow! hooked onto this thread! Like your earlier one, can't wait to see the end result. And kudos to you and your son for pursuing this. Its not easy to do things DIY in India, at least on the scale you are doing.
Keep it up
Interesting DIY, one question, why didn't you consider a scrap TVS-50 instead of Crux, wouldn't that be a lot simpler ?
amazing.. especially, rather having your son watching some videos or playing games on smartphone, involving him in these DIY is appreciable. Keep up the great work and bookmarked this post
Quote:
Originally Posted by svsantosh
(Post 4729986)
Purpose - has to be some purpose always, right?
1) A proper 'Geared' Motorbike (Accelarator-Brake-Cluch) - light weight, minus the risk of peppy petrol mill.
|
Quote:
Originally Posted by Thermodynamics
(Post 4730802)
Interesting DIY, one question, why didn't you consider a scrap TVS-50 instead of Crux, wouldn't that be a lot simpler ?
|
OP answered in the initial post :)
Santosh, that is an awesome DIY ! Just looking at this thread makes me feel like driving down to check it out in person, and ride it.
Then again, something like this should not be a surprise when we consider it is you who is doing it
:thumbs up:thumbs up
Quote:
Originally Posted by svsantosh
(Post 4729986)
Disclaimer
Purpose - has to be some purpose always, right?
2) Infuse some thought process in my sons head along the way of the project, some creativity if I may say so...
3) E-mobility! He knows enough jargons by now about my (Chevy Sail-UVA) car parts and his Pocket-Scooty, but something new to both of us was e-cars and e-bikes.
|
Life has a purpose and so does everything in it and your project echoes just that.It is not everyday we come across such wonderful DYI projects. Kudos to you my friend. I'm so excited and elated to read this.
I highly appreciate the fact that you have involved your kid in such a lovely scientific experiment, this learning for him I'm sure will take him a long way ahead. In this modern age where parents boast that their kids learning to use smartphones on their own is a great achievement, you have taken the old school way of teaching your kid the basics of life. Teamwork, challenges and lets do it attitude are somethings no one can teach from books.
More than anything else I also appreciate your time in all this; the time you are spending with your kid will definitely turn into solid memories which your boy would boast about his entire life. And trust me, not every so called busy parent can do that !
All the very best to the father son duo. Thanks a lot for sharing, was very happy to read it.
Nice project. I tried doing something similar for my son by attaching a bush cutter engine to an old kids bicycle using a V Belt. Even though the contraption worked. He refused to sit on it and pointed out to a parked Dominar and said " I want that, not this". Sent him to extra tuition class after that :D.
I am assuming that you are planning to use the clutch / gears of the ICE. You can also consider controlling speeds electronically. All the best.
Some Videos taken during the run upto the 1st prototype run stage.
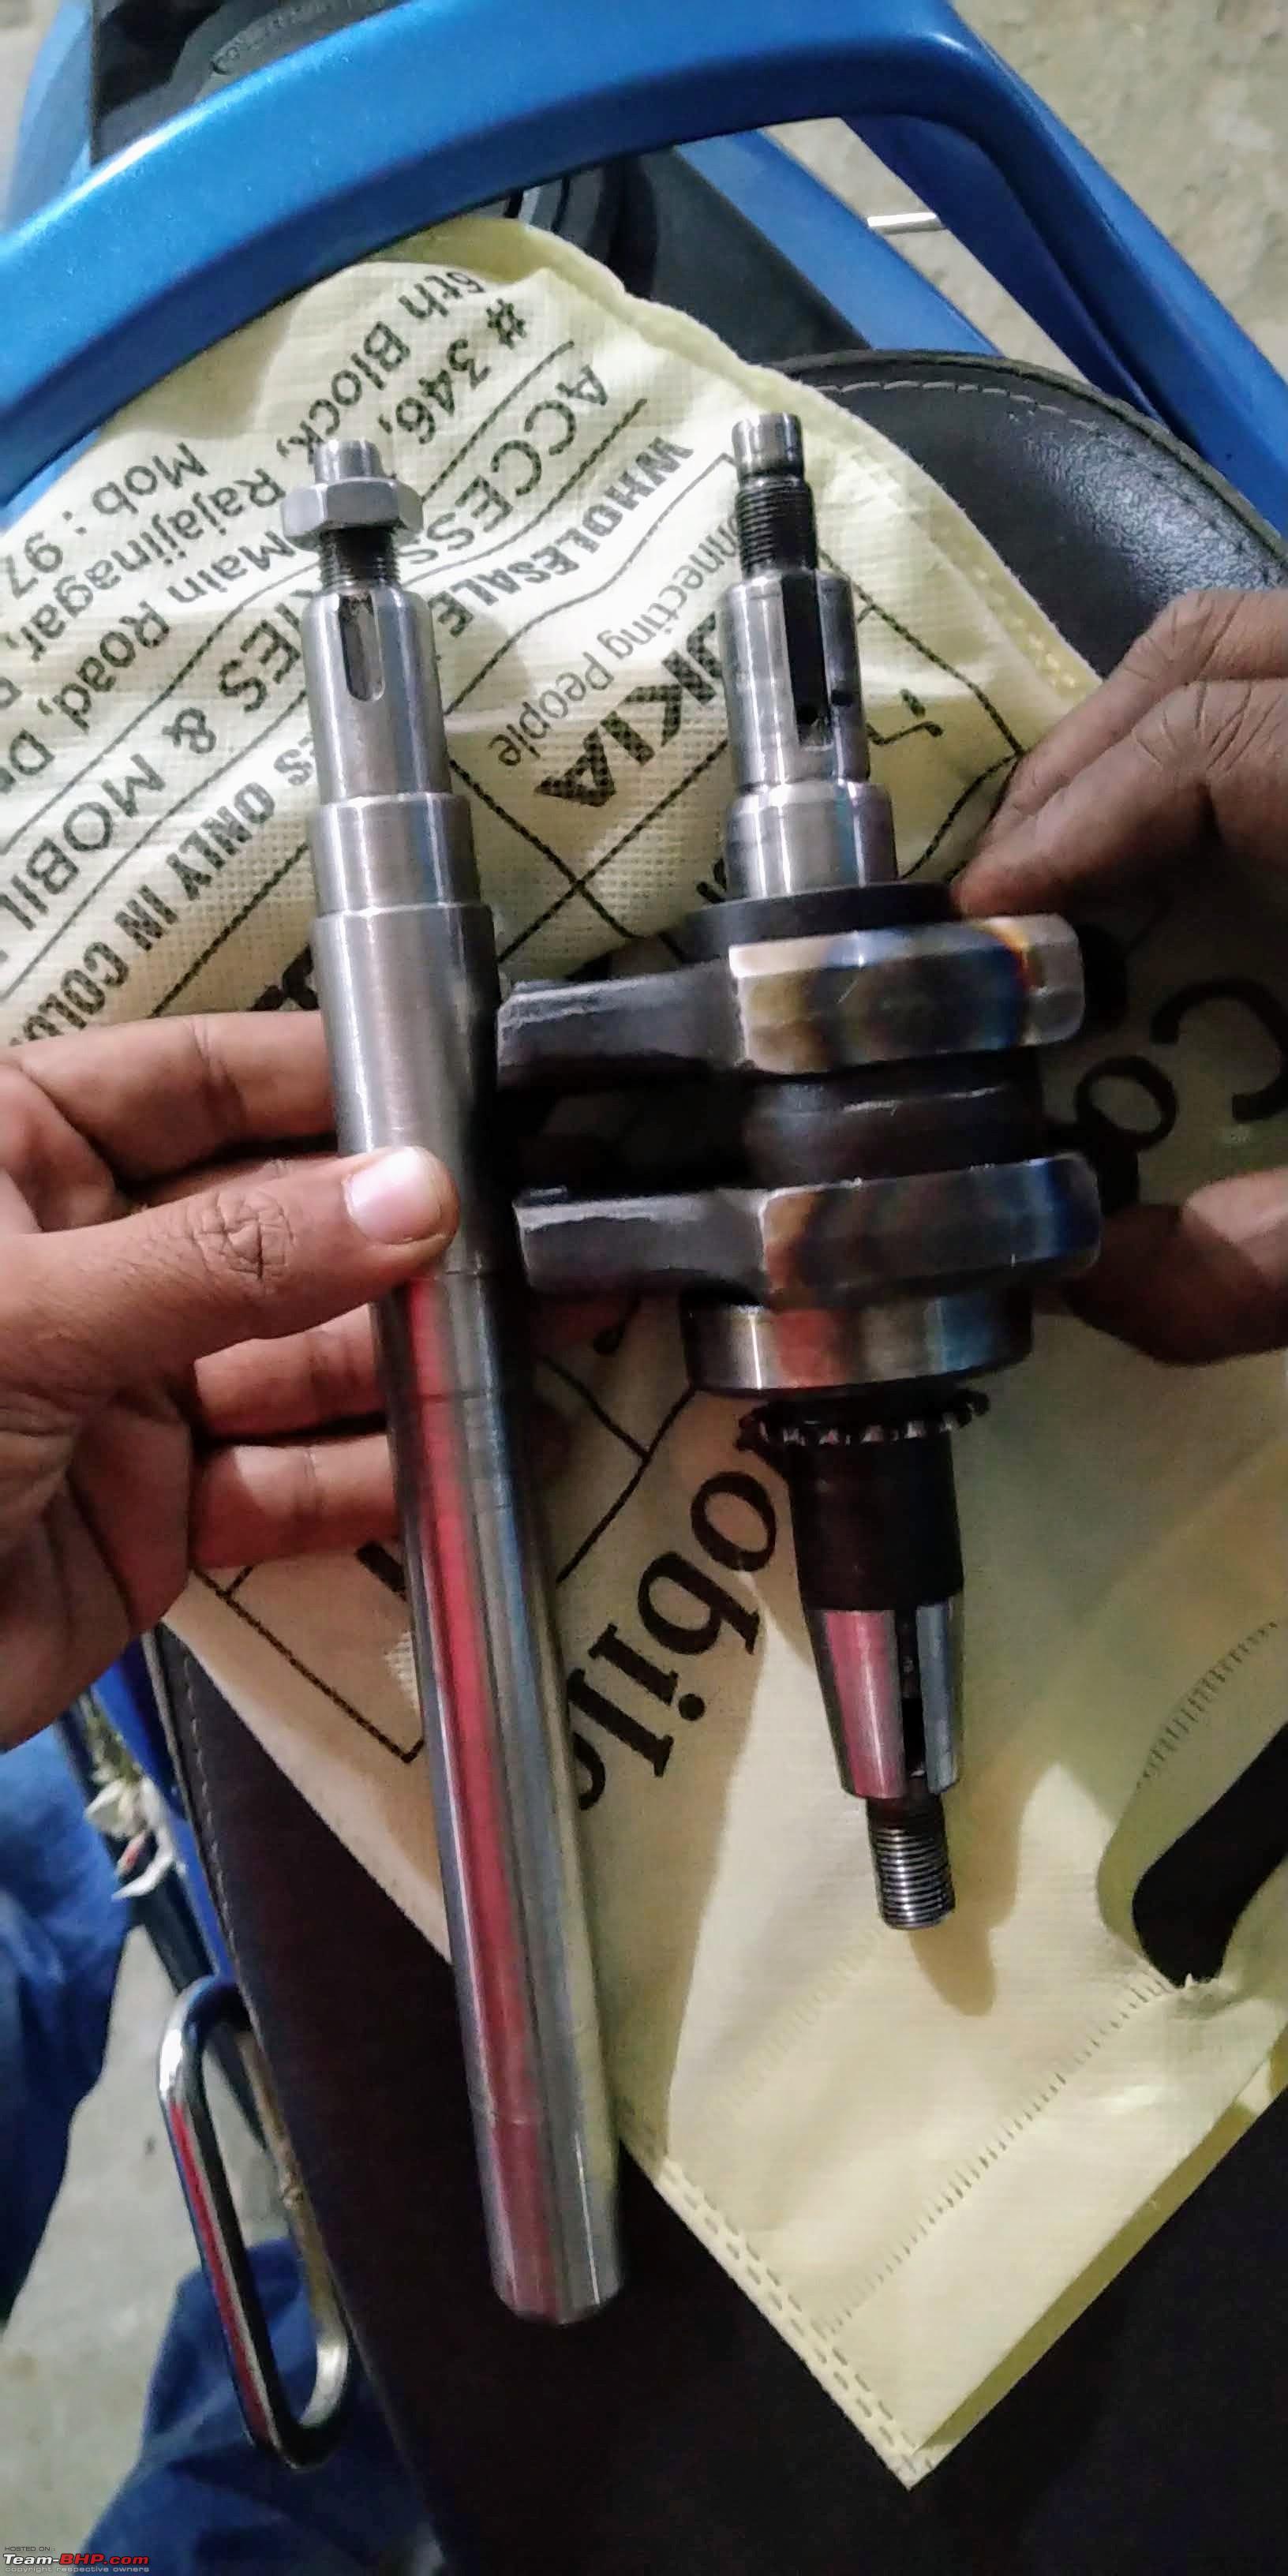
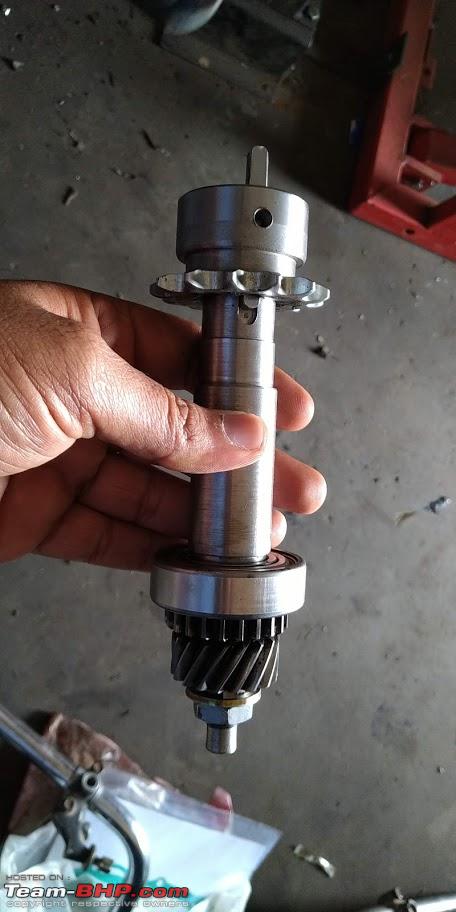
1st Crank shaft Prototype - Note the shaft coming out of the magneto adjust nut hole, would have fouled with the riders feet/toe, so dropped that idea.
https://youtu.be/nSM0T-cyW9g
Soft Dual Shockers Reject - Dad helping out with eagerness as always, I really liked the position and cool looking dually's but sadly they were way too soft.
https://youtu.be/lYRbY1TvpPU
Planetary Vs Direct - Here you can see the RPM drop caused by the planetary GB setup, this is suitable for direct drive to the wheel axle, but TO-BE avoided when you have a standard GB or a CVT (scooterette) application.
https://youtu.be/wwEzl59hsZg
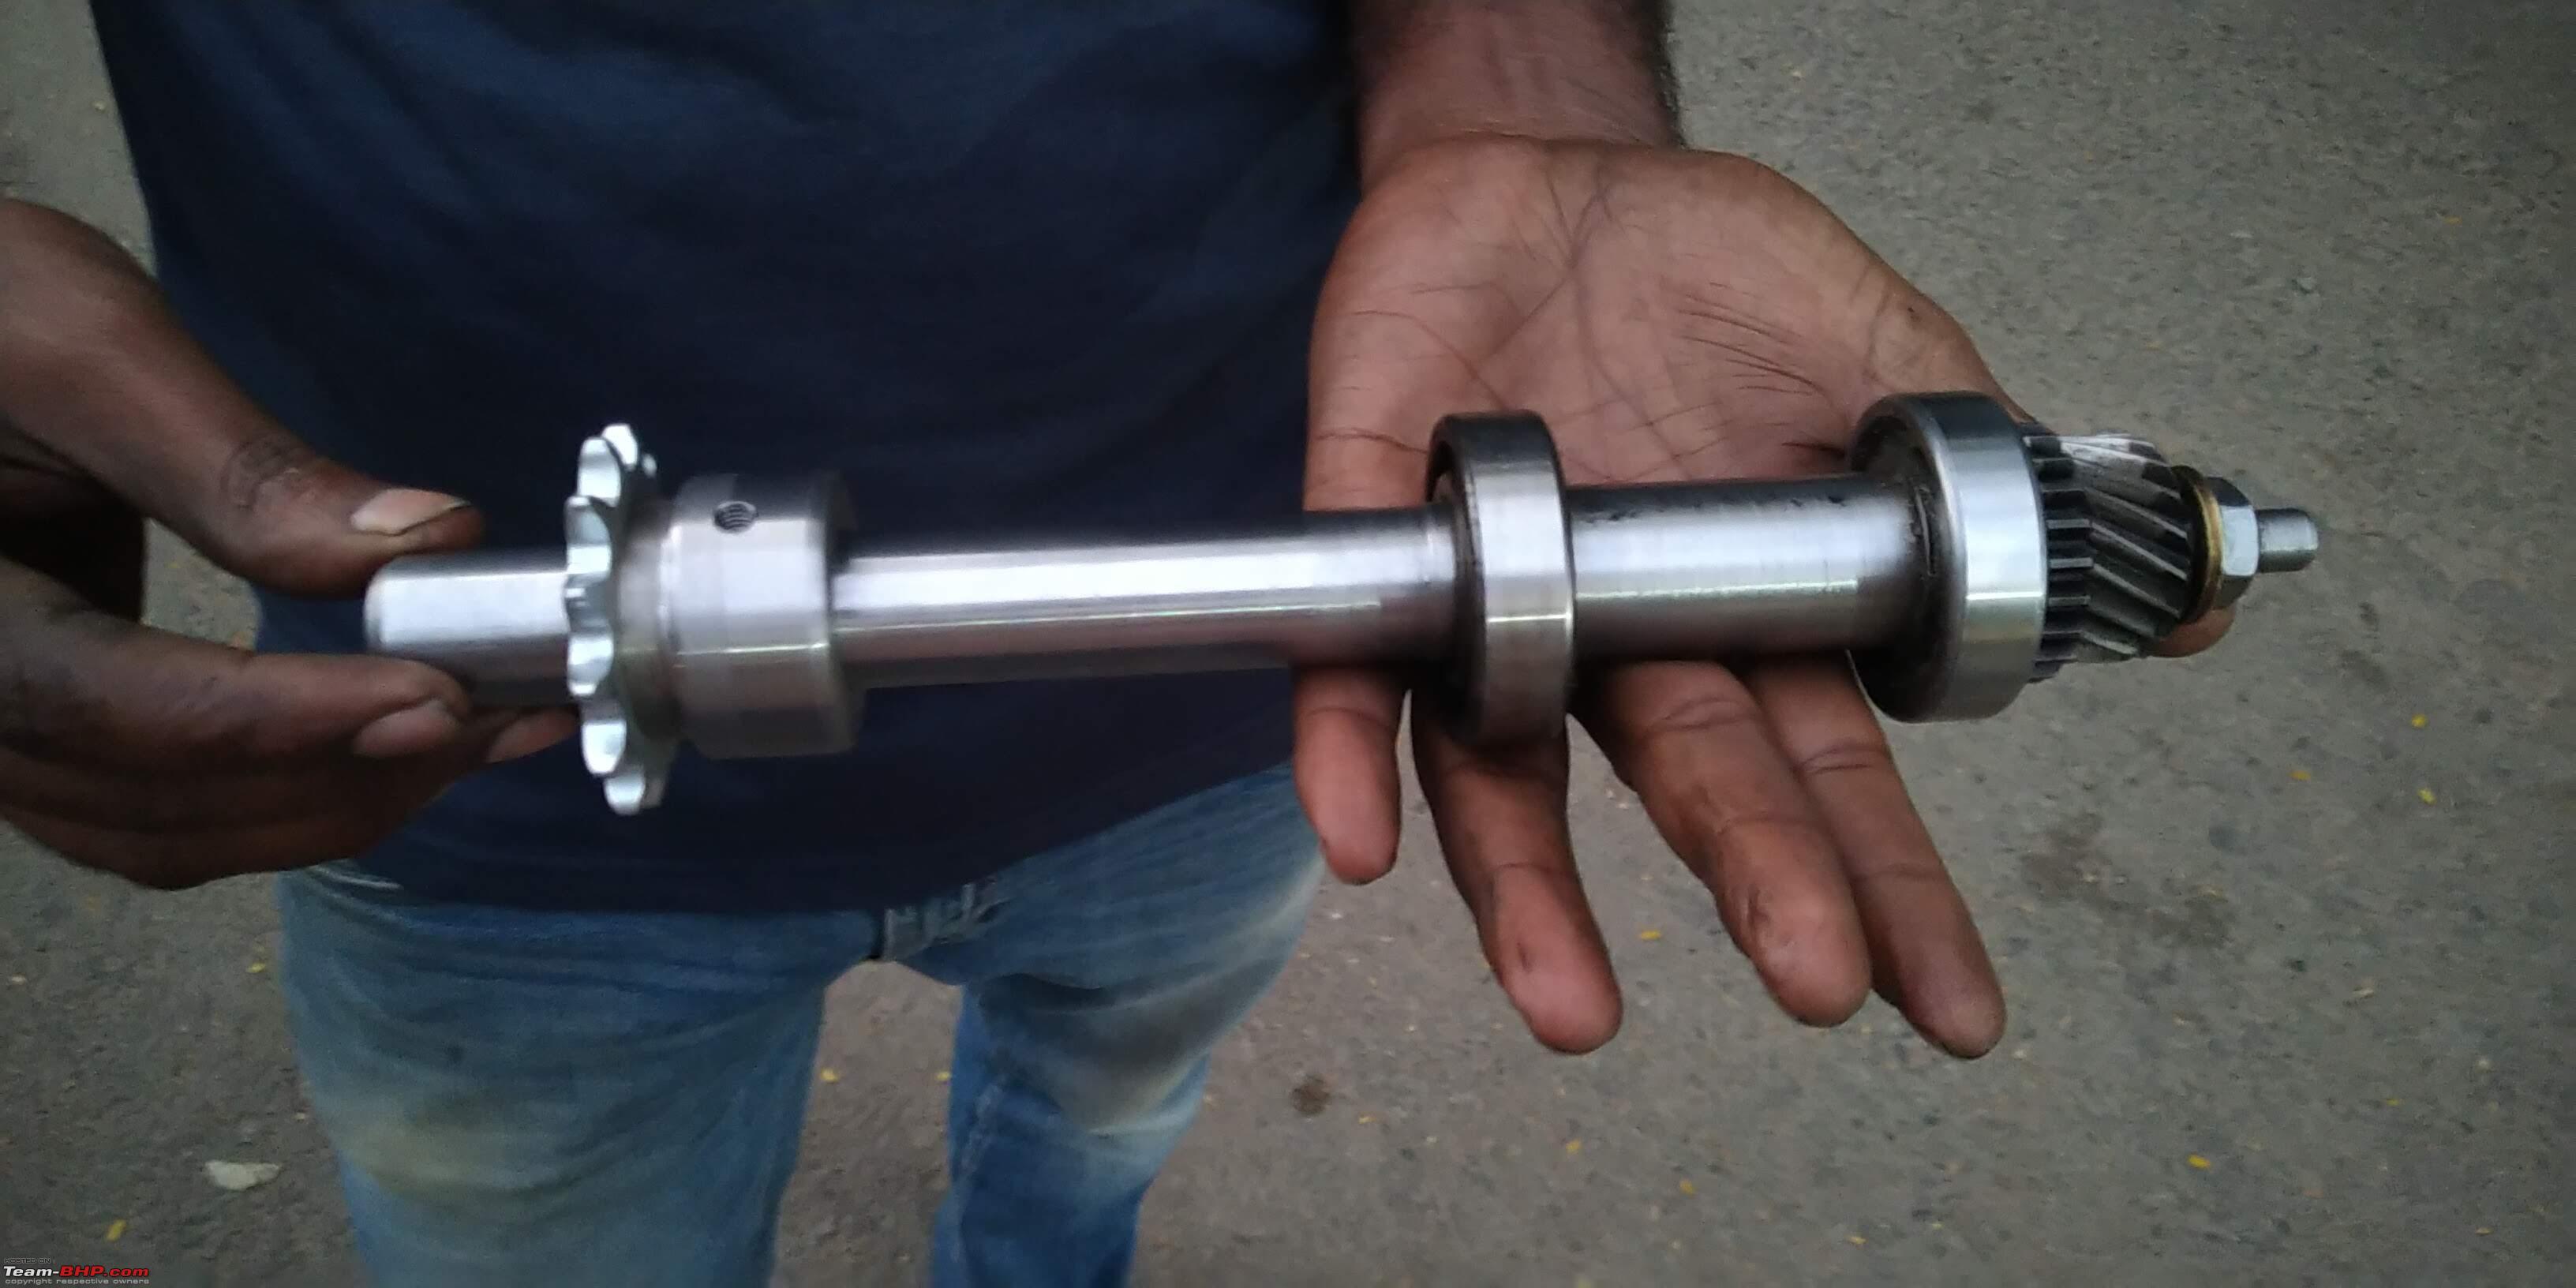
Hand Crank Rotate Test - After chopping the crank we tested the clearances and play of the drive chain from motor shaft to crank shaft.
https://youtu.be/kbLnbuuR-H4
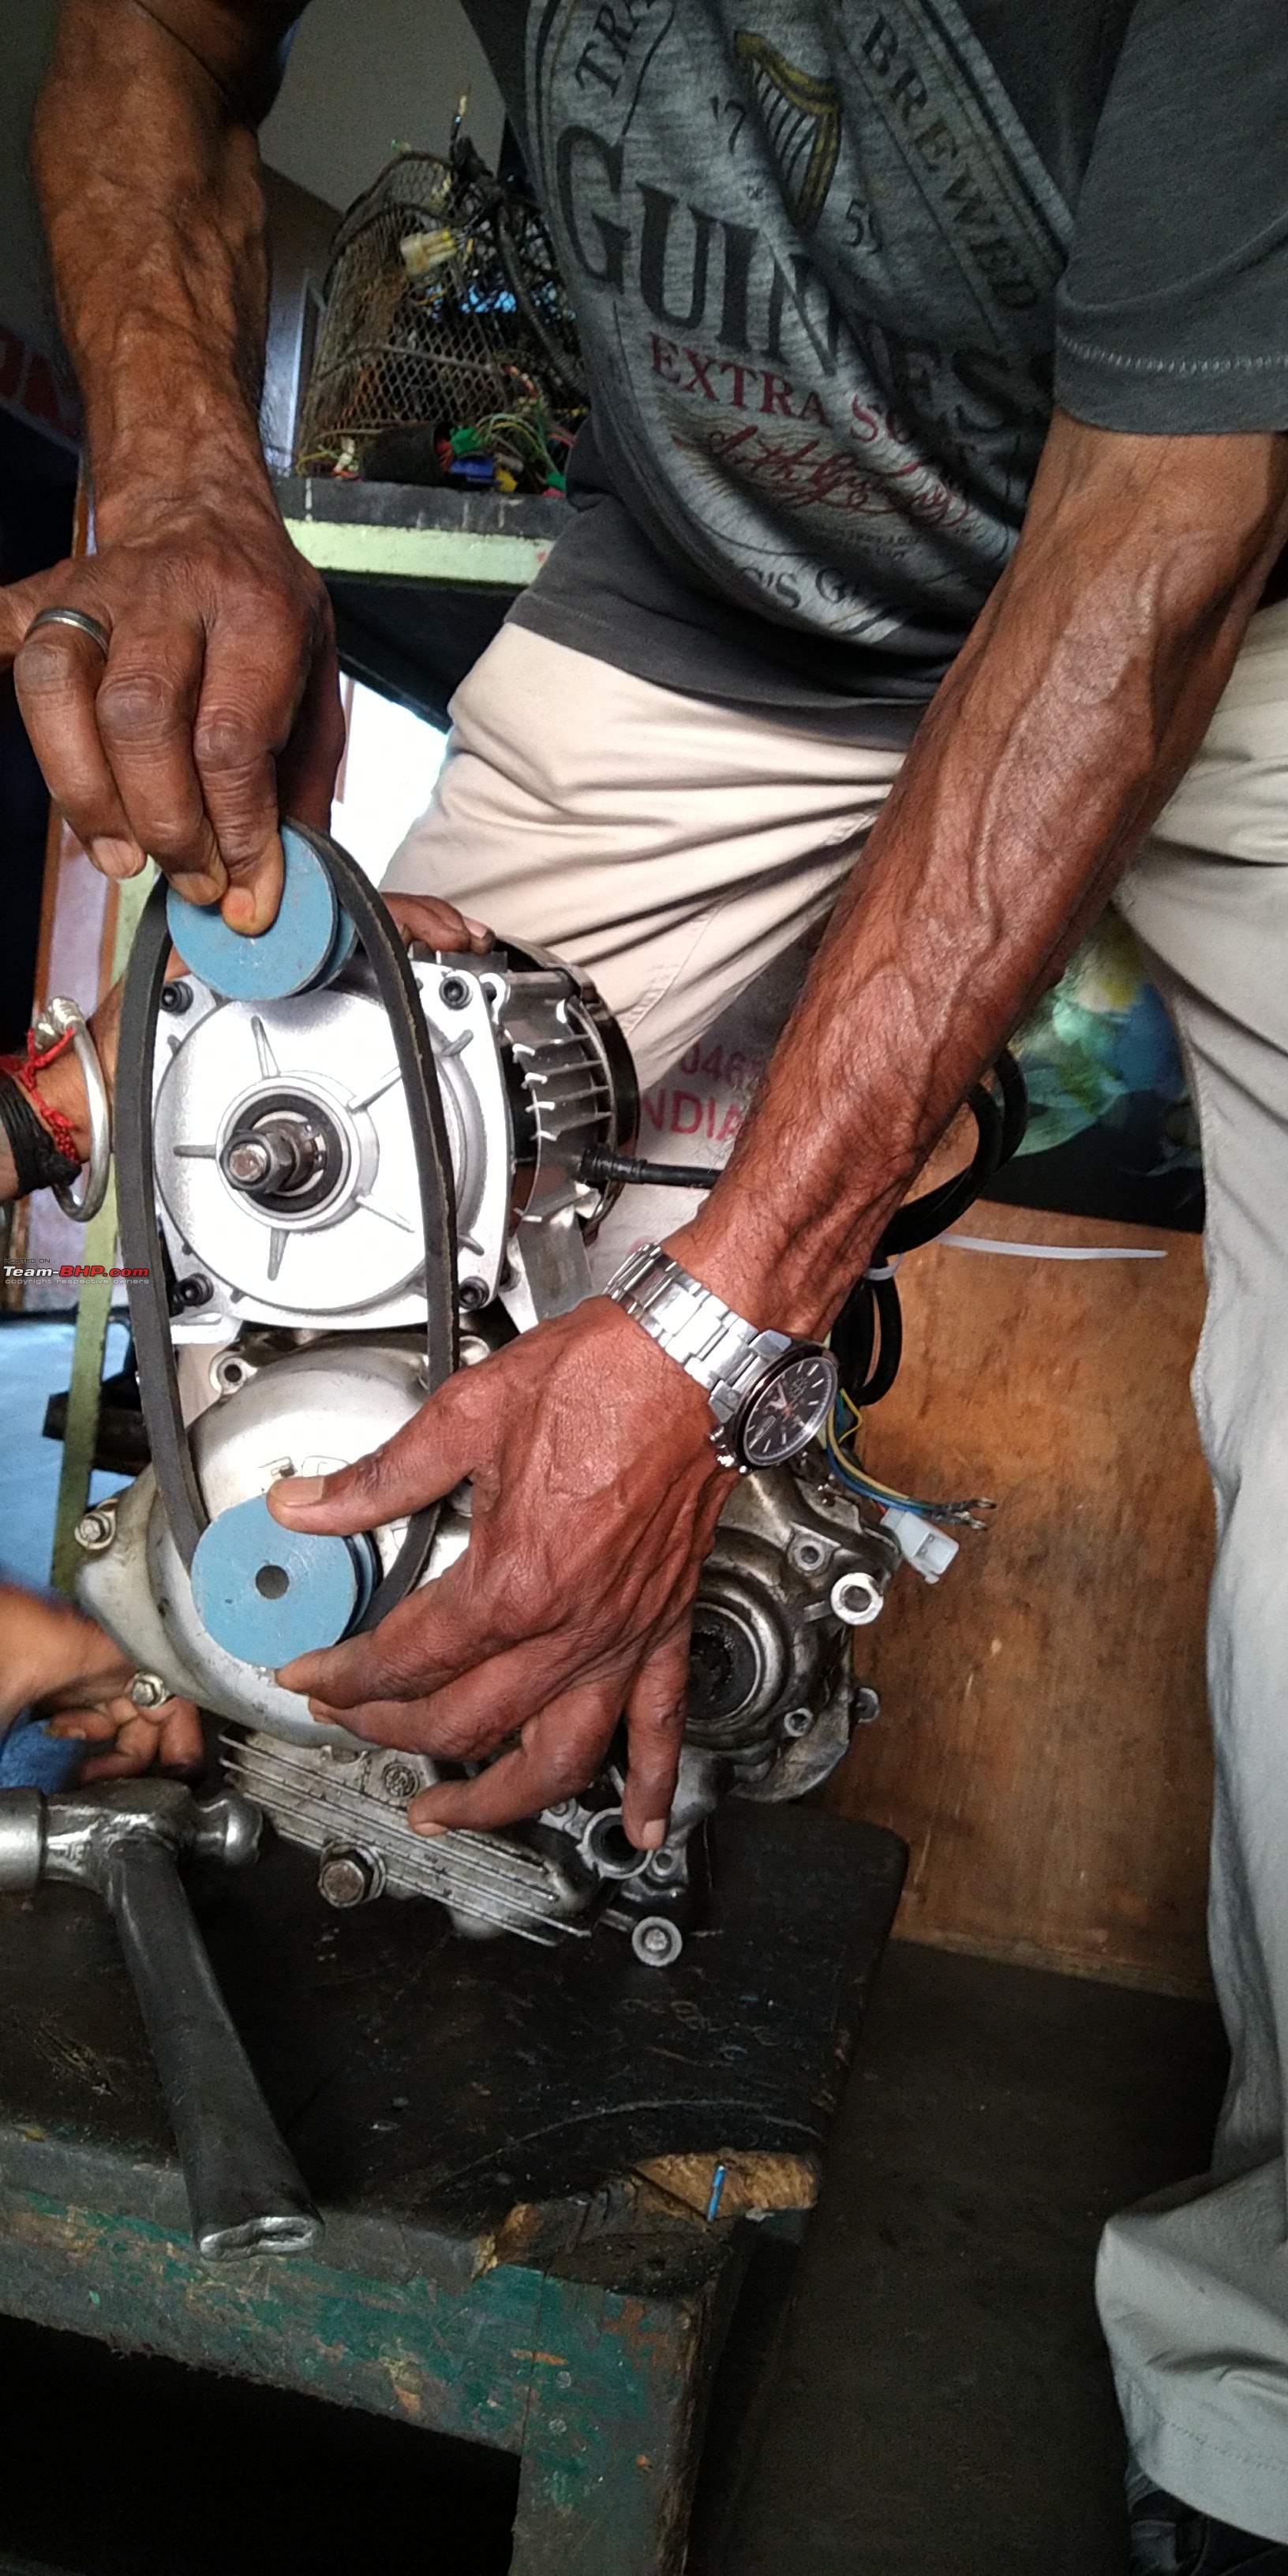
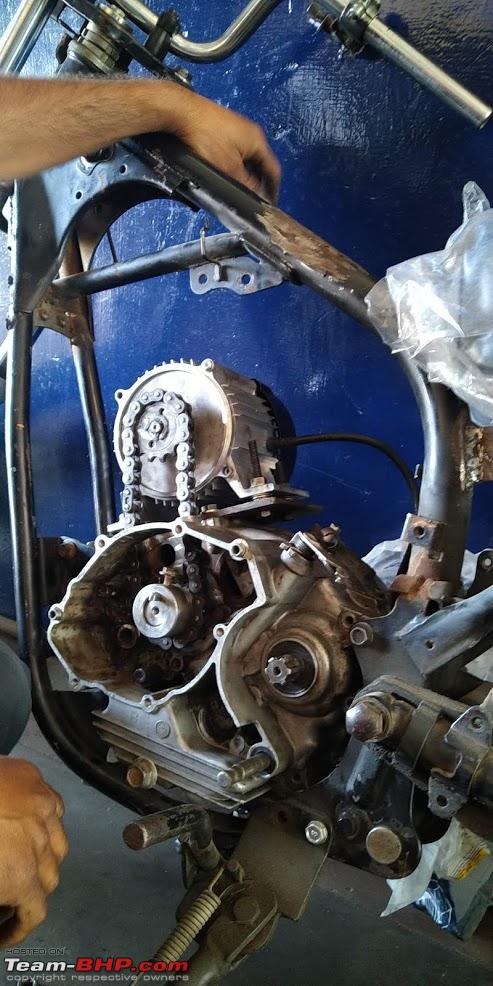
Final Crank Setup - This was the final setup agreed with the motor base plate made from a scrap 4mm plate.
https://youtu.be/vWiaz2oXpOg
All the very best for one more interesting project to keep the kid smiling. :thumbs up
Do you mind sharing the spec of electrical portion?
| All times are GMT +5.5. The time now is 03:50. | |