Did a lookup again on the Net.
Not sure if the mechanic's advice was exactly right.
Here is the dump from the Internet that tells you all about 'bedding-in' the pads.
Cant tell you how much of it applies to the Activa's pads [seems to depend on the manufacturer and other parameters too]
http://rivperformance.editboard.com/...-in-procedures
TireRack.com: Brake Pad and Rotor Bed-In Procedures
All brake pads must be bedded-in with the rotor they will be used against to maximize brake performance. The bedding-in process involves a gradual build up of heat in the rotors and pad compound. This process will lay down a thin layer of transfer film on to the rotor surface. Following the bed-in procedures provided by the manufacturer will assure a smooth, even layer of transfer film on the rotor and will minimize brake judder. Here are a few things to keep in mind when installing new rotors and pads:
When installing new pads, the rotors should be new or at least resurfaced to remove any transfer film from the previous set of brake pads.
It is critical that the installer clean any rust, scale, or debris from the hub mounting surface thoroughly and check it for excessive run-out with a dial indicator gauge before installing the rotor.
The new rotor should also be checked for excessive run-out using a dial indicator gauge before the caliper and pads are installed. If a rotor has excessive run-out of over .004" (.10mm) it should be replaced.
If your new rotor has excessive run-out, please contact our customer service department for a replacement rotor. Do not install and drive using the rotor! Rotor manufacturers will not warranty a used rotor for excessive run-out. Running with excessive run-out on the hub or rotor will cause vibration issues.
Failure to follow these procedures may result in brake judder, excessive noise, or other difficulties in bedding-in the new brake pads. The pads need a fresh surface to lay down an even transfer film. Residue from the previous pad compound on the surface or an irregular surface on a used rotor will cause the pads to grip-slip-grip-slip as they pass over the rotor surface under pressure. The resulting vibration will cause noise and telegraph vibrations through the suspension and steering wheel. This vibration is known as brake judder or brake shimmy. This is typically caused by an uneven transfer film on the rotor surface or an uneven surface on the rotor not allowing that transfer film to develop evenly. This is often misdiagnosed as a warped rotor.
Bedding-in new pads and rotors should be done carefully and slowly. Rapid heat build up in the brake system can lead to warped rotors and or glazed brake pads. Most brake pad compounds will take up to 300-400 miles to fully develop an even transfer film on the rotors. Following are the recommended bed-in procedures from each manufacturer:
AKEBONO
400 to 500 miles of moderate driving is recommended. Consumer should avoid heavy braking during this period.
ATE
400 to 500 miles of moderate driving is recommended. Consumer should avoid heavy braking during this period.
BREMBO Gran Turismo
In a safe area, apply brakes moderately from 60mph to 30mph and then drive approximately 1/2 mile to allow the brakes to cool. Repeat this procedure approximately 30 times.
HAWK
After installing new pads make 6 to 10 stops from approximately 35 mph with moderate pressure. Make an additional two to three hard stops from approximately 40 to 45 mph. Do not allow the vehicle to come to a complete stop.When completed with this process, park the vehicle and allow the brakes to cool completely before driving on them again. Do not engage the parking brake until after this cooling process is compete.
NOTE: Hawk racing pads (Blue, Black, HT-10, HT-12) may require a different bed-in procedure. Contact your sales specialists at The Tire Rack for racing application information.
KAZERA
Follow the brake pad manufacturer's recommended break-in procedure taking care not to produce excessive heat in the system. Avoid heavy braking for the first 400-500 miles.
POWER SLOT
Follow the brake pad manufacturer's recommended break-in procedure taking care not to produce excessive heat in the system. Avoid heavy braking for the first 400-500 miles.
SATISFIED
For Gransport GS6 Carbon Ceramic Pads
Step 1: Make 10 stops from 30 mph (50 kph) down to about 10 mph (15 kph) using moderate braking pressure and allowing approximately 30 seconds between stops for cooling. Do not drag your pads during these stops. After the 10th stop, allow 15 minutes for your braking system to cool down.
Step 2: Make 5 consecutive stops from 50 mph (80 kph) down to 10 mph (15 kph). After the 5th stop, allow your braking system to cool for approximately 30 minutes. This completes the break-in of your pads to the rotor surface.
During Steps 1 & 2, a de-gassing process occurs which may produce an odor coming from your pads as they complete the break-in cycle. This odor is normal and is part of the process your pads must go through to achieve their ultimate level of performance. The odor will go away after allowing your braking system to cool for approximately 30 minutes.
As with any new set of pads, do not tow a trailer or do any hauling during the break-in period.
Full seating of your new brake pads normally occurs within 1,000 miles.
For all other Satisfied pads
400 to 500 miles of moderate driving is recommended. Consumer should avoid heavy braking during this period.
sourced from tirerack.com:
http://www.tirerack.com/brakes/tech/....jsp?techid=85
-----------------------------------------------------
StopTech: Pad and Rotor Bed-In Theory, Definitions and Procedures
Removing the Mystery from Brake Pad Bed-In
by Matt Weiss of StopTech and James Walker, Jr. of scR motorsports
In order for any brake system to work optimally, the rotors and pads must be properly bedded-in, period. This process can also be called break-in, conditioning, or burnishing, but whatever terminology you choose, getting the brakes properly bedded-in and keeping them that way is critical to the peak performance of the entire brake system.
However, understanding why the rotors and pads need to be bedded-in is just as important as the actual process. If one understands what is happening during the bed-in process, they can tailor the process to specific pads, rotors, and/or driving conditions. For this reason, we present this generic bed-in overview pertaining to all brake systems, but follow with links to application-specific bed-in procedures to fit most every set of circumstances.
What is brake pad bed-in anyway?
Simply stated, bed-in is the process of depositing an even layer of brake pad material, or transfer layer, on the rubbing surface of the rotor disc. That's it. End of discussion. Ok, not really, but although bed-in is quite basic in definition, achieving this condition in practice can be quite a challenge, and the ramifications of improper or incomplete bed-in can be quite a-a-n-n-o-o-y-y-i-i-n-n-g-g.
Abrasive friction and adherent friction
There are two basic types of brake pad friction mechanisms: abrasive friction and adherent friction . In general, all pads display a bit of each, with abrasive mechanisms dominating the lower temperature ranges while adherent mechanisms come more into play as pad temperature increases. Both mechanisms allow for friction or the conversion of Kinetic energy to Thermal energy, which is the function of a brake system, by the breaking of molecular bonds in vastly different ways.
The abrasive mechanism generates friction or energy conversion by the mechanical rubbing of the brake pad material directly on the rotor disc. In a crystalline sense, the weaker of the bonds in the two different materials is broken. This obviously results in mechanical wear of both the pad and the rotor. Consequently, both pads and rotors are replaced when they are physically worn to their limit and are too thin to endure further service.
The adherent mechanism is altogether different. In an adherent system, a thin layer of brake pad material actually transfers and sticks (adheres) on to the rotor face. The layer of pad material, once evenly established on the rotor, is what actually rubs on the brake pad. The bonds that are broken, for the conversion of Kinetic to Thermal energy, are formed instantaneously before being broken again. It is this brake pad-on-transferred brake pad material interaction on a molecular level that yields the conversion process.
With the adherent mechanism there is much reduced rotor wear as compared to abrasive mechanism, but it's not a free lunch pads now become the primary wear element in the braking system. And even though rotors are not mechanically worn down with adherent systems, they still will need to be replaced on a regular basis due to cracking reaching a point of failure if they are exposed to intense, repetitive thermal cycling. This is why race teams throw out rotors that are actually as thick or thicker than when they were brand new. It's due to the an adherent brake pad transfer layer!
The all-important transfer layer
As stated above, the objective of the bed-in process is to deposit an even layer of brake pad material, or transfer layer , on the rubbing surface of the rotor disc. Note the emphasis on the word even, as uneven pad deposits on the rotor face are the number one, and almost exclusive cause of brake judder or vibration.
Let's say that again, just so there is no misunderstanding. Uneven pad deposits on the rotor face are the number one, and almost exclusive cause of brake judder or vibration.
It only takes a small amount of thickness variation, or TV, in the transfer layer (we're only talking a few ten thousandths of an inch here) to initiate brake vibration. While the impact of an uneven transfer layer is almost imperceptible at first, as the pad starts riding the high and low spots, more and more TV will be naturally generated until the vibration is much more evident. With prolonged exposure, the high spots can become hot spots and can actually change the metallurgy of the rotor in those areas, creating hard spots in the rotor face that are virtually impossible to remove.
Bedding fundamentals
In general, bed-in consists of heating a brake system to its adherent temperature to allow the formation of a transfer layer. The brake system is then allowed to cool without coming to rest, resulting in an even transfer layer deposition around the rotor circumference. This procedure is typically repeated two or three times in order to ensure that the entire rotor face is evenly covered with brake pad material. Sounds easy, right? Well, it can be if you have the proper information.
Because the adherent temperature range for brake pads varies widely (typically 100°F-600°F for street pads and 600°F-1400°F for race pads), each bed-in needs to be application-specific. One could try to generate a one-size-fits-all procedure, but too little heat during bed-in keeps the material from transferring to the rotor face while overheating the system can generate uneven pad deposits due to the material breaking down and splotching (that's a technical term) on to the rotor face.
In summary, the key to a successful bed-in is to bring the pads up to their adherent operating temperature in a controlled manner and keep them there long enough to start the pad material transfer process. Different brake system designs, pad types, and driving conditions require different procedures to successfully accomplish the bed-in. The recommended procedures below should provide you with the information you need to select the bed-in procedure appropriate for your application.
sourced from stoptech.com:
http://www.stoptech.com/tech_info/wp_bedintheory.shtml

 11th September 2010, 20:48

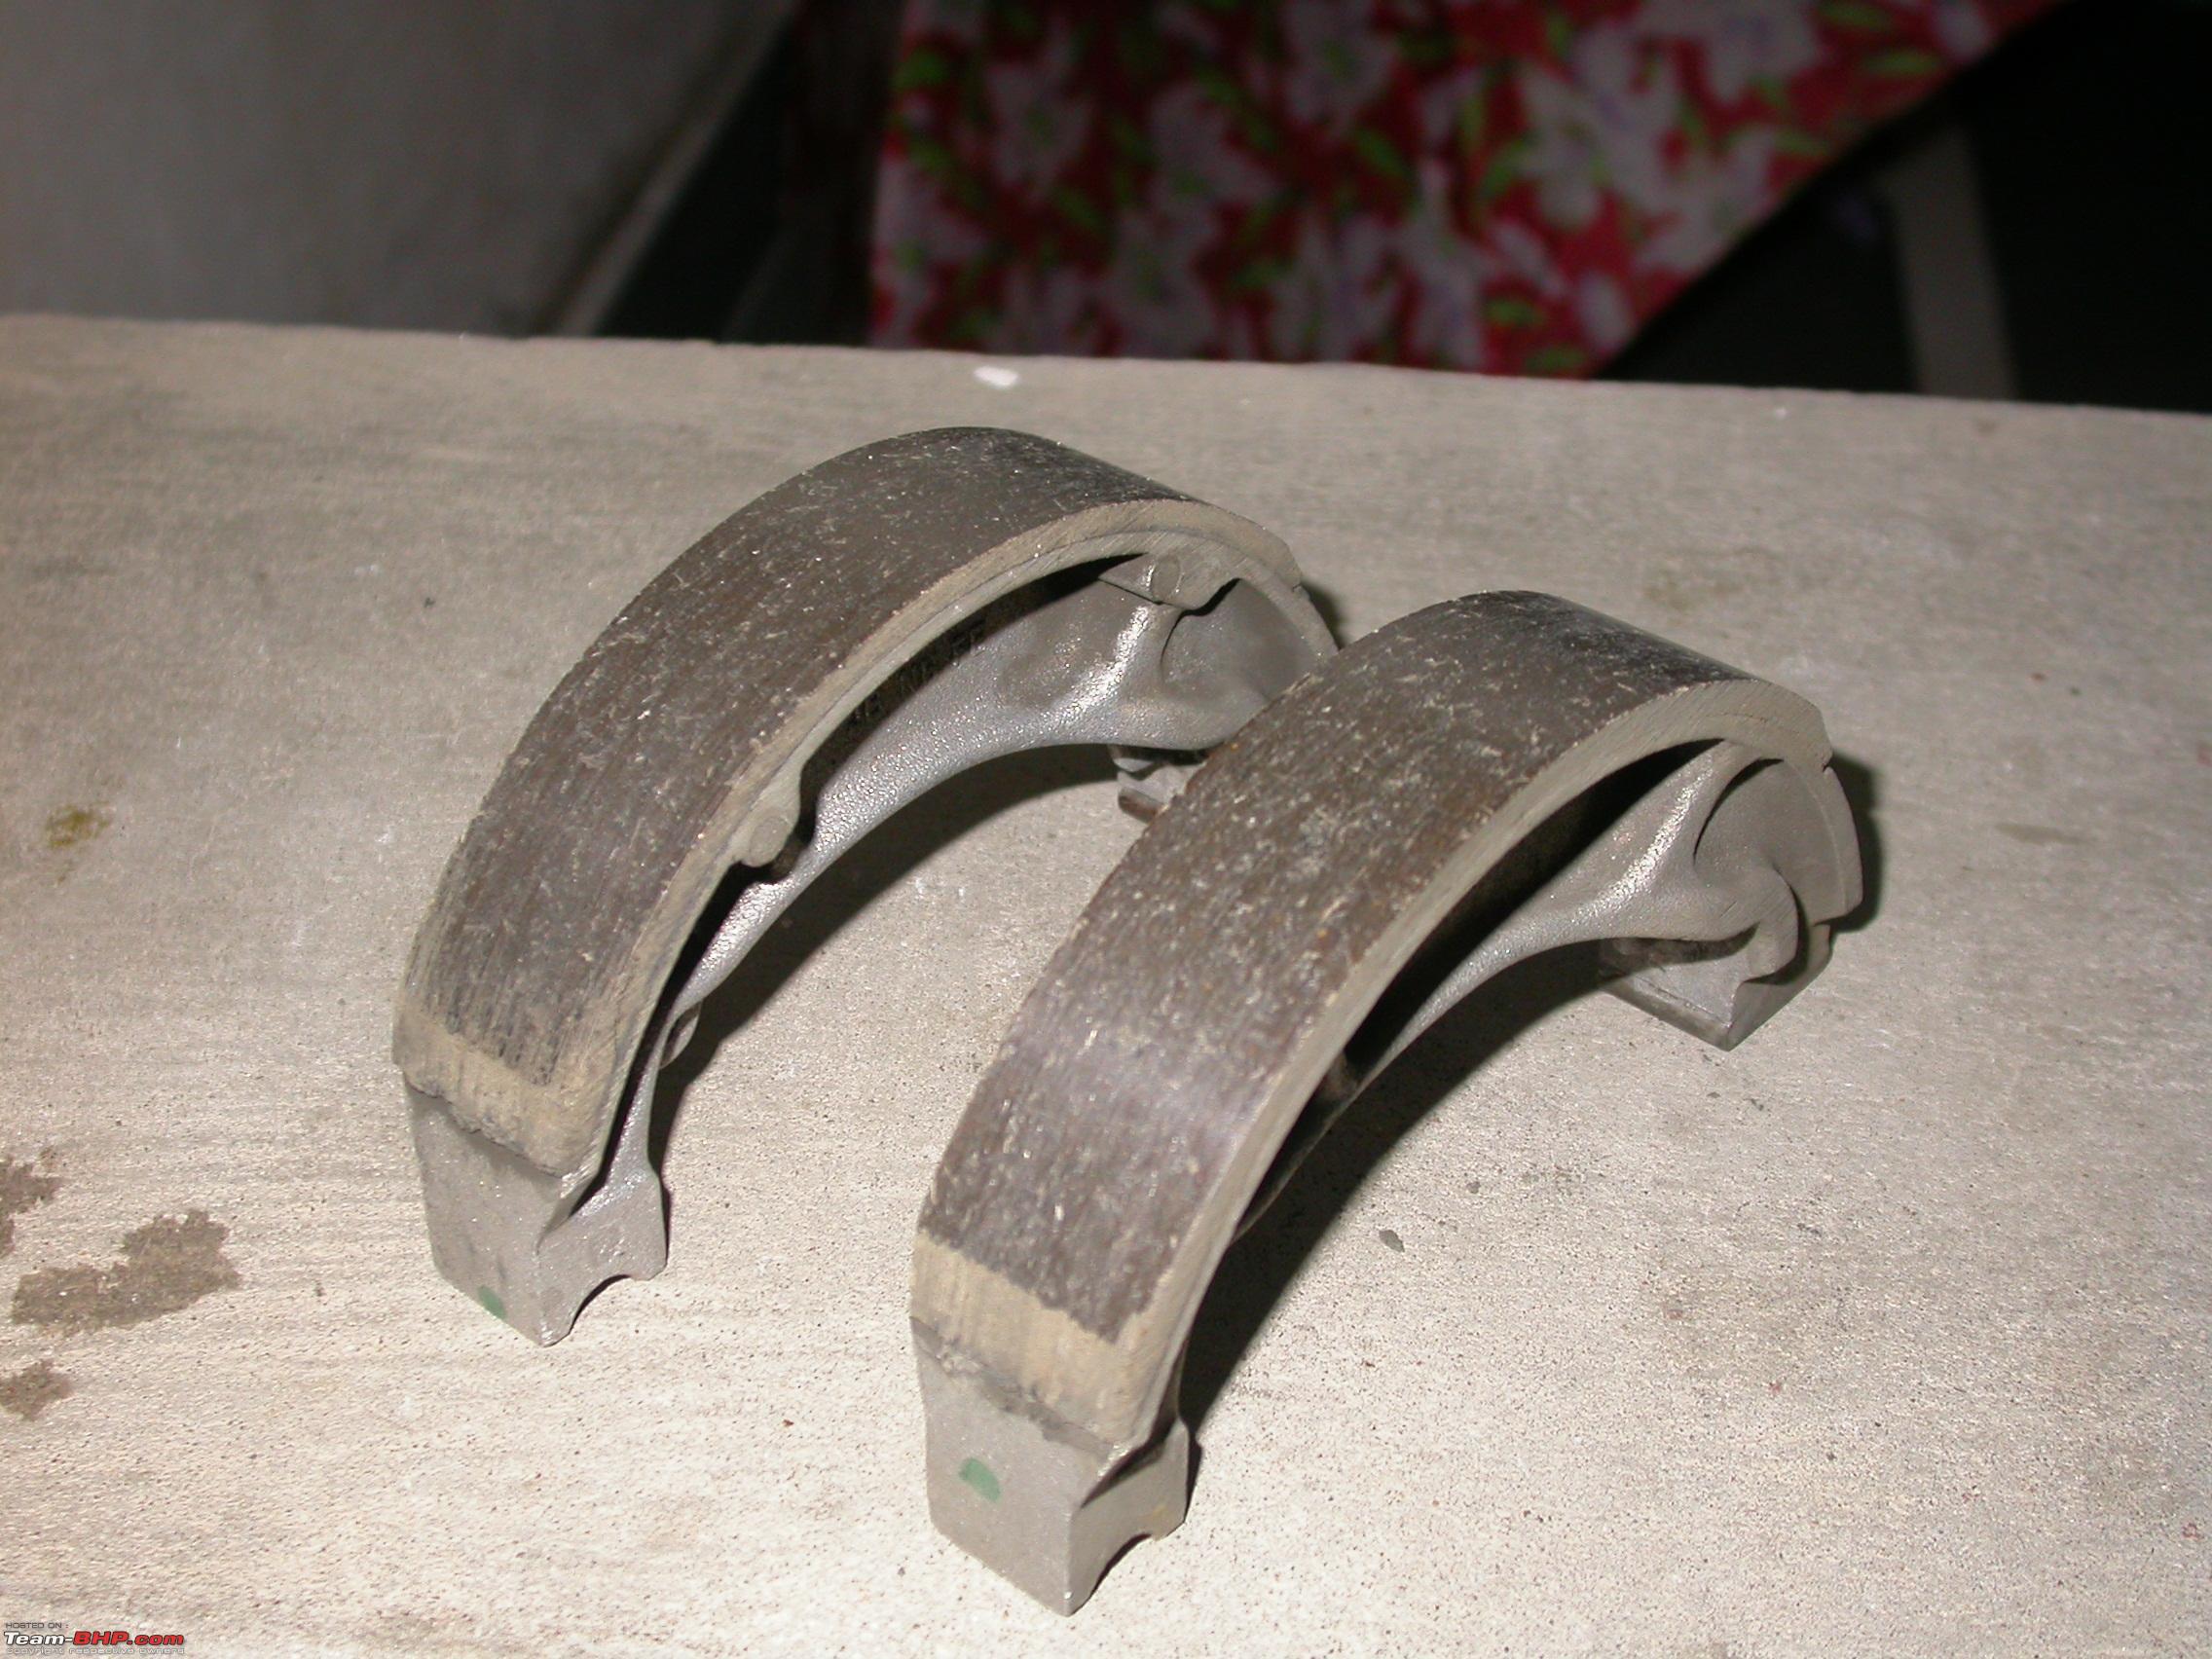
 ], he gets me one set of brake shoes from this brand called 'ASK'.