Quote:
Originally Posted by autocrat  1. I am currently getting 10+ kmpl, of course, assuming the meter in the car is accurate. 2. Need to do a drive with GPS speedometer to validate both distance and speed. 3. I am attaching below the connection to the coil now. Please let me know if I should change anything. 4. The clutch pedal gets stuck sometimes when I push it and wont come back. The spring force is good, but there seems to be some physical obstruction (fouling) - there is an irritating metal-to-metal grinding noise when I operate the pedal. |
Dear Gowtham - my replies are as follows:
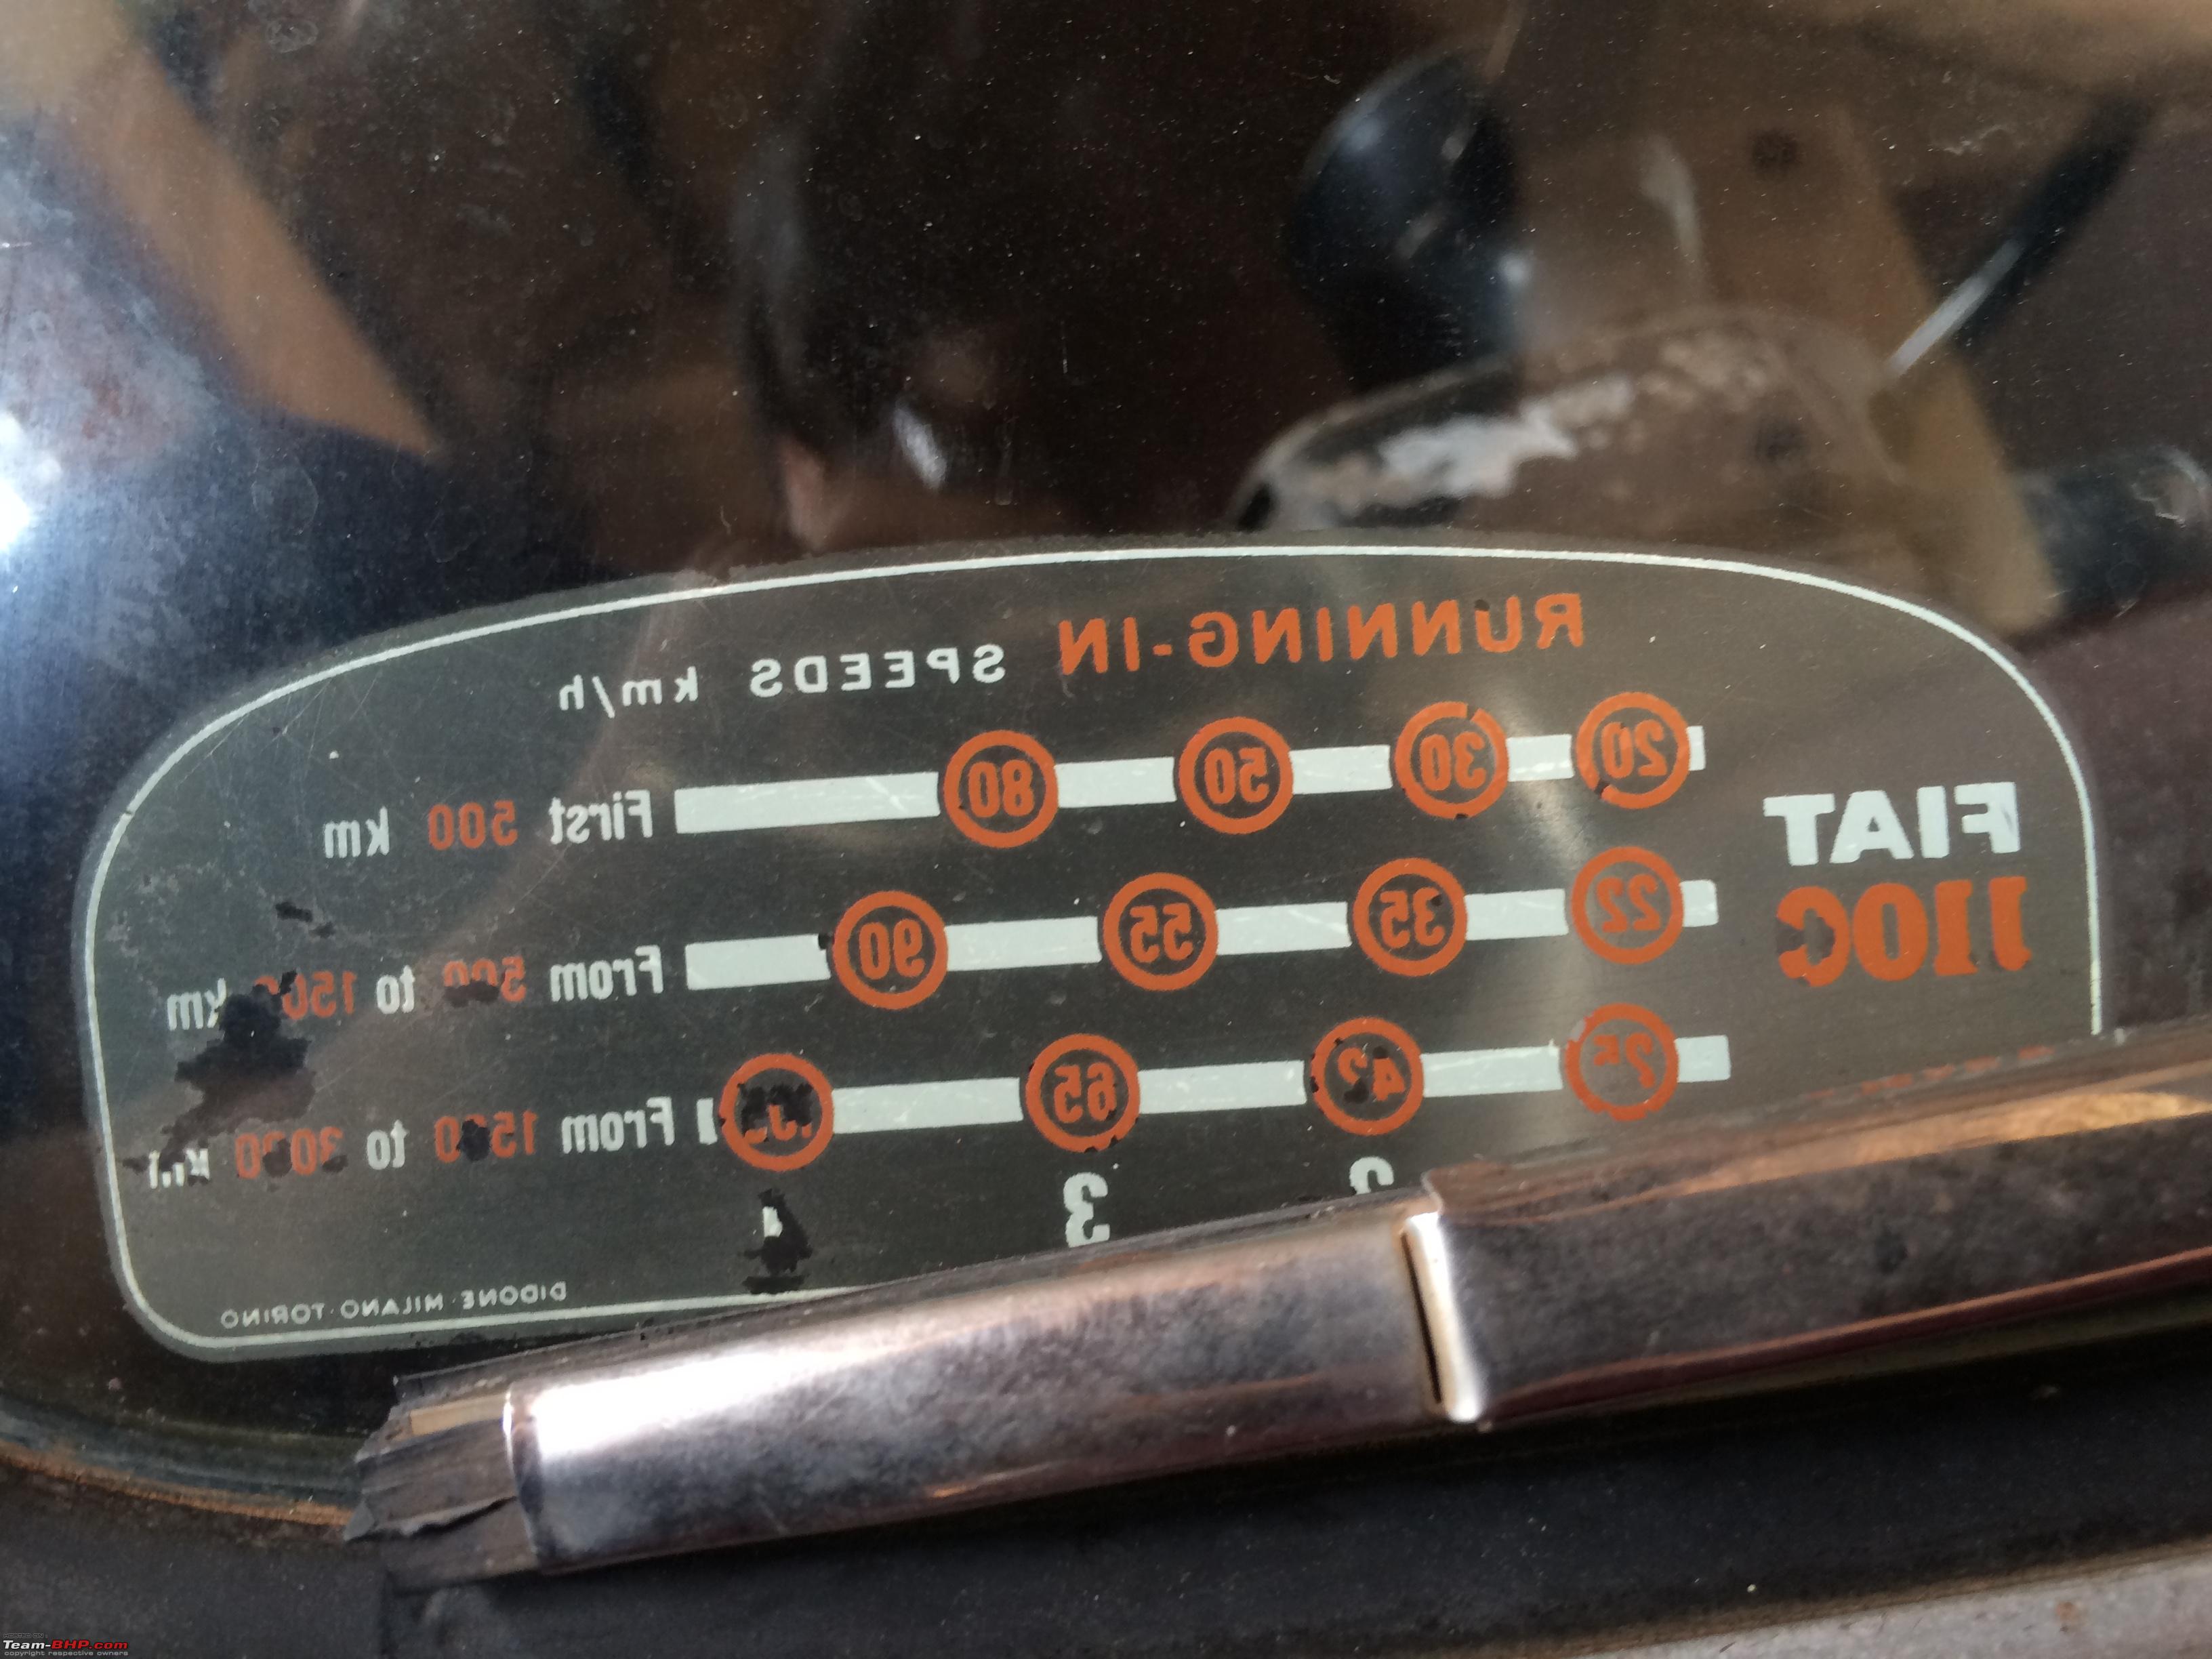
1. You should get 13+ kmpl in normal use if all parameters are at design specification. CSFC (constant speed fuel consumption) reading at 50kmph speed over a distance of 4226m each way taking 304s each way on a dry track with wind velocity below 3m/s (with gusts allowed upto 8m/s) with 375kg payload with 22/28psi tire pressure with 8:1 compression ratio engine with full flow oil filter with 4 bladed plastic fan with dry air cleaner with MCS1061 Solex carburettor with 102 main jet with Lucas TVS 65B distributor with static ignition timing set to 10 degrees BTDC with vacuum advance connected with W7BC spark plugs with 0.9mm plug gap with 4.3:1 axle ratio with 5.20*14 cross ply tires with controlled coefficient of rolling resistance as defined in the NISSAN procedure was "extremely good". I did the test so I know, obviously, I cannot disclose the actual value. Your tires are resoled so you will not get good fuel efficiency as the coefficient of rolling resistance will be nonsensical just now. The best choice is Ceat Safety Drive 5.20*14, see if you can get them. Change to 102 main jet, you will actually get better fuel efficiency due to better drivability, but the jet must be original, not aftermarket. Just imagine when the production car could give this, what the S1 with the 3.9:1 axle ratio with the electric fan with the degassing tank with radial tires on 4J wheel rims with the scavenged exhaust system would have given!

.
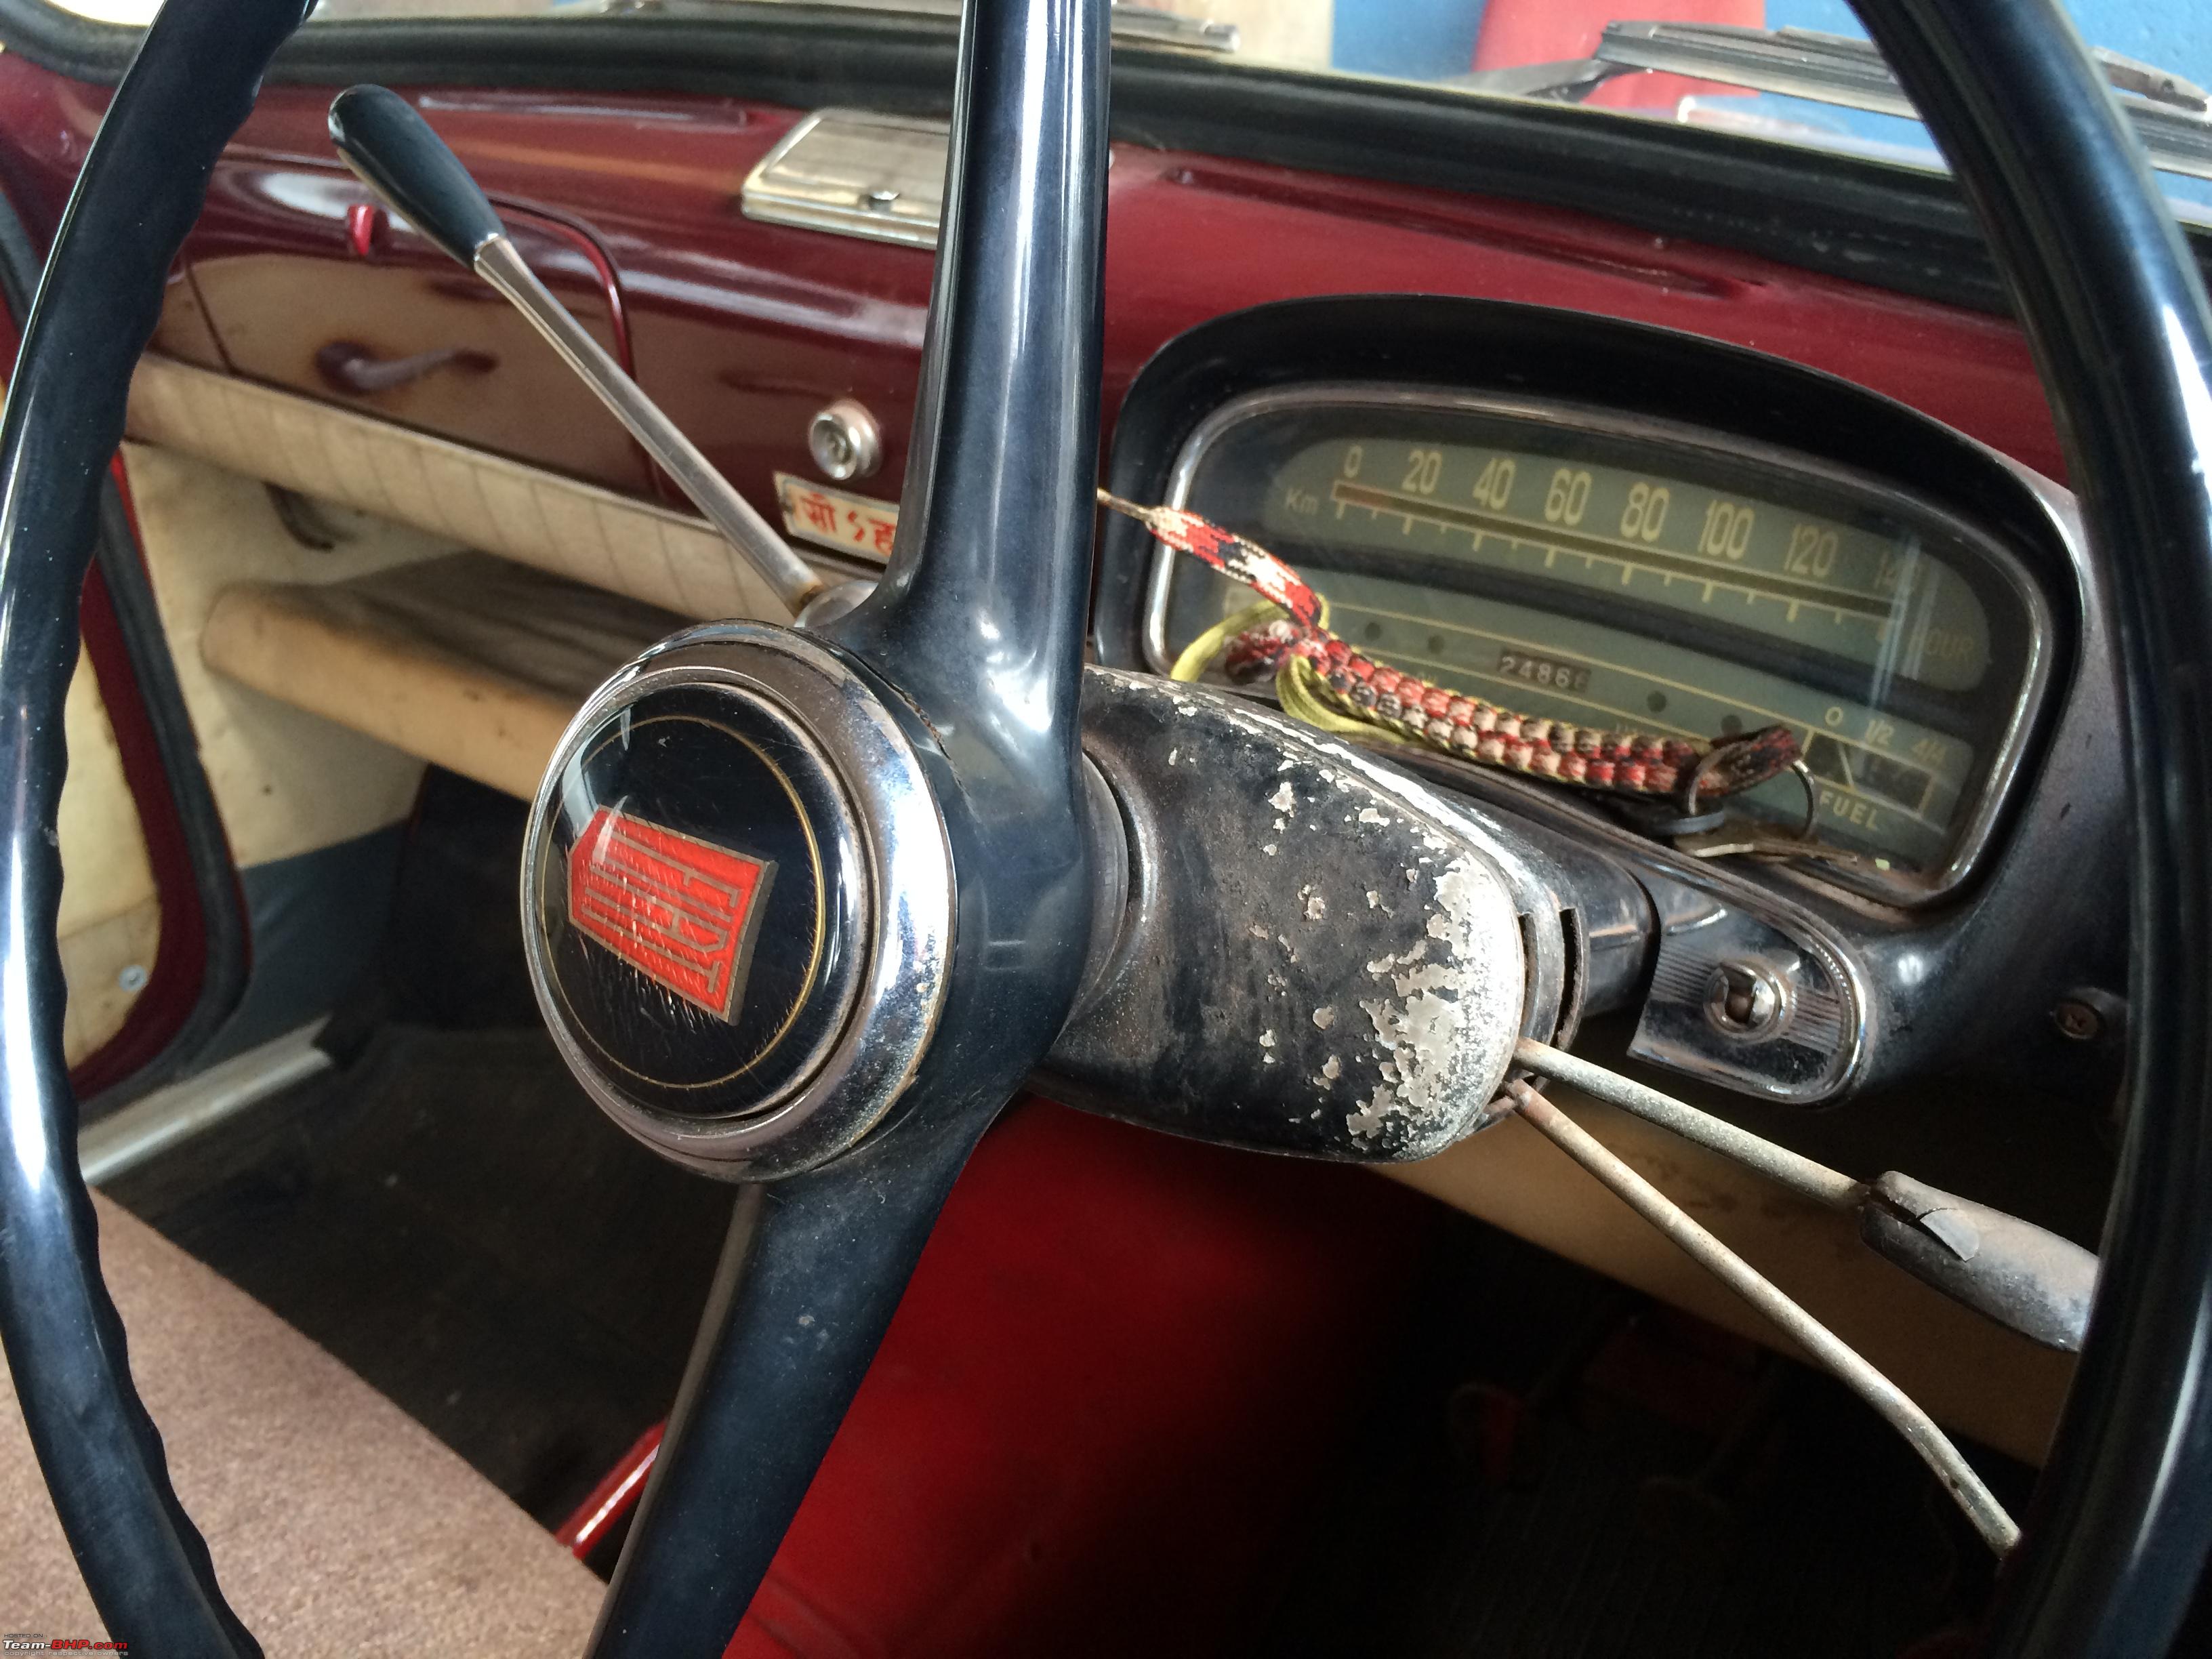
2. For speedometer calibration, you just need two milestones at some distance apart mentioned on them, note this distance as correct. Drive exactly at indicated 30, 40, 50 or 60 kmph from one milestone to the other. You will need 120s, 90s, 72s or 60s to cover 1km as the case may be. Anything lower or higher indicates variance. 8% "indication on the higher side" as compared to actual is allowed by CMVR. Your car has 4.3:1 axle ratio and fiat transmission, so your instrument cluster W value=1.0. This is punched behind the cluster on the body. W is the number of revolutions that the speedometer cable rotates to indicate 1km distance covered, in this case it is 1000 revolutions per km. For the S1, W value =0.69, means 690 revolutions per km. With correct dynamic rolling radius of the tire, will get around 3% positive reading, which is OK. You don't need GPS to calibrate the speedometer!
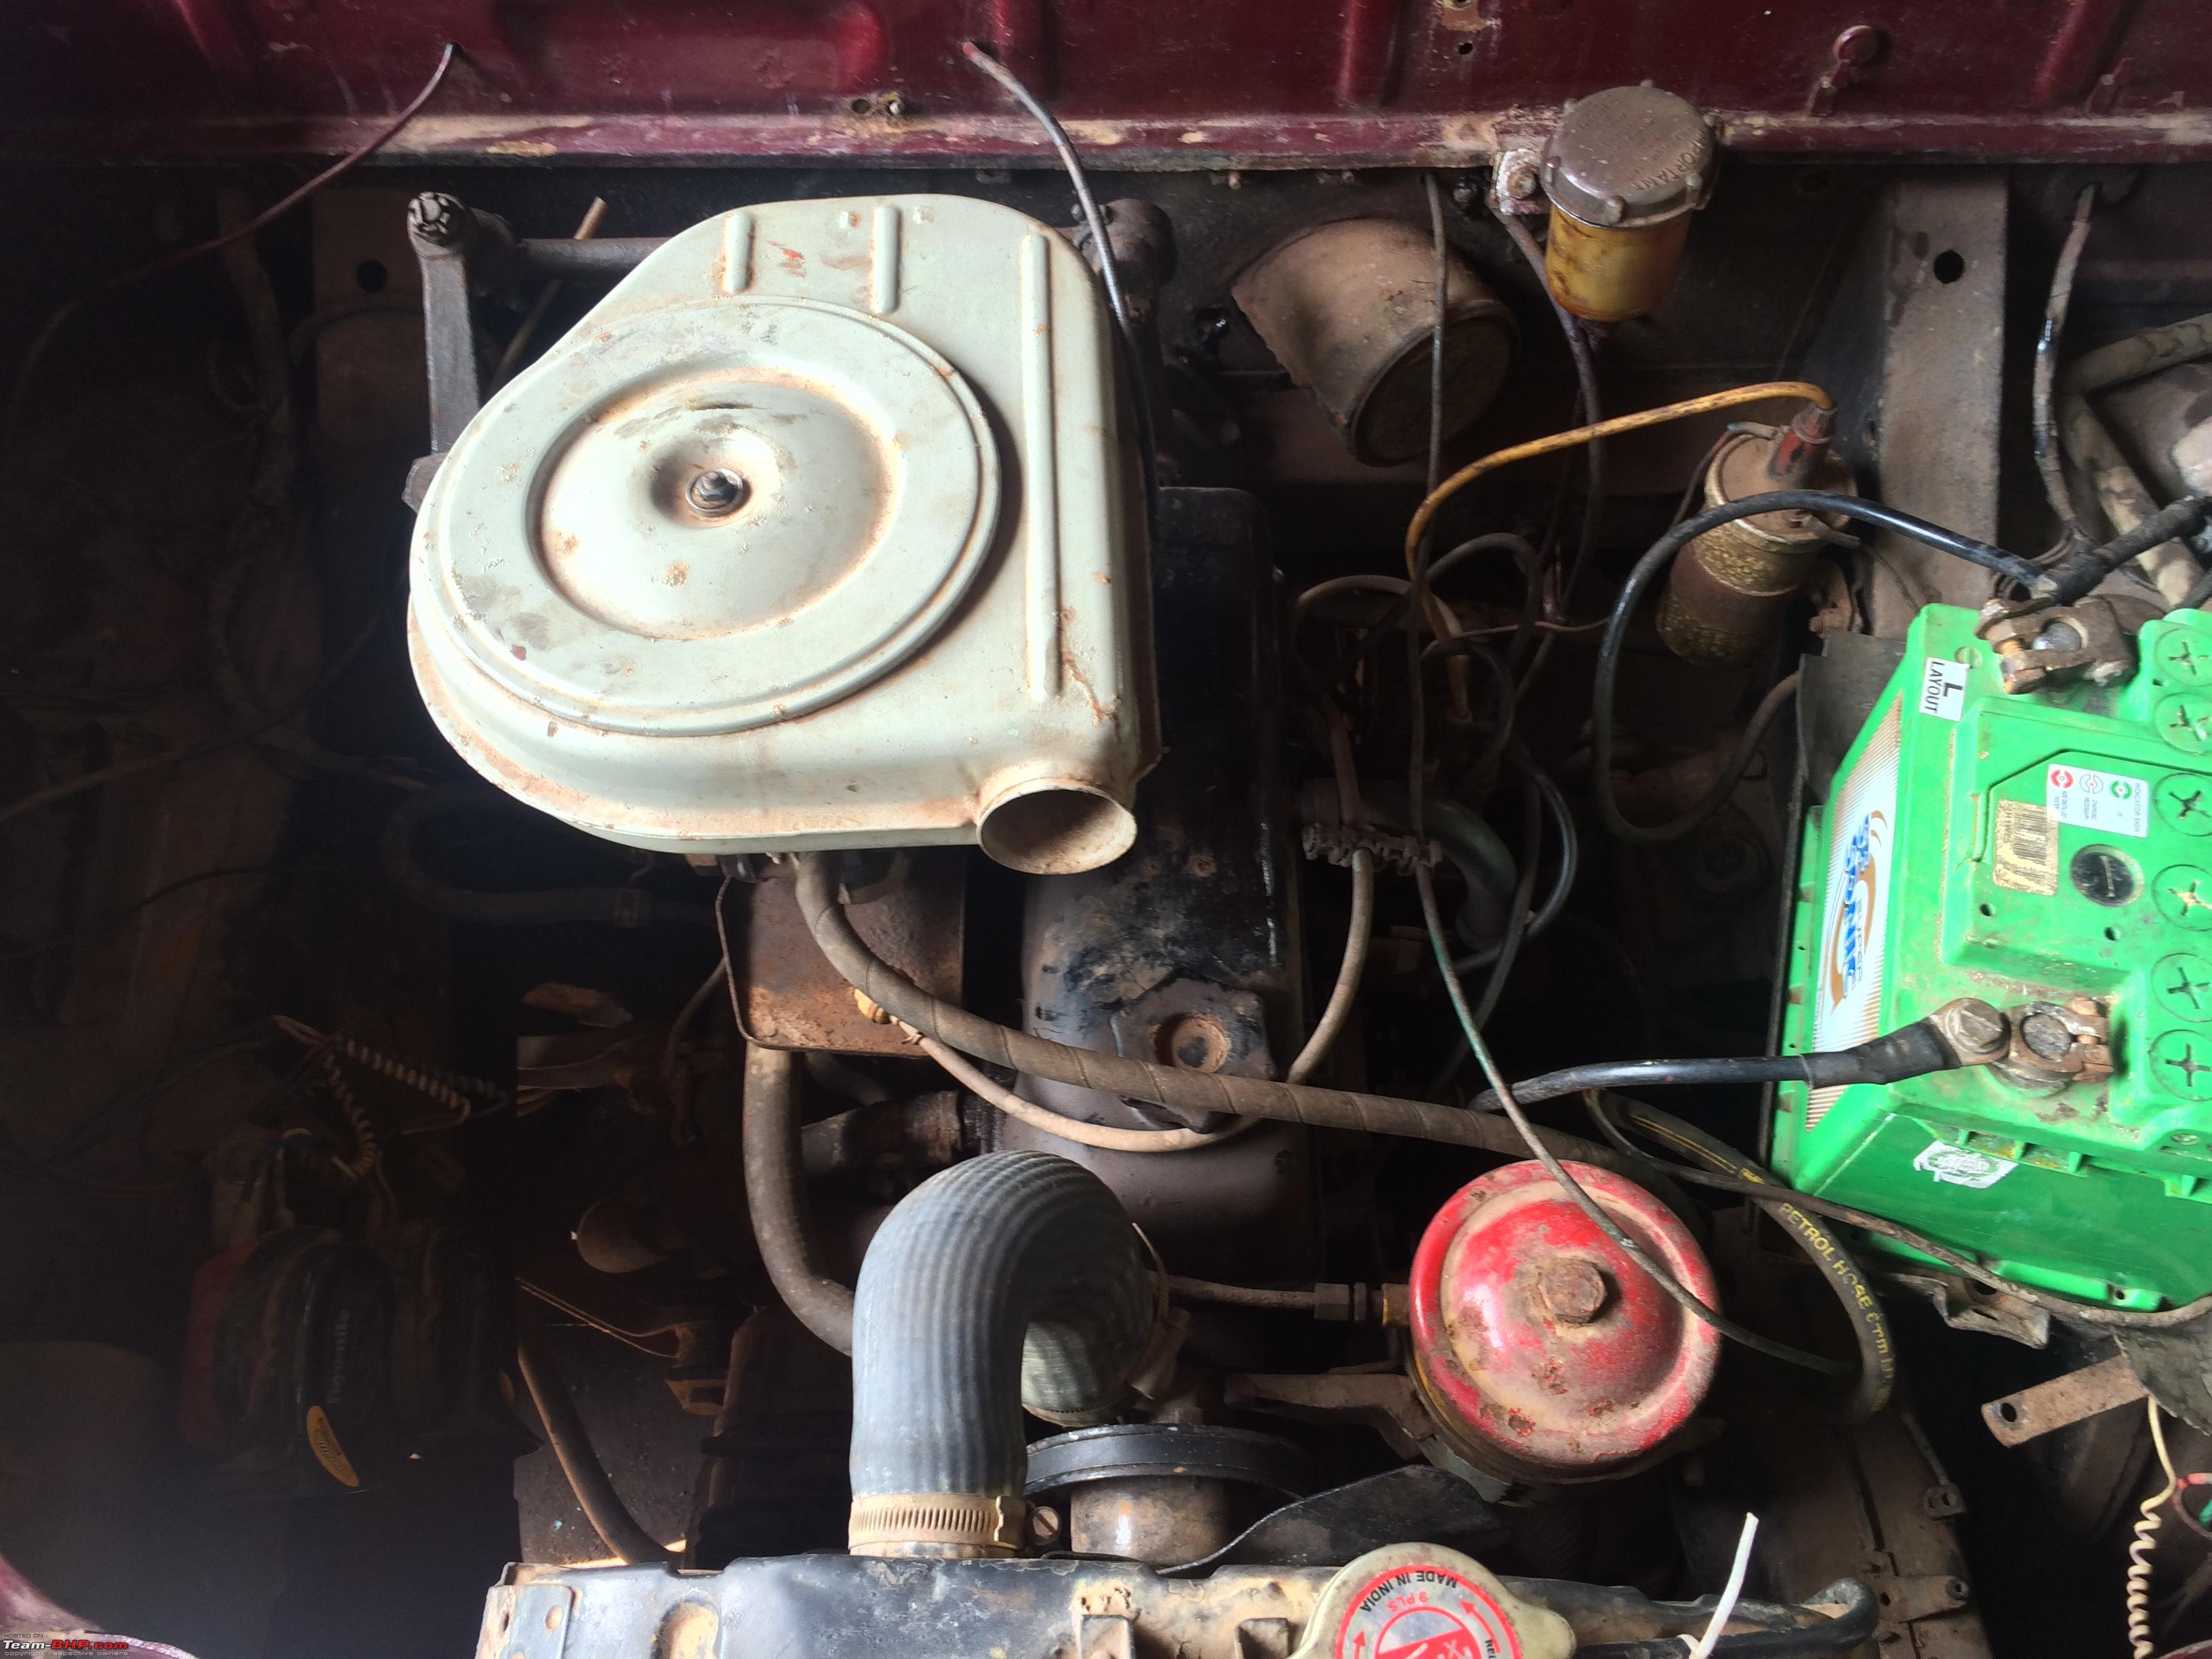
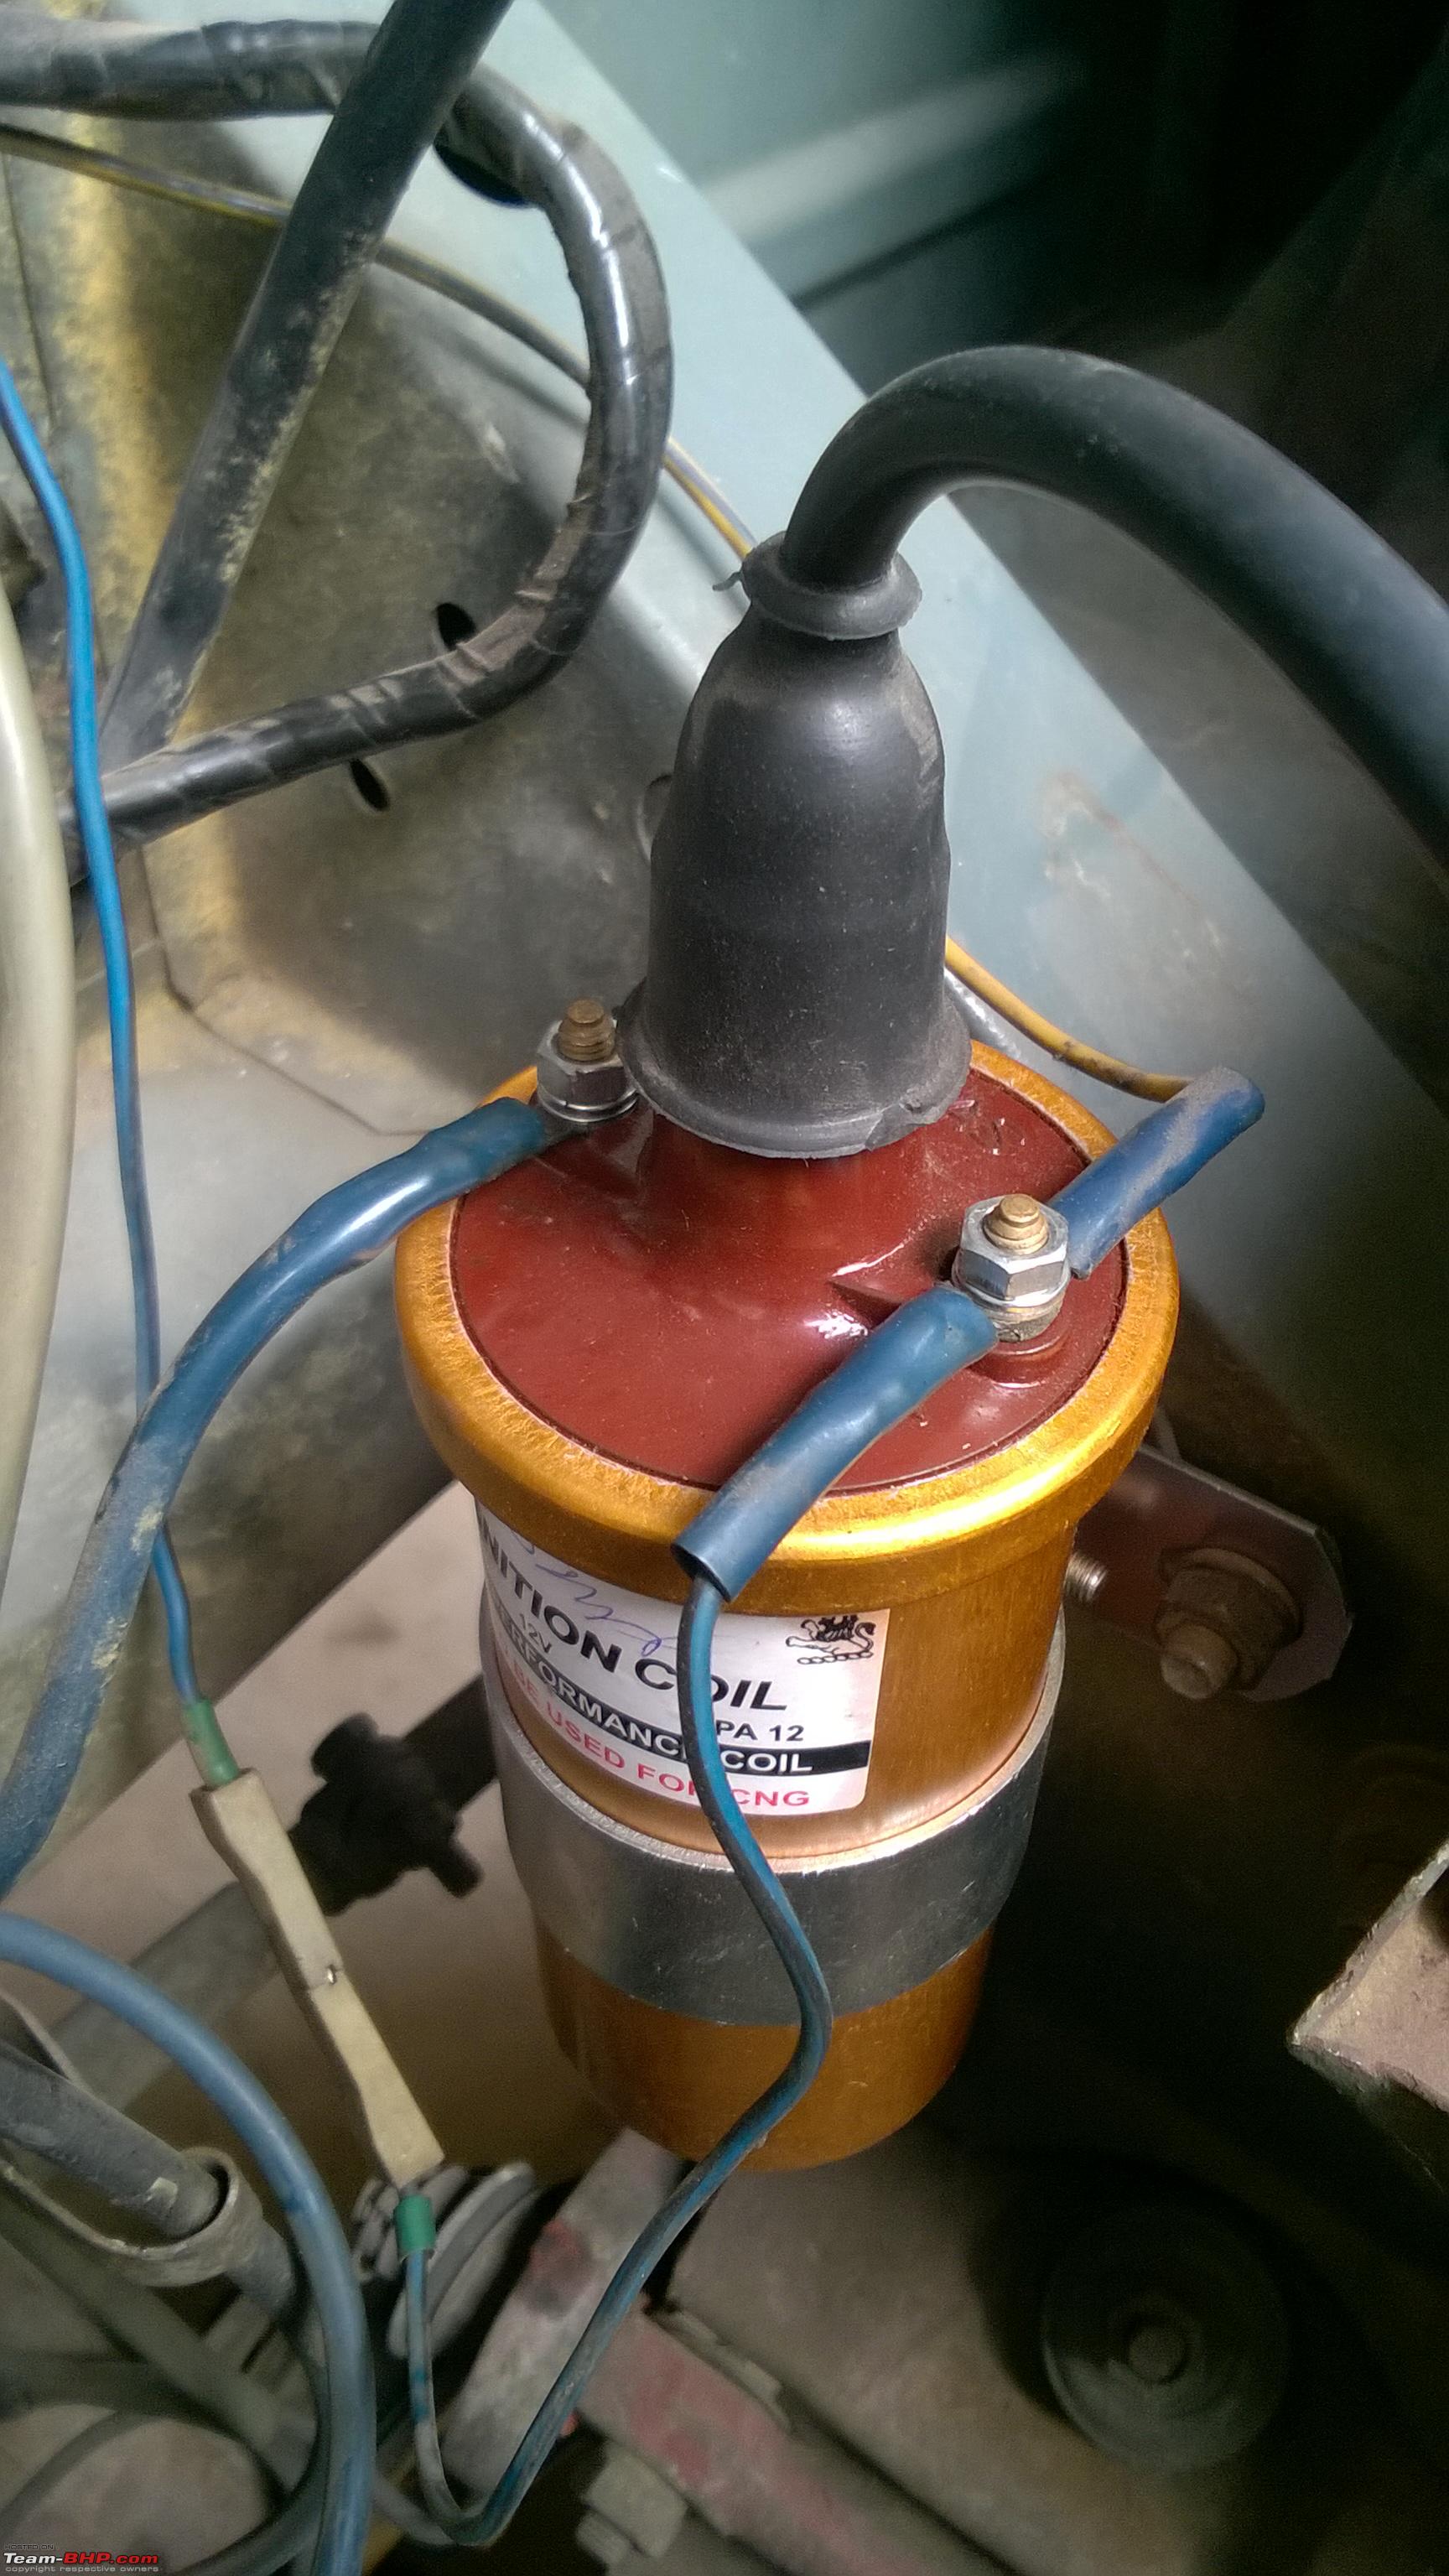
3. Yes, the nonsense connection is still there! See the blue wire going to the positive terminal of the coil. Just before it, you can see two white color flat plastic clips. These are for the ballast resistor connection with the 6V coil. As you have the PA12, you don't need this connection, so remove it and throw it out. Connect the main blue wire directly to the coil positive terminal. Any nonsense in any electrical circuit introduces resistance and drops voltage, which must be eliminated. The maximum effect is seen during FTP (full throttle performance) on the engine dynamometer. In the car, the engine never approaches that level of load.
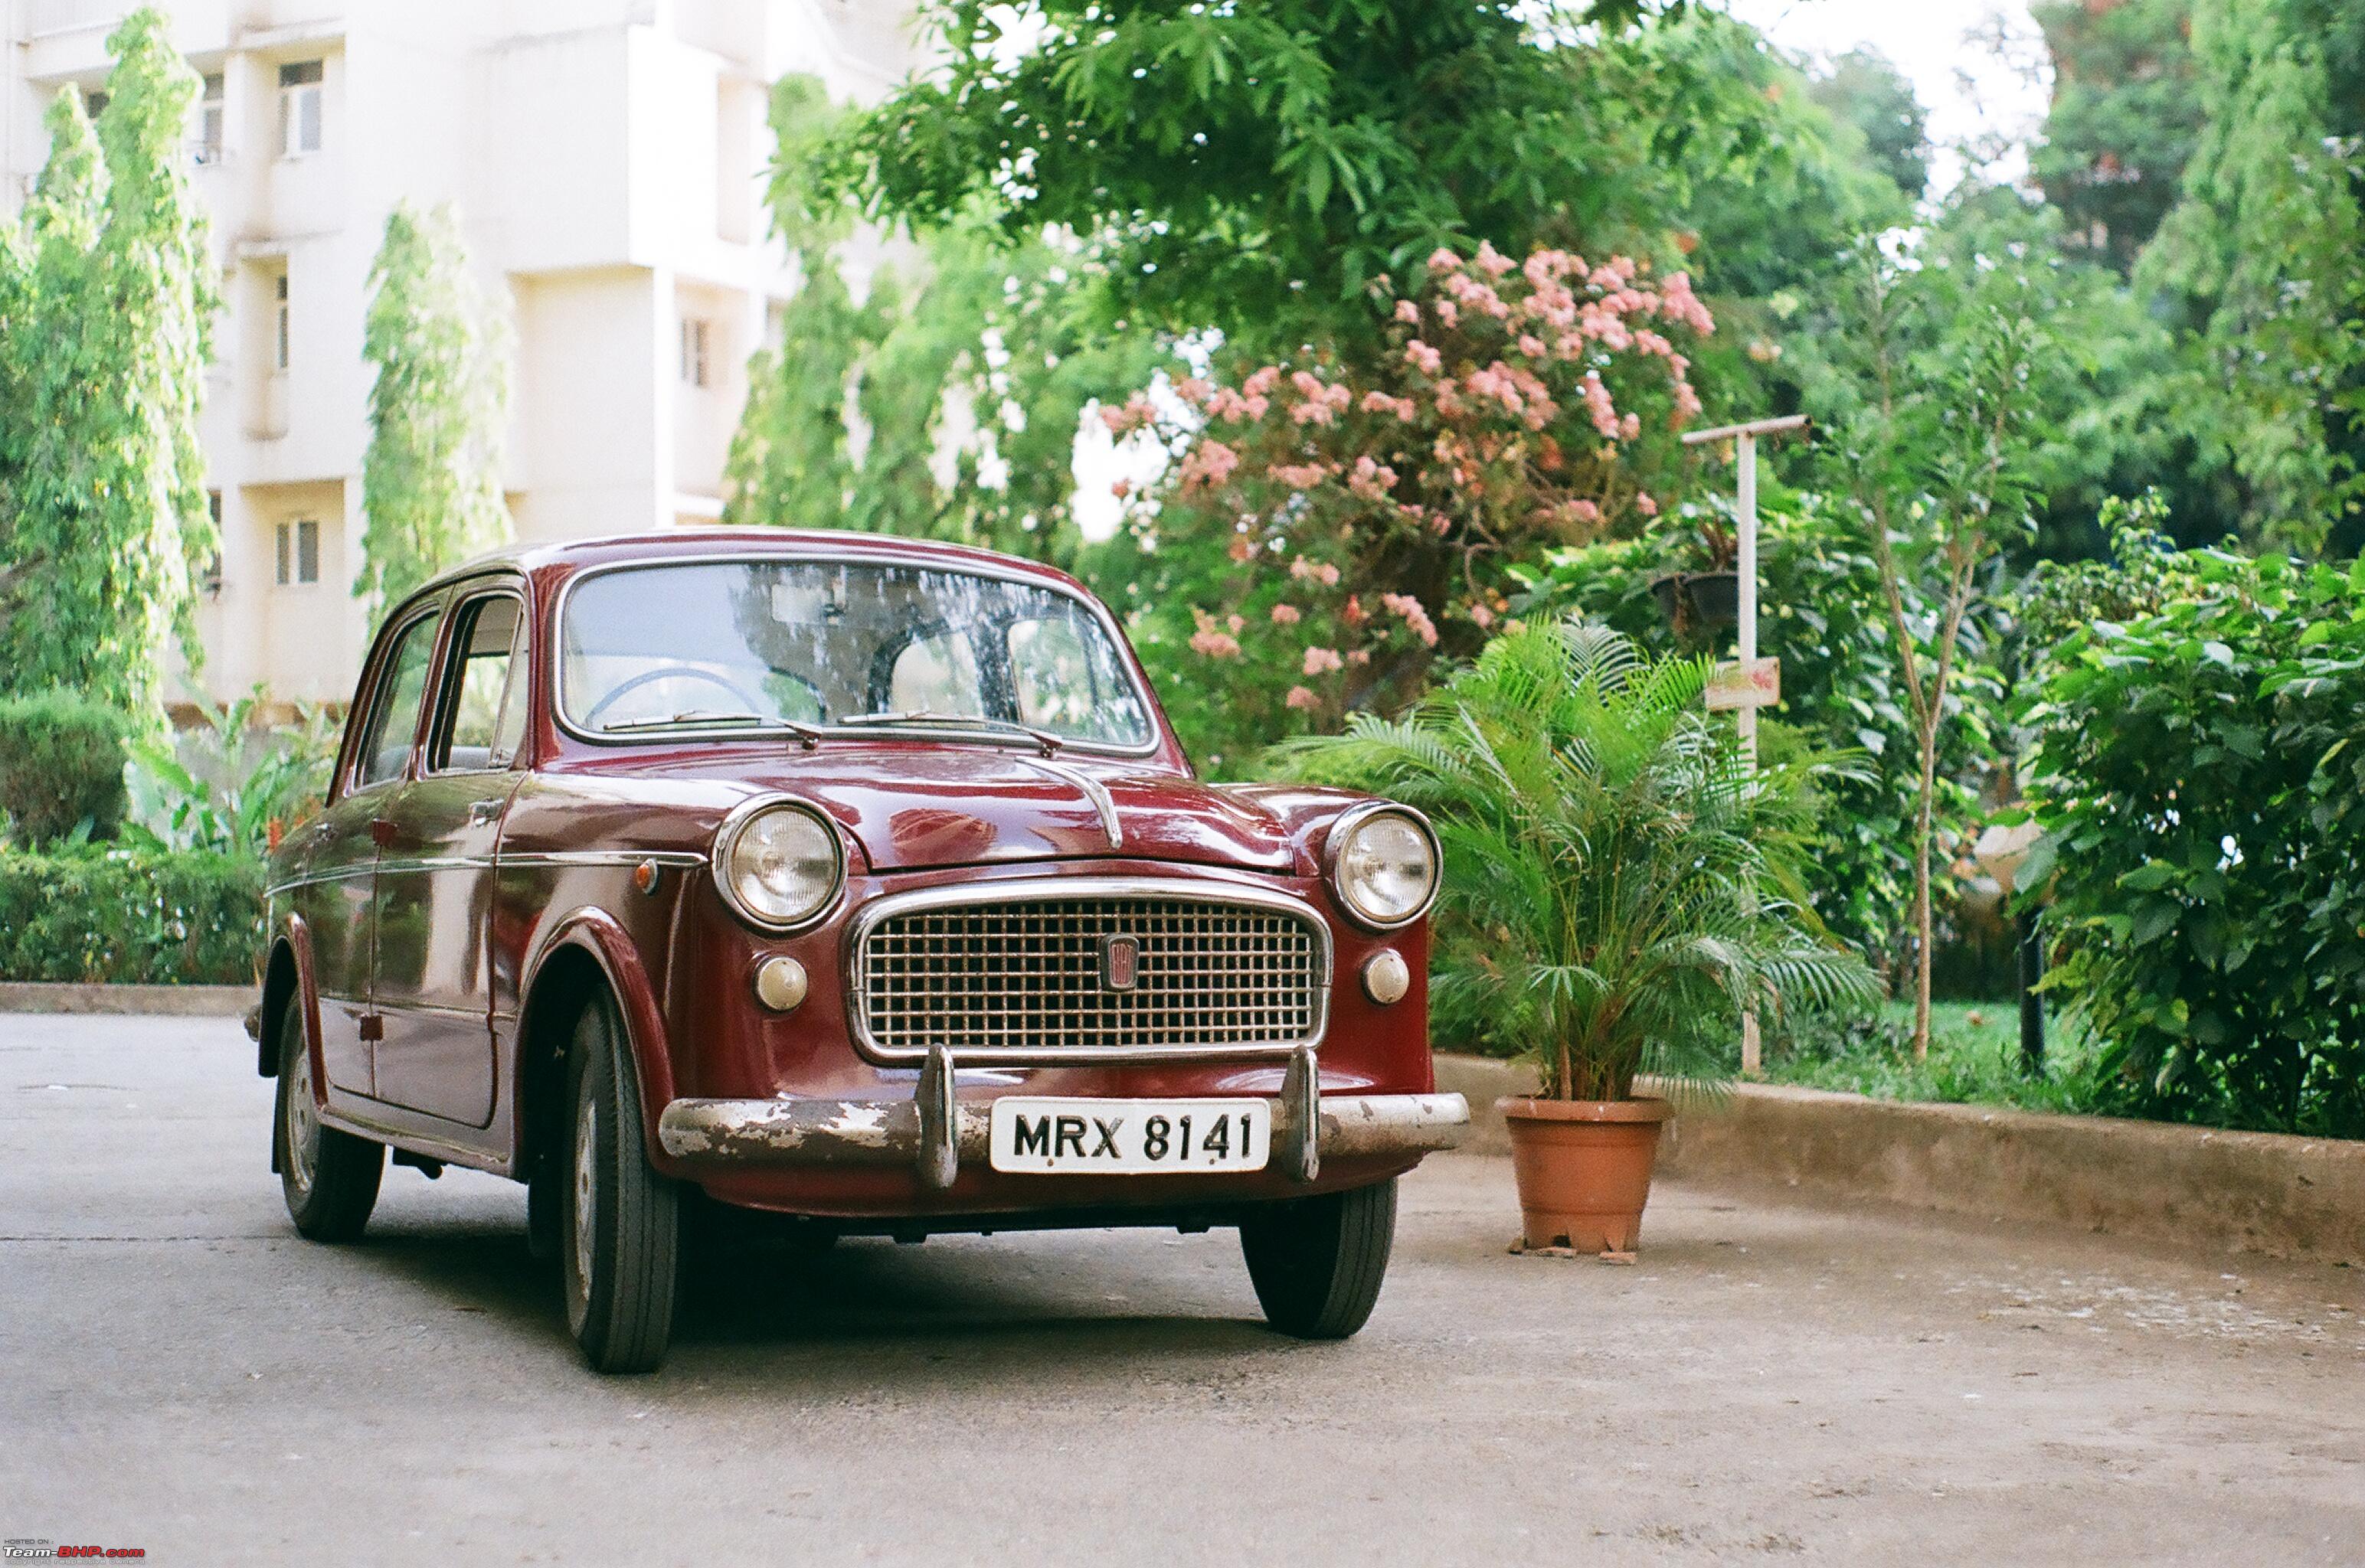
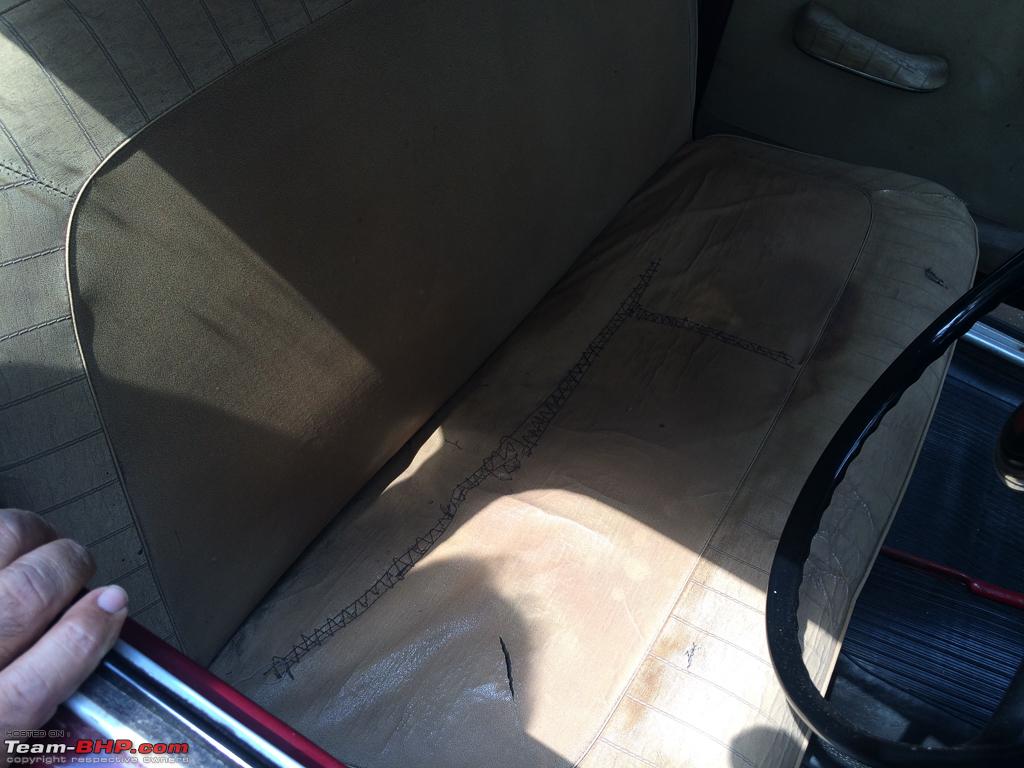
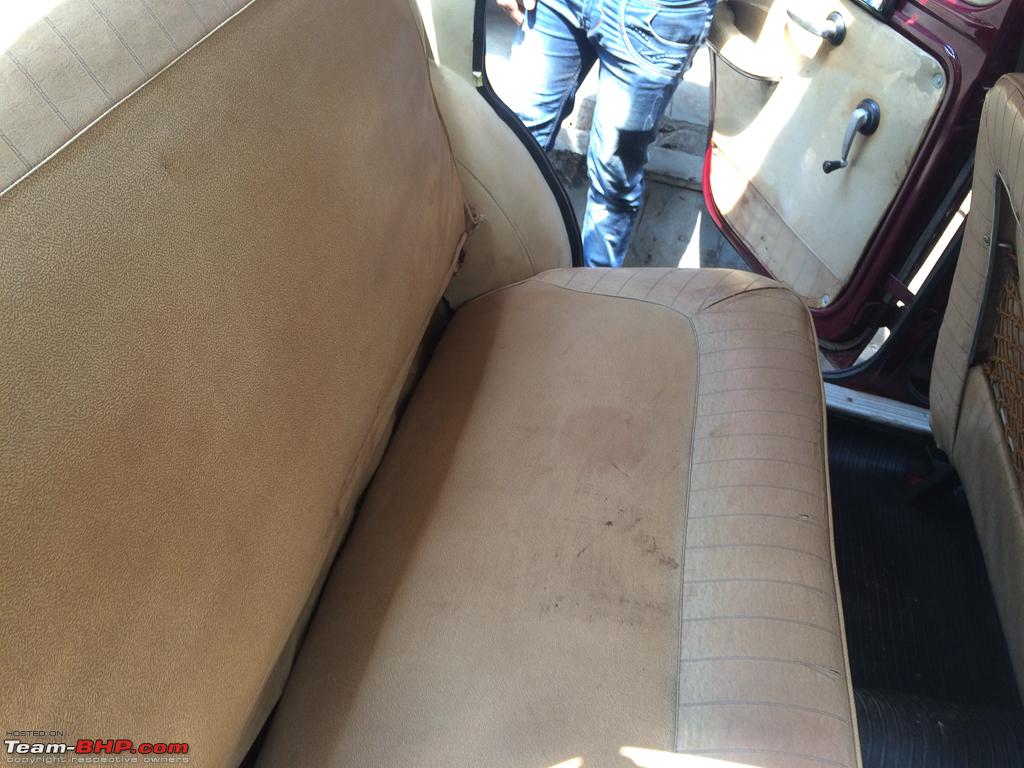
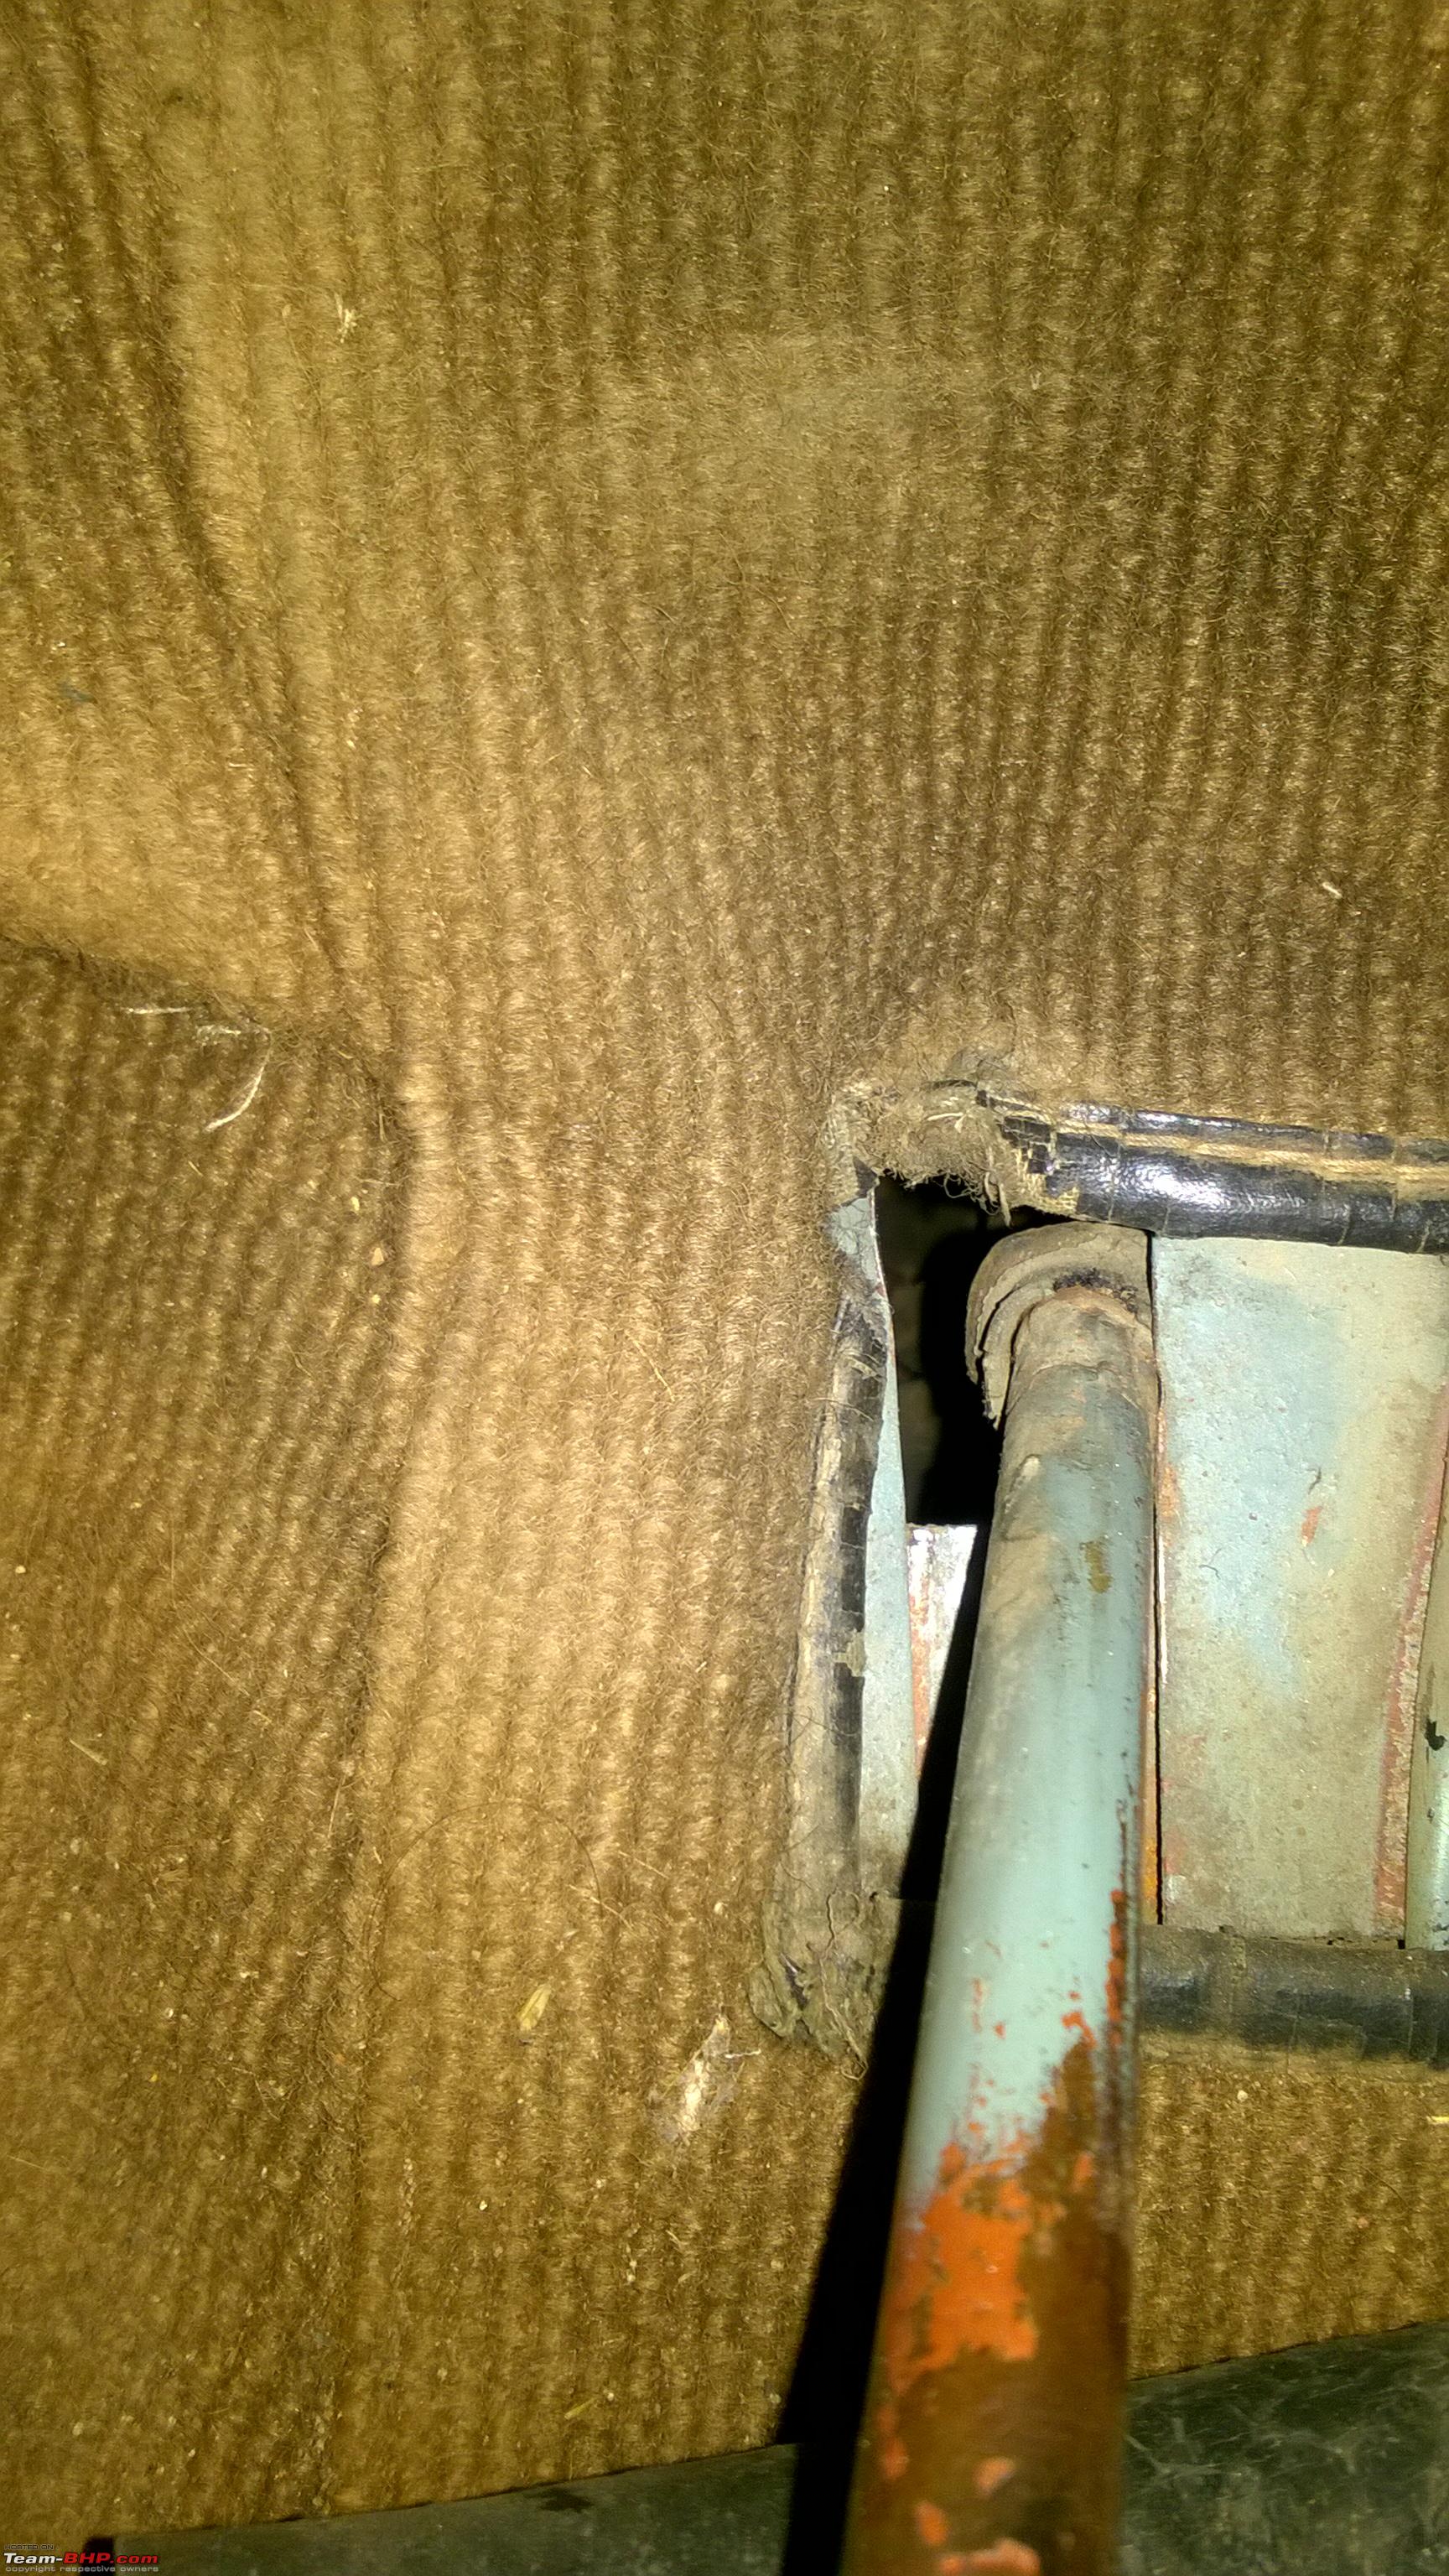
4. The RH edge of the clutch pedal is touching the sheet metal cover screwed to the floor, you can physically see it in the photograph. This is very common in Padminis due to tolerance stack-up in the Y axis. Remove the carpet and the rubber matting and then realign the sheet metal cover to provide good clearance. The ID of the 3 holes will allow this by a small margin. You can cut the W shaped cover a little to get the clearance. I suggest you remove the spire nuts holding the self tapping screws and throw them out, then use M6*1.0 size bolts and nuts to fasten the cover properly. This is a slightly tricky job as it needs two people to do. If you are OK, then do it, otherwise just align the covers.
The whole car is very simple and an absolute delight to work on. You just need the intent and the ownership to do it, that's all. Unfortunately, with garages being what they will always be, both these parameters are in critically short supply, so if you want perfection, do it yourself as a Sunday morning activity. I've been doing it for years.
The quiet smile that will come to your face as the car starts delighting you by delivering the "smooth-and-silent-surge-of-power" output will be worth the effort! .
Dear Randomusername - yes, it is 10 degrees BTDC. I believe I have answered most of your other queries also. In case you need anything specific, please ask.
Best regards,
Behram Dhabhar


 17th August 2015, 23:09


 (1)
Thanks
(1)
Thanks
 , I will still ask.

 .
.