Team-BHP
(
https://www.team-bhp.com/forum/)
-
Pre-War
(
https://www.team-bhp.com/forum/pre-war/)
I love meeting enthusiasts and viewing their cars when I visit new towns. Its been a favourite passtime during many a vacation.
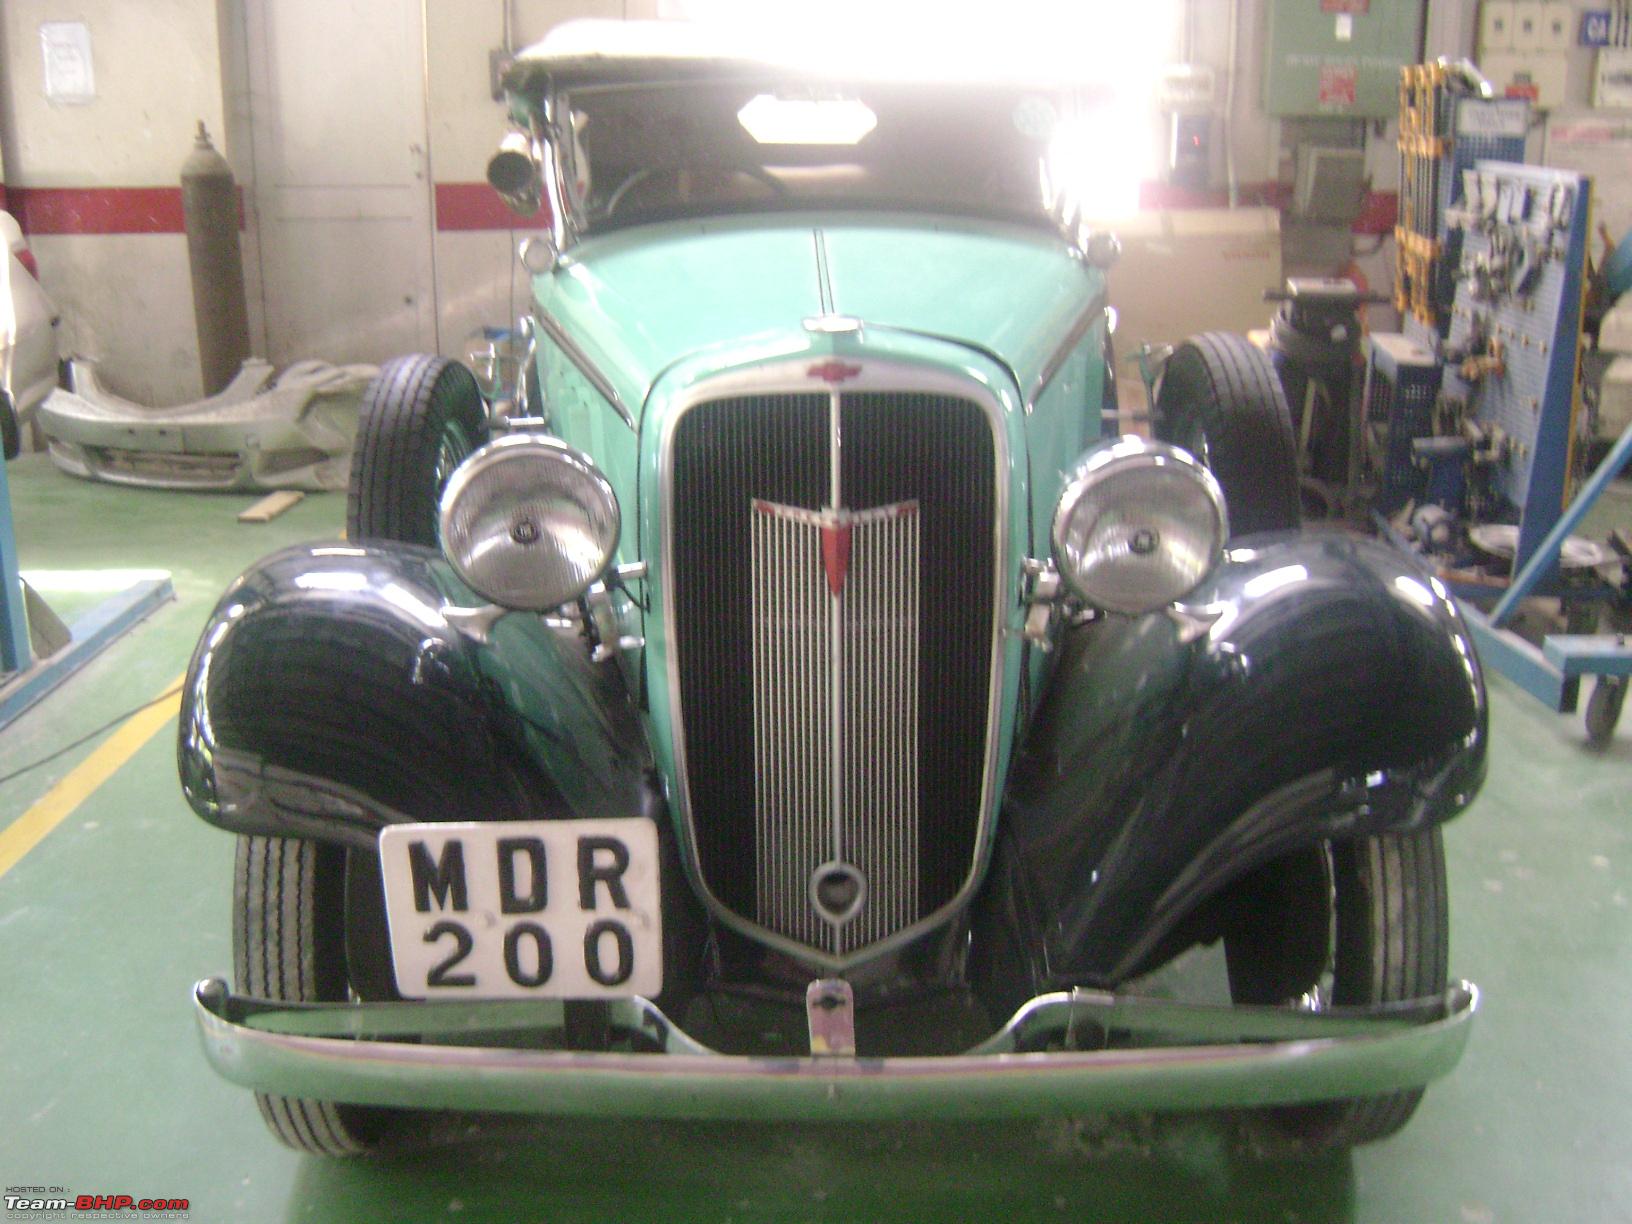
My first viewing of MDR 200, a 1933 Chevrolet Master Phaeton, belonging to the TVS family, was one such visit. Interestingly though, this visit seemed to have a lot more in store for me than a few moments of viewing pleasure. The Executive Director who courteously offered to show me and my brother in law the car and the facilities ended up wanting me to join the company !! A few months later I joined TVS and its been six years since !!
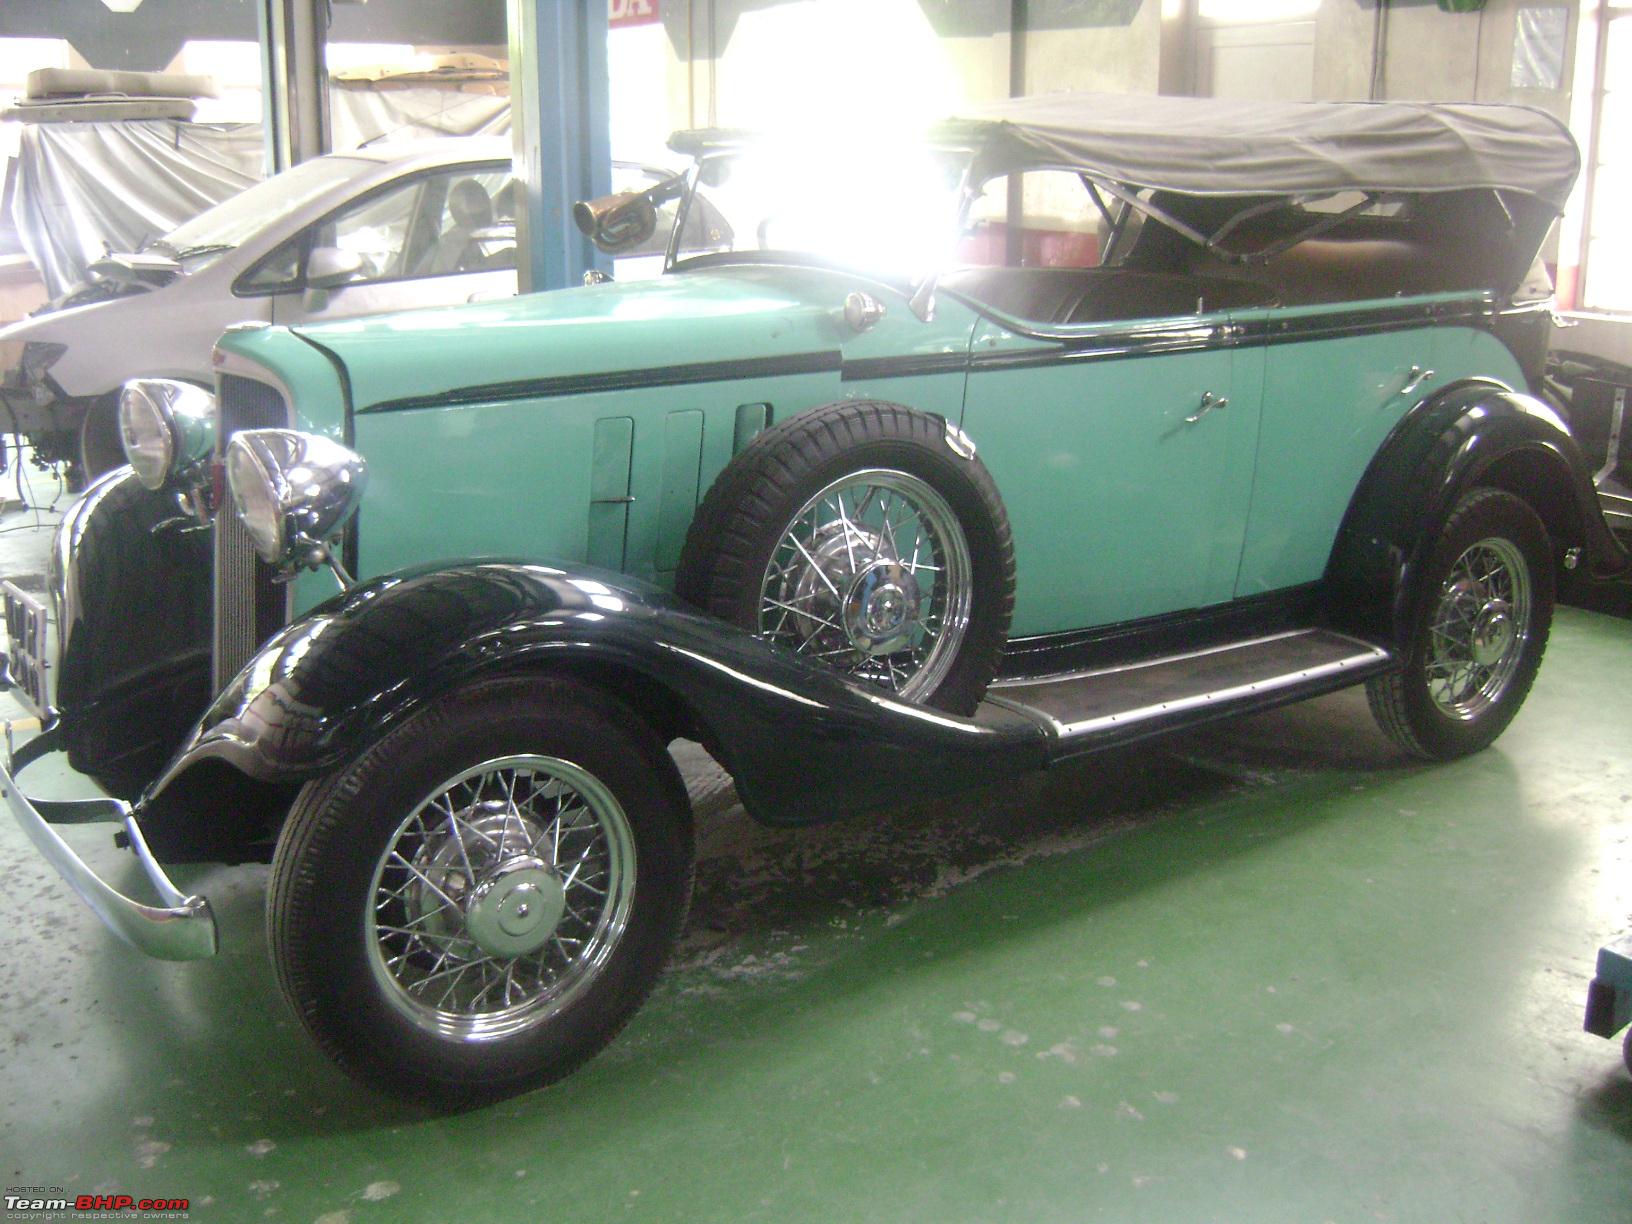
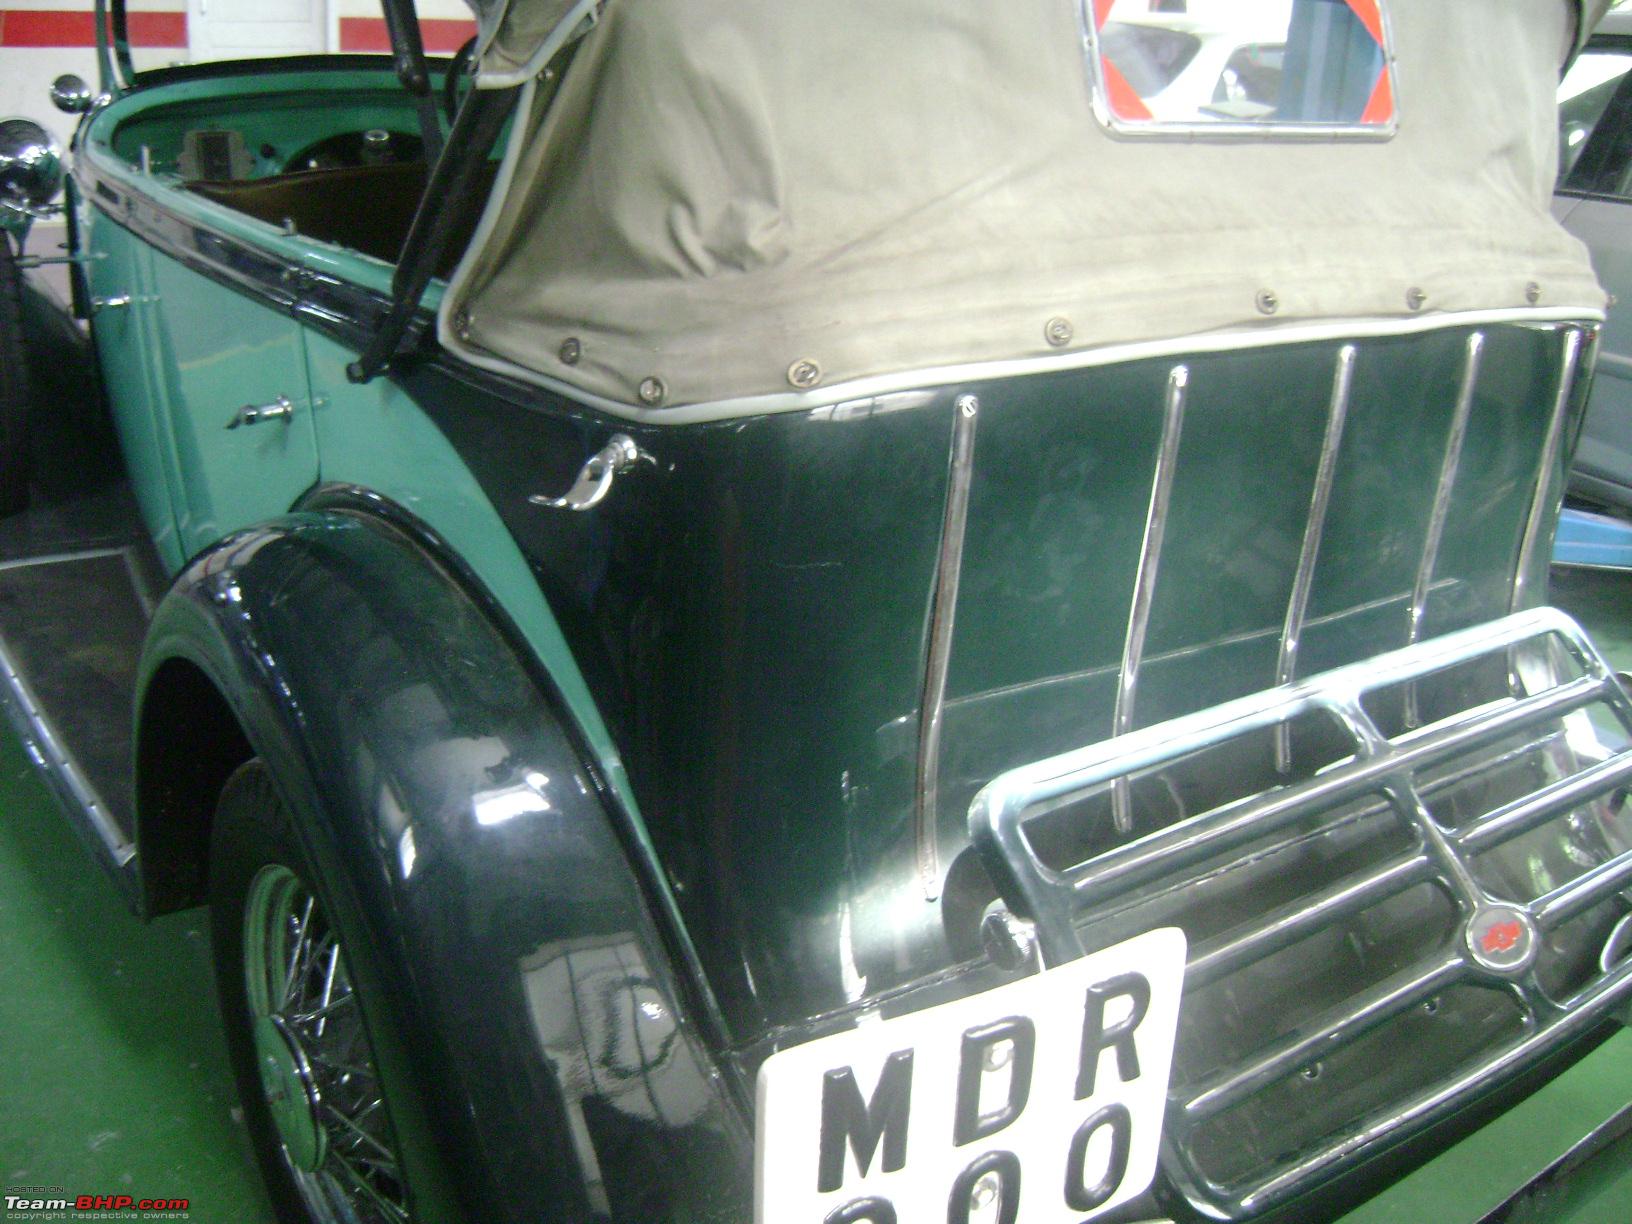
I took these pictures in 2004 when I first saw MDR 200


Sometime in March last year when my boss was visiting Hyderabad he casually mentioned he would like to do up MDR 200. It was but natural I offered to do up the car and his face lit up in enthusiasm as we discussed what kind of restoration it would be and budgets.
We both agreed that it needed to be a comprehensive restoration. His mandate was simple " Take it back to how it was when it left the showroom" I couldn't have agreed more as I personally believe that to be the purest form of restoration. Replicating factory finish was to be the standard. This is easier said than done but definitely lot less riskier as creative license I have observed often ends up in some ghastly renditions.
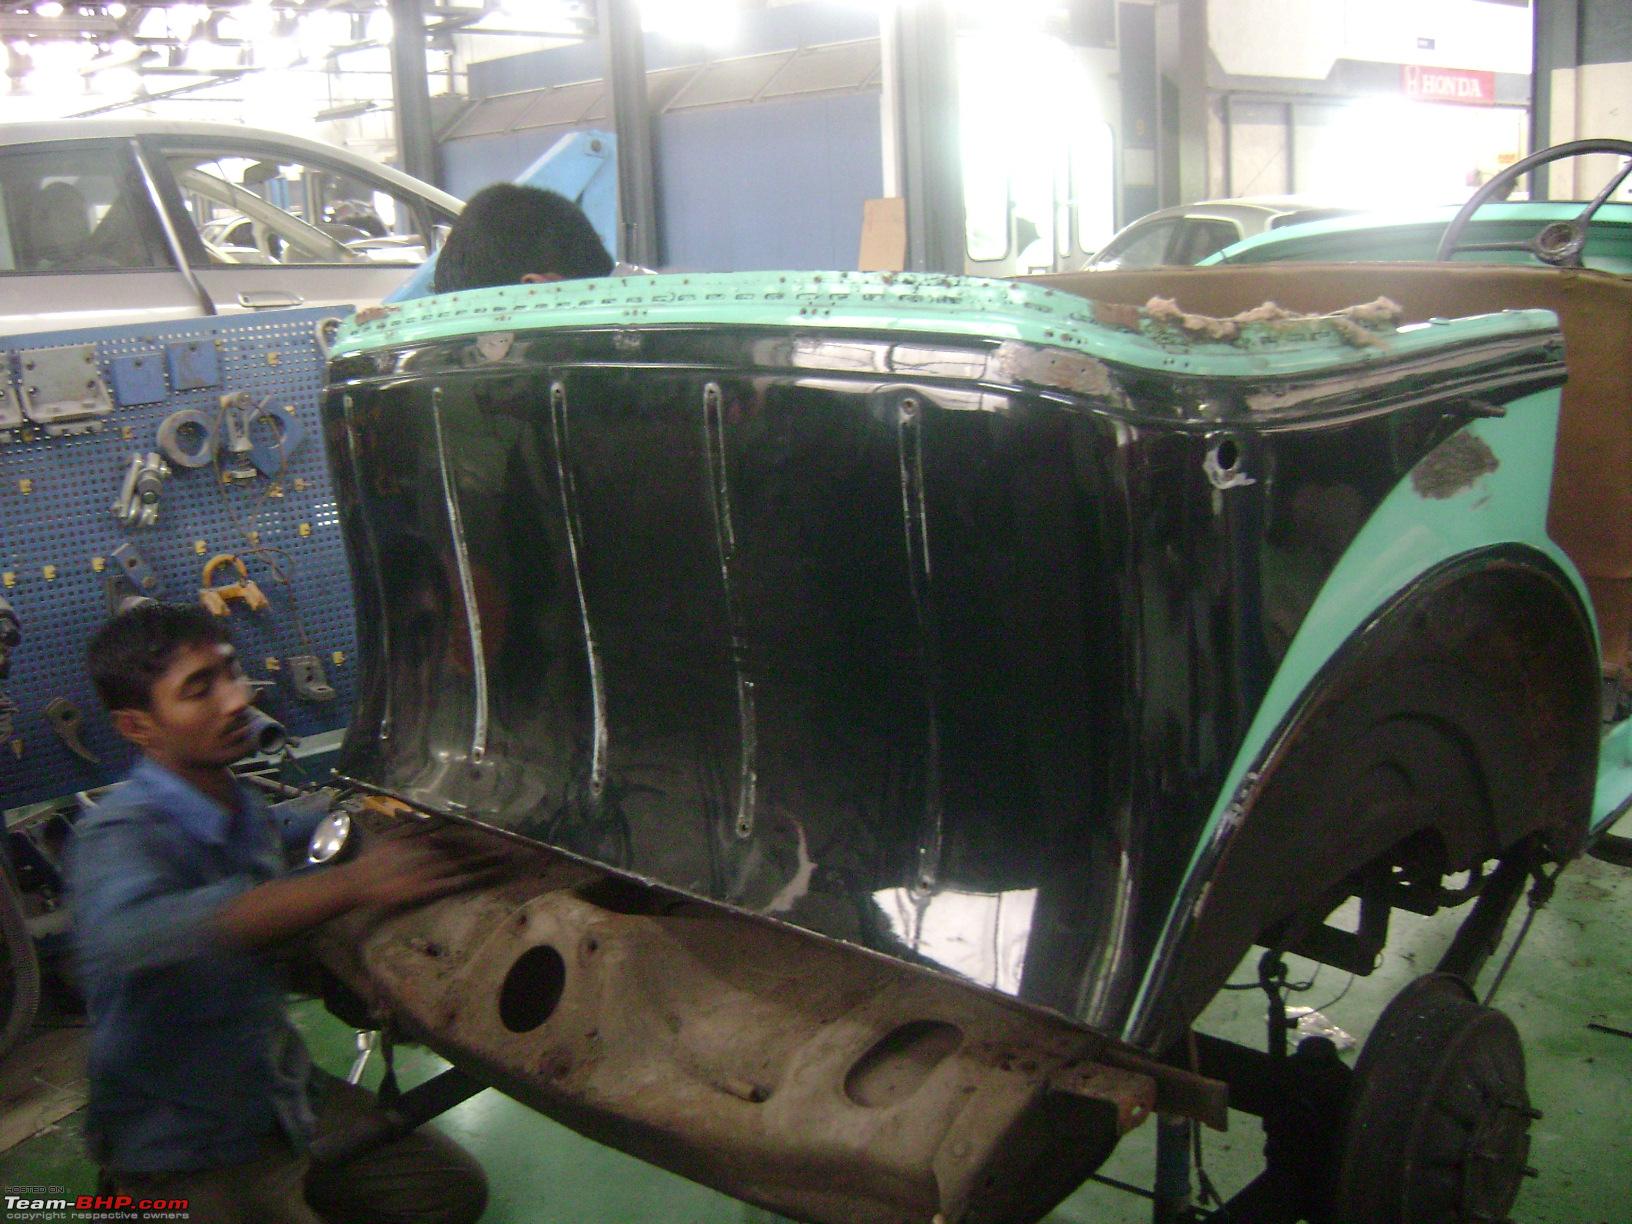
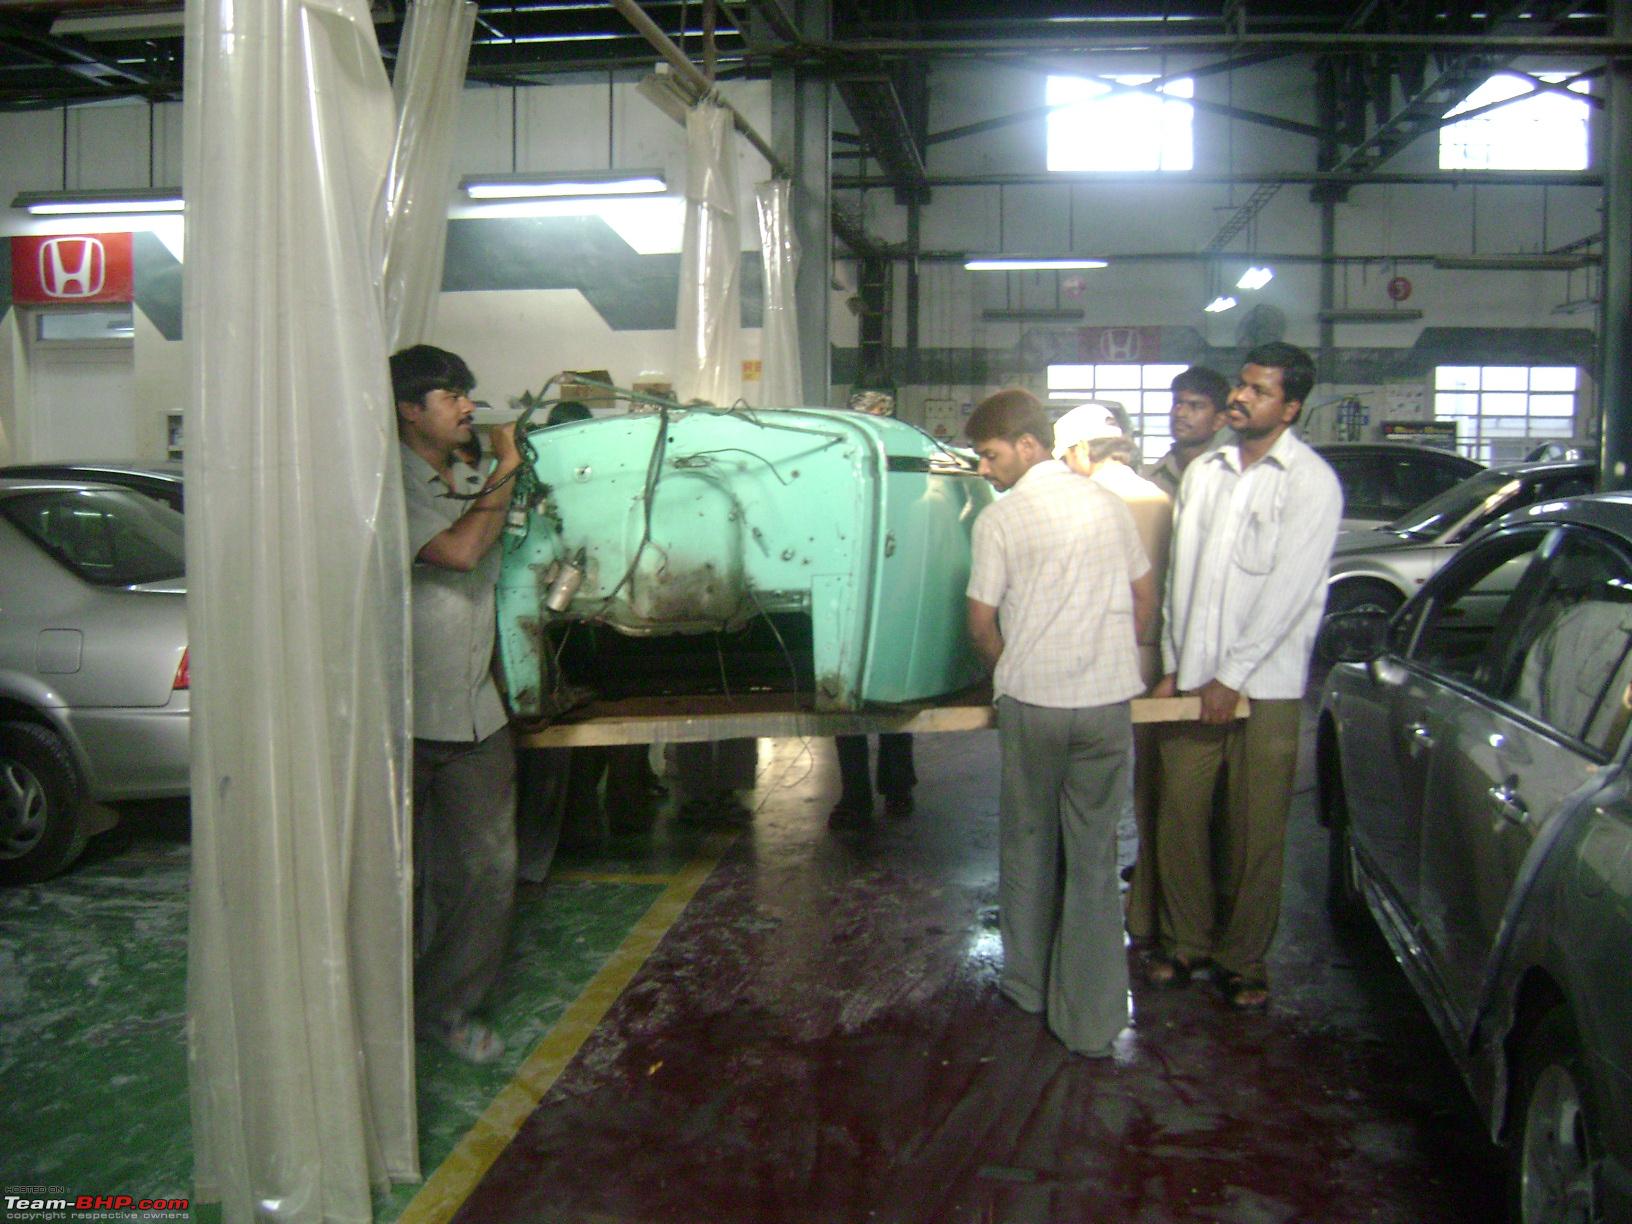
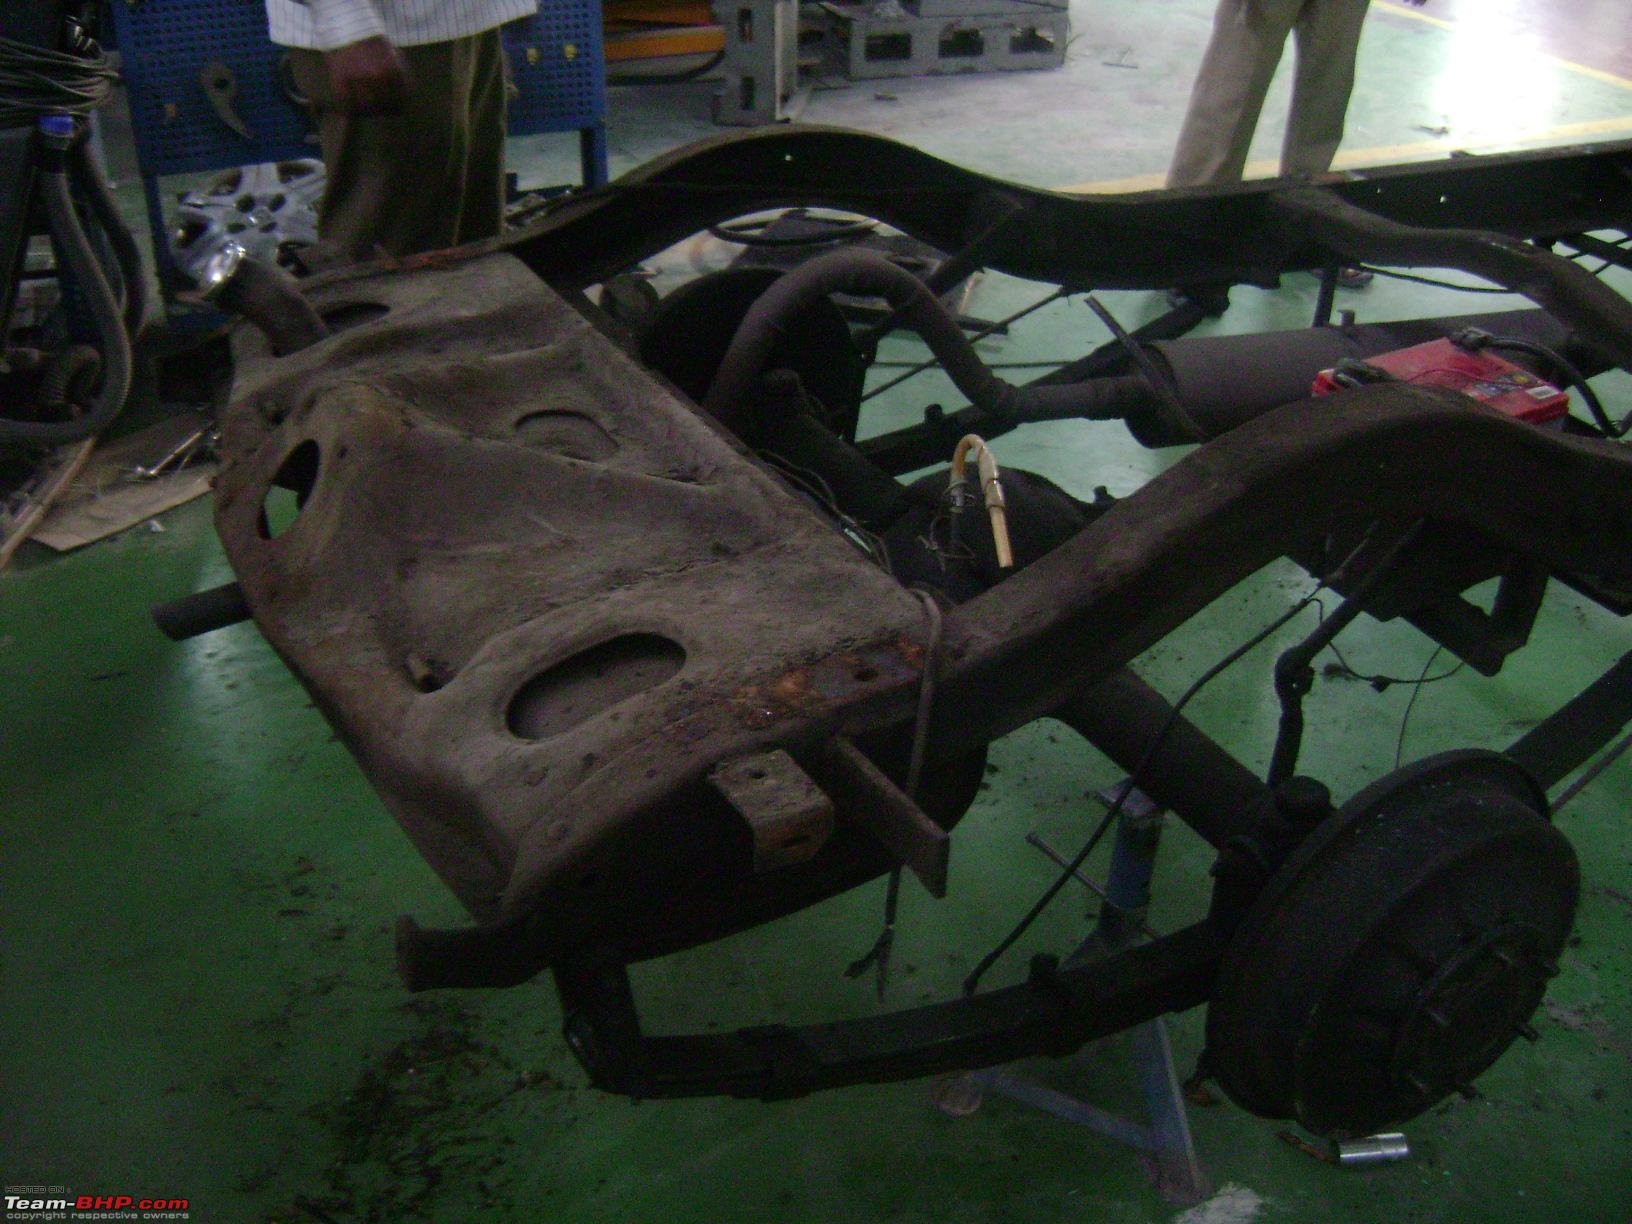
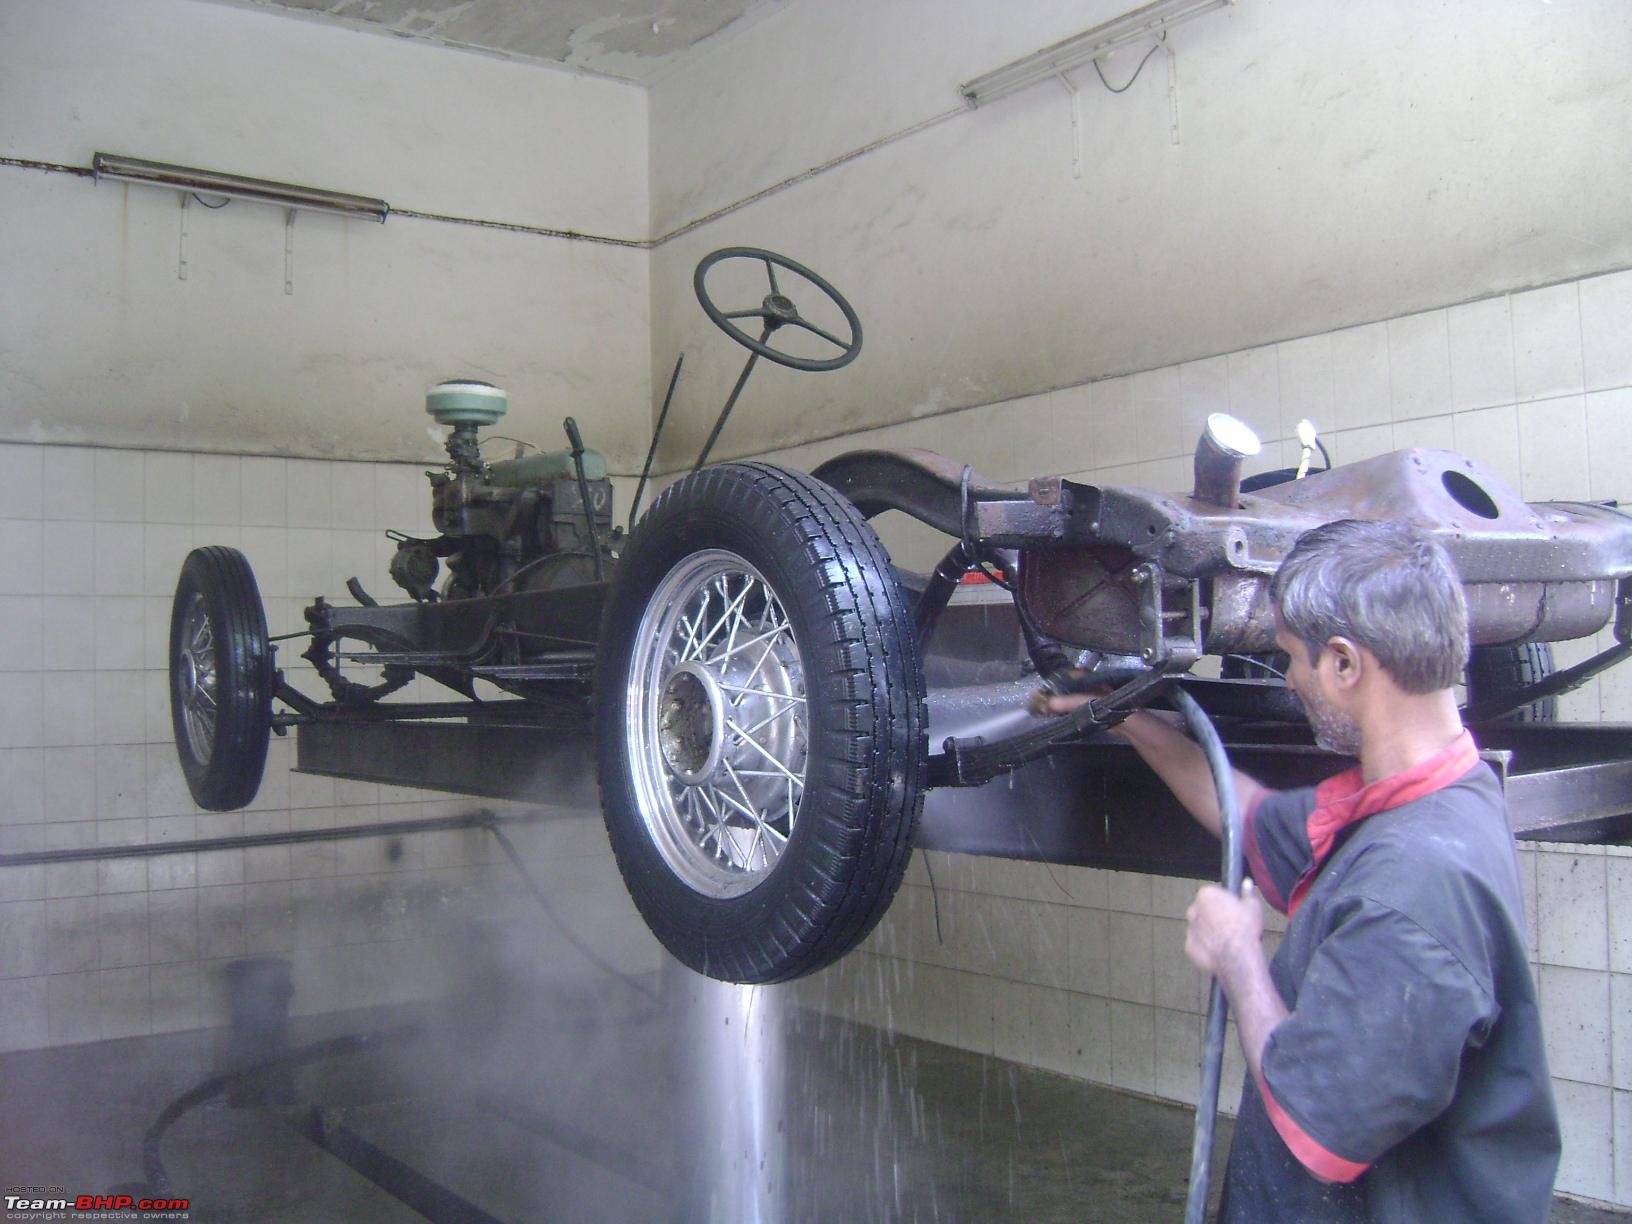
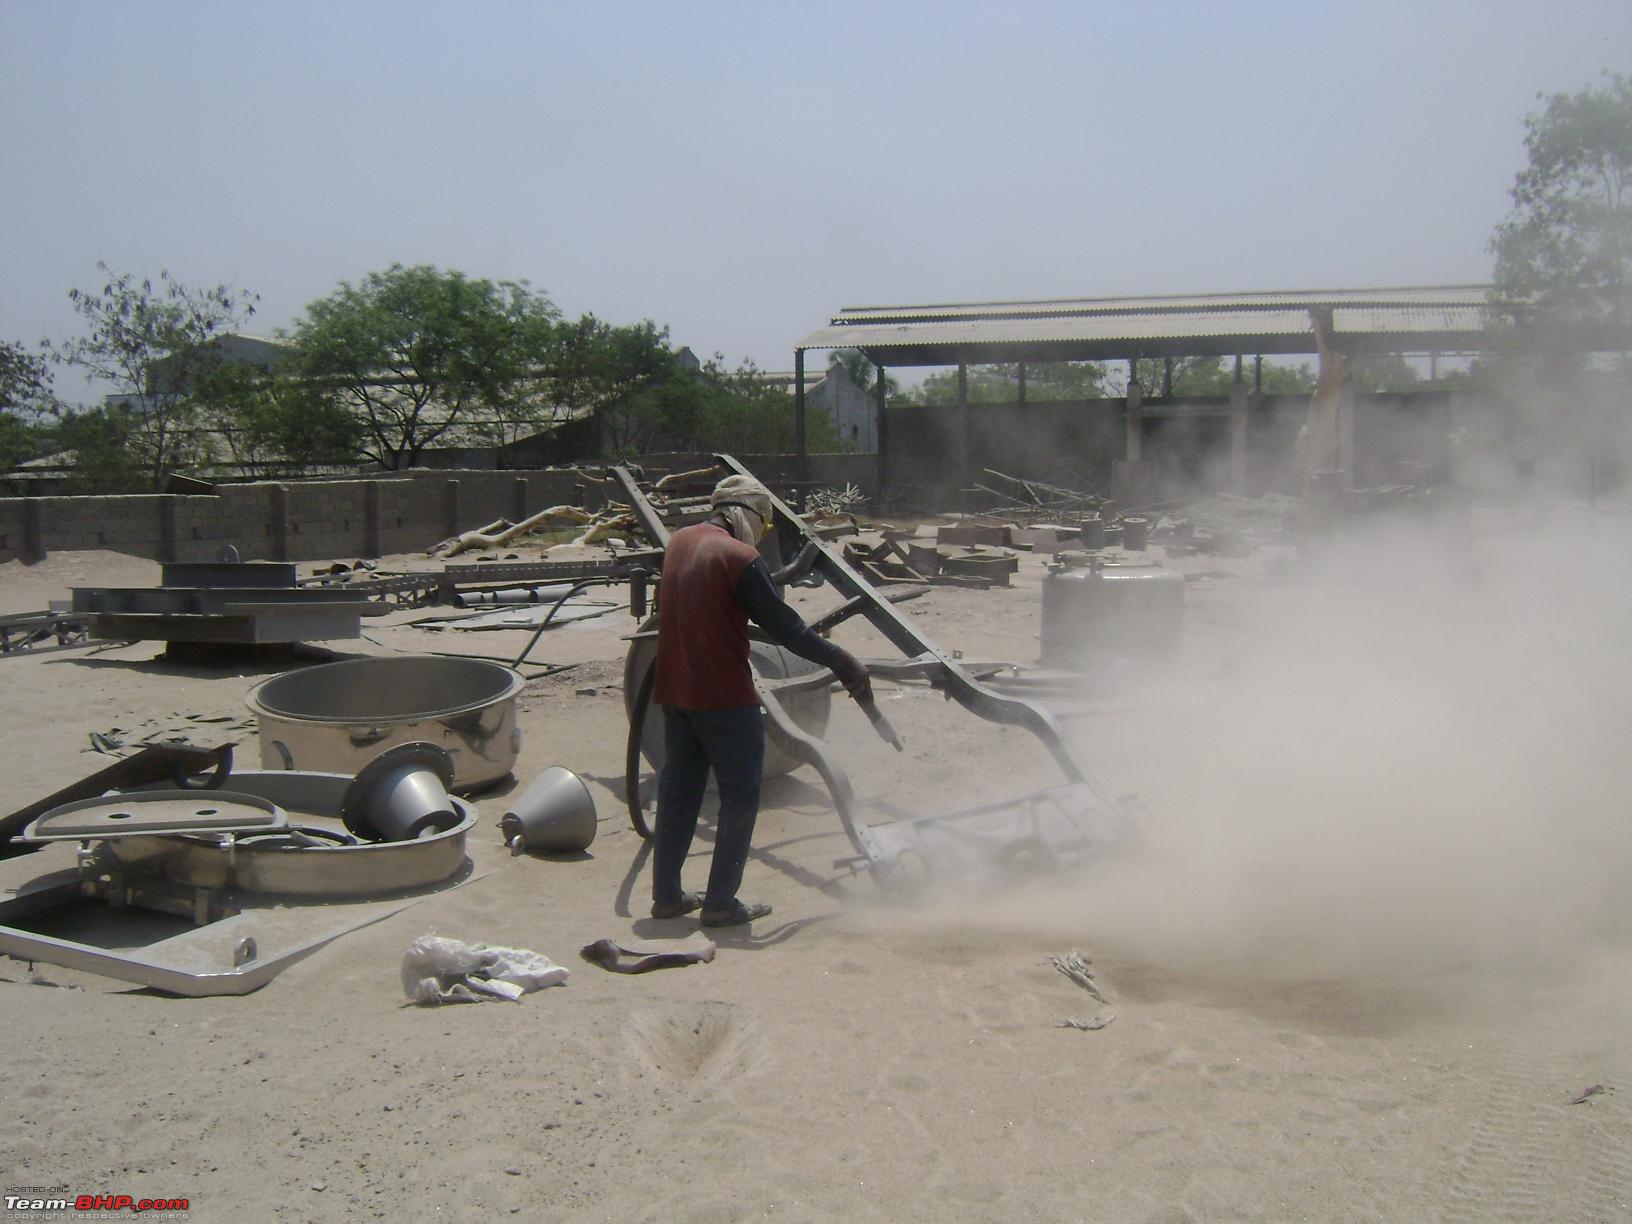
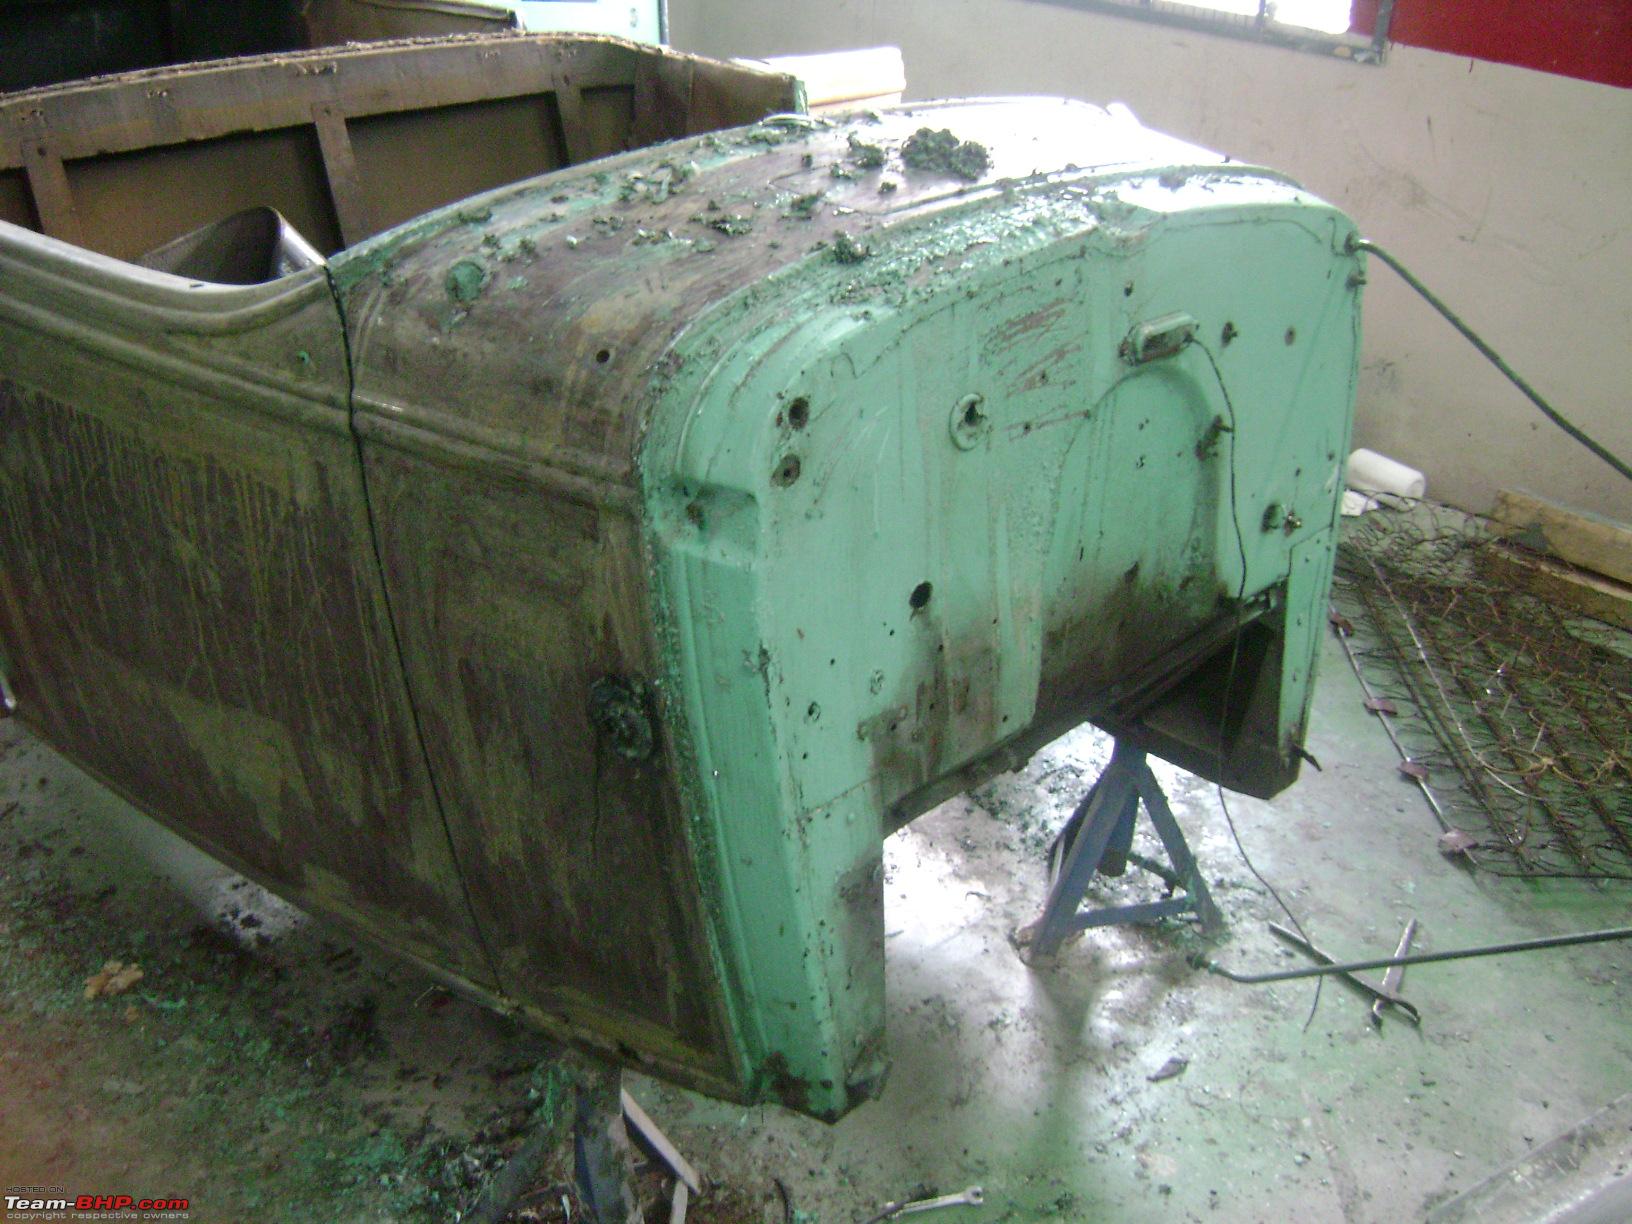
As soon as he got back to Chennai the car was loaded onto a truck and sent to Hyderabad. I received it at our yard and drove the car to our workshop. That drive made it clear that MDR 200 was way past her prime and had weathered considerably on all accounts. It was far far from being close to what a new Chevy in 1933 would feel like. As I drove the car I resolved to take her apart completely, and that's exactly what we did !!
MDR 200 in her new home for the next one year


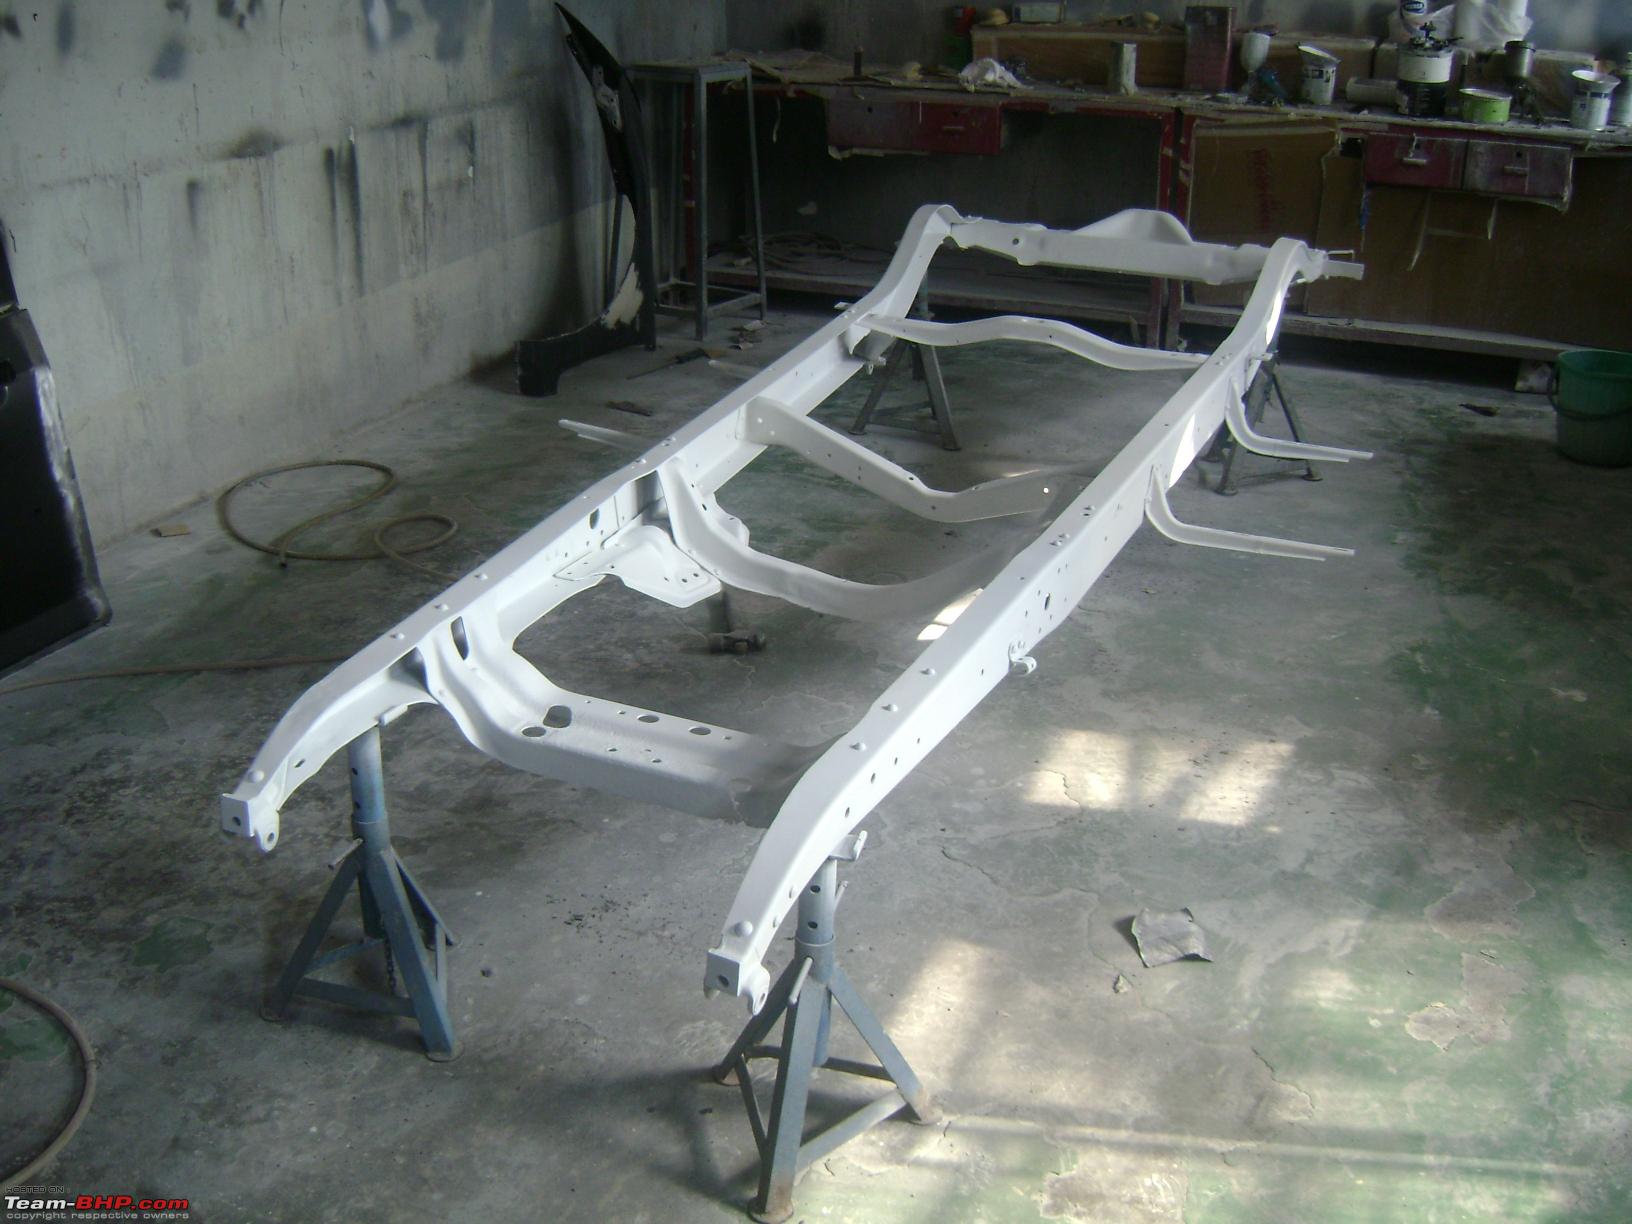
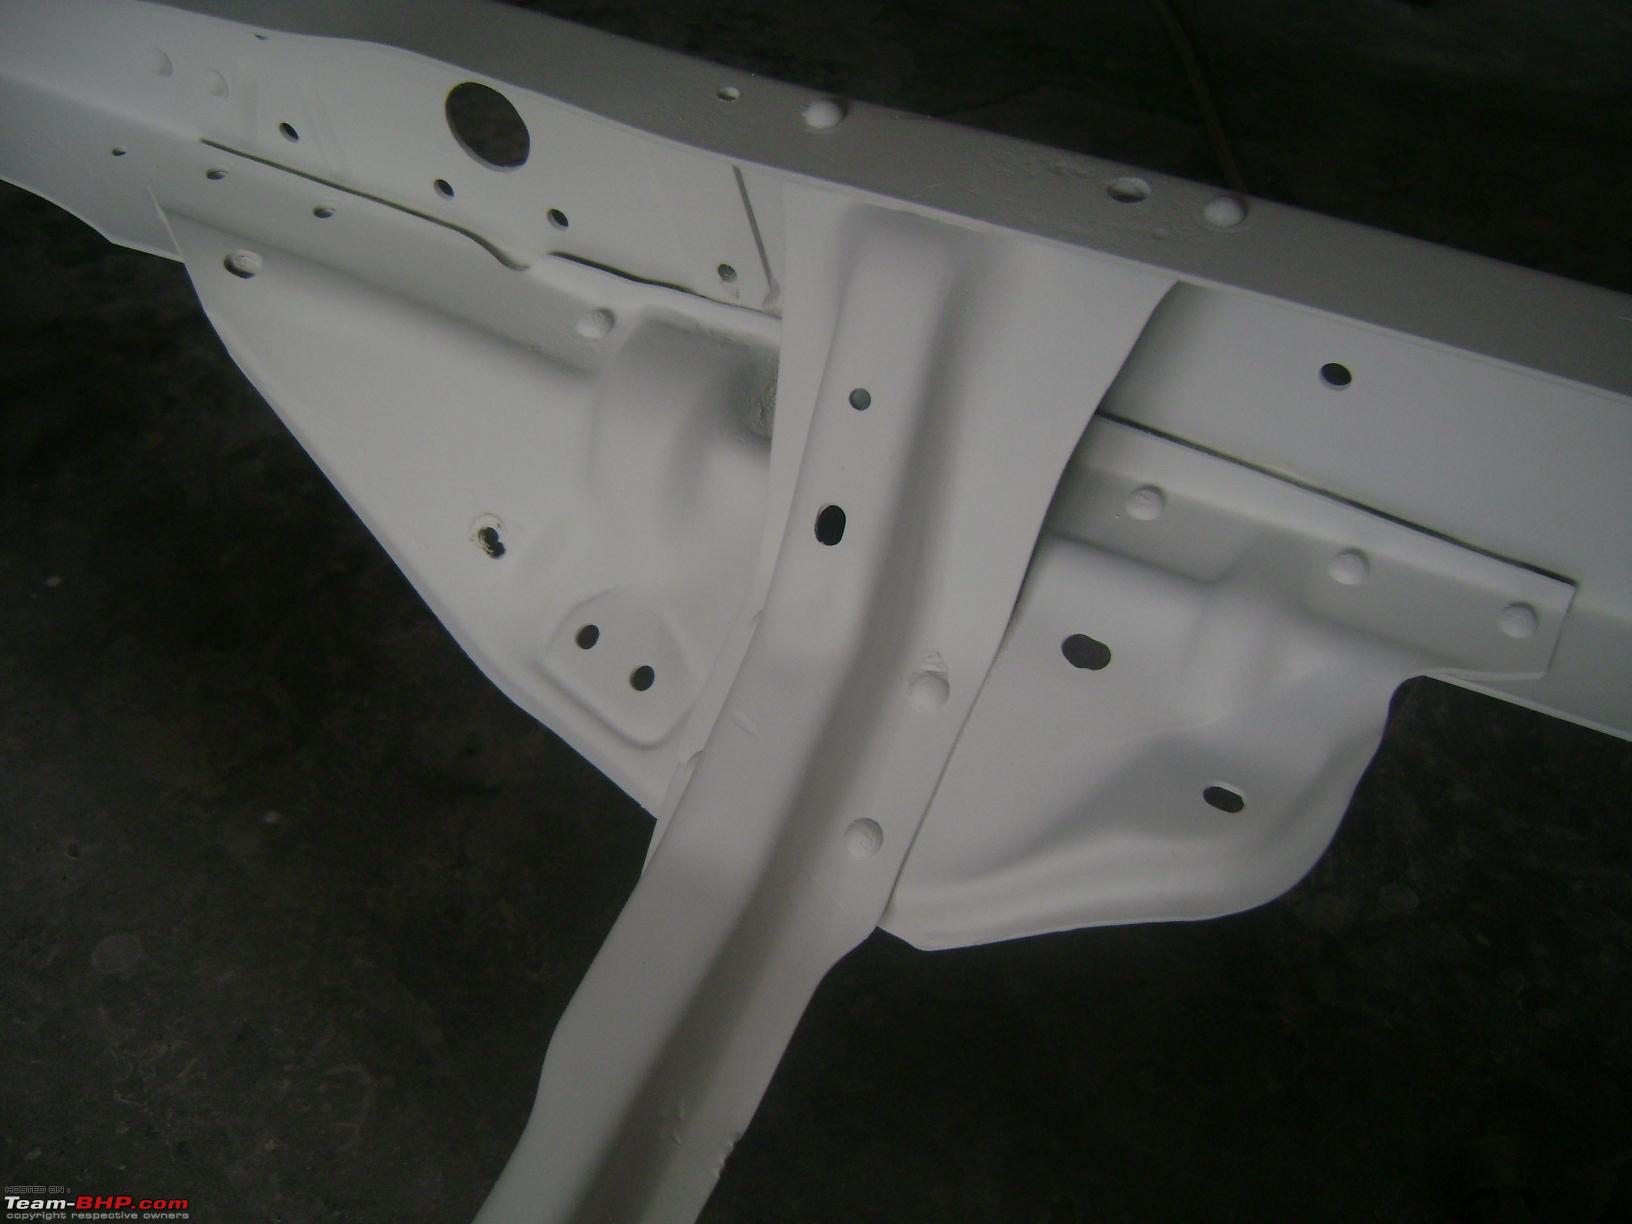
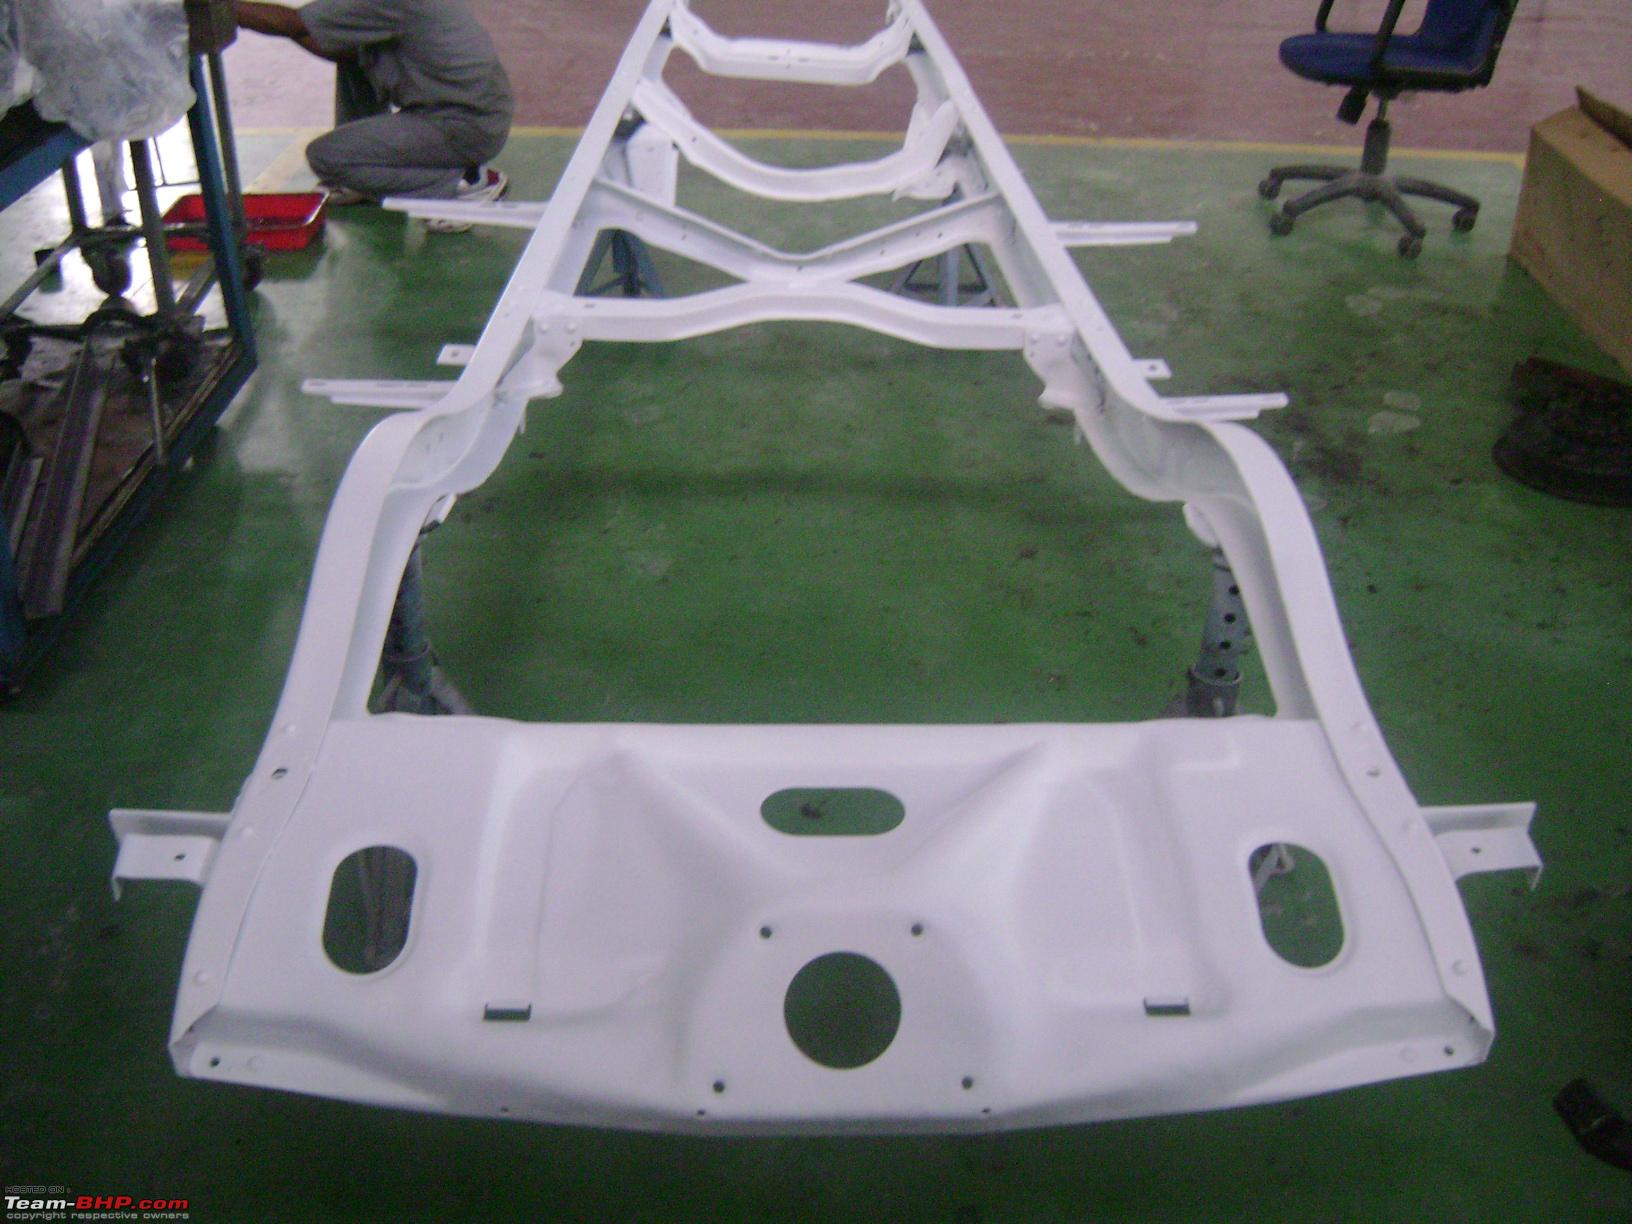
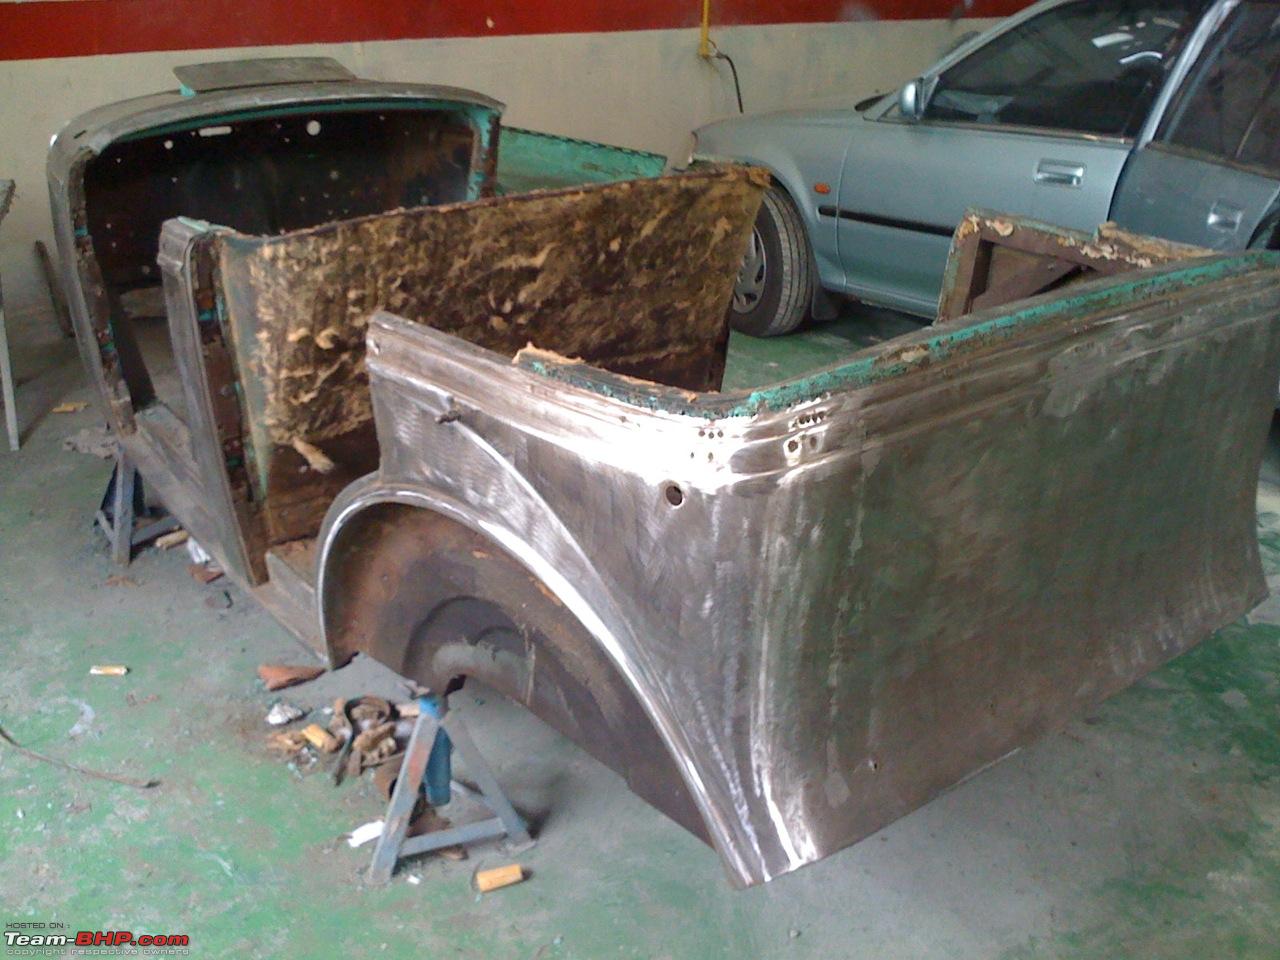
Meanwhile every body panel was scraped off its paint to get to bare metal


Eventually with a sander a rough finish was given to the bare metal

Giving a clean rust free surface for painting

To me restoration is never just about ensuring its beauty that meets the eye !! Its also about beauty that will rarely meet the eye !!
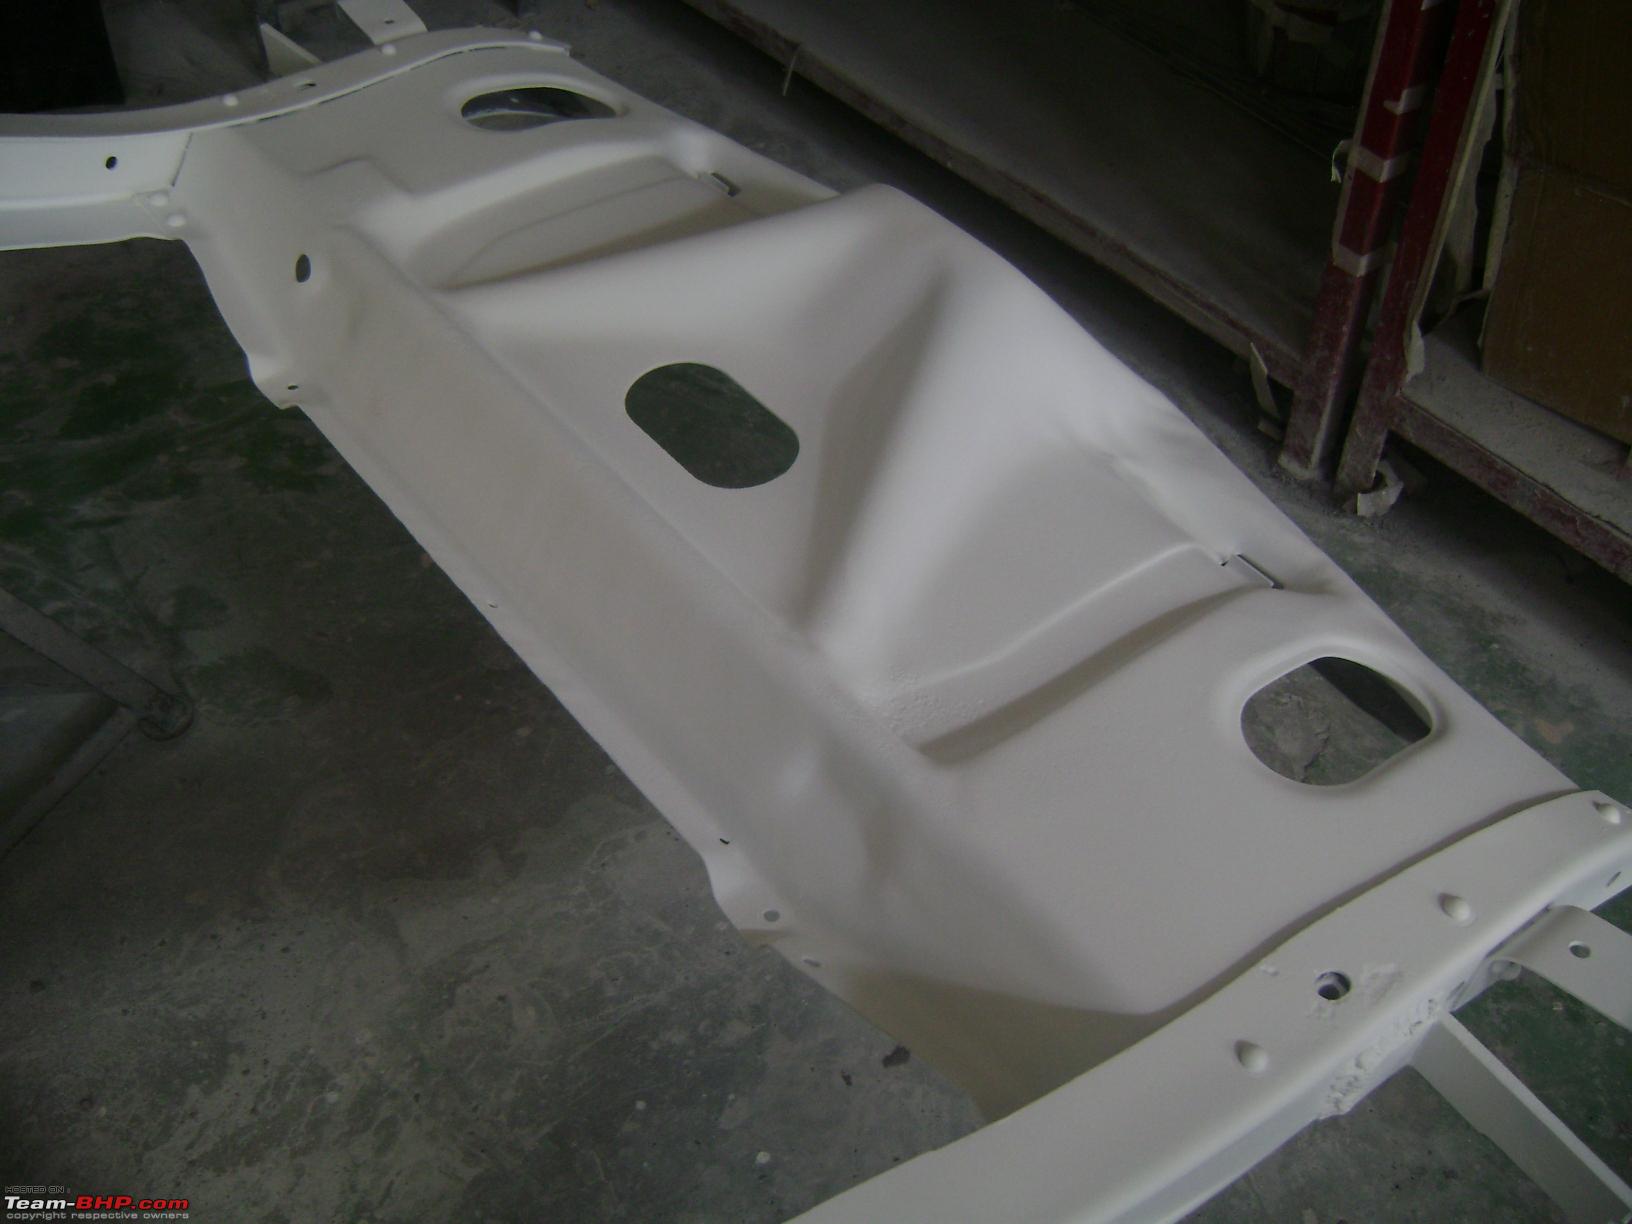
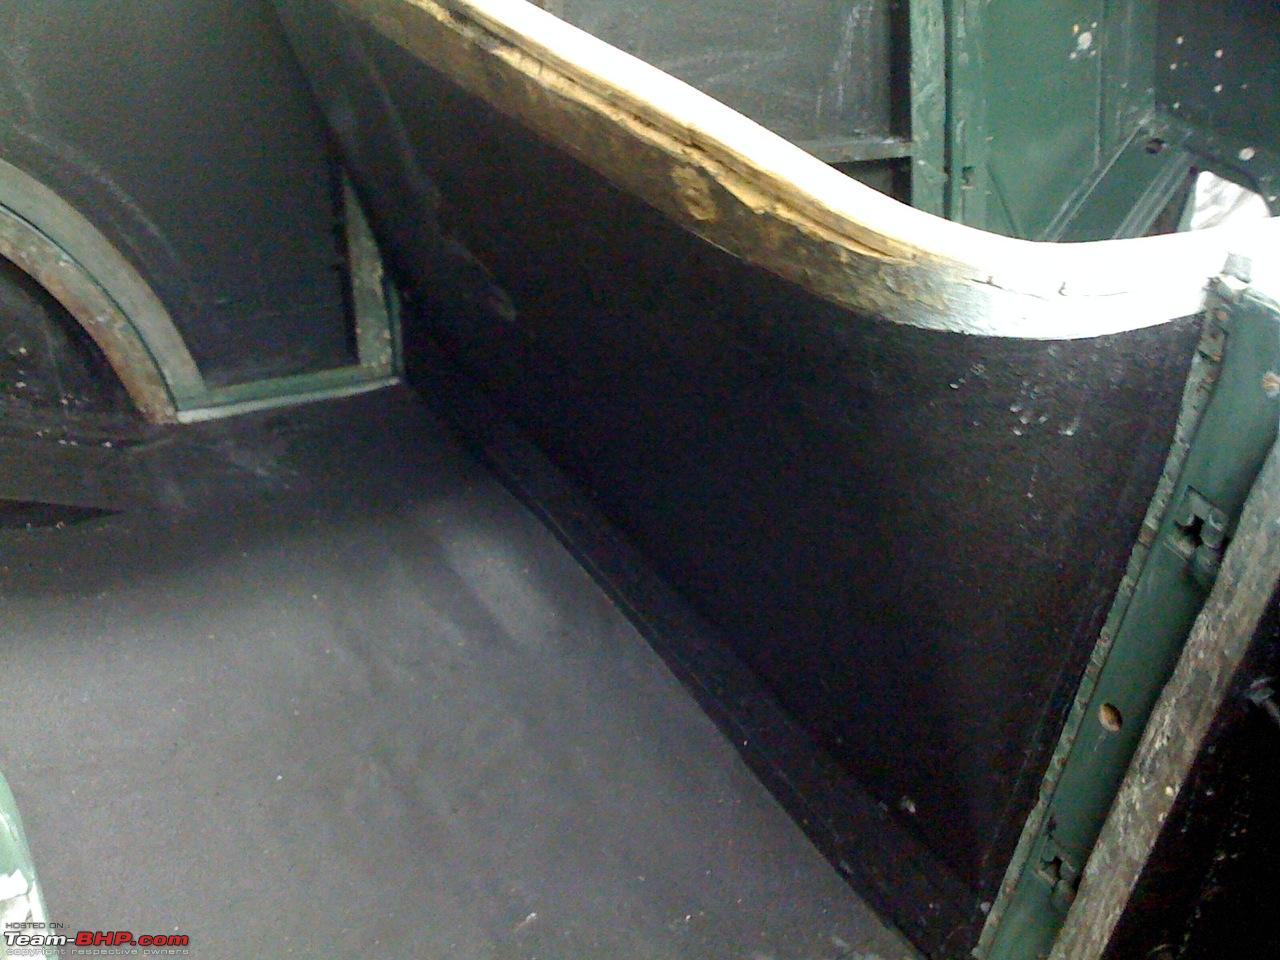
I had the tub turned upside down and the entire floor scraped clean.

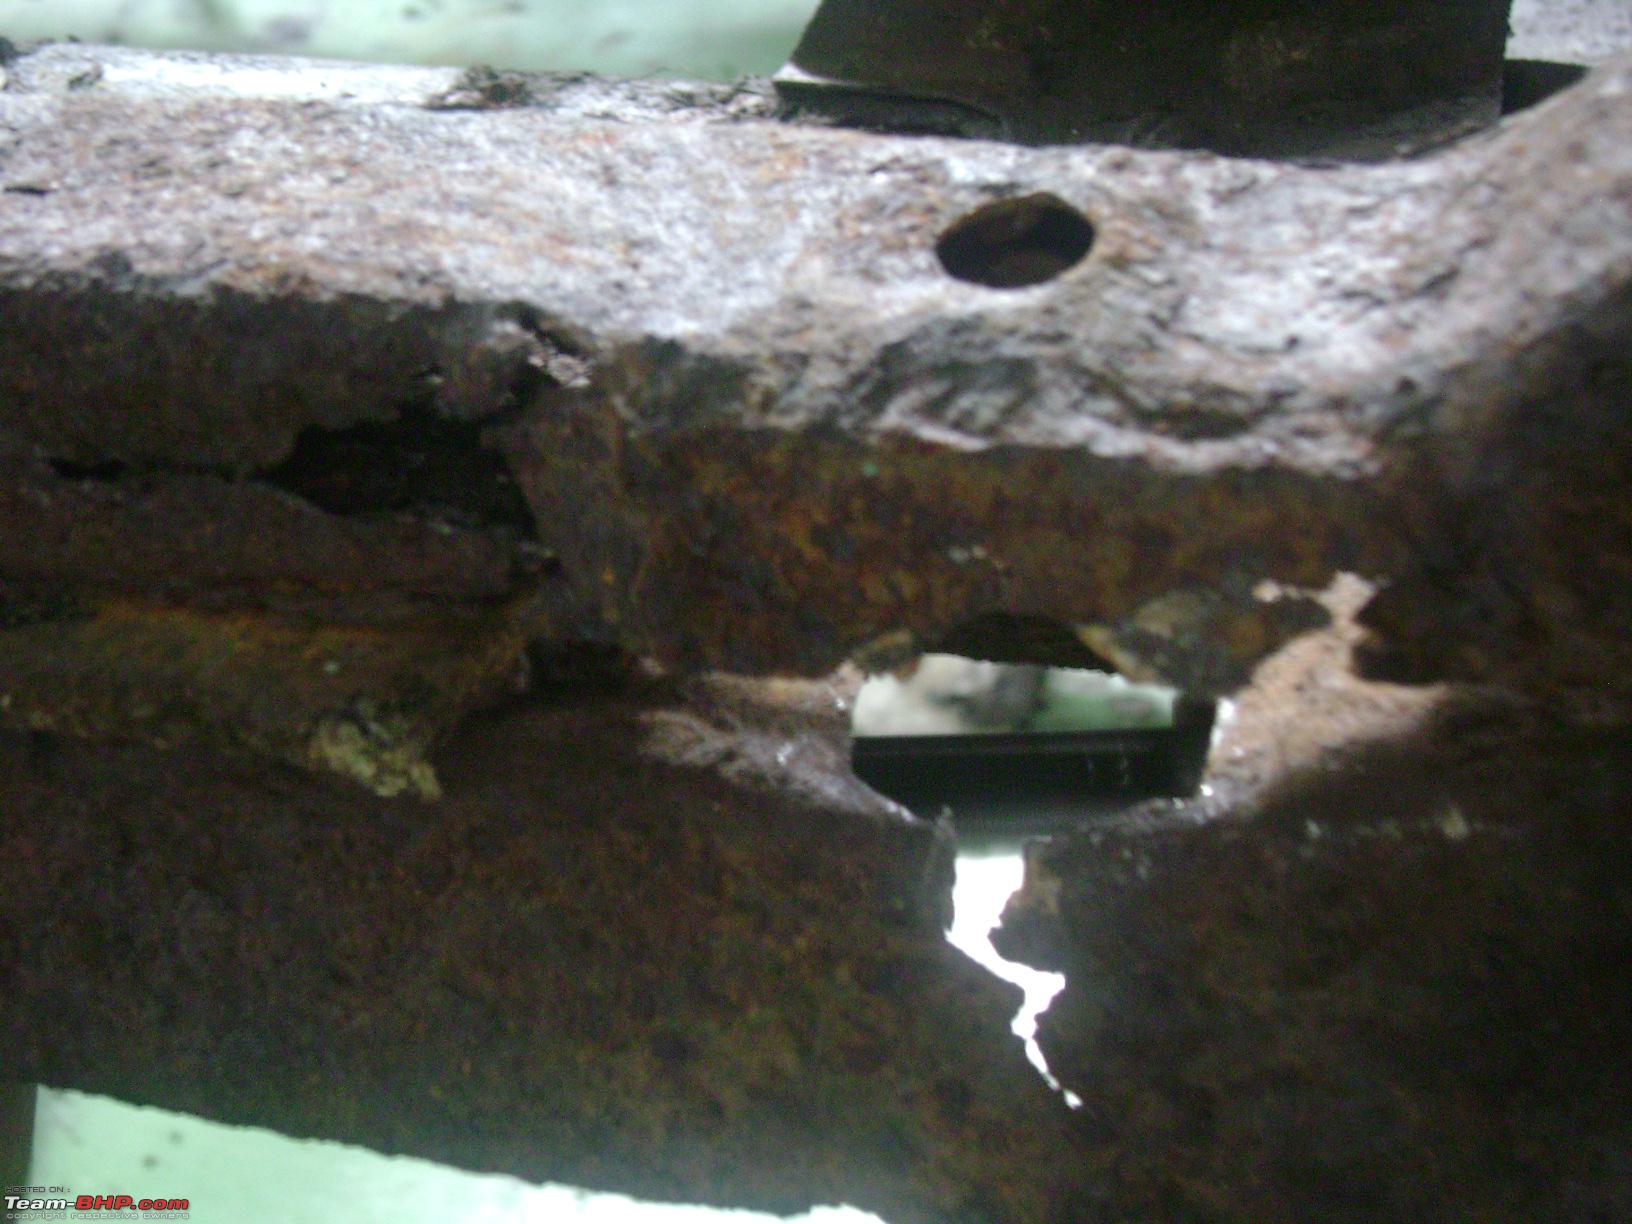
That opening in the floor was not original. Somewhere down the line they had cut a larger opening in the rear floor to weld in a larger battery case. The correct place for a battery holder is under the front floor panel. Obviously the original battery holder had corroded during the car's life and was thrown out.
The hole in the rear floor had to go, meaning it had to be closed. I had the ribs replicated as the hole was sealed off

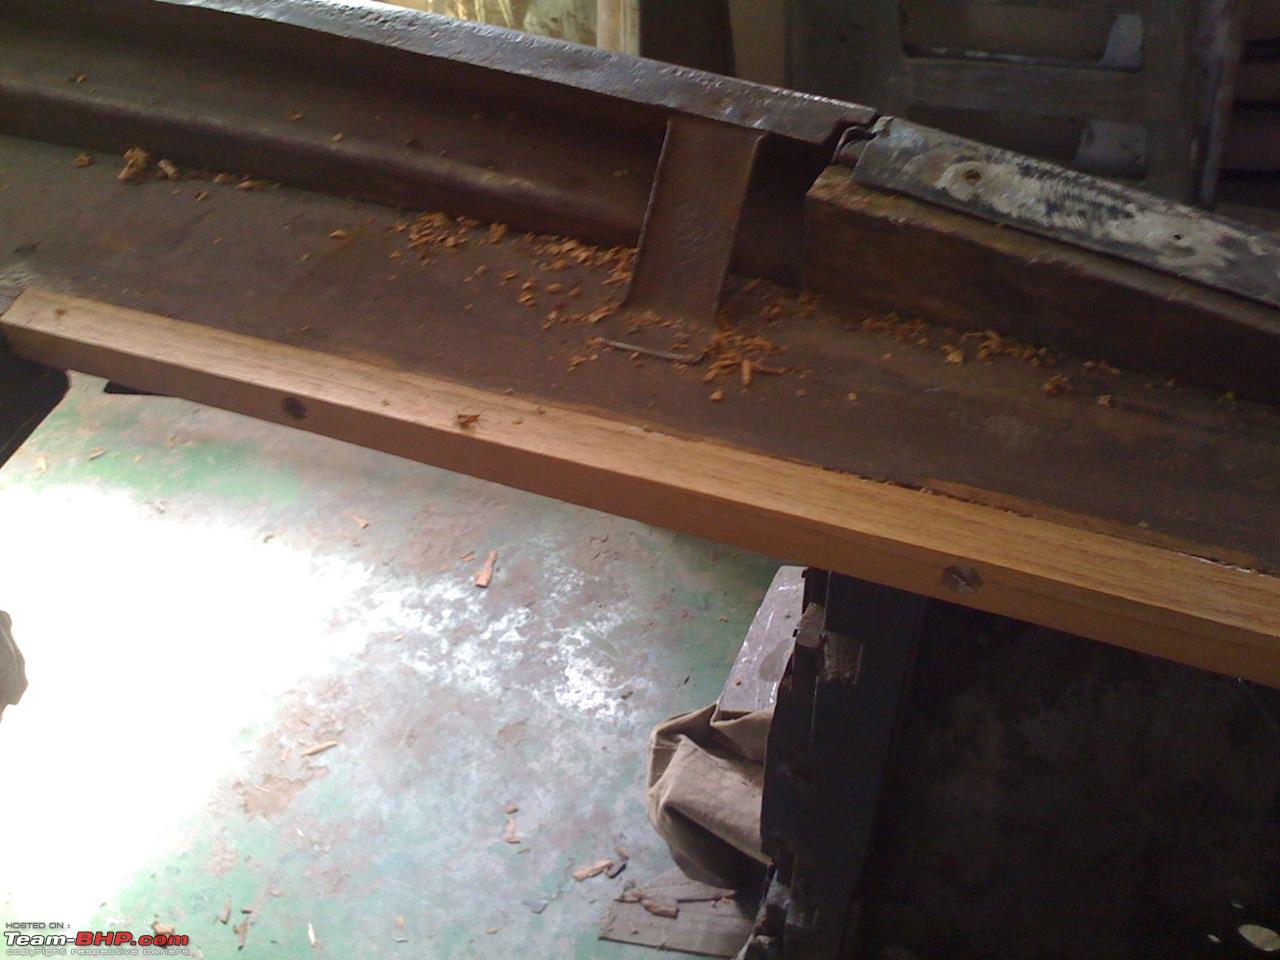
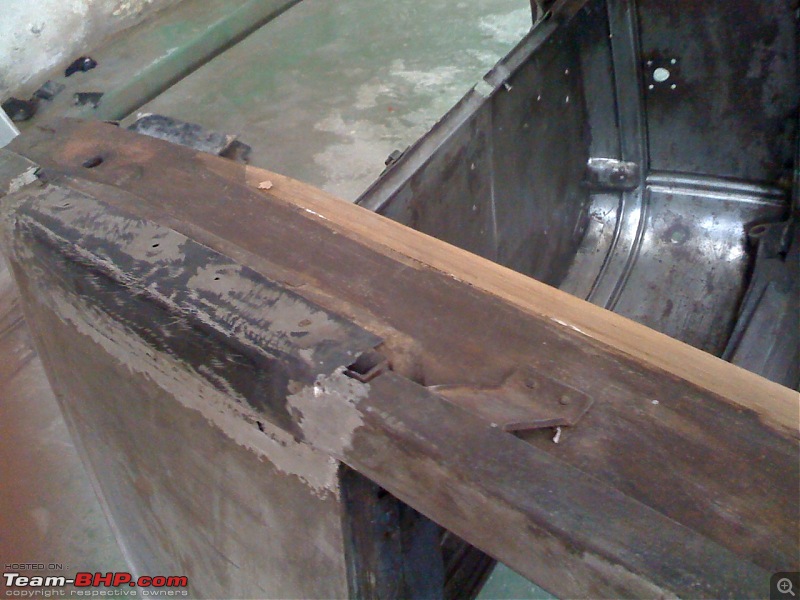
I had noticed minor damage to the wooden frames of the body on the underside. I had them repaired.

Some minor corrosion to the metal sheeting was also rectified with patches
Beautiful car, and wonderful restoration thread Deepak!
Eagerly waiting for more!
Getting the car back to showroom condition also meant I paint it in original Chevrolet shades. The 1933 Chevrolet came in a number of double colours. Luckily this one had come in a double green which was one of the more sober combinations.
Quite obviously the car's present colour had horribly gone wrong and was a far cry from what it would have looked like when new.
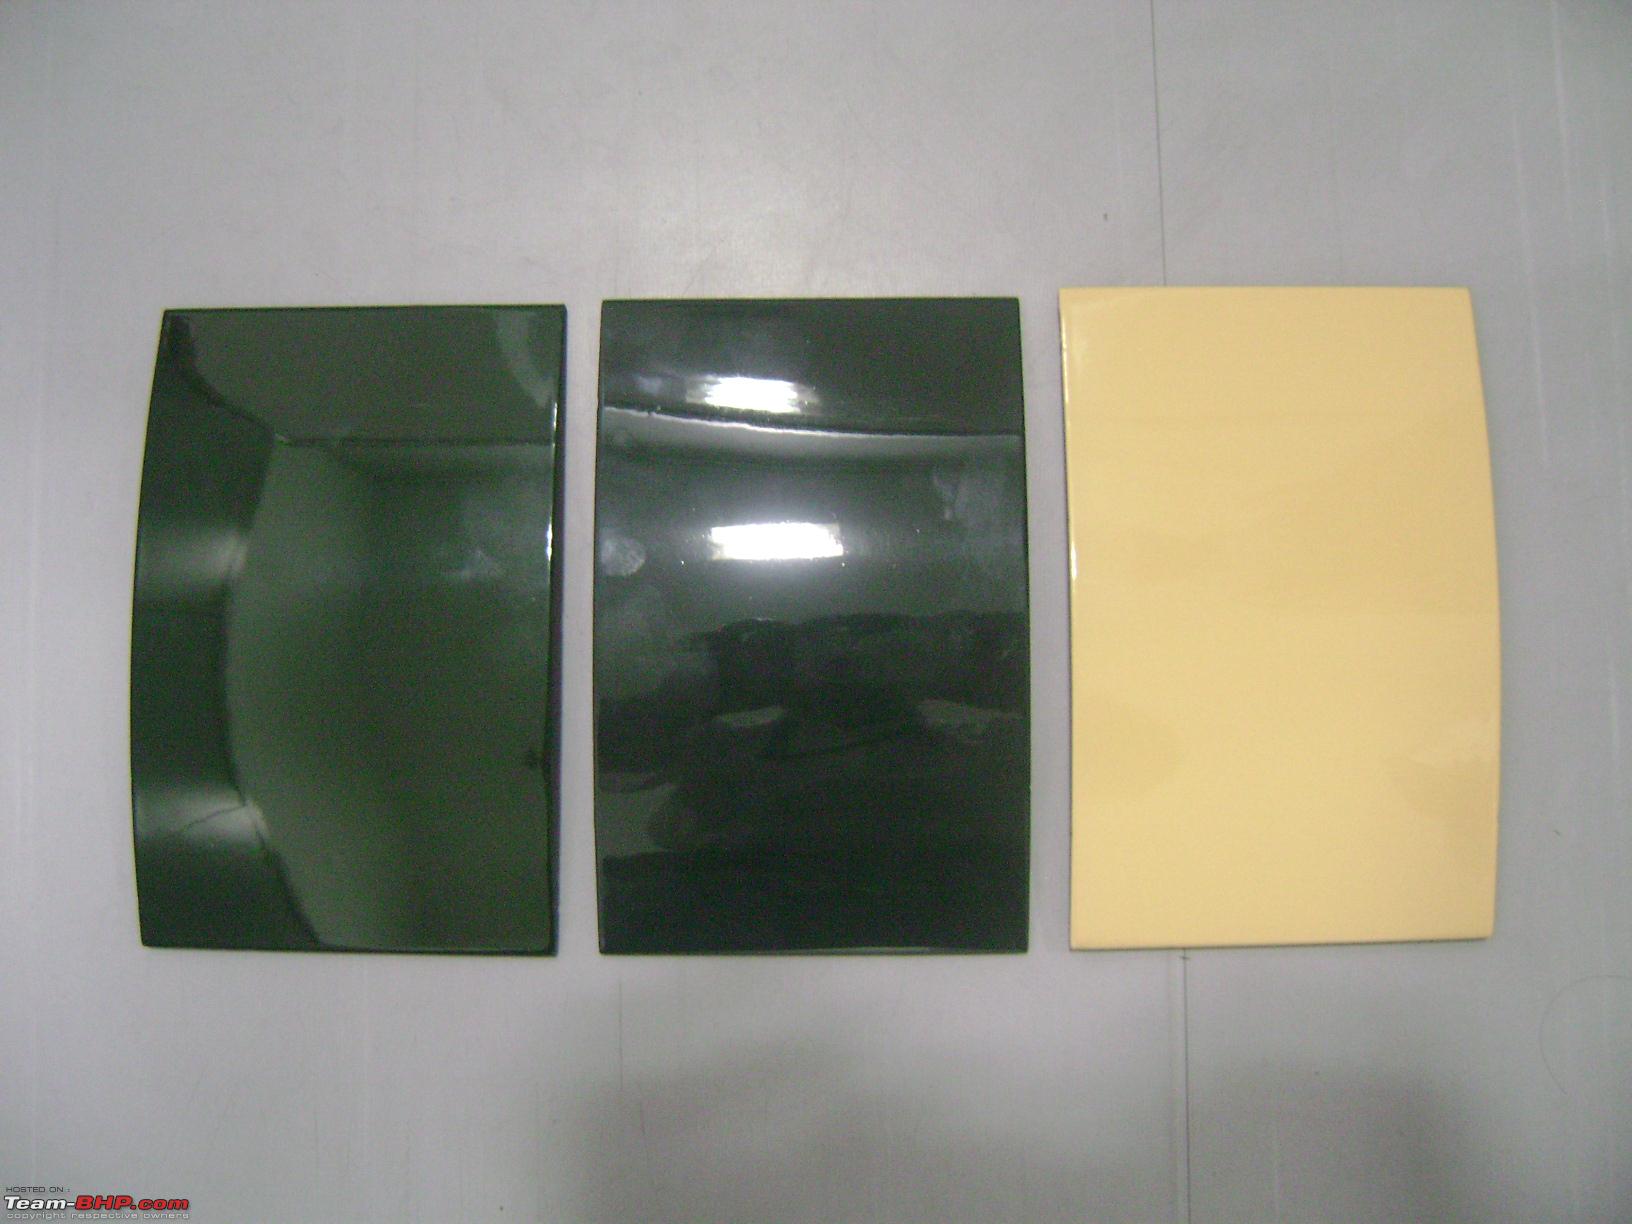
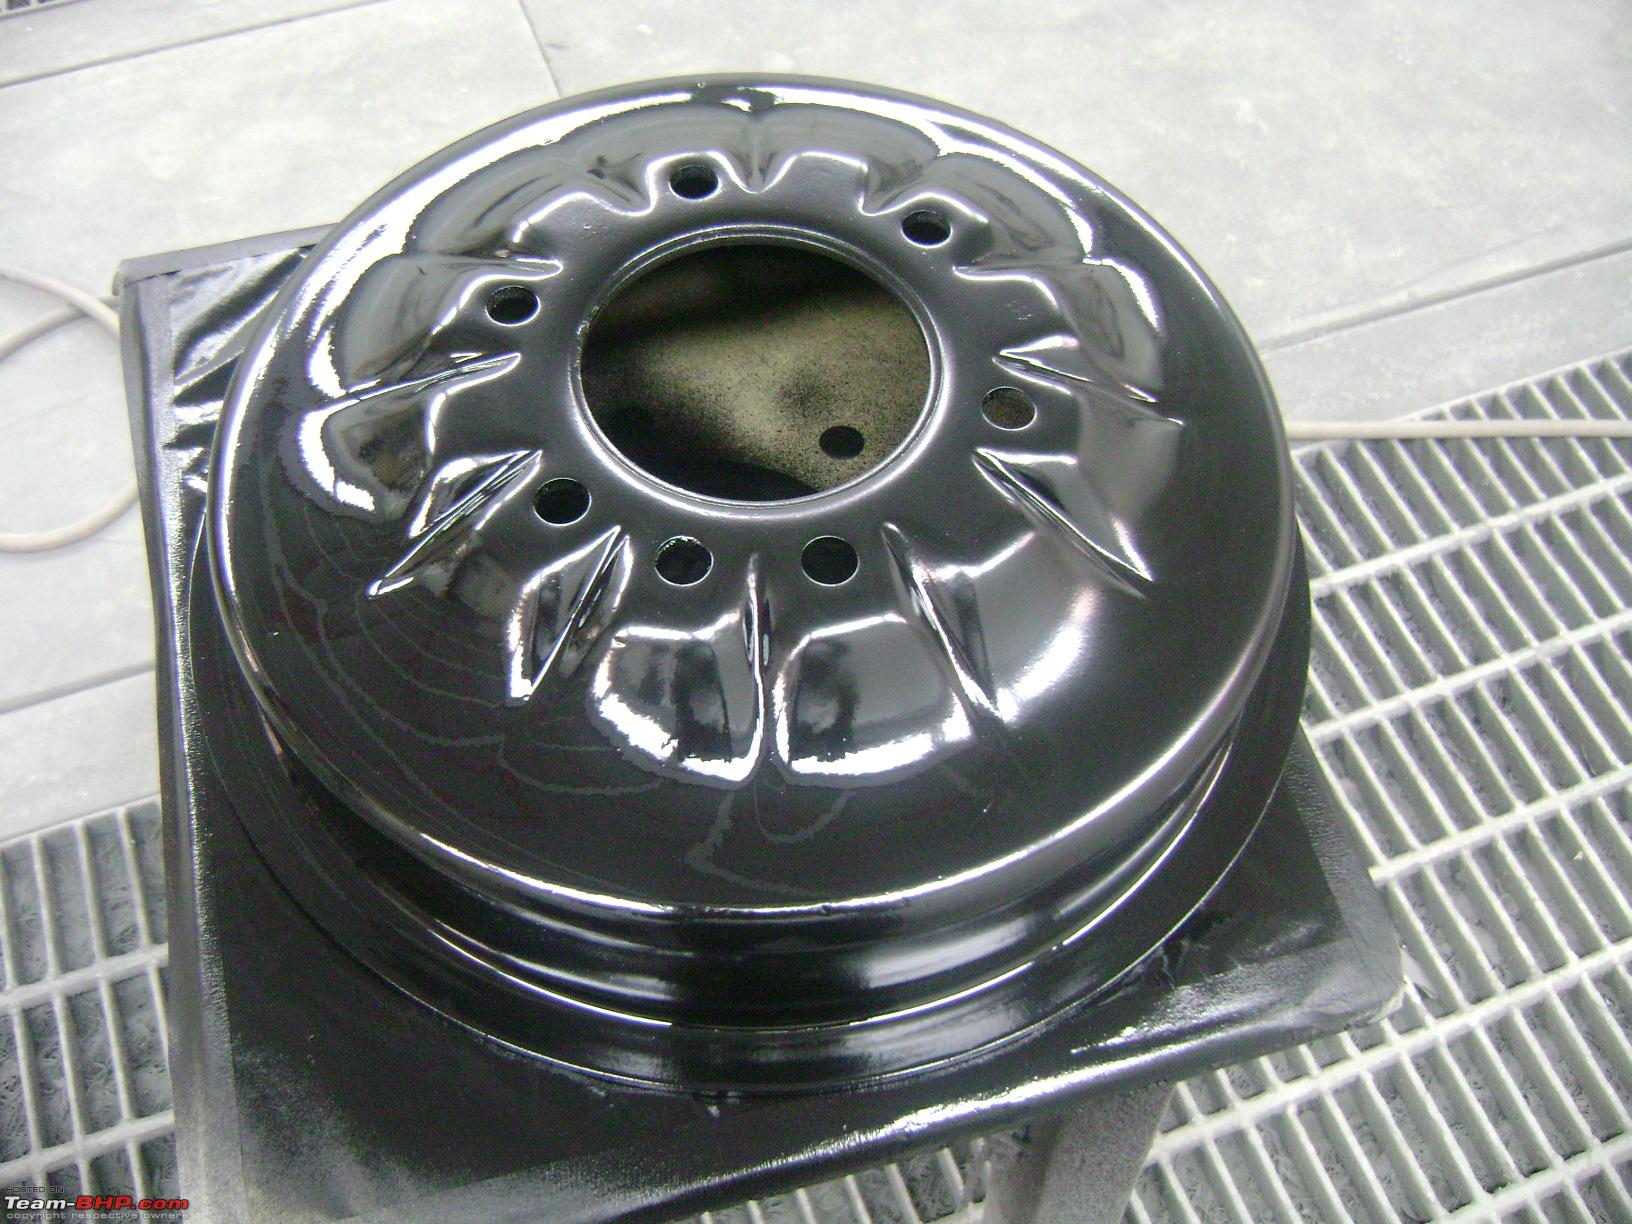
The combination was Altura Green, Laurel Green and Cream Medium for the wire wheels.
At first my boss was a bit taken aback when I told him I was going back to painting the rims as opposed to retaining the chrome look. It would have taken a big effort to chrome those rims and they were in excellent shape. But the chrome had to go. He trusts me so he said " Do what you feel is right for the car, its going to be entirely your call"
So it was decided the car would get painted in her original colours.
Easier said than done !!
Everyone in the painting world I touched base with drew a blank when it came to these colours. Dupont and ICI drew a complete blank in India. I went up to the labs in the US and they too politely declined to attempt getting the shades as they said the colours were too old for anyone to know what tints were used.
Dead end.
In frustration I thought I would approximate from the original mixing ratios as found for the three shades using modern tints.
This is what I got:

This is what a lab technician from a US paint company recommended

I was confused. They both seemed wrong. Gut feel !!
Back to square one ! Once again I started hunting for the right shades and finally after two months of trying I found a store that confidently said they had the original shades.
I was overjoyed. I offered to place an order and they sent a proforma invoice only to quickly revert saying neither could they ship the paints out ( I think the US bans export/and or India bans import) nor could they share the formulae.
I was in a soup, but a way had to be found. I finally asked if they would spray paint some sample cards for me, which they agreed to and I received the shade cards.
What a revelation. The shades were different and looked gorgeous. The combination was spot on and smart.
I had the shades mixed by our team and they called me to identify the correct colours. We mixed up all the cards and I was able to pick the same cards over and over again indicating we got the shades right.
I was delighted we had a major aspect of the restoration sorted out !
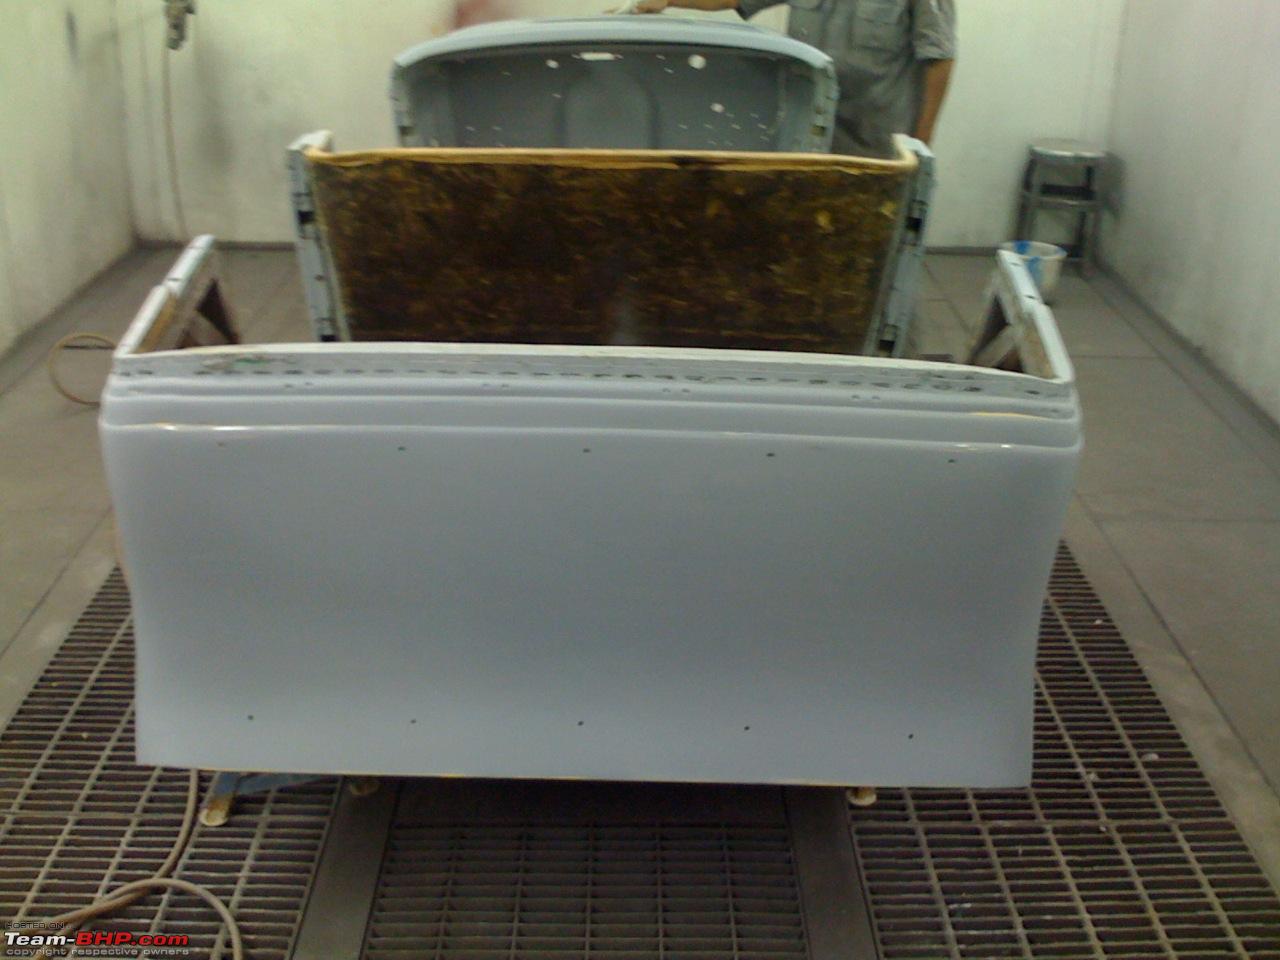
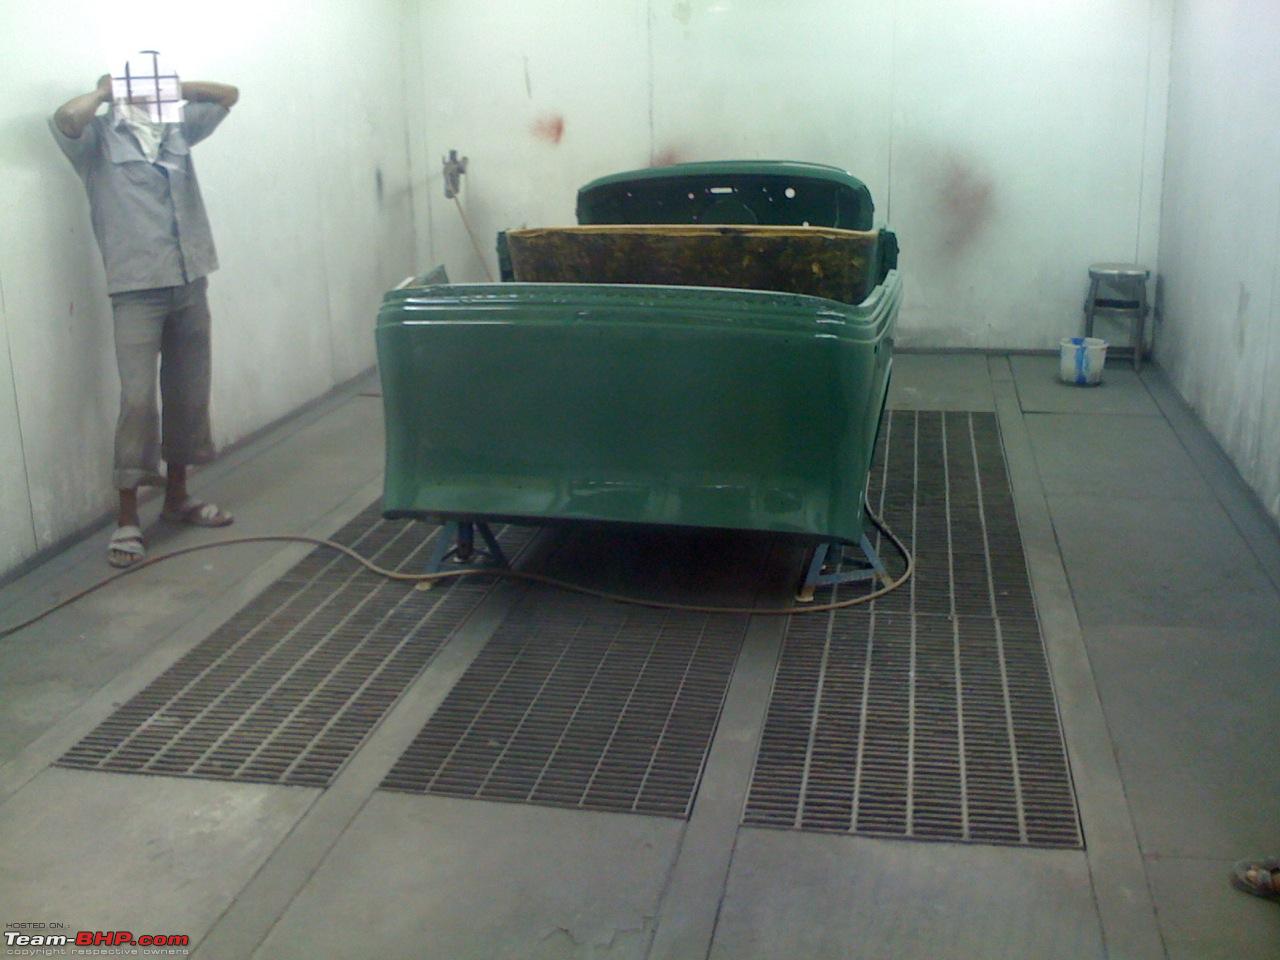
The tub was ready to be painted. I won't go into the amount of hard work that goes into preparing a car's surface for painting as that's another thread in itself.
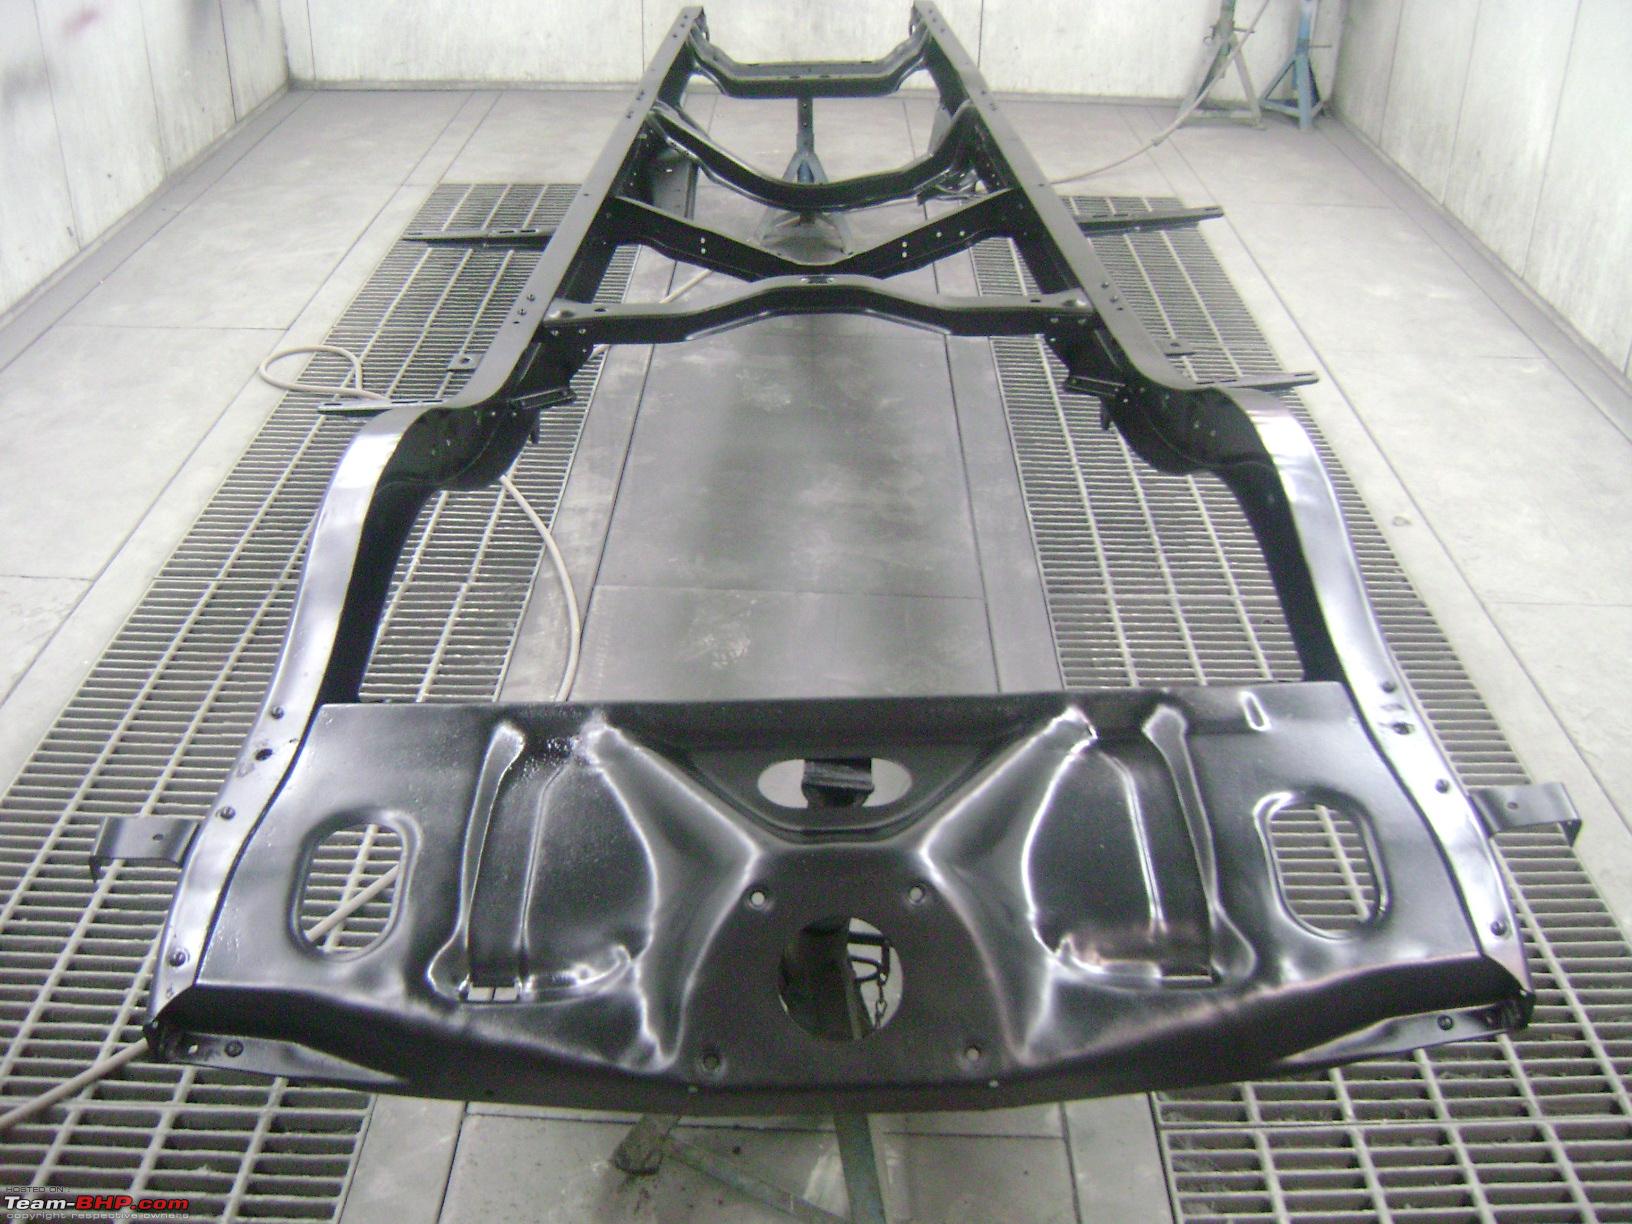
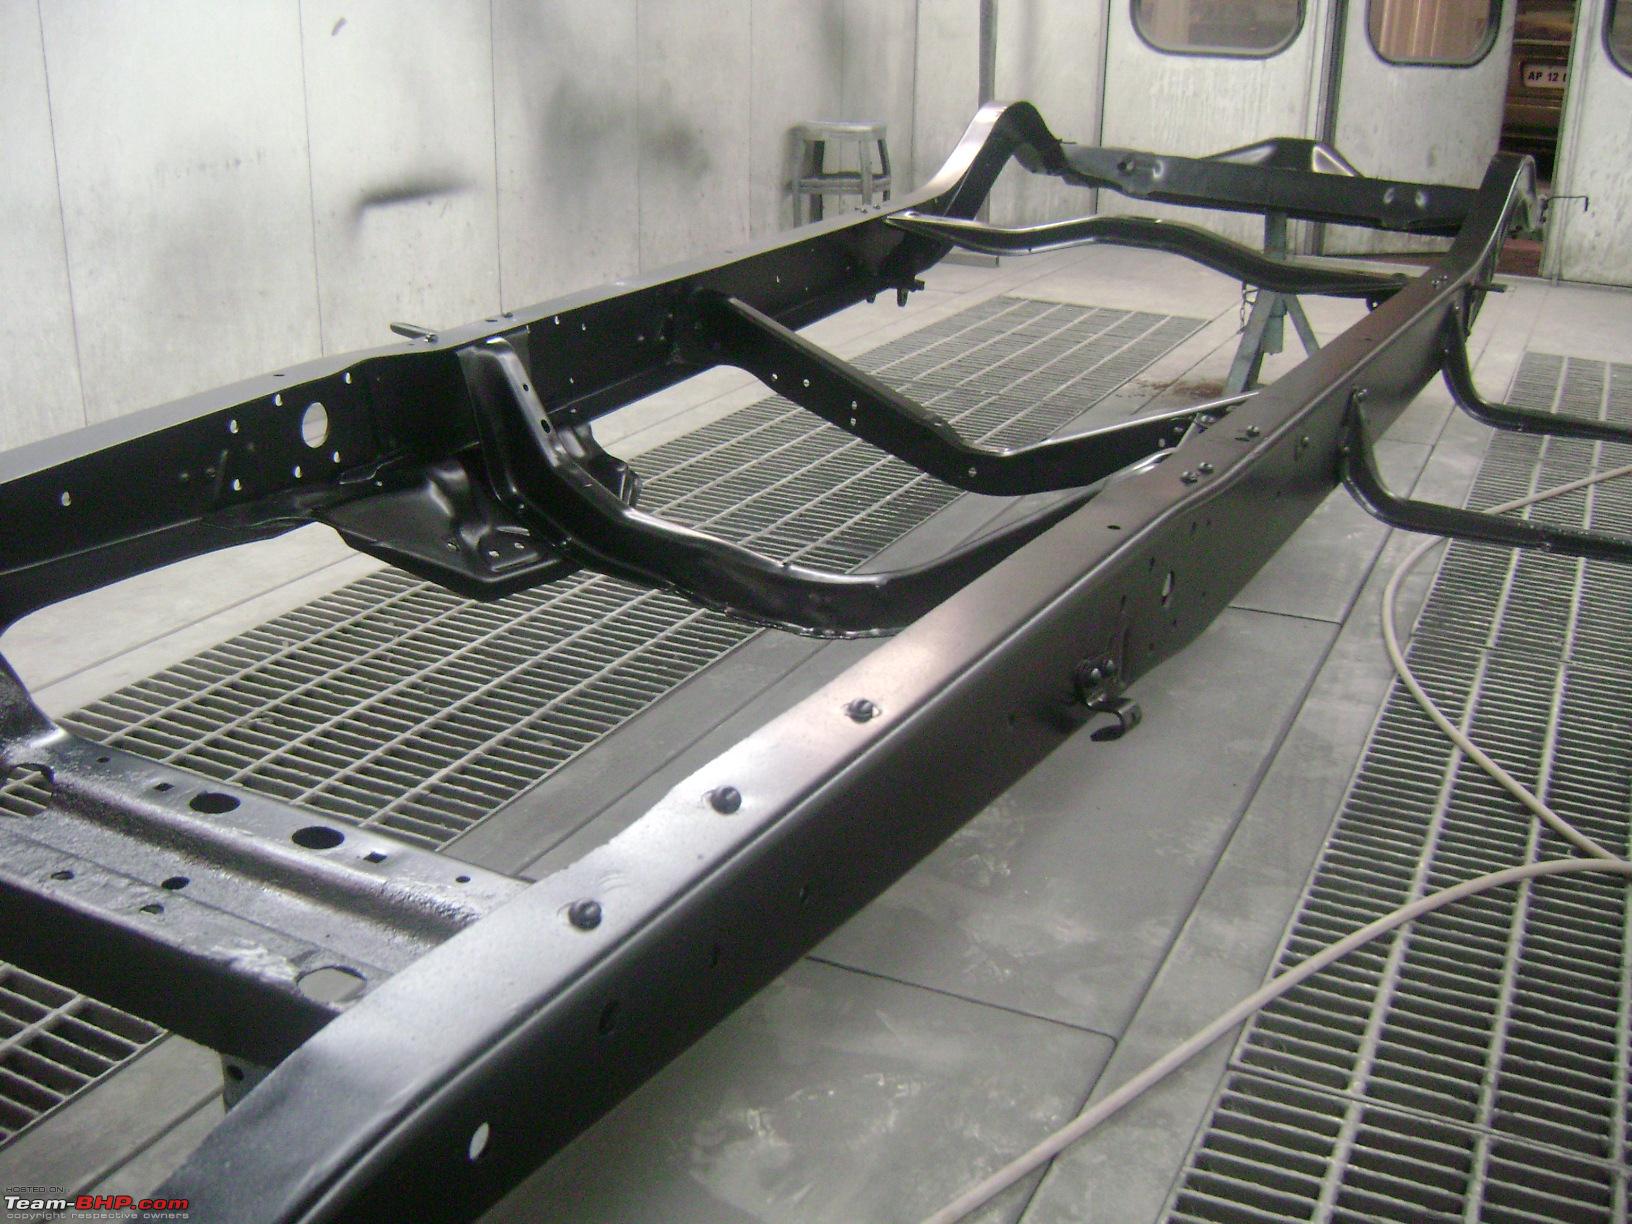
I had had the entire underside painted semi gloss back like the chassis before the exterior was to be painted


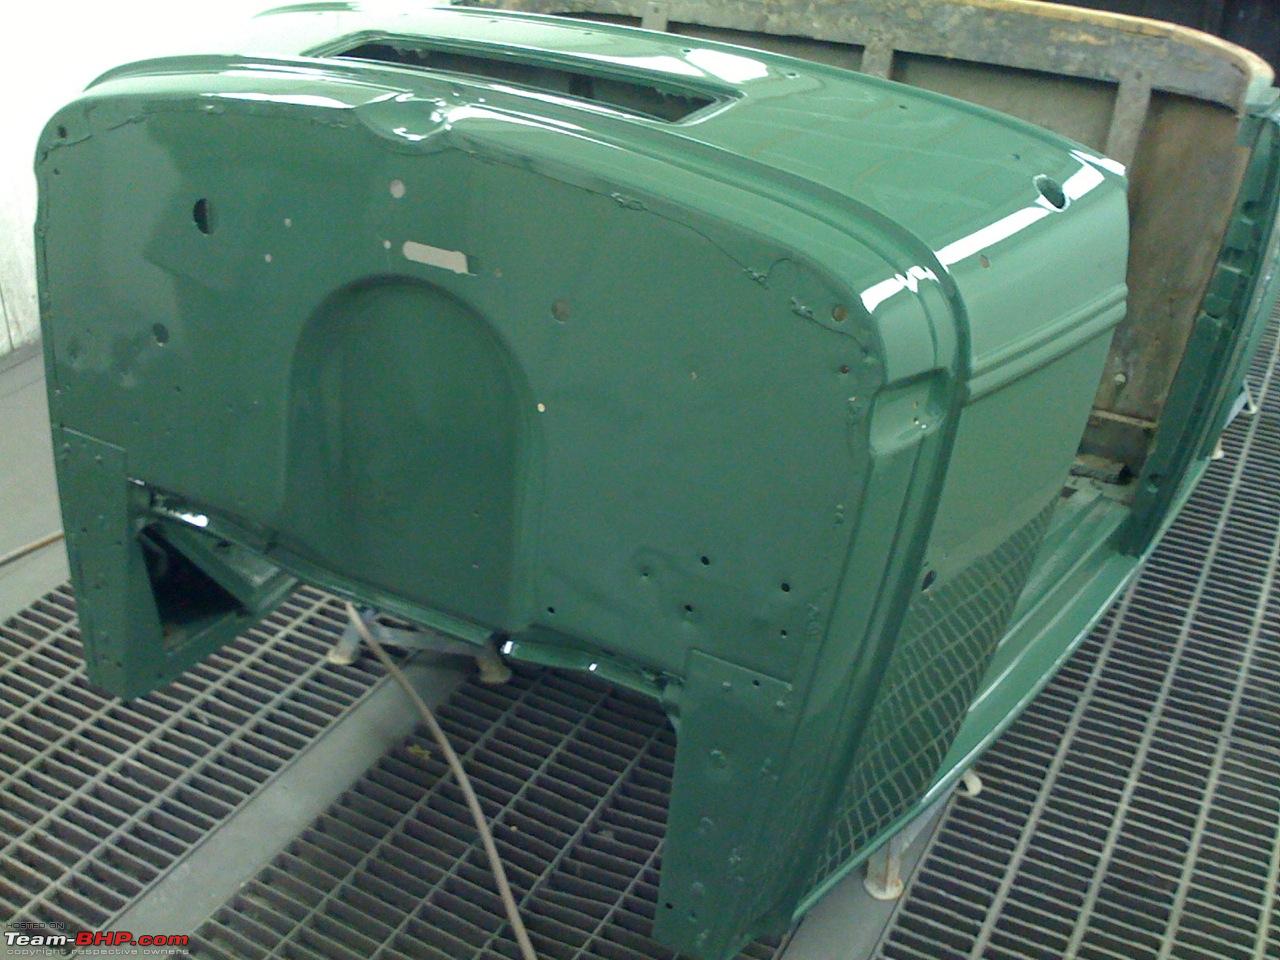
The main tub was primarily Laurel Green with a moulding in Altura merging into a rear panel that was to be entirely Altura.
So the tub was first painted in Laurel


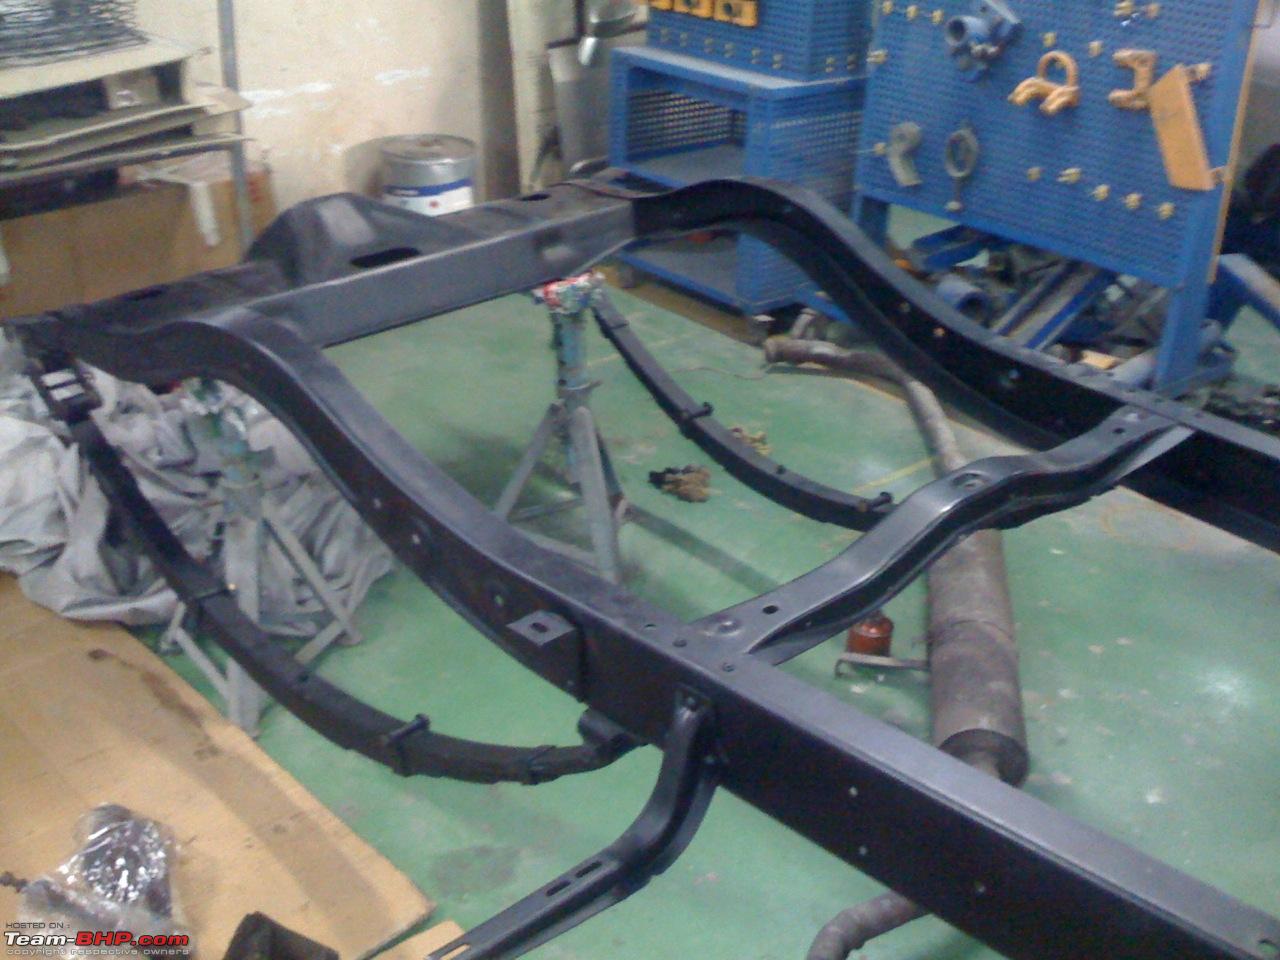
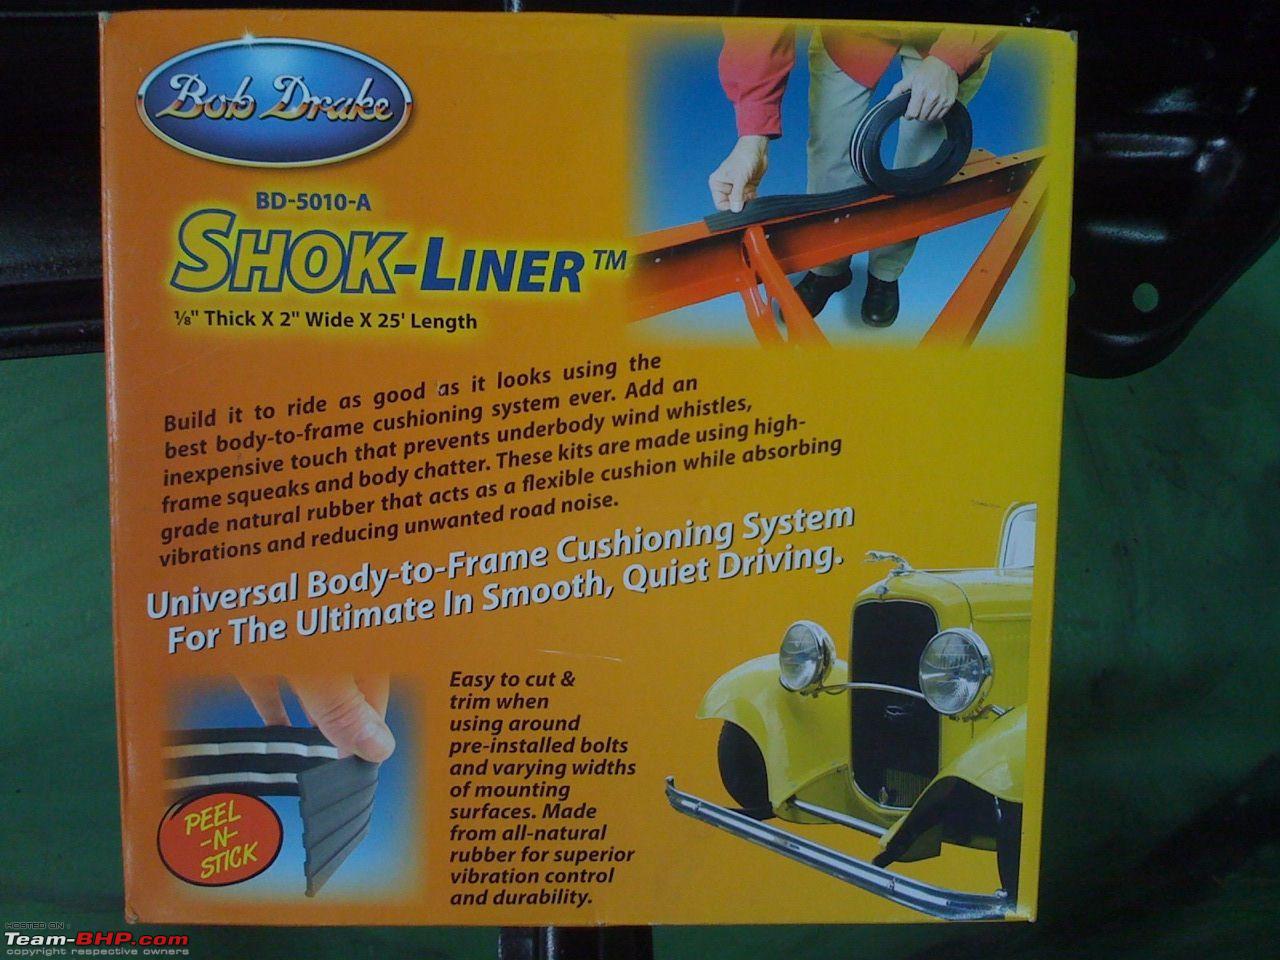
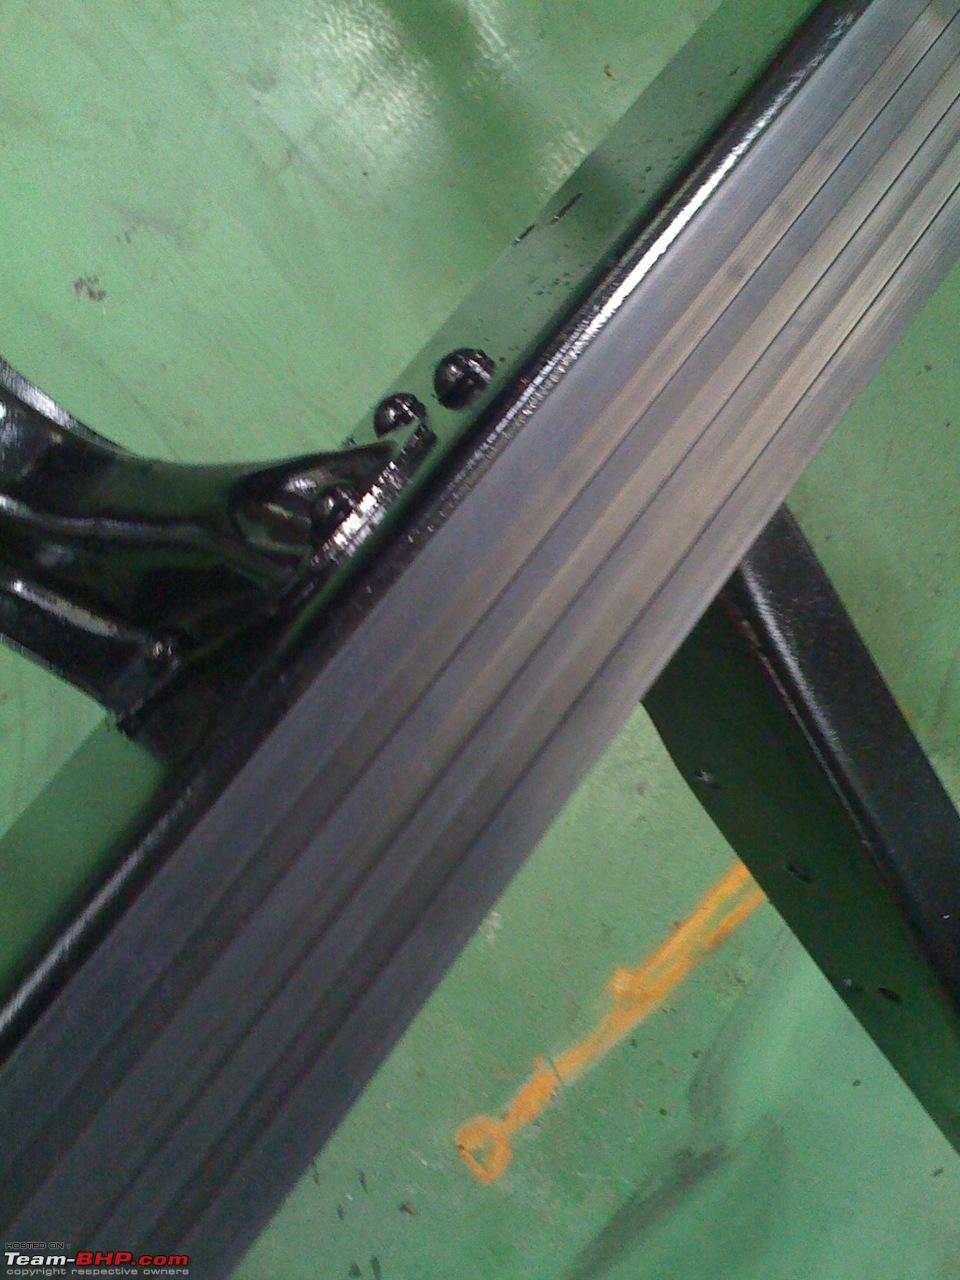
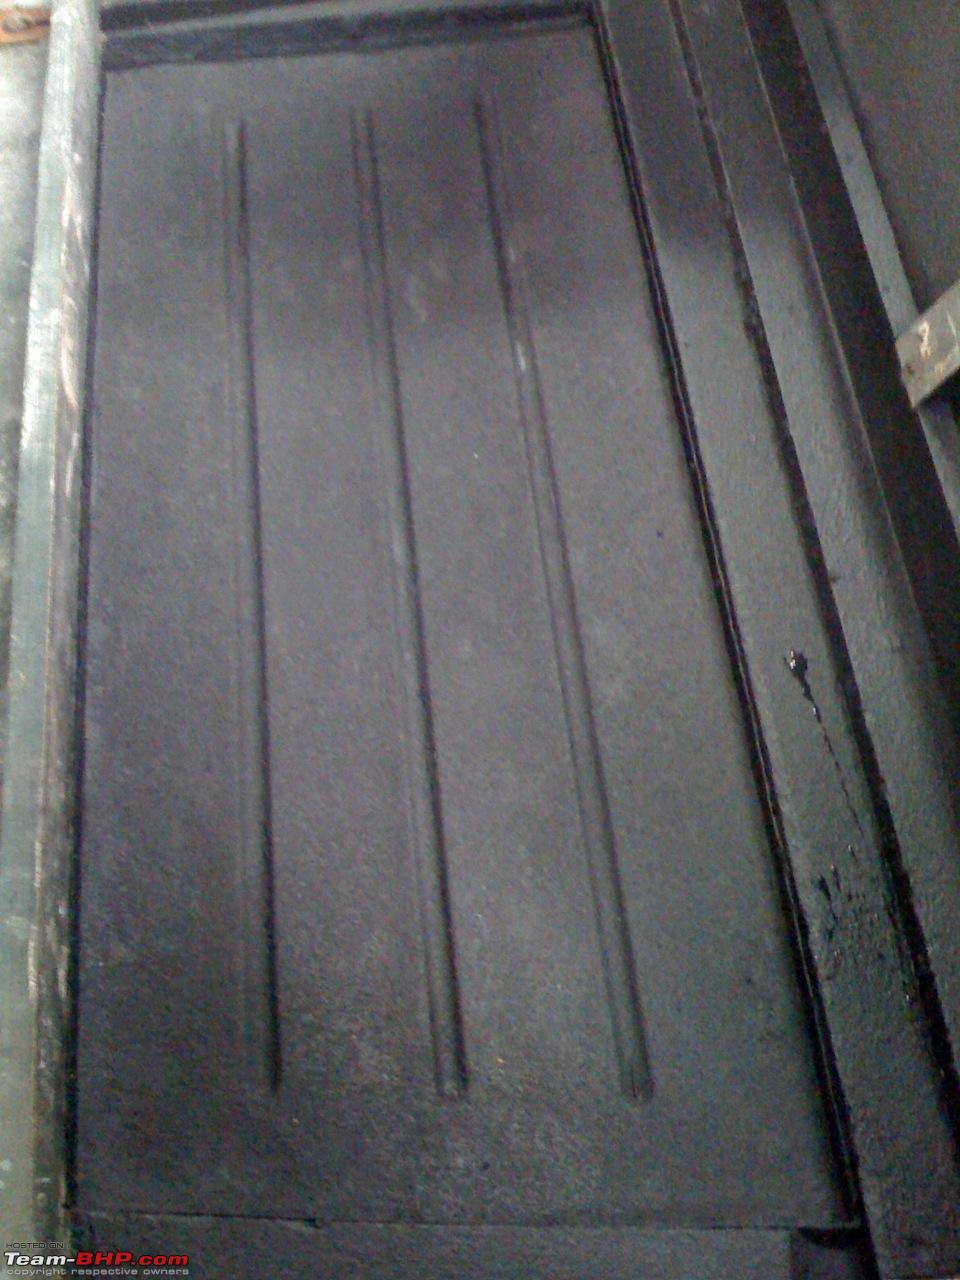
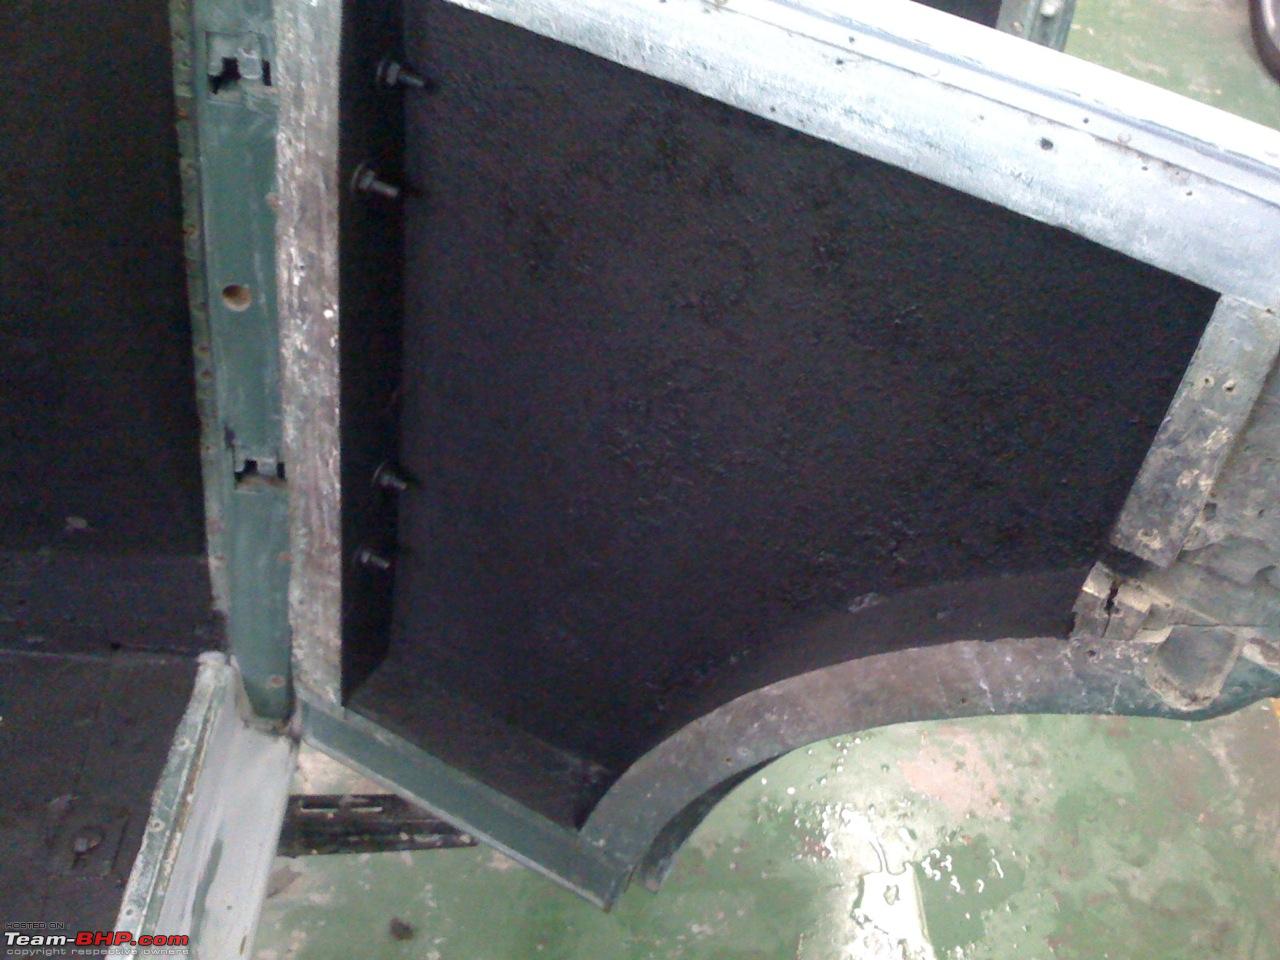
I had imported a special insulation material to isolate vibration from transferring to the body via the frame
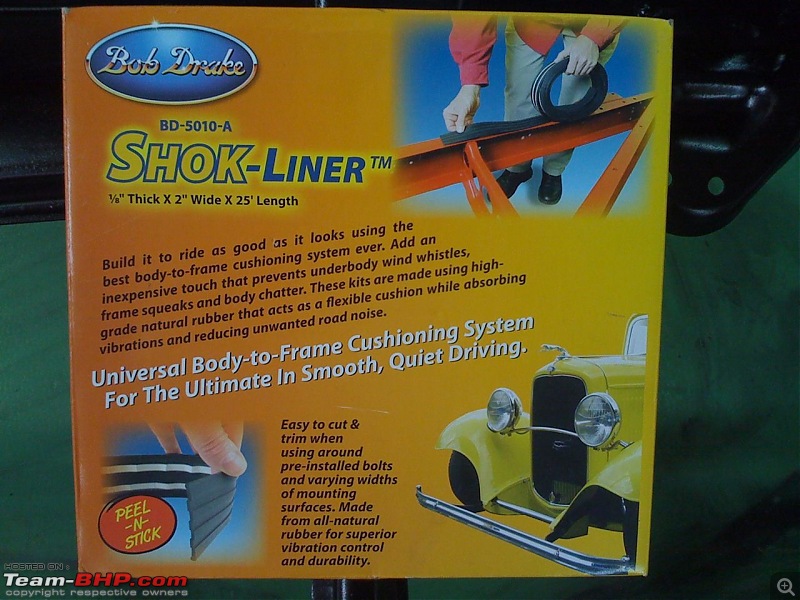
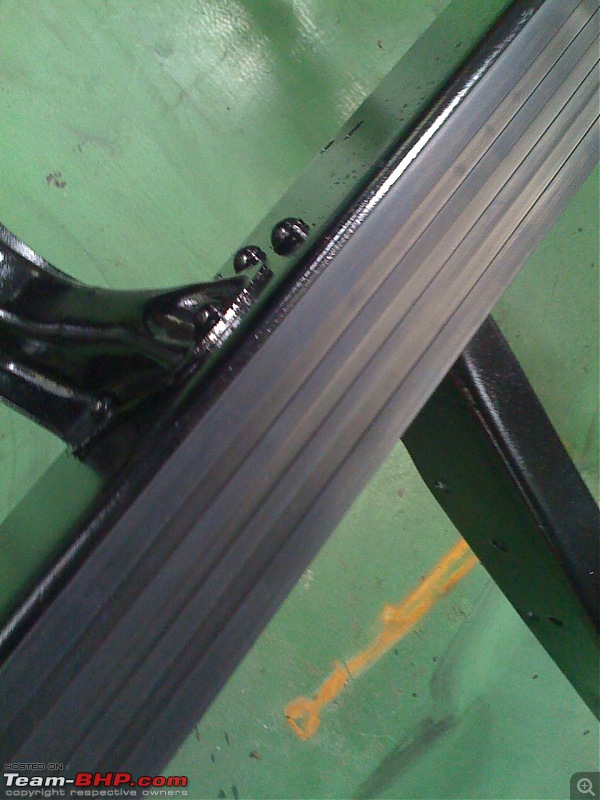

Apart from this webbing I also imported insulation discs of varying thickness to enable me to fine tune the body alignment. Wooden based bodies are a nightmare to align, especially for doors to close right eventually. All door hinges were redone and locks/latches reworked with new pins where needed.
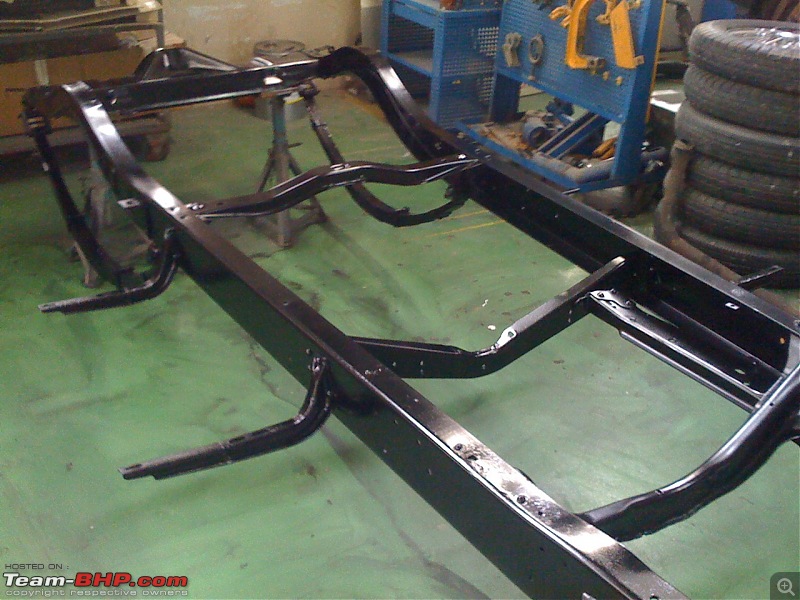
Since some parts of the frame remain exposed I felt a slightly higher gloss than the dull black we had done was in order, so we painted the frame one more coat in a slightly higher gloss

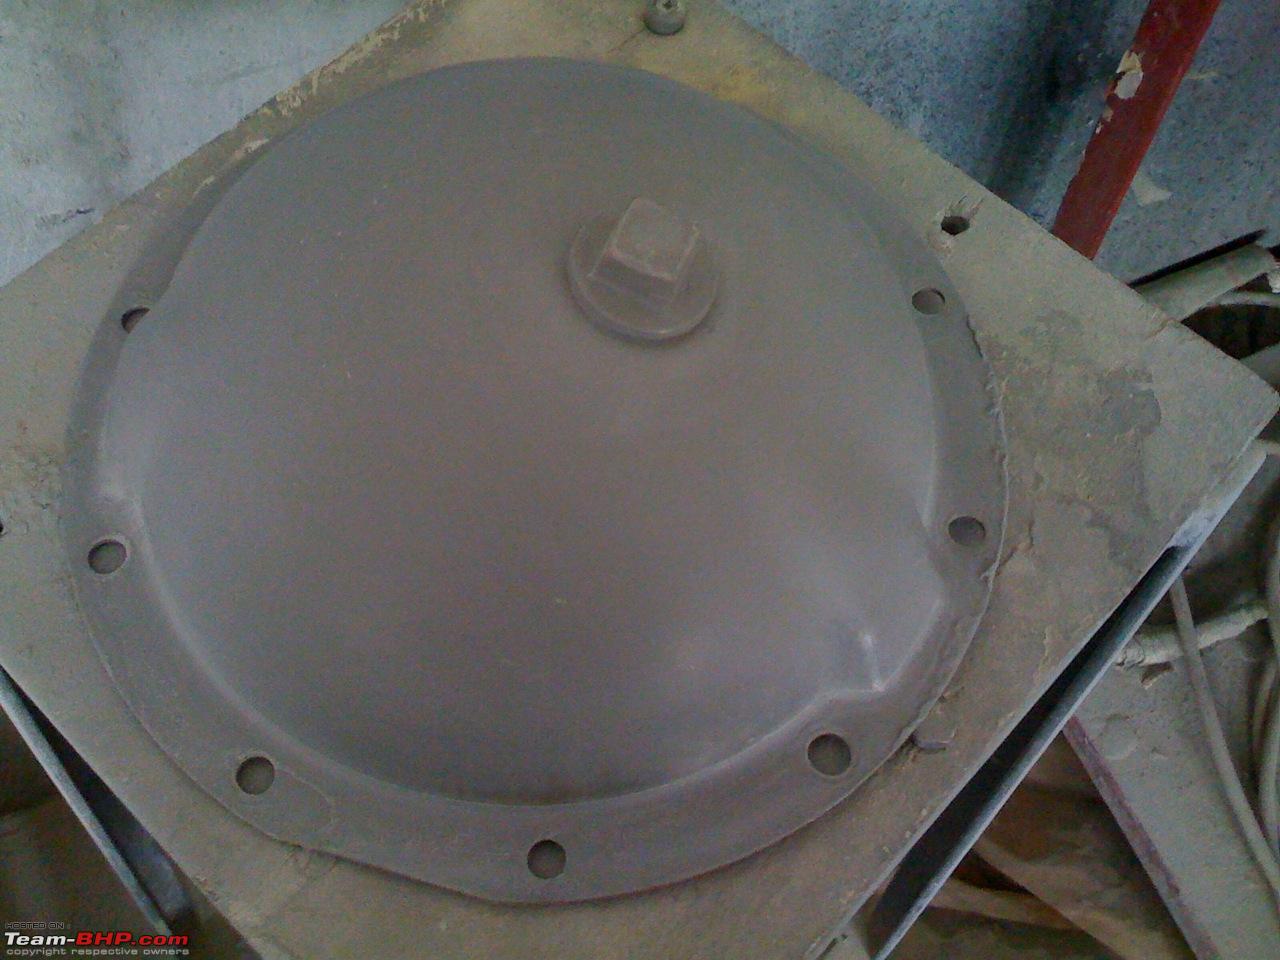
All oil/grease seals were replaced with new ones. All pins in the brake system were redone to remove excess play
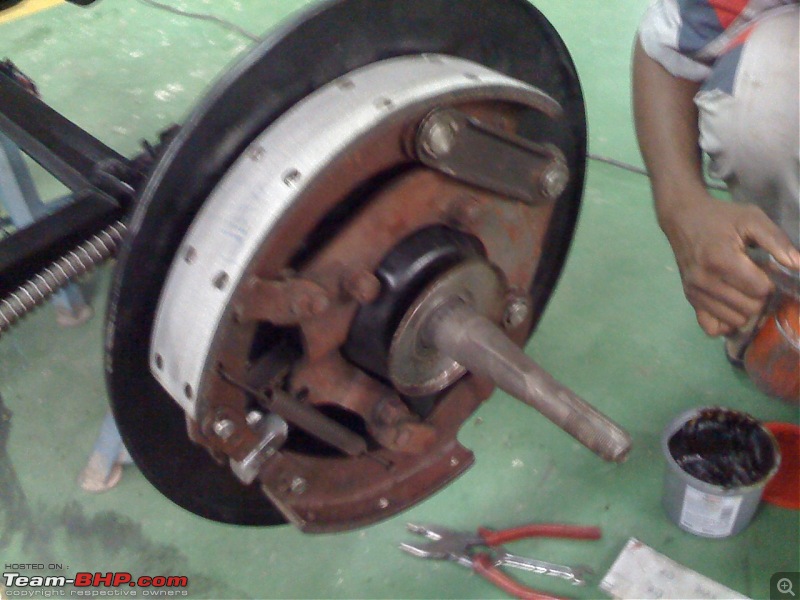
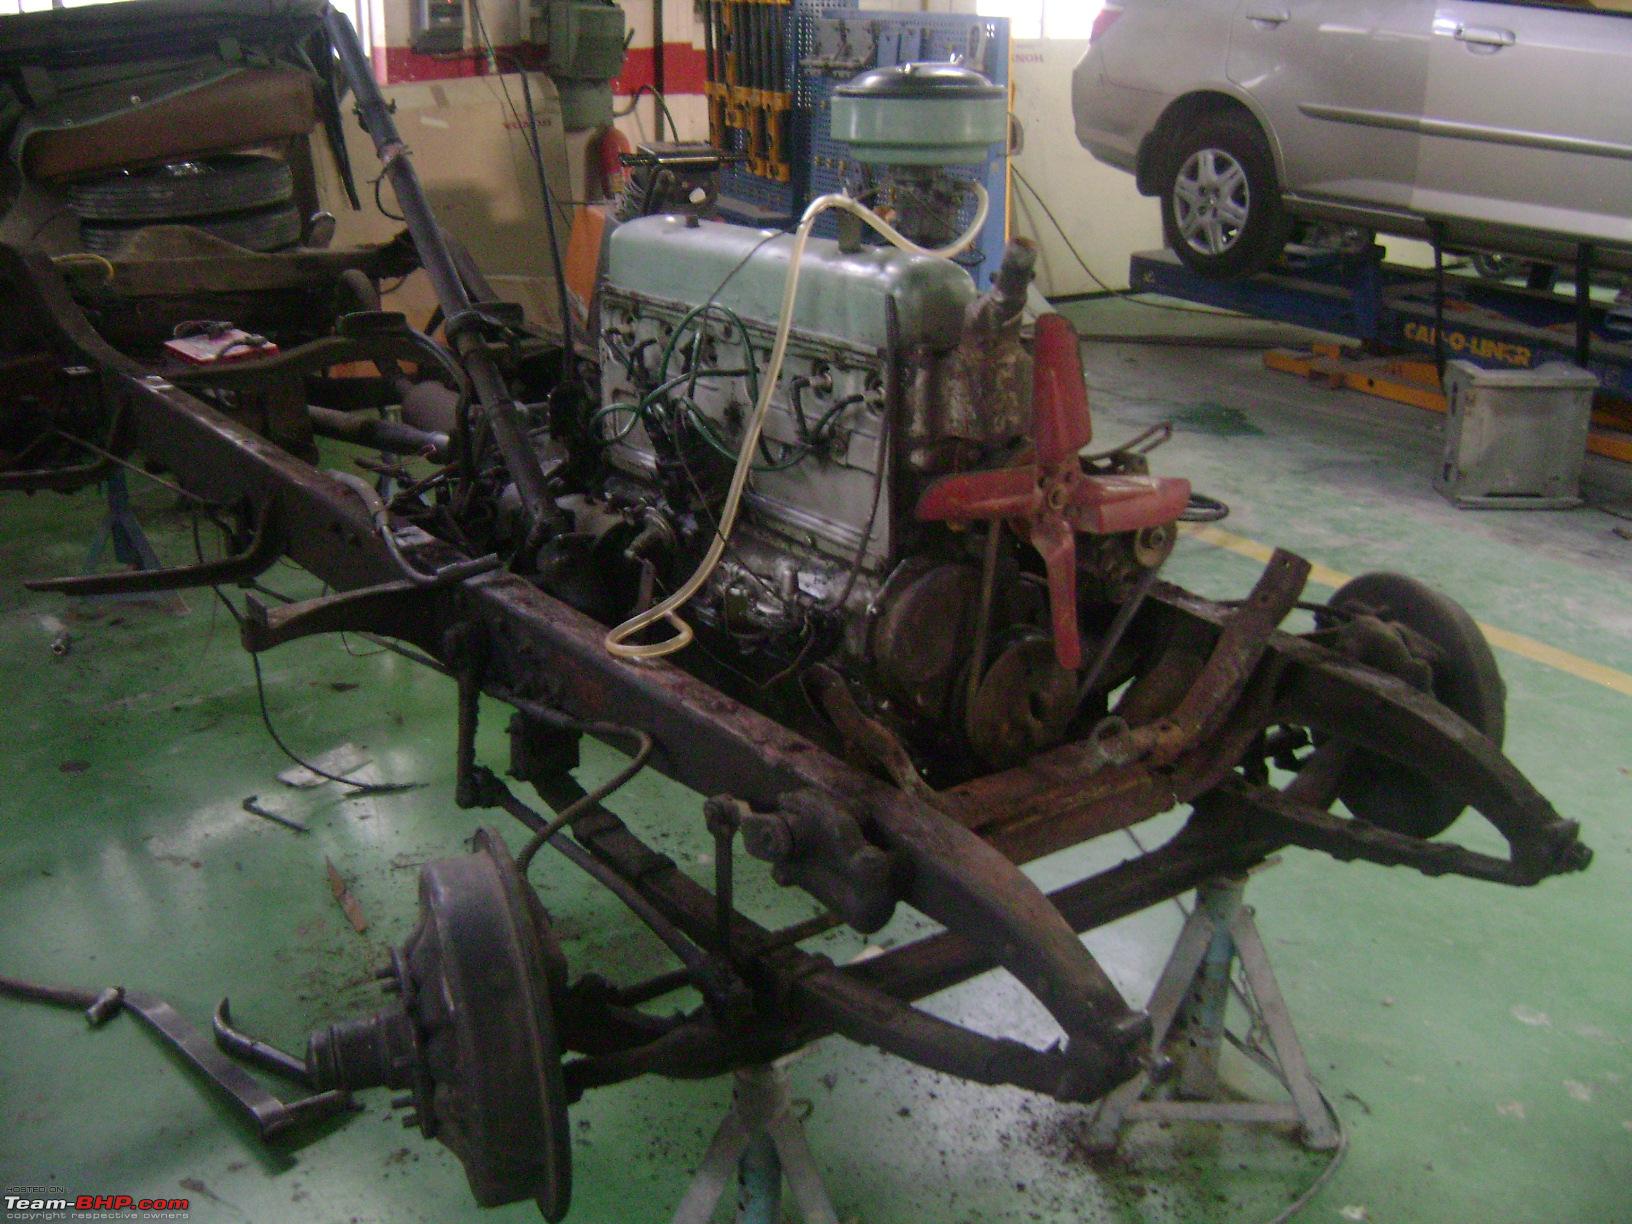
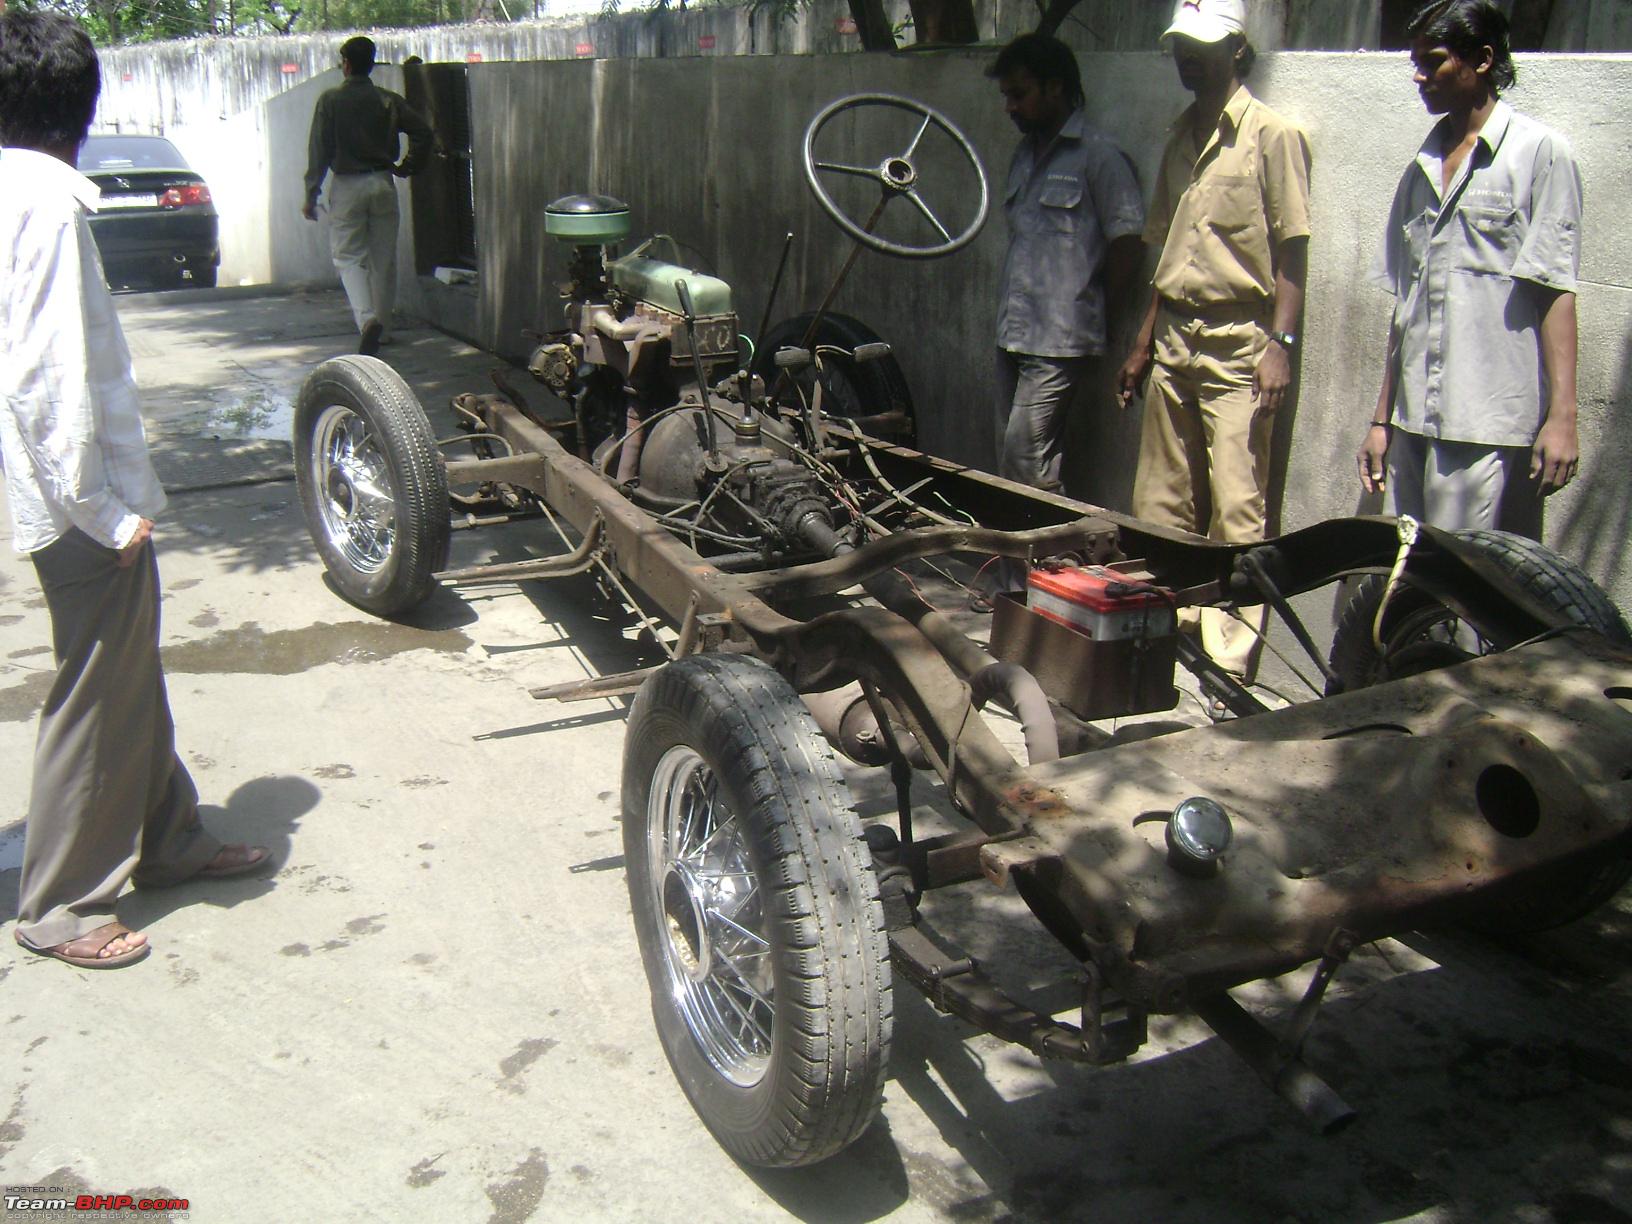
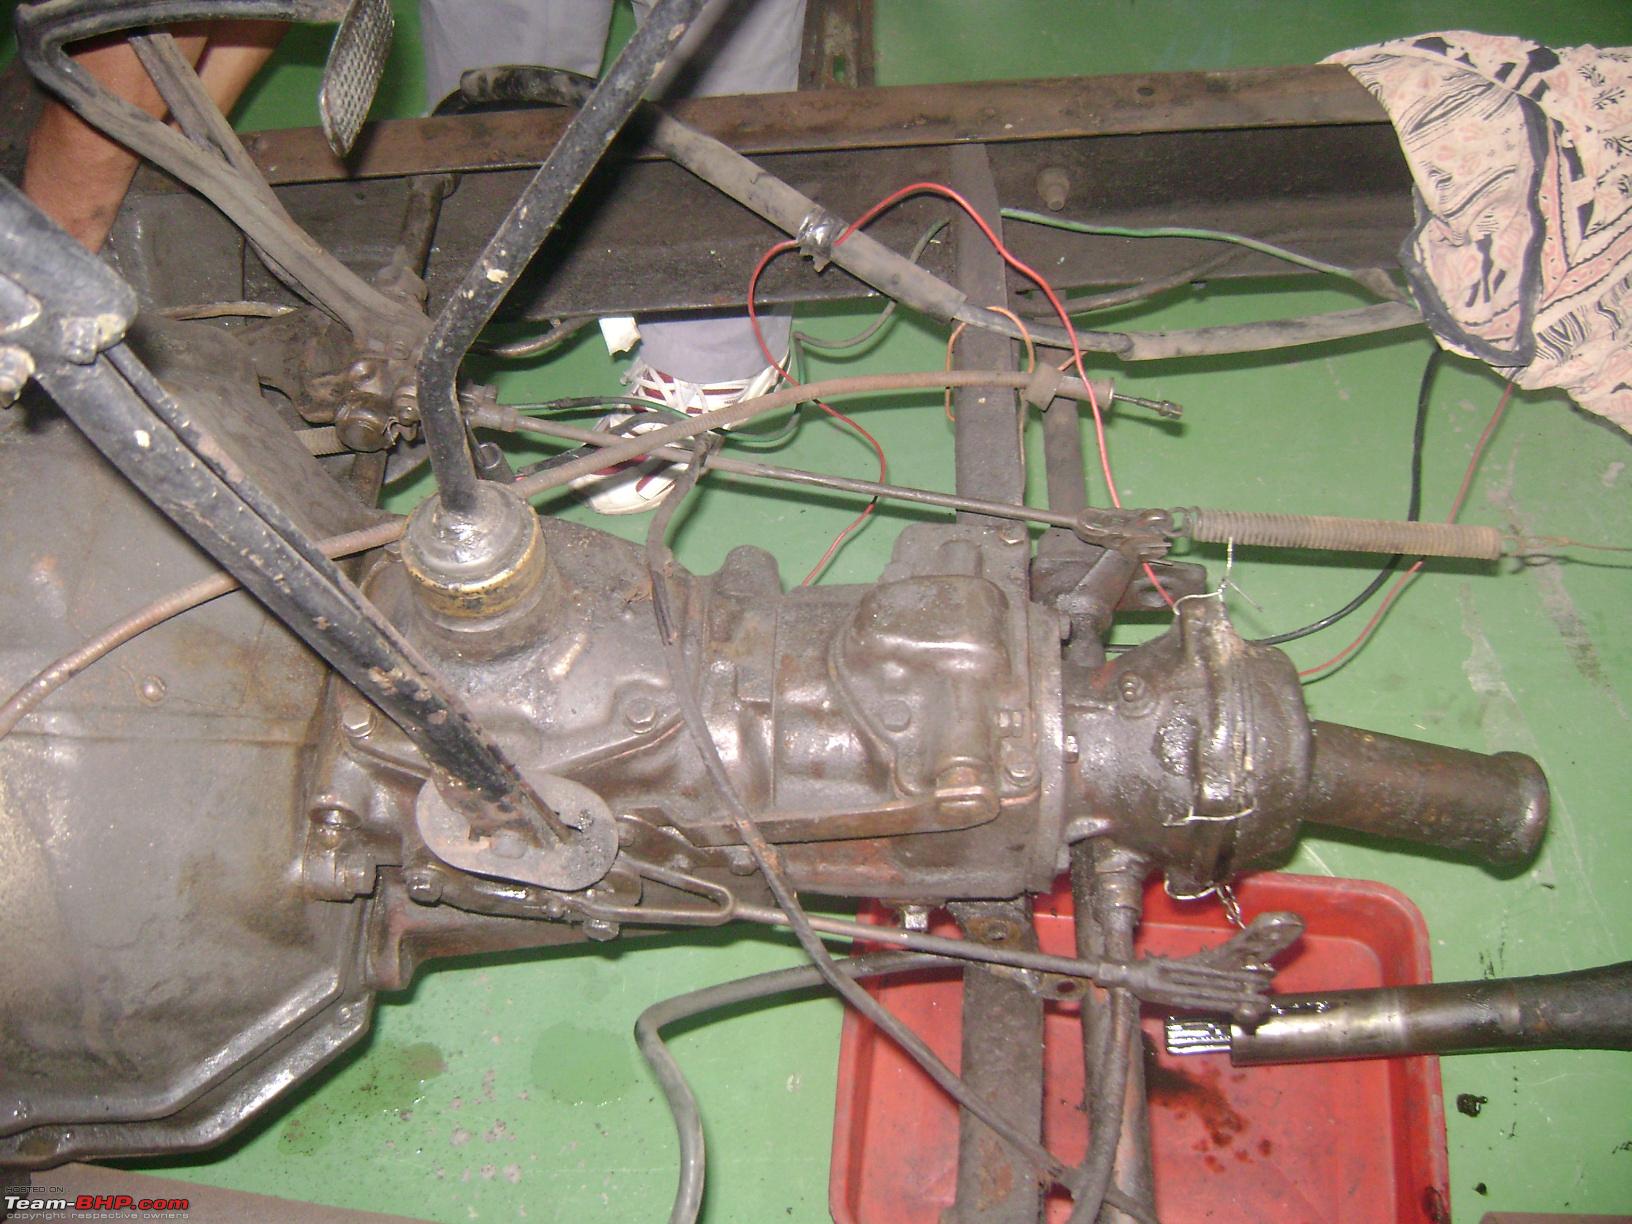
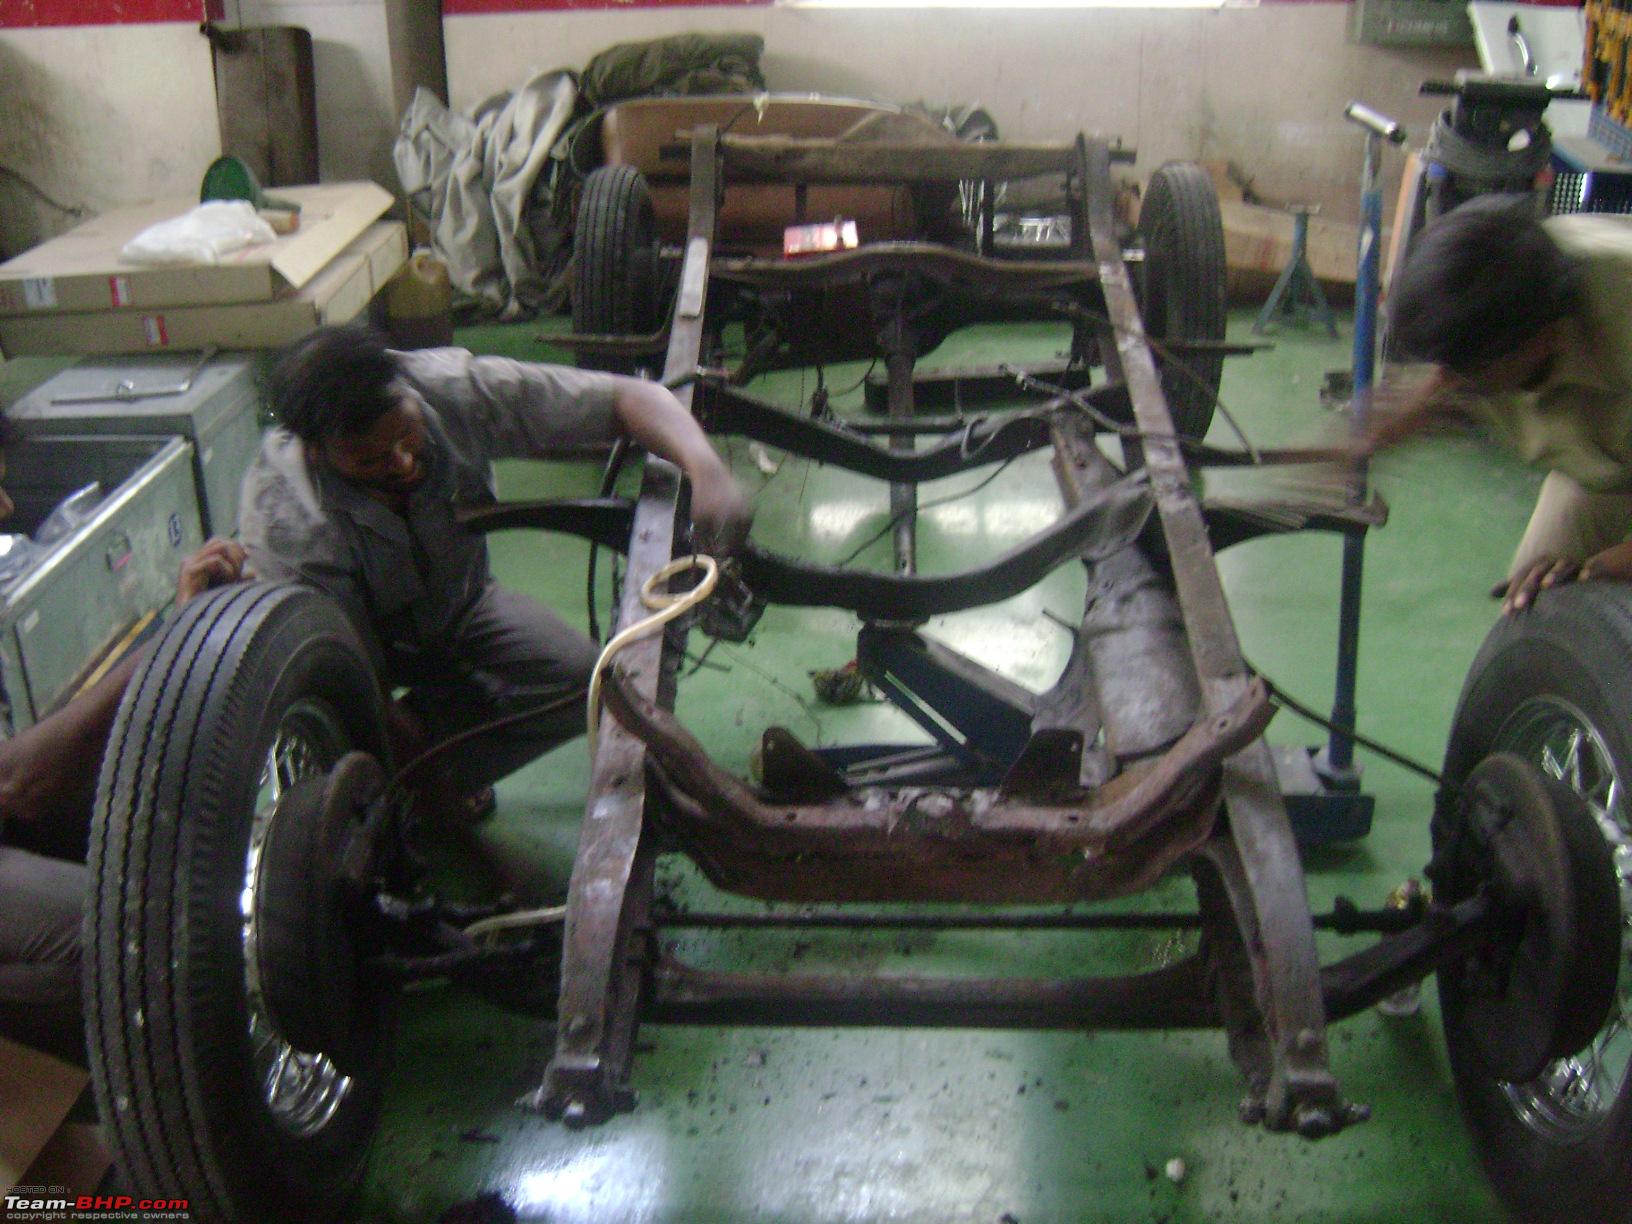
With the front axle assembly completed we installed the body back on the frame. I had to wait for new carrier bearings to be able to complete the rear end.

Amazingly detailed Restoration DKG ! waiting for more pics , your attention to detail is just amazing
| All times are GMT +5.5. The time now is 03:35. | |