Team-BHP > Shifting gears
Register New Topics New Posts Top Thanked Team-BHP FAQ


Reply
  Search this Thread
87,664 views
Old 1st October 2014, 17:16   #16
BHPian
 
Join Date: Jul 2006
Location: hyderabad
Posts: 54
Thanked: 27 Times
Re: The Woodworking Thread

Offtopic somewhat guys. Been always wanting to make a table like this -

The Woodworking Thread-693faov.jpg

What kinda wood would I need for something like this?

Last edited by aah78 : 2nd October 2014 at 21:15. Reason: Post edited. Please upload all images directly to Team-BHP servers. See Announcement section for details. Thanks!
wannabelean is offline  
Old 6th October 2014, 13:00   #17
Senior - BHPian
 
ariesonu's Avatar
 
Join Date: Mar 2010
Location: Bombay
Posts: 1,343
Thanked: 2,417 Times
Re: The Woodworking Thread

Quote:
Originally Posted by joeblack View Post
Can you please give step by step instructions for wood polishing methods? thanks in advance.
I am in process of making a serving trolley for wifey dearest and the work was getting delayed as she could not finalise on the color she wanted.
After much deliberations, she chose RUSTY RED after seeing similar thing on some website:
I have covered top with wood veneer which can be polished to get that wooden grainy looks. I had pasted veneer in odd layout to break monotony of the TOP.

Some photos are taken at odd angles as hands were covered in paint:

Here is the process I used in "STAINING" the TOP:

The mid range is already color polished to show the unpainted area.
The Woodworking Thread-imag0475.jpg

Bottle of STAINER (Rs 40) and two wet pieces of sari (cotton) cloth. Small one for applying teh STAIN color and bigger one for "POLISHING" the stain. There are hundreds of videos on YOUTUBE about staining.
The Woodworking Thread-imag0476.jpg

I had added some water directly in bottle and here taking paint on the small piece.
The Woodworking Thread-imag0477.jpg

Applying STAIN. If you find STAINER consitency to be thick, feel free to add more water. Run your hand in line of grains of wood/veneer. You will get PAINTED look on wood. Now wait for about 15-20 minutes.
The Woodworking Thread-imag0479.jpg

Take bigger piece of cloth and soak it in water.
The Woodworking Thread-imag0480.jpg

Squeeze out just enough water that it does not drip.
The Woodworking Thread-imag0482.jpg

Run along the grain lines with free hand till you get the finish you are looking for. More rubbing will reveal more wood so be cautious too.
The Woodworking Thread-imag0484.jpg

The final look I settled for. The middle ones are still wet so color variation can be noted. I applied clear varnish after 24 hours.
The Woodworking Thread-imag0488.jpg

PREPARING FOR COLOR POLISHING/PAINTING WILL FOLLOW IN NEXT POST.

Quote:
Originally Posted by wannabelean View Post
Offtopic somewhat guys. Been always wanting to make a table like this - What kinda wood would I need for something like this?
You can choose to buy wood from any wood-saw mill or take my route and look for USED PALLET shops (mostly found in the warehouse areas or in industrial areas too. Be careful while buying such wood and ensure that pallets were not used for some harmfiul chemicals etc.
Study about precautions of used pallet wood on net.

Raab rakha.
ariesonu is offline   (2) Thanks
Old 6th October 2014, 14:26   #18
Senior - BHPian
 
ariesonu's Avatar
 
Join Date: Mar 2010
Location: Bombay
Posts: 1,343
Thanked: 2,417 Times
Re: The Woodworking Thread

Making new post as this one covers PREPARING SURFACE FOR PAINTING/POLISHING/COLOR POLISHING in the most basic manner.

The legs of serving trolley (mentioned in earlier post)
The Woodworking Thread-imag0462.jpg

Wood cement
The Woodworking Thread-imag0463.jpg

Wood cement-paste made with water and ready for use. In case you are planning to PAINT the wood then you can choose to add some fevicol too.
The Woodworking Thread-imag0464.jpg

Paste applied with free hand. Use as much as required for filling the holes, crevices and notches but remember extra paste will mean extra sanding. The paste dries quite fast so make small amounts of paste as and when required.
The Woodworking Thread-imag0467.jpg

Closer look of nail holes prior filling.
The Woodworking Thread-imag0465.jpg

Closer look of nail holes post filling. Wait for about 2-4 hours.
The Woodworking Thread-imag0466.jpg

This will follow with SANDING using 220-grit and finer grit sandpaper. Fold the sandpaper in halves or quarters depending on area to be covered and sand in line of grain with light pressure. Over pressure will tired you up and also not help much in sanding as the paste will get stuck to sandpaper itself. Dont try to judge the surface with eyes but run you hand lightly on surface, it should feel like running your hand on smoooth surface of glass or vetrified (floor) tiles.
I used fevicol+water mixed paste to fill big notch in the corner.

CLAIMER: I use discarded wood pieces and this serving trolley is made from discarded door for LOFTS made in most Mumbai apartments.

Raab rakha.

Last edited by ariesonu : 6th October 2014 at 14:31.
ariesonu is offline  
Old 7th October 2014, 18:19   #19
Team-BHP Support
 
Rehaan's Avatar
 
Join Date: Feb 2004
Location: Bombay
Posts: 24,046
Thanked: 34,074 Times
Re: The Woodworking Thread

Quote:
Originally Posted by sudev View Post
How did laser cut work? Are there machines available some where in India (better still Delhi) for such cutting?
You just need a properly dimensioned 2D vector graphic (eg. .dwg file) and the rest is up to them.

The machines can cut pretty much anything that is NOT (a) too reflective (b) flammable (c) too thick.

In the case of aluminum (which i used) i couldn't go much thicker since the surface is fairly reflective.

You can even laser cut things like cloth and paper (within limits).

(Also look up "waterjet" cutting if you're interested in this stuff. It has different advantages/properties.)

Quote:
Originally Posted by khoj View Post
However are you still involved in furniture designing/manufacturing or was this a small part of your design curriculum.
Unfortunately not. It was one semester in college.

Quote:
Originally Posted by TheQuarterMile View Post
Its done at jogeshwari along SV Road in Mumbai. They charge anywhere between 5-7Rs. per minute.
Thanks! More details will be appreciated.

cya
R

@Ariesonu - sorry didn't mention it earlier, nice thread!
Rehaan is offline  
Old 7th October 2014, 19:01   #20
BHPian
 
gautamkhadse's Avatar
 
Join Date: Sep 2009
Location: pune
Posts: 343
Thanked: 311 Times
Re: The Woodworking Thread

Wonderful thread . Just what I love .

THough I havent done anything myself , am working on the interior design for my house . And one of the new ideas that we want to do is to use CNC cut wooden panels instead of using the regular false ceiling .

I have identified a few companies in pune who do the CNC work and it looks really wonderful .

Some examples of the CNC work .

http://www.google.co.in/imgres?imgur...tart=0&ndsp=36


http://www.google.co.in/imgres?imgur...tart=0&ndsp=36

http://www.google.co.in/imgres?imgur...tart=0&ndsp=36
gautamkhadse is offline  
Old 30th October 2014, 10:32   #21
Senior - BHPian
 
ariesonu's Avatar
 
Join Date: Mar 2010
Location: Bombay
Posts: 1,343
Thanked: 2,417 Times
Re: The Woodworking Thread

Project of two triangular side tables.
The idea of design was drawn from numerous examples available on net and then tweaked it with tapered legs. Initially I was worried about the load capacity but has been safely tested to take load of up to 80 kgs.

The Woodworking Thread-dsc_0539.jpg
The Woodworking Thread-dsc_0542.jpg
The Woodworking Thread-dsc_0543.jpg
The Woodworking Thread-dsc_0541.jpg
The Woodworking Thread-imag00031.jpg

Raab rakha.
ariesonu is offline   (2) Thanks
Old 30th October 2014, 11:28   #22
Senior - BHPian
 
alpha1's Avatar
 
Join Date: Apr 2007
Location: LandOfNoWinters
Posts: 2,093
Thanked: 2,604 Times
Re: The Woodworking Thread

Quote:
Originally Posted by wannabelean View Post
Offtopic somewhat guys. Been always wanting to make a table like this -


What kinda wood would I need for something like this?
Looks like either Sal or Sheesham.
Though I am not an expert that can determine the wood just by looking at the photo.
alpha1 is offline  
Old 18th March 2015, 17:03   #23
Senior - BHPian
 
ariesonu's Avatar
 
Join Date: Mar 2010
Location: Bombay
Posts: 1,343
Thanked: 2,417 Times
Re: The Woodworking Thread

The completed trolley.
The unfinished white border of tray section was completed with black polish as I need something to match with black wheels:
The Woodworking Thread-wp_20150201_18_18_59_pro.jpg

Regards-Sonu
Next project already under way. Will post WIP pictures shortly.
ariesonu is offline   (1) Thanks
Old 27th March 2015, 13:26   #24
BHPian
 
akshaymahajan's Avatar
 
Join Date: Oct 2009
Location: Delhi
Posts: 597
Thanked: 449 Times
Re: The Woodworking Thread

I need to cover the area under the staircase outside my house and keep my inverter there. Was thinking of a DIY woodwork project. As all but one side is covered, all I need is a front panel with doors and a locking mechanism. May split this into 3 equal width doors. The area in picture is something like the attached image. Only difference is that the hypotenuse is smooth and not toothed (if that makes any sense)
Attached reference image.
Need pointers as to what I should be looking at.
Attached Images
 
akshaymahajan is online now  
Old 27th March 2015, 14:21   #25
BHPian
 
TheTeacher's Avatar
 
Join Date: Feb 2013
Location: Space-Time
Posts: 484
Thanked: 342 Times
Re: The Woodworking Thread

Great thread!

When I was a kid I used to watch the carpentry work being done in my home (all the furniture for our large family was built in house). Only teak was used.

Before varnishing, they would sand with fine grit; then apply what looked like Plaster of Paris powder mixed with turpentine all over the surface; let it dry; then sand it again with hi-grit paper; repeat; then apply a few coats of varnish. The result was glossy, mirror-finish, rich looking wood.

Today I don't see anybody doing the PoP thing; it's sand with rough paper, apply stain / varnish.

We bought some end-tables from Pepperfry; they look like I picked them up from the roadside; so bad is the fit, finish and staining. Our sofa from Ekbote is professionally finished, though.

Question: Some custom made furniture was stained dark against our wishes, and we had to take it as it was. Supposedly the frame is made of teak and the boards are Marine Ply. It looks to me like the wood is light colored underneath the stain. Is it possible to sand off the dark stain and restain / varnish for a natural look?

Thanks!
TheTeacher is offline  
Old 2nd July 2015, 10:05   #26
Senior - BHPian
 
ariesonu's Avatar
 
Join Date: Mar 2010
Location: Bombay
Posts: 1,343
Thanked: 2,417 Times
Re: The Woodworking Thread

* A base of broken office chair x 2
* Pipe pieces left behind by some infra work in my society x 2 (Cut to size)
* A scrap pieces of plywood & laminate x 2

Armed with above, I started designing the table. The problem was that one leg of chair base was broken and I had to saw it off. With unbalanced base, circular or square design was not feasible. I had to design something that will be offset but look good once done. The answer lay in chair base itself.
I placed chair base on newspaper and connected the extreme end points & gave them circular share. Armed with my CAD 
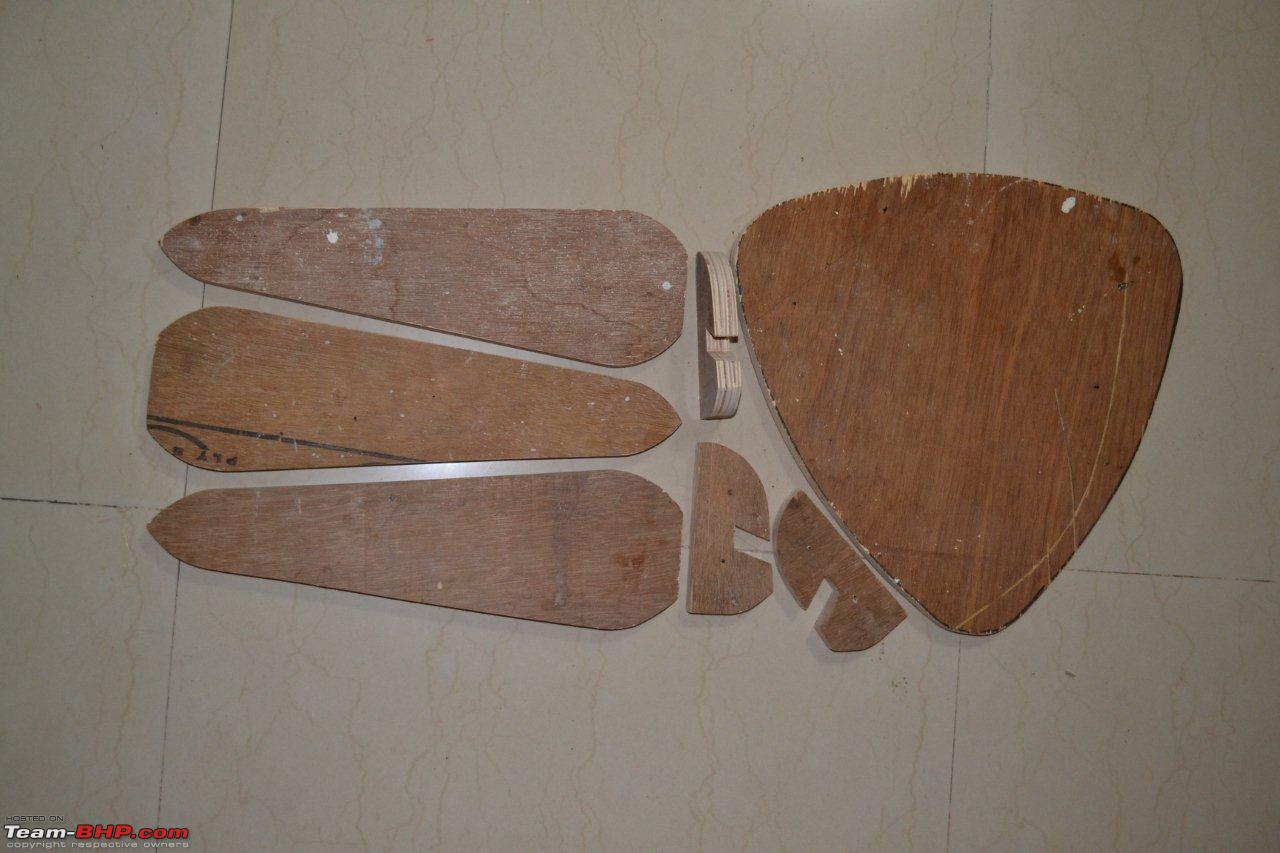
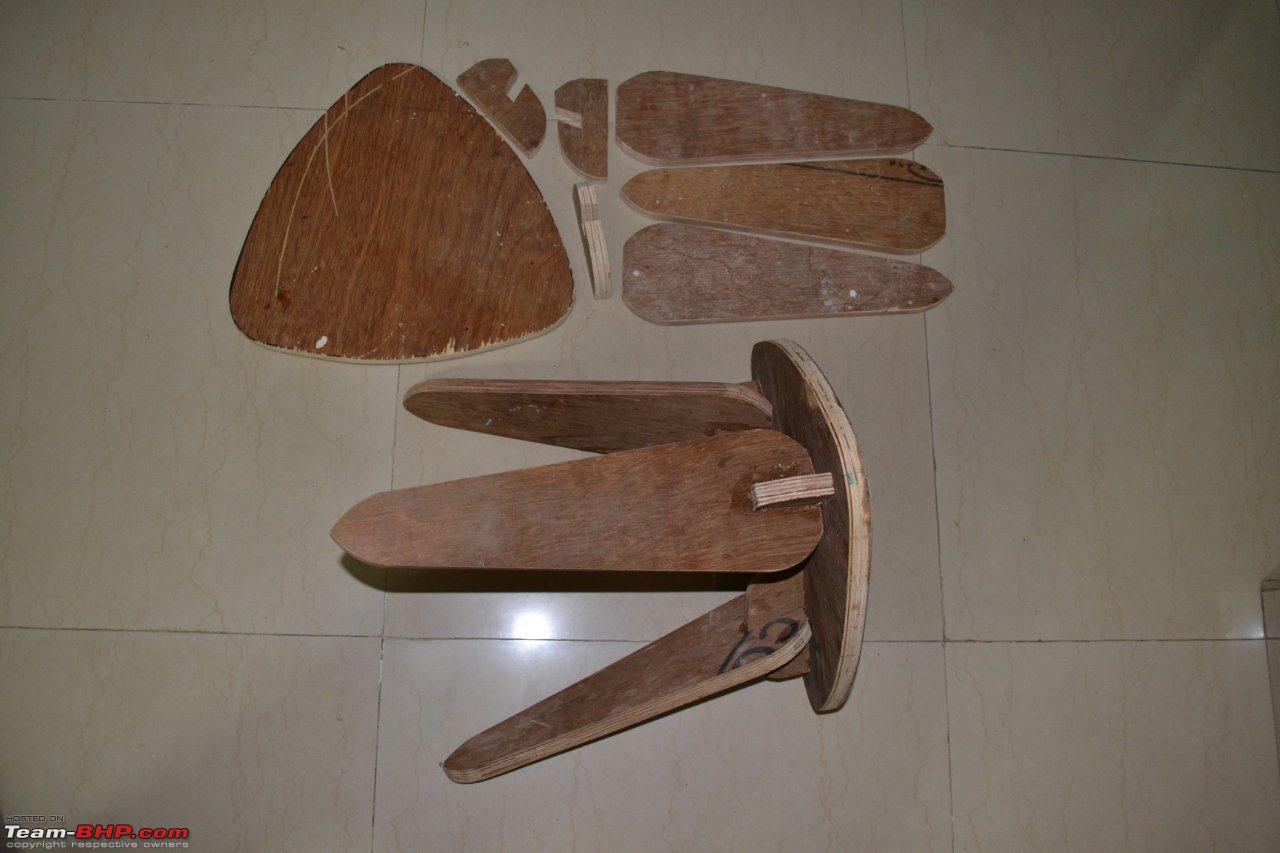
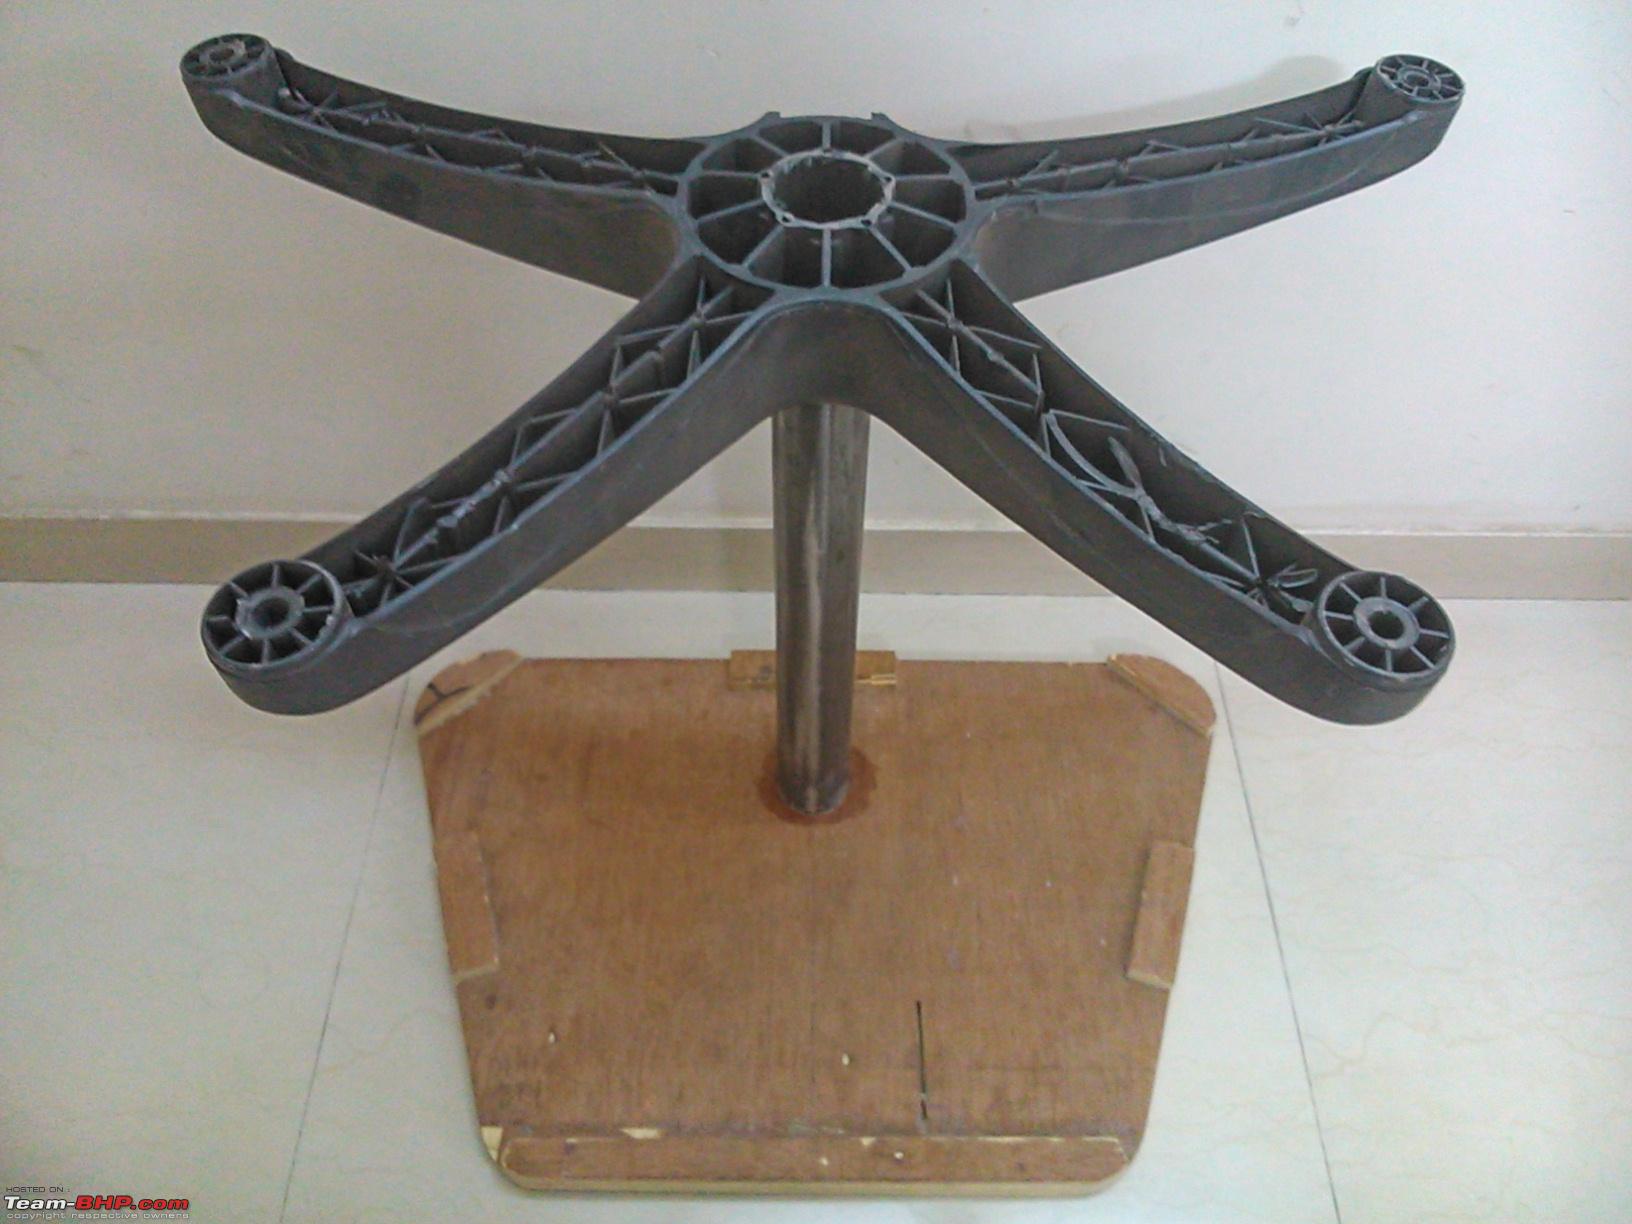
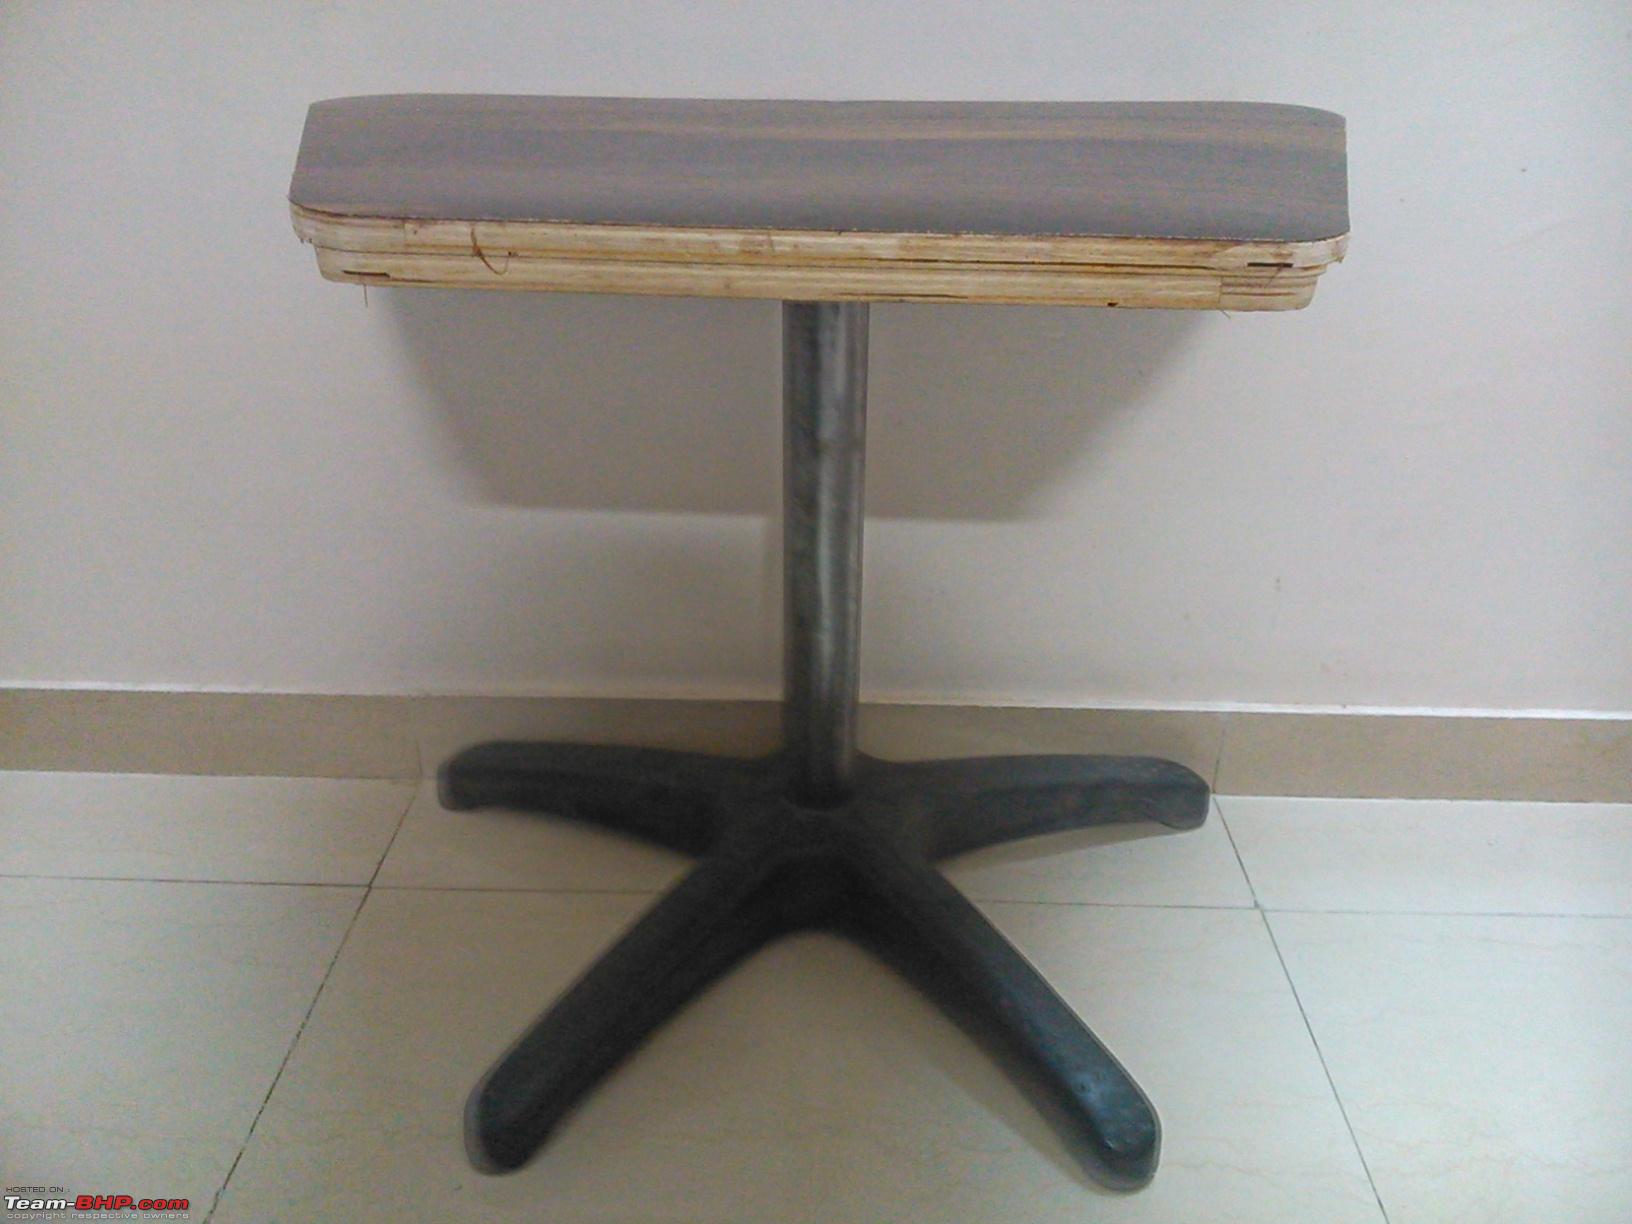
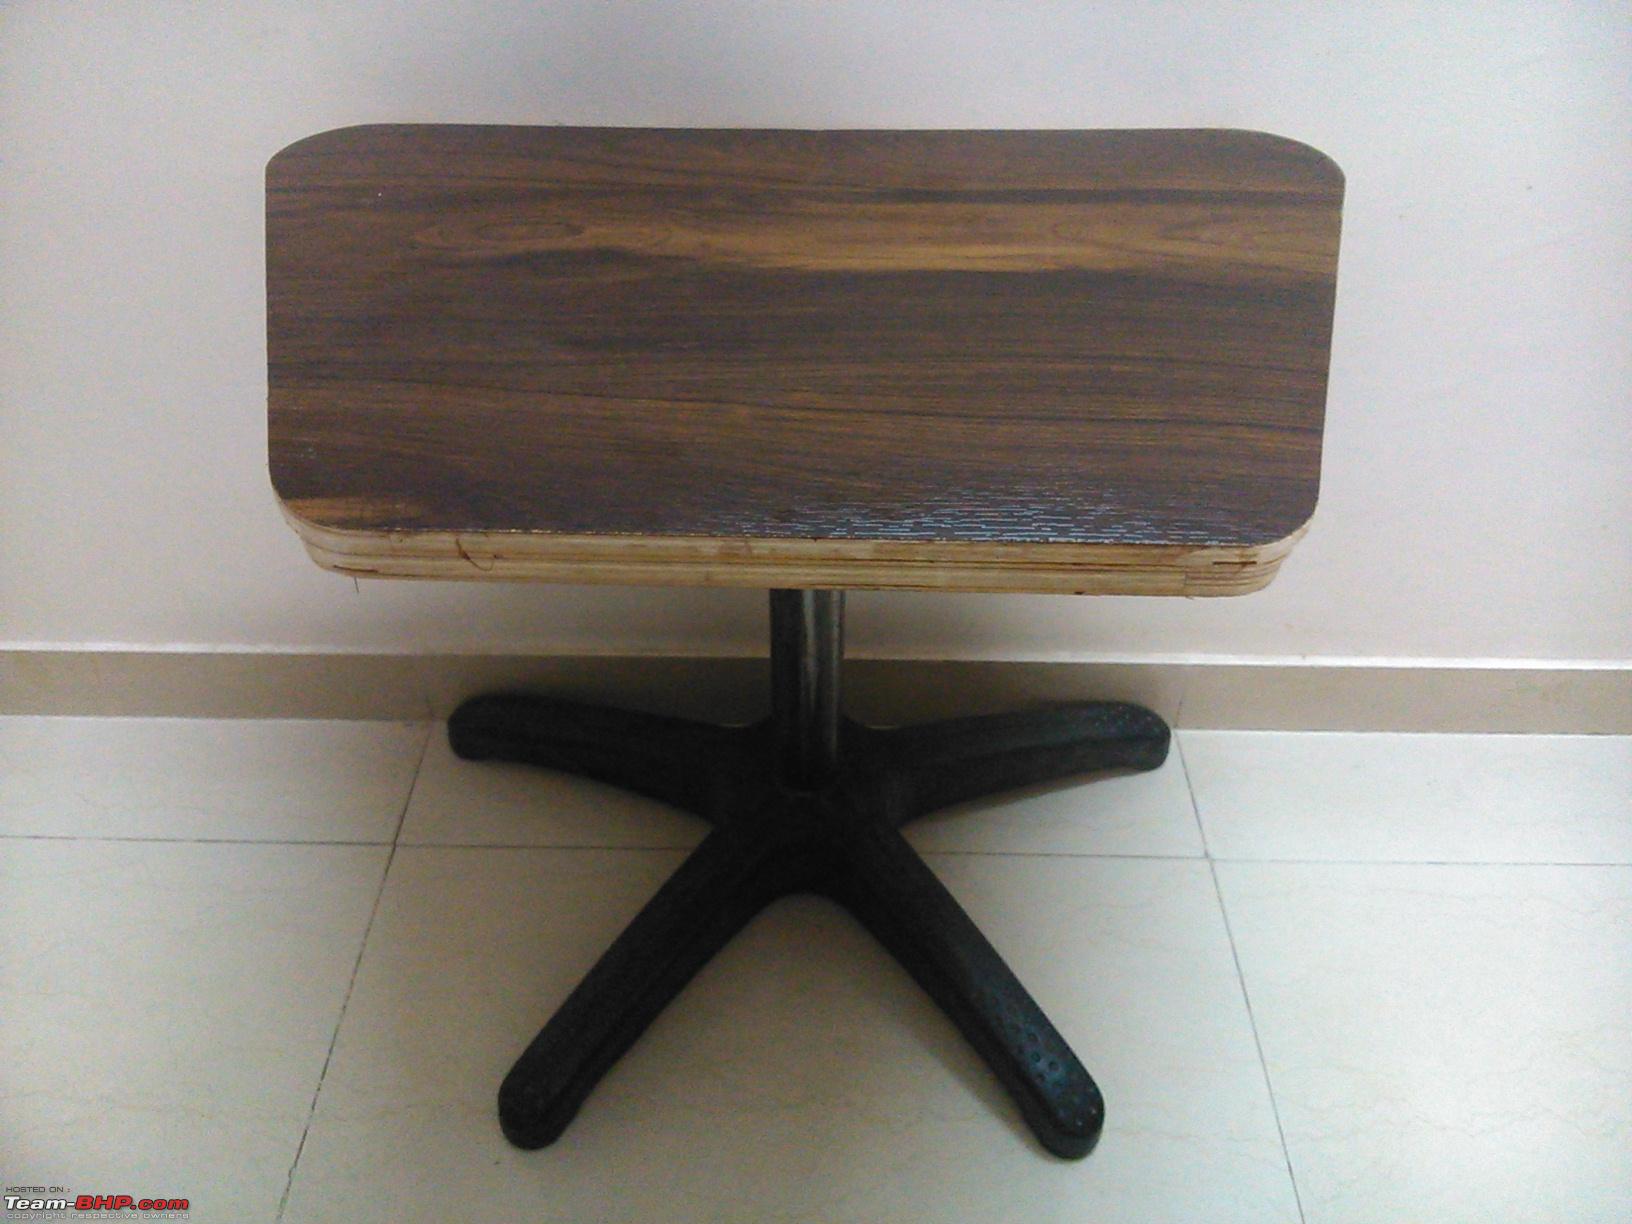
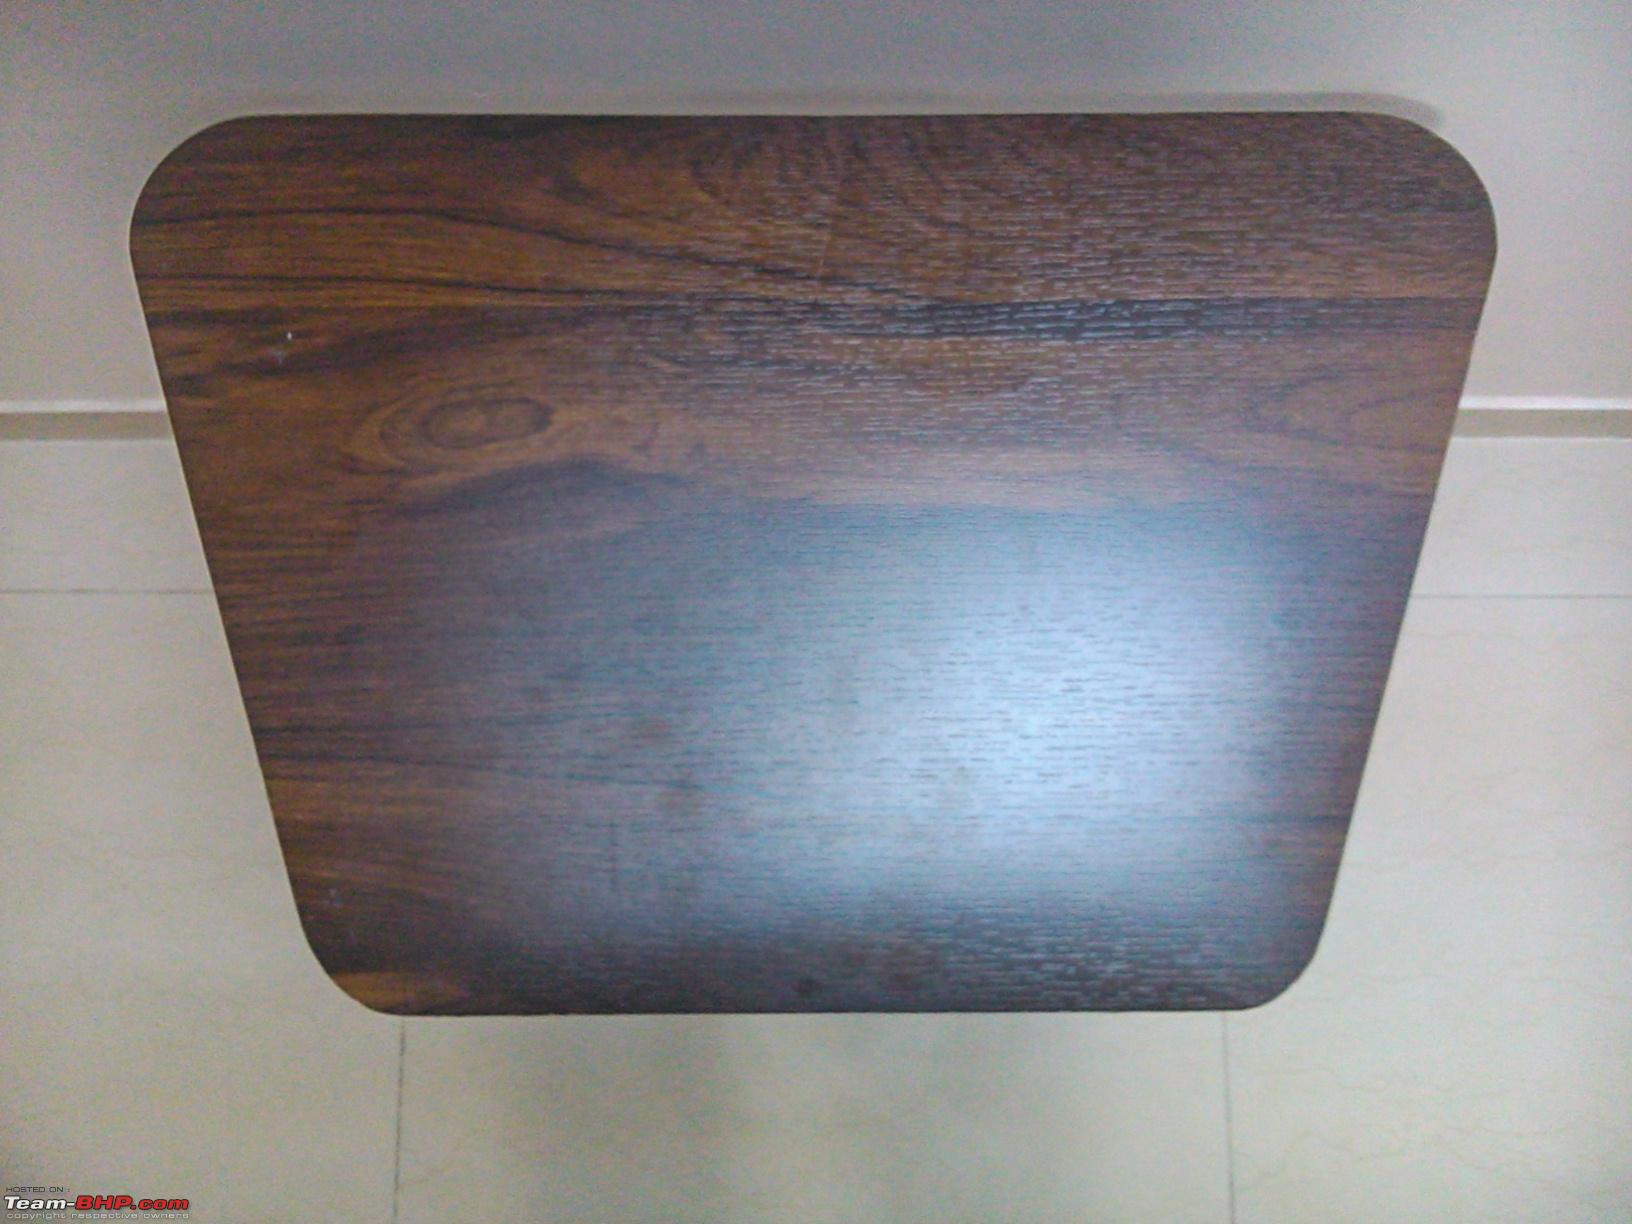
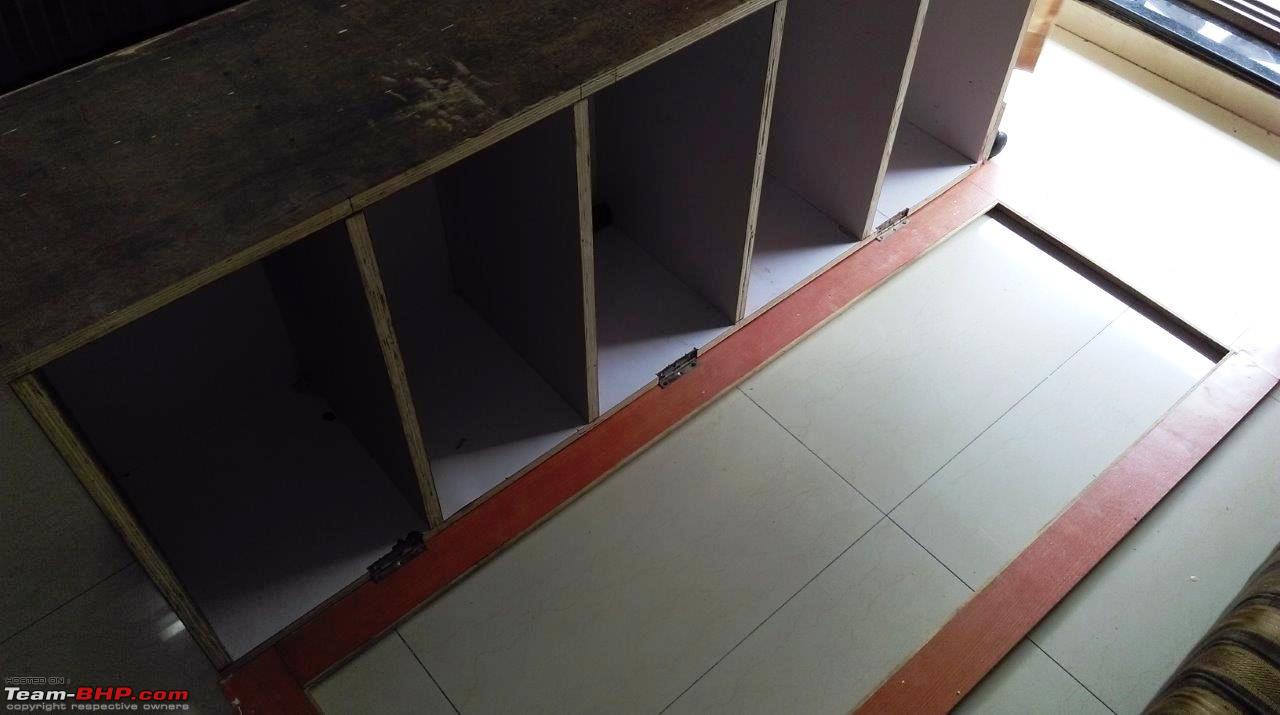
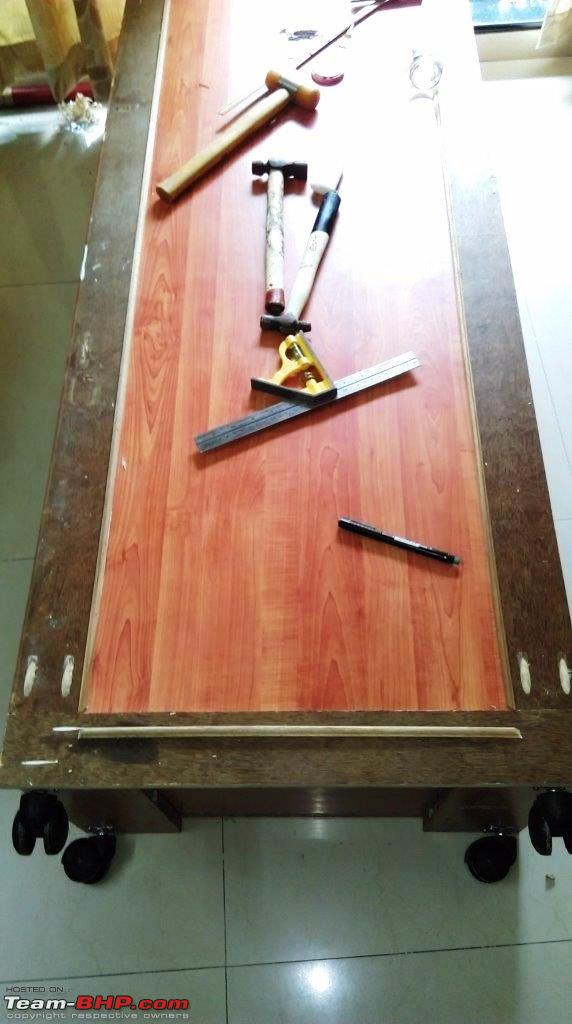
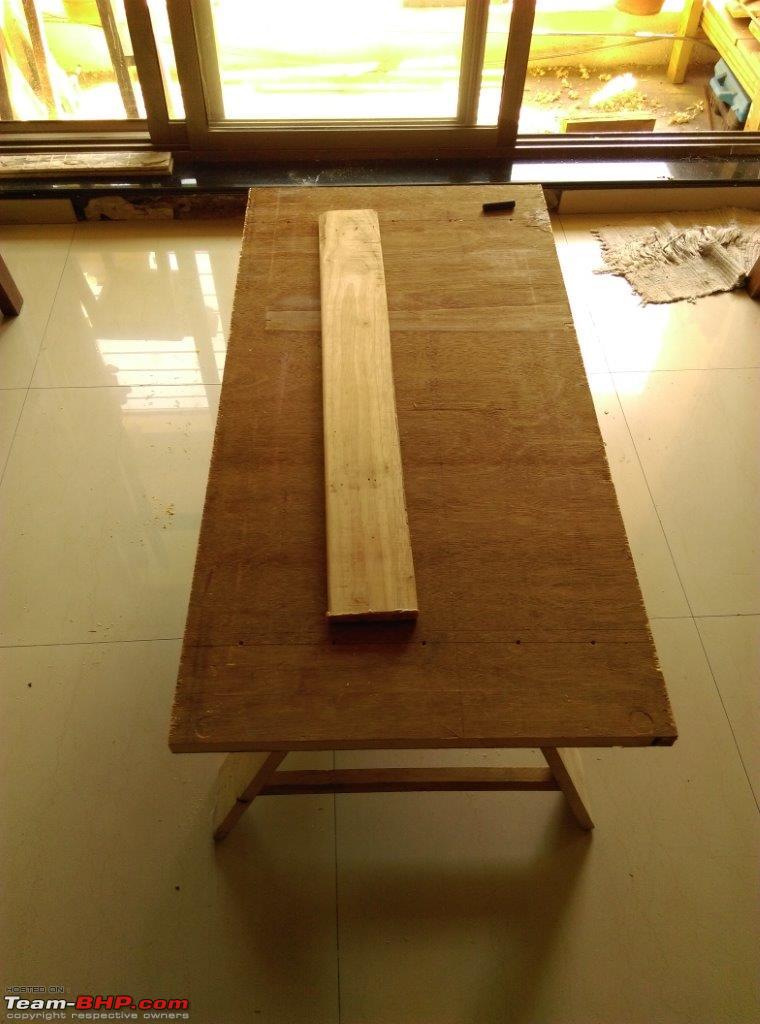
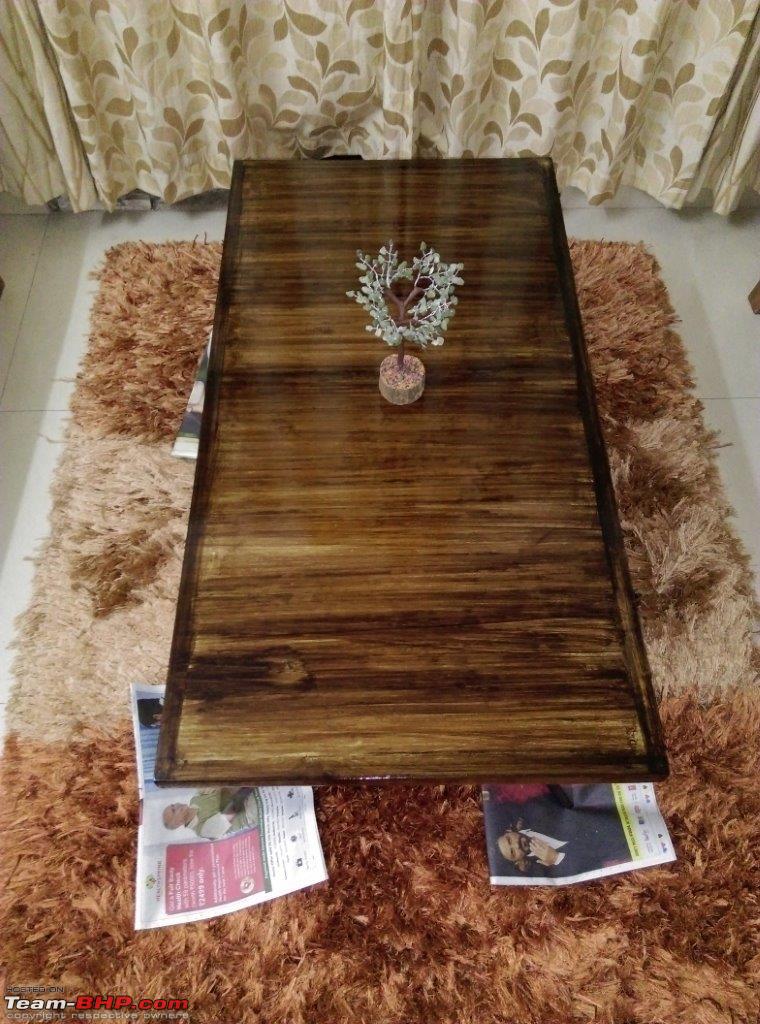
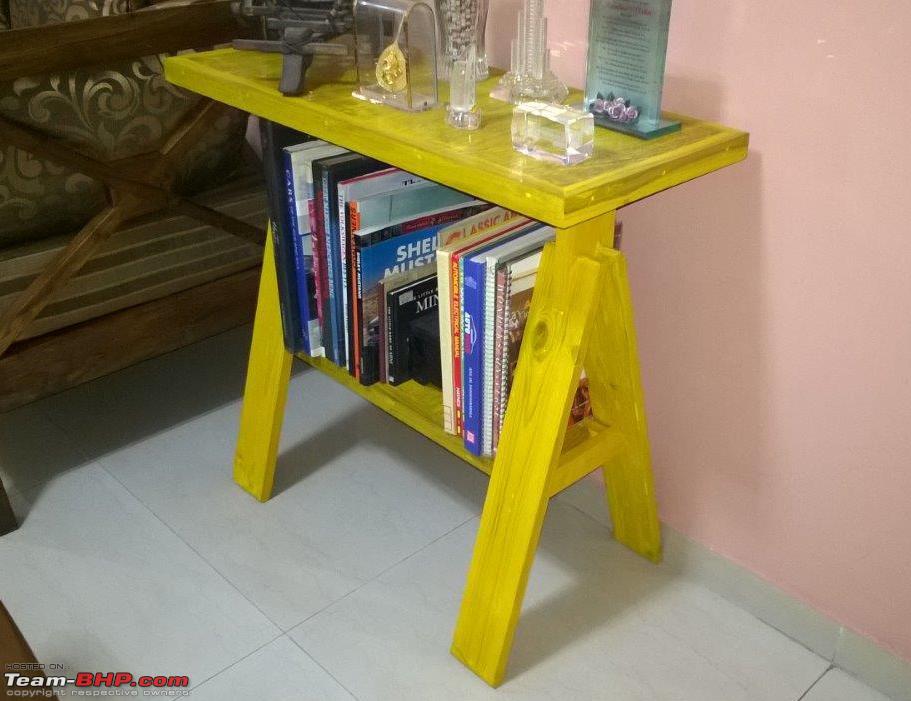
drawing I proceeded to cut two table tops from scarp pieces of plywood and shape it up.

End result: The edges now adorn, polish of dark brown shade.
The Woodworking Thread-20131214-17.33.02.jpg

The Woodworking Thread-20131214-17.33.16.jpg

The Woodworking Thread-20131215-17.13.35.jpg

The Woodworking Thread-20131215-17.13.11.jpg

The distortion is because of camera.
The Woodworking Thread-20131217-20.07.52.jpg

The Woodworking Thread-20131217-20.07.14.jpg

The Woodworking Thread-20131217-20.07.23.jpg

Regards-Sonu
ariesonu is offline  
Old 2nd July 2015, 10:37   #27
Senior - BHPian
 
ariesonu's Avatar
 
Join Date: Mar 2010
Location: Bombay
Posts: 1,343
Thanked: 2,417 Times
Re: The Woodworking Thread

Quote:
Originally Posted by akshaymahajan View Post
I need to cover the area under the staircase outside my house and keep my inverter there. Was thinking of a DIY woodwork project. Only difference is that the hypotenuse is smooth and not toothed (if that makes any sense) Need pointers as to what I should be looking at.
Hi Akshay, I am quite late to reply and hopefully the job is already done. If not, then would love to guide you on same.

Quote:
Originally Posted by TheTeacher View Post
Great thread! We bought some end-tables from Pepperfry; they look like I picked them up from the roadside; so bad is the fit, finish and staining. Our sofa from Ekbote is professionally finished, though.
Question: Some custom made furniture was stained dark against our wishes, and we had to take it as it was. Supposedly the frame is made of teak and the boards are Marine Ply. It looks to me like the wood is light colored underneath the stain. Is it possible to sand off the dark stain and restain / varnish for a natural look?
Thanks!
Again sorry for delayed reply:
I have found that about 3 out 10 products are ONLY worth their money on all such interior furniture websites.

The stain on your wood piece can be corrected but it will require lots of sanding and generous amount of wood thinner.
1) Sand the piece with 150 grit sandpaper to bare wood but don't go too deep. You will still find some stain streaks in the grains.
2) Rub these with thinner on cotton cloth and let it evaporate. Keep going till the stain is lighter in shade or has disappeared.
3) Use 300 & above grit paper for that satin look.
4) Around evening, dab a cotton cloth in water (Not dripping but wet) and run it all over the sanded area and leave it for overnight.
5) Next day, you will find wood finish to be like one day old beard. The water causes the free strands of wood to stand out. Now sand them again with 300 or higher grit paper and do it patiently and in even strokes. As I mentioned before, don't judge surface by eye but by feel. I use rubber (HAWAI CHAPPAL) base as backup for sand paper.
6) Once satisfied, clean entire area with cotton cloth dipped in thinner. This will also give you preview of how your wood will look under bare polish.
7) Now apply the stain of your choice as directed in one of my posts above and lock it with clear varnish after 24 hours of applying stain.

Regards-Sonu

Last edited by Gannu_1 : 2nd July 2015 at 13:14. Reason: Corrected as requested.
ariesonu is offline   (1) Thanks
Old 2nd July 2015, 10:46   #28
BHPian
 
TheTeacher's Avatar
 
Join Date: Feb 2013
Location: Space-Time
Posts: 484
Thanked: 342 Times
Re: The Woodworking Thread

Quote:
Originally Posted by ariesonu View Post
The stain on your wood piece can be corrected but it will require lost of sanding and generous amount of wood thinner.
Thank you very much for the comprehensive instructions, Sonu! Your instructions are so good, I am confident of doing this myself instead of hiring a carpenter whose work quality is a huge unknown factor!
Best Regards!
TheTeacher is offline  
Old 15th October 2015, 13:01   #29
Senior - BHPian
 
ariesonu's Avatar
 
Join Date: Mar 2010
Location: Bombay
Posts: 1,343
Thanked: 2,417 Times
Re: The Woodworking Thread

A friend wanted a dressing unit which will not take any floor space and so I built her this. (the mirror cost around 700/- for front fascia)
The Woodworking Thread-imag0154.jpg
The Woodworking Thread-imag0447.jpg
The Woodworking Thread-imag0750.jpg
The Woodworking Thread-imag0753.jpg
The unpainted front now boasts of a full length mirror with bevel edges.
The Woodworking Thread-imag0754.jpg

Another friend wanted a small cabinet unit for storing her precious cutlery which was being "EXECUTED", piece by piece, by her maid.
The Woodworking Thread-imag1171.jpg
The Woodworking Thread-imag1194.jpg
The Woodworking Thread-imag1197.jpg
The Woodworking Thread-imag1201.jpg
The Woodworking Thread-imag1200.jpg
The Woodworking Thread-imag1206.jpg
The Woodworking Thread-imag1209.jpg
The Woodworking Thread-imag1211.jpg
The Woodworking Thread-imag1226.jpg
The Woodworking Thread-imag1227.jpg
The Woodworking Thread-imag1232.jpg
The Woodworking Thread-imag1236.jpg
The Woodworking Thread-imag1235.jpg
The Woodworking Thread-imag1233.jpg

Edges have been polished in black, to match the drawer unit.

Pardon the quality as photos are taken by phone during work when the muscles & nerves are already tired from all the physical work.

Both are made from cut pieces left over from other projects. My friends & neighbors, who know that I do woodworking have generously donated such leftover pieces (from their house/shop renovations) to me.

Regards-Sonu

Last edited by ariesonu : 15th October 2015 at 13:06.
ariesonu is offline   (2) Thanks
Old 20th March 2016, 20:33   #30
Senior - BHPian
 
ariesonu's Avatar
 
Join Date: Mar 2010
Location: Bombay
Posts: 1,343
Thanked: 2,417 Times
The Coffee Table

Mid Feb, wifey comes home & tells me that her next kitty party is going to be at our house. Then she looks questionably at me & then at our centre table, which has been on my TO-DO list from last six months.
In fact I had begin on this table almost 3 months back but the first set of legs did not match with any other furniture so I had ripped them out. Then everything fell into limbo of getting that PERFECT design.
They say the pressure can get your best pheromones working & VOILA, next morning it hit me that my preferred design was always in front of my eyes.

So here is my latest creation:
W.I.P.
The Woodworking Thread-imag2113.jpg
The Woodworking Thread-imag2114.jpg
The Woodworking Thread-imag2132.jpg
The Woodworking Thread-imag2138.jpg
The Woodworking Thread-imag2141.jpg

The polish is still wet, hence the papers
The Woodworking Thread-imag2147.jpg
The Woodworking Thread-imag2146.jpg
The Woodworking Thread-imag2145.jpg
The Woodworking Thread-imag2144.jpg

The design inspiration, our display table - my earlier creation
The Woodworking Thread-wp_20150131_003.jpg

Regards-Sonu
ariesonu is offline   (6) Thanks
Reply

Most Viewed


Copyright ©2000 - 2024, Team-BHP.com
Proudly powered by E2E Networks