Few Mods, Accessories and Additions
Received this
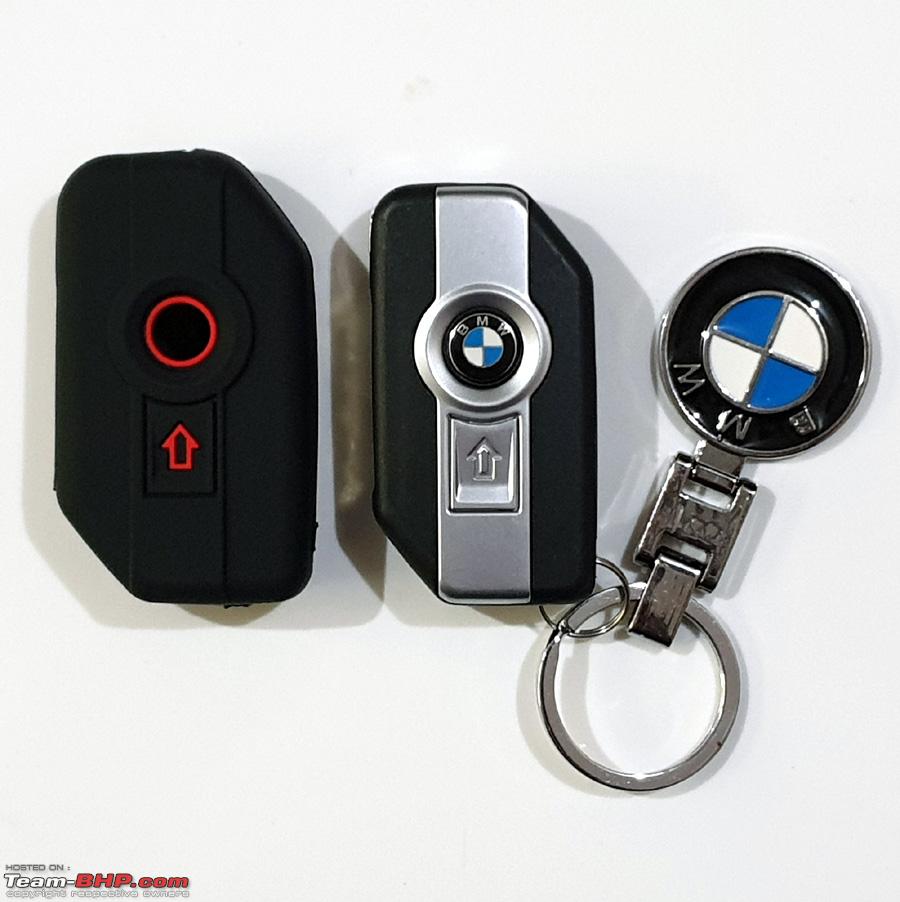
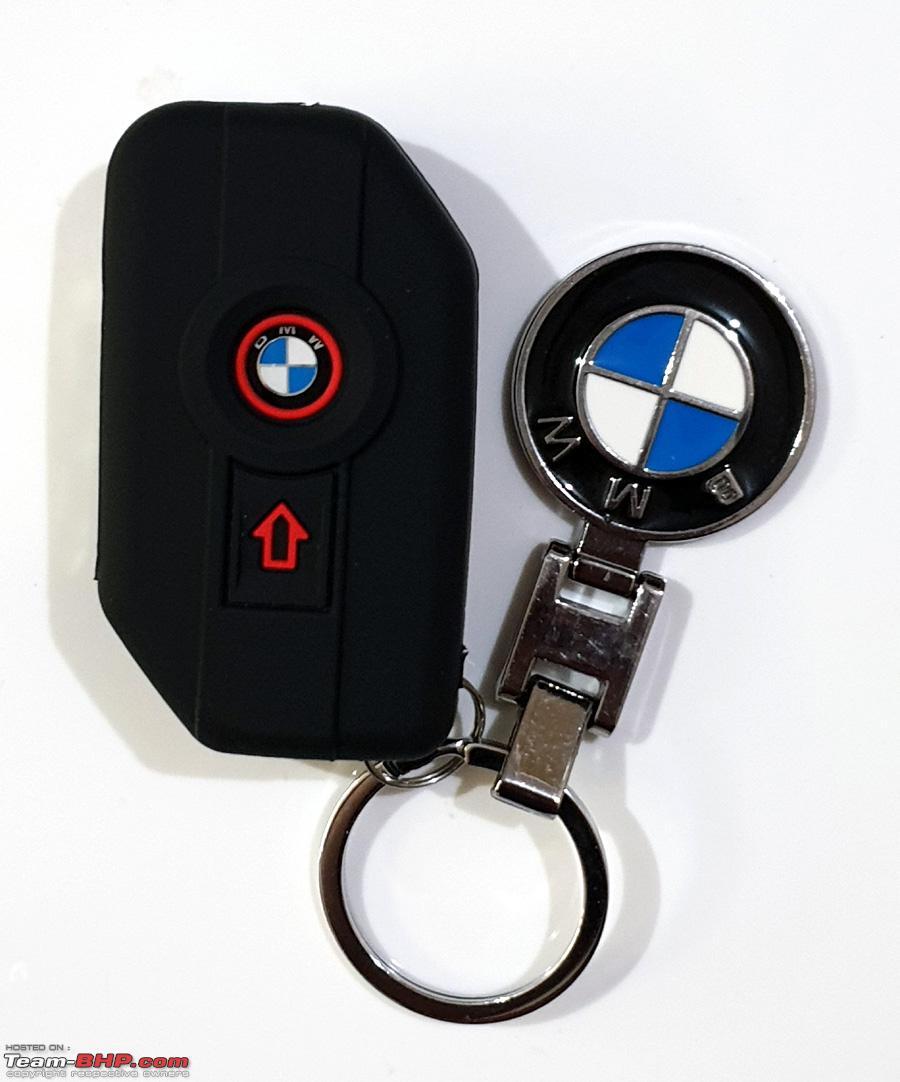
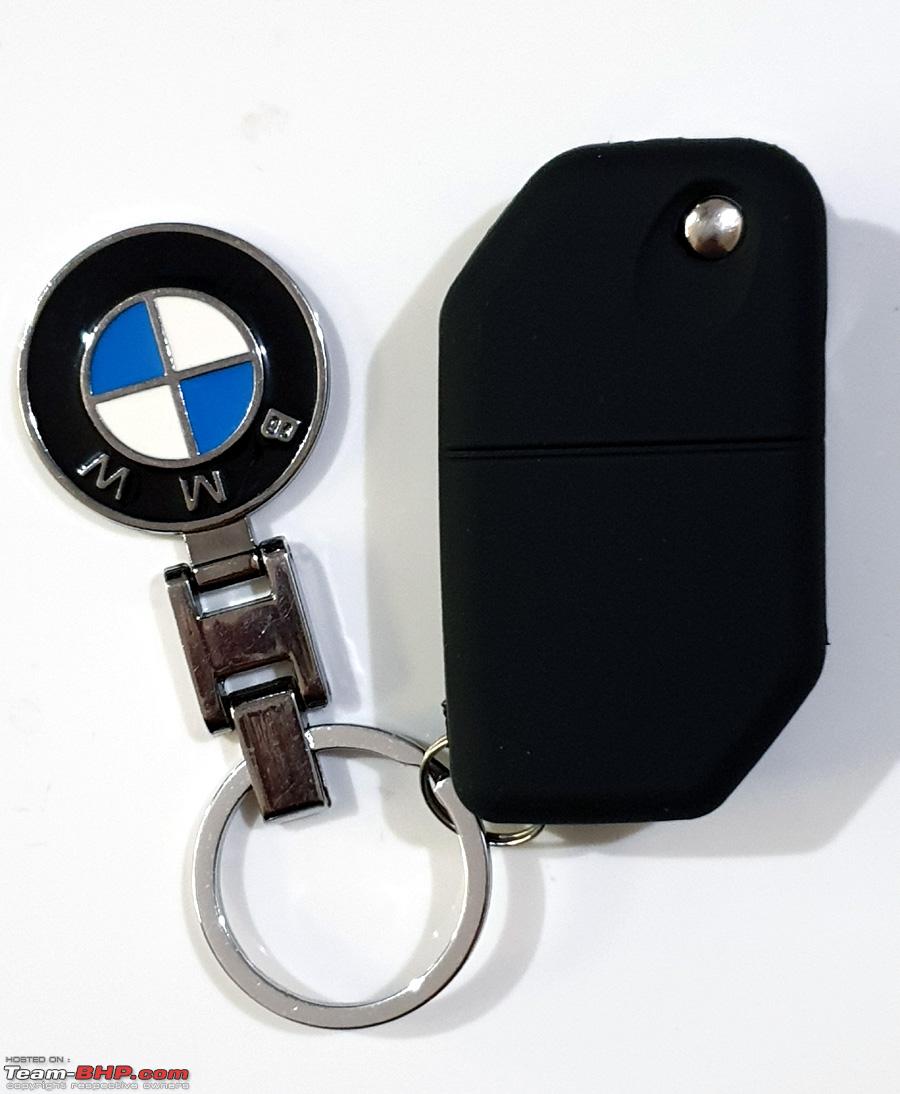
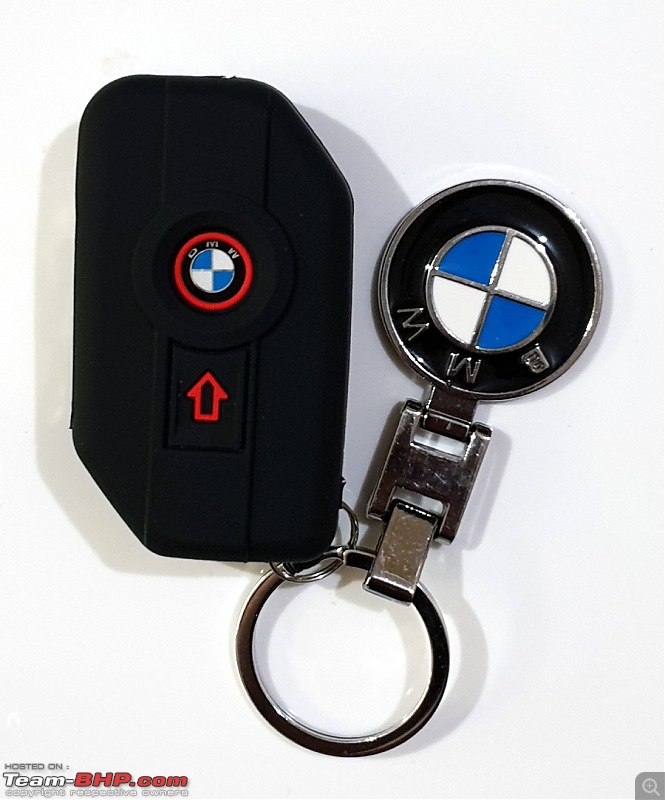
Silicon Case for the Keyless Remote
 https://www.aliexpress.com/item/4001...27424c4dptPt2z
Excellent quality and provides the much needed protection against falls and dents as I have heard 1-2 cases of the remote going bad after a severe fall.

----------------------
Project Fog Light
I was considering attaching additional Fog Lights as is customary (and necessary) on any ADV worth it's salt. But the costs of all the good one's felt quite prohibitory for now. A Denali Cansmart system could cost anywhere between 60k to 1.2Lacs for a one (D4's) / two (D7's) pair system. Clearwater and other's were even costlier. I had installed a excellent pair of Round Fog Lights on my Himalayan few years back which had served me excellently on my Ladakh Trip. And that was at a fraction of the cost of these ones. However I could not find the same quality anymore either in the local market, nor online. Finally I decided to to work from ground up and create the wiring harness and circuit myself.
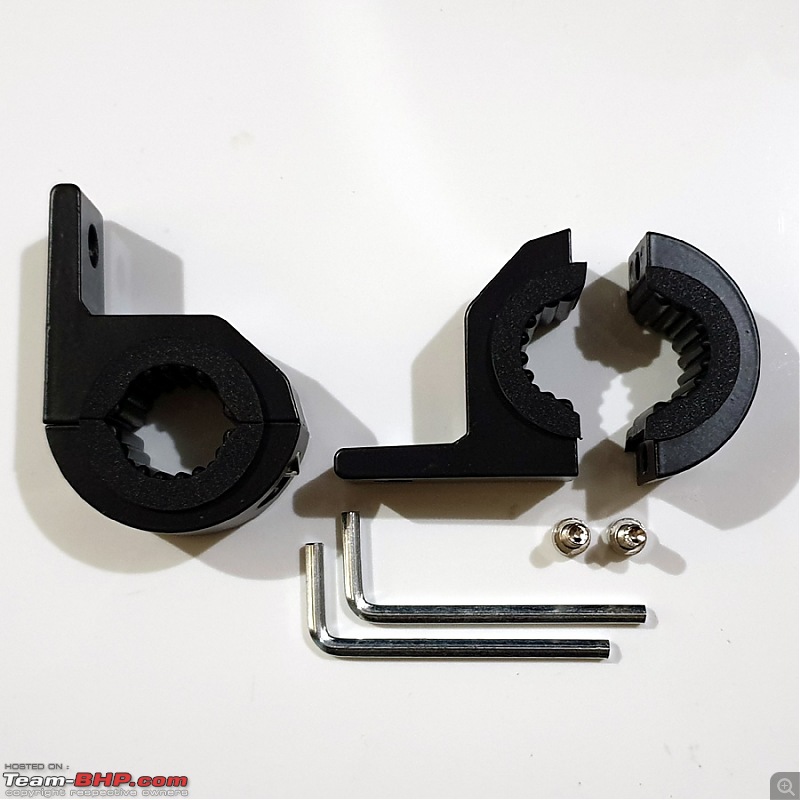
Zeroed in on these (decent) pair of
Fog Light Mounts from Amazon. Made of aluminium alloy and seem quite sturdy.
 https://www.amazon.in/gp/product/B07...?ie=UTF8&psc=1
Here they are attached to the OE engine protector bars on the bike

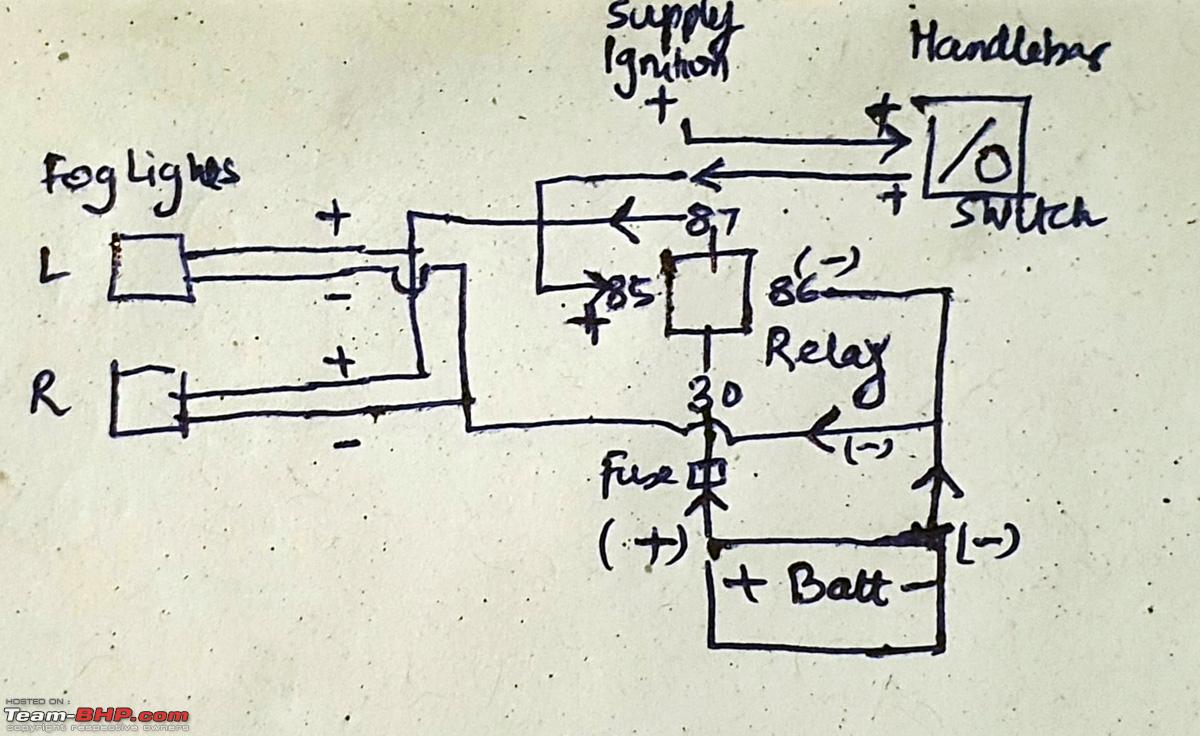
A simple
Fog Light Circuit Diagram was designed

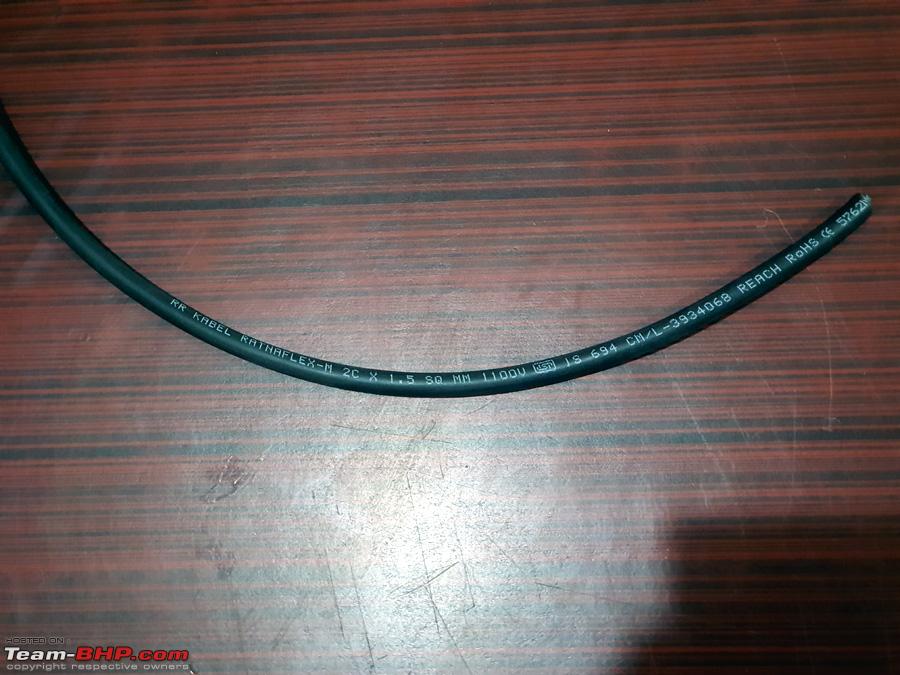
Highest quality
Wiring and
Terminals were used for all connections from the Battery and high quality Minda relay and switches were used.


As I wanted it to be a Switched Circuit, working only when the Ignition was on, a wire needed to be
tapped to provide the
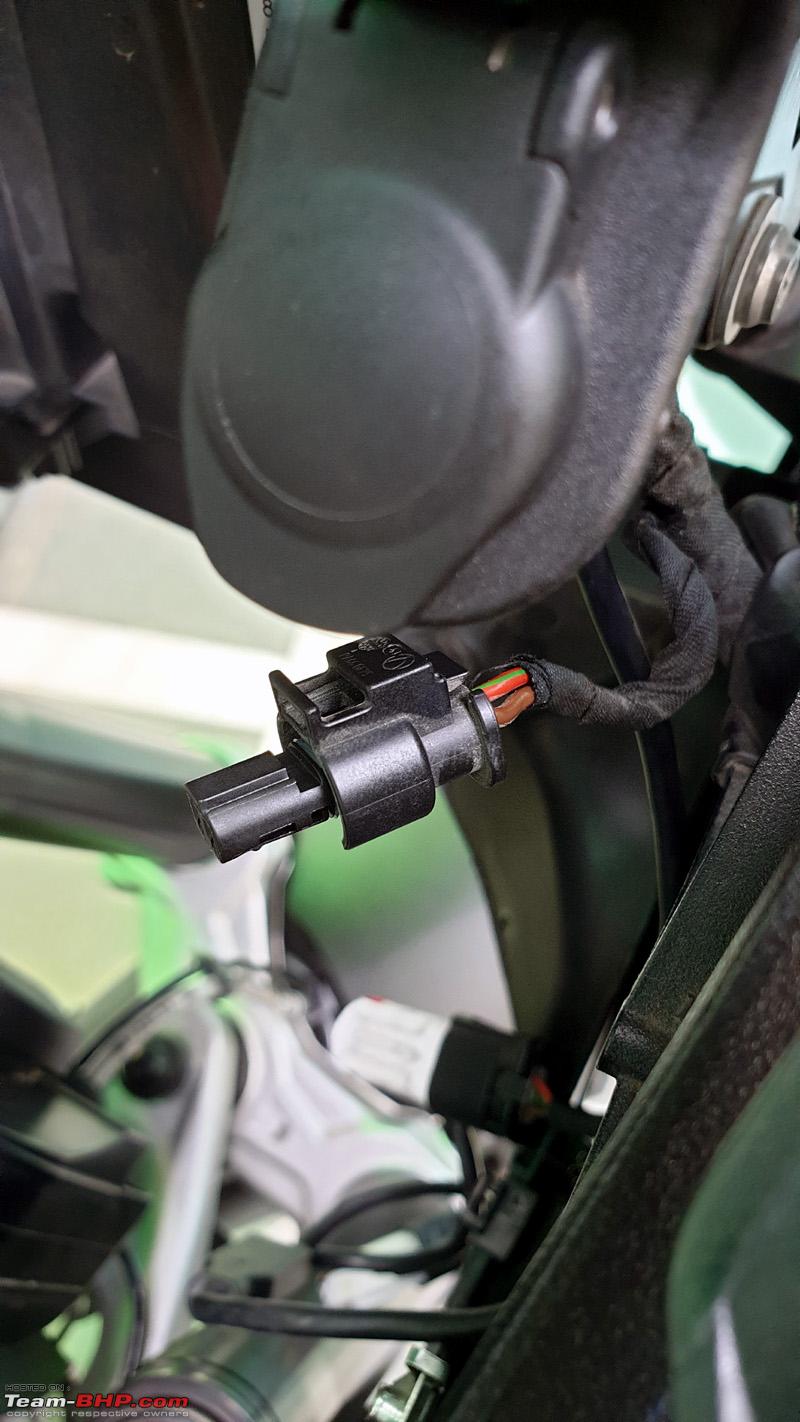
Ignition Supply as shown in my circuit diagram. In the US forums, other owners were using this from multiple sources, one of which was directly from the DIN Power socket on the bike -

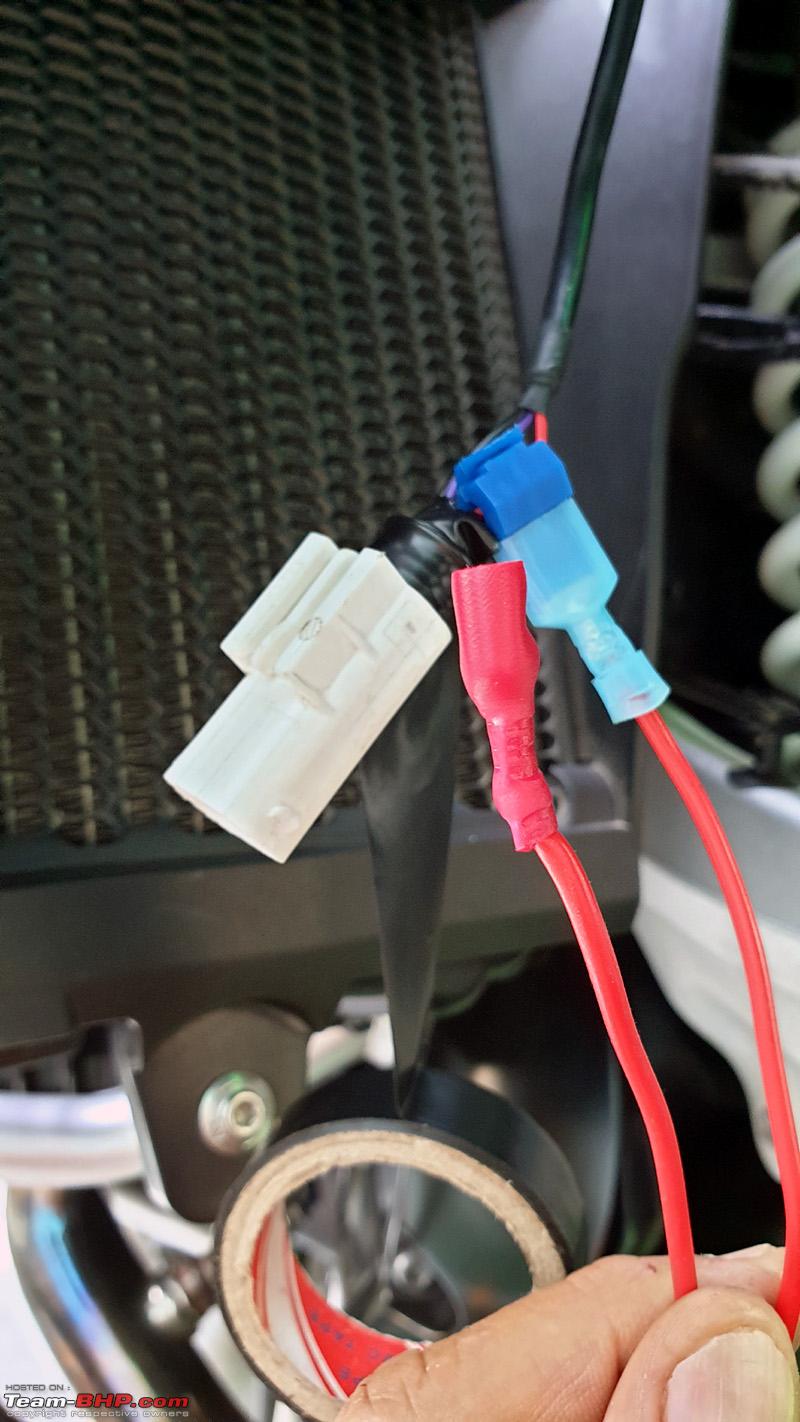
The Brown wire is the Negative (as in all German vehicles) and the Red/Green wire was the Positive Supply which needed to be tapped. But I chose against going with this source as it meant tapping into the bike's 'original' wiring harness. I therefore chose to tap through the wiring of the
GPS Mount, which is an attached company accessory anyways, and in the process did not touch the bike's original wiring harness in any way. Here it is tapped and a Red Butt Connector was ready to supply switched 12v supply to the relay, as shown in the circuit. No OE wires were cut.

The
Fog Light was sourced and now attached to the mount (at a fraction of the cost) which can anyways be replaced at any time with a better product, if necessary, once the basic installation was complete.
 https://www.amazon.in/gp/product/B07...?ie=UTF8&psc=1
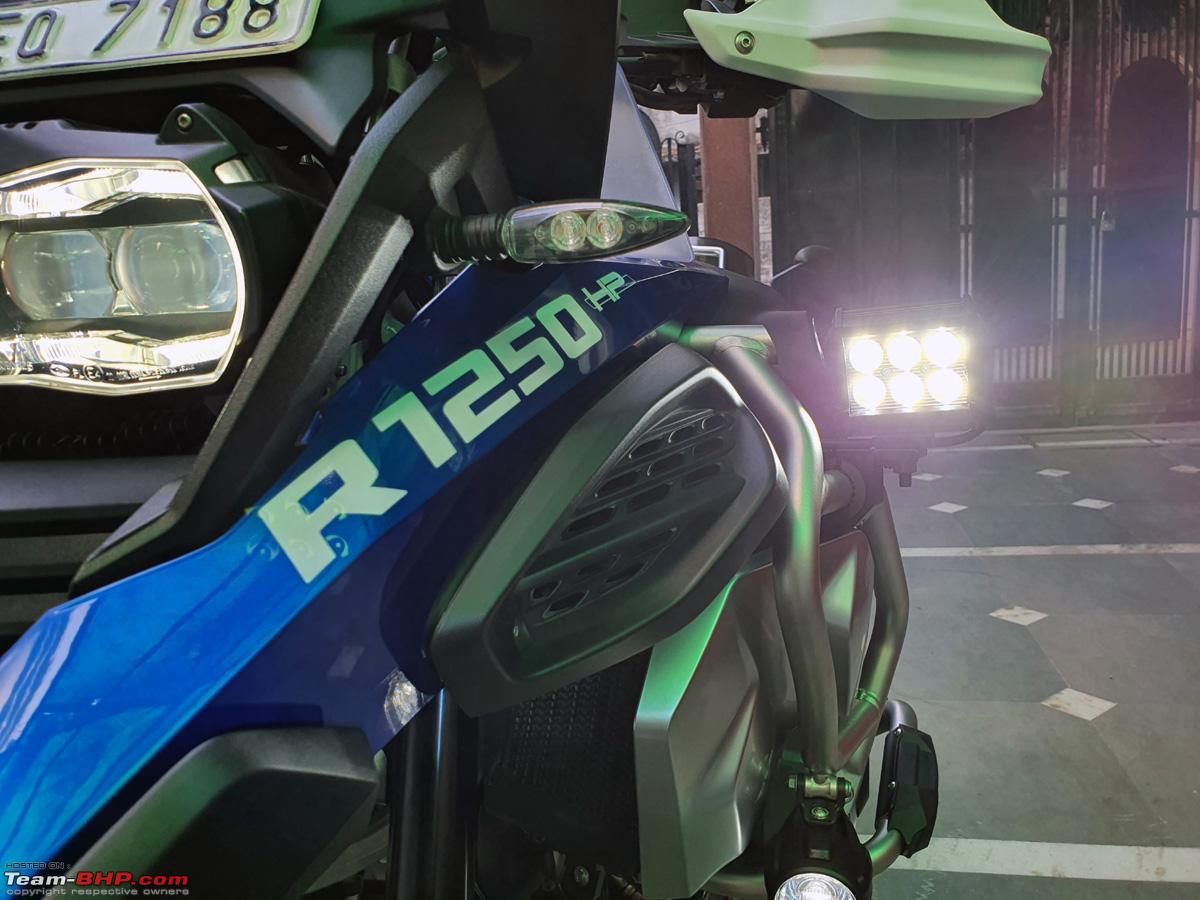
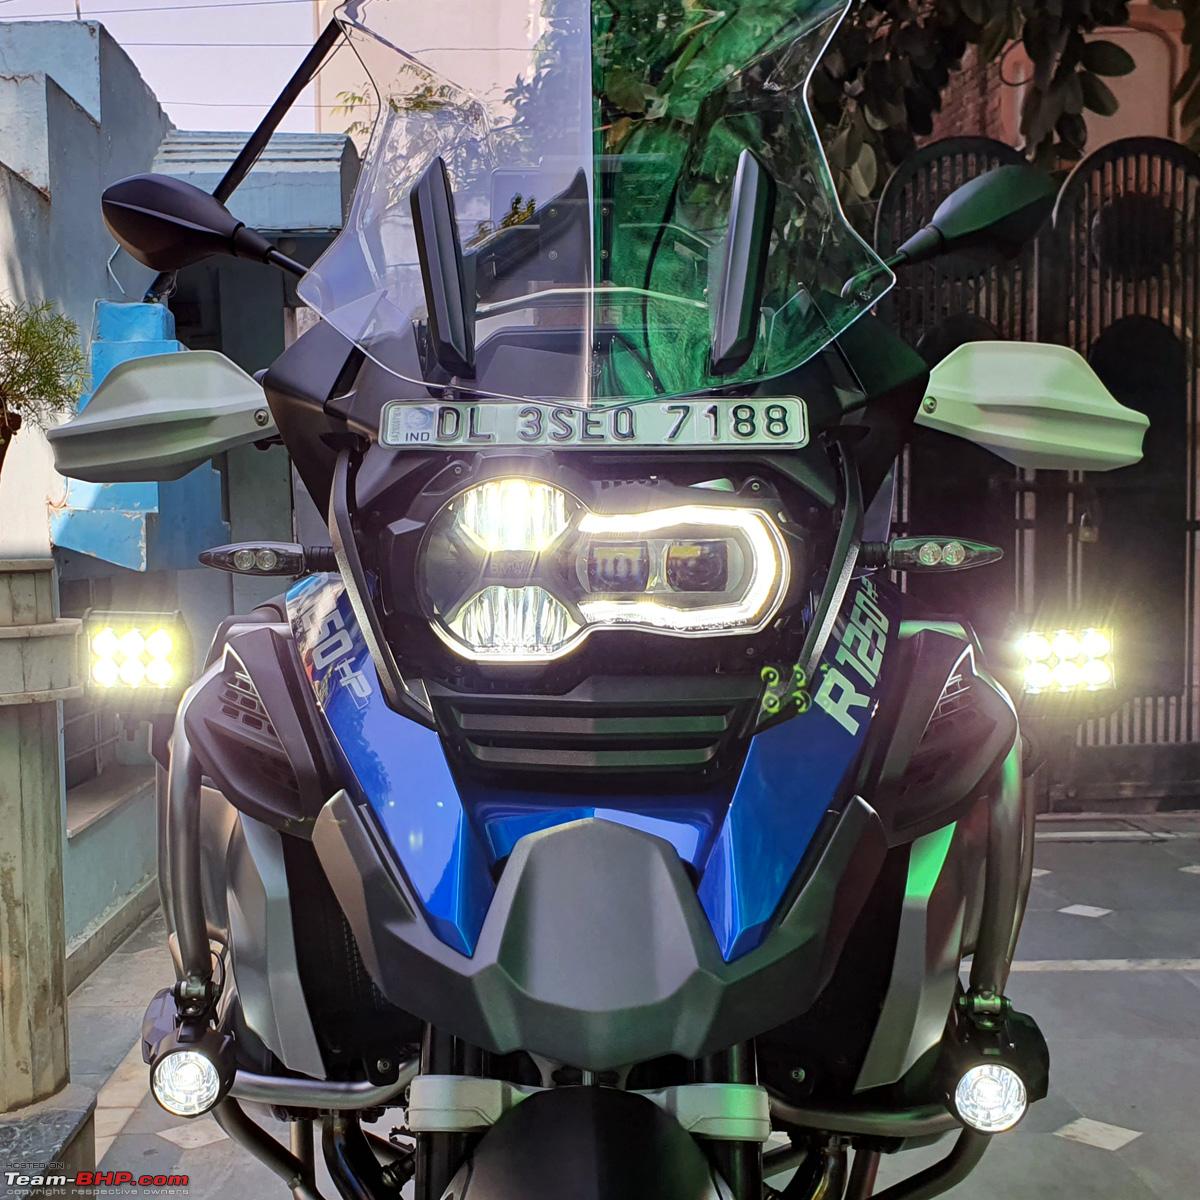
Here it is switched ON. It turned out to be of a pretty decent quality and the brightness was at least 3-4 times more than the OE company Fog Lights that were attached to the bike, which served nothing more than marker lights.

A complete view of the installation. I chose this position of the install to give maximum width to the lights which hence lead to better frontal visibility of the bike to the oncoming traffic. The lights were focused properly so as to not blind the oncoming traffic but without compromising the increased width of the light throw and visibility, for which they were actually installed.

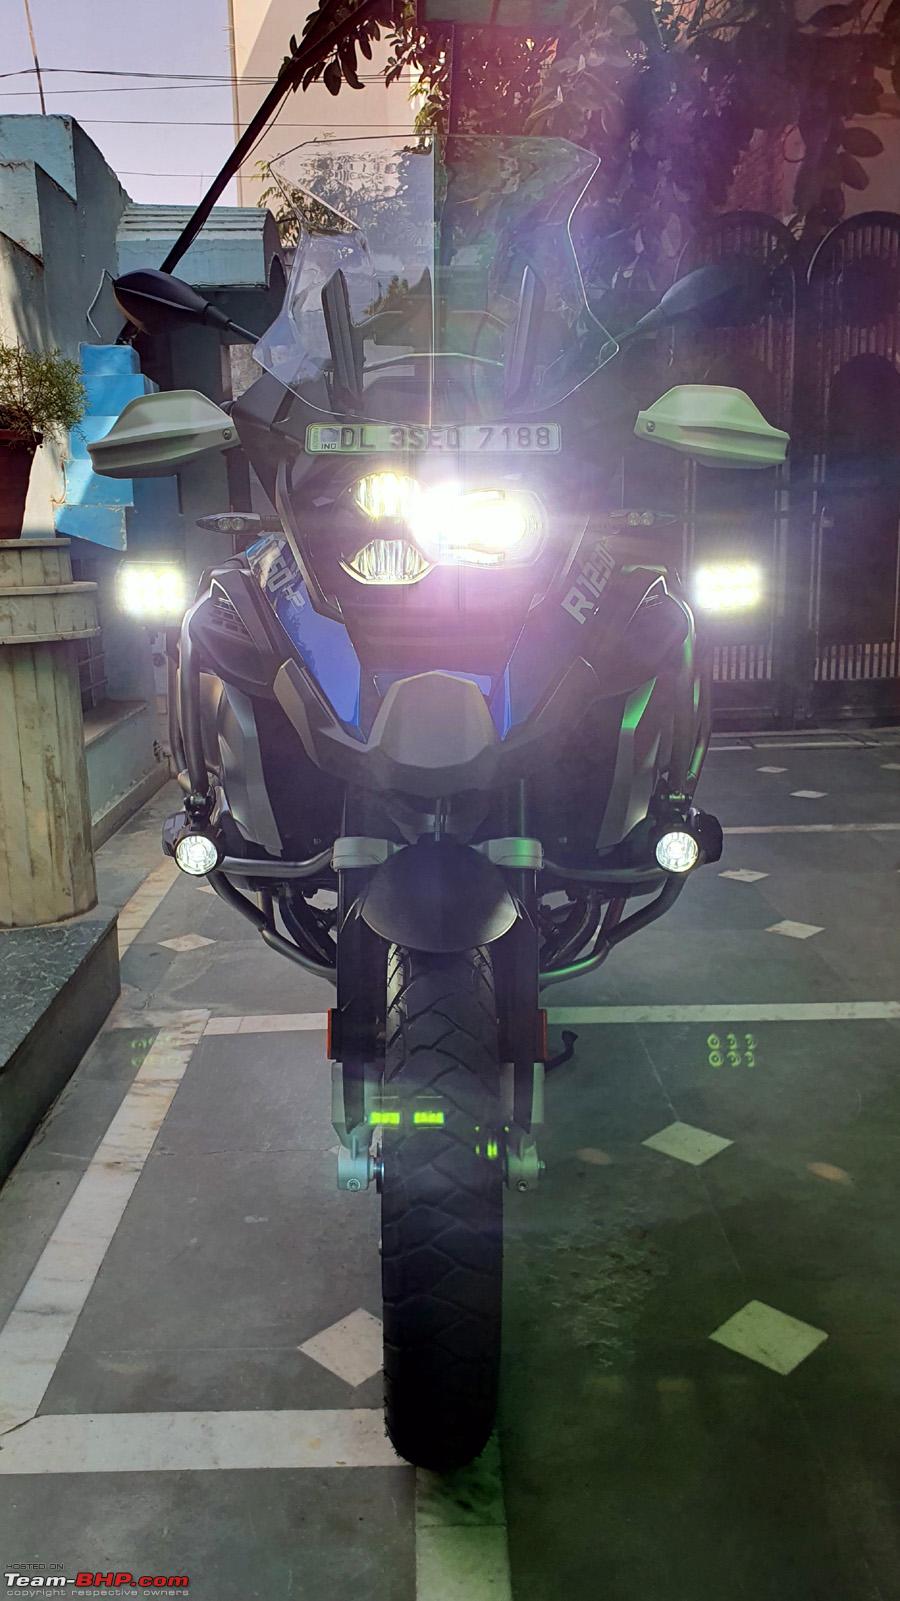
Switched ON with the Low Beams. Note the exact colour temperature of the lights is matching those of the OE LED headlights.

And with the High Beams on. The visibility has almost doubled in actual riding at night.
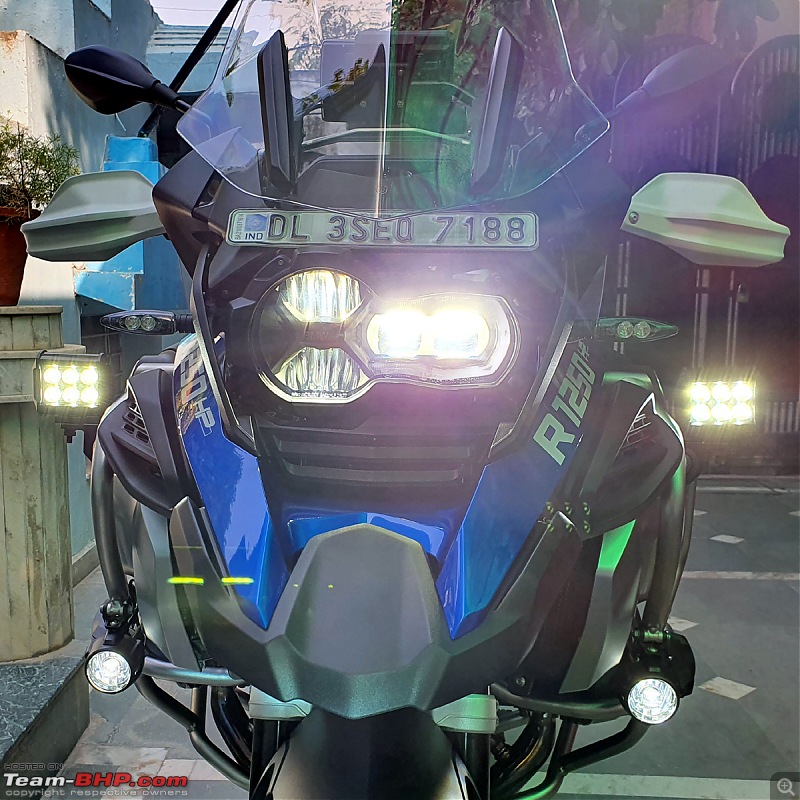
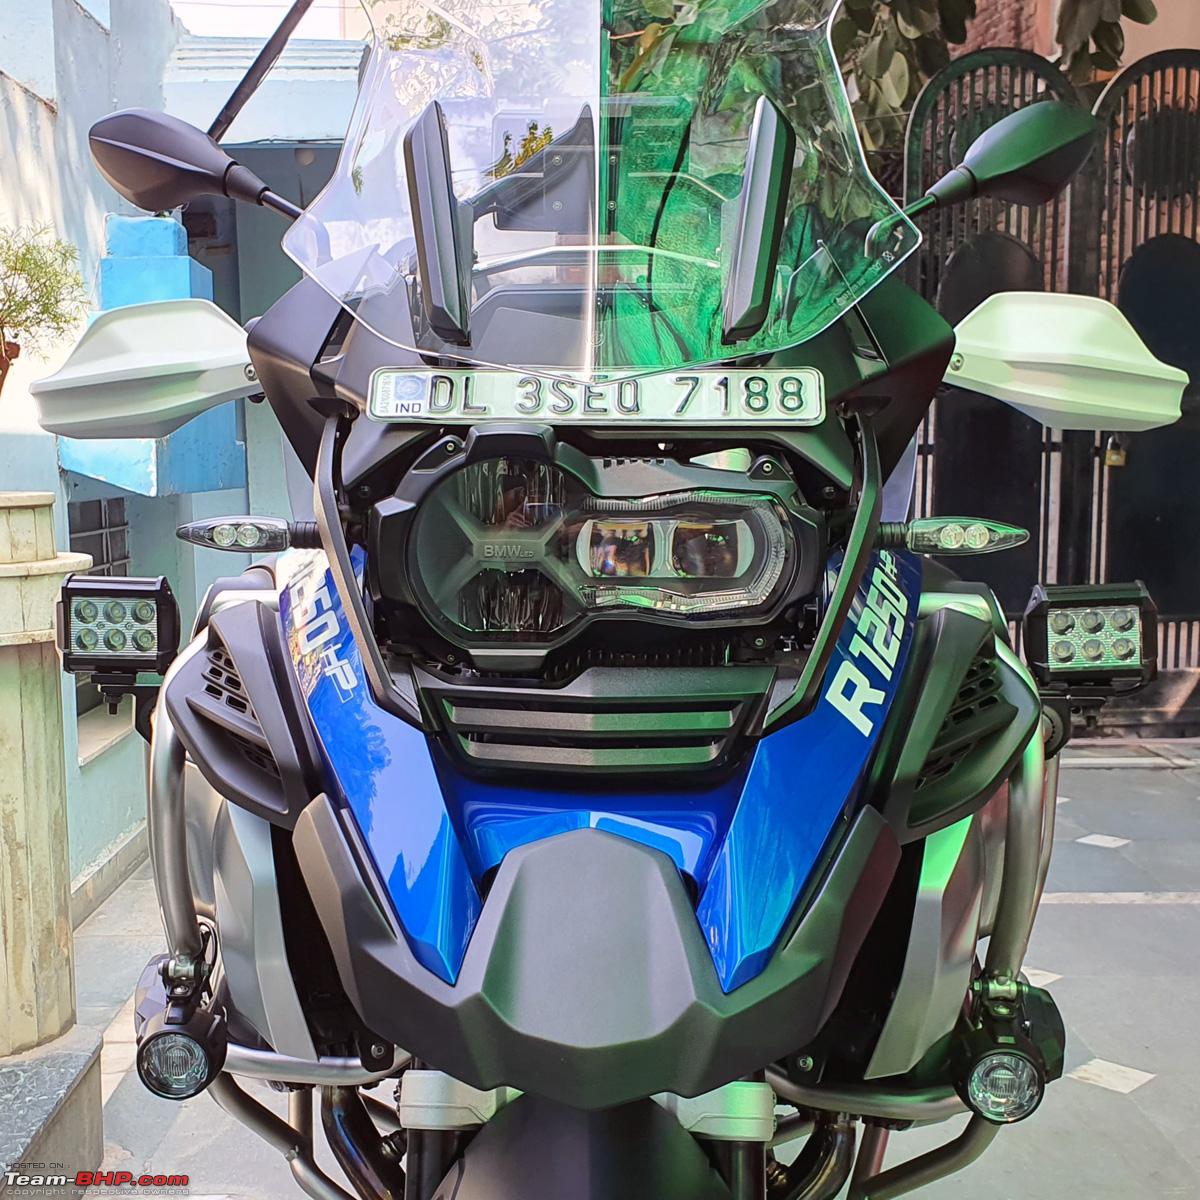
A full head on view. Now provides great width to the frontal view for the oncoming traffic, which is a great safety requirement in our riding conditions.
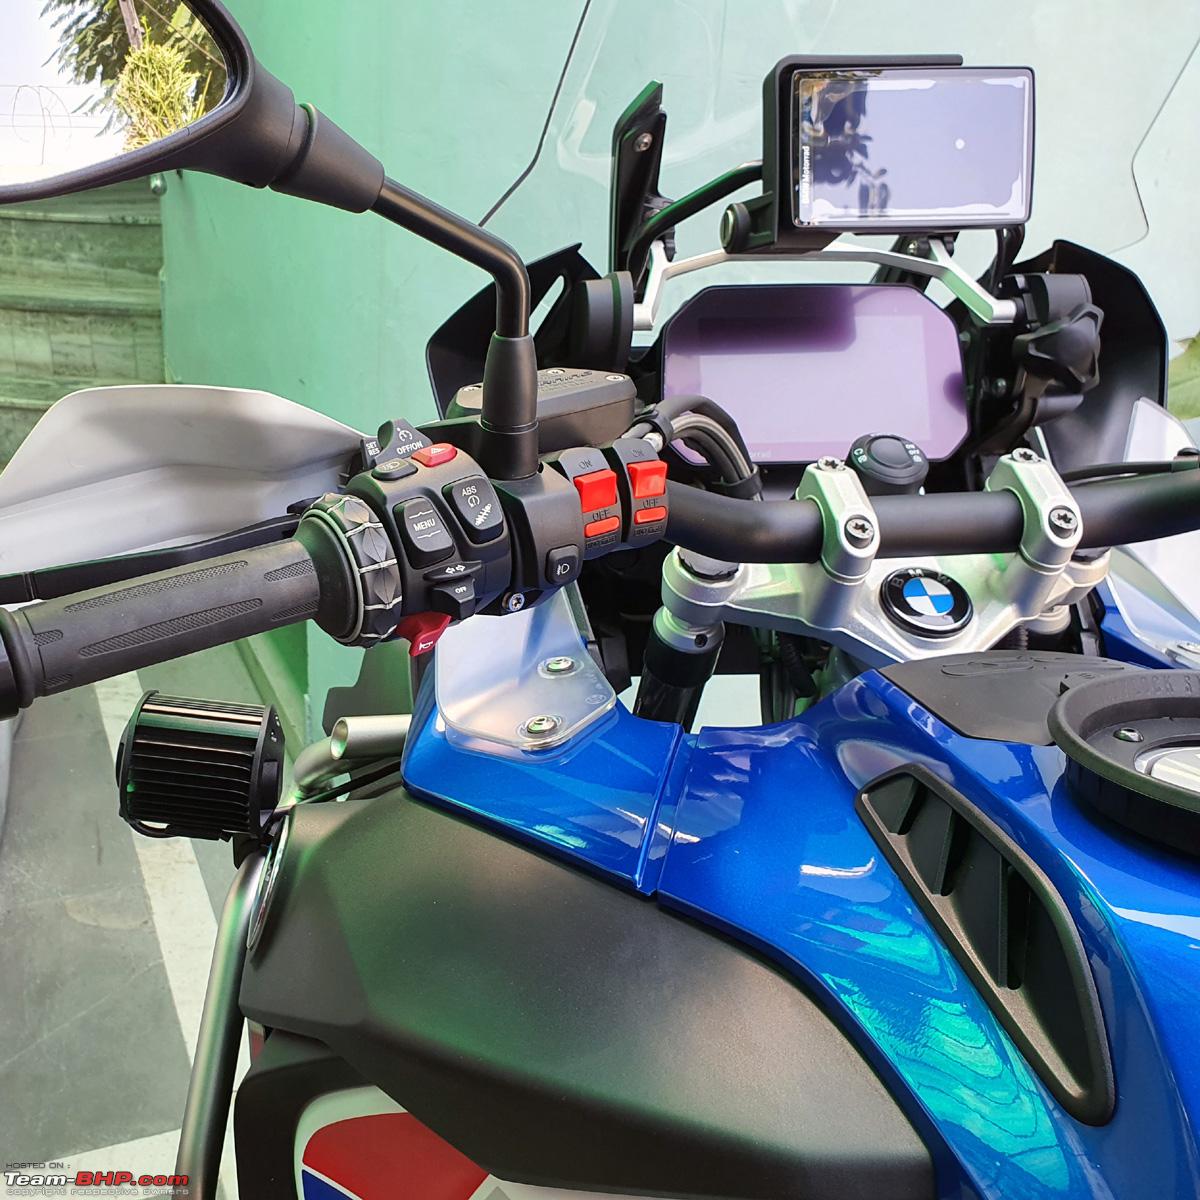
 Minda Switches
 on the handlebar. Look pretty decent and matches the Red accents on the OE switchgear. The 2nd switch was also installed during this process to switch on/off the additional Denali Horn that was installed previously, as I did not want to use it within city limits as it was too loud for the city. Will serve purpose mostly for highway use.

All wires were routed and zip tied to OE specs and the wire routing was done along with the Denali Horn wiring which I had discussed in my previous posts. Pretty satisfied with this near OE setup for now. May upgrade at a later date, when 'moolah' allows. Lolz.
---------------------------------
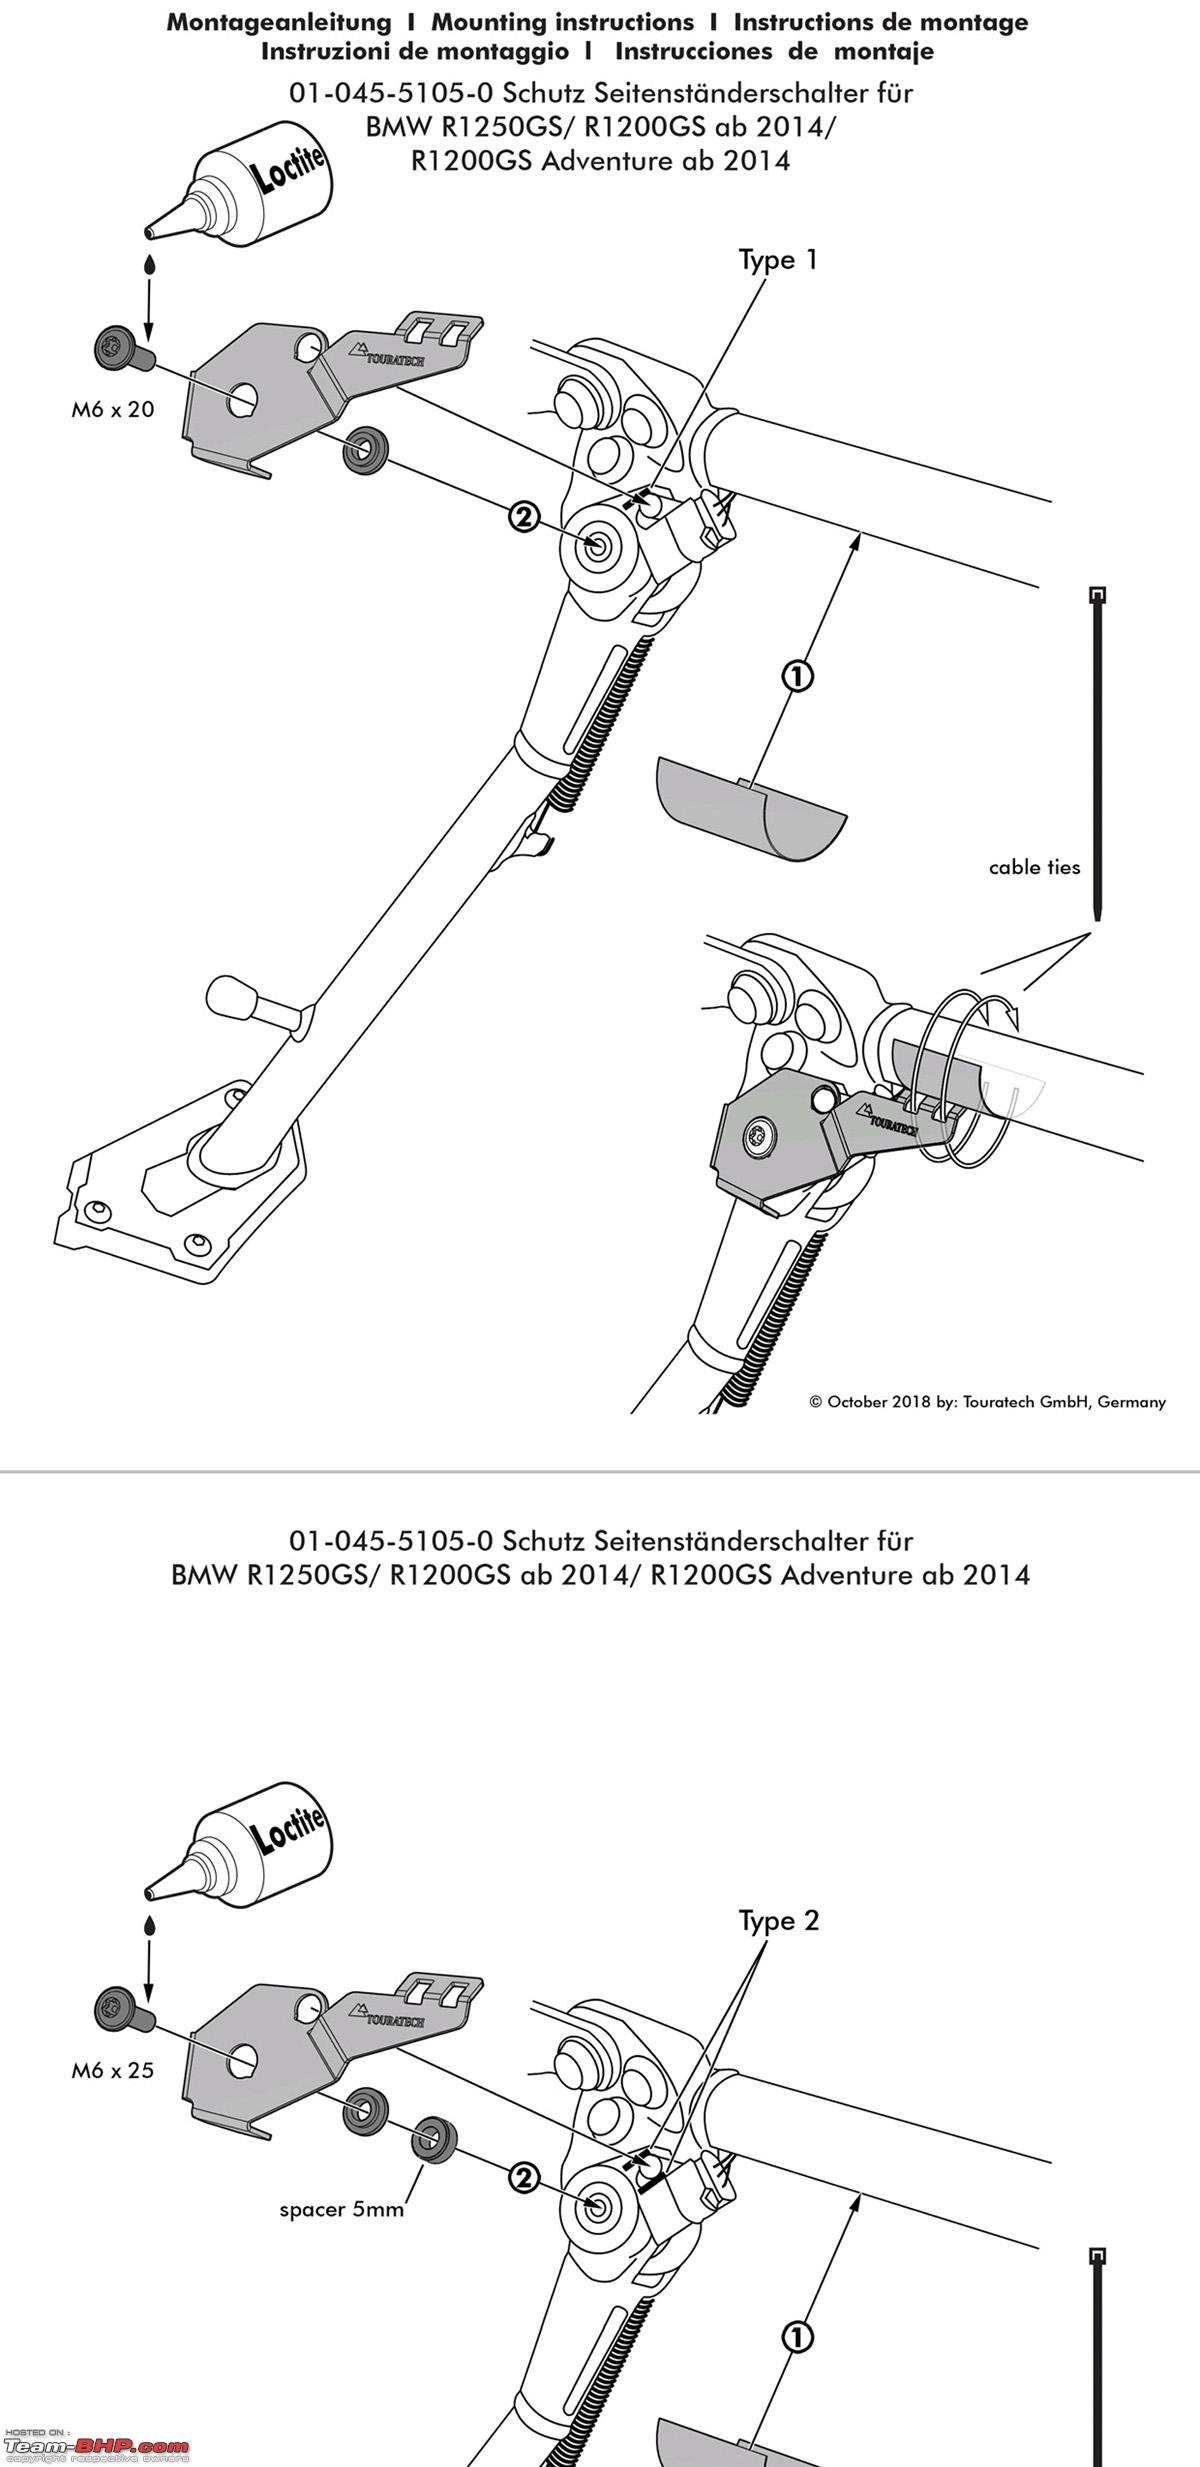
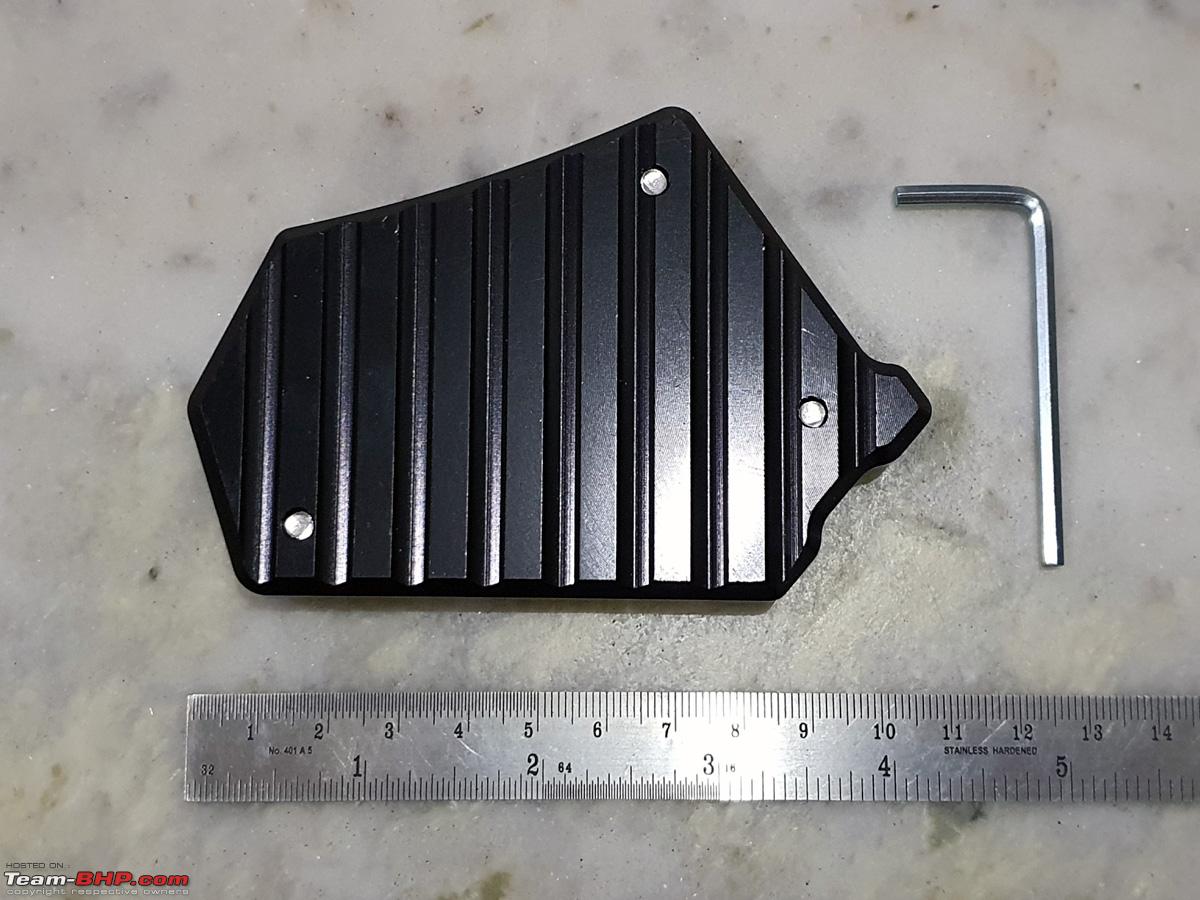
A
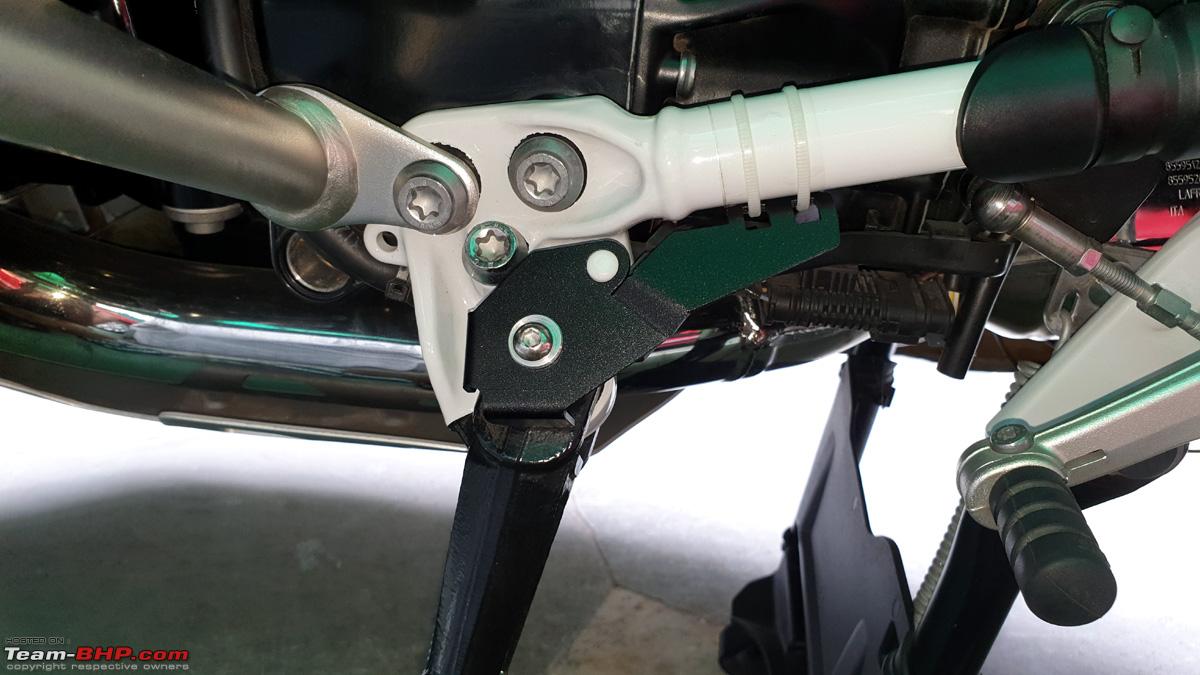
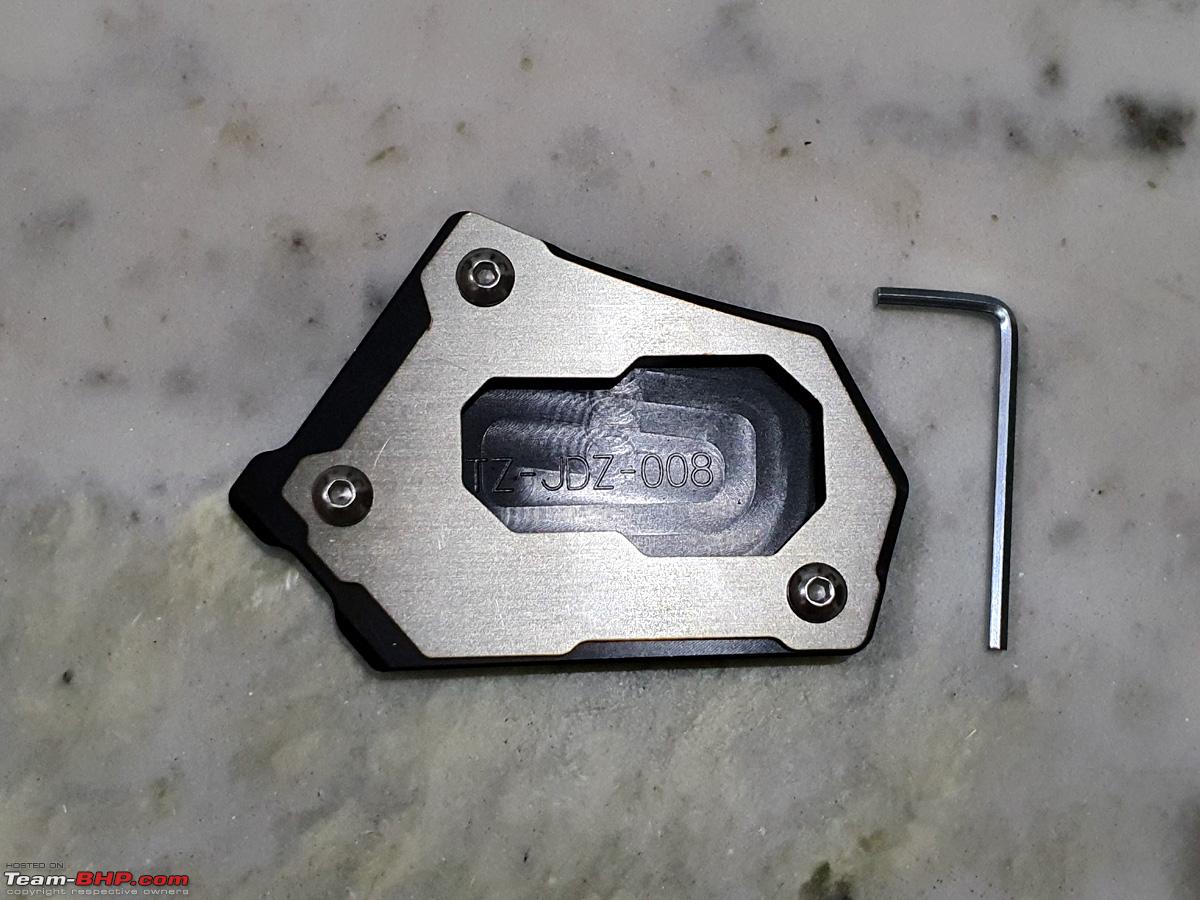
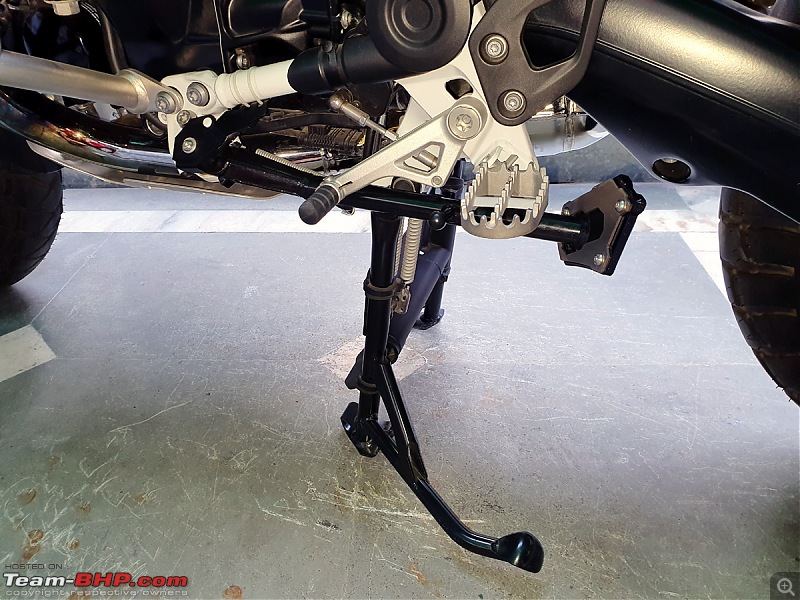
Side Stand Extender was also received
 https://www.aliexpress.com/item/For-...27424c4dmlAeaU
Doubles the side stand acreage width from 2" to 4" and is made with high quality aluminium alloy and stainless steel.

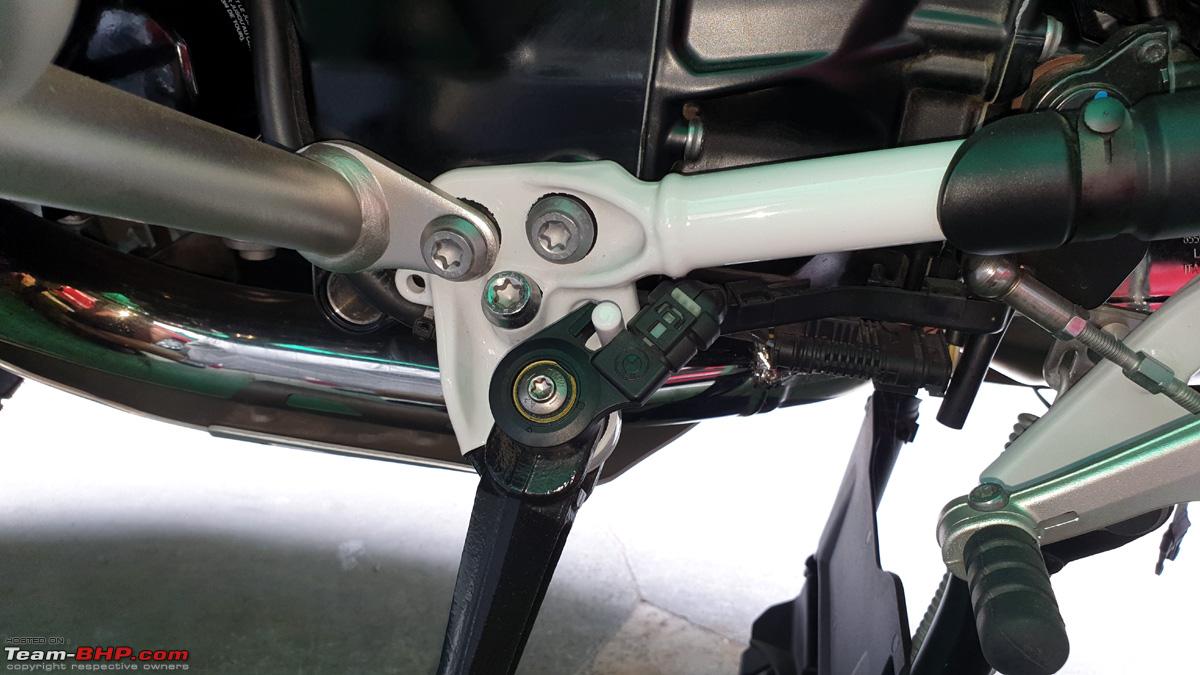
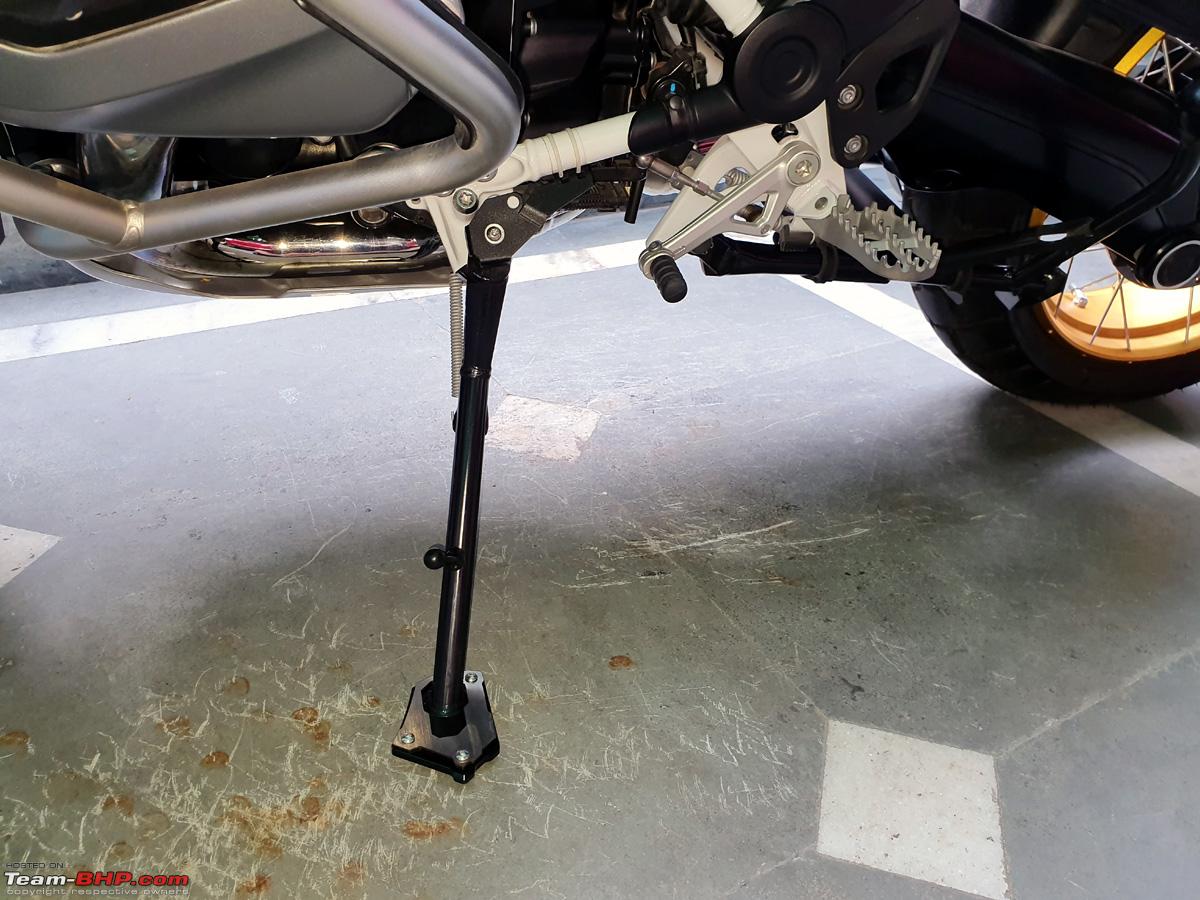
The bike plants more firmly and securely on the side stand now. An absolute must accessory for a bike of this size and weight. It was attached with Loctite thread locker 243 to prevent any vibrations.

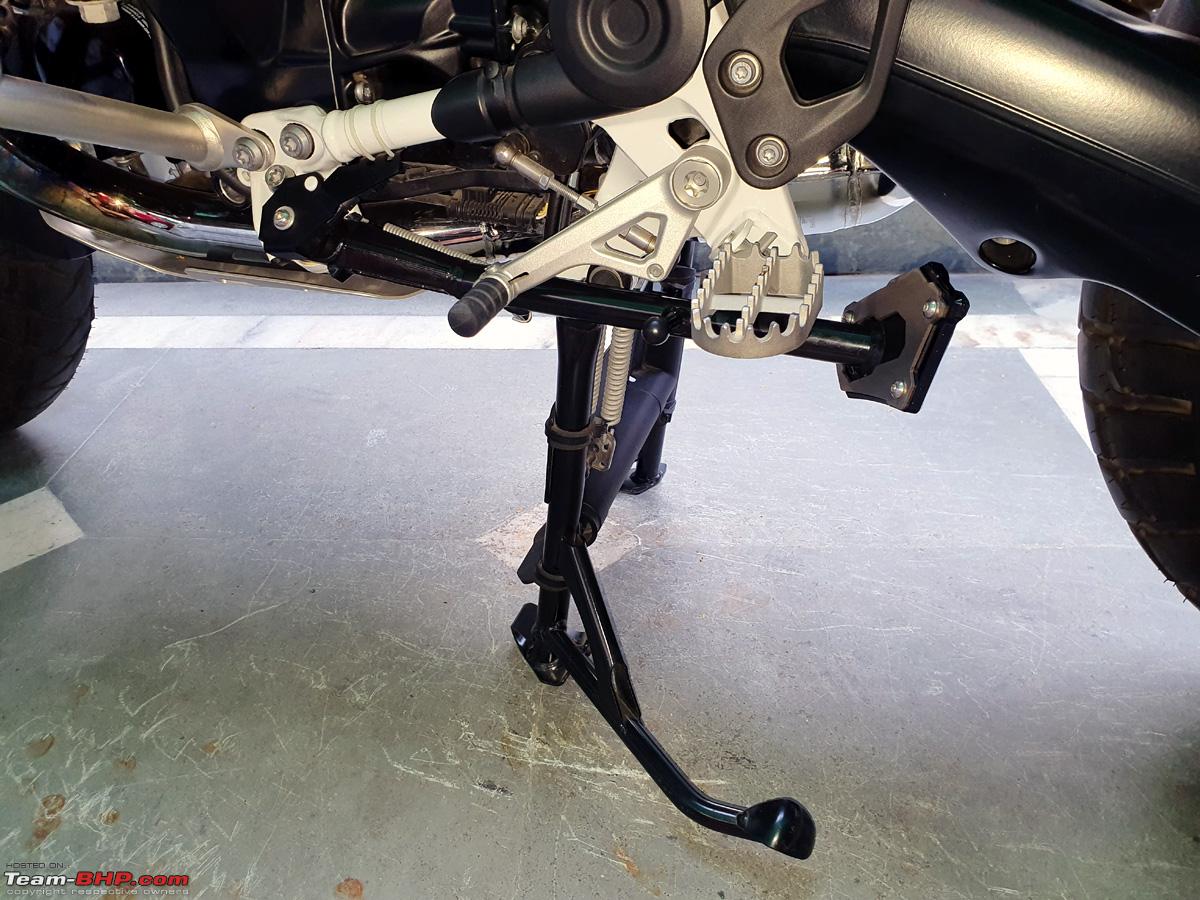
Does not foul with the main centre stand
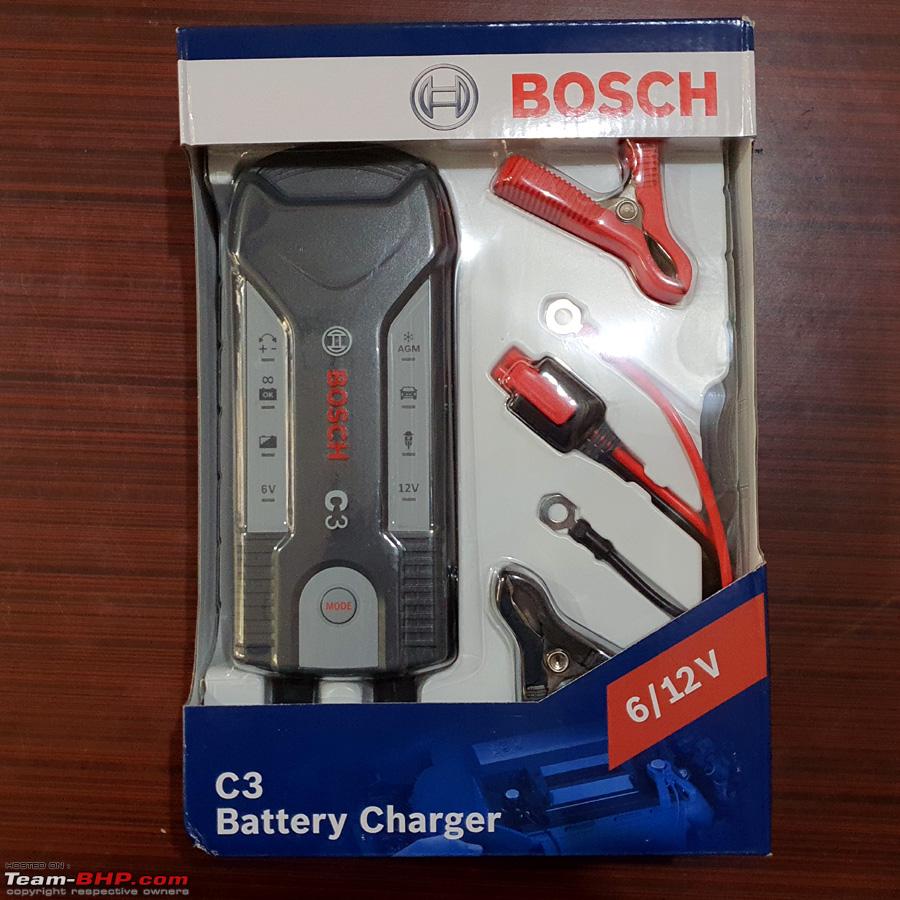
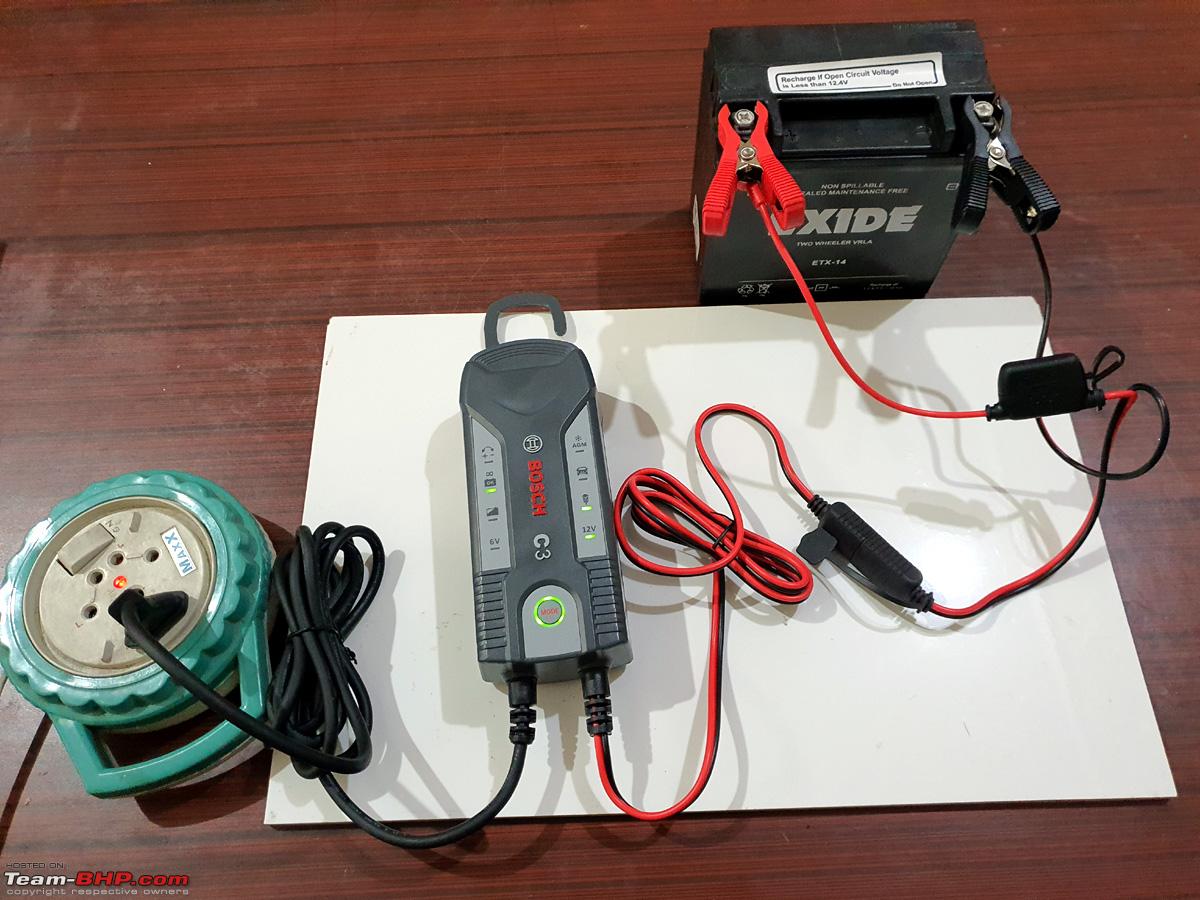
 Bosch C3 12V Battery Charger
Got hold of this charger on the Amazon India sale at 2974/- bucks

Heard pretty decent reviews

Excellent quality and build. Though it's Made in China, it says 'Germany' as the country of origin, surprisingly, on the package.

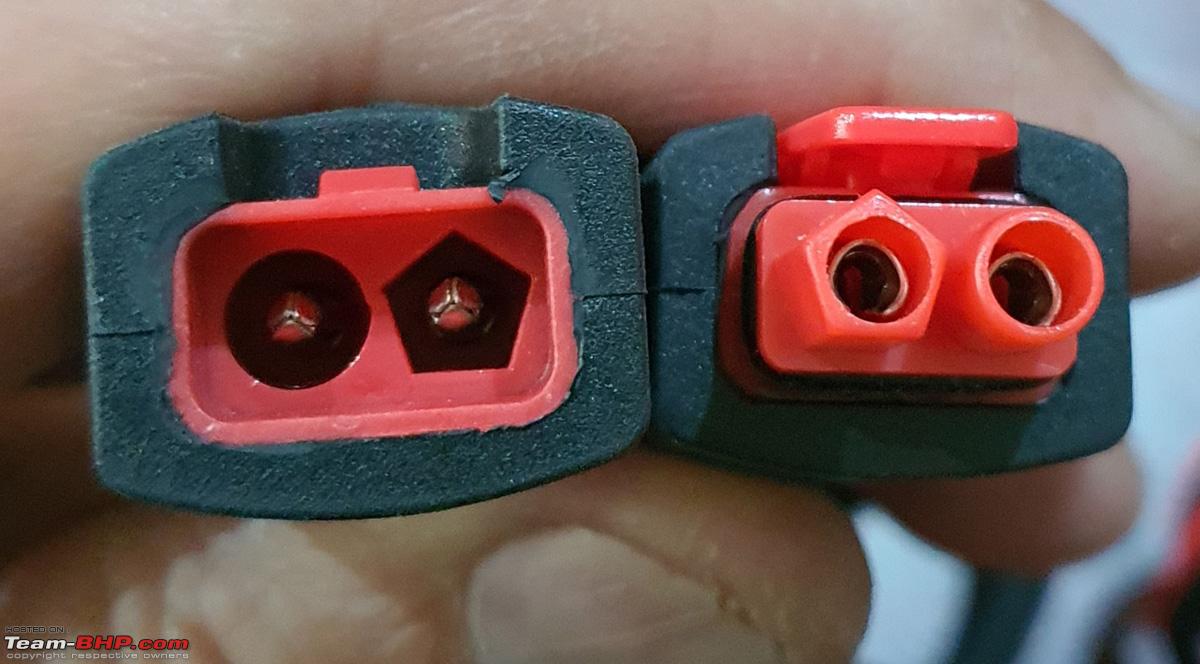
Only thing I found irritating is that it comes with a proprietary
X-Connect Connector and not the standard SAE connector used on most imported bikes (read Harleys) for charging. I had also installed a SAE connector on the BMW for charging requirements. A solution was required.

In use

Comes with a wall/hanger attachment which was promptly put to good use

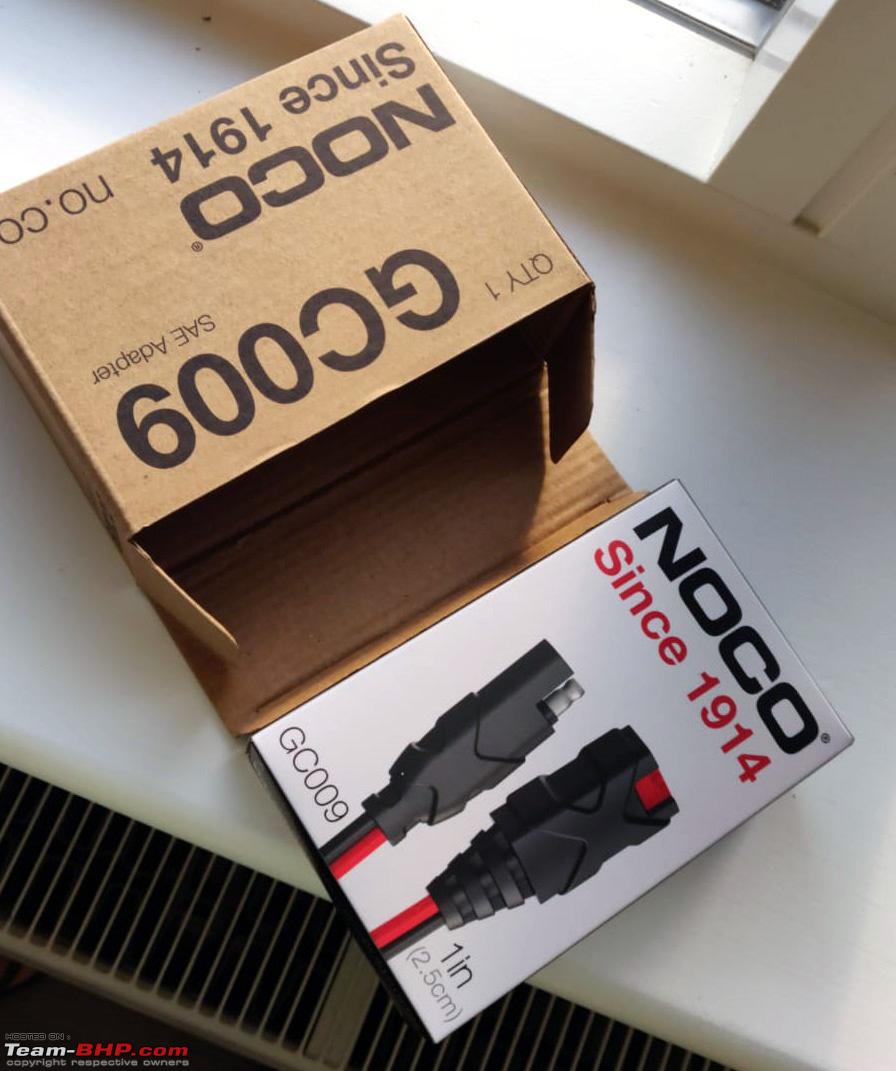
As the
SAE adapter was missing in this setup, I searched online and found quality adapters available abroad but no one was presently shipping to India. As both my children were studying/working in Ireland, promptly ordered one from NOCO through Amazon UK at around a 1000 bucks. Pretty steep for a piece of wire but the quality seems worth it as I did not want any compromise in electrical connections. Landed in a day. The packaging was huge (waste) for the part it entrails -
 https://www.amazon.co.uk/gp/product/...?ie=UTF8&psc=1
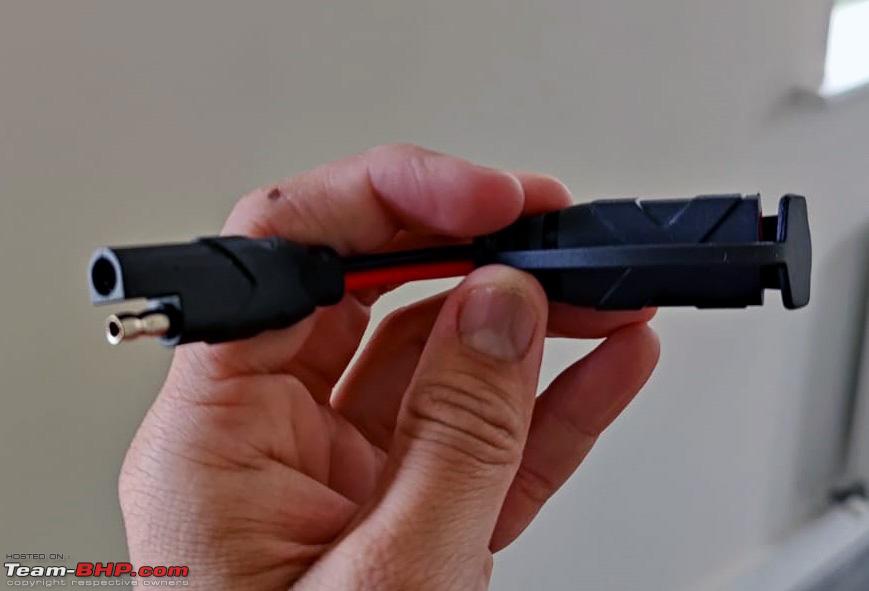
Here is the actual connector

The other end attaches directly to the Battery lead of the Bosch Charger

More coming soon. Cheers for now...


 20th September 2020, 12:48

 (5)
Thanks
(5)
Thanks