Team-BHP
(
https://www.team-bhp.com/forum/)
Quote:
Originally Posted by NaXal
(Post 4611711)
I guess for the stock intake, the front bumper acts as a barrier for heavy rain water getting into the intake.
|
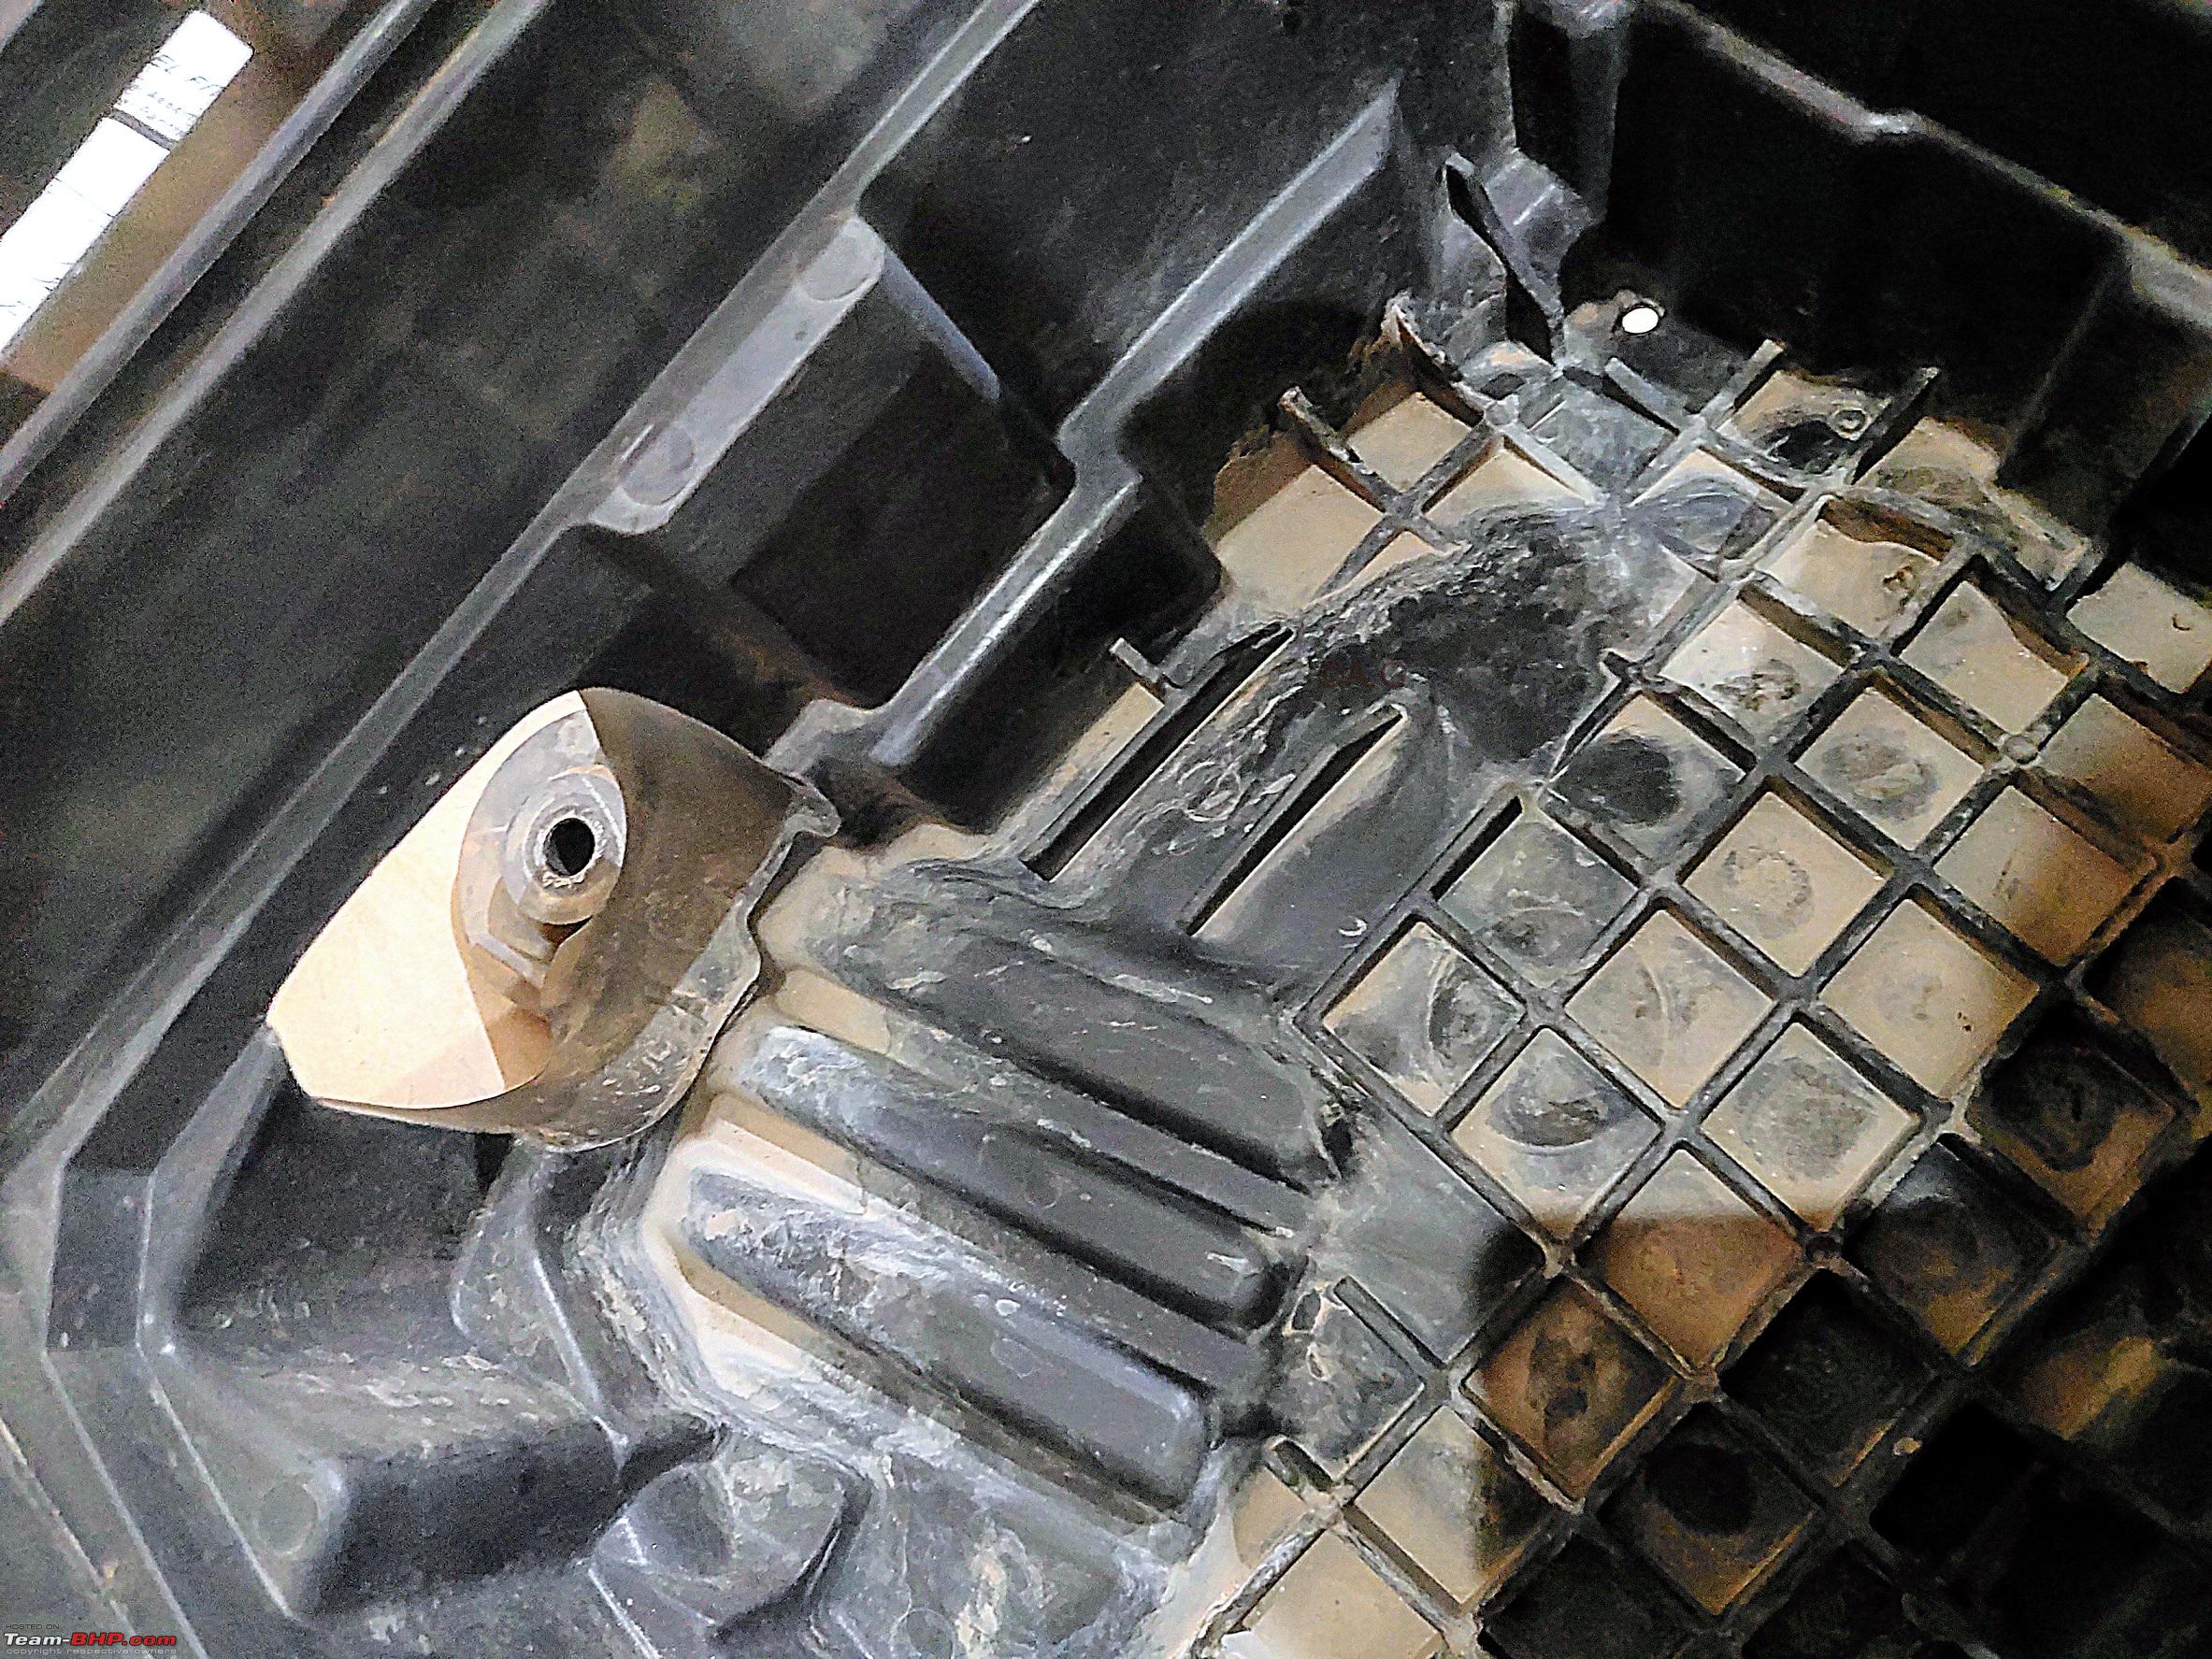
To add to what @Manuuj has shared, the original intake snout is the mounted at the highest point in the Engine bay right above the driver side headlight. The air is drawn from the engine bay as the front of the bonnet has a rubber seal. The lower part of the original intake snout which goes into the air box is loosely fit and there is a small hole for water exit as well.
Quote:
Originally Posted by Manuuj
(Post 4611814)
I usually would cover the snorkel head with a plastic bag while washing the vehicle with a hose to prevent accidental spray directly into the snorkel head.
|
Good tip, thanks.
Quote:
Originally Posted by Manuuj
(Post 4612050)
Update: There is usually a little water that does infact enter the Air Filter Box which has drain holes to allow this water to drain out. The actual Air Filter sits a little higher so that little amount of water does not get it wet.
|
Sharing pictures of both the original and the new air box showing this drain hole
Original Air box

New Air box (drain hole visible just below the new intake entry)

Quote:
Originally Posted by Manuuj
(Post 4612050)
Snorkels are not foolproof by any means for deep water crossings. The main purpose for installing one is to get cool clean air from the raised intake. Engines love cool clean air..specially big diesels.
|
Without doubt the snorkel is providing cooler air and hopefully it is relatively cleaner as well.
Quote:
Originally Posted by Manuuj
(Post 4612050)
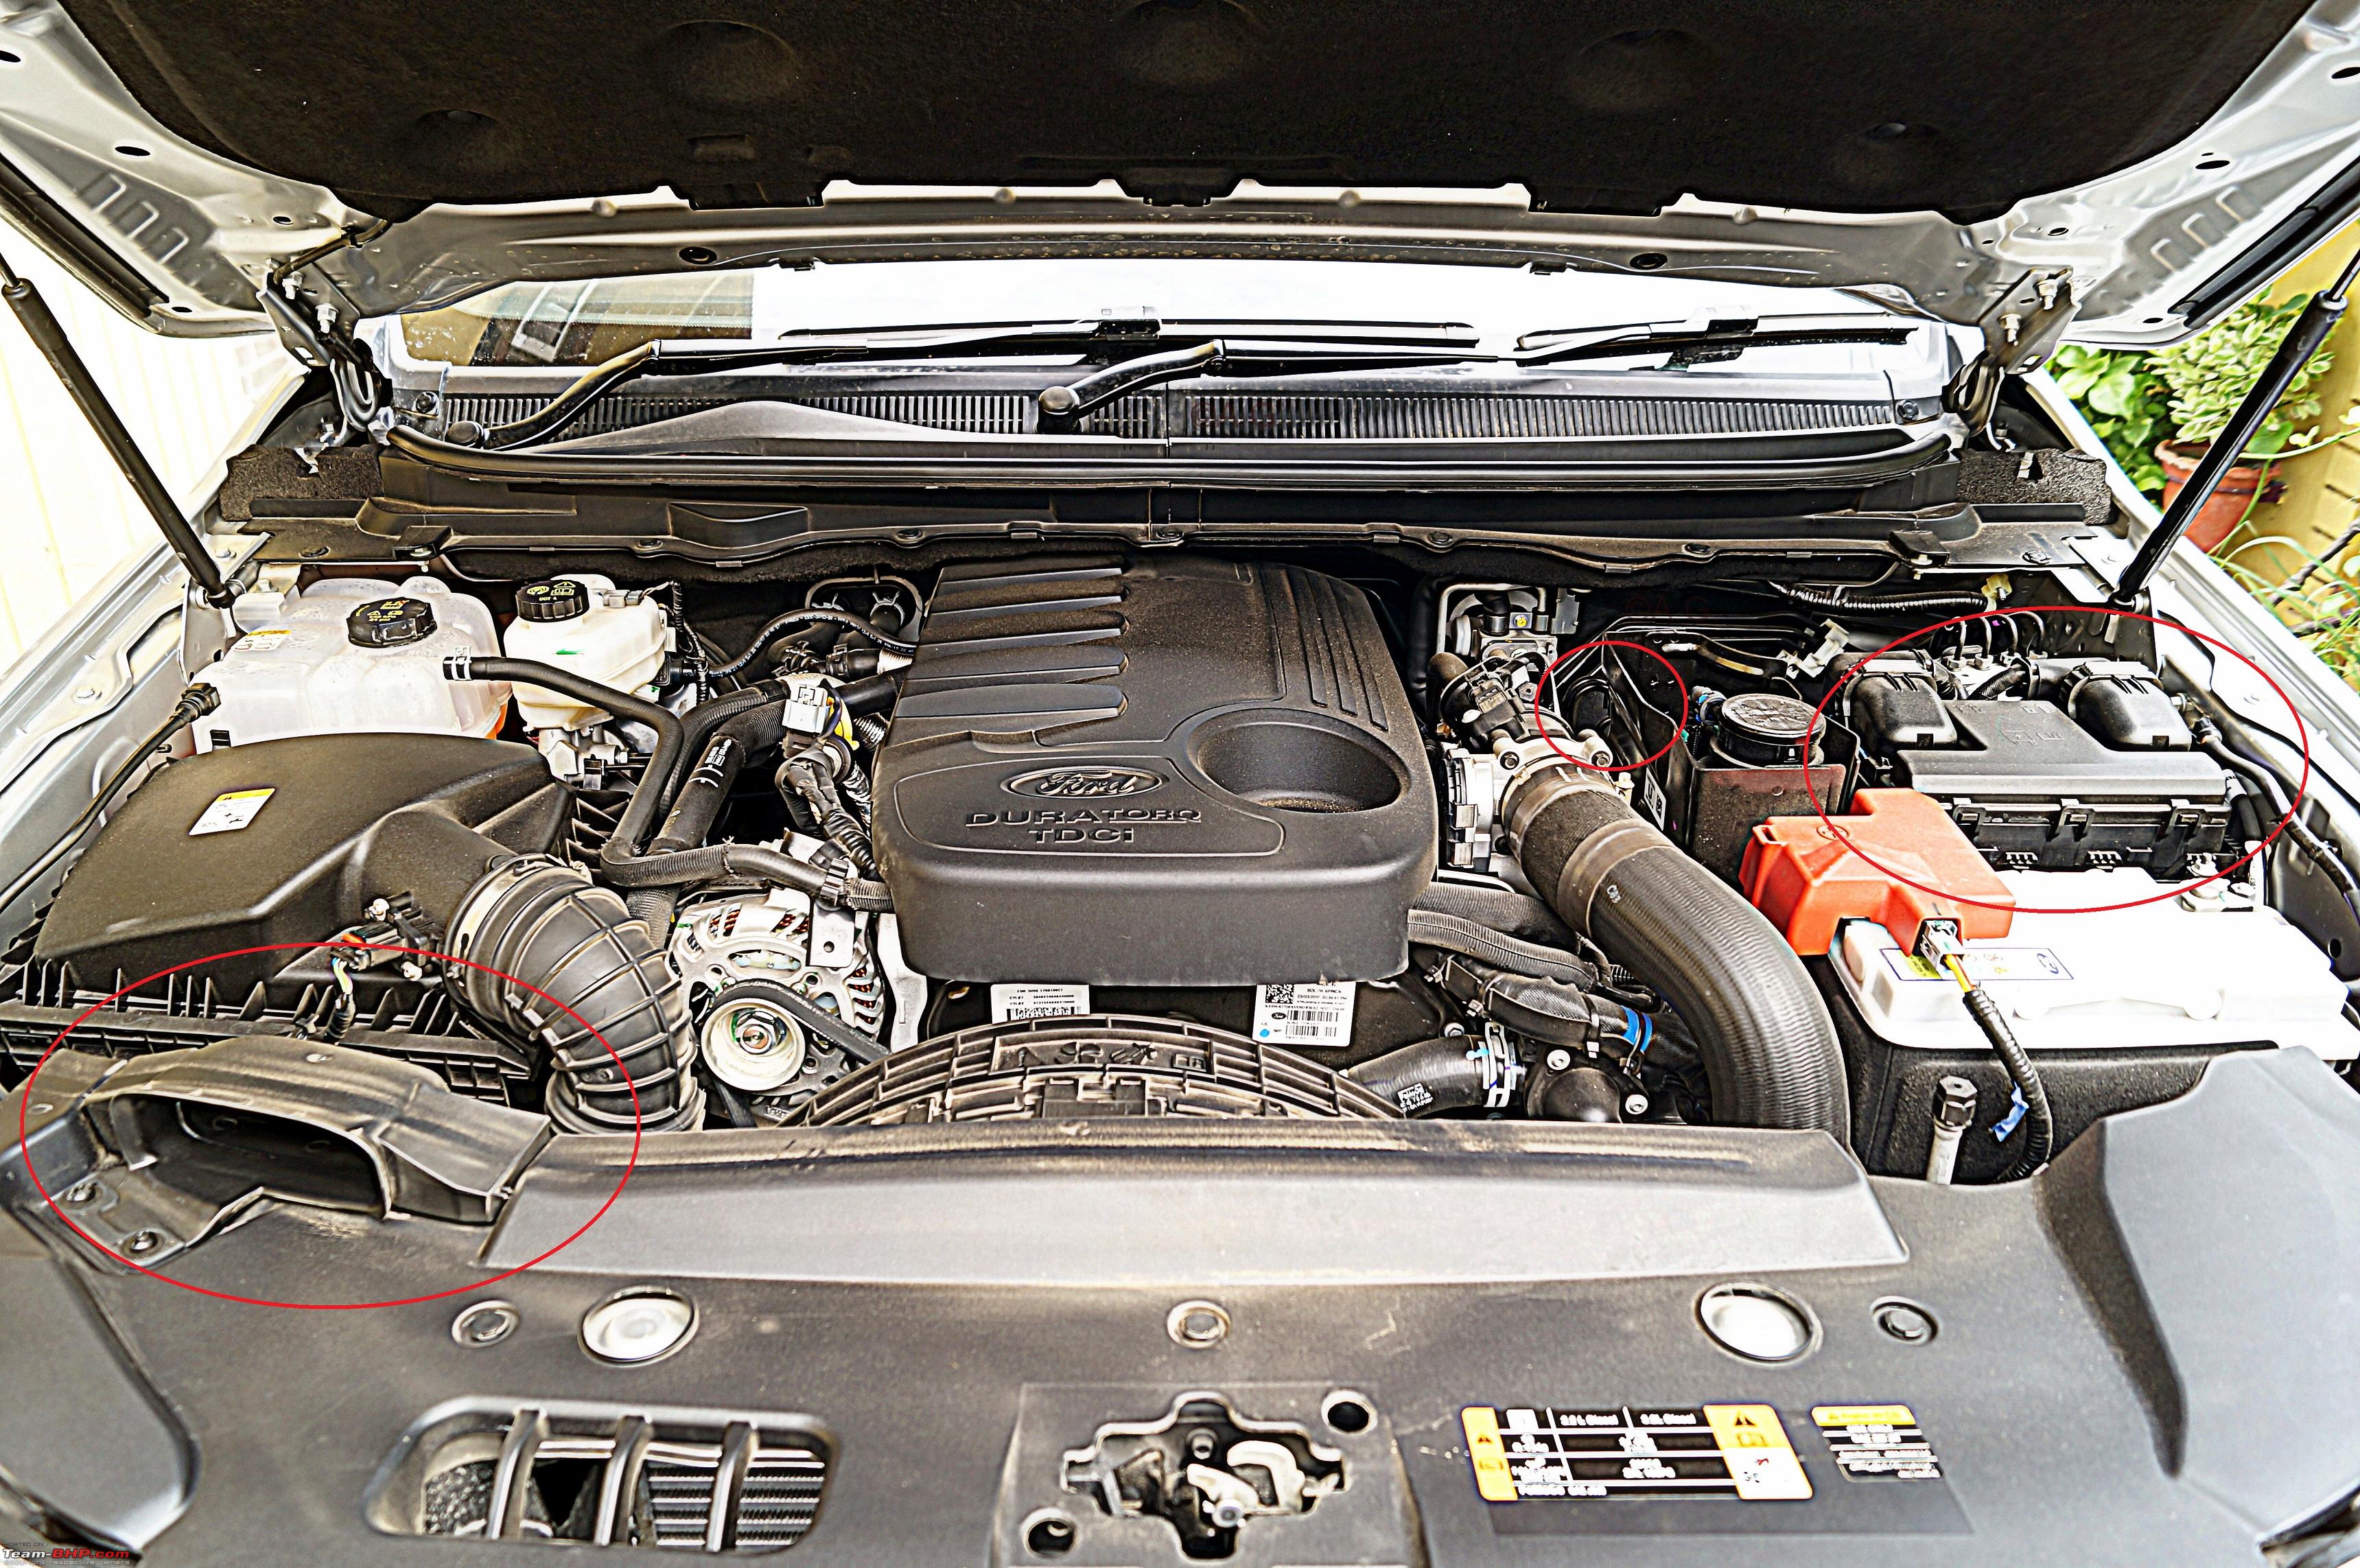
The Endeavour comes with 800 millimeter wading capability which is quite good. This means that the Air Box, Breathers and Electricals are protected up to that depth as standard.
|
The engineering that has gone in the Endeavour has clearly taken care of this as far as 800mm water wading is concerned. You can spot 3 breather pipes in the engine bay and the fuse box in the engine bay is mounted up top (marked in the picture below).
Left to right - Original intake location, Breather pipes, fuse + distribution box

Quote:
Originally Posted by Manuuj
(Post 4612050)
Some people mount the Snorkel head facing forwards while some prefer it facing back. The Gurkha comes with a snorkel fitted from factory with the Snorkel Head facing backwards.
|
Atleast thats not an option in the OE Snorkel for the Endeavour as the Snorkel head is integrated in the Snorkel. Not sure what advantage sacrificing ram air effect with the Snorkel Head facing backwards would have.
Quote:
Originally Posted by Manuuj
(Post 4612087)
They stated in this video that the Air Box comes equipped with a valve which i understand must be a Non Return Valve which would not allow water from entering the Air Box from the drain holes.
|
As shown in the picture above, the original air box just has a drain hole and there is no Non Return Valve. Even the original intake snout is loosely fitting in the original air box, so not sure how a Non Return Valve would help even if it was there as water can enter from this point as well in the original air box if the 800mm forging depth is exceeded.
Here is another interesting video which shown the Ranger being tested thoroughly for the 800mm water wading.
https://www.youtube.com/watch?v=8WYDv6VL-Z8
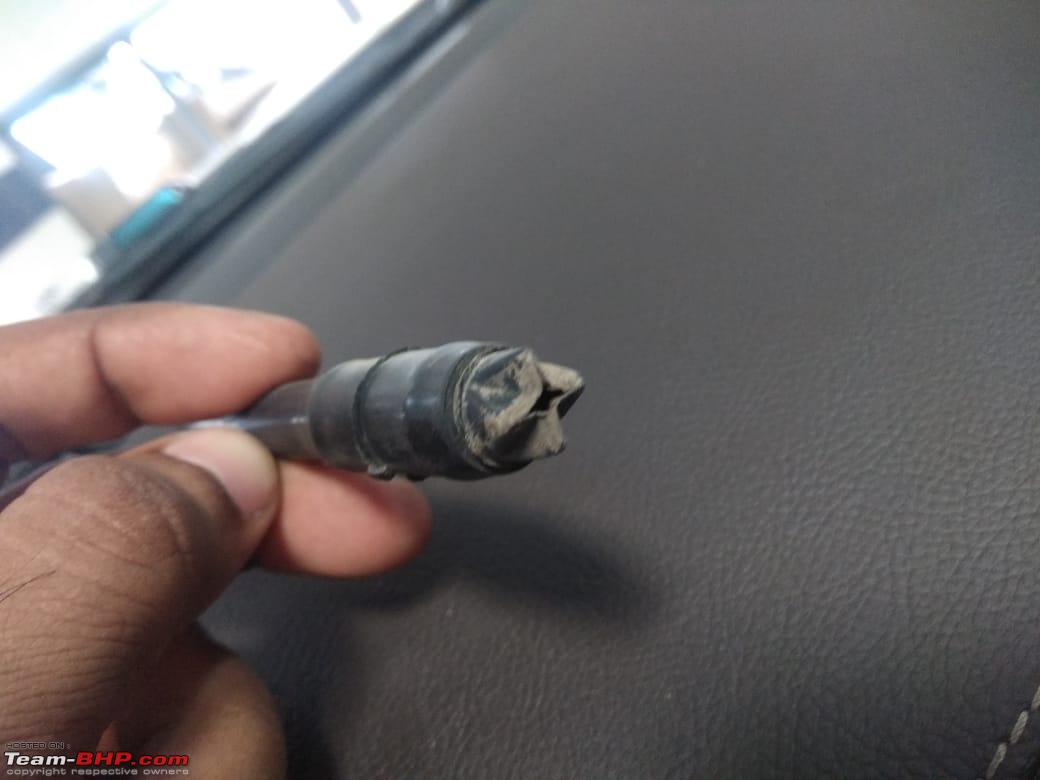
Sharing a picture of the parts received back after snorkel installation

Fifth Service Experience:
The fifth service which included the inspection coat of underbody anti-rust treatment as well was done earlier this week and again Harpreet Ford (Sahibabad) had a very short turn around time. In addition to the schedule, the fuel filter was replaced while the brake oil change was not done as it was already done ahead of schedule. With the advent of monsoon, the sunroof drain was also inspected for any clogging. The total bill came to Rs. 8,709/- with Shell Fully Synthetic Oil being used.
Fuel Filter after 10K Kms

Sunroof drain

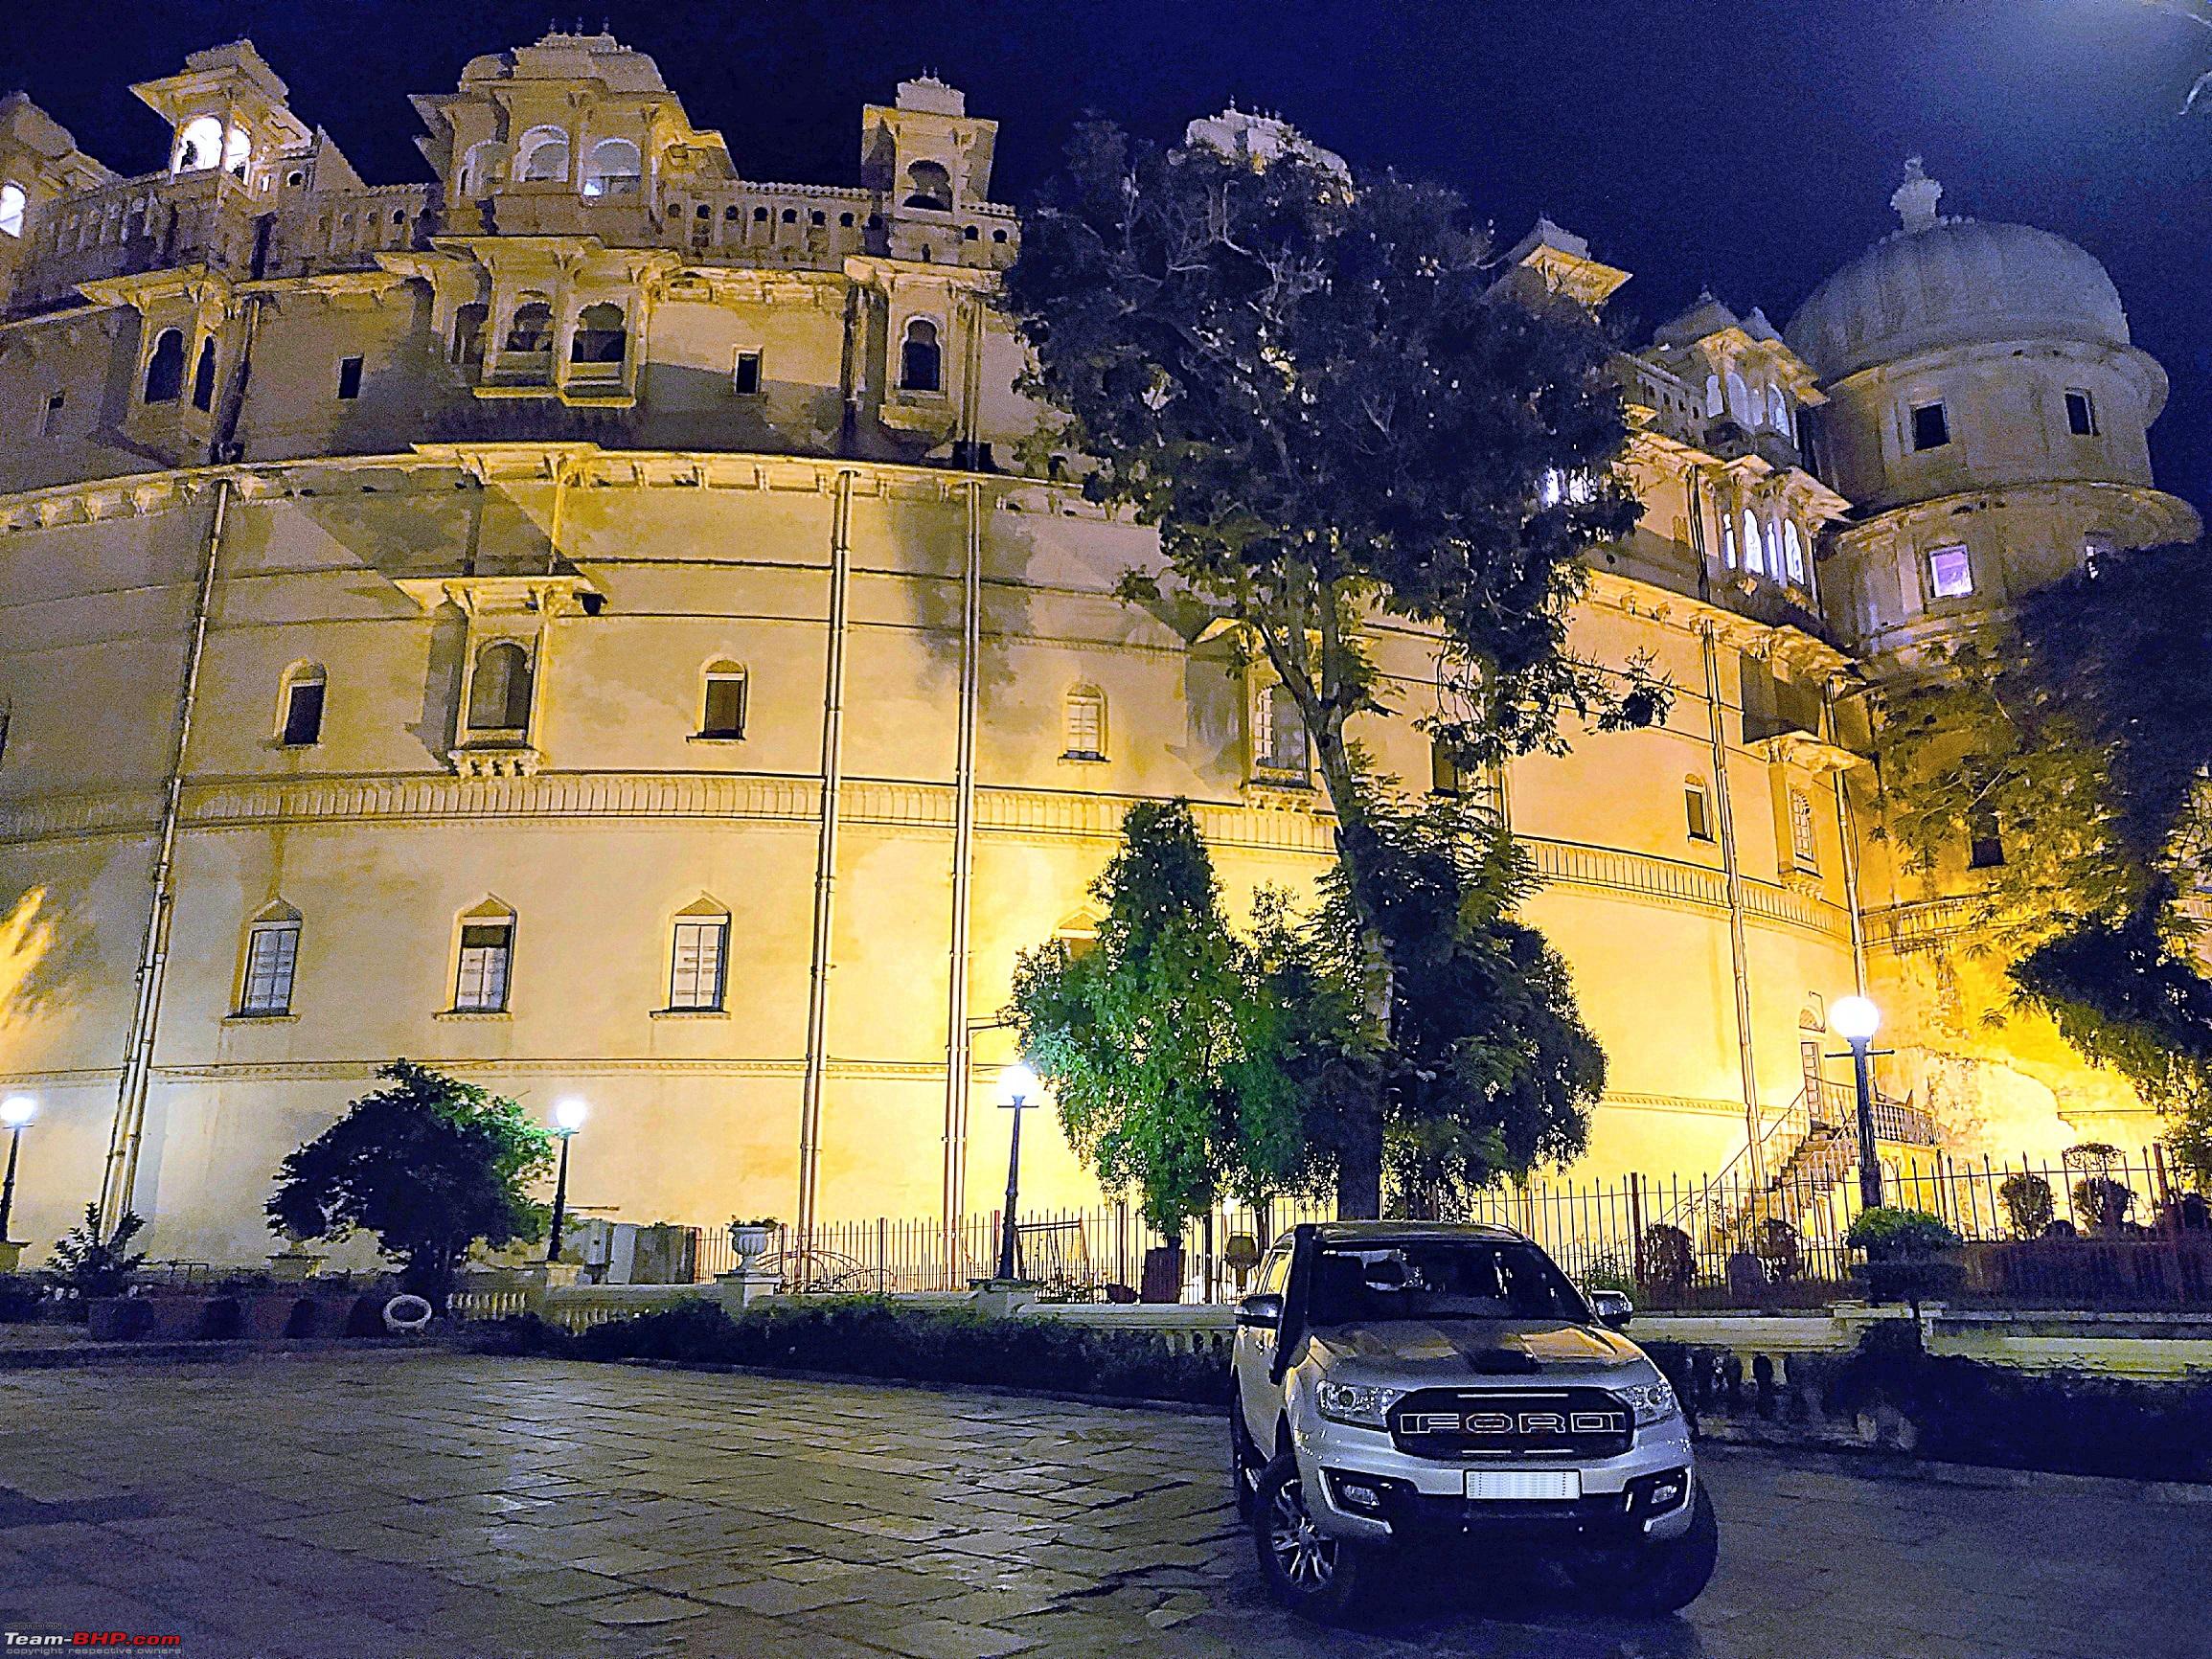
Made 2 trips of close to 2300 Kms each in a month. While one was a family roadtrip to Rajasthan (covering Pushkar, Jodhpur, Mount Abu, Udaipur and Jaipur), the other was to meet fellow Endeavour owners (a few BHPians among them) from Pan India at Bandhavgarh (M.P.). Sharing a few pictures from the trips.
Umaid Bavan Palace Jodhpur

Army Storme towering over the Fortuner and Endeavour

Parking it too close to the planter due to limited space

City Palace Udaipur

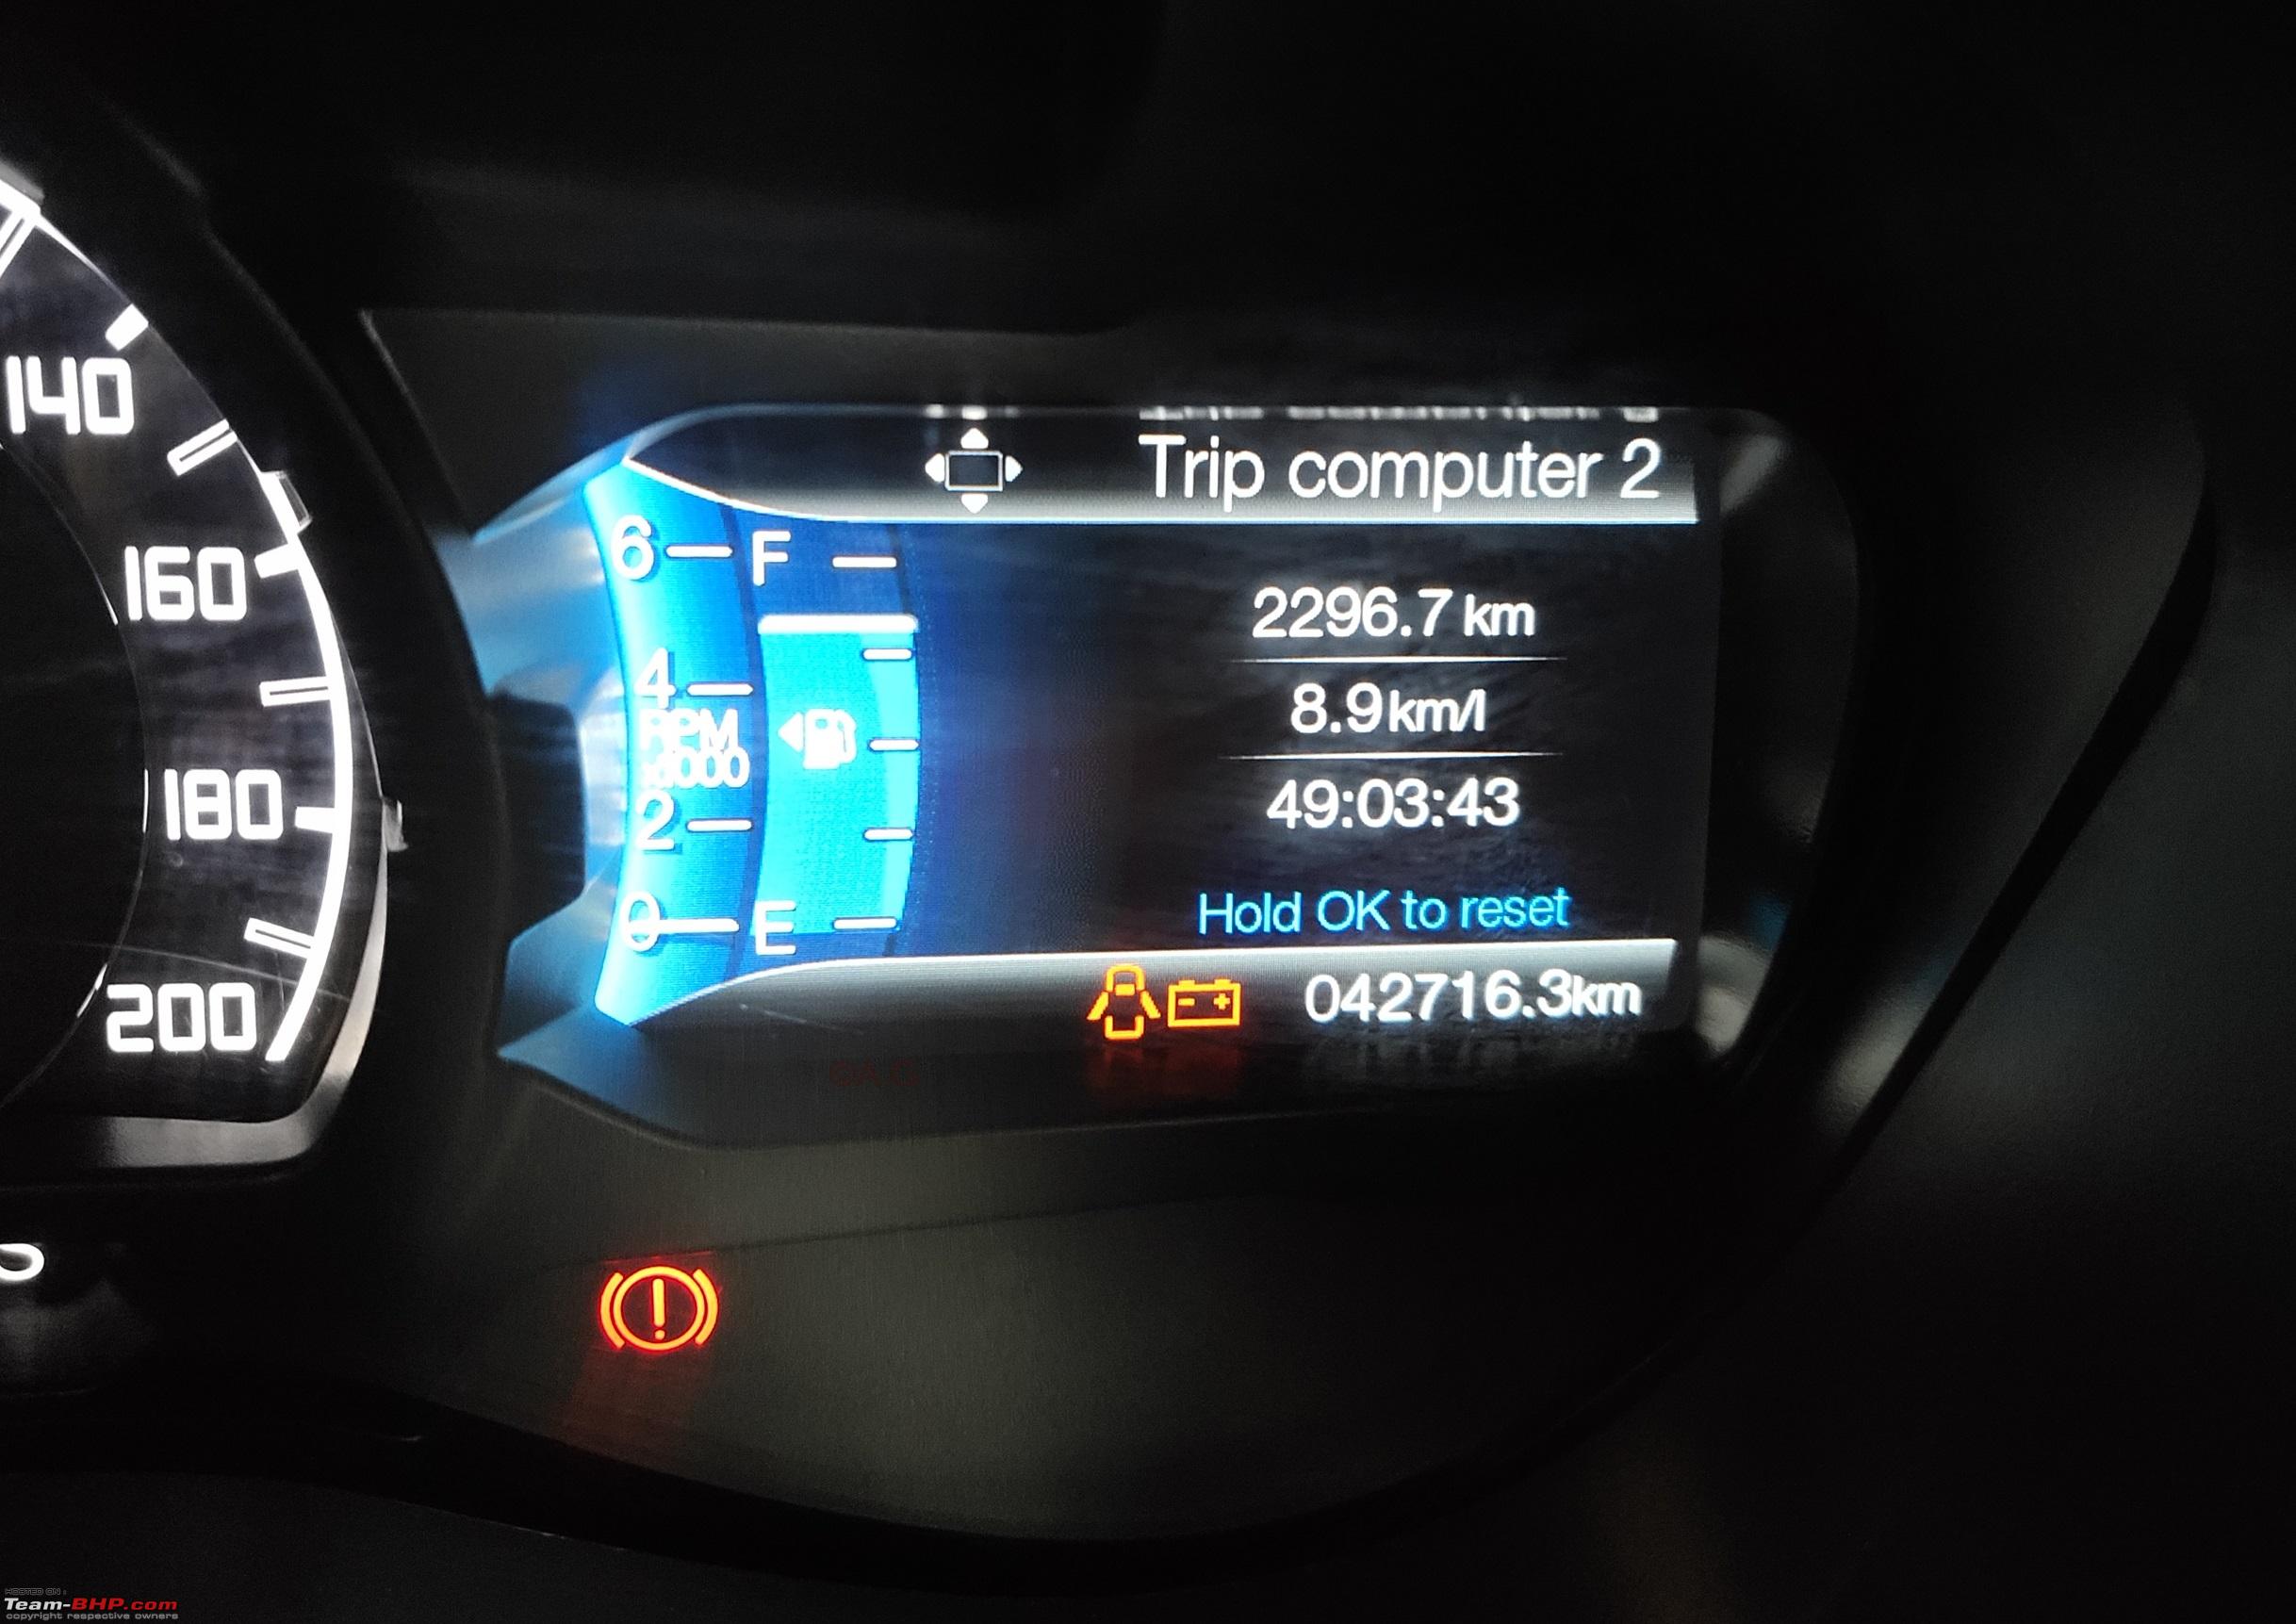
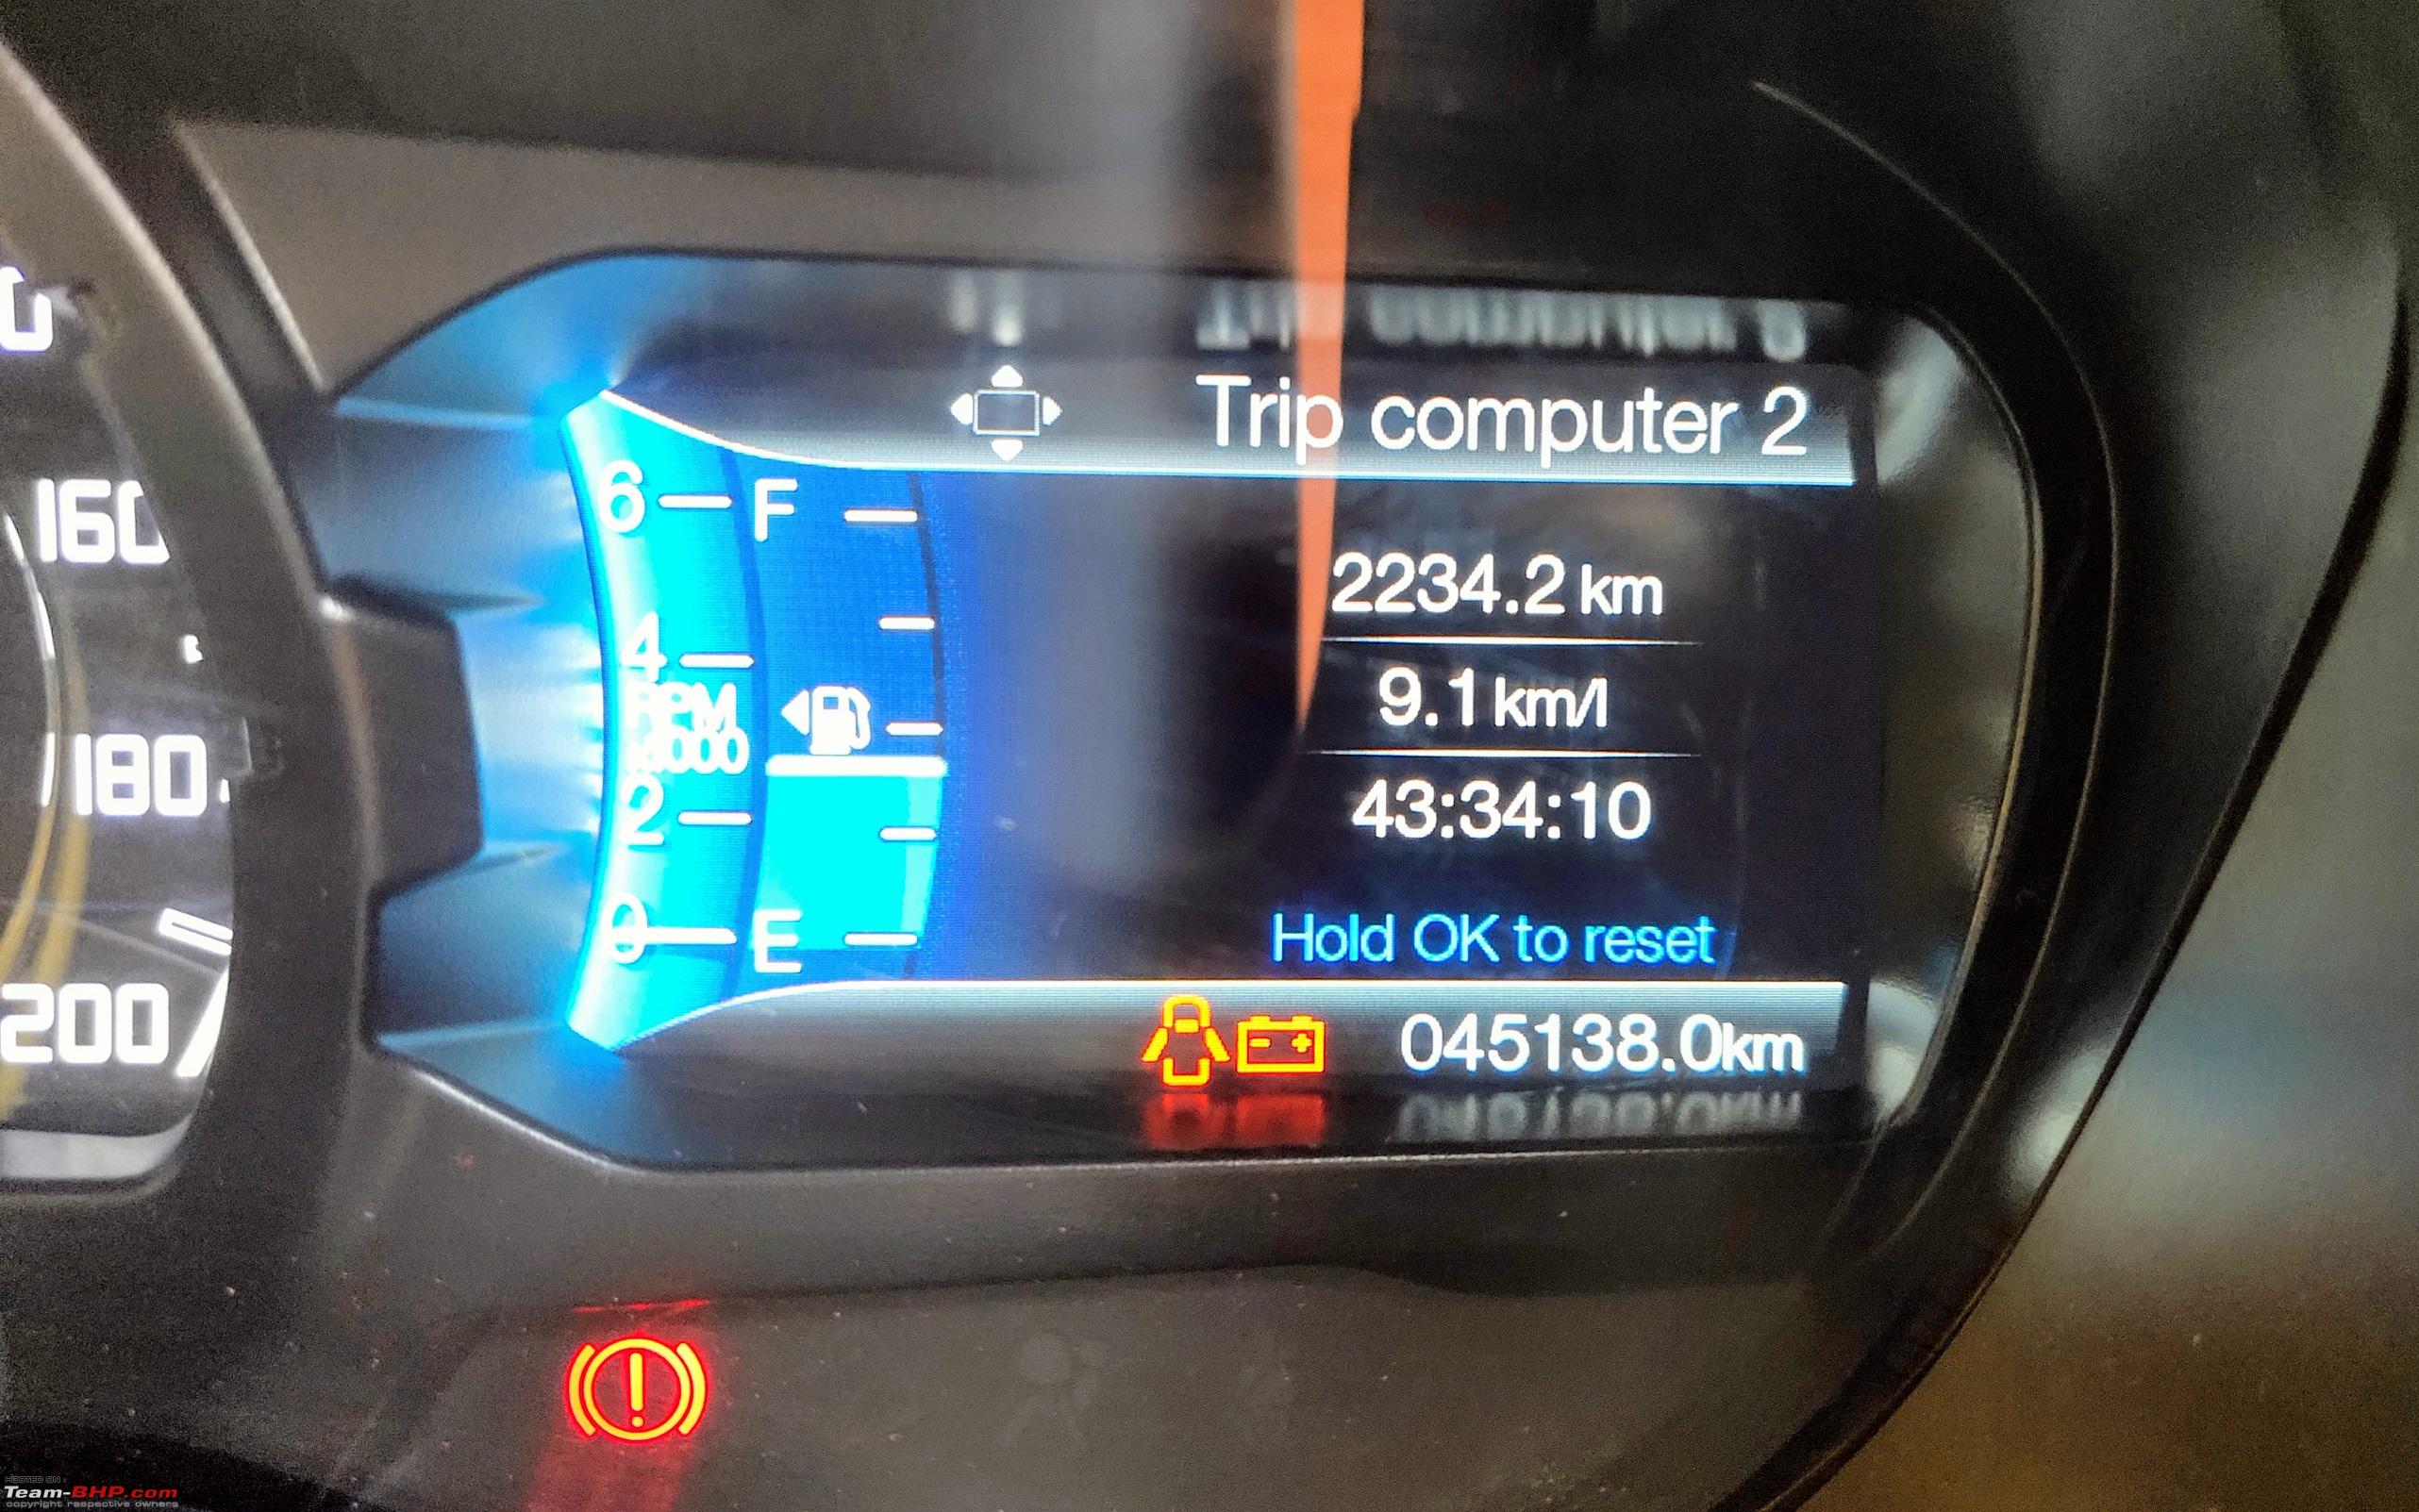
The final trip stats which included close to 3 hours of idling

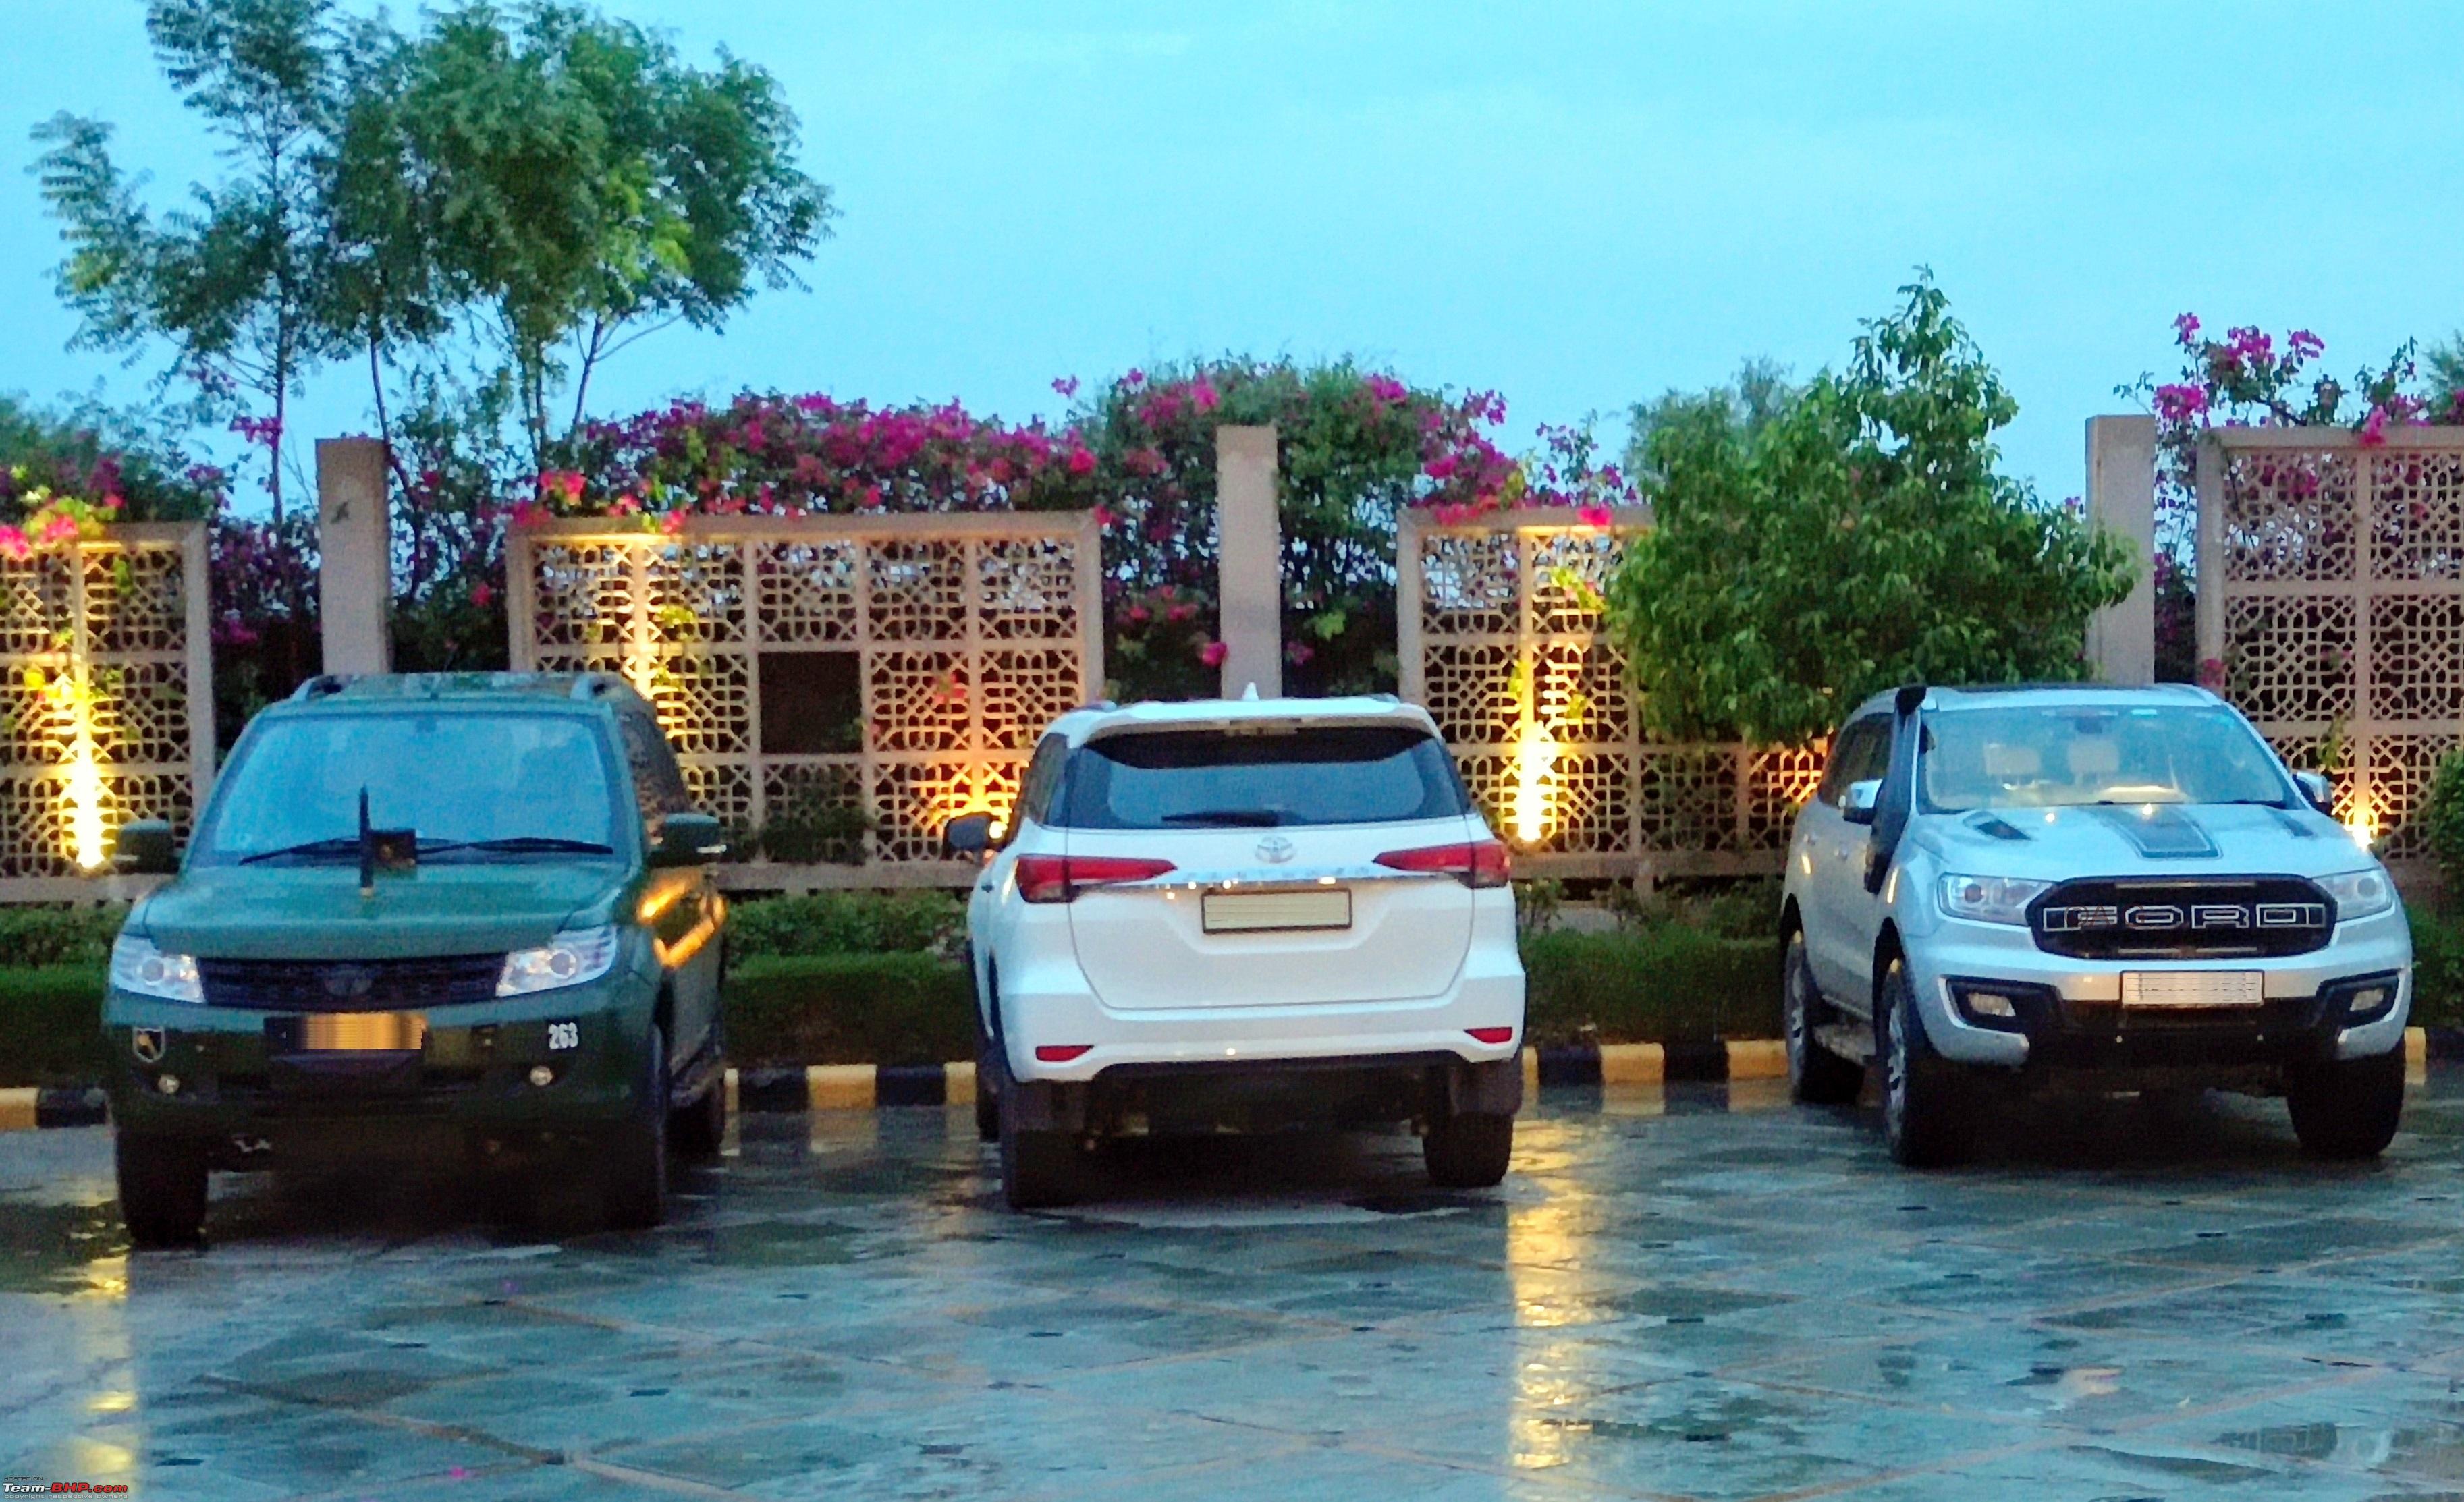
The entire collection of Endeavours at Bandhavgarh

Lining-up for photoshoot

The convoy going on trail


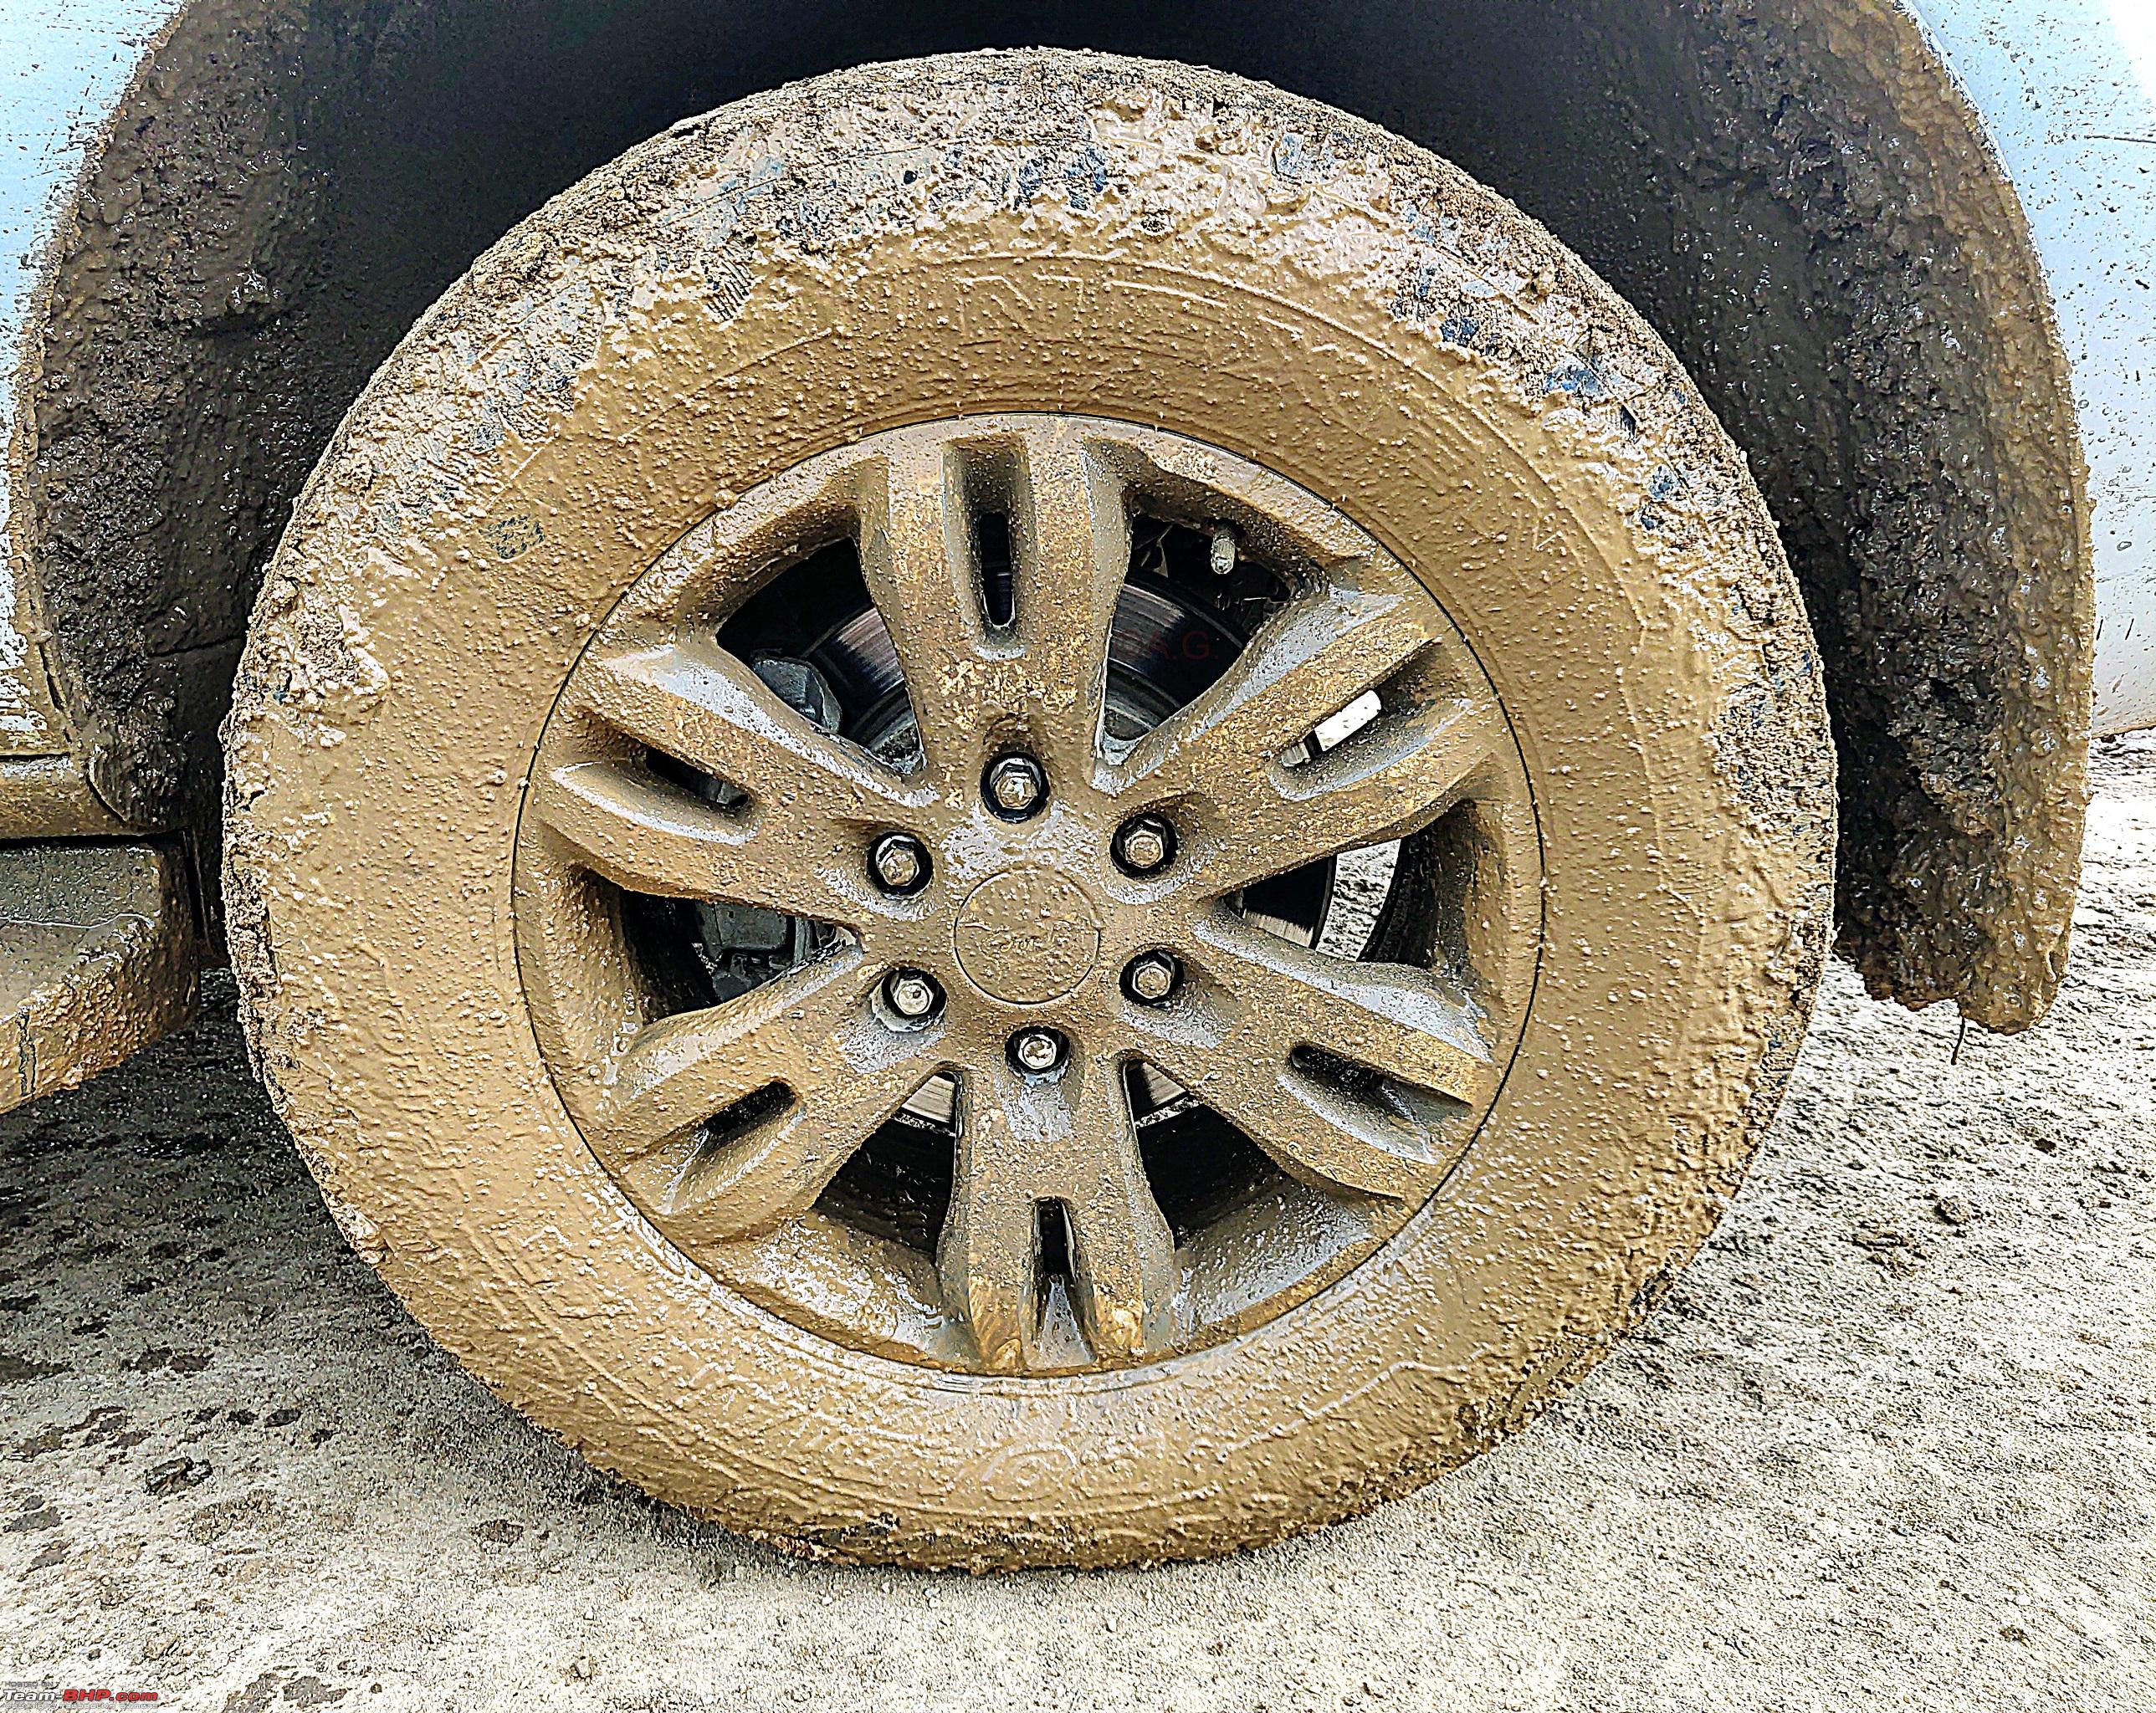
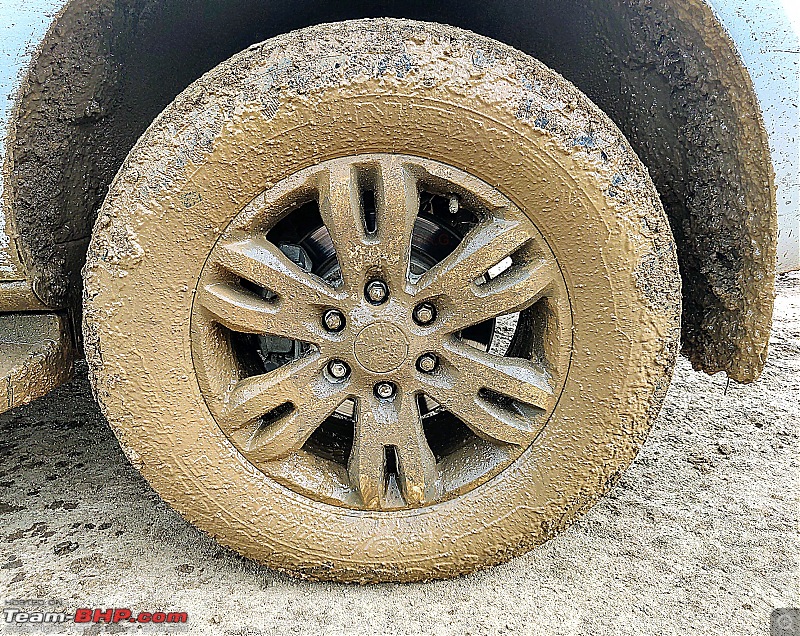
Getting the mud
The highlight was an owner's RC F-150

Final Trip stats

A few videos from the trip
https://youtu.be/y0AQFcvCCqY https://youtu.be/rmkA3vQlYUg https://youtu.be/2LLzNjqJ7RM https://youtu.be/SYm-DjOYkIU https://youtu.be/rWWzUfHJZJo https://youtu.be/3QLiC_rivCo https://youtu.be/LrSMw64VDlQ
Post the trips, cleaned the air filter and found that the remains of bugs encountered on highway which would have entered via the Snorkel

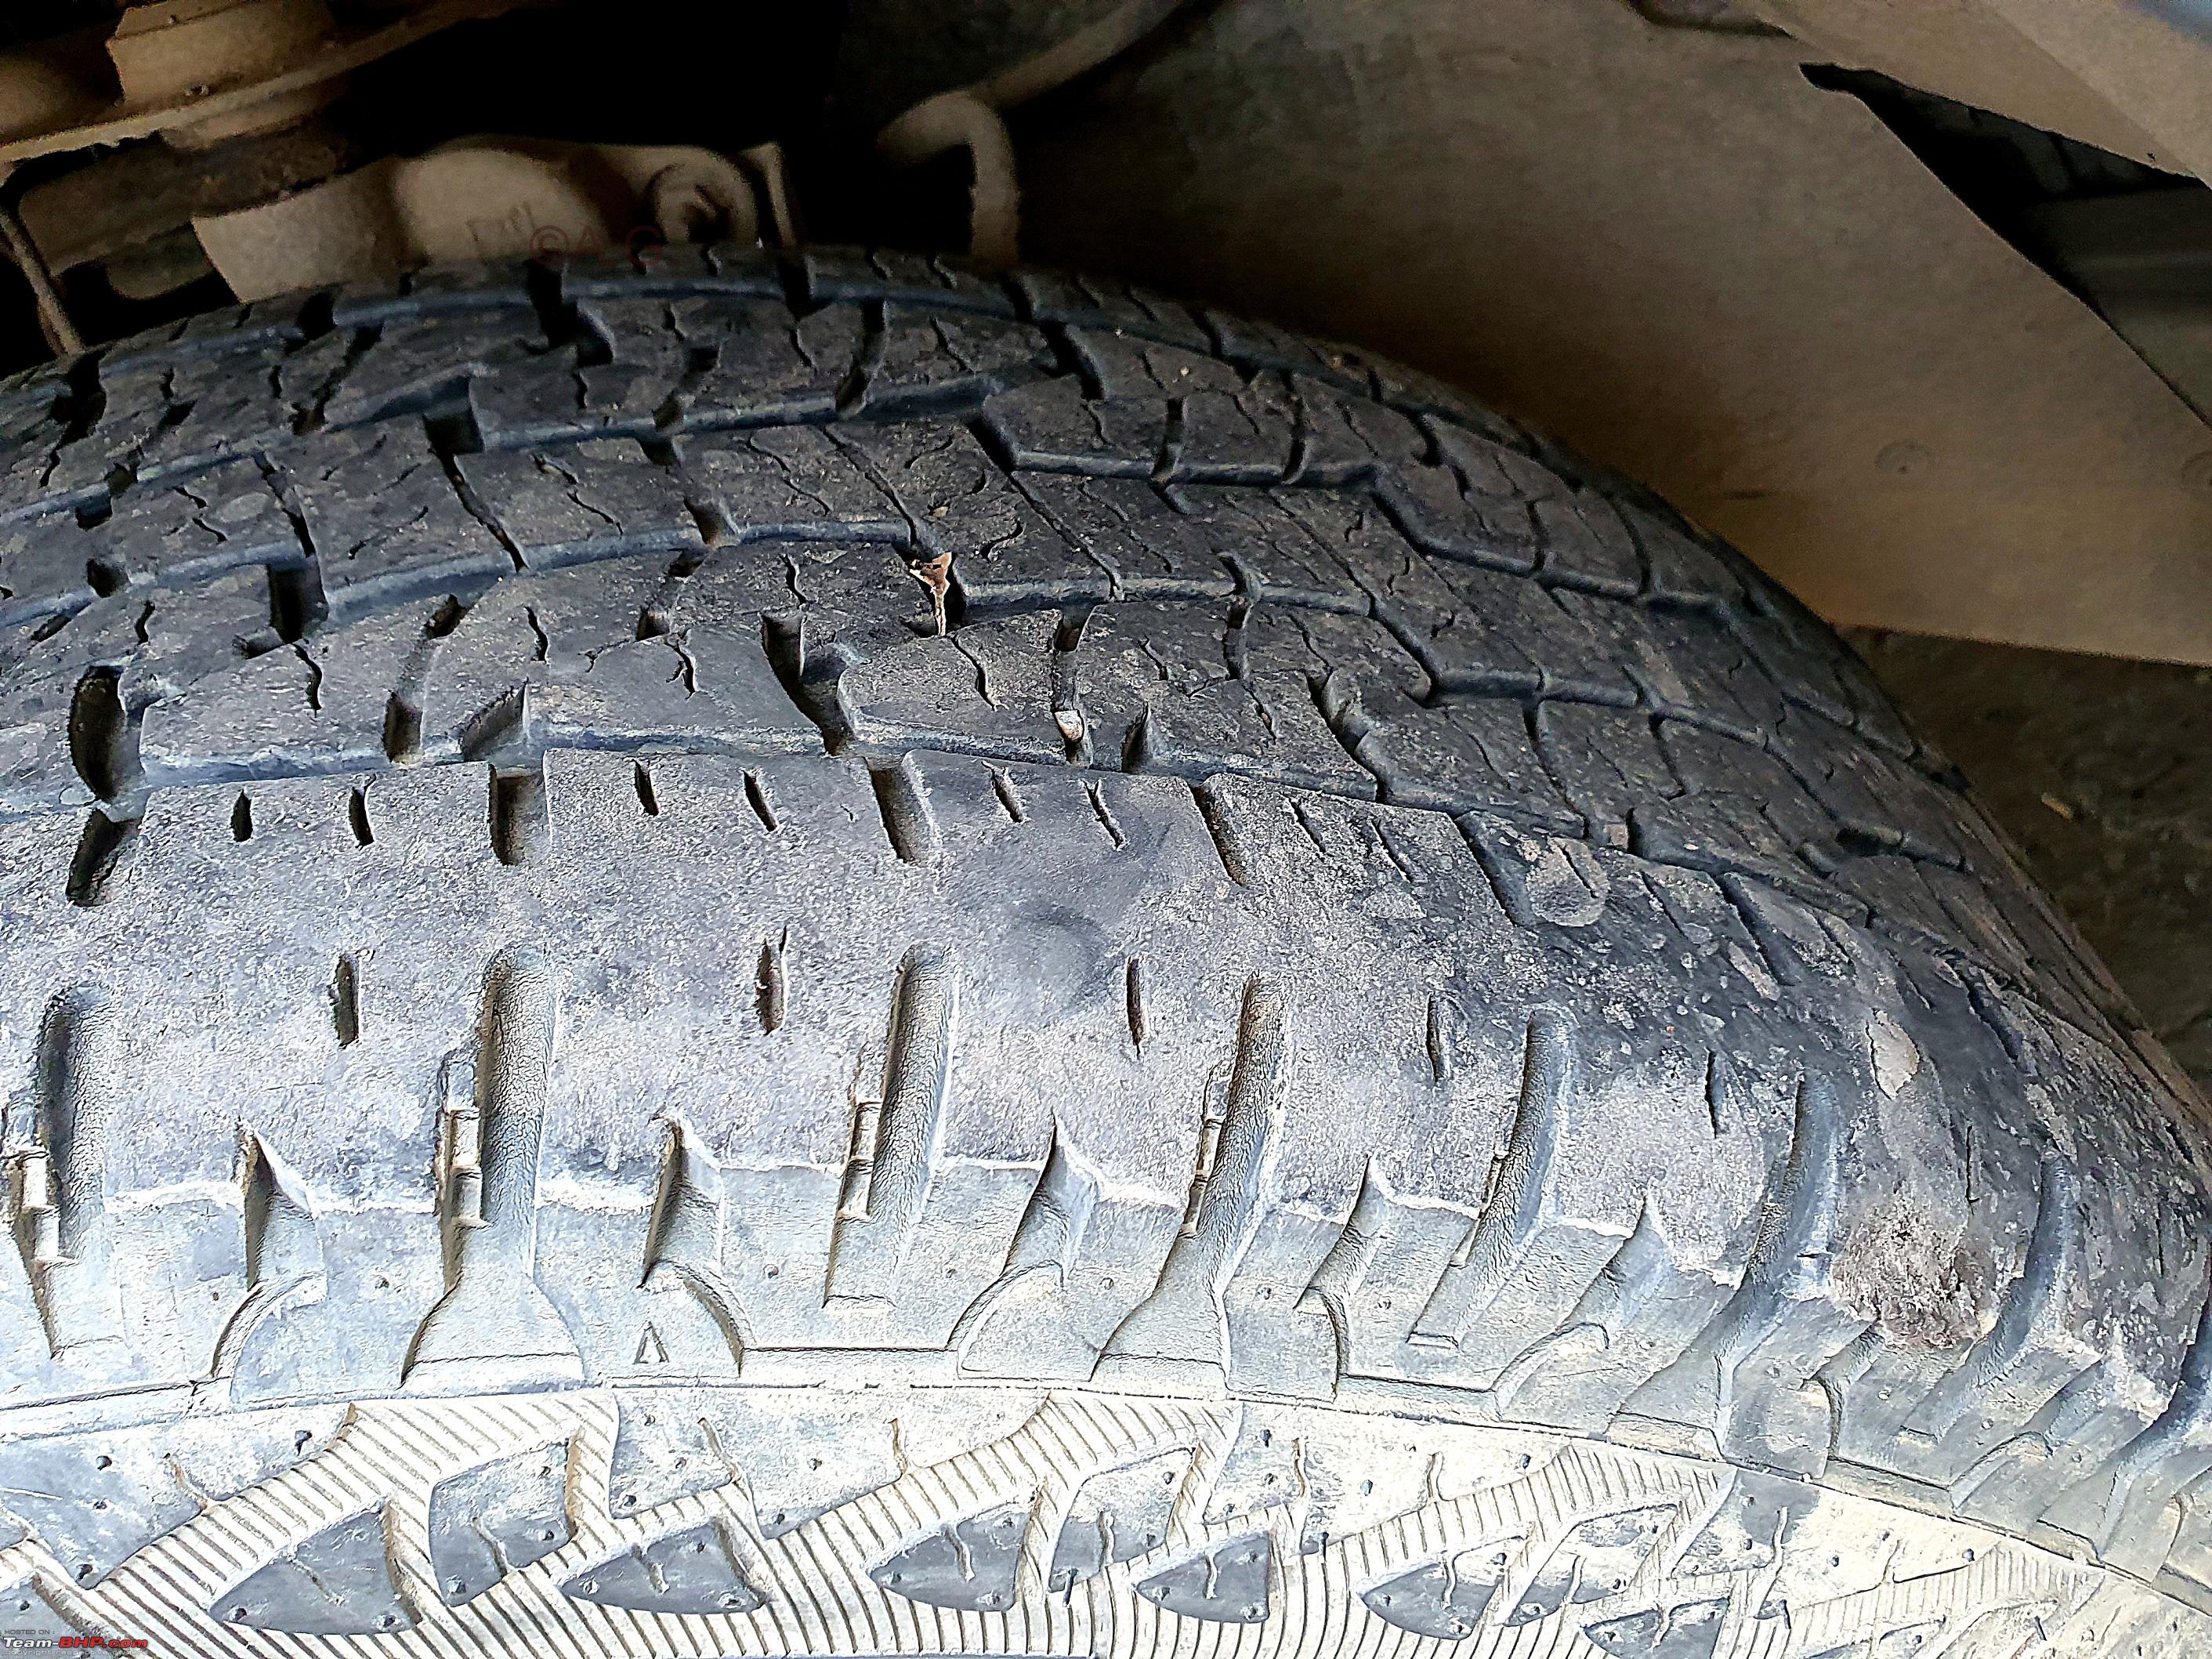
Tyre replacement again getting stinged by Pirellis Scorpion:
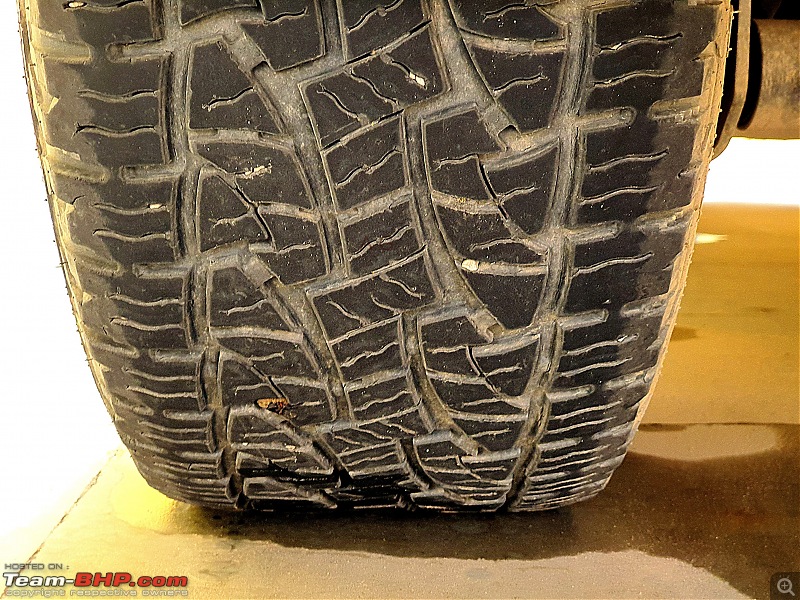
Over the course of close to 45K Kms with the Nexen Roadian AT Pro RA8, these tyres were developing a wear pattern resembling close to that of overinflated tyres. The shoulders had a tread depth close to 8mm while the center of the tread had a shade above 5mm of tread. The main culprit here was rim width 8.5J was simply not wide enough for the 285/60R18 tyre. This resulted in the tread on the edges being always sort of pulled-in leading this unusual wear pattern. Rim with 10J width would have been ideal solution.
Wear after 45K Kms resembling that of overinflated tyres
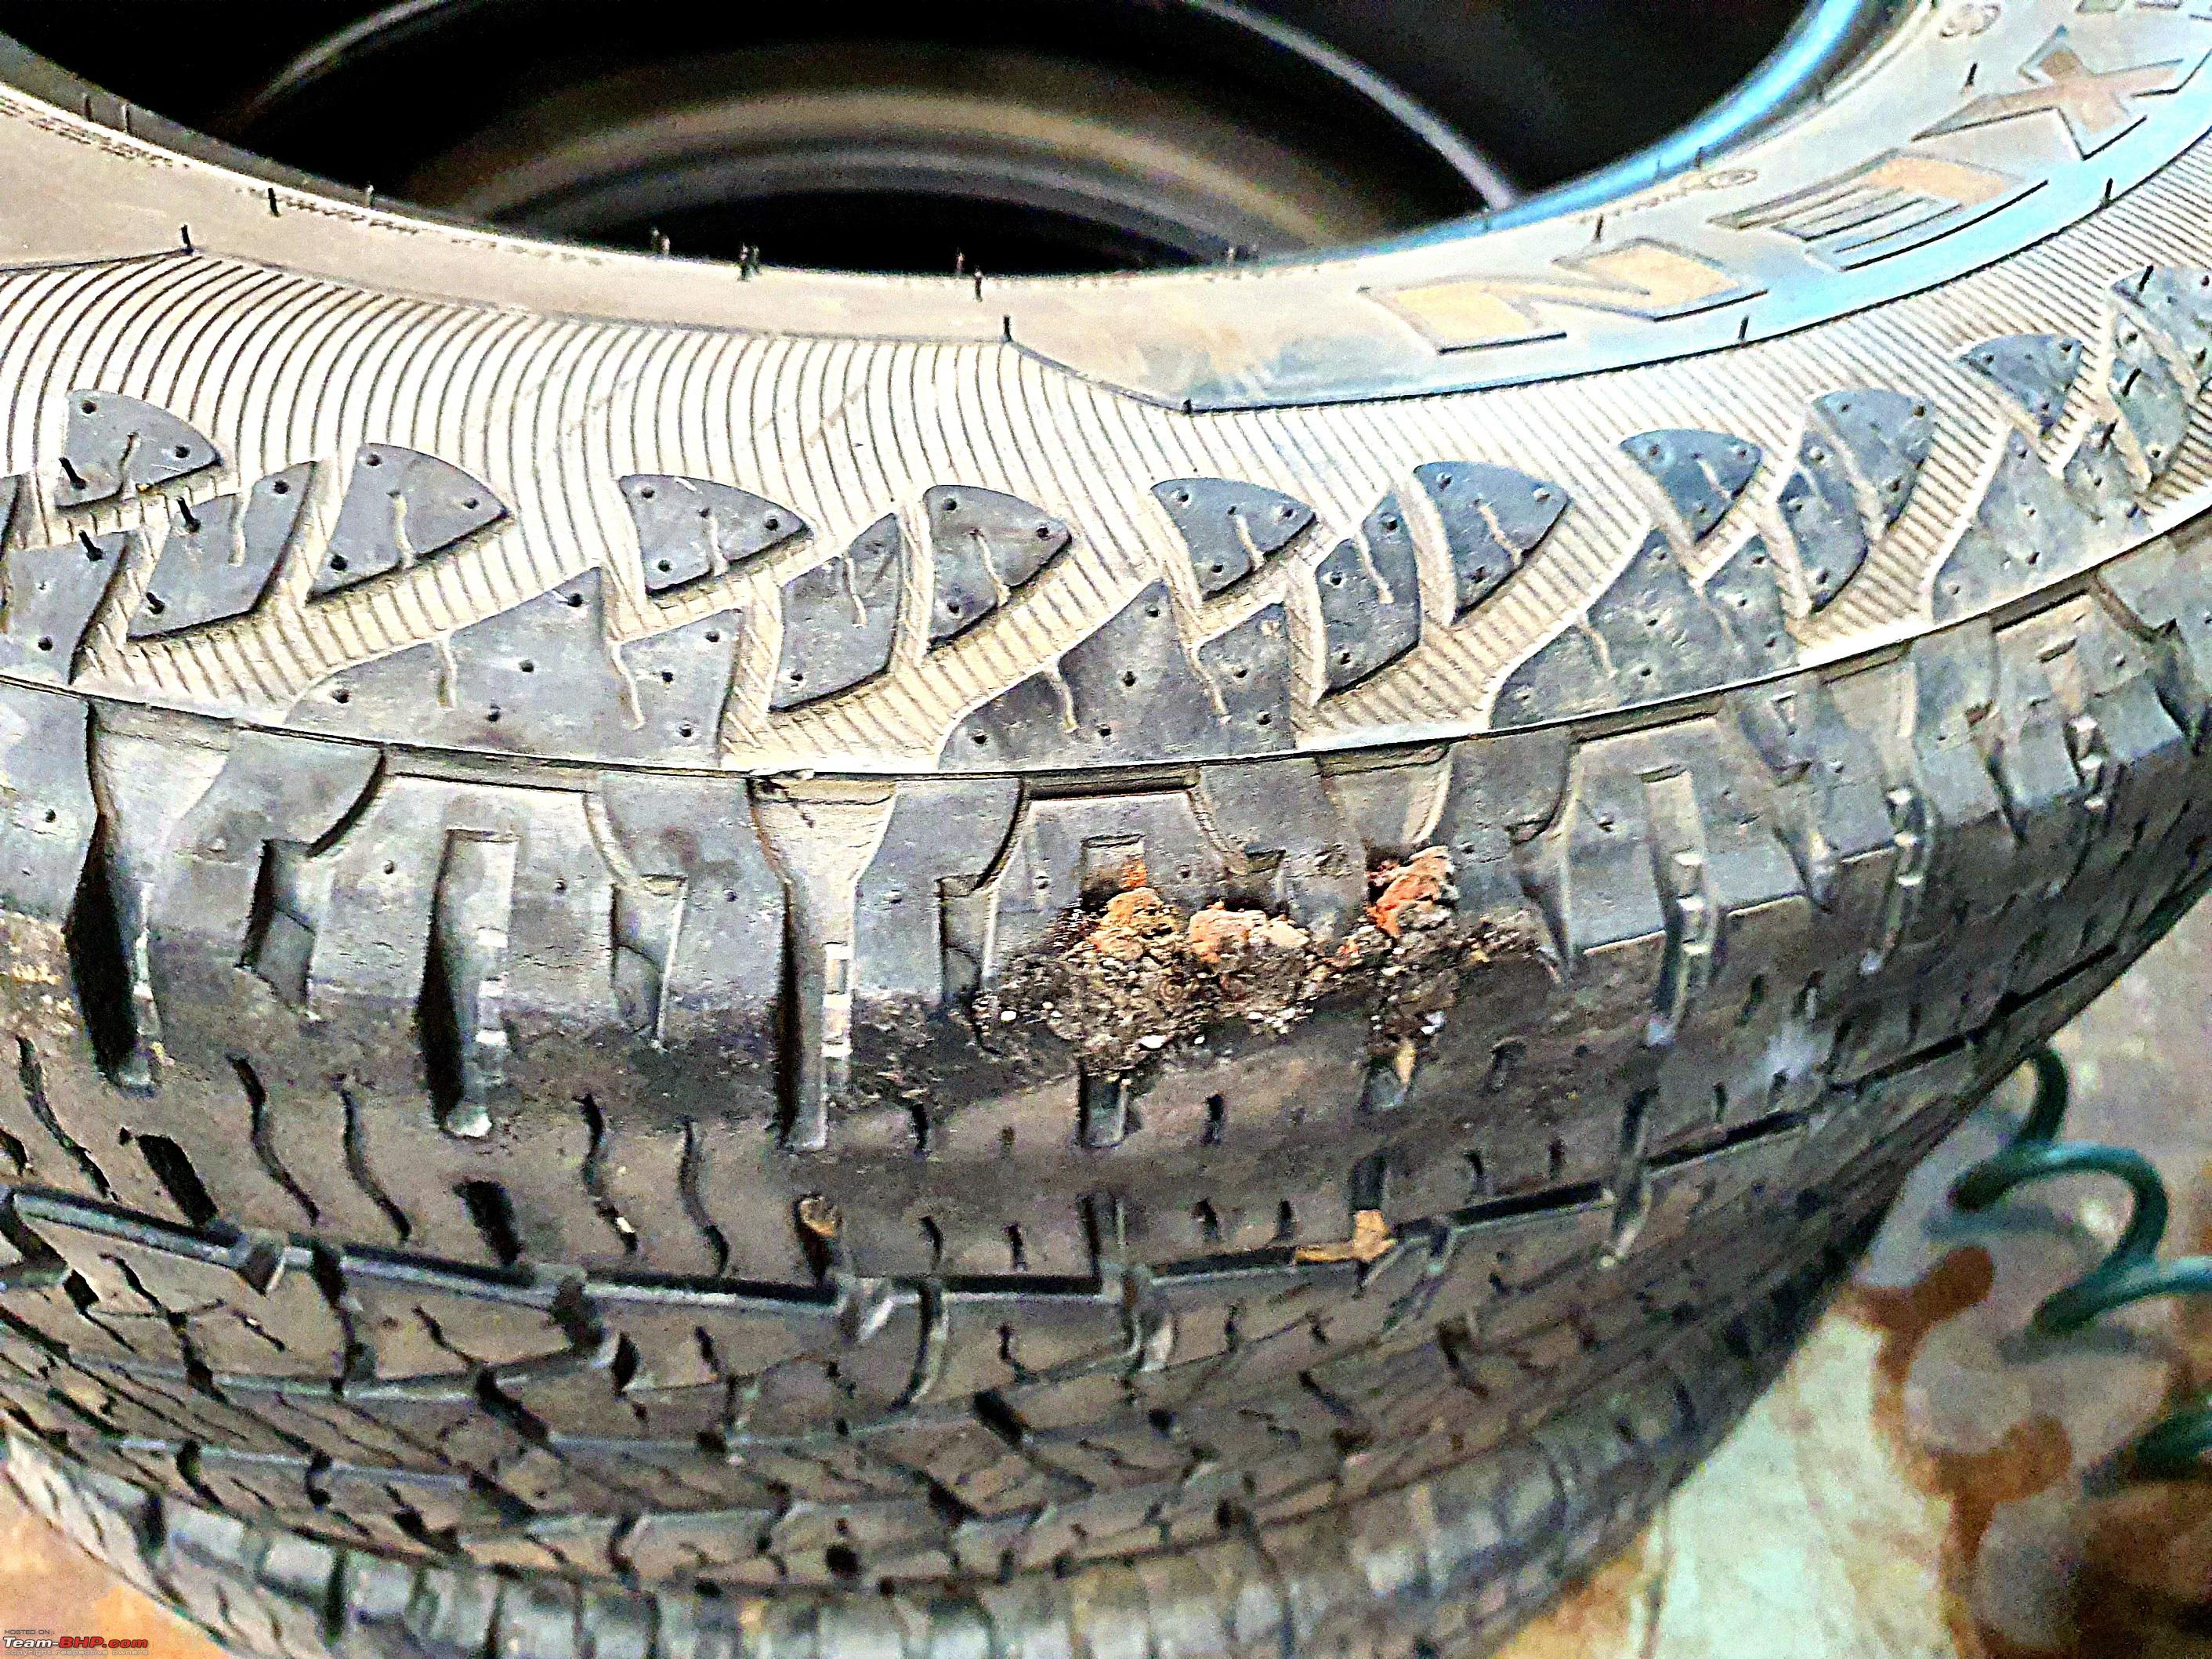
While this issue was already under observation, the punctures had really become a menace until a fateful night all hell break loose. While driving at 1 am, I could see on the TPMS that the Front Left tyre was loosing air. Found a repair shop at a petrol pump and despite repair, the leak started again after a few kms. Since the spare was smaller size (265/60R18), using it was out of question. Only solution was pumping air every 20-25 kms (by when the pressure dropped from 40Psi to 24 Psi) for the next 90 Kms of the journey. Later that day it was found that tread itself had developed a bulge which most likely indicated to failed / broken steel ropes internally.
Bulge in Tread at the outer edge

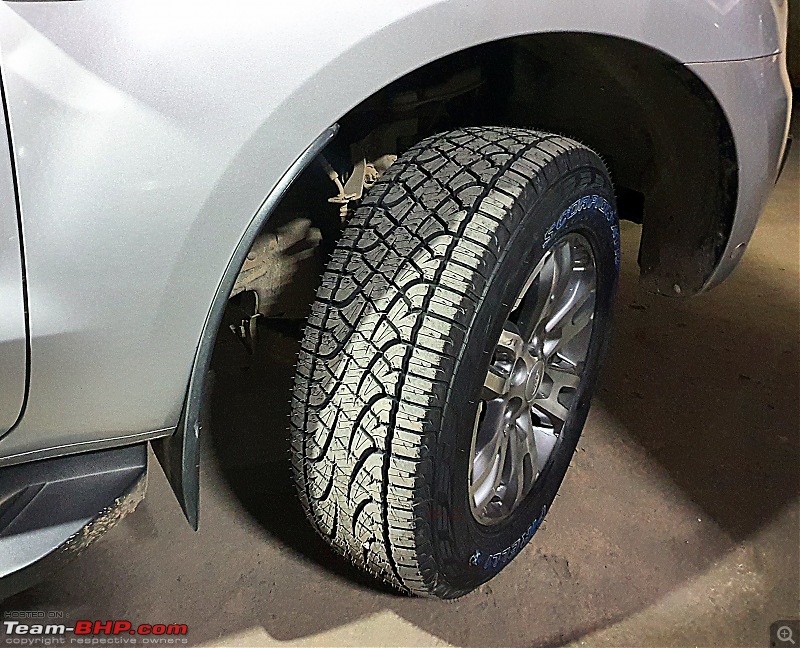
It was evident that this tyre would need to be changed but with the harrowing experience of not being able to use the spare, it was clear stock size was the best solution. Also in favor of the stock size was the overinflated look alike tread wear. Since the tyres in stock size were needed like yesterday, there were only a few options Falken Wildpeak, Yokohama Geolander G015 and Pirelli Scorpion ATR. Selected the Pirelli since I had no previous experience with Falken and
@Mu009 was facing issues in his Geolander. Had used the Scorpion ATR for quite some kms on the Pajero Sport before selling it off on the same tyres. During their stint, never faced any issues with them.
Multiple plugs were used to stop the leak before finally making it to the Pirelli Center in Delhi

Look from the inside

Getting stinged by Pirellis Scorpion

Tyres removed and ready to be changed the difference in width evident

First one done

And the other side comes on its tyres as well

Tread pattern
Claimed treadwear rating

Before leaving the tyre store, correcting the tyre size back to stock using FORScan

The initial observations with the Pirelli Scorpion ATR are good with lesser road noise and good grip, especially in wet. Being stock size, atleast the spare tyre is useable now in case of emergency.
Sixth Service Experience:
The sixth service threw a curve ball when it was diagnosed that the front upper arm bushes need replacement since one of them had lost a collar and other had signs of cracking. Apart from this, the wiper blades were additionally replaced. In addition to the schedule, the fuel filter was replaced while the cabin air filter and engine air filter were cleaned. The transmission oil quality and quantity was visually inspected via the provided dipstick.
Part of bush collar missing

Upper Arm removed for bush replacement

New wiper blades prices

Transmission oil dipstick

2 Endeavours getting serviced side-by-side

A couple of door visors had broken and they were replaced too along with the addition of cargo cover. Including these 2 accessories, the overall service bill came to a shade above Rs. 25,000/-.
Made an unscheduled visit to the service center for the Rear brake pads replacement. Since the last service, it was clear that they are nearing end of life but did not get them replaced as I was informed that an updated part which is less prone to cracking is coming out soon.
Top - old part, bottom - new updated part

Exhaust Gas Temperature (EGT) sensor was also replaced under warranty

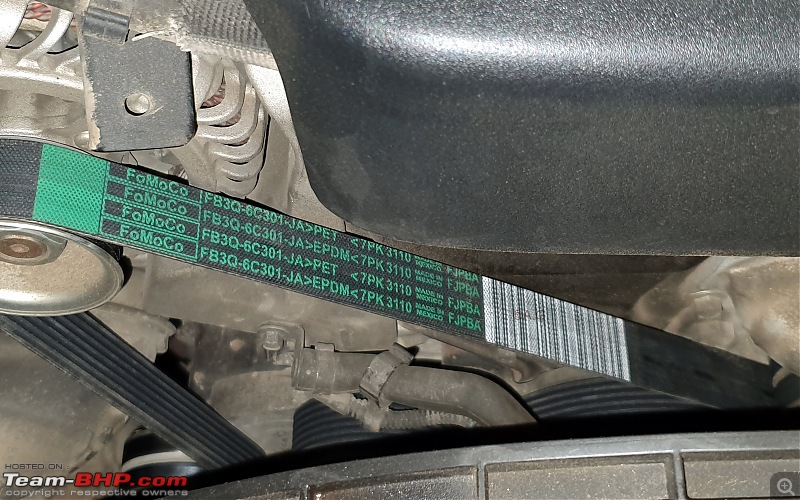
The engine accessories belt was also making squeaking sound and was replaced as well
Apart from some other minor work including brake bleeding, the total expense came out to be Rs. 8700.
Couple of days later, it was pleasantly surprising to find the instrument cluster giving Key battery low warning as well
Key Battery warning

Opened key with battery removed

Quote:
Originally Posted by A.G.
(Post 4757474)
Exhaust Gas Temperature (EGT) sensor was also replaced under warranty
|
I guess this is the famous "EGR sensor" learned people keep insisting exists? lol:
Quote:
The engine accessories belt was also making squeaking sound and was replaced as well
|
Shouldn't this part ideally last longer? Also, if I didn't misunderstand, this is the same part replaced in Bhpian harsha.muvva's car as reported on the main thread.
Quote:
Originally Posted by Mu009
(Post 4757517)
I guess this is the famous "EGR sensor" learned people keep insisting exists? lol:
|
The sensor in the picture above is the only one in the entire Exhaust system I am aware of - different people, different names probably.
Quote:
Originally Posted by Mu009 Shouldn't this part ideally last longer? Also, if I didn't misunderstand, this is the same part replaced in Bhpian harsha.muvva's car as reported on the main thread.
|
Ideal life of this belt is mentioned as 1,20,000 Kms or 5 Years. While the squeaking till the engine reached operating temperature was absolutely normal, my short runs meant I got a dose of this sound quite often multiple times a day. On request, not only was this part replaced but it was covered under warranty too.
I am sure in harsha.muvva's case the ASC must have proceeded after proper diagnosis for replacement of parts he mentioned.
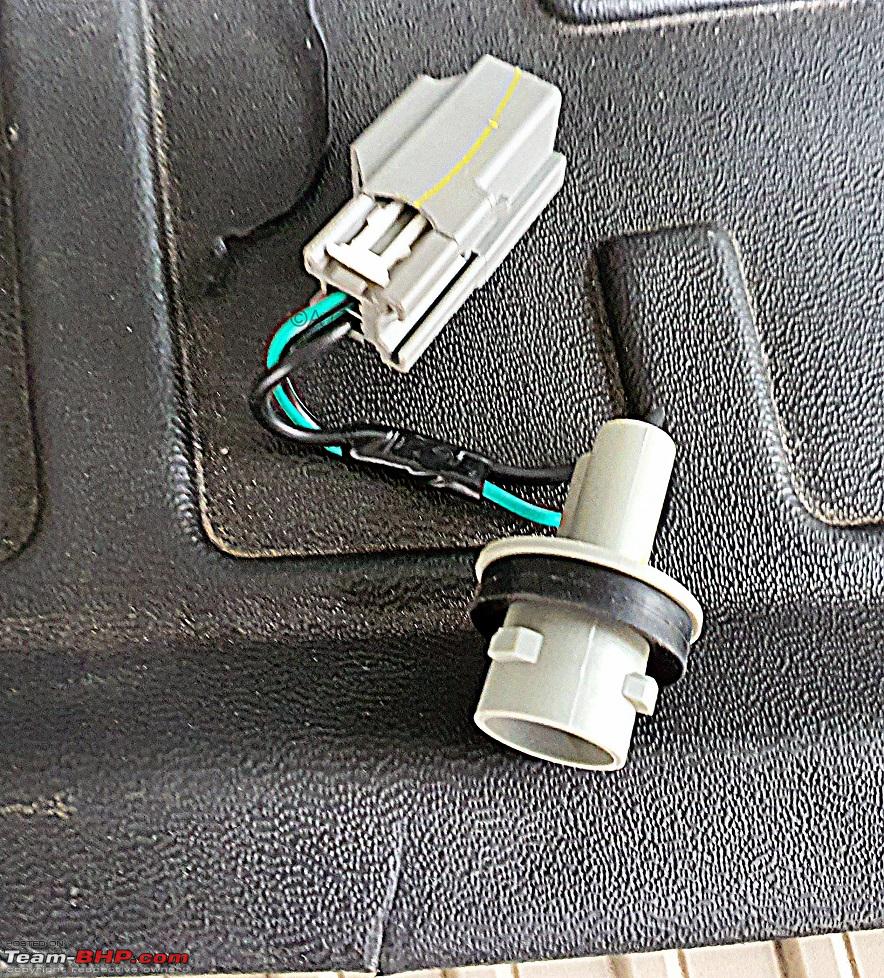
Replacing nearly all the exterior bulbs with LEDs
Except the ORVM mounted turn signals, rest all the bulbs which were left had been replaced with LEDs.
Turn signal
The picture below shows the rear tail lamp removed for replacement of LED bulb

After replacing one of the Front bulbs (Left LED, Right Original)
 Rear Fog Lamps
Comparison picture of bulbs
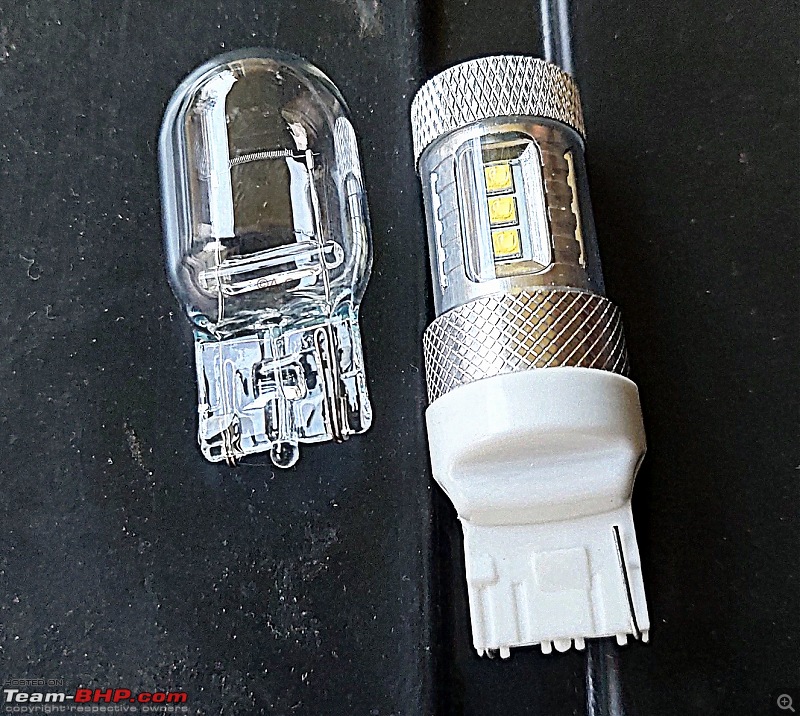
Left LED, Right Original
 Low Beam and Fog lamps
Upgrading the Fog Lamps to XHP70 based LED lamps was pretty straight forward. Upgrading the Low beam was a nightmare. The lights had to be removed after removing the bumper and grill. Then the bulbs had to be inserted with a collar in the space vacated by D8S HIDs. Since the ballast acts as a seal for the headlight, it was not removed and the LED driver was secured directly above it. With the wires tapped for power from the input of the ballast, everything was good to go post testing it on bench. Ending the nightmare of a DIY the reward was more light which colour matched with the Fog Lamps.
XHP70 LED Bulbs
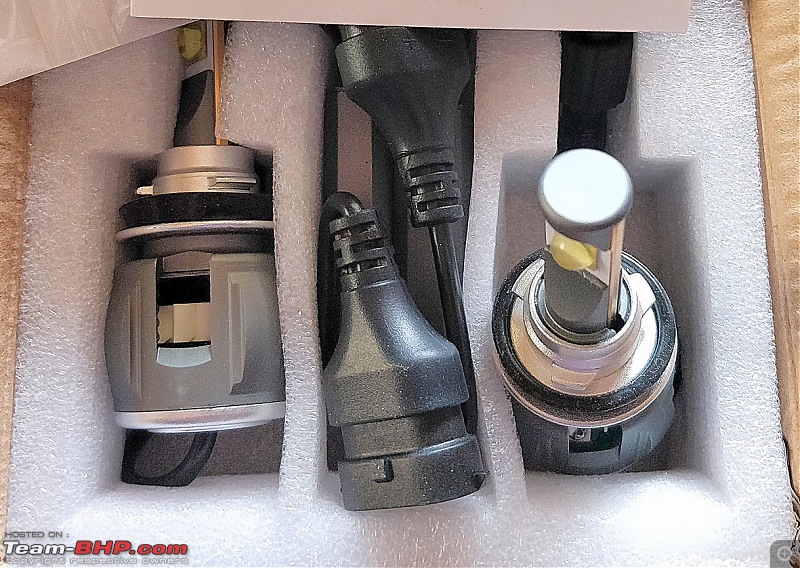
Bulb with collar in the low beam

Final look
 High Beam LED
The High beam was upgraded to older generation 1:1 LEDs. The result is exceptional compared to stock high beam and I got to know that the newer generation of those bulbs are even brighter.
High Beam Bulbs (Left Night Breaker Unlimited, Right LED)

The while light
 Overall beam pattern
With only Fog Lamps

With only Low Beam

With only High Beam

With Low beam + Fog Lamps

With High beam + Low beam + Fog Lamps

Replacing the Tailgate light assembly to complete the look
The original tailgate mounted light assembly functions only for reverse. The rest of the portion (Red one) is just a dummy. To complete the look of the lights on the tailgate, replaced the original light assembly with the light assembly procured from AliExpress.
The light assembly

Reversing light is already via multiple LED and the wire (White) plugs straight in the original holder

To access the Tailgate light assembly, the grab handle houses 2 screws which are removed after removing the cover. The center part near the hinge is unlocked first

Next 2 come off are the 2 side panels covering the glass

Finally with a little bit of pulling hard, the main portion is dislodged and removed after taking care of the boot close button

Original light assembly removed

Reverse light connector from original light removed

A look at work in progress
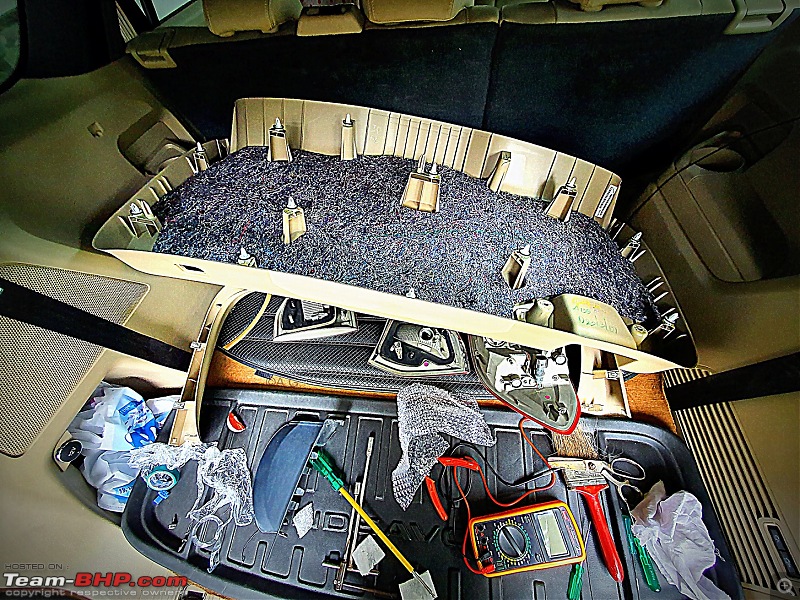
Removing the tail lamp to tap the wires

Tapping the wires (in my case I already had the 3M Scotchloks for pillar lights)

Since I had US Style turn indicators enabled, I had to connect the left portion of tailgate lamp with left tail lamp and right portion of tailgate lamp with right tail lamp. In the original wiring, the connection to both the tailgate lamps was from one side. Removing the other side tail lamp to tap the wires

Testing the Parking light function

Testing the Brake light function

Final look from behind hard to distinguish between before & after when the lights are not working

All LED reverse light

Lights in action

Not sure why it does not comes like this from the factory looks way better. Another mod done and dusted.
I have been reading yours ownership and have been thinking of some modification in my Endeavour.
Please share the shop detail in Delhi NCR for LED bulbs for high beam and low beam if possible. Also where can we could get our silver portion of bumper painted in black as you have done. Thanks for sharing.
Quote:
Originally Posted by Wanderers
(Post 4884647)
Please share the shop detail in Delhi NCR for LED bulbs for high beam and low beam if possible.
|
Bulbs were sourced from AliExpress and installed as part of DIY.
Quote:
Originally Posted by Wanderers
(Post 4884647)
Also where can we could get our silver portion of bumper painted in black as you have done. Thanks for sharing.
|
I got them painted at the Ford dealership itself.
Wow! The all LED setup looks really cool. I agree that this is the way it should come from factory.
Your high beam LED and low beam LED conversion was done a while back isnt it? When we met in Delhi in June 2019 did it not have the LED in high and low beam?
| All times are GMT +5.5. The time now is 16:14. | |