News
Consequences of a shoddy repair job on my Mitsubishi Pajero


After getting the air conditioning system of my SUV serviced recently, I realised that the condensate was dripping inside, and not outside as it should be.
BHPian vigsom recently shared this with other enthusiasts.
Introduction
My hawk-eye experience during the service of my car's aircon is summarised here (Mitsubishi Pajero Sport | Diagnosing an Ultra-Low Leak in the Aircon System). Little did I realise that it wasn't a case of all is well that ends well, and what was going to unfold was something that can be classified as both common and uncommon. Confused? Read on.

Surprise #1 - No condensate dripping at the bottom of the car
I'd attended to my car's aircon in mid-August (described in the thread mentioned above). During a trial run last Saturday, I pulled over, kept the aircon running and just wanted to see if the condensate was dripping below the gearbox area and at the right rear of the car. This was just to confirm that the aircon was functioning well and that the system was in order. However, that wasn't the case. No condensate was dripping in the front while the rear was fine.
Rear Aircon condensate drain - normal

Diagnosis
I returned home, pulled the velcro off the top rexine aftermarket carpet, then got to the stock floor carpet, pulled that off carefully, and found that the foam damping at the bottom of the carpet was slightly damp. On running the AC, I could see that the condensate was dripping inside instead of going outside. I then suspected one of the following:
- The drain hose from the evaporator compartment hasn't been connected
- The drain hose got pinched when the HVAC Unit was refixed after service
While it is common to see AC condensate leaks in cars (like in a Tata Harrier of late due to a drain hose not fixed OR cars in which the condensate drains are clogged), it is uncommon to see a car in which the hose has been pinched during re-installation of the HVAC Unit. That, my dear readers, is what had happened in my case.
Approaching the service provider for rectification
I then drove to the same, highly-rated place where my car was worked upon and found that the gentleman had gone shopping while the garage was unmanned; professionalism at its peak, I'd say. I called the gentleman, he answered on my second attempt, and I explained the issue to him. He told me that the car would need to be put on a ramp to inspect and see what could be done. He asked me to come the next day viz. Sunday.
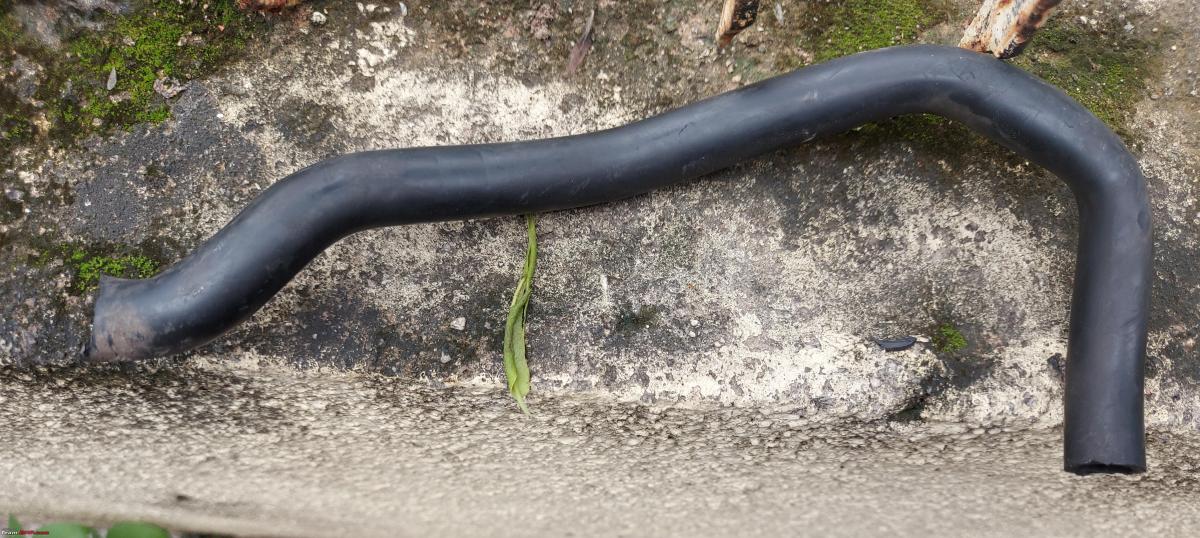
By then I was getting clear about not wanting to get this rectified by this guy. Reason? Trust was lost. At this point, I had almost conditioned myself for the removal and refitment of the entire dashboard all over again just to fix a drain hose. That is because the Pajero Sport's (and perhaps, most SUVs’) drain hoses are fitted with a stopper/gasket from inside that is tightly pressed between the HVAC Unit and the metal frame. This is probably to prevent ingress of water from outside in case of water wading, and there is no way one can pull this hose out from the underside of the car.
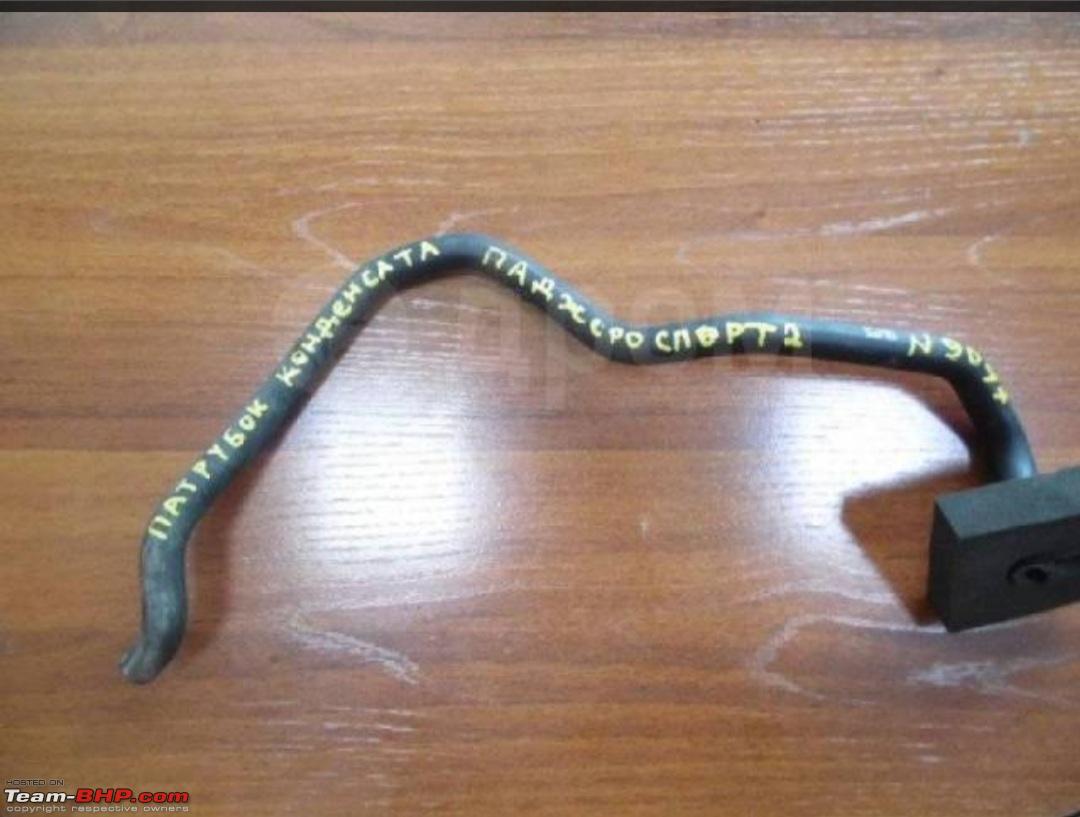
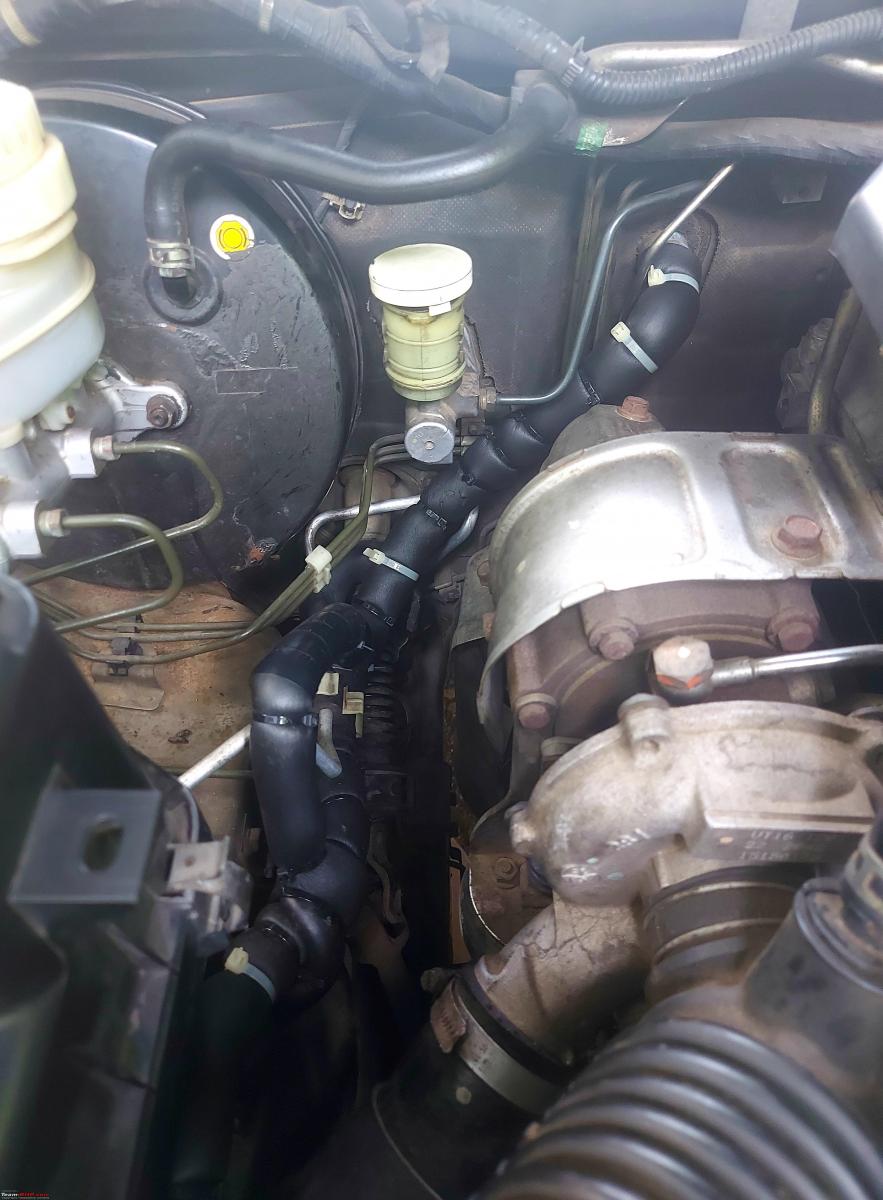
Aircon drain hose on the Pajero Sport (sample pic)
Decision point - to continue with this guy or go to someone that I trust
I didn't get back to the aircon guy the next day, viz. Sunday, but decided to go to the garage that had worked on this car on a mega project that I'd undertaken in Jan this year. Reason? I'd lost trust in the aircon guy, but trusted the proprietor of the other garage with doing a quality job on my request.
Fixing the aircon drain issue without removing the HVAC Unit
I went to the garage on Monday and explained the situation to the proprietor. He was extremely understanding and realised the headache that I had just gone through. One of his guys closely examined the setup and after I explained how the drain hose would look like (with the stopper etc.), he observed that the drain hose had actually got pinched inside and that wasn't allowing condensate to come out. I then told him that the only way to remove the pinched portion without removing the HVAC Unit was by
- Cutting the portion of the hose outside the car
- Loosening the bottom nuts holding the HVAC Unit and,
- Moving the HVAC Unit a few mm back to cut and remove the pinched portion of the hose inside
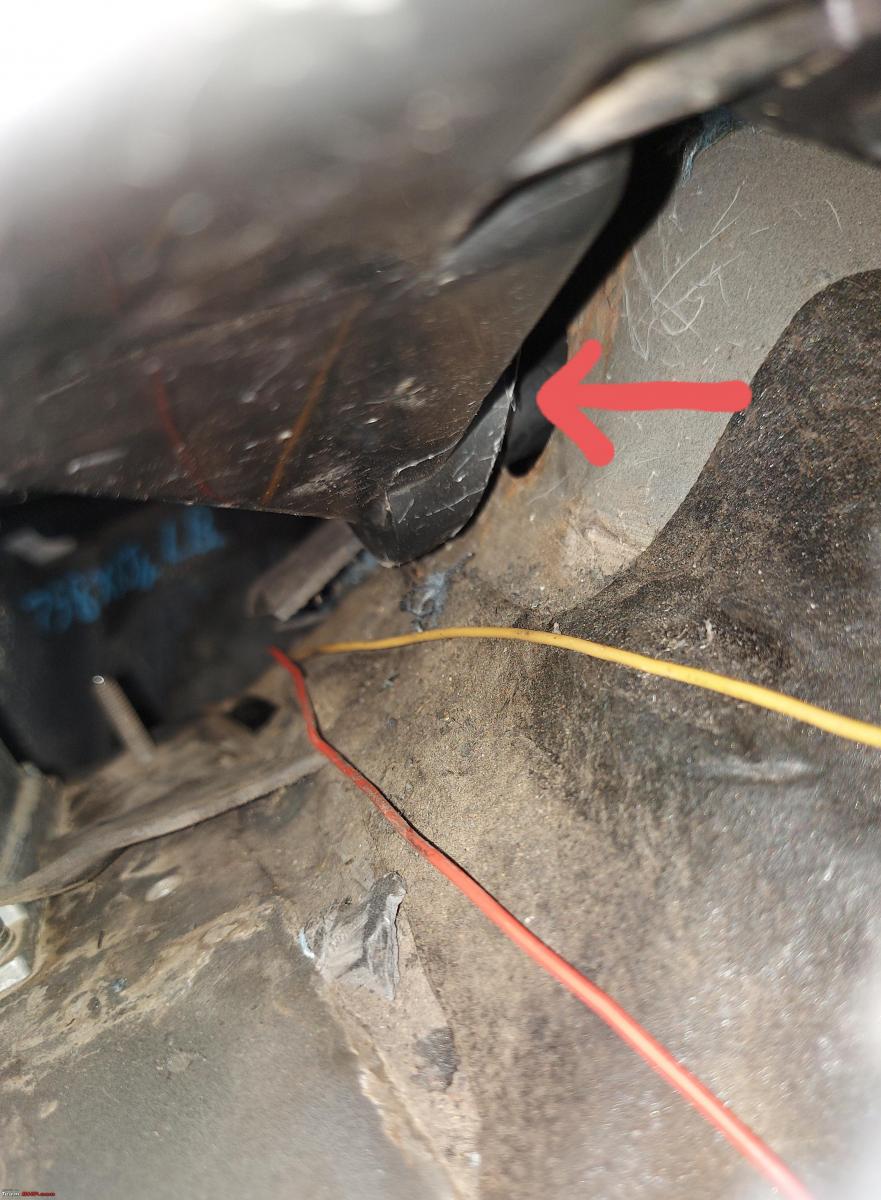
He first removed the engine turbo boost sensor, then lay down with his torso on the left fender, used a heavy-duty cutter that I gave him, and neatly cut the portion of the drain hose that was outside the car.
Drain hose - salvaged portion
Next, he loosened the lower nuts holding the HVAC Unit, removed the pinched portion of the hose by carefully cutting it and removing it in pieces, taking care not to damage the drain nozzle onto which the hose was fixed.
Segments of the pinched hose cut and removed

Finally, the hose was refitted on the drain nozzle from outside, the stopper/gasket was relaid over the hose from inside, the HVAC Unit's lower nuts were installed and tightened back.
Hose fitted back on the drain nozzle after which the stopper/gasket was relaid
More observations
Other issues that were observed were:
- Airbag warning light on - this crept in when the dash lights weren't coming on after the dashboard was fitted back after AC service (details here - Mitsubishi Pajero Sport | Diagnosing an Ultra-Low Leak in the Aircon System)
- The leather housing on the lower console had come off its groove
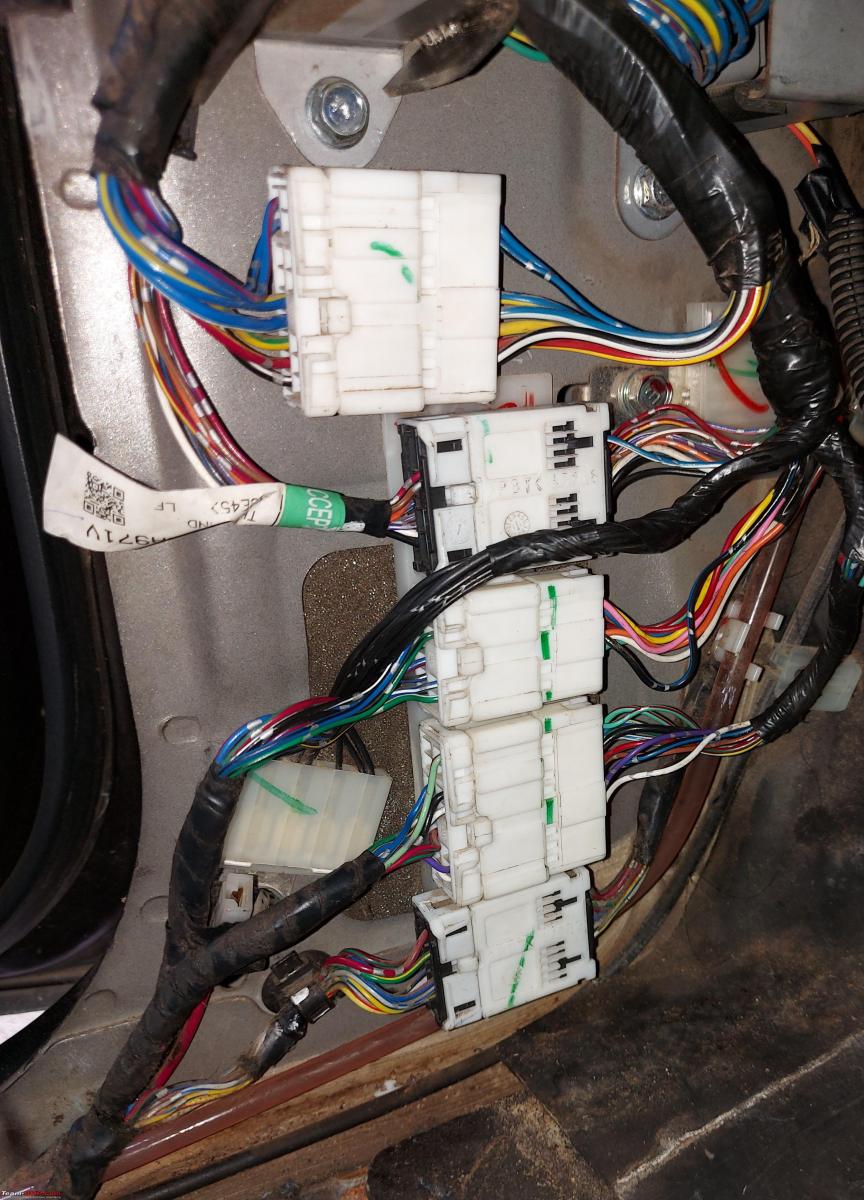
- Misaligned wiring couplers on the left kick panel
- A little lower than desired refrigerant
The battery negative was disconnected and the lower console was removed. Airbag couplers were removed and refixed at the passenger side, driver side, and at the Airbag Control Module (which rests ahead of the gear levers). All connections were found fine but disconnected and reconnected nevertheless.
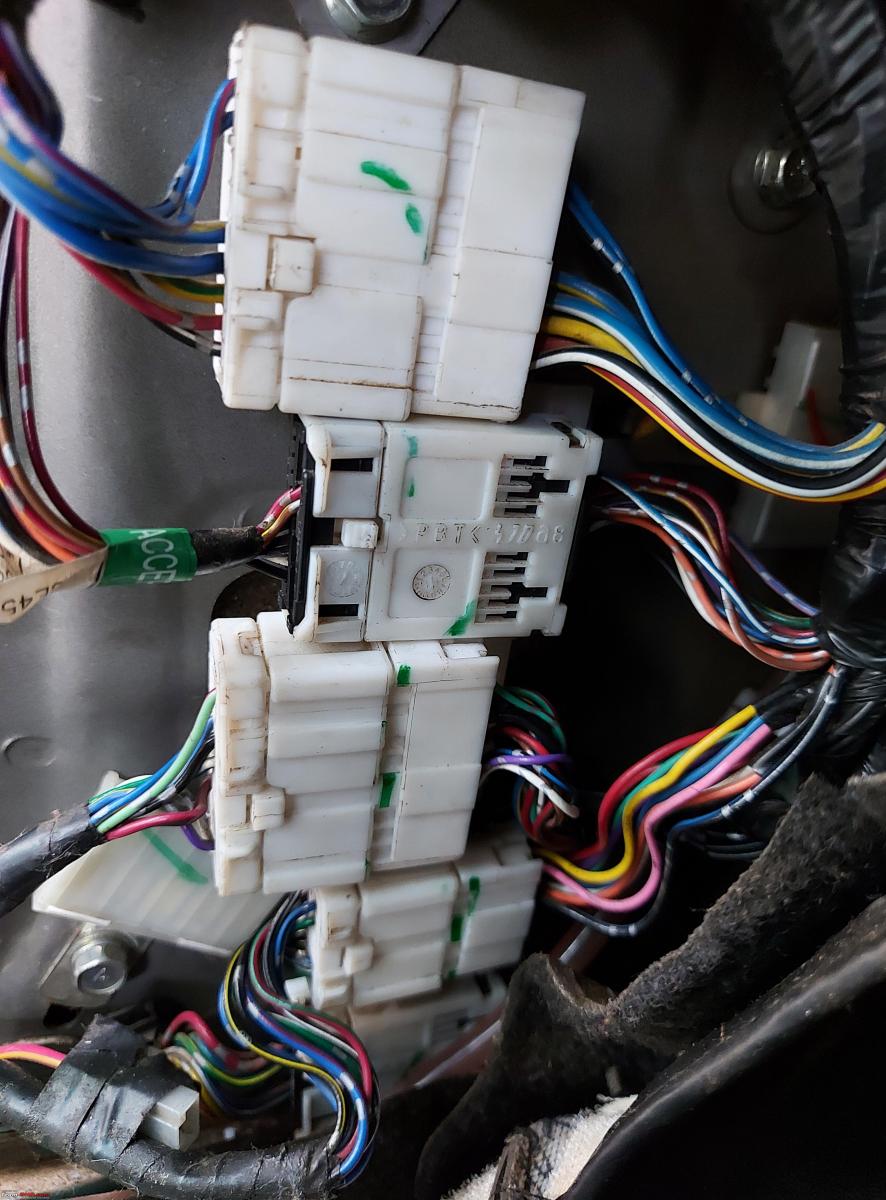
I'd removed the left kick panel cover to remove the front passenger footwell carpet, and observed that the wiring couplers there were misaligned and weren't locking in place on the slot provided on the kick panel. I used the opportunity to fit them back properly by referring to couplers' pictures that I'd taken on a stock Pajero Sport.
Couplers before rectification

Couplers after rectification - note the routing of the earthing bunch and the misplaced couplers # 3 and #4 from top
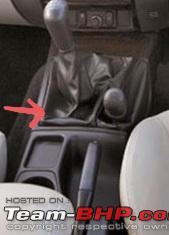
Lower console - sample

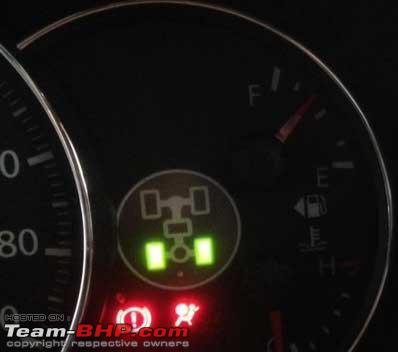
Airbag warning

The leather housing on the lower console was refixed, and the console fitted back. The battery cable was reconnected but the airbag warning remained on, and was finally removed using an OBD scan tool. Older versions of scan tools do not work for Airbag systems.
Approx. 150 g of refrigerant needed to be topped up, showcasing yet another deficiency in service by the Aircon service provider. Like short fuelling tricks, these guys short fill aircon systems, too.
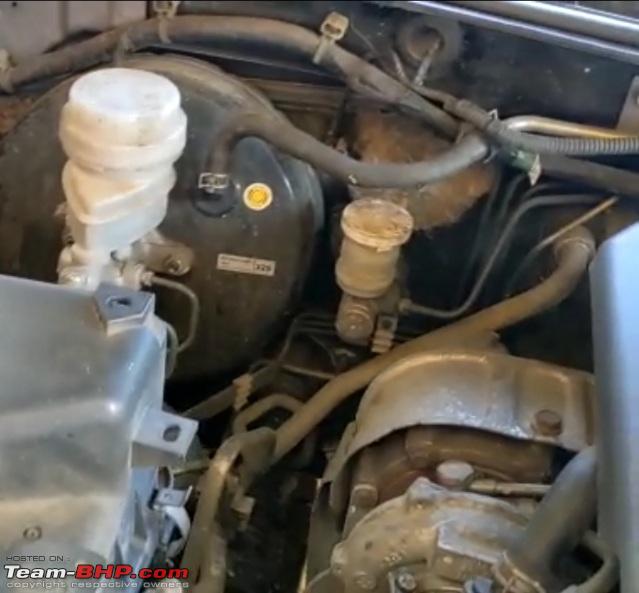
Insulation of the refrigerant low side (compressor suction) line
I've seen some foam insulation on the refrigerant low side lines on the old Hyundai i20 and the XUV500, and have been wanting to try this out. This car presented a perfect opportunity to try this out on the portion of the refrigerant low side lines that run very close to the hottest zone viz. exhaust and turbocharger turbine side. I got a meter of domestic split AC foam tube, split the tube along its length, wrapped it around the low side line, and ensured a proper fit using multiple cable ties. This job can be done only when the engine bay is cold, else the hot surfaces of the exhaust and the turbine side can be quite killing.
Stock
Insulated
List of defects
While the project has finally been officially closed, the number of defects that were encountered during and post the Aircon service are summarised below:
- Turbo boost error when turbocharger would kick in - hose found loose - rectified, CEL scanned and removed
- Dash lights didn't come on at first startup - rectified but left the airbag warning light on
- Airbag warning- scanned and removed
- Misaligned wiring couplers - rectified
- AC drain pinched - rectified
- USB connected to the stereo - working but one side of the USB drive found broken
- HVAC Unit wasn't even cleaned before installation - I observed this and had to admonish them for this
- One bolt of the dash bar frame was loose - rectified
- CTC flushing scam
- Air filter inlet duct bolt not fitted - rectified
- Headlamp leveller not connected - rectified
- Lower than recommended refrigerant charge- topped up
- Heater core hoses connections not clamped properly - rectified
Cost of poor quality
While the monetary loss to rectify these errors was trivial:
- Approx. 5 liters of diesel was burned on trials that could have been avoided
- Time spent in rectification was over 8 hours, with approx 2.5 hours spent only on the pinched drain hose
- Had to top up 150 g of refrigerant which should ideally have been done right the first time
- OBD scans had to be performed to clear 2 errors
- The amount of time I spent supervising the job even during the aircon service
So much for a "highly-rated" service provider who enjoys a 4.8 rating on Google with a large number of respondents and a great clientele that includes doctors, too.
Closing comments
I can only console myself by saying Thank You, 'coz I wouldn't have learnt this much if I was left with no issues to sort out. I'd urge all of you to pass it on - not the headaches that I experienced, but the knowledge that one gains from such pains.
Check out BHPian comments for more insights and information.
Find Car News
Just News


About Us


Buy & Sell
USED CARS