News
Did a DIY and replaced the ORVM indicator on my Hyundai Verna


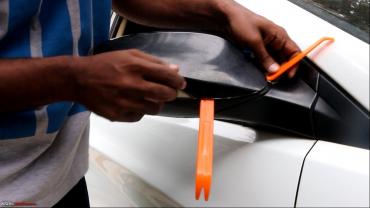
With the help of the prying tool, gently pry out the mirror. Make sure that your electric mirror is in the center position.
BHPian starjohn123 recently shared this with other enthusiasts.
I just replaced my ORVM's Indicator Strip on the Verna. This is the second time that I am replacing it. First time it was done by my FNG, who did not do a perfect job, I will tell the reason a little later. This time I did it myself, so thought of sharing a step by step guide for everyone's benefit. I also have made a video tutorial for those who like video.
The rest can follow the procedure I have shared below.
Tools required:


- Star head screwdriver.
Steps:
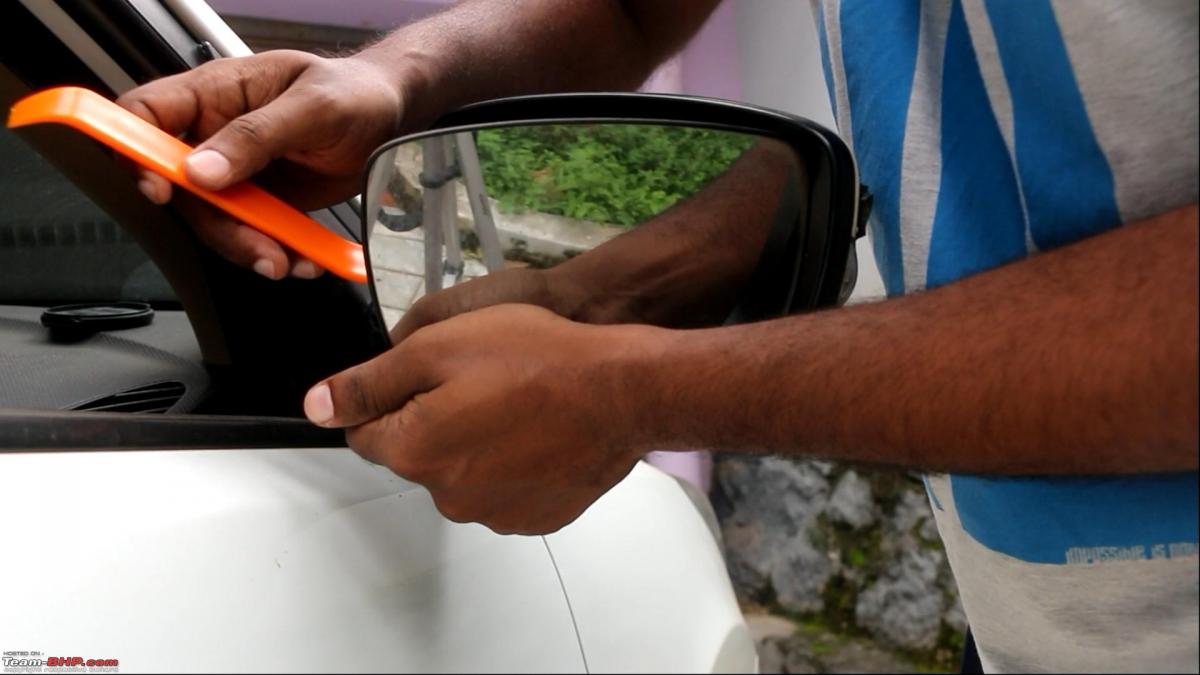
Removing the side view mirror:
With the help of the prying tool, gently pry out the mirror. Make sure that your electric mirror is in the center position. Meaning, the mirror should not be pointing towards the extreme left or extreme right. You need to have enough gap to allow the pry tool to enter and dislodge the mirror from its clips.
ORVM plastic shroud removal:
Again with the help of the prying tool, remove the plastic shroud from the ORVM. This may require you to use 2 or 3 prying tools at a time to remove it. Be gentle as you do not want to break any of the plastic tabs holding it in place.

Remove star screw holding the Indicator:
Just behind the mirror that you removed in step 1 will be 2 star screws. Remove the screw on the right side. This will release the Indicator.
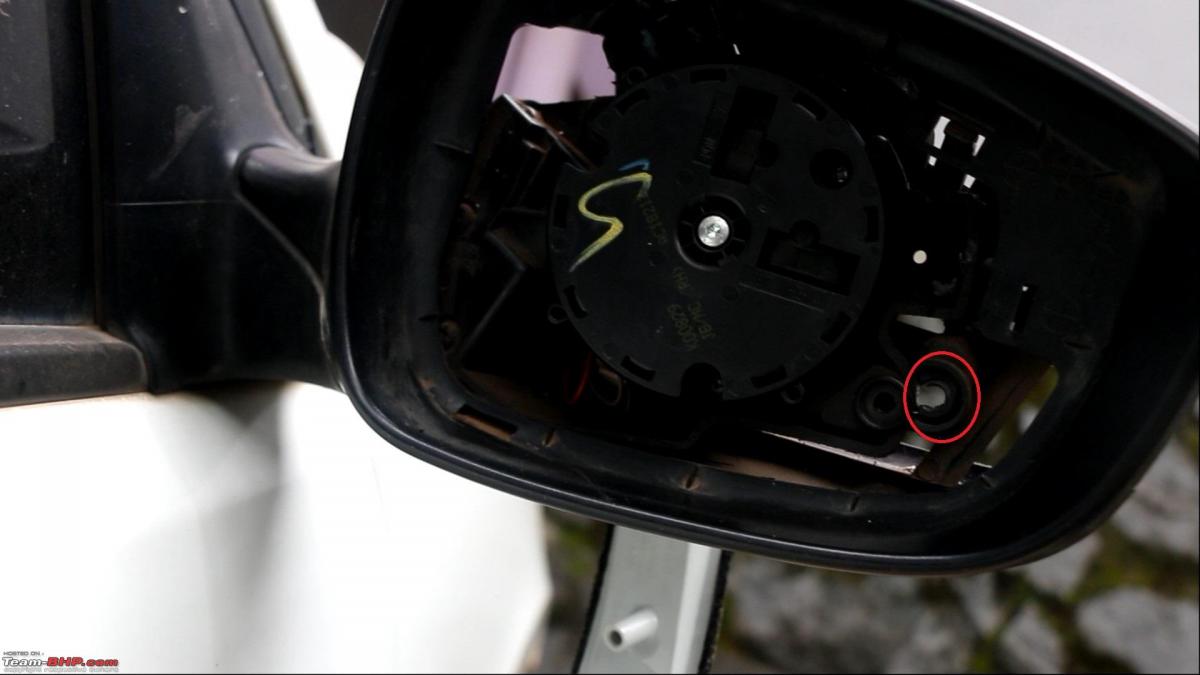
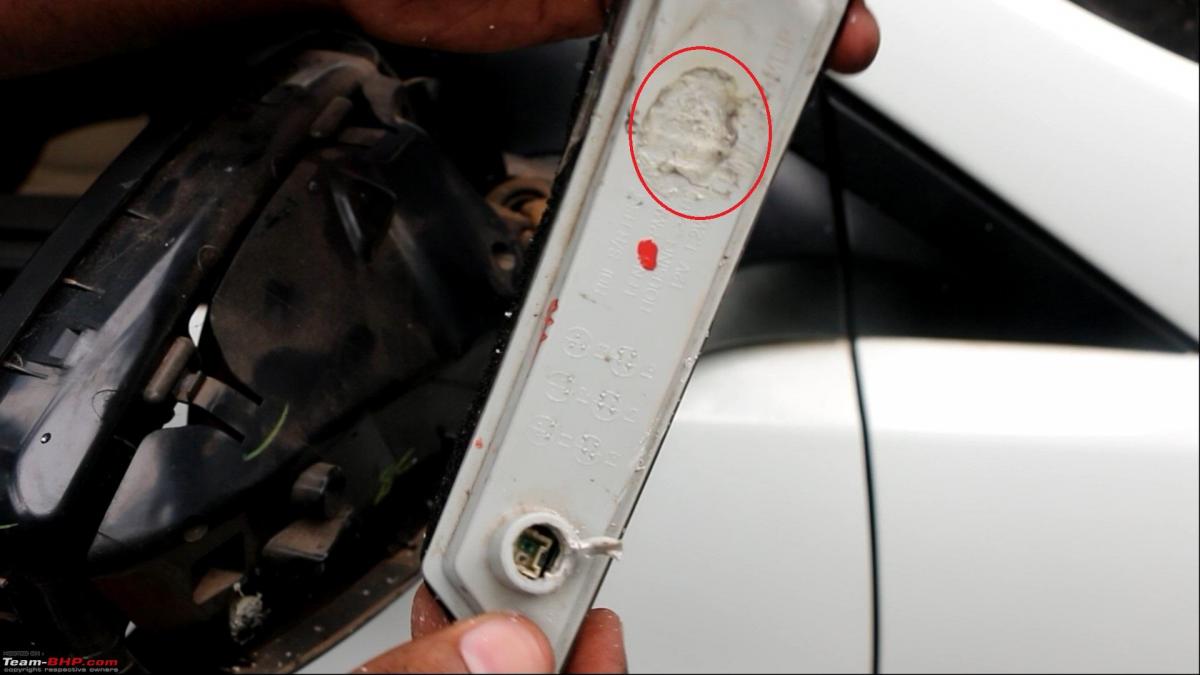
This is the step which my FNG forgot to do previously, so they just pulled the old indicator out without unscrewing, thereby breaking the plastic part around the screw area and Indicator. They fit the new indicator by again breaking the plastic part of the new indicator and melted the plastic with some heat so that there is no hole in it. Was really disappointed with this work done by my FNGH. There is no way of seeing this until we remove it ourselves.
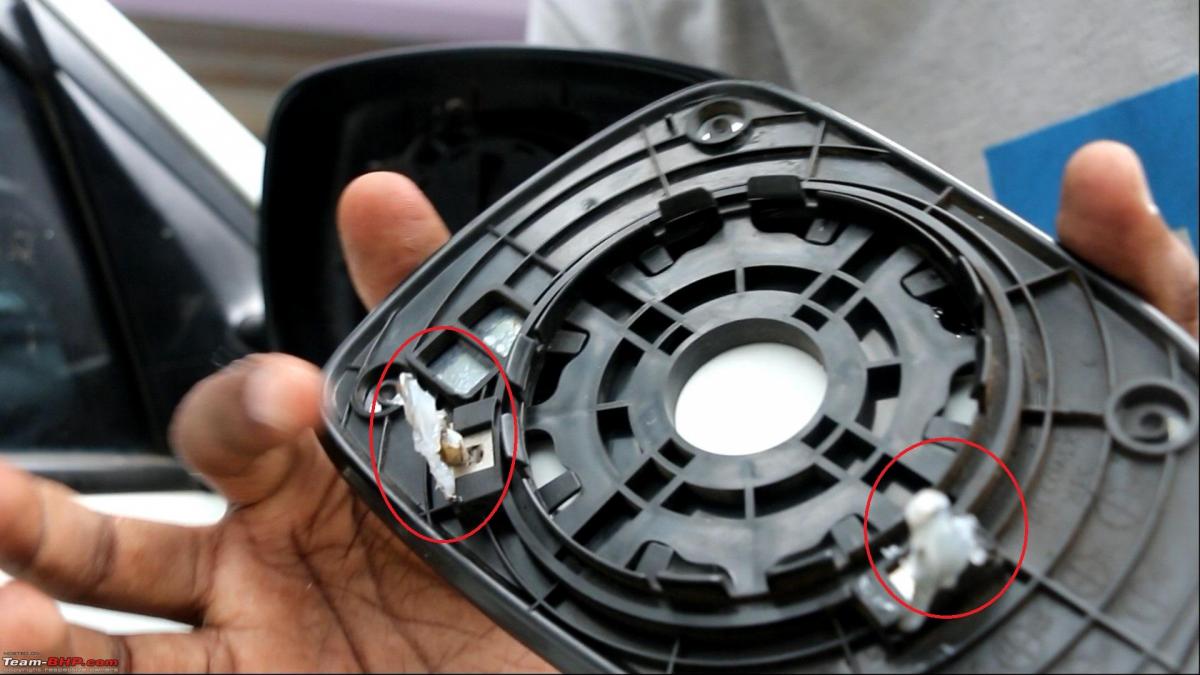
This is how the old indicator backside looks like:
This is how the new Indicator backside looks like:

Remove the indicator connector:
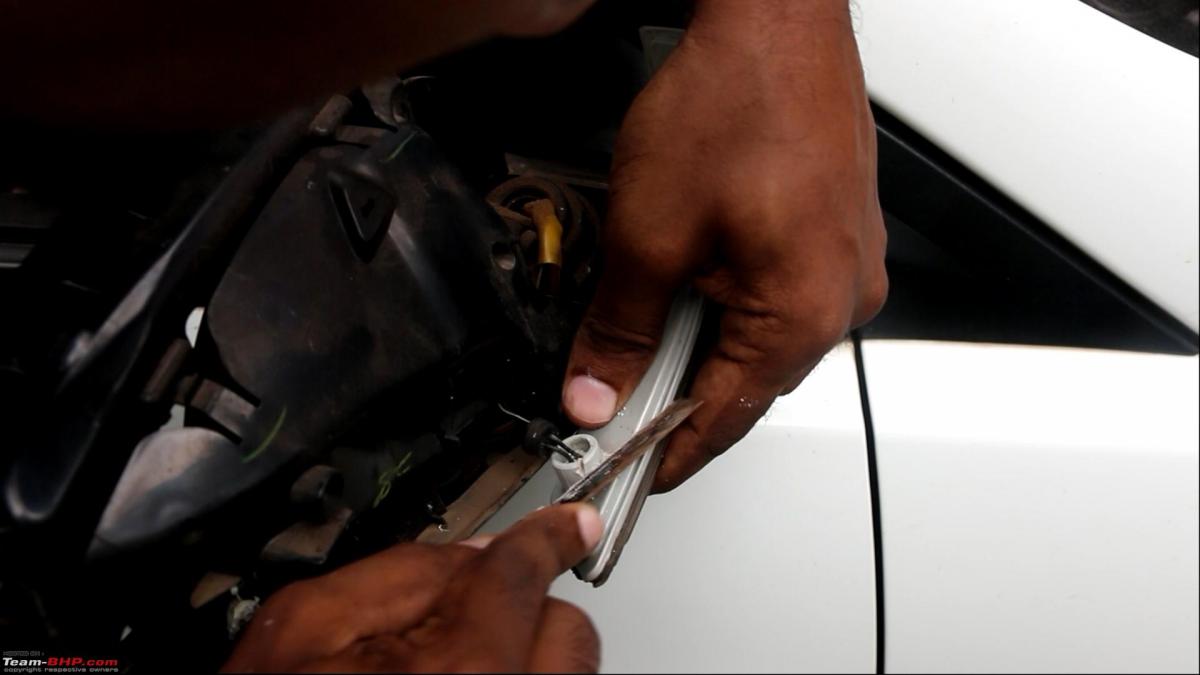
With the help of a thin flat head electric screw driver or any thin screw driver, try to remove the indicator wire from the socket. There is small clip at the very bottom, so you really need to go deep down to unhook it. It will come out with some wiggling with the screw driver. But be gently in this step because if you pull the indicator wire hard and the socket damages , it will be very difficult to get a replacement.

I admit it was a bit difficult for me to unhook it with my electric tester, so I used an hacksaw blade to cut a small plastic portion of the indicator to give me more access deep down for my electric tester and it did the trick.
Connect the new Indicator:
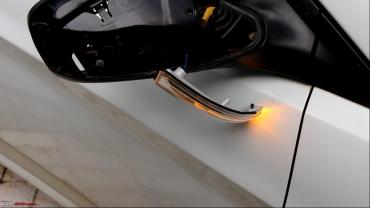
Connect the wire into the socket in Indicator and test if it's working. If it's working fine, then just do the remaining steps in the reverse order to complete.

When you fit the mirror black in place, just remember to grease the metal portions a little bit as shown below.
Also make sure the mirror is functioning fine electronically as well. That's all and I hope you enjoyed this DIY.
Check out BHPian comments for more insights and information.
Find Car News
Just News


.jpeg)


About Us


Buy & Sell
USED CARS