News
Honda 1.3L petrol engine swap in Suzuki Alto: Update on AC installation
The cabin unit was already clean so it didn’t need to be serviced. Most of the plumbing is done in flexible pipe.
BHPian Ovais recently shared this with other enthusiasts.
Time for the latest updates on the project.
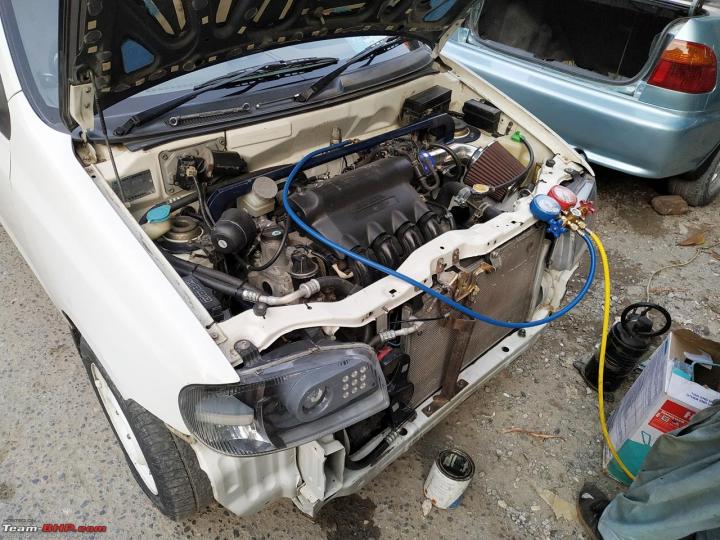
The car was now ready for its first test drive. I took the car for a short test drive, it didn’t have the hood and the bumper on though. The car is very stable, even though there is a slight change in the dynamics with the engine being slightly heavier than the previous one and the allied parts also make it a little heavier on the front, but it doesn’t feel that way, feels very even. There are no odd vibrations at all, the car drove very smoothly. I have to say, the power to weight ratio makes for a very quick car! There’s worlds of difference between the performance now and back when it had the F10. The best part is, you don’t have to rev the bolts off the engine to gain speed, it accelerates effortlessly. There were some little tweaks that needed to be done though, and a couple of errors too but nothing major, only minor ones.


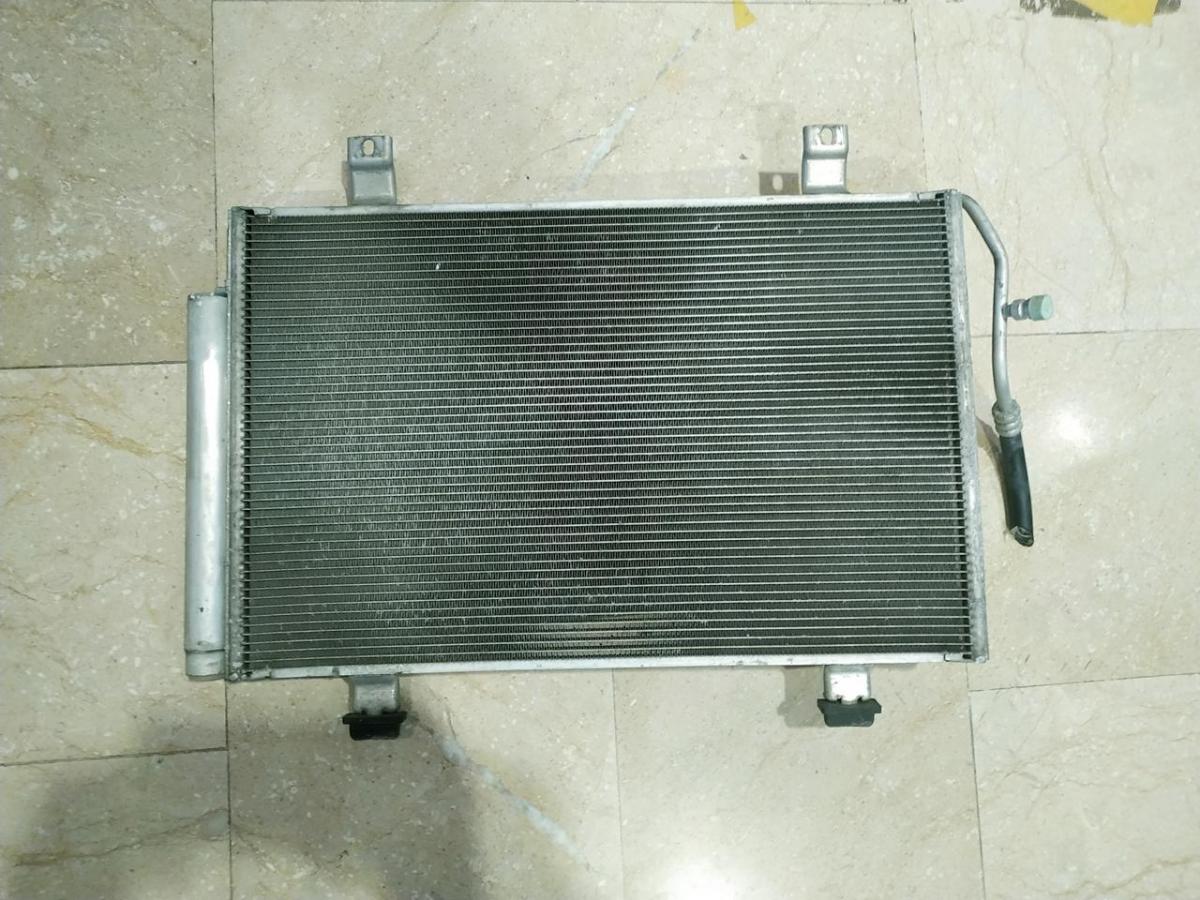
Next up is the air-conditioning. Originally, the condenser installed was about 60% of the width of the current radiator. While it worked great for the original ac setup, it wouldn’t be enough for the volume of gas moved with the new compressor and the heat dissipation requirements now. So, I looked around for a condenser that would fit and finalized the ac condenser from a Swift. It has a built-in filter so I didn’t have to worry about making space for fitting the filter. I just needed to remove the brackets on it for it to fit in the space that I have.
Since the original condenser wasn’t as wide, there was enough space for the bonnet lock in the center and its support to be installed. Now that the condenser and the radiator are wider, the hood lock could not be installed in its original configuration. I had to modify the lock itself and make a new support for it so that it clears both the radiator and the condenser.
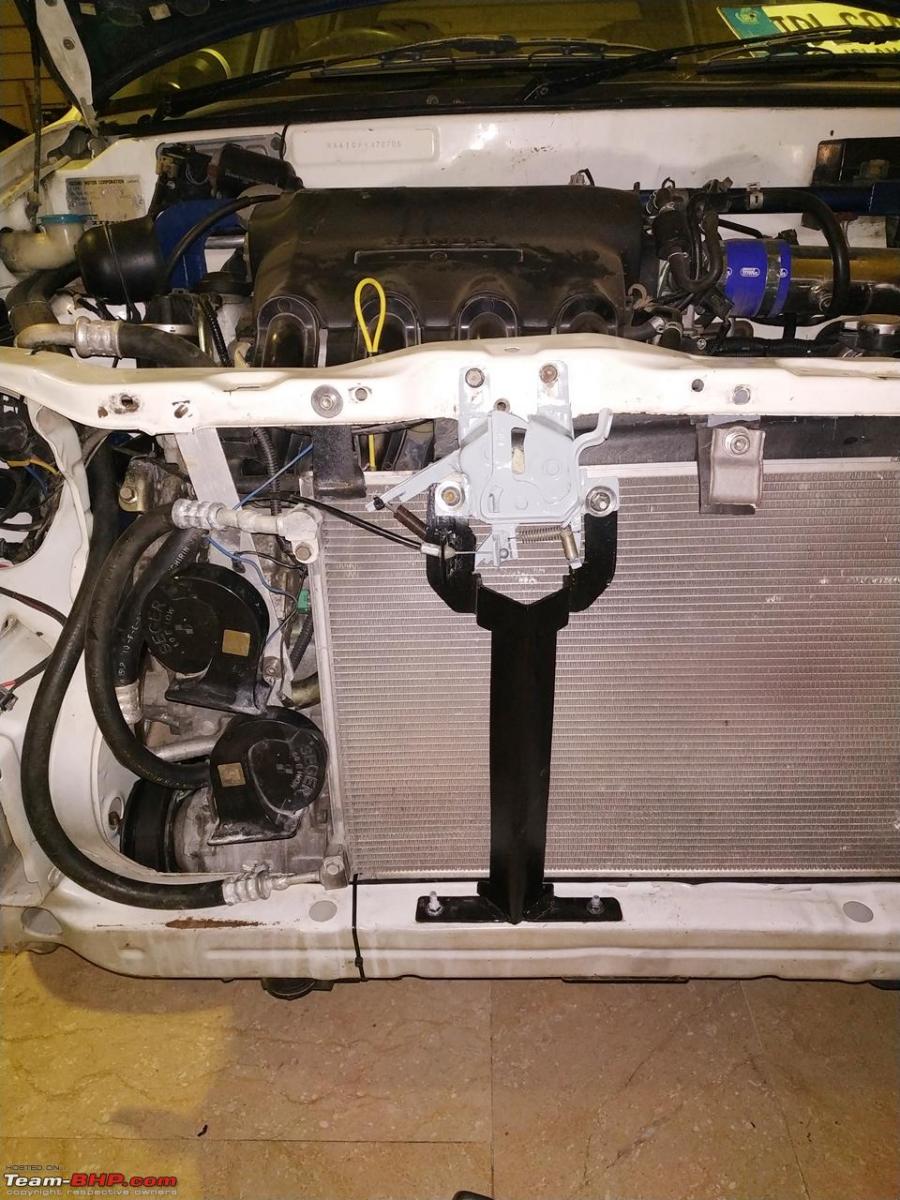
Originally, the spring mechanism is on the back of the lock. I had to cut off the mechanism and build the mechanism under the lock and towards the front in order to clear both the radiator and the condenser.
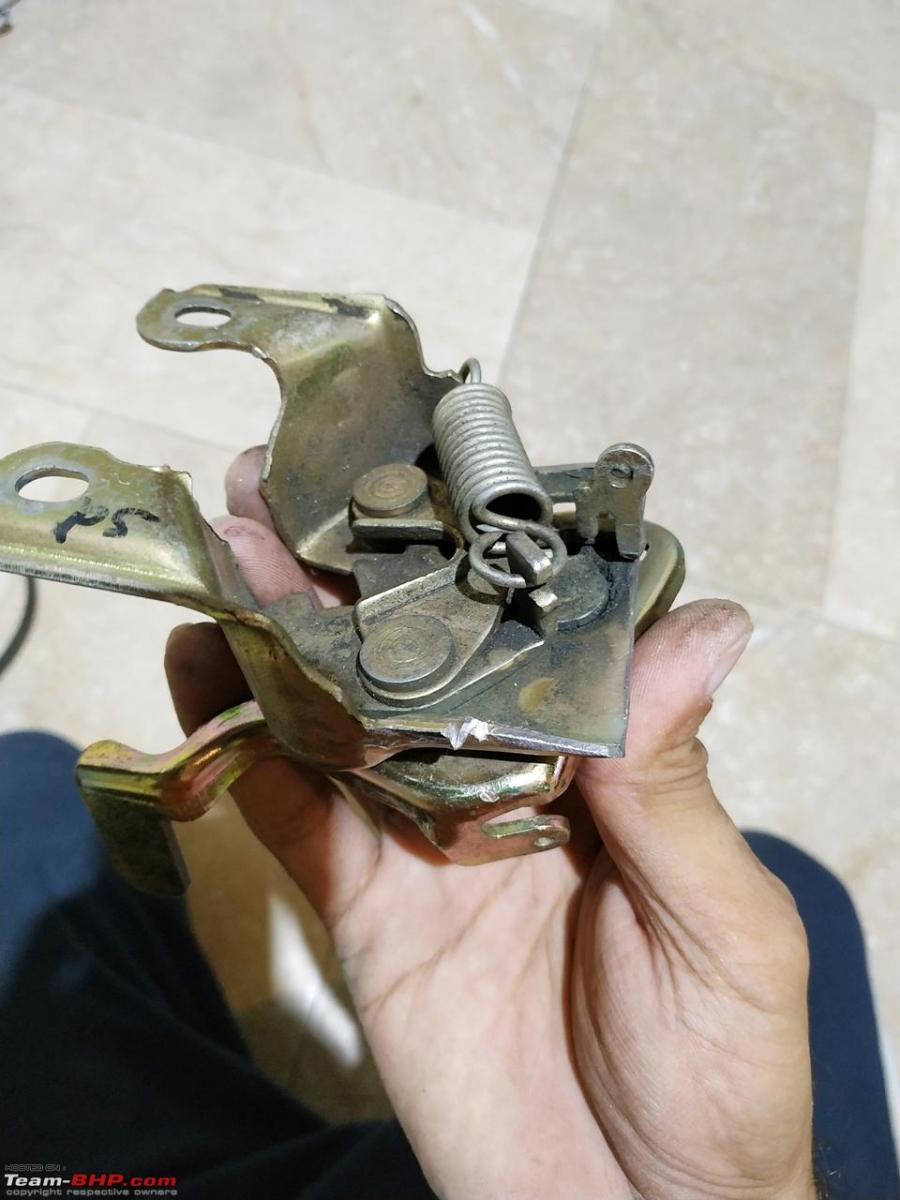

This is what the lock looks like after the modification, along with the custom support that I’ve made. The springs are all installed on the front as well. I had to do multiple iterations of this setup for it to work correctly. Now I have enough space behind this to install the condenser.

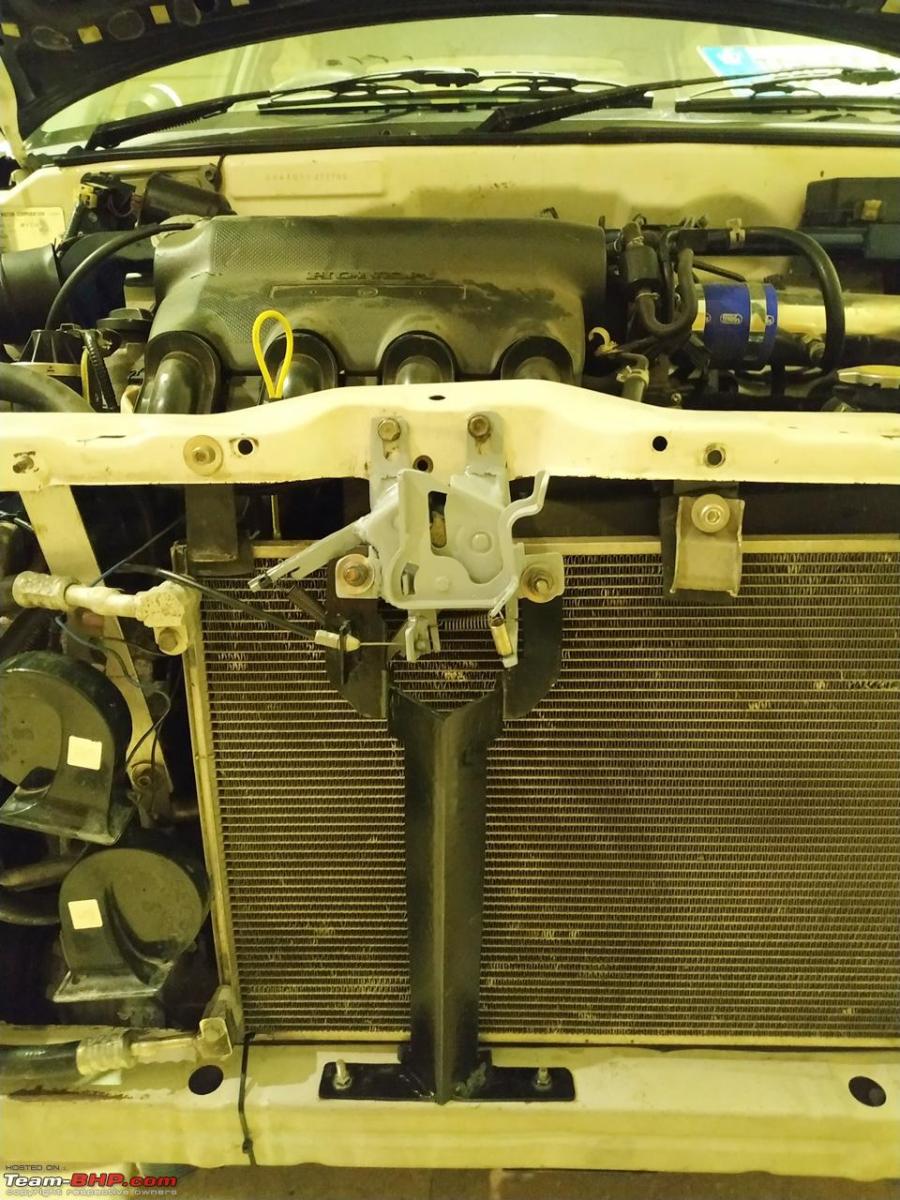
The condenser fits perfectly with the new hood lock mechanism and its support. There’s about 30mm of space between the closest part of the lock and the condenser. Enough for it not to foul with the condenser.


The car was then taken to the A/C shop to plumb the air-conditioning system to the original evaporator inside. The cabin unit was already clean so it didn’t need to be serviced. Most of the plumbing is done in flexible pipe. About 30% of the plumbing are aluminum hard pipes, the rest are flexible pipes. The reason for this is, there is very little space in the engine bay, in case something needs to be removed, it would be a lot easier to move the flexible pipes around without damaging them compared to hard pipes.
The system is charged and the cooling is excellent. The original ac of the PKDM HA12 Alto was already very good in the smaller vehicle category, now, the original internal unit combined with the Honda Compressor and the bigger Condenser made for some very effective cooling.


The hood lock was then painted. I wanted to have it zinc plated but with the busy schedule, I had to settle with paint. The support is also painted.

Check out BHPian comments for more insights and information.
Find Car News
Just News


About Us