News
My 3-year-old Hyundai Creta gets LED headlamp upgrade: 1st Impressions


I am happy with the initial performance especially knowing I am not crossing the specs of the OEM-installed halogens.
BHPian Artyom recently shared this with other enthusiasts.
It’s been 3 years since I bought the vehicle and I have thoroughly enjoyed every minute spent with Artyom. Have done long trips nonstop 12-16 hours straight and the only complaint I had with the vehicle was with the headlights. It was not bothersome initially as most of my driving was during the daytime but gradually, I started during trips during evenings and nights. As that ratio of the driving day vs night started inclining towards the latter the issue went from bad to worse. A few of the issues which forced me to venture into the 1st DIY were:
- The spread of the halogens (Low beam) was not extensive, and it wasn’t illuminating the road to my satisfaction. I would rate it acceptable at the most.
- The high beam on highways from the incoming vehicles made things worse and almost made me blind which was not comforting especially when travelling with family.
My first attempt to get a suitable replacement which was within the specs of the existing halogens miserably failed as most of them required a ballast or the lumen was too high or the power, they were drawing was too much. Most of them required cutting of the dust cap to accommodate the assembly. These options were more of a hazard, to be honest. Having said that all of these options could offer you amazing lighting power enough to blind the road but again we are not in a war zone. 1st attempt was a disappointment.
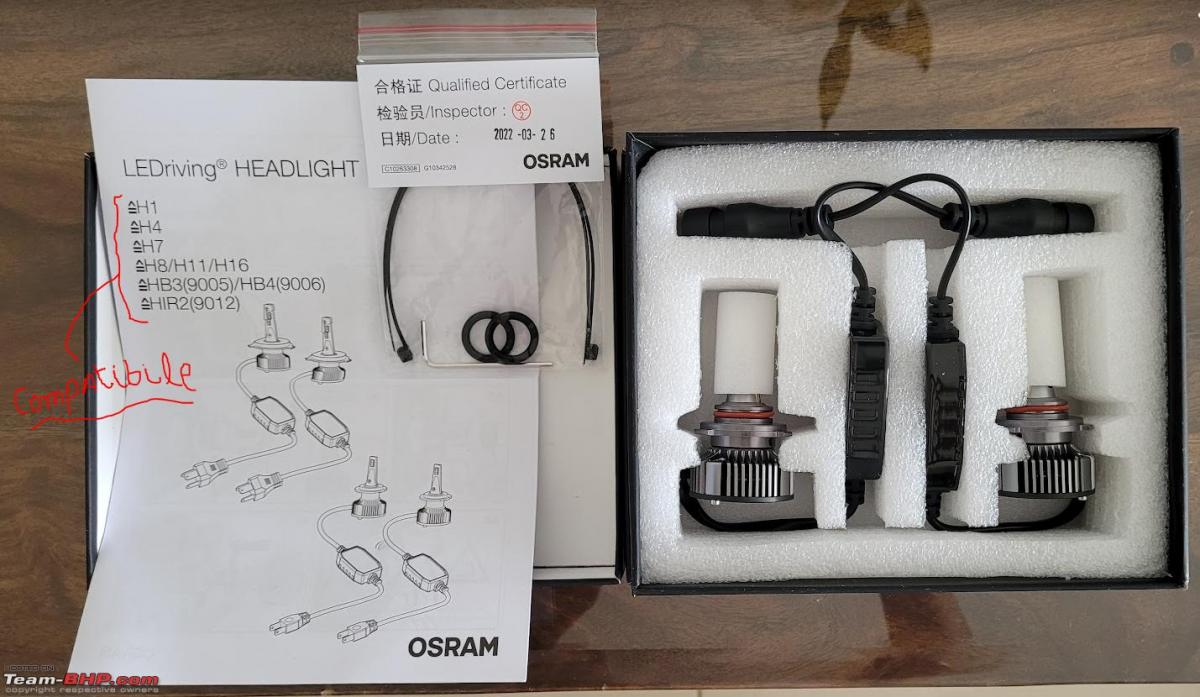
I usually refrain from making any modifications to the vehicle and prefer it to be as stock as possible and all the options I had were deviating from the specs which were not acceptable to me. After 8 months I stumbled upon a video on YouTube where this guy had replaced the existing halogens with a LED setup, and it was a plug-and-play setup. Upon checking I found the replacement LED was of the same spec as the existing halogens which was the biggest plus. I looked upon further reviews and videos and most of the Creta owners were happy with the change. The highlight of the product is that it’s a universal fit for a lot of bulb types so anyone within that list can use them. The replacement was easy to moderate in terms of difficulty and so I took the plunge and replaced it today.
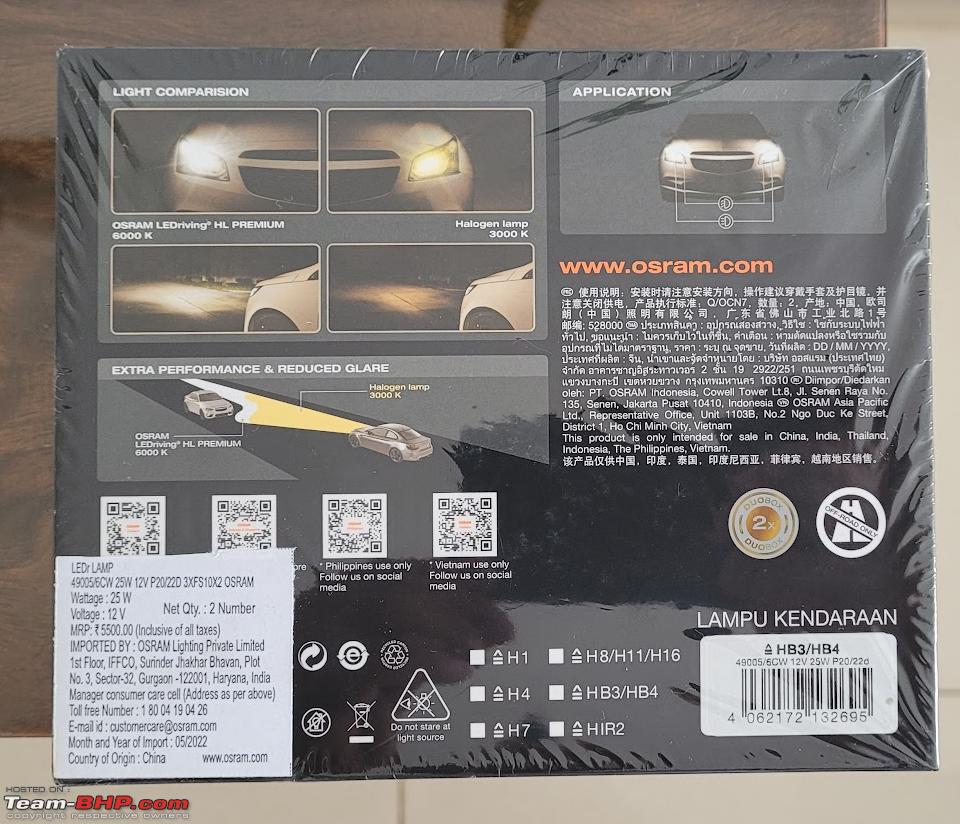
- Product - Osram HB3/HB4 49005/6CW Headlamp integrated driver (Set of 2, 25W 12V)
- Bought - Amazon
- Paid - Rs 3,560
- Warranty - 1 Year
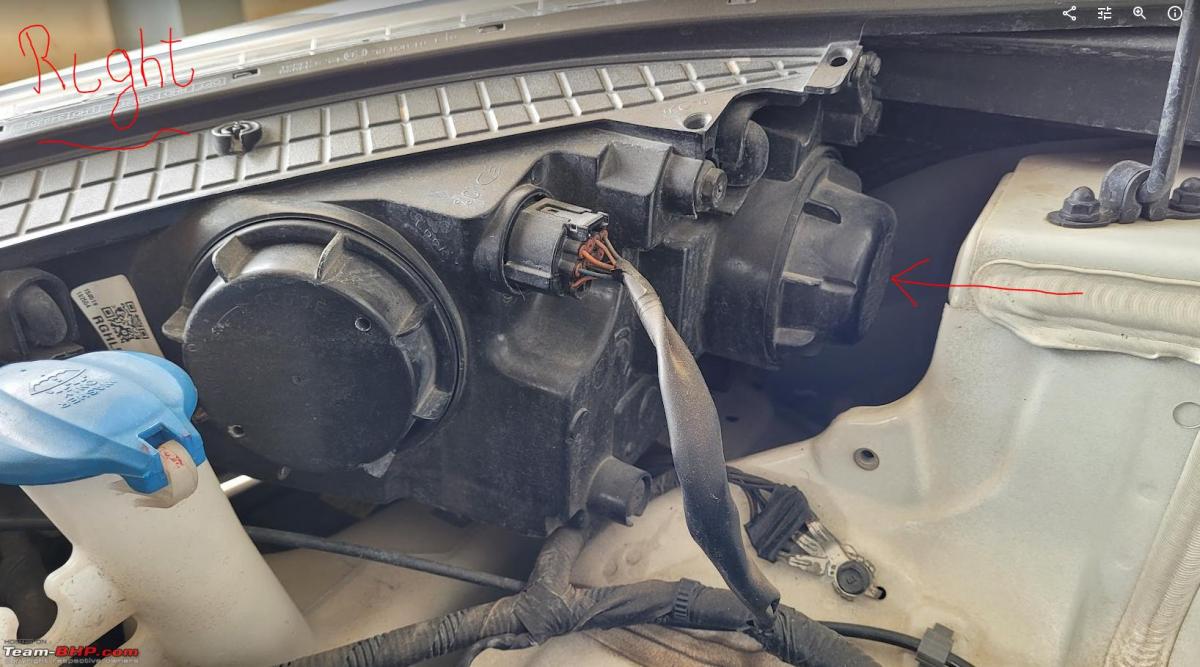
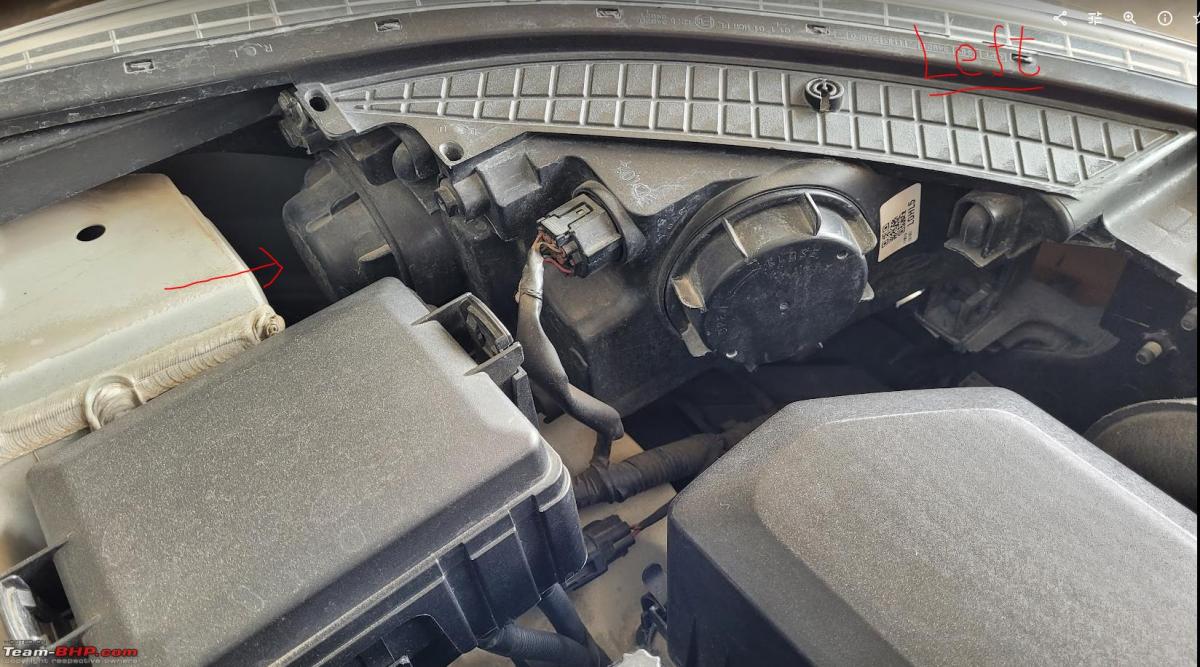
Below are the steps for a replacement in Creta 2019 and 2020 with Projector setups:
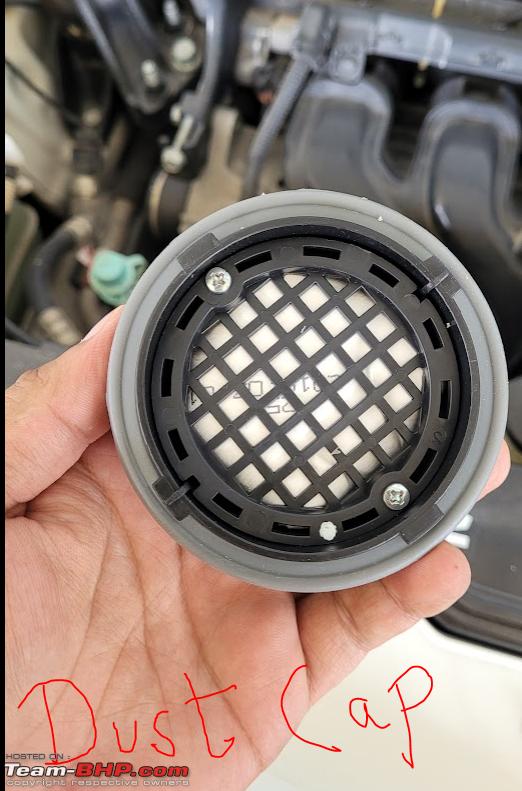
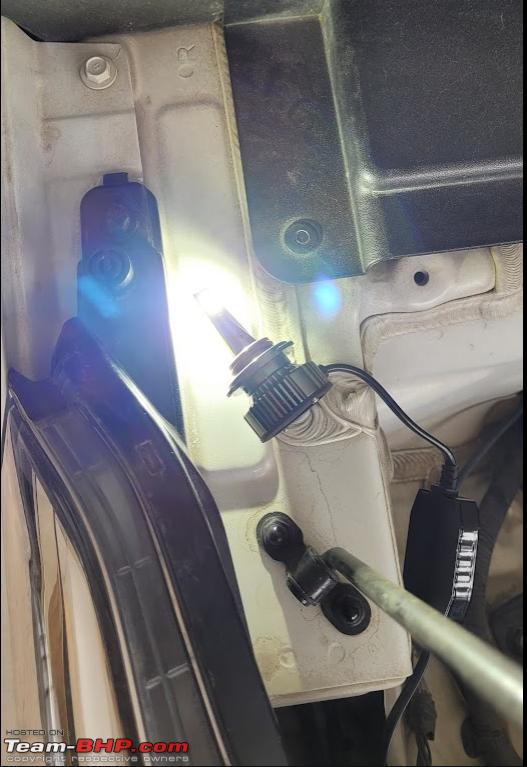
- Open the dust cap.
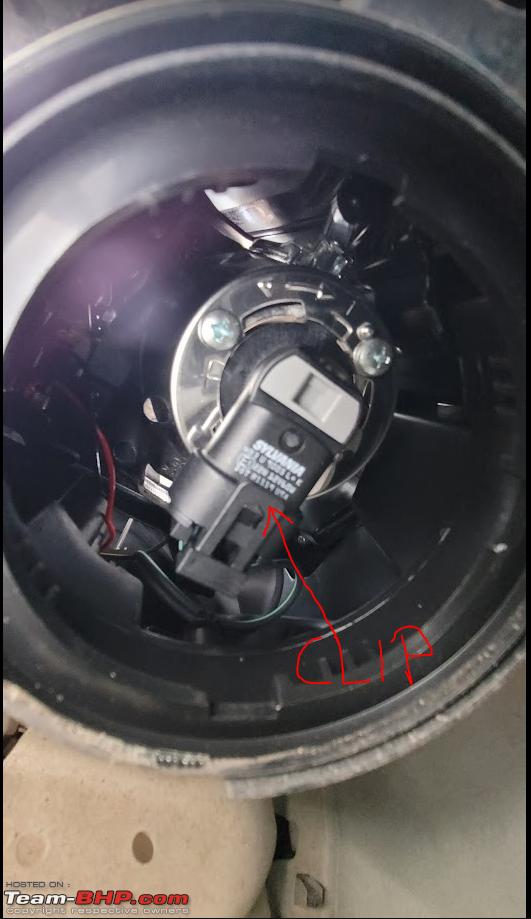
- A halogen assembly is an L-shaped unit where one of the sides connects to the power cable directly. Disconnect the power cable from the halogen by pushing down the clip which holds both together.
- Rotate the bulb anti-clockwise to plug it out of the casing.
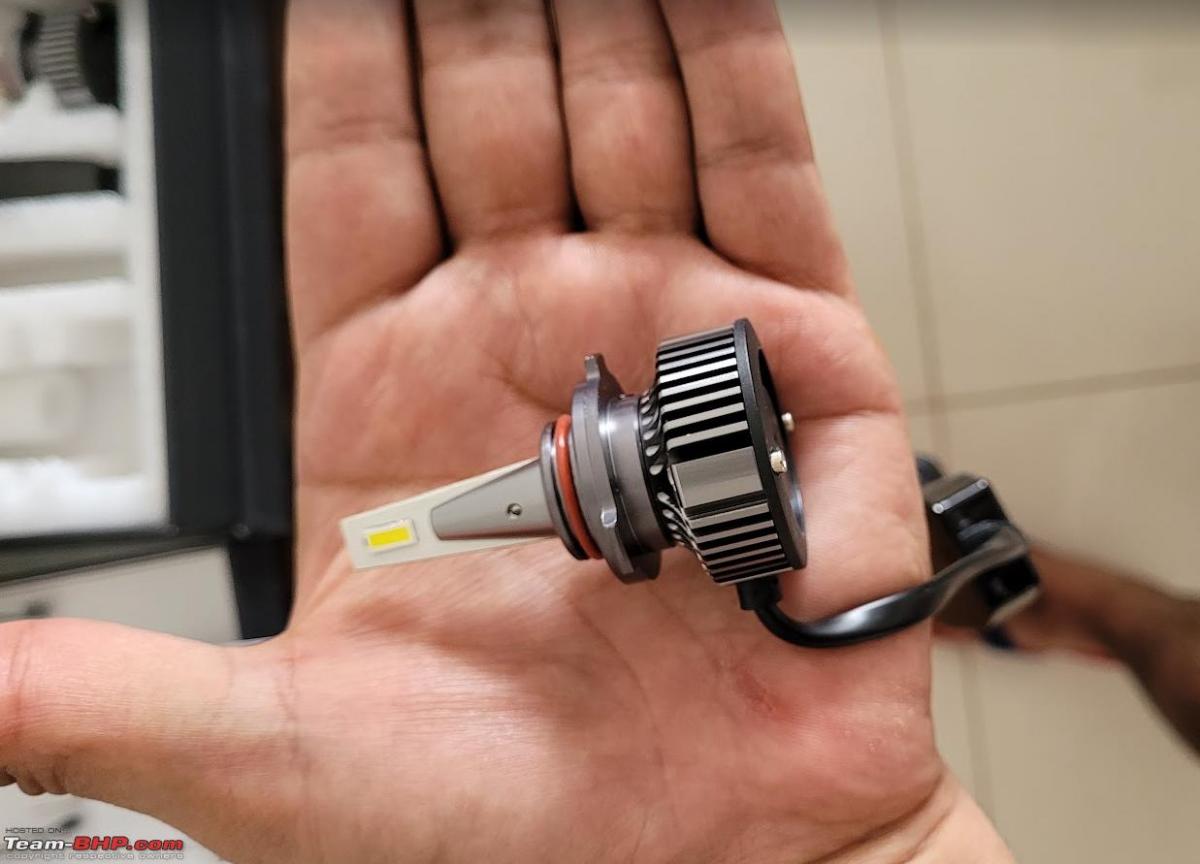
- The replacement LED is a LED assembly followed by a cable and the end has the plug which connects to the power cable. It’s a universal fit meaning the plug can fit into the power cable in both directions however only one-way works. So first connect and check if the LED is powering up and then continue otherwise inverse the plug and then try and it should work. (Make sure you place the LED while testing on a metal surface as it gets hot easily which can melt any plastic casing if placed on it)
- Once you confirm that the LED Is lighting up AND the fan is operational behind the LED now it's time to place the LED into the casing. Simply insert the LED inside and rotate clockwise so that the LED groves into the slots.
- Put the dust cover back and test the throw of light.
Some points to keep in mind in this overall process are:
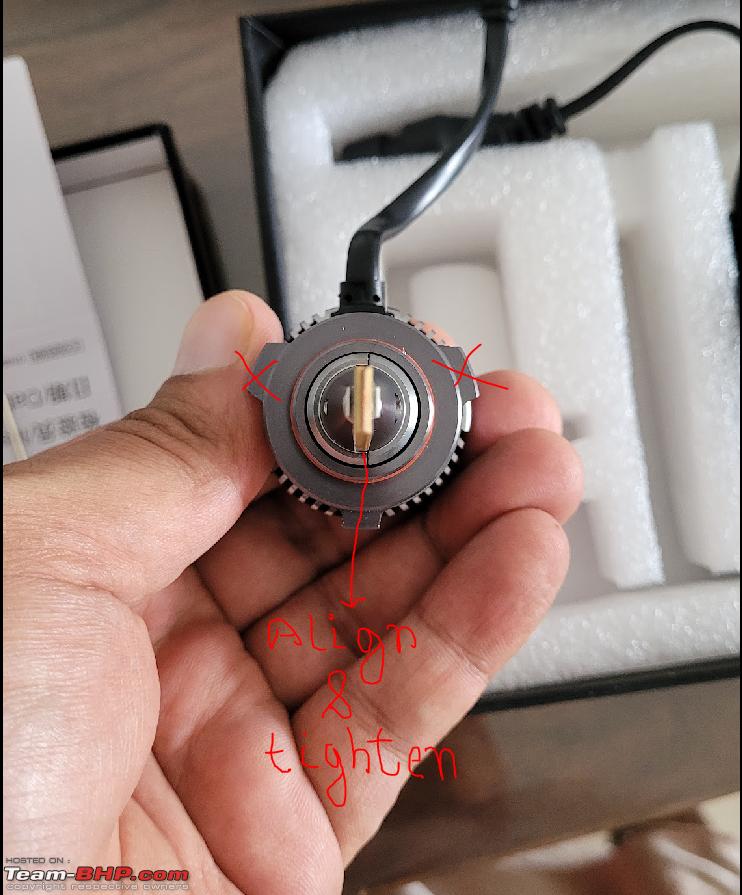
- On the LED there are 3 metal clips which hold the led against the casing in your vehicle projector assembly. The LED should in perpendicular to the smallest clip of all. The Allen key provided along should be used to tighten the led strip so that it doesn’t rotate.
- People with fat fingers will find it cumbersome to work on this project as the space is limited.
- You can use any of the LEDs first for installation as it’s a universal product.
Initial Impressions:
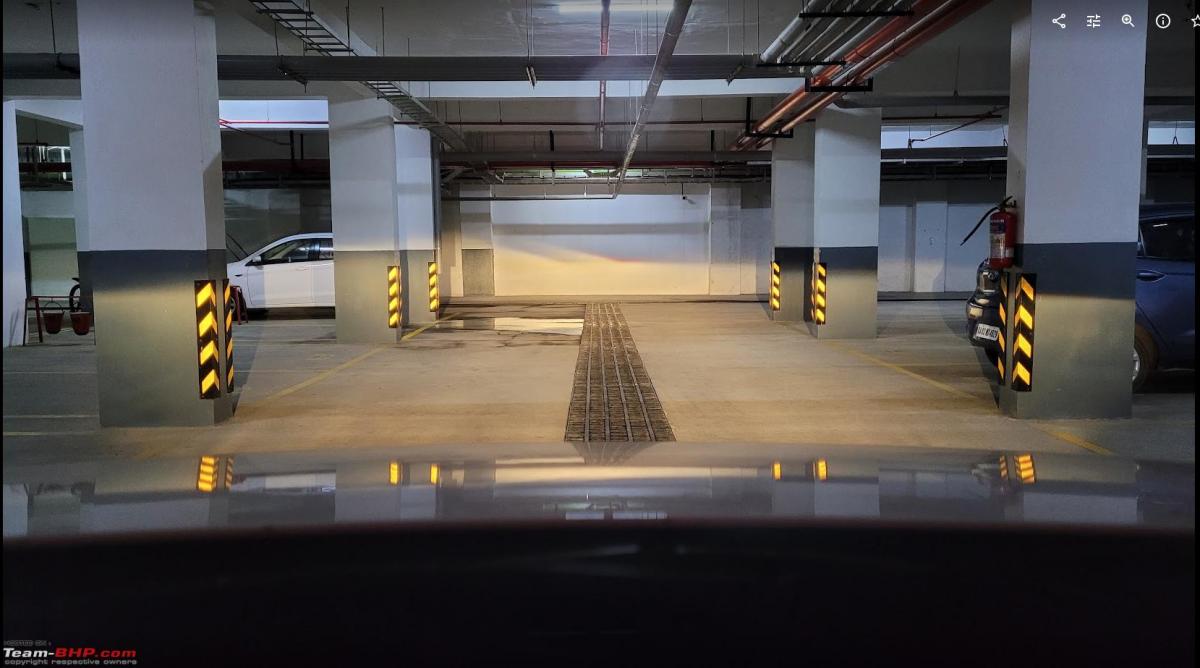
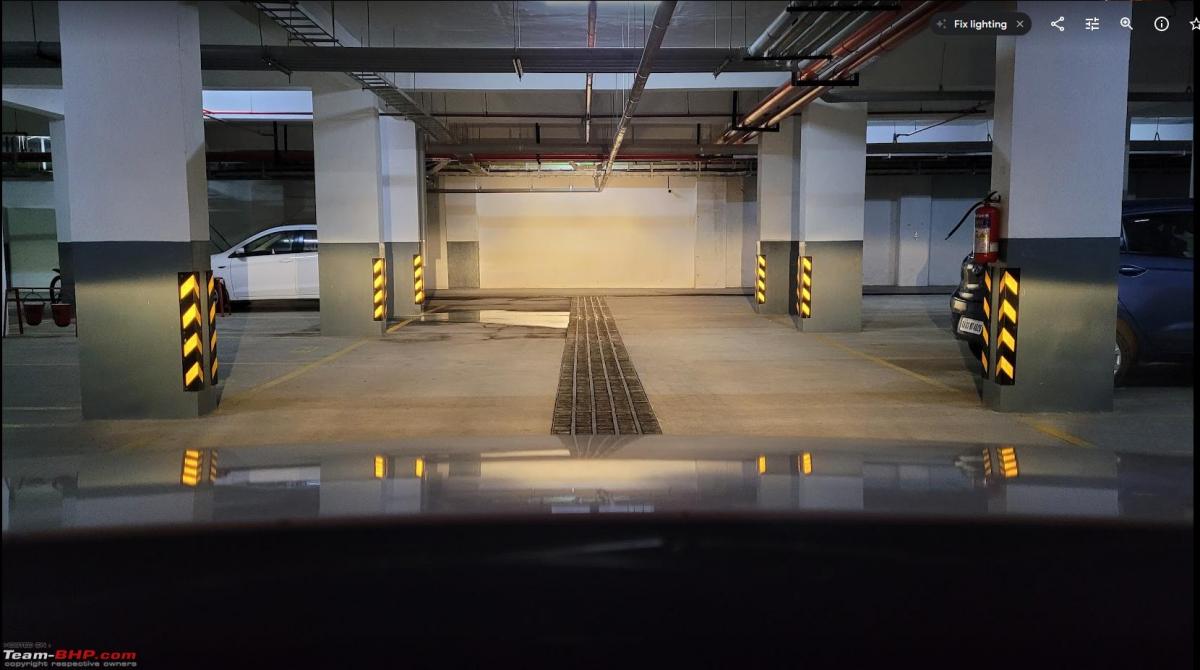
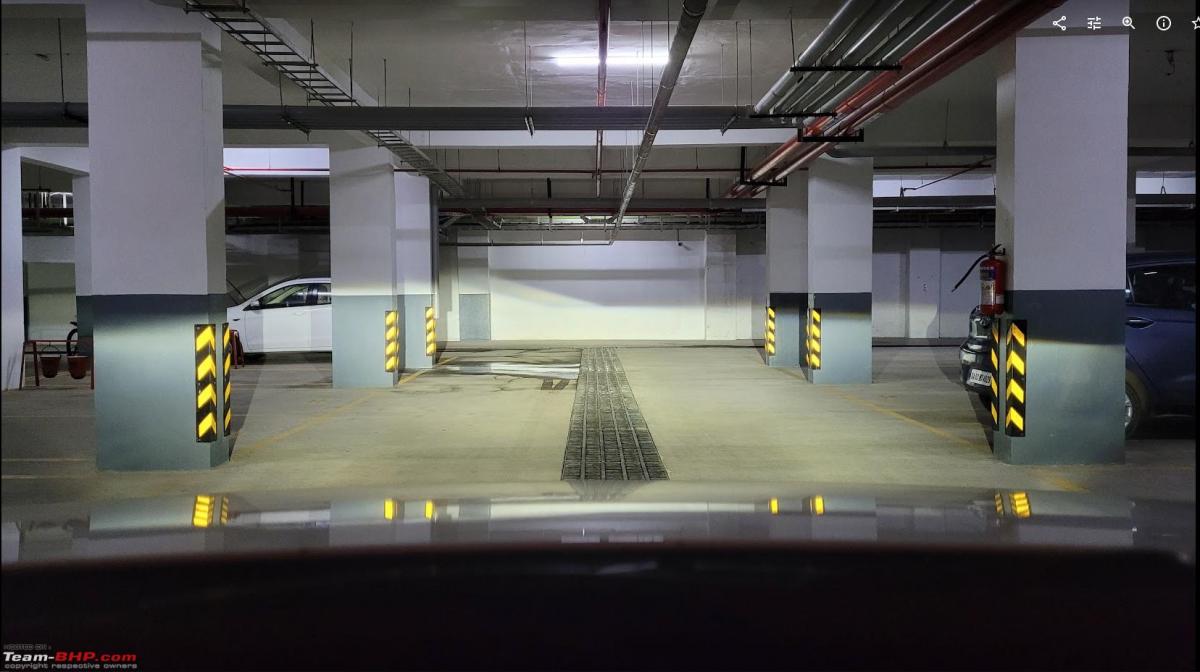
- I had clicked multiple photos before and after replacement to gauge the difference and I feel there is at least a 30% increase in the overall reach and throw of the light.
- The light pattern before and after seems almost similar except the light pattern goes upwards on the left side.
- I will drive the vehicle for a month and then will decide if it requires a light adjustment.
- From the get-go I didn’t find any major difference in the light alignment which is a good thing.
- High beam has also become more powerful than before.
- Although I haven’t checked by standing in front of the vehicle if the low beam is causing any inconvenience to the vehicles on the opposite side but based on the beam pattern which is formed on the vehicle which is ahead, I am confident it won’t be an issue.
- I am happy with the initial performance especially knowing I am not crossing the specs of the OEM installed halogens which in turn could help me avoid any unnecessary problems when claiming a warranty.
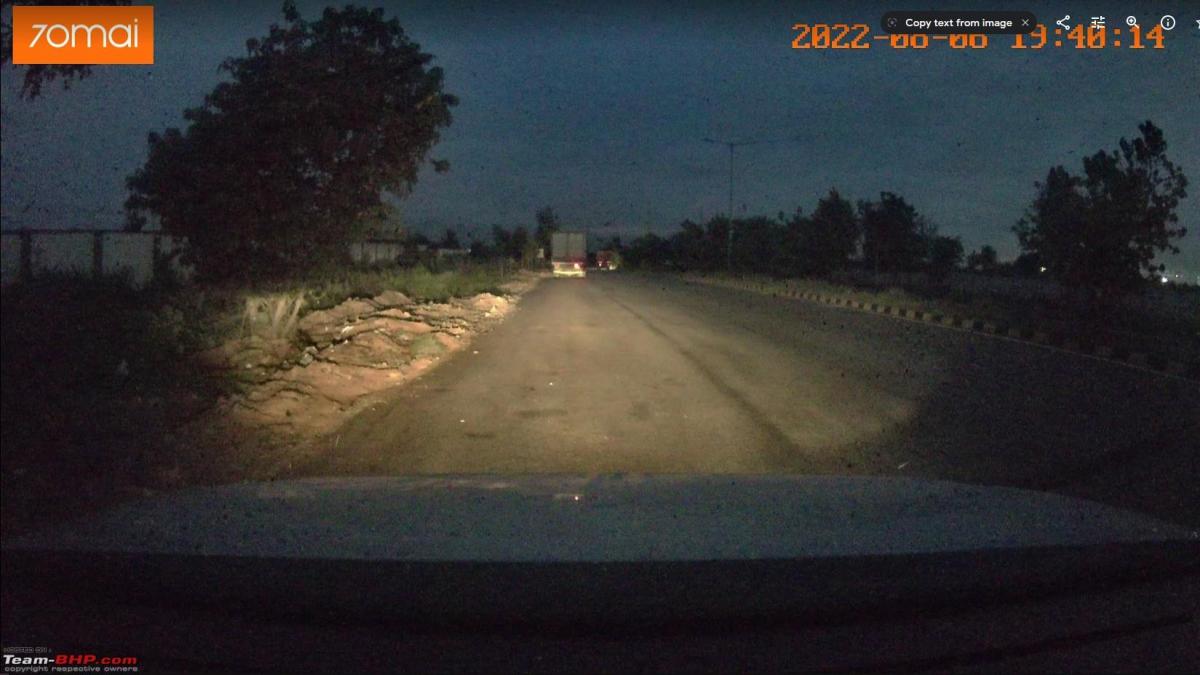
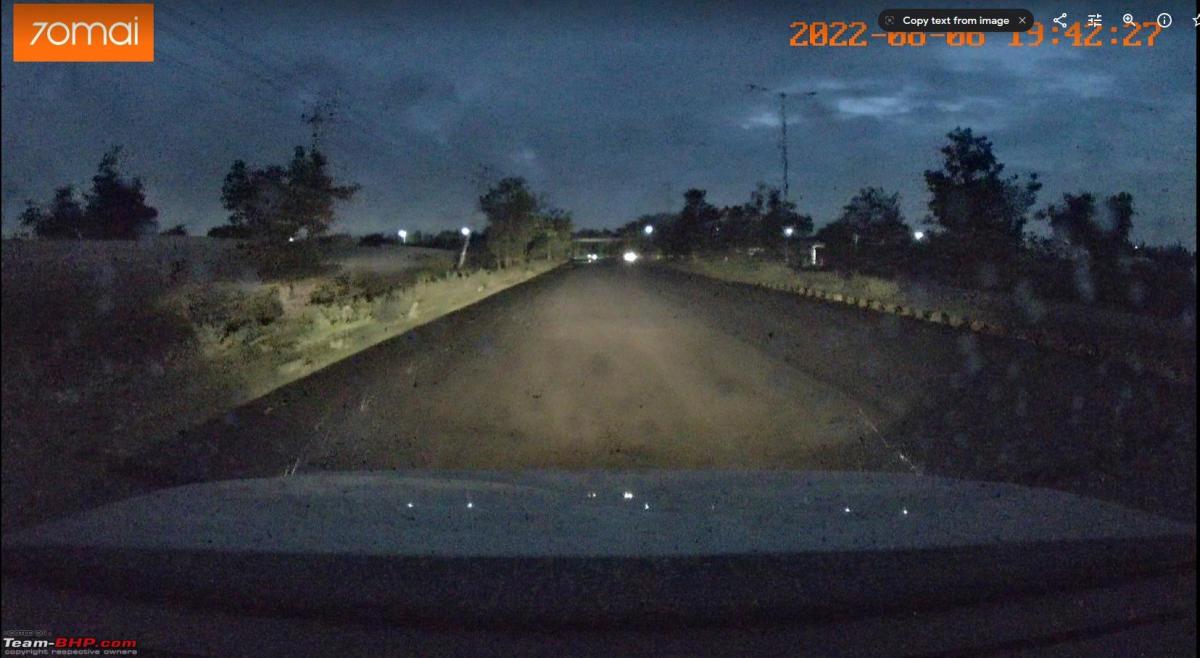
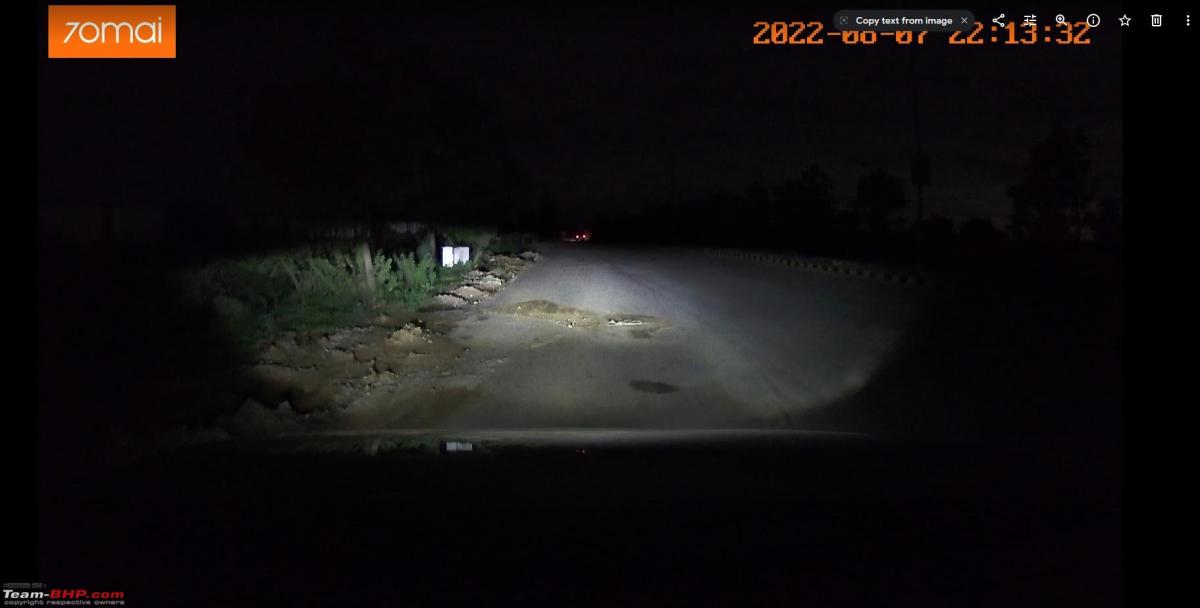
I will share my experience after using it for a couple of months and hopefully, the investment should be worth it. I have tried to capture the before and after photos but they might not be very high quality as they were captured mostly with the dash cam or with the phone.
I'll try to post a video while I am driving during the night on my camera to get close to the real idea for the members.


Check out BHPian comments for more insights and information.
Find Car News
Just News


About Us


Buy & Sell
USED CARS


