News
Replacing the front shock absorbers of my Maruti Alto by myself


Initially, I had booked an appointment with Go Mechanic but later decided to do it myself.
BHPian BikerKeeda recently shared this with other enthusiasts.
"Noorie" (My 2013 Alto K10 Type 1) was due for front shockers change and I was delaying it for quite a long time, for which I did damage the body.
Decided to go with "Go Mechanic". Booked appointment through app, quote was 4040 for 2 struts.
Went to the service center myself as I like to get all the work done in person.
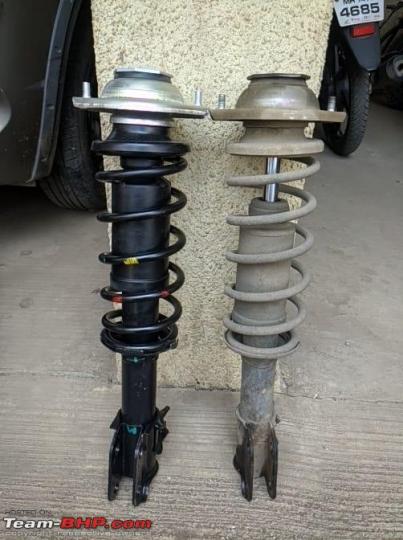
To my surprise, they said 2550 each plus installation charges to which I refused and decided to replace it myself. Picked up Monroe struts on my way back home.
Price: 2350/- each
Tools used:
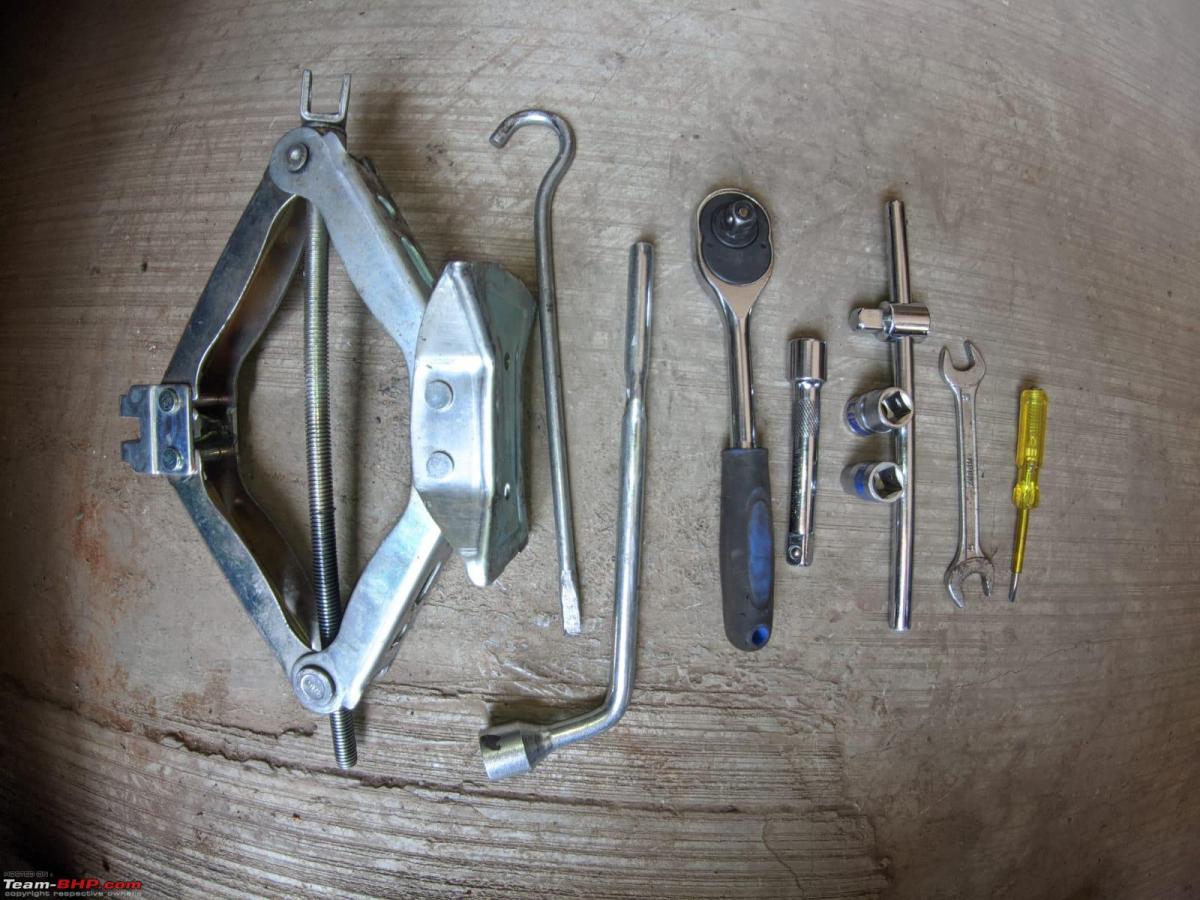
Spanner size: 17 & 12
Note: Process is the same for both side struts.
Step 1: Access top nuts
Open hood. Locate the top nuts of the strut and spray some antirust over them. It will help loosen them faster. I was changing front shockers after 79.4K on ODO, antirust spray helped me open the nuts easily.


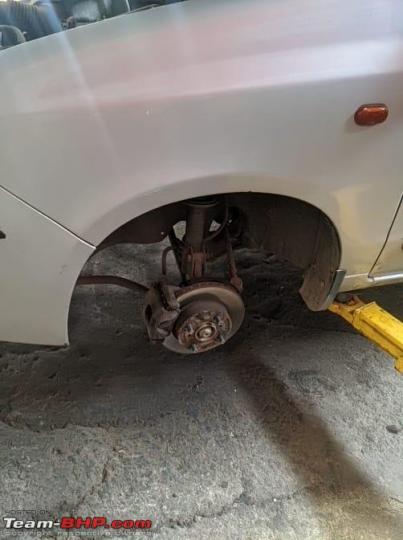
Step 2: Access bottom nuts
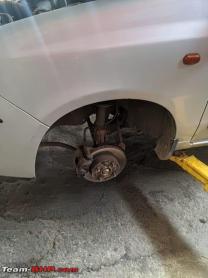
Get the car on a jack and open the wheel to get access to the lower part of the strut.

For the safer side, keep the opened wheel under the car body, just in case the jack fails, the body will rest on the wheel rim.
Spray some anti-rust on the bottom nuts to loosen them.

Step 3: Replace old strut with new.
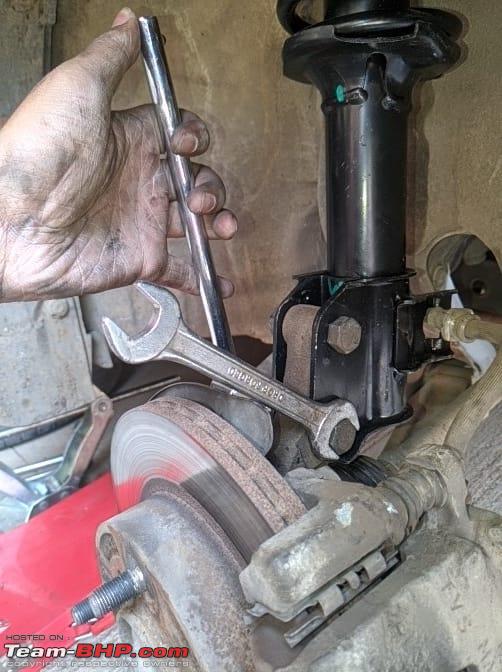
Remove top nuts and bottom nuts and bolts.
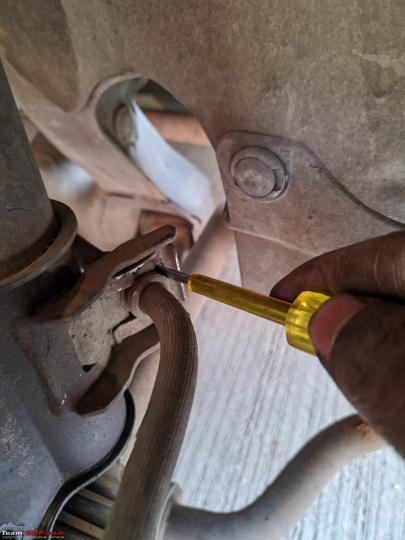
Remove the clip which holds the brake line with the help of a screwdriver.

Separate the line from the strut.

Once done just remove the strut.
Once removed, compare the new strut and old one for making sure the dimensions are correct.

Insert the strut in position and put back all the nuts and bolts in place. Tighten them well.
Put back the line in its position and put on the clip too.
If you don't have a helping hand to hold the spanner while loosening or tightening the nuts and bolds, try putting the spanner against something which will stop it from rotating.
Step 4: Make sure all the nuts and bolts are properly tightened. I personally touch each of them like a checklist.
Step 5: Put back the wheel
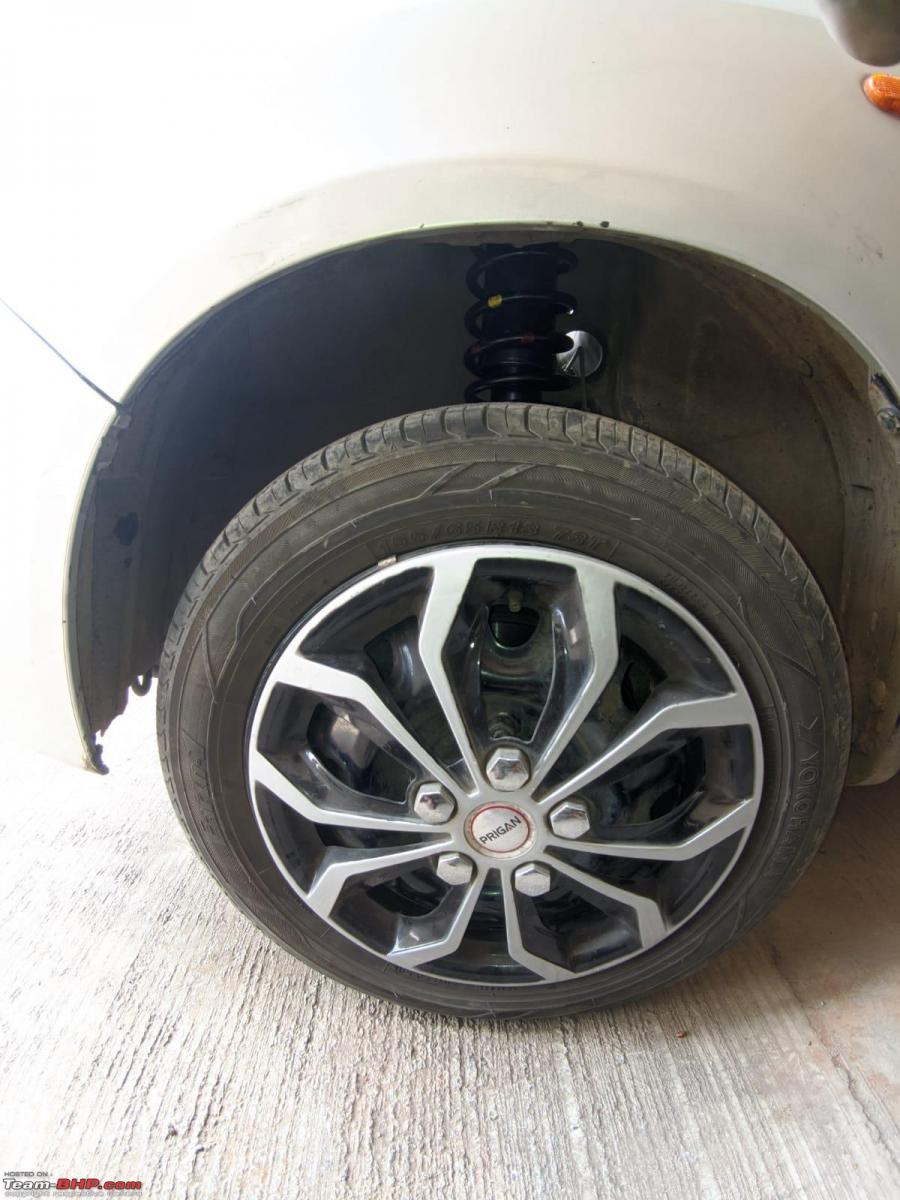
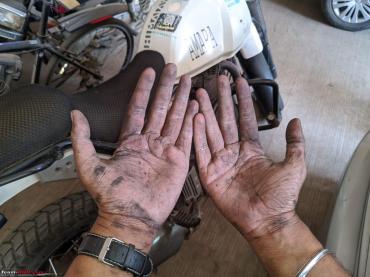
Step 6: Feel good

Time taken: 1.5 Hours
Satisfaction: Unlimited
Here's what BHPian Mr.Boss had to say about the matter:
Kudos for your effort in DIY and documenting the same.
Few more points to add:
- Check the service manual for torque instructions and single-use fasteners (some are self-locking nuts, which have to be replaced with new ones every time we open them)
- Recommended to use Jack stands
- Wheel alignment to be checked
Check out BHPian comments for more insights and information.
Find Car News
Just News


About Us