News
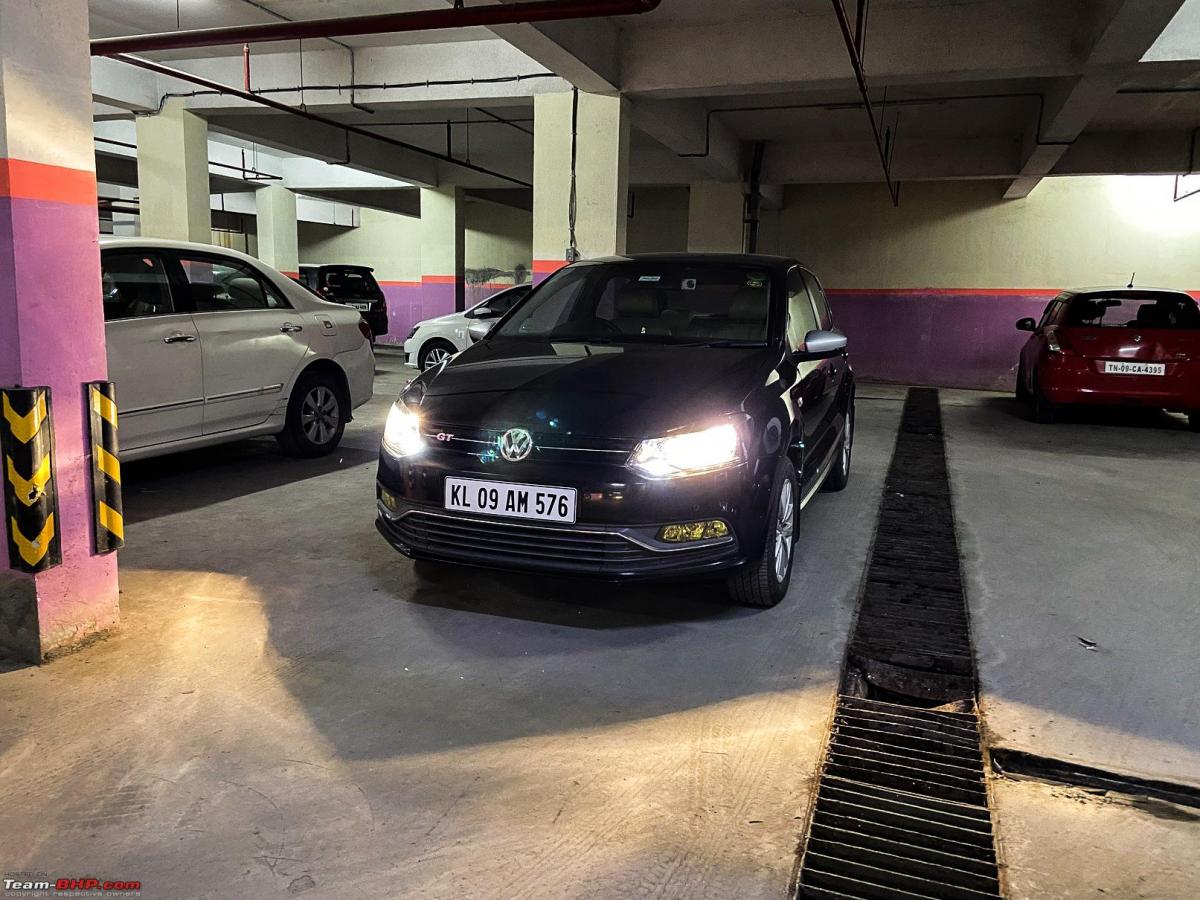
Updates to my Volkswagen Polo GT TDI

This also led me to retire the xenon headlight assemblies for good having served the last 6+ years faithfully and reverted to a set of new single barrel headlights with 90/100W bulbs and a relay harness.
BHPian Gannu_1 recently shared this with other enthusiasts.
Sorting out the High Beam issue
Finally, after a lot of sweat, the high beam issue was resolved. Just a heads-up though – the next few posts will be helluva long! I’ve described the whole ordeal with several snaps. But this one issue had a lot of learnings involved.
Long story short - one fine day, the high beams stopped working and there was no indication of the high beam symbol on the instrument cluster. Removed the xenon headlamp assemblies, plugged the H4 bulbs into the sockets and realised that the co-driver side high beam wasn’t turning on. Both the low beams were working fine and the driver-side high beam was working. After a LOT of troubleshooting, the issue was narrowed down to a disconnect somewhere in the factory wiring harness and with the help of my FNG technician, the issue was resolved. This also led me to retire the xenon headlight assemblies for good having served the last 6+ years faithfully and reverted to a set of new single barrel headlights with 90/100W bulbs and a relay harness. The whole process is described below in detail.
Some of you would know, I had a Morimoto Mini D2S based HID setup retrofitted to the stock single barrel headlights since October ‘14. The entire DIY process has been documented here. The cut-off from the projectors wasn’t the best out there but there was a massive improvement over the stock H4 55/60W bulbs. This setup worked well to this day without any troubles.
Before the last lockdown, I was heading to work as usual and when I pulled the LHS stalk for flashing/passing, I noticed the high beam indication symbol on the cluster missing! This had never happened before. I wondered if the SMD LED for the warning symbol soldered to the instrument cluster’s PCB had conked out! While returning home in the evening, I realised the high beams were not working - not while flashing or if they were engaged. Bigger problems! I decided to sort this out over the weekend. Soon enough, the driver side headlight low beam gave up! This was becoming troublesome and embarrassing now. I wouldn’t drive around with just one headlight which looks very odd like a pirate’s eye patch. It wasn’t too dark in the evenings so I would turn off the headlights and drive back home with the fog lamps. With no high beams and with the driver-side headlight out of order completely, my guess was on the Morimoto relay harness now.
There were 3 problems now:
- High beams don’t work.
- There is no indication of the high beam on the instrument cluster.
- The driver-side low beam also doesn’t work.
At the apartment basement…
That weekend, armed with the required tools, I headed to the basement parking lot. Unplugged both the headlight assemblies and swapped them. i.e. the driver side headlight assy. to the co-driver side ballast + socket and vice-versa. Sure enough, the now driver side headlight assy. wouldn’t turn on while the co-driver side headlight works. So defective bulbs were ruled out; probably, ballast was the culprit. The only missing link is the D2S bulb socket or a loose contact somewhere in the circuit. I fiddled with the sockets and it would intermittently work on and off. So the socket or the short harness from the ballast to the D2S socket on the driver-side had a problem.
I lugged both the headlight assemblies along with the ballasts and the Morimoto relay harness to my apartment. The whole thing was very exhausting back at the basement with no light or proper ventilation and I was in no mood to fiddle around any further. Lo and behold, TN went into a complete lockdown. Which meant my car was going to be parked in the basement with no headlights for days together and this would draw some unwanted attention from the security staff going on rounds and owners of other cars parked in the vicinity. Never mind.
Back to my apartment…
The sockets that shipped with the ballasts in the Morimoto kit back in 2014, came with a right-angled D2S igniter/connector perma-wired to the ballast:

When this is plugged to the bulb in the headlight assy, the cable was taking a sharp bend at the socket and part of the insulation from the cables had worn out exactly at the bend.

(Image clicked after the cable was cut from the ballast).

Morimoto never had those straight D2S connectors around that time; they do have them now however. Probably, there was some feedback from existing customers on these right-angled connectors. Because in some headlight assemblies, there is no provision to bend the cable and it has to exit straight from the end.
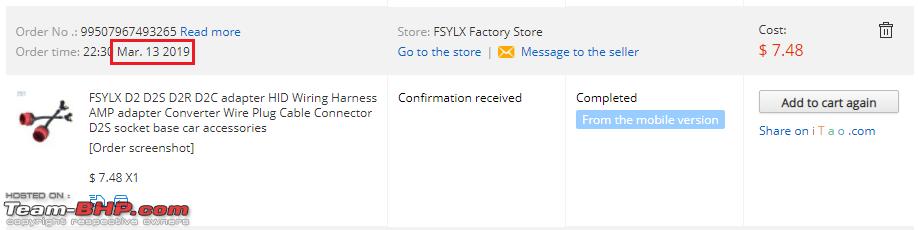
To resolve the sharp bends on the D2S connectors, I had sourced a pair of D2S sockets with straight leads from Aliexpress (the good ol’ days sigh!):

These were purchased way back in Mar ’19:
Check out the differences between the two connectors (Aliexpress one on the left and Morimoto one on the right):

I decided to replace the Morimoto’s connector with the straight connector:


The connector on one headlight assembly was replaced and I threw away the old Morimoto connector to the bin. Big mistake! Why? You’ll find out. I guess life teaches us lessons the hard way sometimes.

In the meantime, the PVC extension pipe I had installed at the rear of the headlight assy had cracked over time (heat from the engine bay + exposure to natural elements).

I addressed this issue as well with a new, thicker PVC pipe. Trimmed it to the desired length and I had to grind the innards a bit using the dremel (such a handy tool!):


The new pipe was a press-fit at the rear; much better than the previous one:

With the rubber cap and a couple of cable ties in series (jugaad, if you may but this was replaced with a jubilee clamp later):

I have a bench power supply made from a computer power supply (SMPS) and it is very handy for testing various devices at my apartment before installing it in the car. You can read more about it on the DIY thread. The ballast needs a +12V supply to power the D2S bulbs. Just as simple as this:

And it powered on nicely!

I decide to turn off and on the supply multiple times in quick succession to test if it works (simulating high beam passes/flashing) and it was intermittently working; sometime just the arcing sound with no light output. This is definitely not going to cut it if I were to use it in the car. I did not know what was causing this issue. I read up a lot on the internet and there were varied opinions. Some said not to cut the output AC cable from the ballast to the bulb socket, some said a long output cable would cause this issue, some said if the insulation is exposed or not thick enough, it would cause the AC voltage to leak. I was confused!
Instead of using the butt crimp connectors for the ballast’s AC output cables to the igniter, I soldered the two cables together and used two rounds of heatshrink sleeves to insulate the soldered joints. Retested with the bench power supply and the light worked 8 out of 10 times. Randomly, it wouldn’t turn on. I decided to leave this for the time being and concentrated on the co-driver headlight assy.
Additionally, I wanted to replace Morimoto’s relay harness and decided to fabricate my own harness for the assembly. The Morimoto harness worked just fine but what’s that saying again? An idle brain is a devil’s workshop?
I got these parts from GP Road, Chennai – considered to be the Mecca of all things automotive:
- SPST (single pole single throw) relays 12V 40A - 2 nos.
- SPST relay sockets with leads - 4 nos. (2 for backup; dirt cheap anyway)
- Fuse sockets - 2 nos.
- Fuses 12V 30A - 2 nos.
- Ground terminal lugs - 5 nos.
- 1 sq mm insulated cables of different shades - 2 m each
- 1.5 sq mm insulated cables of different shades - 2 m each
The next day, I began fabricating the relay harness with plenty of trial and error. It sure was fun.
First up, changing the terminals on the relay’s connectors:

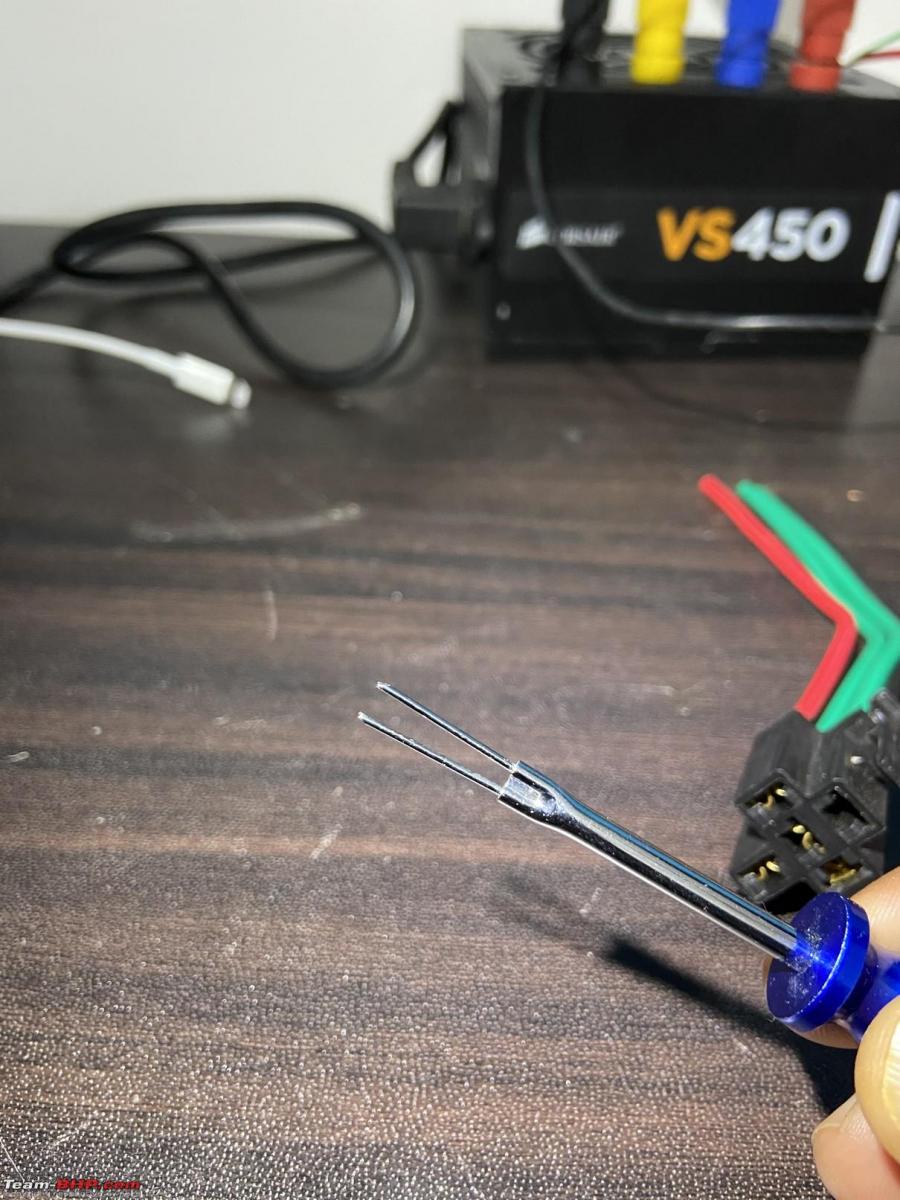
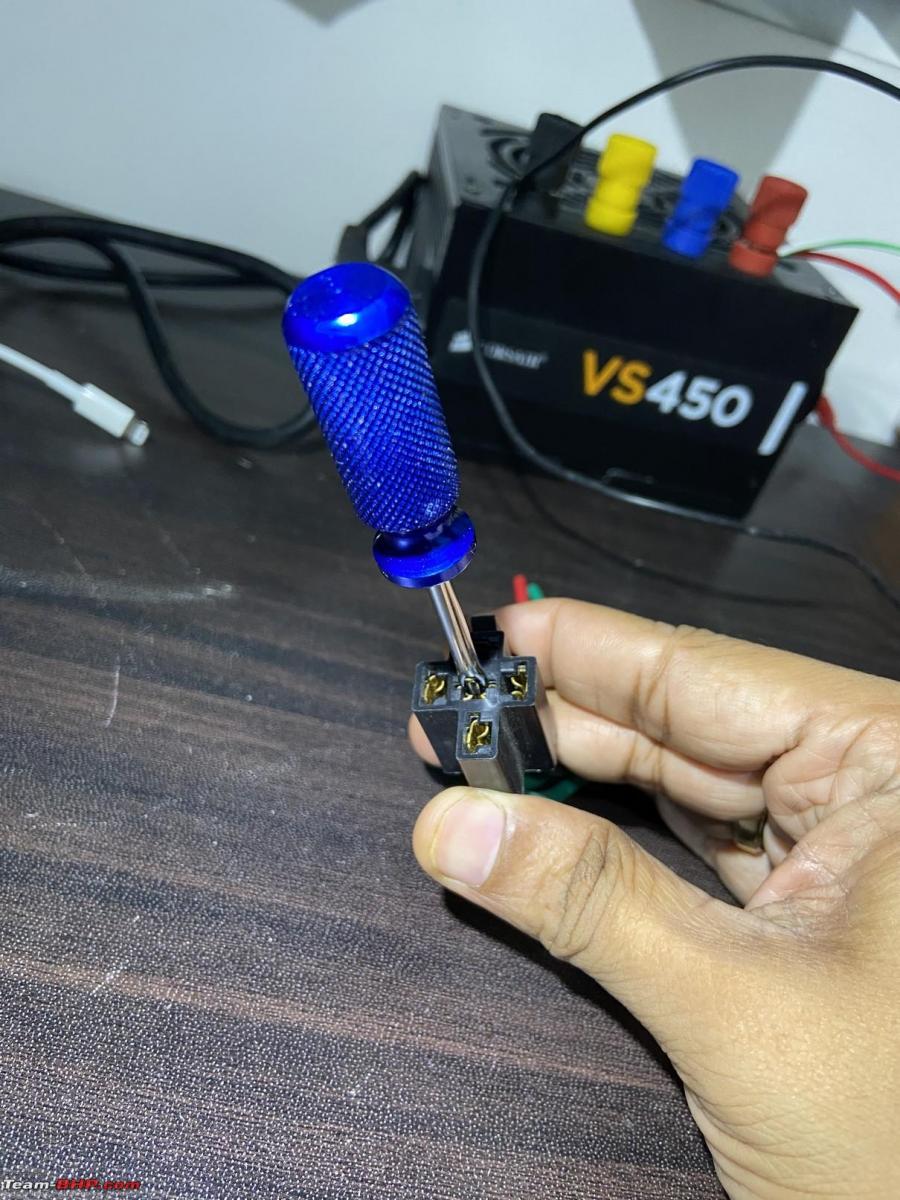


The relays from Maruti’s parts bin:


I used a couple of W5W LED bulbs to simulate the D2S bulb’s output and the projector’s solenoid working for the high beam. I searched the internet for a wiring diagram for a bi-xenon based headlamp setup and came across one on lincolnvscadillac forums:

Wired the parts as per this wiring diagram and used my bench power supply to turn the relays on as per low beams and high beams. The LEDs worked indicating the relays are functioning as they should but there was a problem. If the low beam is turned on (i.e. the left relay is turned on), only the HID bulbs should turn on work but as per this wiring diagram, even the right relay would turn on and thereby, the solenoids would receive power. This is wrong and should not work this way. It should be this way:
Low beam - only left relay turns on, HID bulbs turns on.
High beam - both the relays turn on, HID bulbs + solenoids turn on.
I hope this gentleman who shared the wiring diagram on the LVC forum figured this issue out later. That’s when it clicked me, a simple PN diode would do the trick! It would permit current to pass through in only one direction. But what diode should I use here? Searched the internet and landed right on Team-BHP! BHPian graaja had shared this here.
And SirAlec here.
I modified the wiring diagram this way:

1N540X series it was. The first shot of my covid vaccination was due and it was located at a PHC not far from the electronic components outlet I usually frequent. We couldn't get the vaccination shot that day due to the government putting the 18 - 45 age group on hold but I got hold of the diodes promptly.

Soldered the diode to the harness and it worked beautifully!

Continue reading Gannu_1's DIY for more insights, information and BHPian comments.
Find Car News
Just News


About Us


Buy & Sell
USED CARS