News
Workshop in my garage: Learning brazing technique with my friend


I moved the Jaguar and the Alfa Spider out of the way and used my two tables for the day.
BHPian Jeroen recently shared this with other enthusiasts.
We had a little workshop in my garage. A couple of years ago, during the pandemic, I had taken part in a course in brazing. A friend, Ruud, from a model engine forum and I had signed up. We had a very interesting day. Ruud and I had been doing brazing by ourselves since, mainly on (steam) engines and a few other bits and pieces as well.
But both of us felt we could do with a bit of a refresher and also a little bit more advanced techniques and get some help with the parts where we often struggled.
Our old teacher was still available. Initially, we tried to get some other model engine friends interested, but in the end, it was only us two. So rather than having to rent a workshop, we decided to have it in my garage, which worked out great.
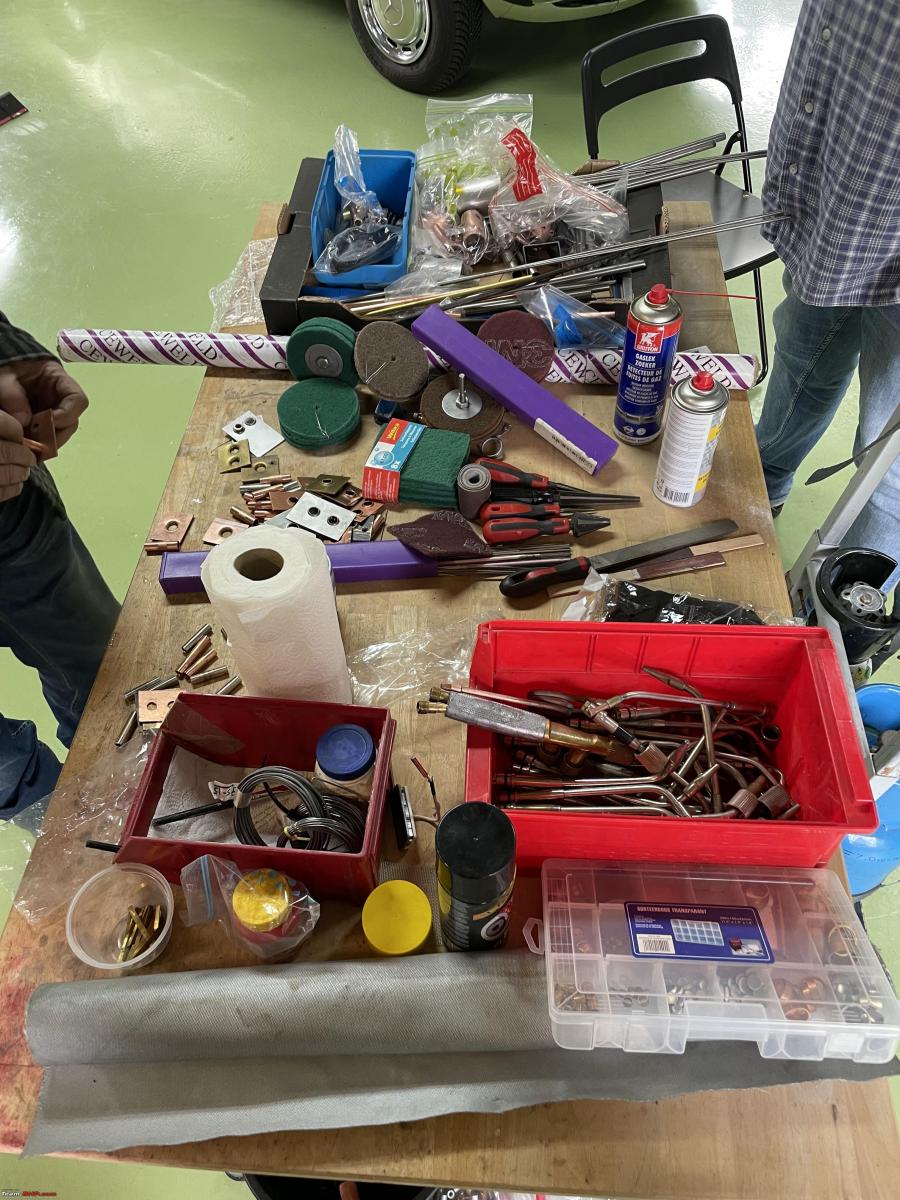
I moved the Jaguar and the Alfa Spider out of the way and used my two tables for the day. One for the actual brazing and one for all the stuff, tools, parts etc that our teacher had brought. And he brought a lot of stuff and left a lot of it to Ruud and me at the end of the day.
There is a difference between brazing and soldering. Funnily enough in Dutch, we only have one word for it. Solderen. Although for brazing we add hard, so hard soldered.
If the metal bonding process uses a filler metal that melts below 450°C (842°F) the bonding process is defined as soldering. However, if the filler metal melts above 450°C (842°F) then the bonding process is defined as brazing.
So it is really down to the kind of filler metal you use. Both techniques can be used to fill and or connect different materials together.
It is a very simple process, but it takes quite a bit of skill and practice to get it all right.
You start with the two pieces you want to join. Brazing is based on the molten filler working its way in between the two pieces based on capillary working. So you need to have a bit of a gap between the two parts. But of course, when you heat them this gap will change.
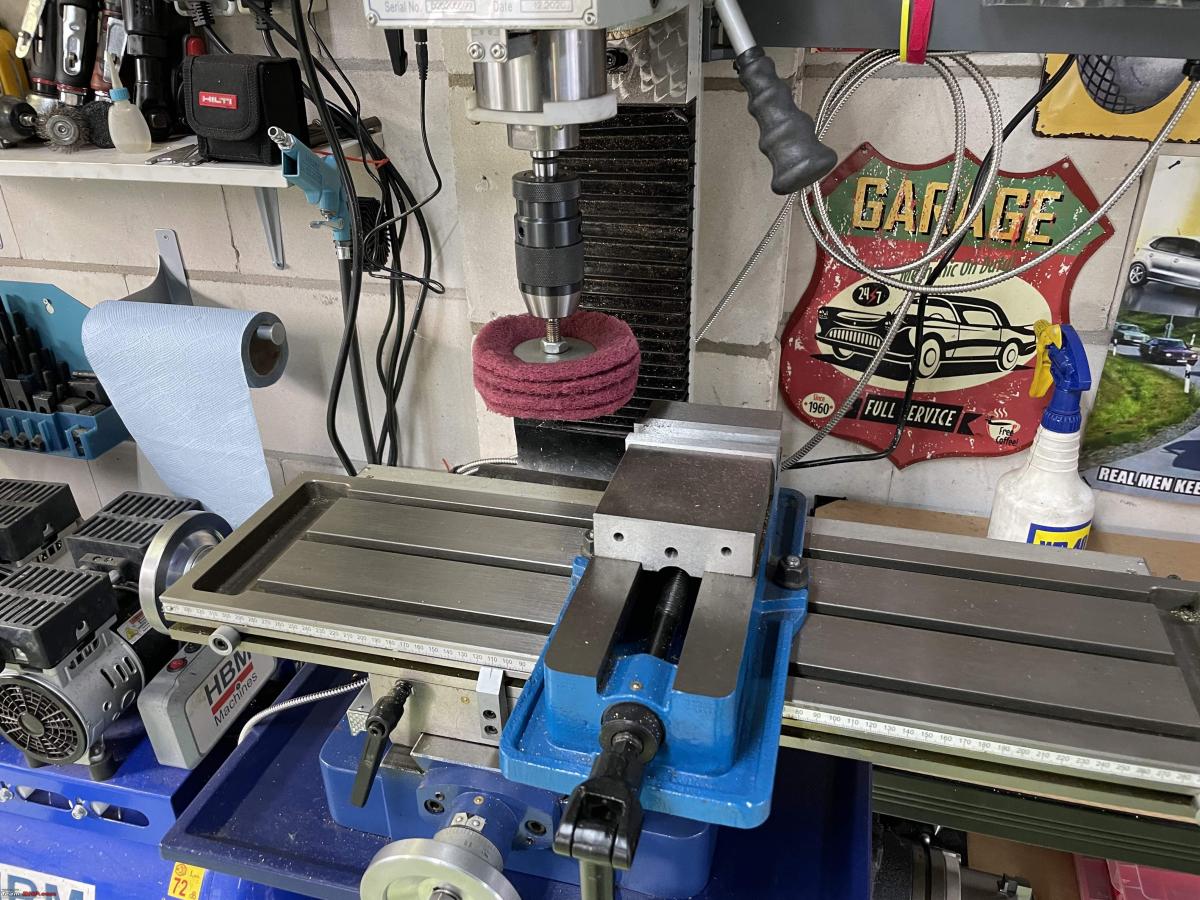
Everything needs to be very well cleaned. We put one of these Scotch-Brite wheels in my mini-mill.
After the Scotch-Brite treatment, you clean the parts with brake cleaner fluid. Next, you line them up and add so-called flux. The flux will ensure the molten filler will flow along the material.
You can either add it during the heating process or whenever possible, put bits of filler along the joint. This is the preferred method.

Next, you need to have a good burner with a hot enough flame. Setting the flame to the correct settings is a bit of a challenge. Then you basically heat up the material. Once the flux starts boiling you need to watch very carefully as soon the filler will start to melt and flow as well.
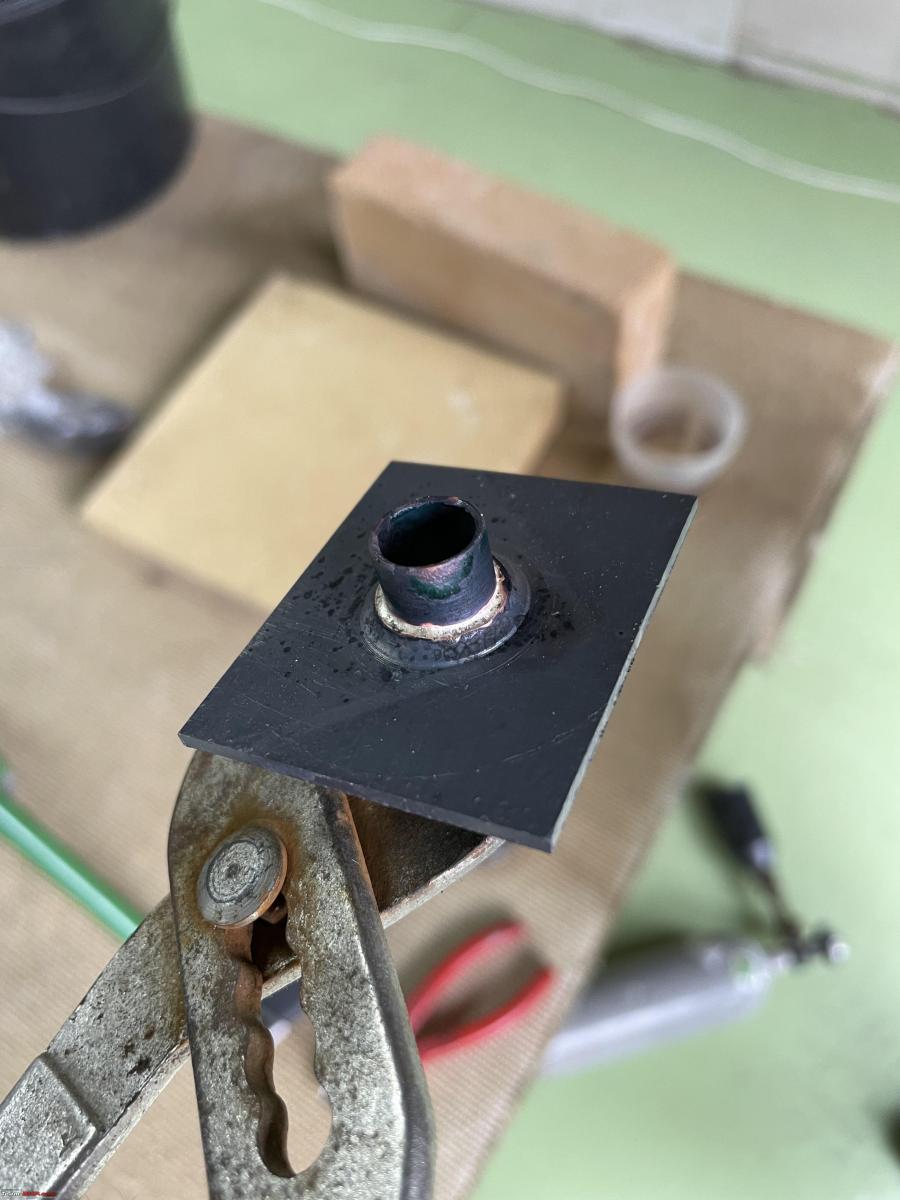
If you have done it all correctly the filler will be spread around, very smoothly along the joint.
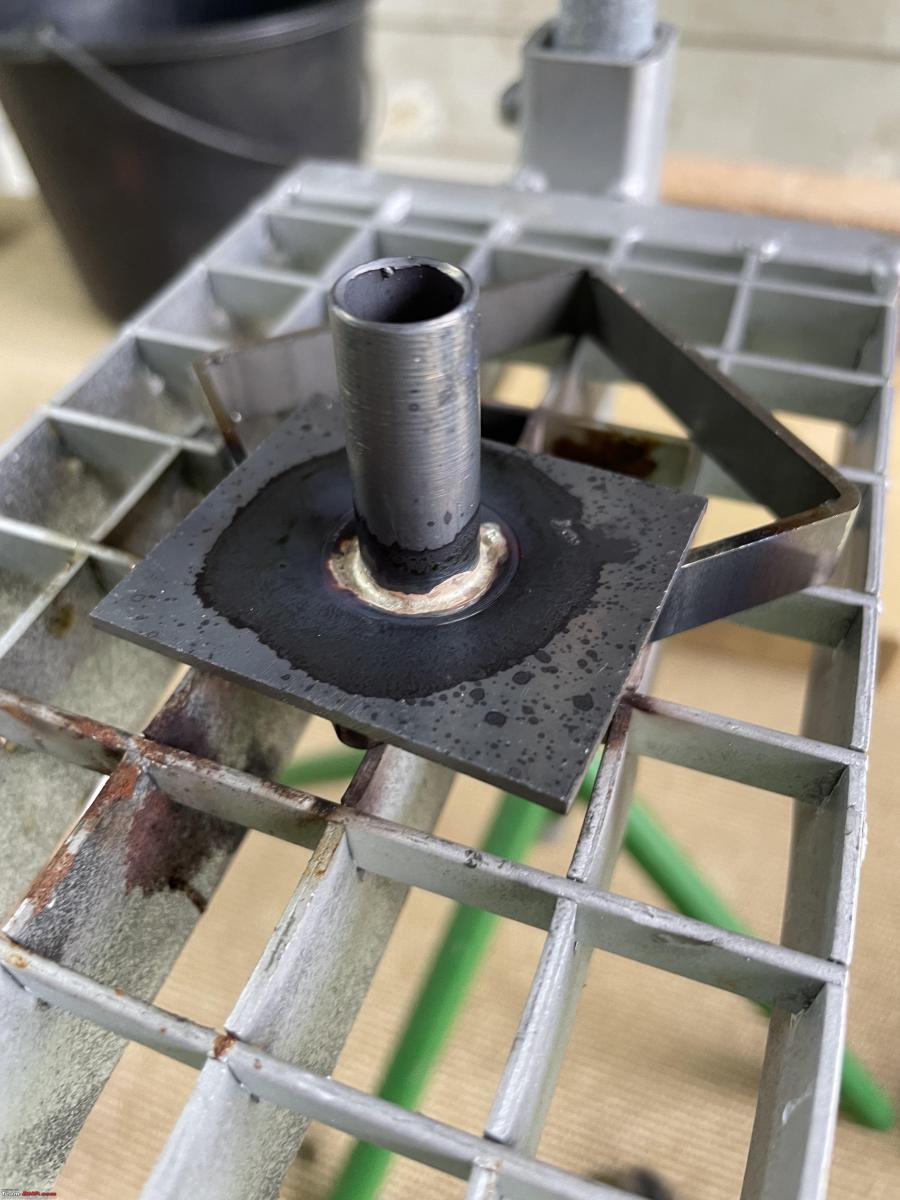
And also, it should penetrate all the way to the other side as well.
Simple enough, but many variables. Also, the type of material, thickness, and difference in the size of the two parts you want to join all require different approaches to how you set up the pieces and how you braze them. Having multiple brace joints close together is always a challenge. If you put too much heat into the second joint the first one might start to flow again.
After you are done with the joint it needs to cool down. You let it cool down naturally. Putting it in water will make the joint brittle. Also, you will need to clean everything if you want it to look nice. We did not bother with the cleaning part. We concentrated on the actual brazing only.
So we tried different materials, with different kinds of joints etc.
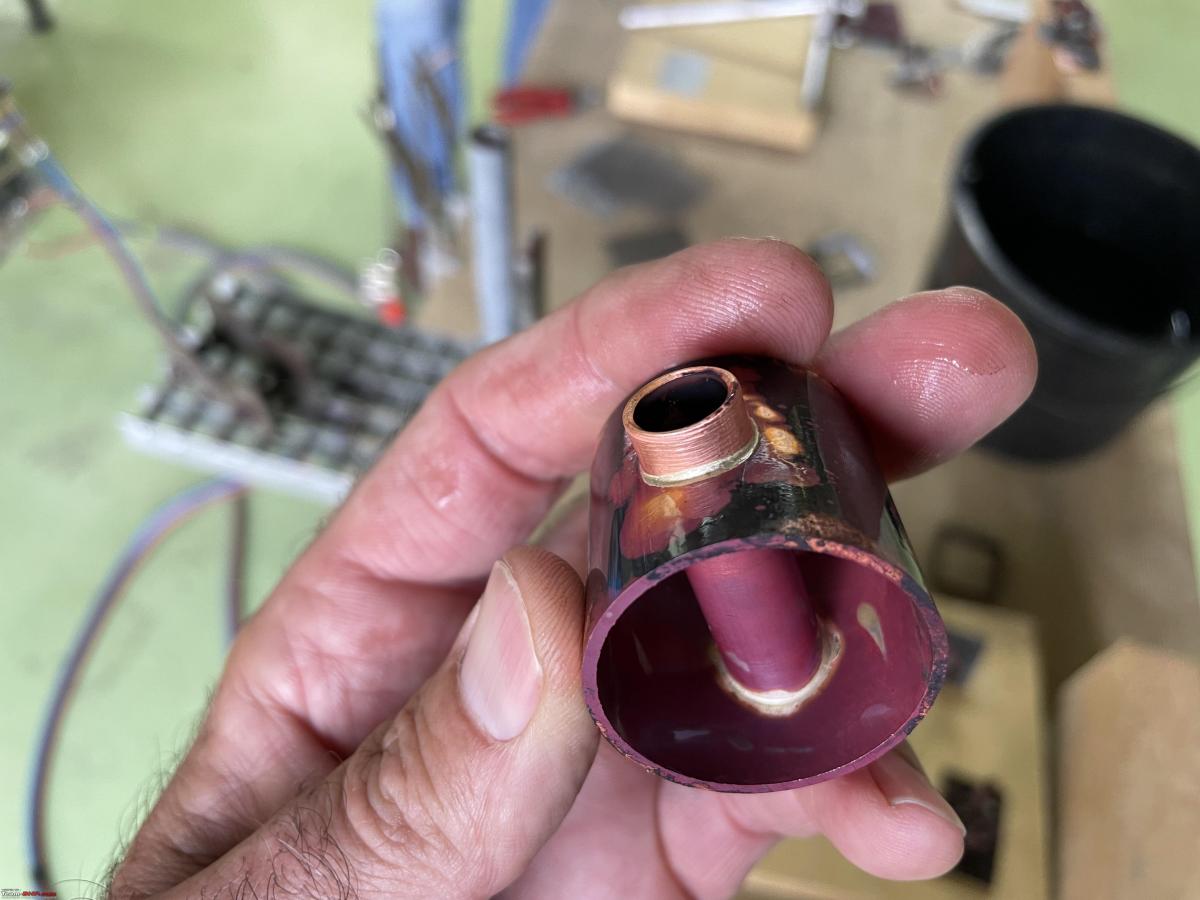

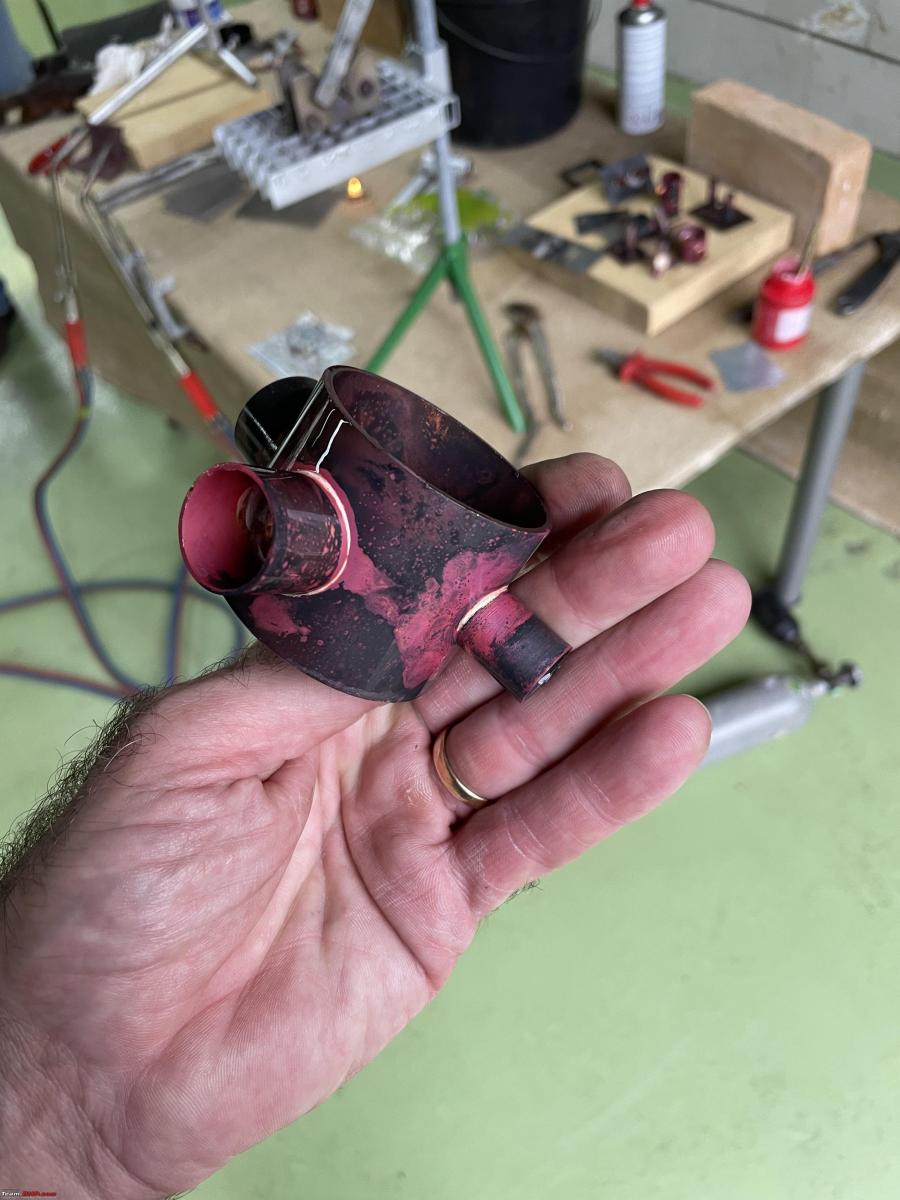
Both Ruud and I became better during the day and we made good progress. Brazing is a very good technique for all kinds of materials. We tried it out on metal, brass, copper, aluminium and even stainless steel.
We had compared notes before on what kind of challenges and problems we had come across earlier during our own home brazing. And discussed with our teacher, who put together a very comprehensive program where just about all these aspects were dealt with. Both Ruud and I also came to the conclusion that we need to get ourselves a better burner.
The ones we are using here are butane / oxygen. But you can also get them suitable for compressed air and butane. Which means I can just use my compressor and the gas tank from the barbecue.
The flame needs to have sufficient heat so you can heat up the materials quickly. If it takes too long, the flux will burn off and the filler simply won’t flow. Typically, of course, the larger/heavier the object you want to braze the more heat you need.
There are endless different types of flux and fillers, depending on the application.
Here yours truly doing some brazing!


The three of us had a very pleasant and hugely interesting day.
I will be using brazing on my model engine builds, but also on some of the repairs on my cars and or tools. For instance, the exhaust manifold on the W123 has a crack in it. They all do, they were never manufactured properly. Brazing is an excellent technique to fix it.
Check out BHPian comments for more insights and information.
- Tags:
- Indian
- Member Content
- Garage
- Training
Find Car News
Just News


About Us