Team-BHP
(
https://www.team-bhp.com/forum/)
- -
Hi-Lift Jack Rebuild
(
https://www.team-bhp.com/forum/4x4-technical/204931-hi-lift-jack-rebuild.html)
I have a hi lift jack and it's more than ten years old and has seen a lot of action compared to other folks that generally have a hi lift jack mounted on their vehicles more like a cool accessory than anything else.
I remember years ago we were wheeling but I hadn't taken my jeep and the other jeepers didn't have a hi lift jack when a vehicle was hi centred and the best way to remove it was using a hi lift jack. While we were contemplating, another vehicle drove by on the trail and had a hi lift jack on it's bonnet! We thanked the lord and hailed the car and asked if we could borrow the jack only to be told that it's welded down to prevent theft and he doesn't know how to use it and is scared to use it.
Anyways, coming back to the topic I think it's the most versatile piece of equipment and also one of the most dangerous piece of equipment and the knowledge in it's usage and maintenance is of utmost importance. That's why I regularly hold classed on usage of the hi lift jack as well!
I'm saying Hi Lift jack because that's the brand name that I use.
- It is also called:
- High Lift jack
- Farm Jack
- Implement Jack
- Railroad Jack
- Vaporjack
- Unijack
- Jackall
- Handyman Jack
- Sheepherder's Jack
- Long-beam ratchet Jack
- The Widow Maker
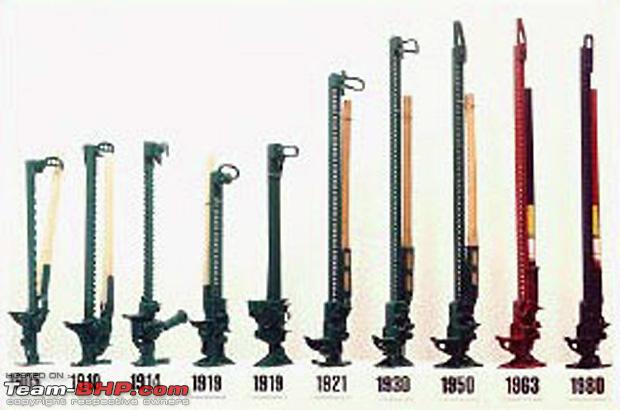
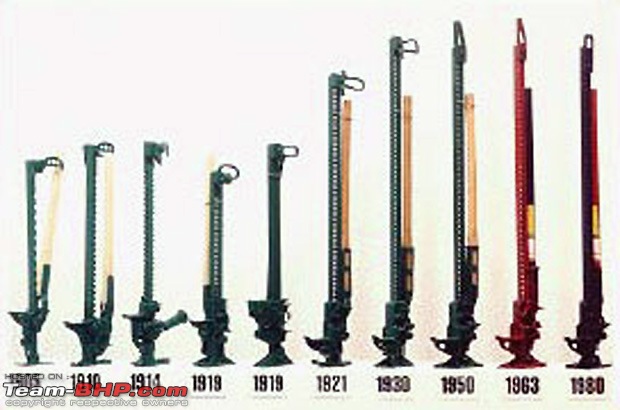
A bit of trivia:
- Founded in 1895 by the late Philip John Harrah
- First jack made in 1905
- One of the oldest family run companies in the state of Indiana, USA
So after ten years of usage and a few years of procrastination, I thought it was time that the jack deserved a thorough rebuild!
This was my Hi Lift Jack when it was new and shiny:
I've use my Hi Lift jack for nearly every purpose she was build for an more:
- offroading to lift the car where the diff was beached on a stone,
- winching,
- clamping
- used as a paper weight while bonding laminates
- using lift mate, to lift tyres of high end SUVs for setting up showroom and mall displays
- etc
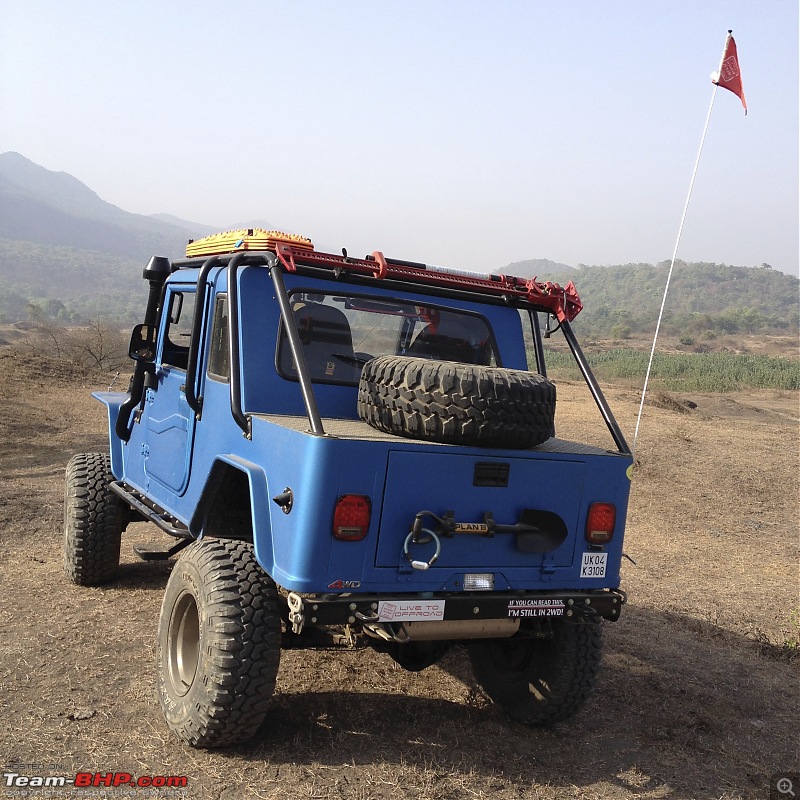
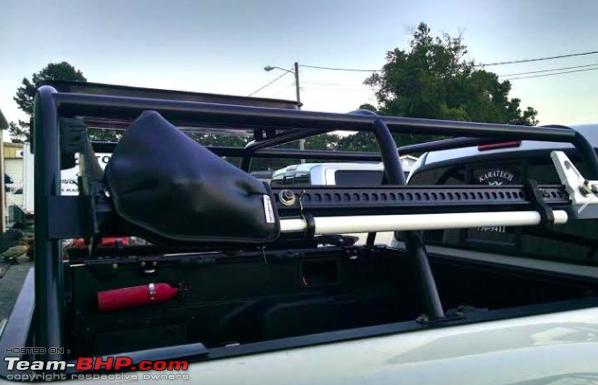
It was earlier mounted on the jeep:
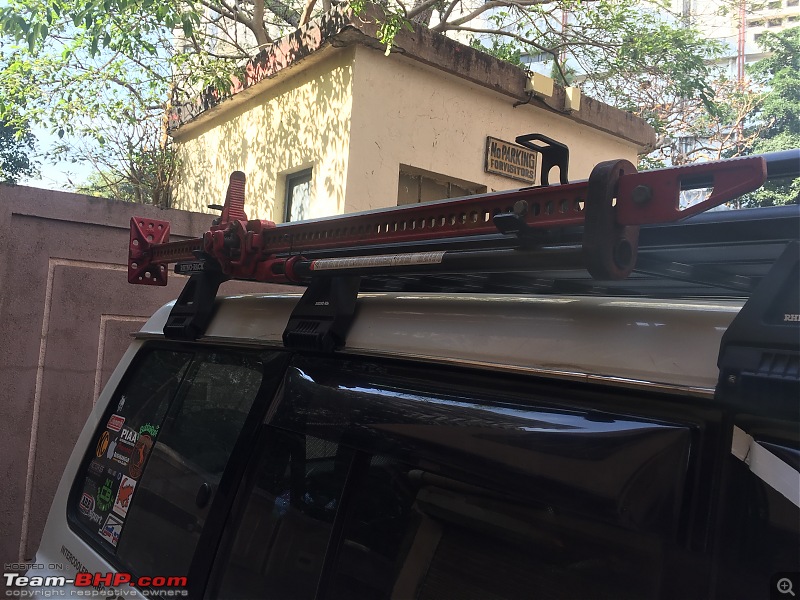
And then on the roof rack of my Pajero:
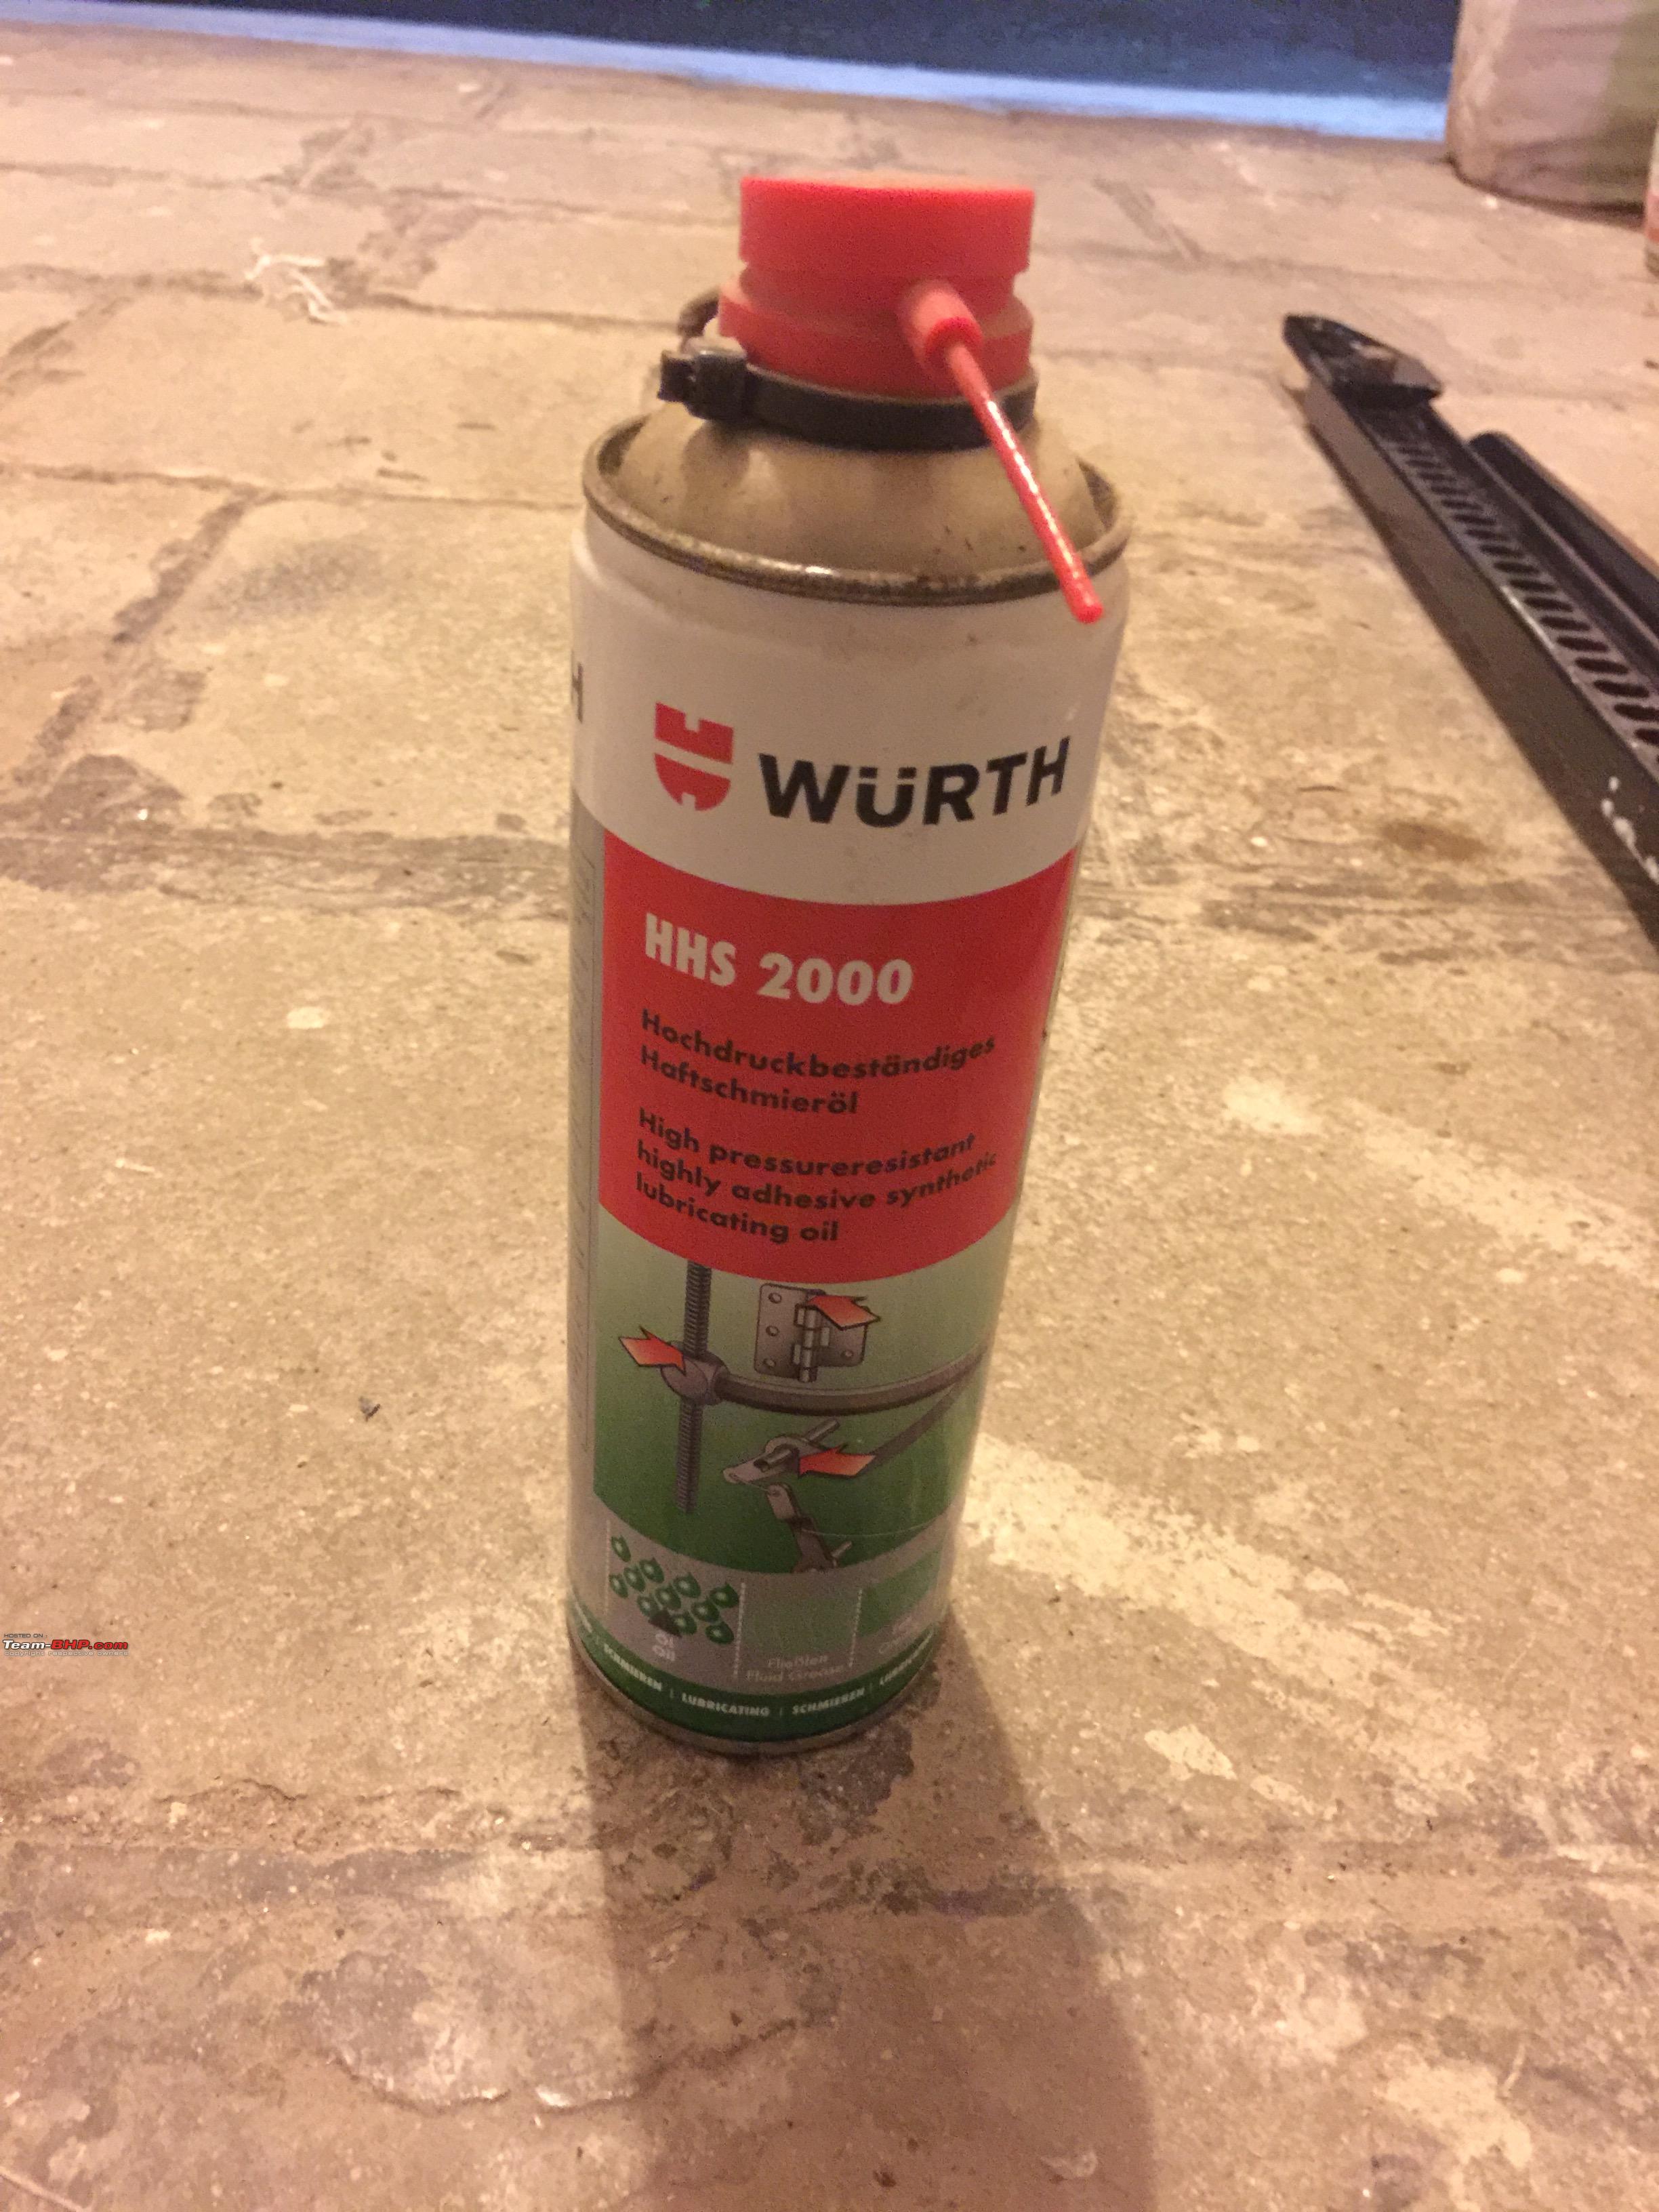
Over the years of use, rain and sun has taken a toll on the paint and the pins and springs needed TLC. Ofcourse she was constantly lubed using Sprayable lithium grease (white).
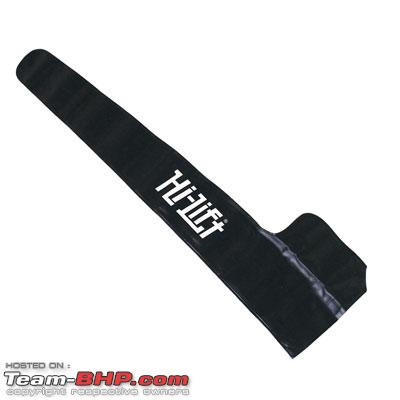
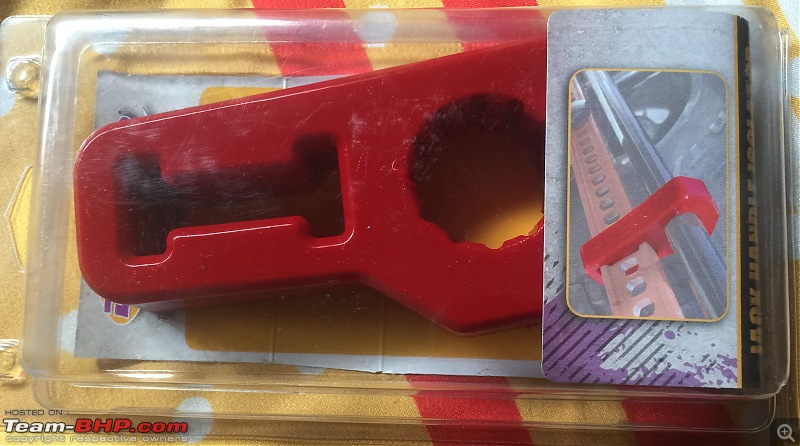
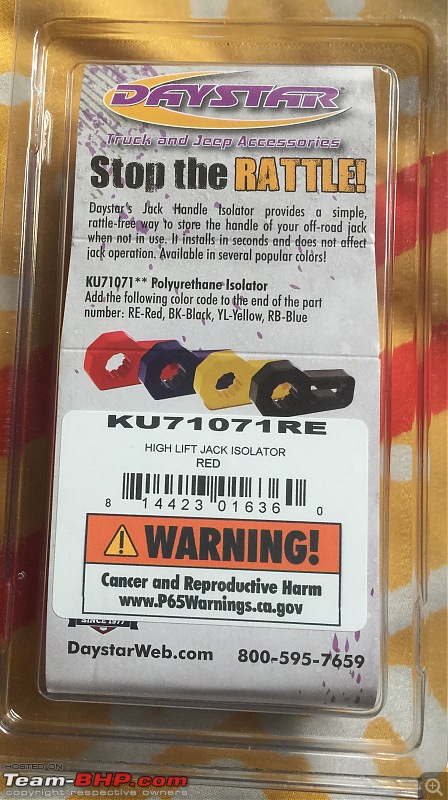
I've gone through two sets of Hi Lift branded handle keepers which gets brittle in the sun and cracks and wouldn't suggest buying the same one again. Around the world this is the same complaint.

A company called daystar makes highly rated handle keepers and I've ordered the same. Let's see how that performs. Time will tell.
A relative was travelling to India for New Years and she was gracious enough to carry one stuff for me.
The other thing that was being procrastinated by me was a good jack cover.
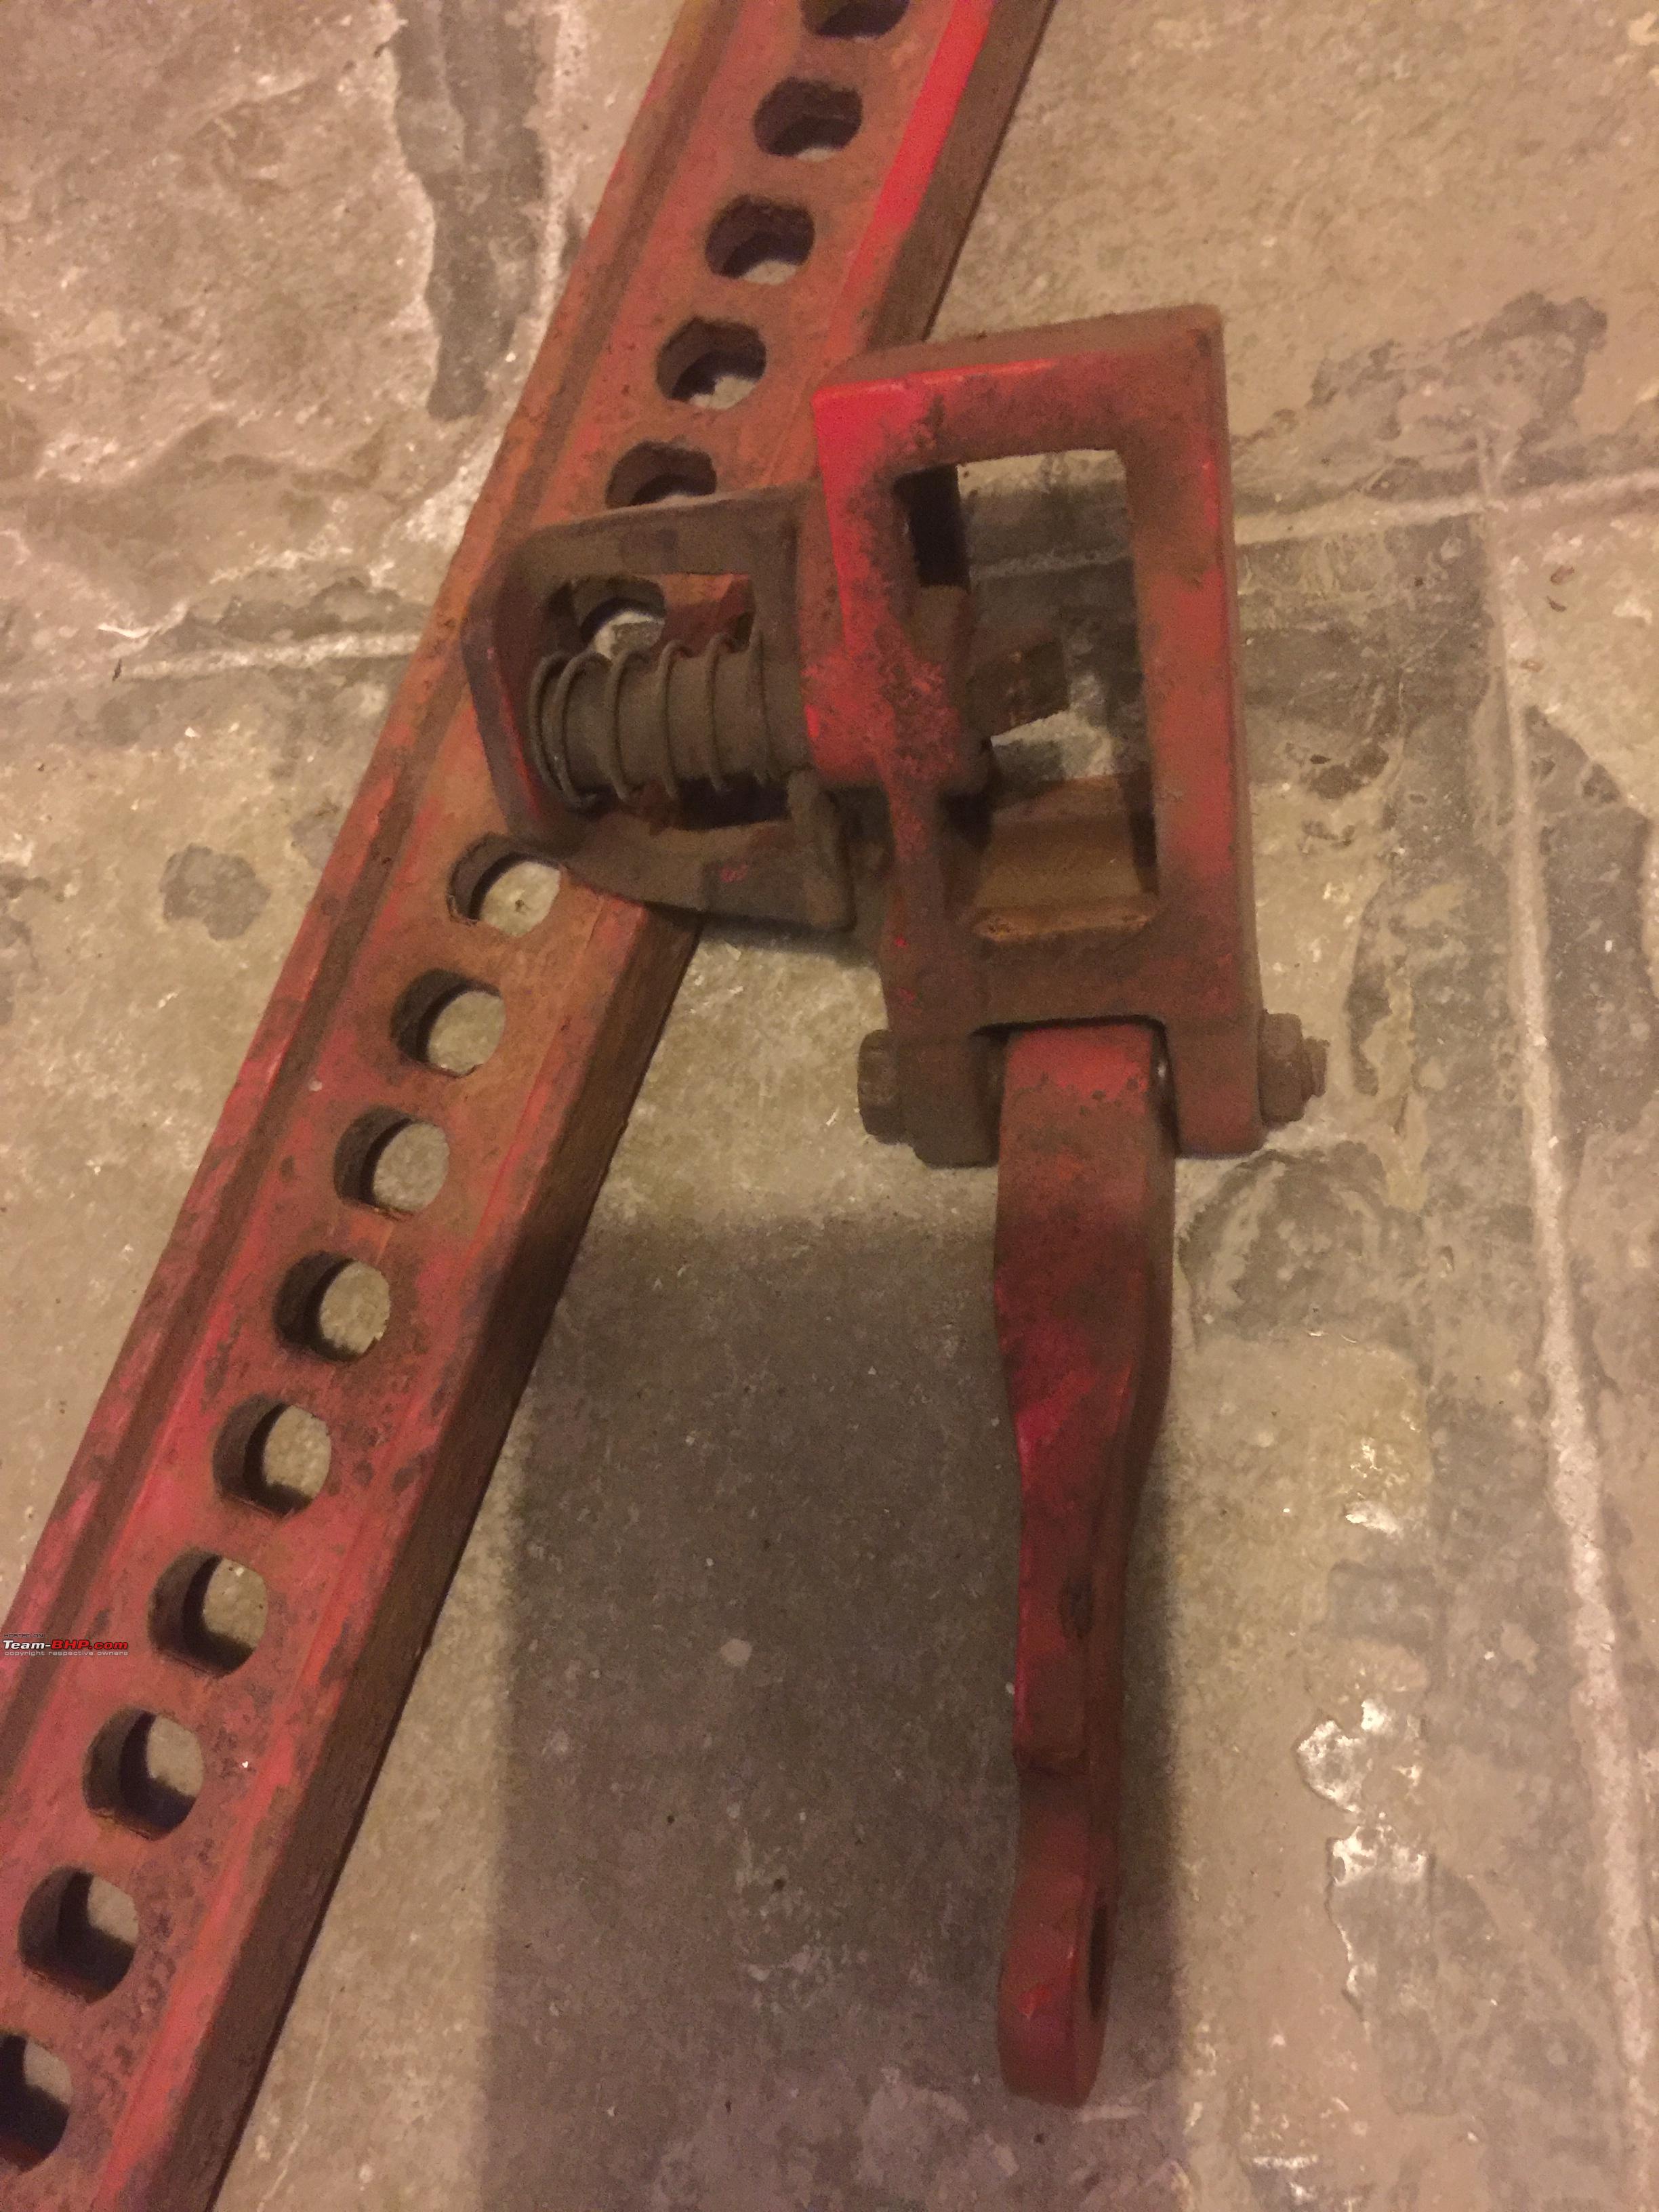
The major issue with Hi Lift Jacks is that they they jam at the wrong moment and it's mainly because of the fact that they don't see action all the time and are usually the last resort because it is a cumbersome piece of equipment. Let's face the truth, although it's a great tool, it's heavy, and difficult to mount & unmount from the roof rack.
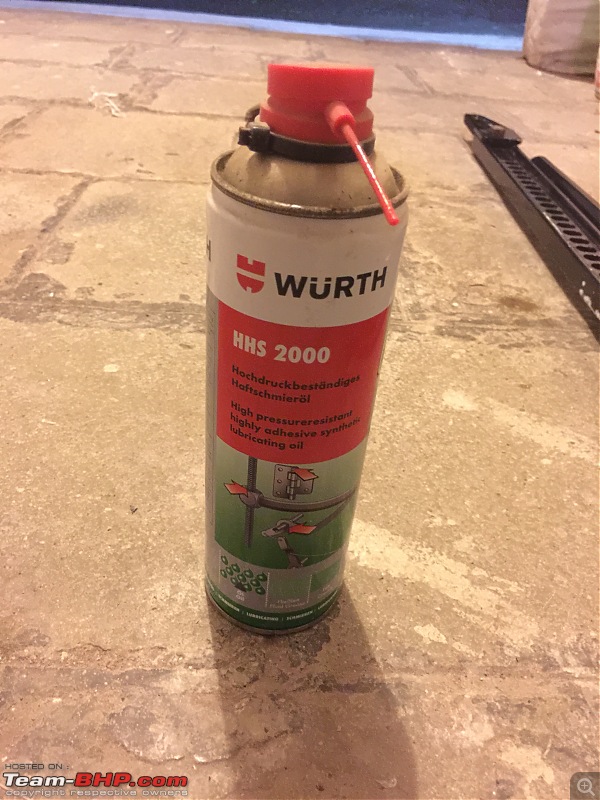
So, most of the time it's being baked in the sun and drenched in the rain and being bombarded with dust and mud from the offroad trips. Therefore, regular grease is never recommended for the hi lift jack mechanism. It will trap all the mud and jam the mechanism and the jack won't lower after being raised and the lowering process is the most technically difficult one and dangerous as well and thus, it gets the name widow maker.
The pins need to be lubricated by a simple spray. Use sprayable lithium grease or then WD40.
But the rusting of the springs and debris coating the pins is an issue.
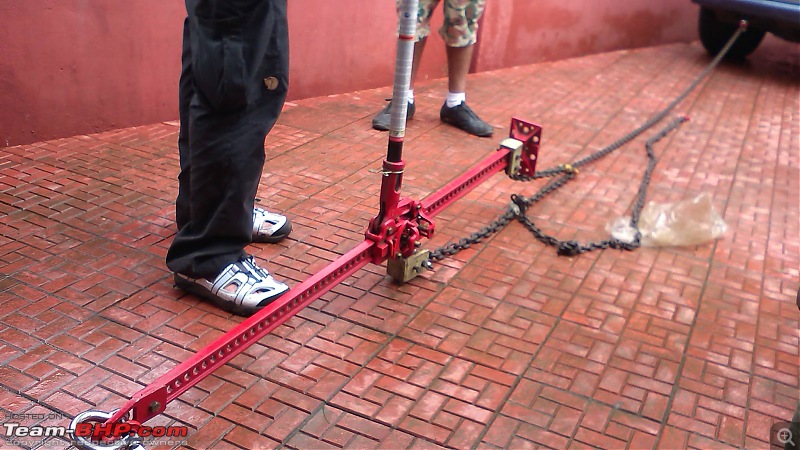
I'll agree it happened to me once after jacking the car up that I couldn't get the jack down. Fortunately we had another hi lift jack (HLJ) with another person on the group which we sprayed liberally with WD40 checked the mechanism first and then used it to lift the vehicle higher and remove my HLJ.
So, the need for extra protection in the form of a hi lift jack cover.
Next stop: hit the forums to find out the best options. Hi Lift Company also makes jack covers form neoprene but they have gotten bad reviews.
This is the half one that I wanted but had bad reviews of the zipper breaking and the fit not being good and eventually the cover tears:
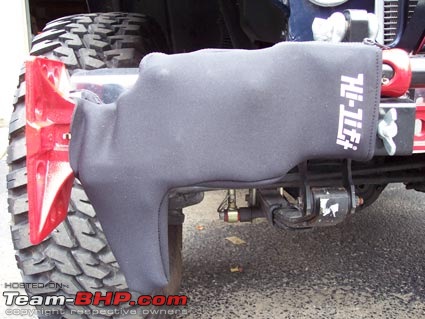
Image Courtesy: Google Image Search
They also have a full cover but this won't suit me because I can't mount the jack on the roof rack. This is great if you are storing it in your boot (secured down of course):

Image Courtesy: Google Image Search
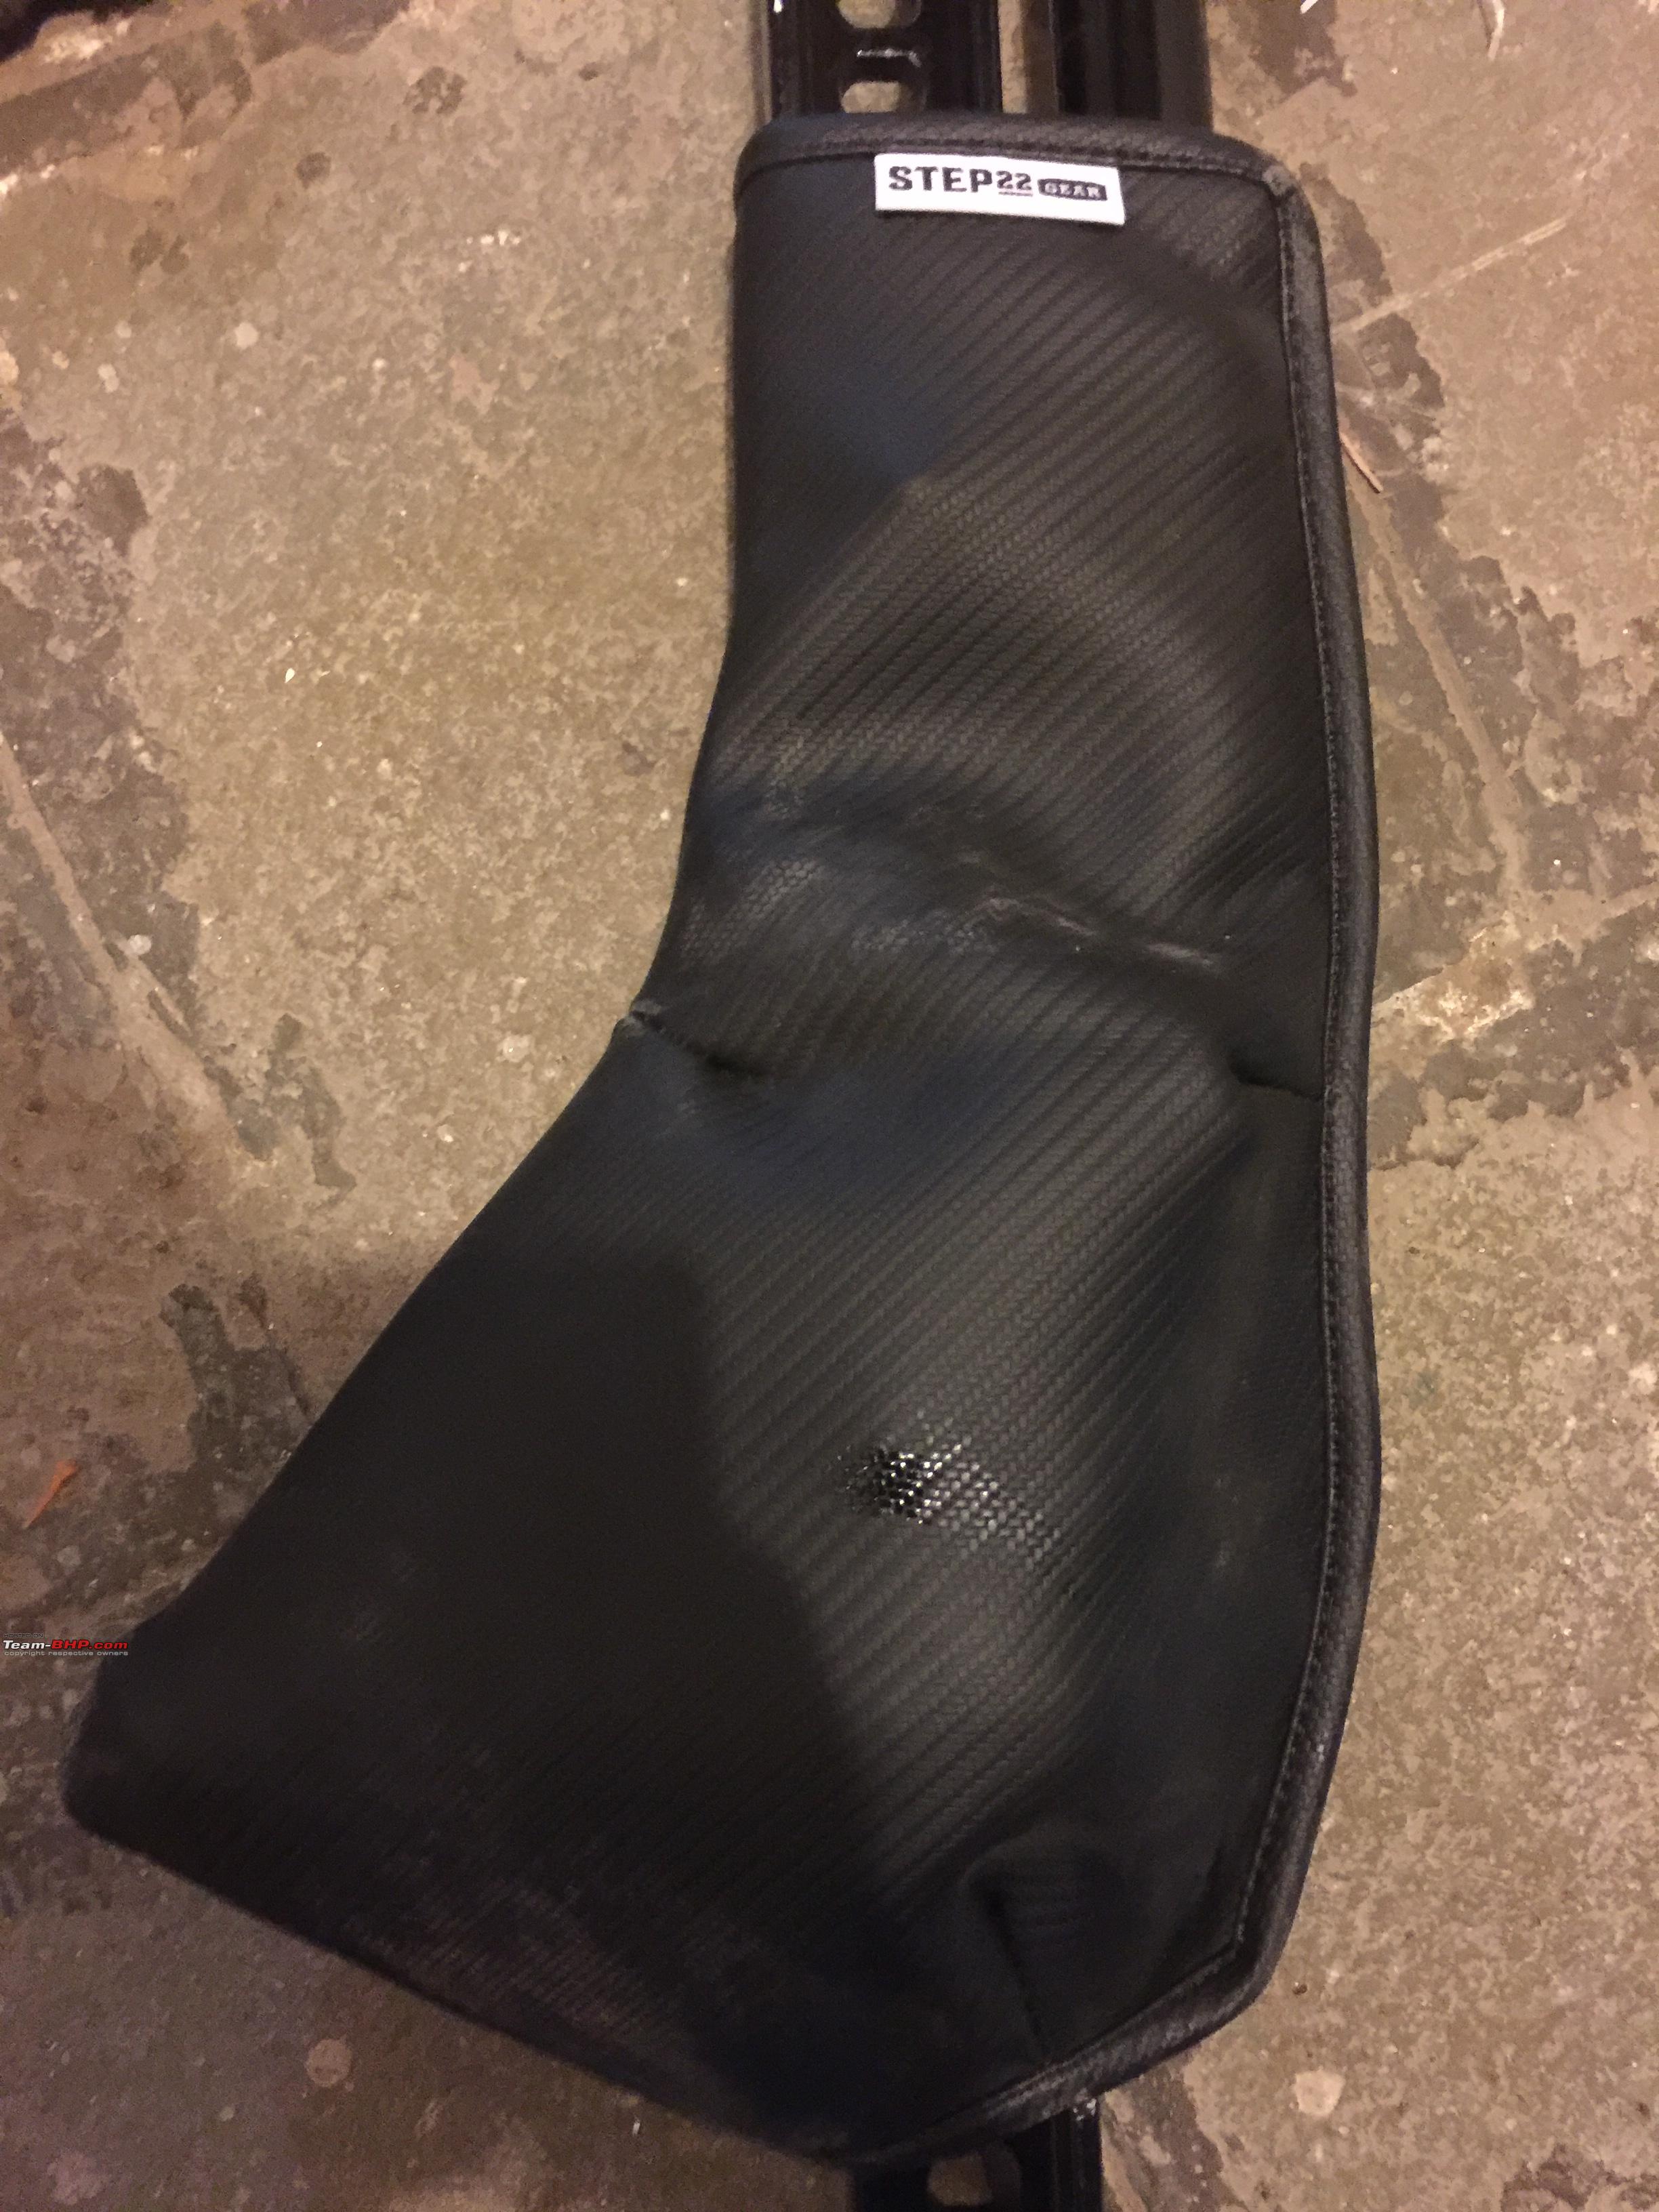
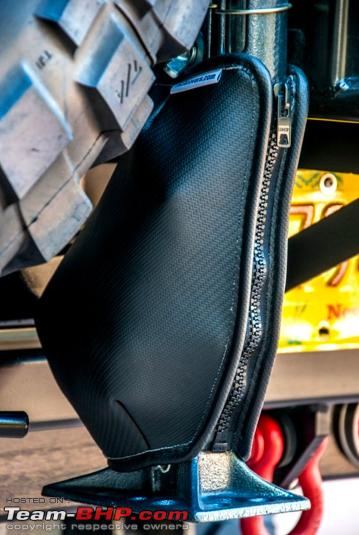
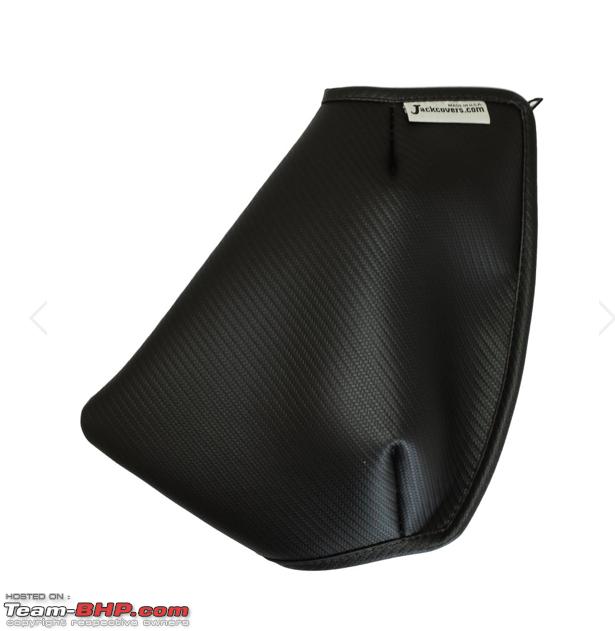
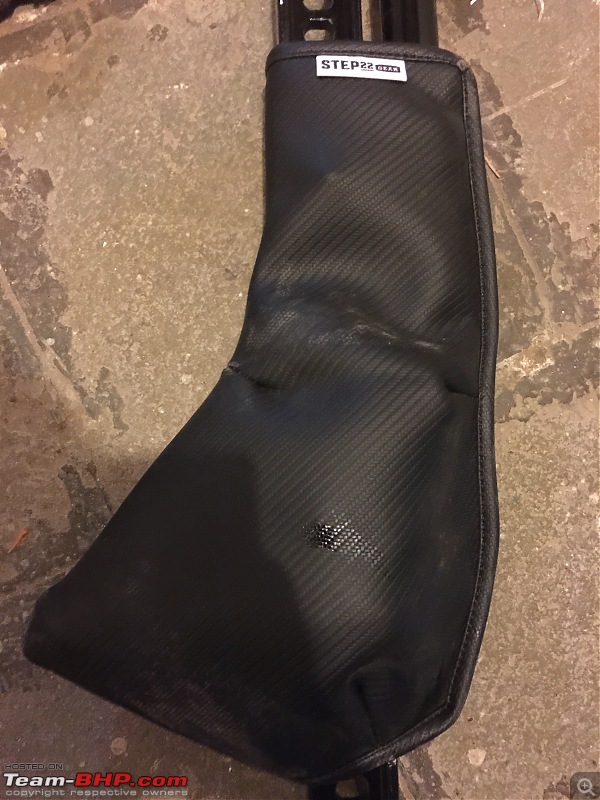
I finally settle on a company called Step 22 gear who sold jack covers and order a rexine one from them and the same relative carried it down for me.
https://step22gear.com/products/hi-l...21763959160937
Very good quality product - comes in two sizes 11" and 15":
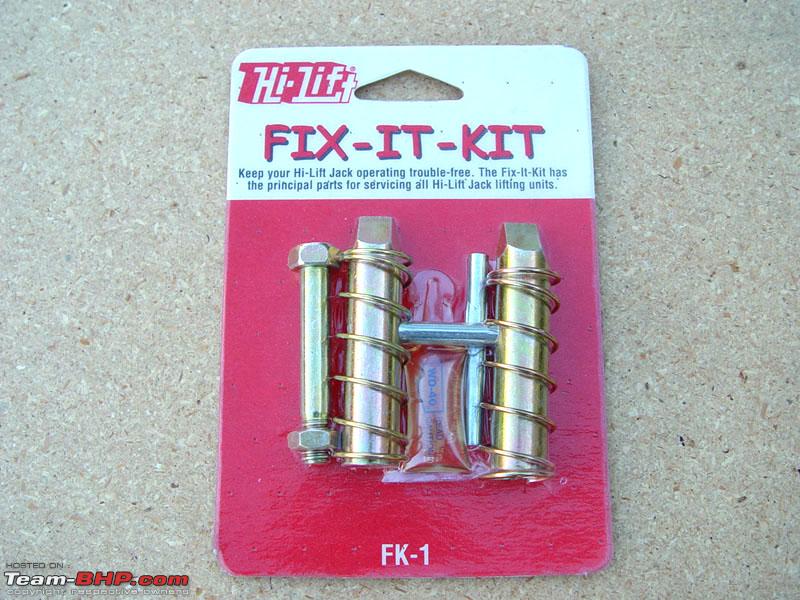
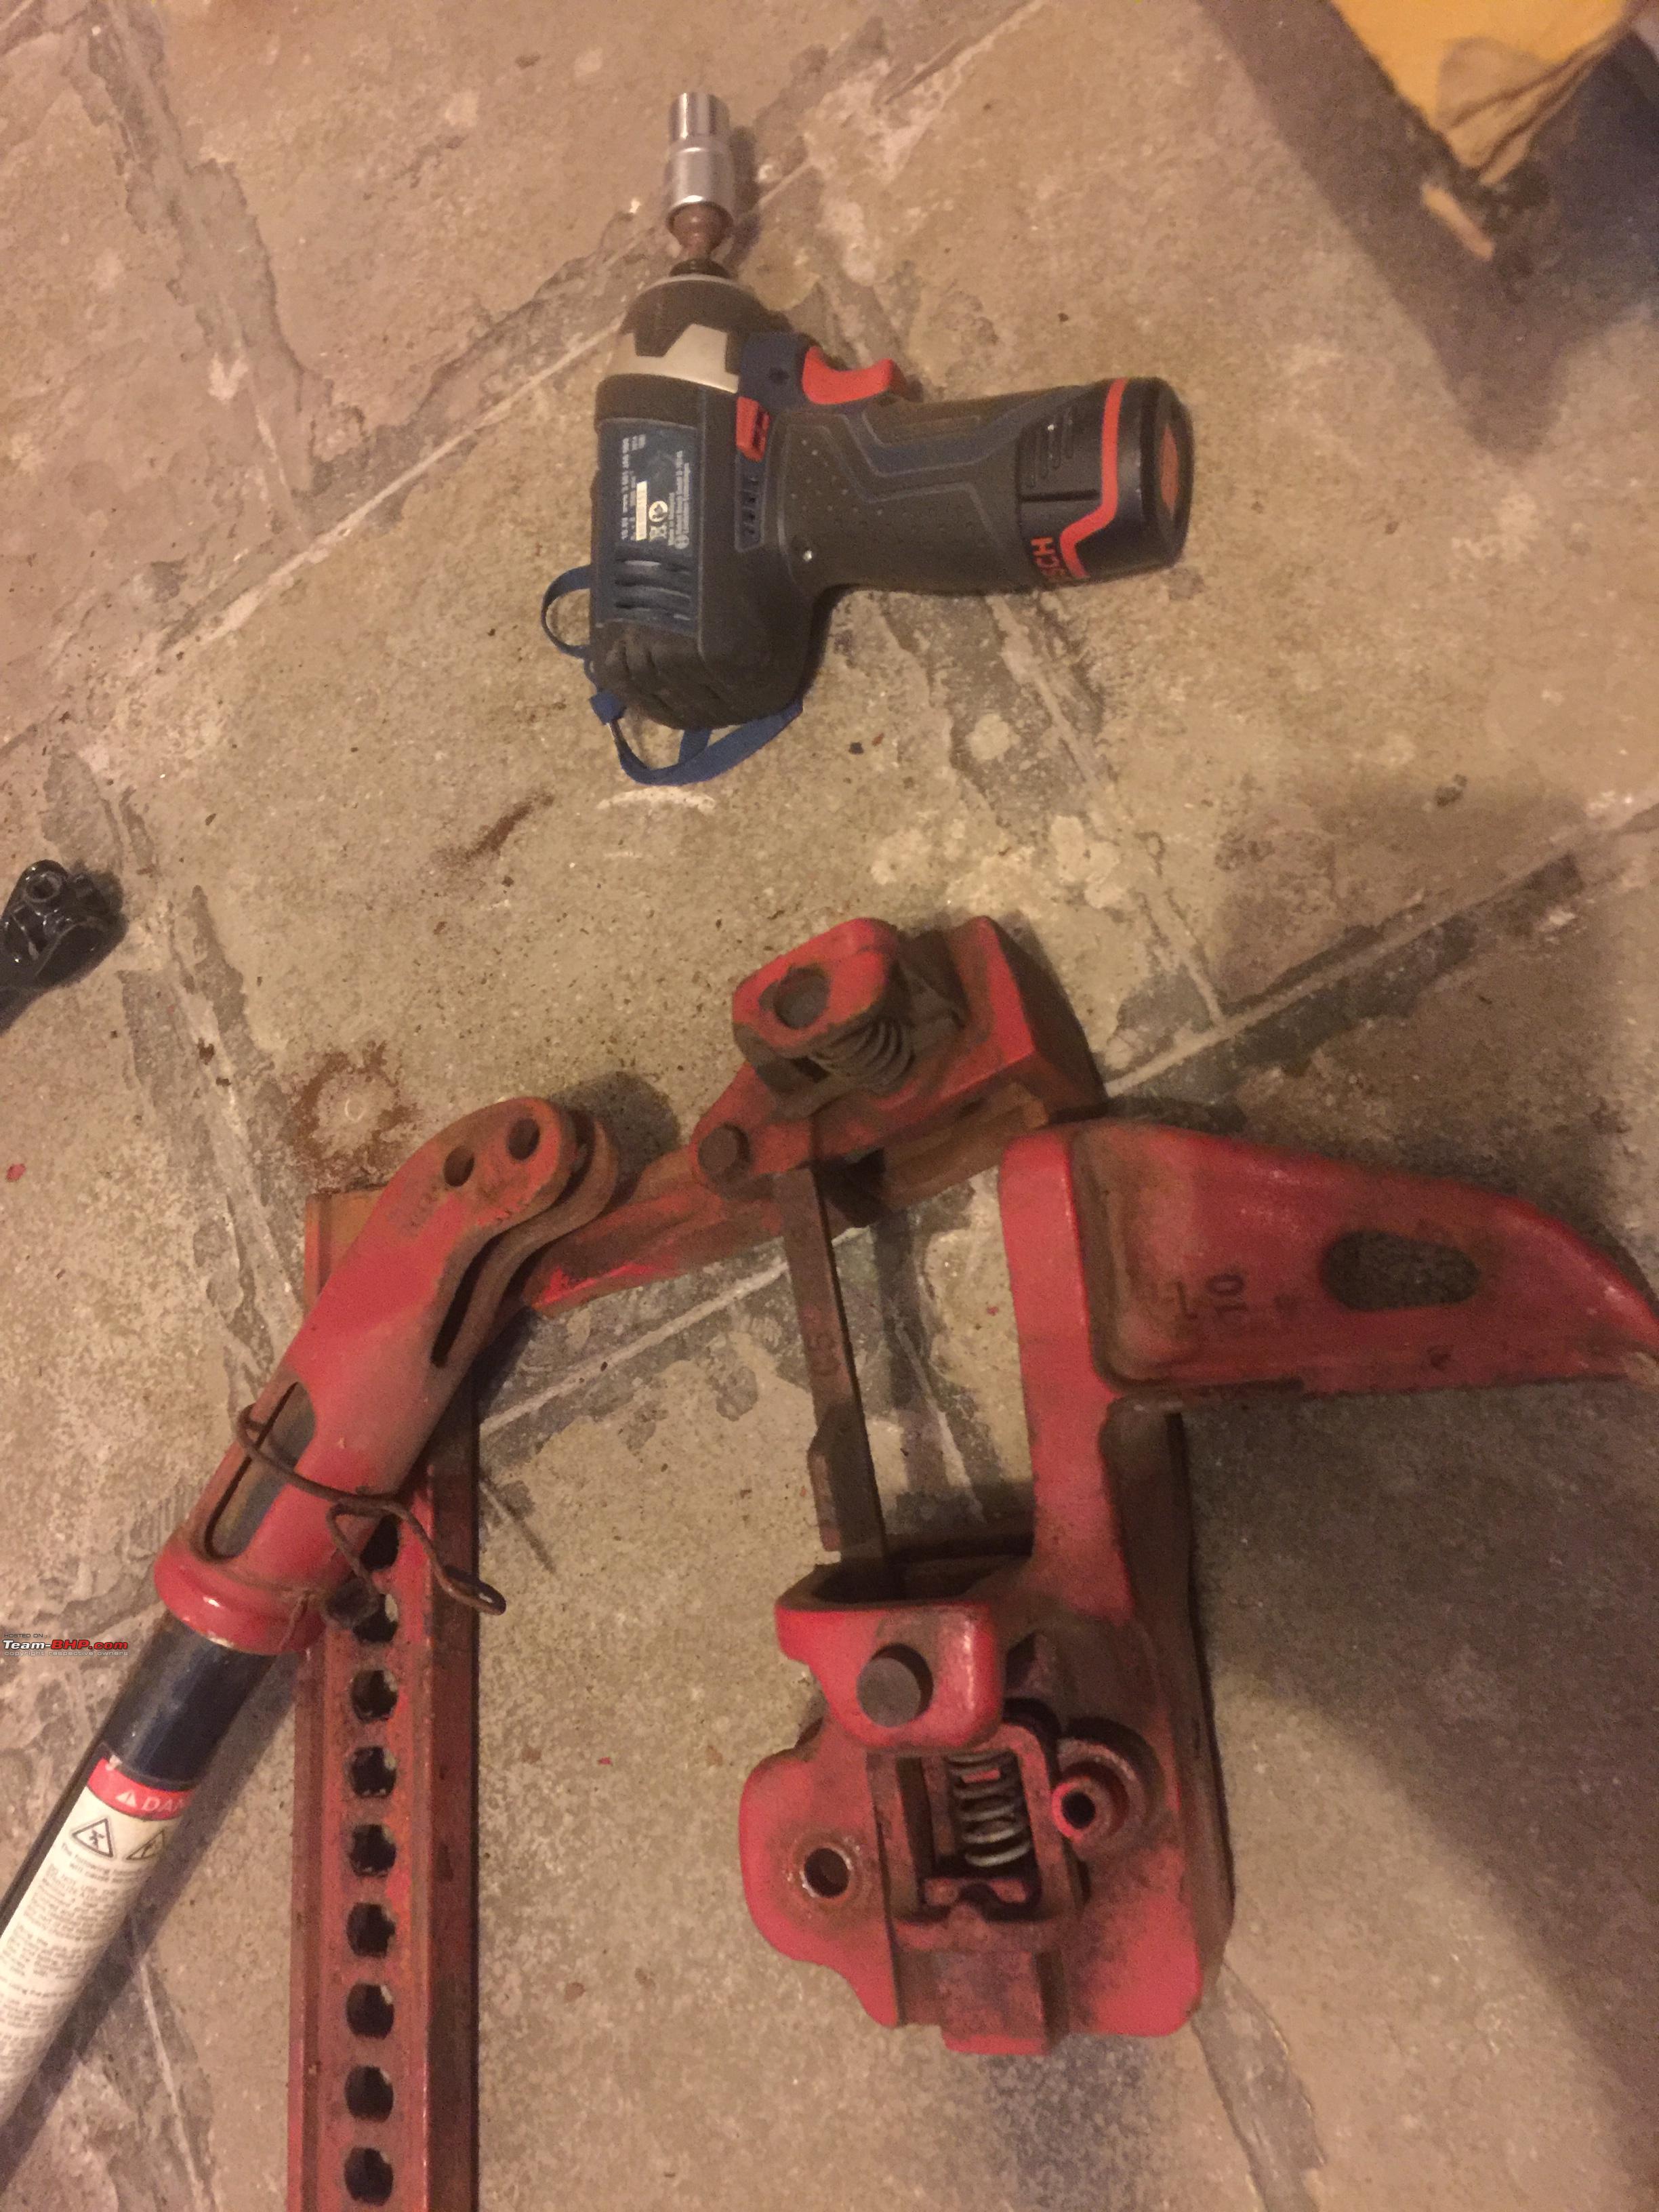
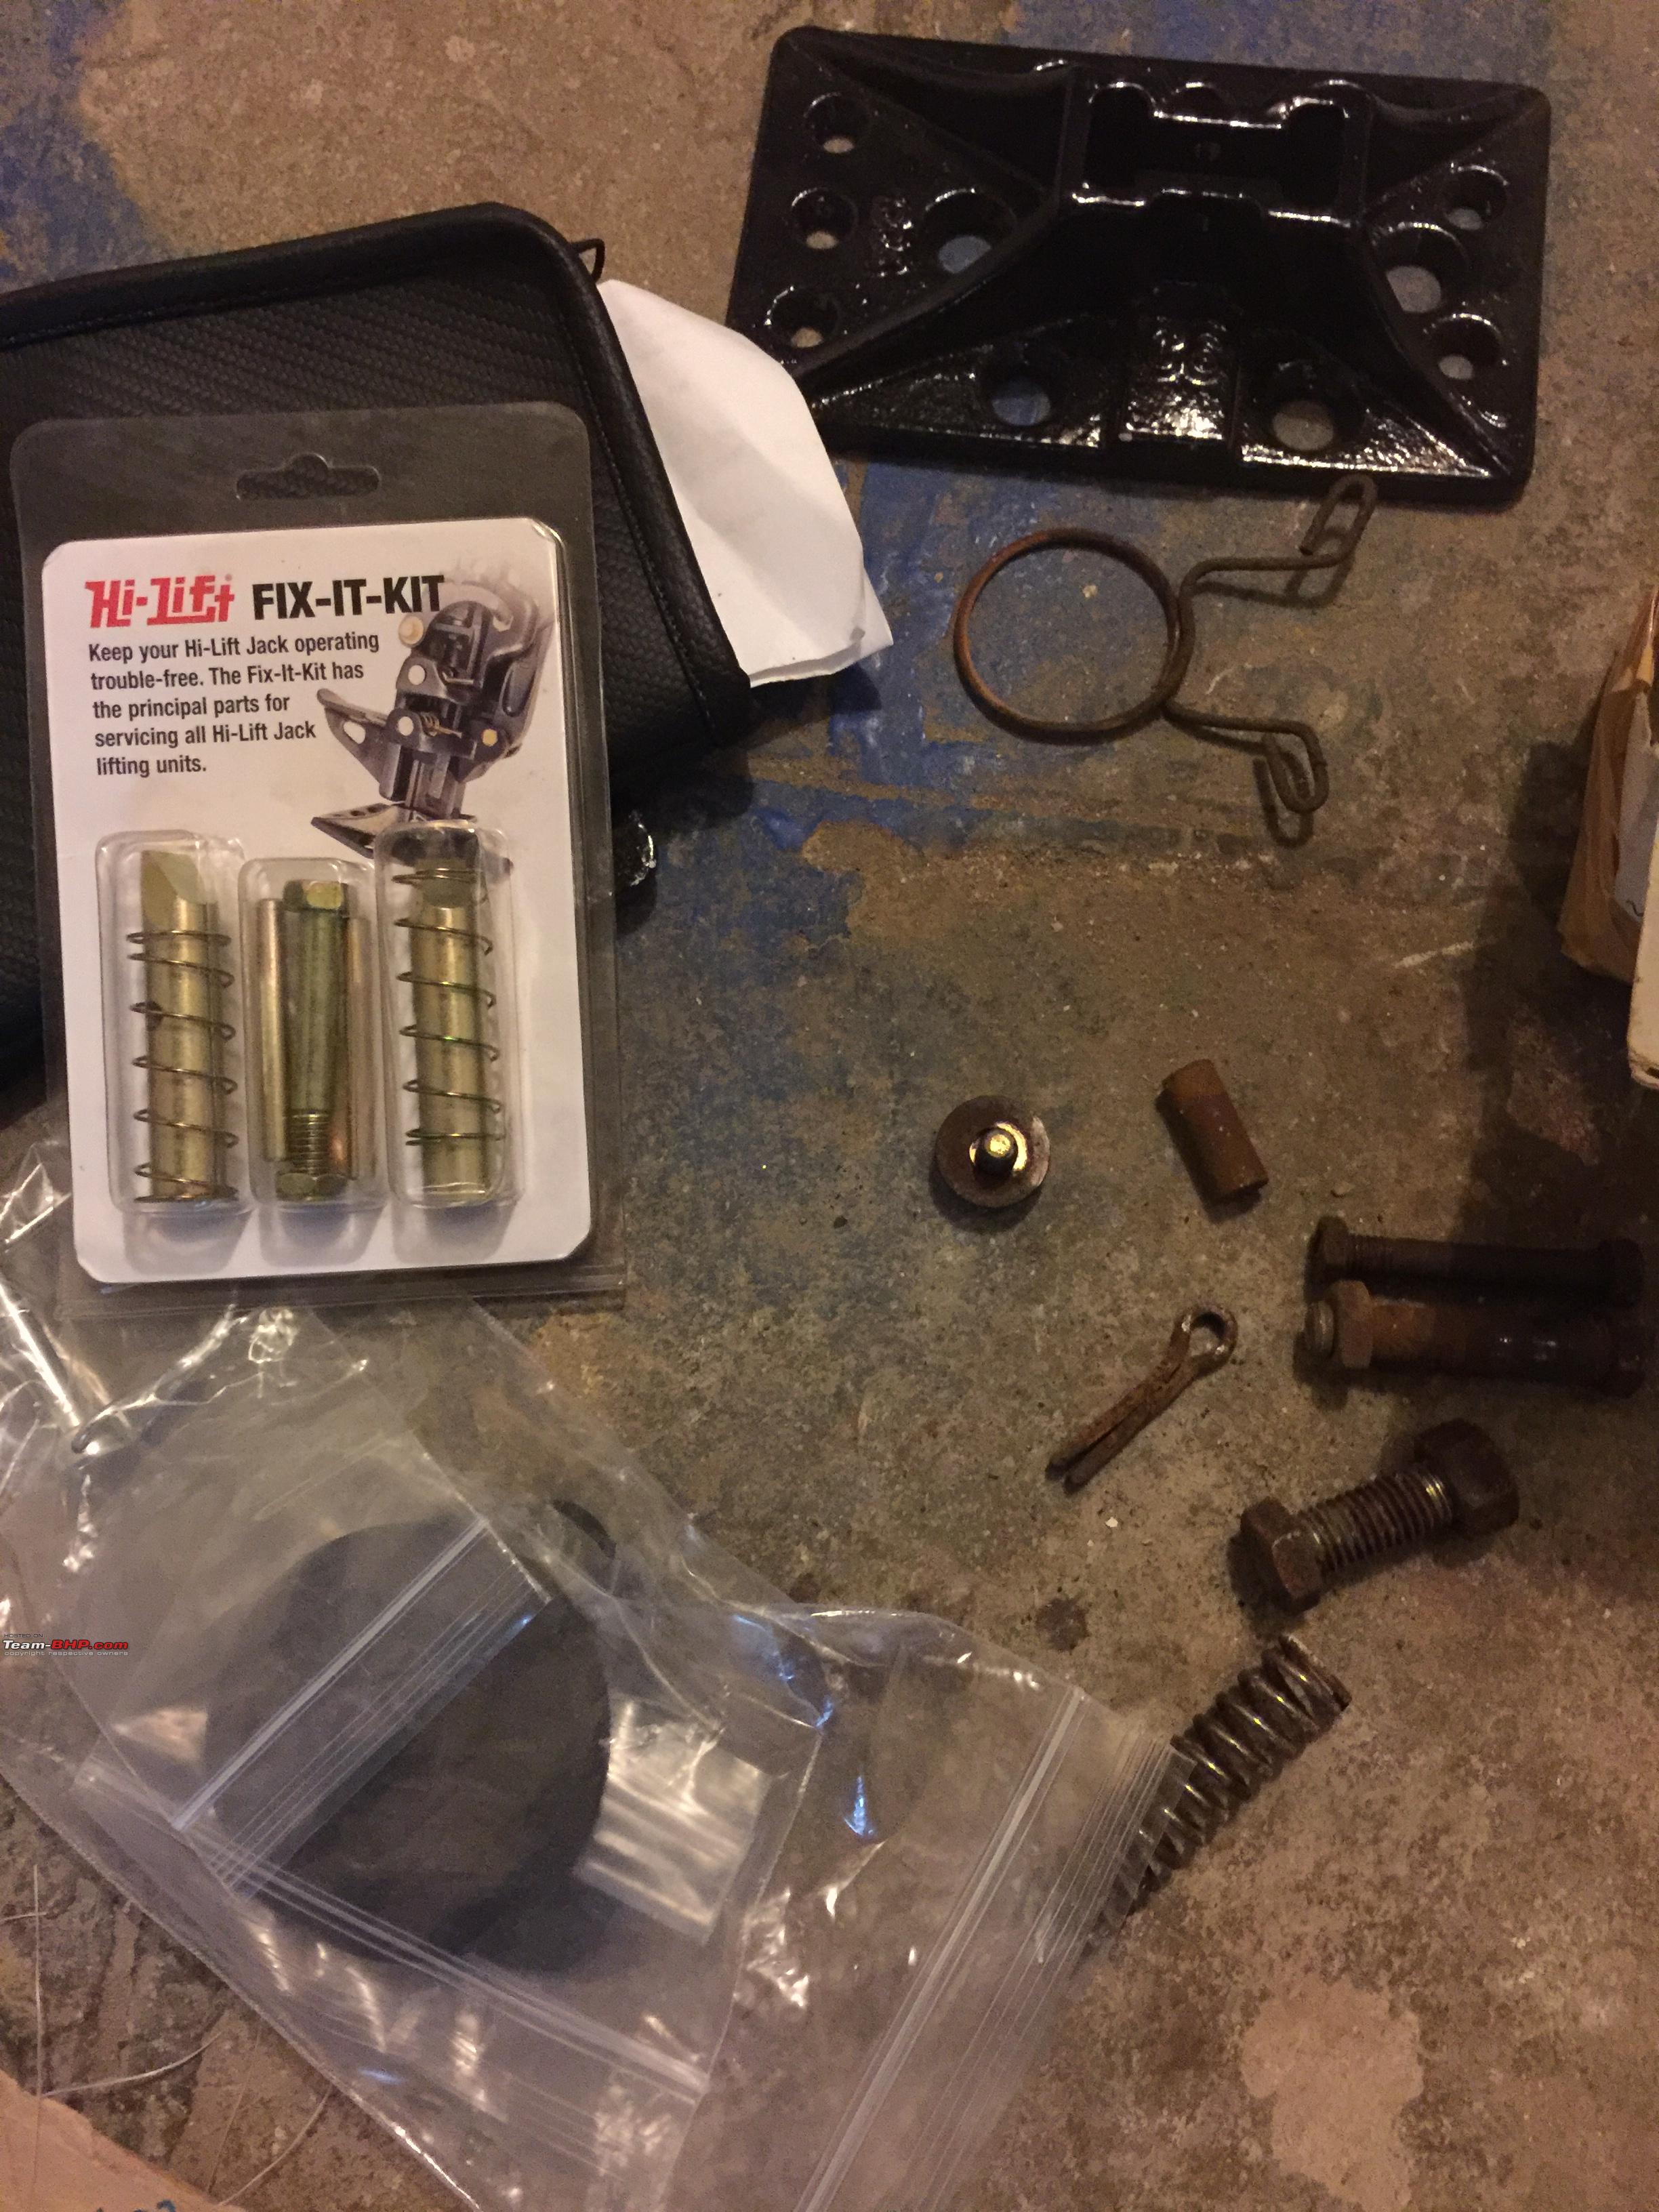
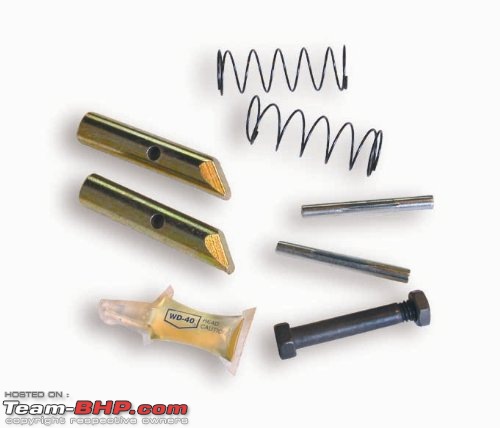
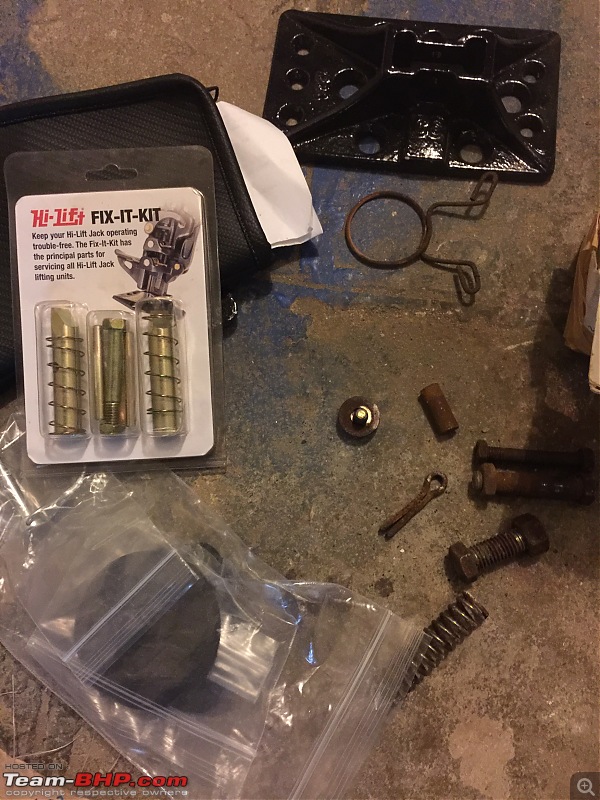
So when I decided the time for the rebuild is right, first thing I did was to get the "Fix It Kit" from Hi Lift Jack Company.
It basically has the following:
1. Climbing pins x2
2. Springs x2
3. Cross pins for the climbing pins x2
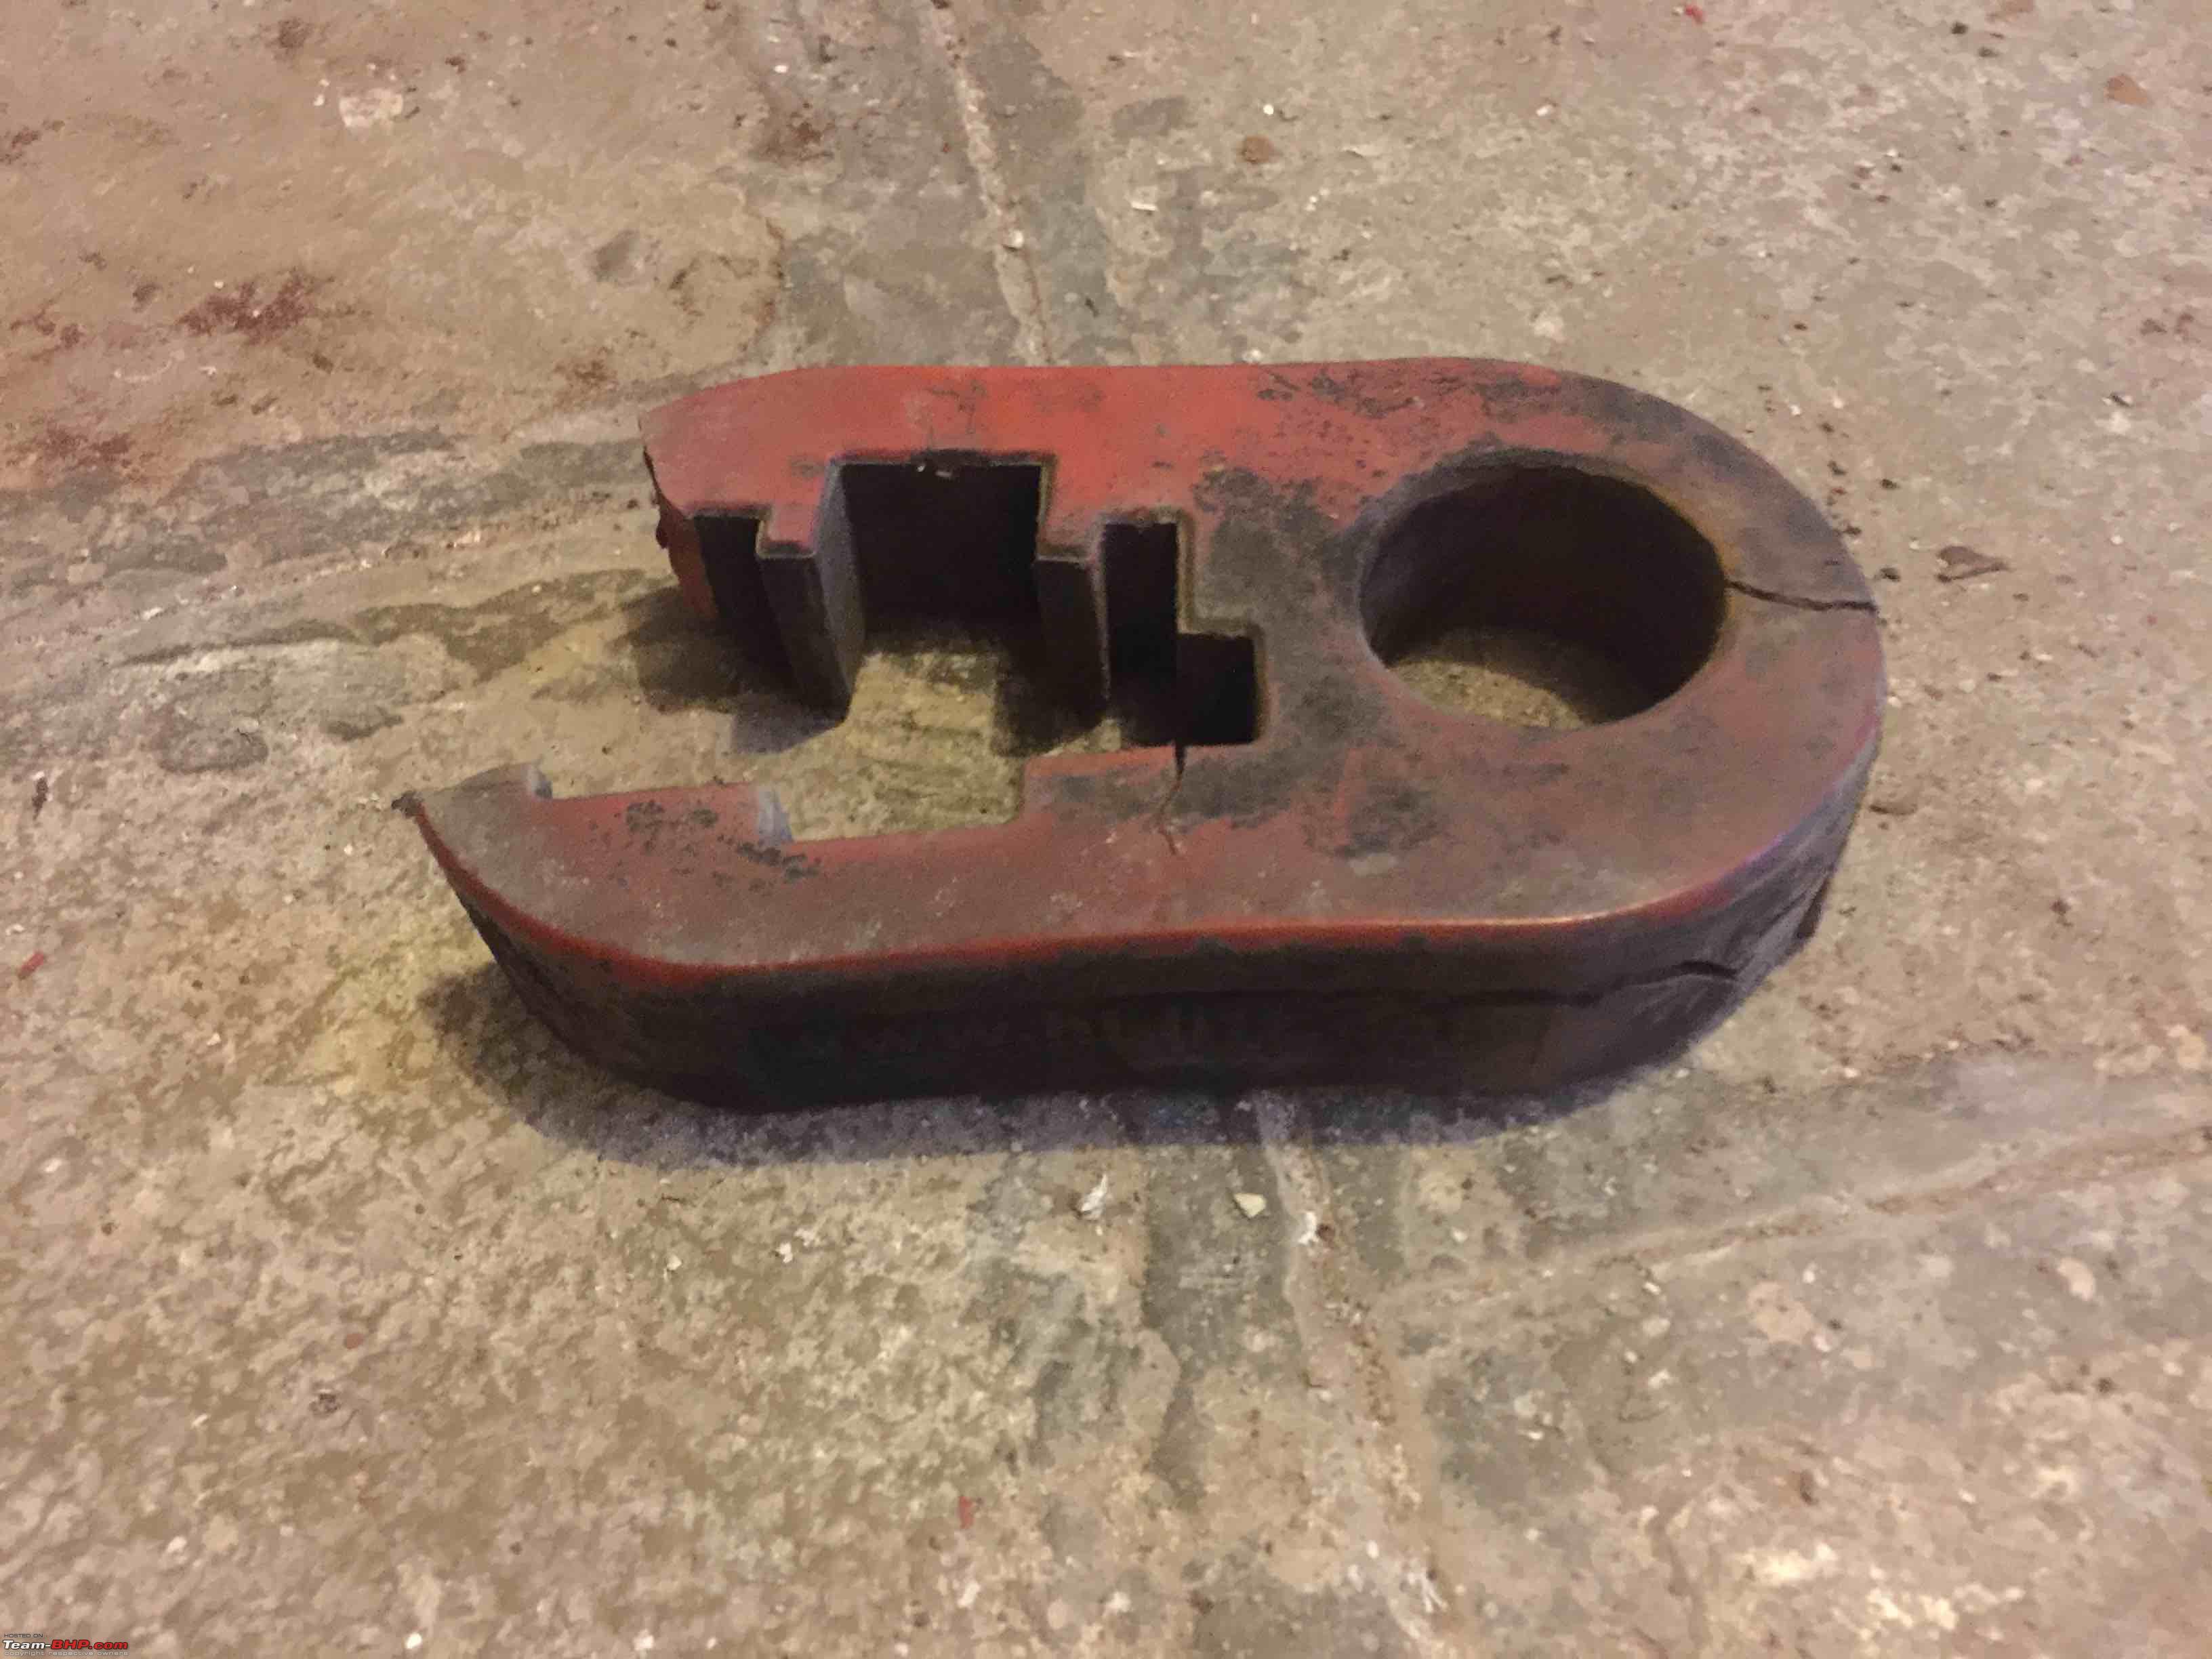
4. Shear Nut and bolt (this is an important part - it will break at 7000 pounds [~3tons] and not let you overload the jack)
5. Lubricant
The kit was sourced from Swastic Fabs from Bangalore and shipped to me immediately and reached in 48hours.

The other thing I decided was to replace all other nuts and bolts with stainless steel ones.
The stuff got sandblasted and painted and arrived from Allan's workshop.
For those who don't know Allan, he's India's top vintage car restorer.
The work done at his place is exemplary and I'm assuming the paint job to be more than the value of the jack! ;)
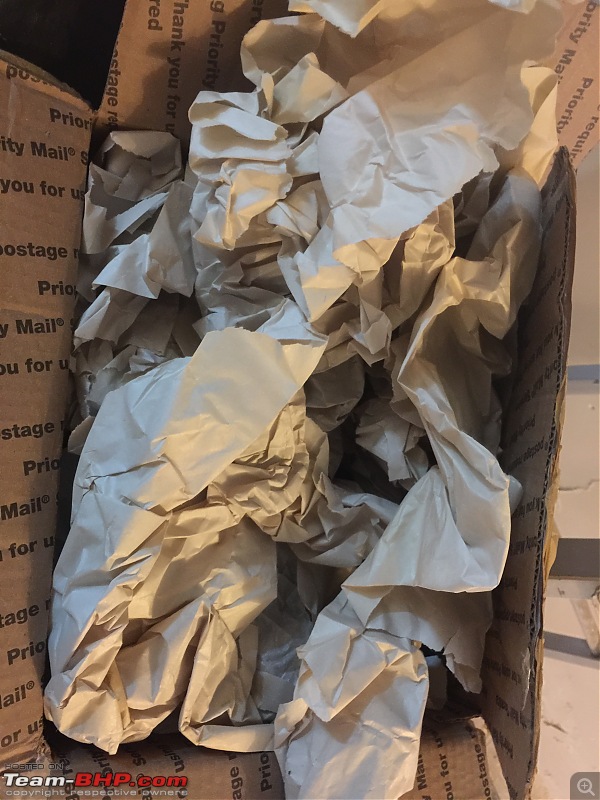
These came in packed superbly:
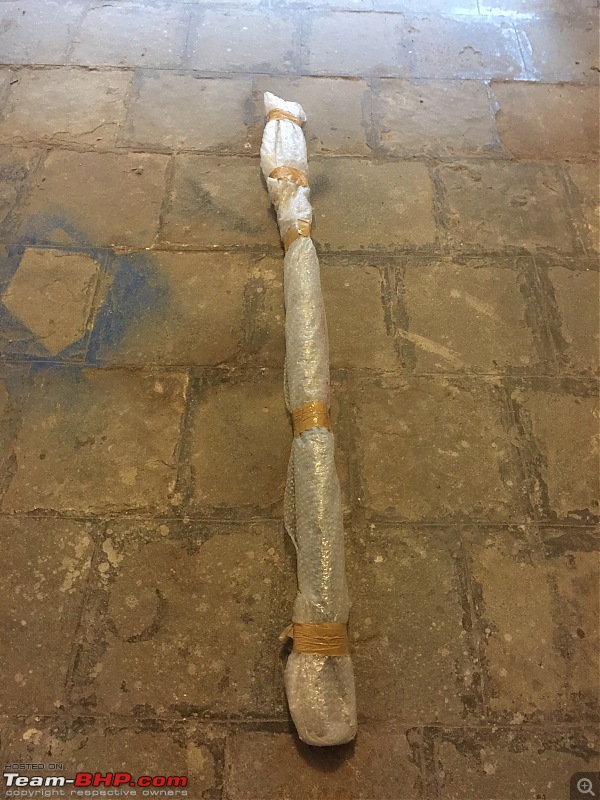
I opted to change the colour to black so it blended in with my roof rack:
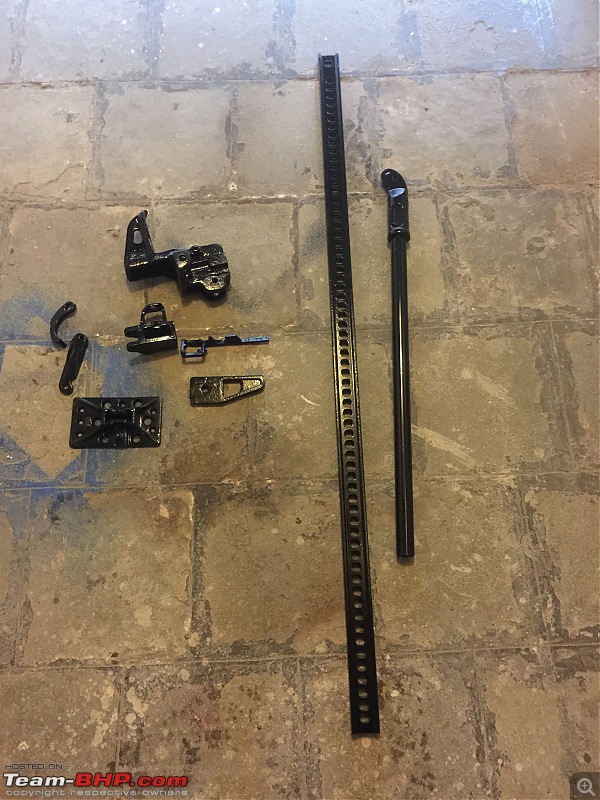
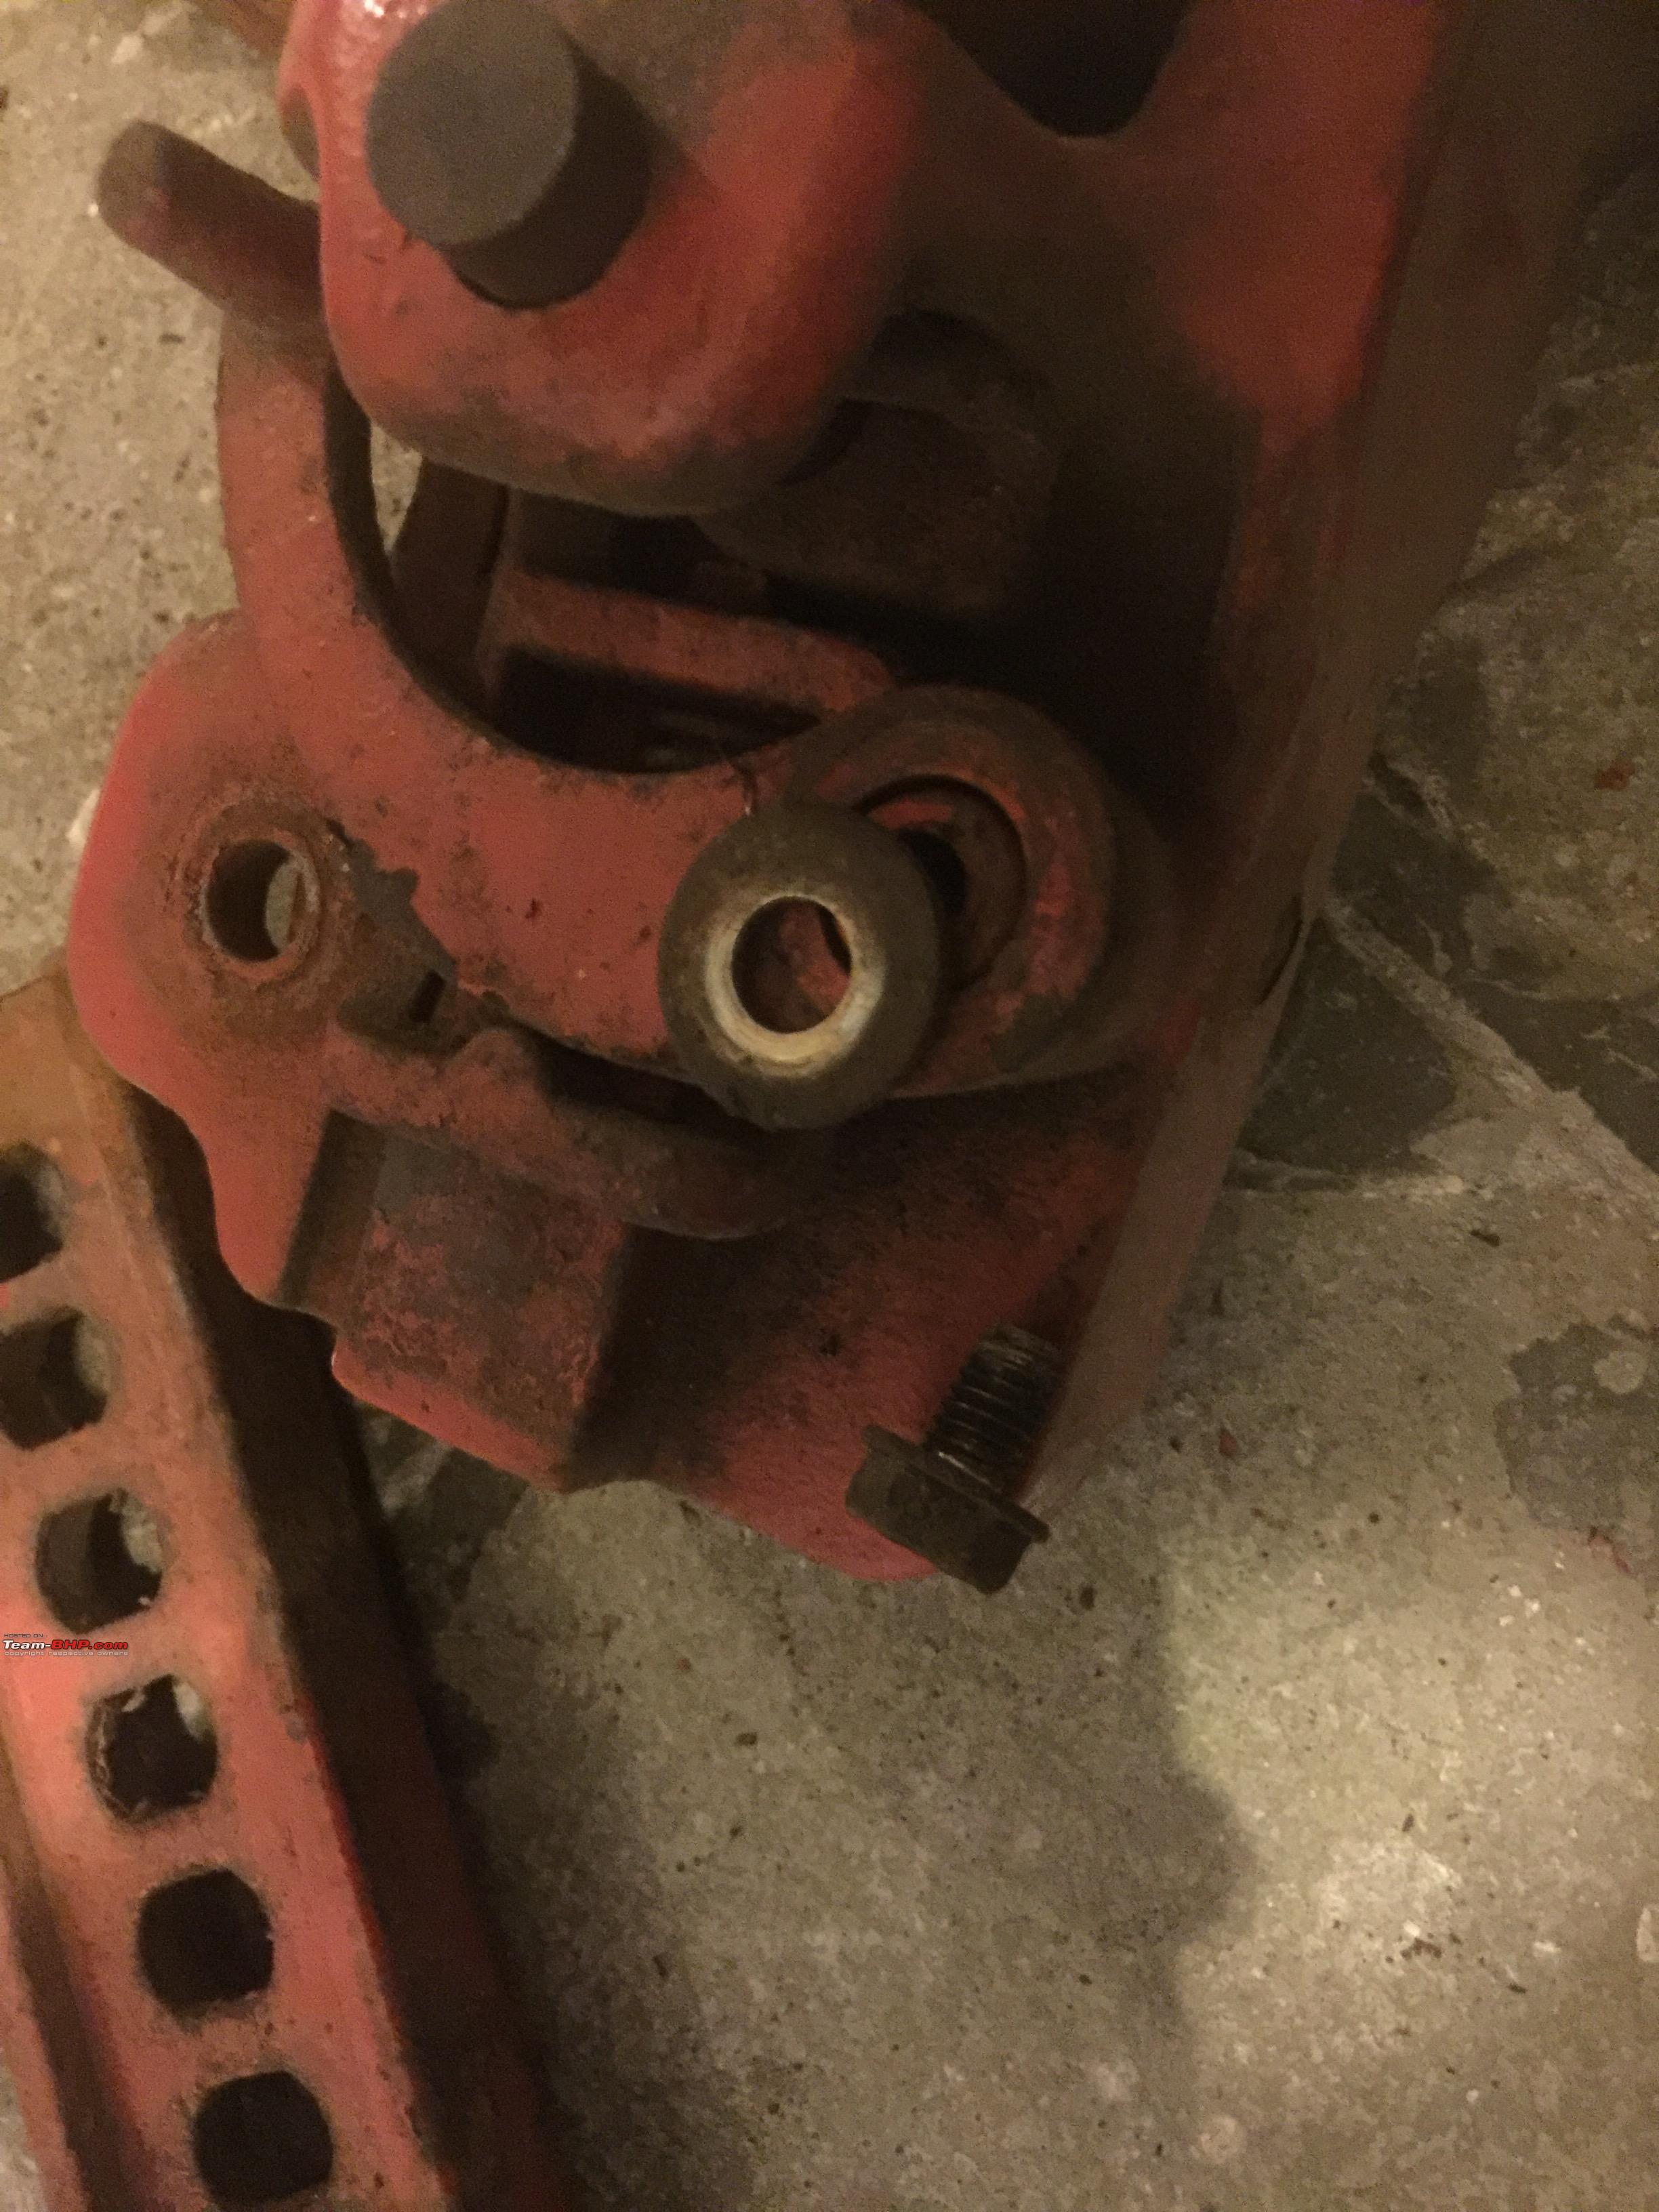
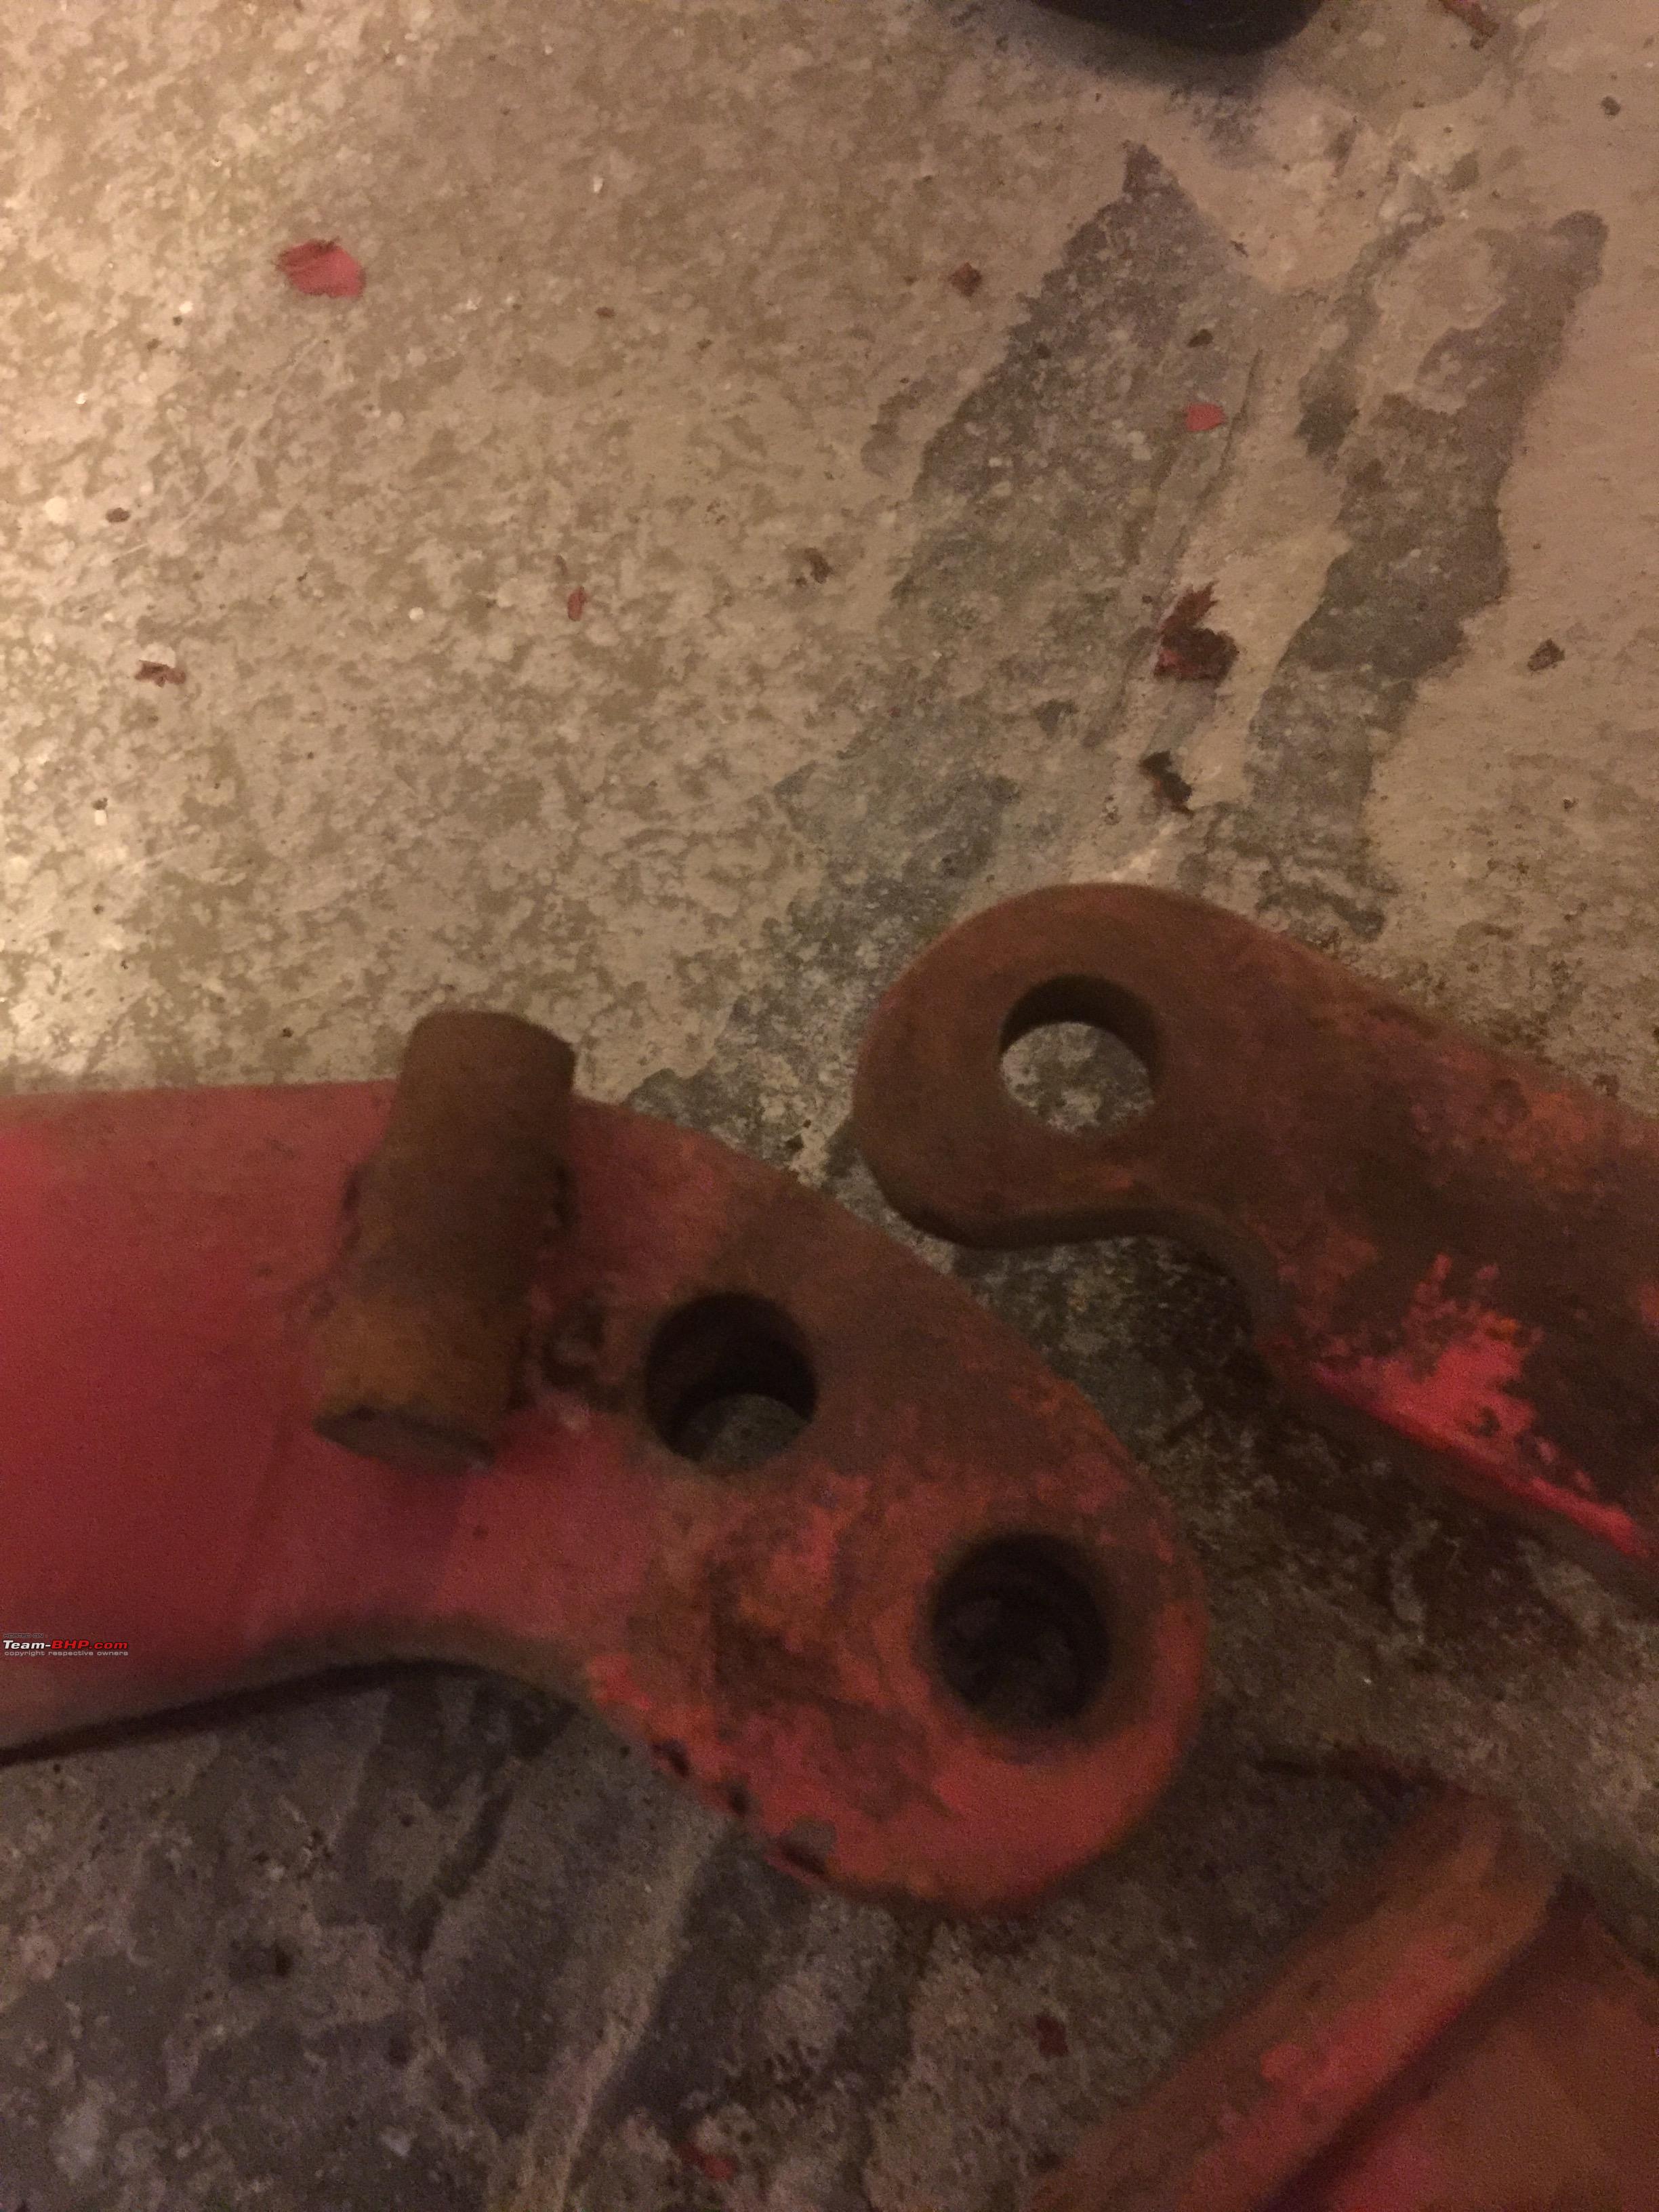
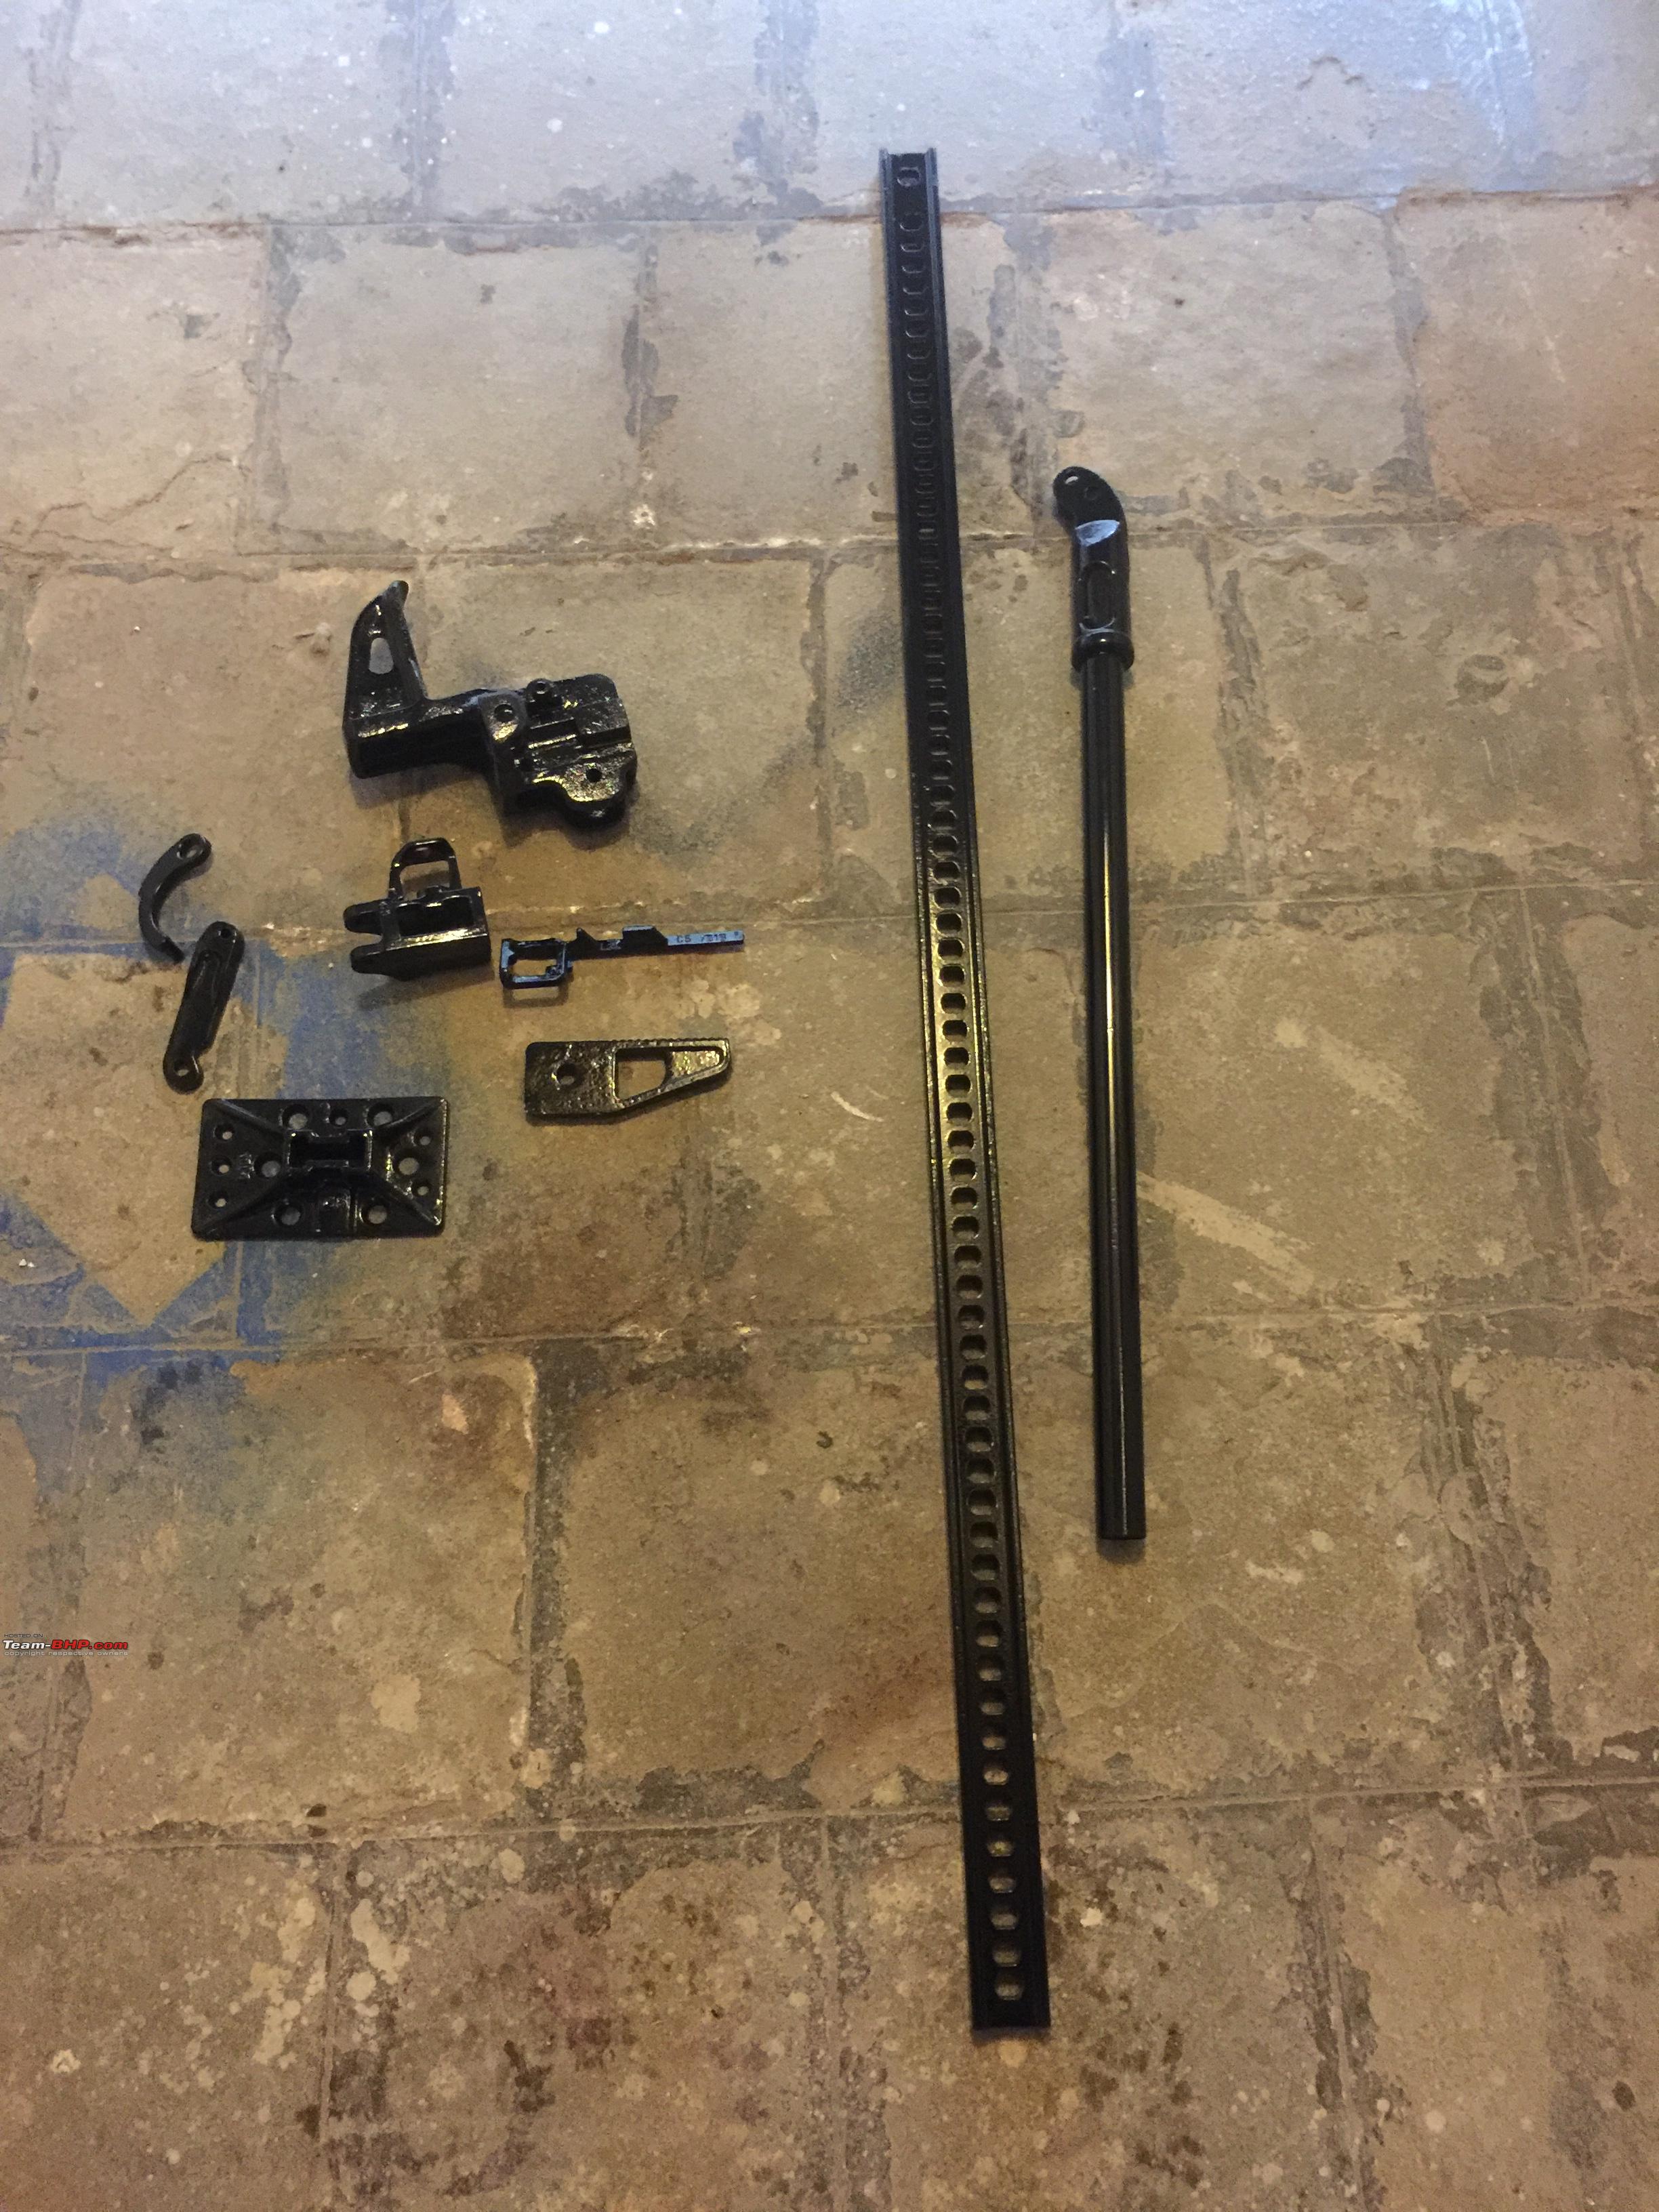
The parts from the old jack and the new service kit:
Since I was working alone, and the lighting in my garage is not great for photos, I couldn't take pics during the rebuild, but I did refer to this thread for guidance and you can do the same:
https://expeditionportal.com/forum/t...ebuild.160794/
This thread only deals with replacing the climbing pins and springs and the shear bolt. So like me if you are dismantling the entire jack, please document exactly what part goes where. Since I use my hi lift jack a lot, I knew exactly how to put it back to together.
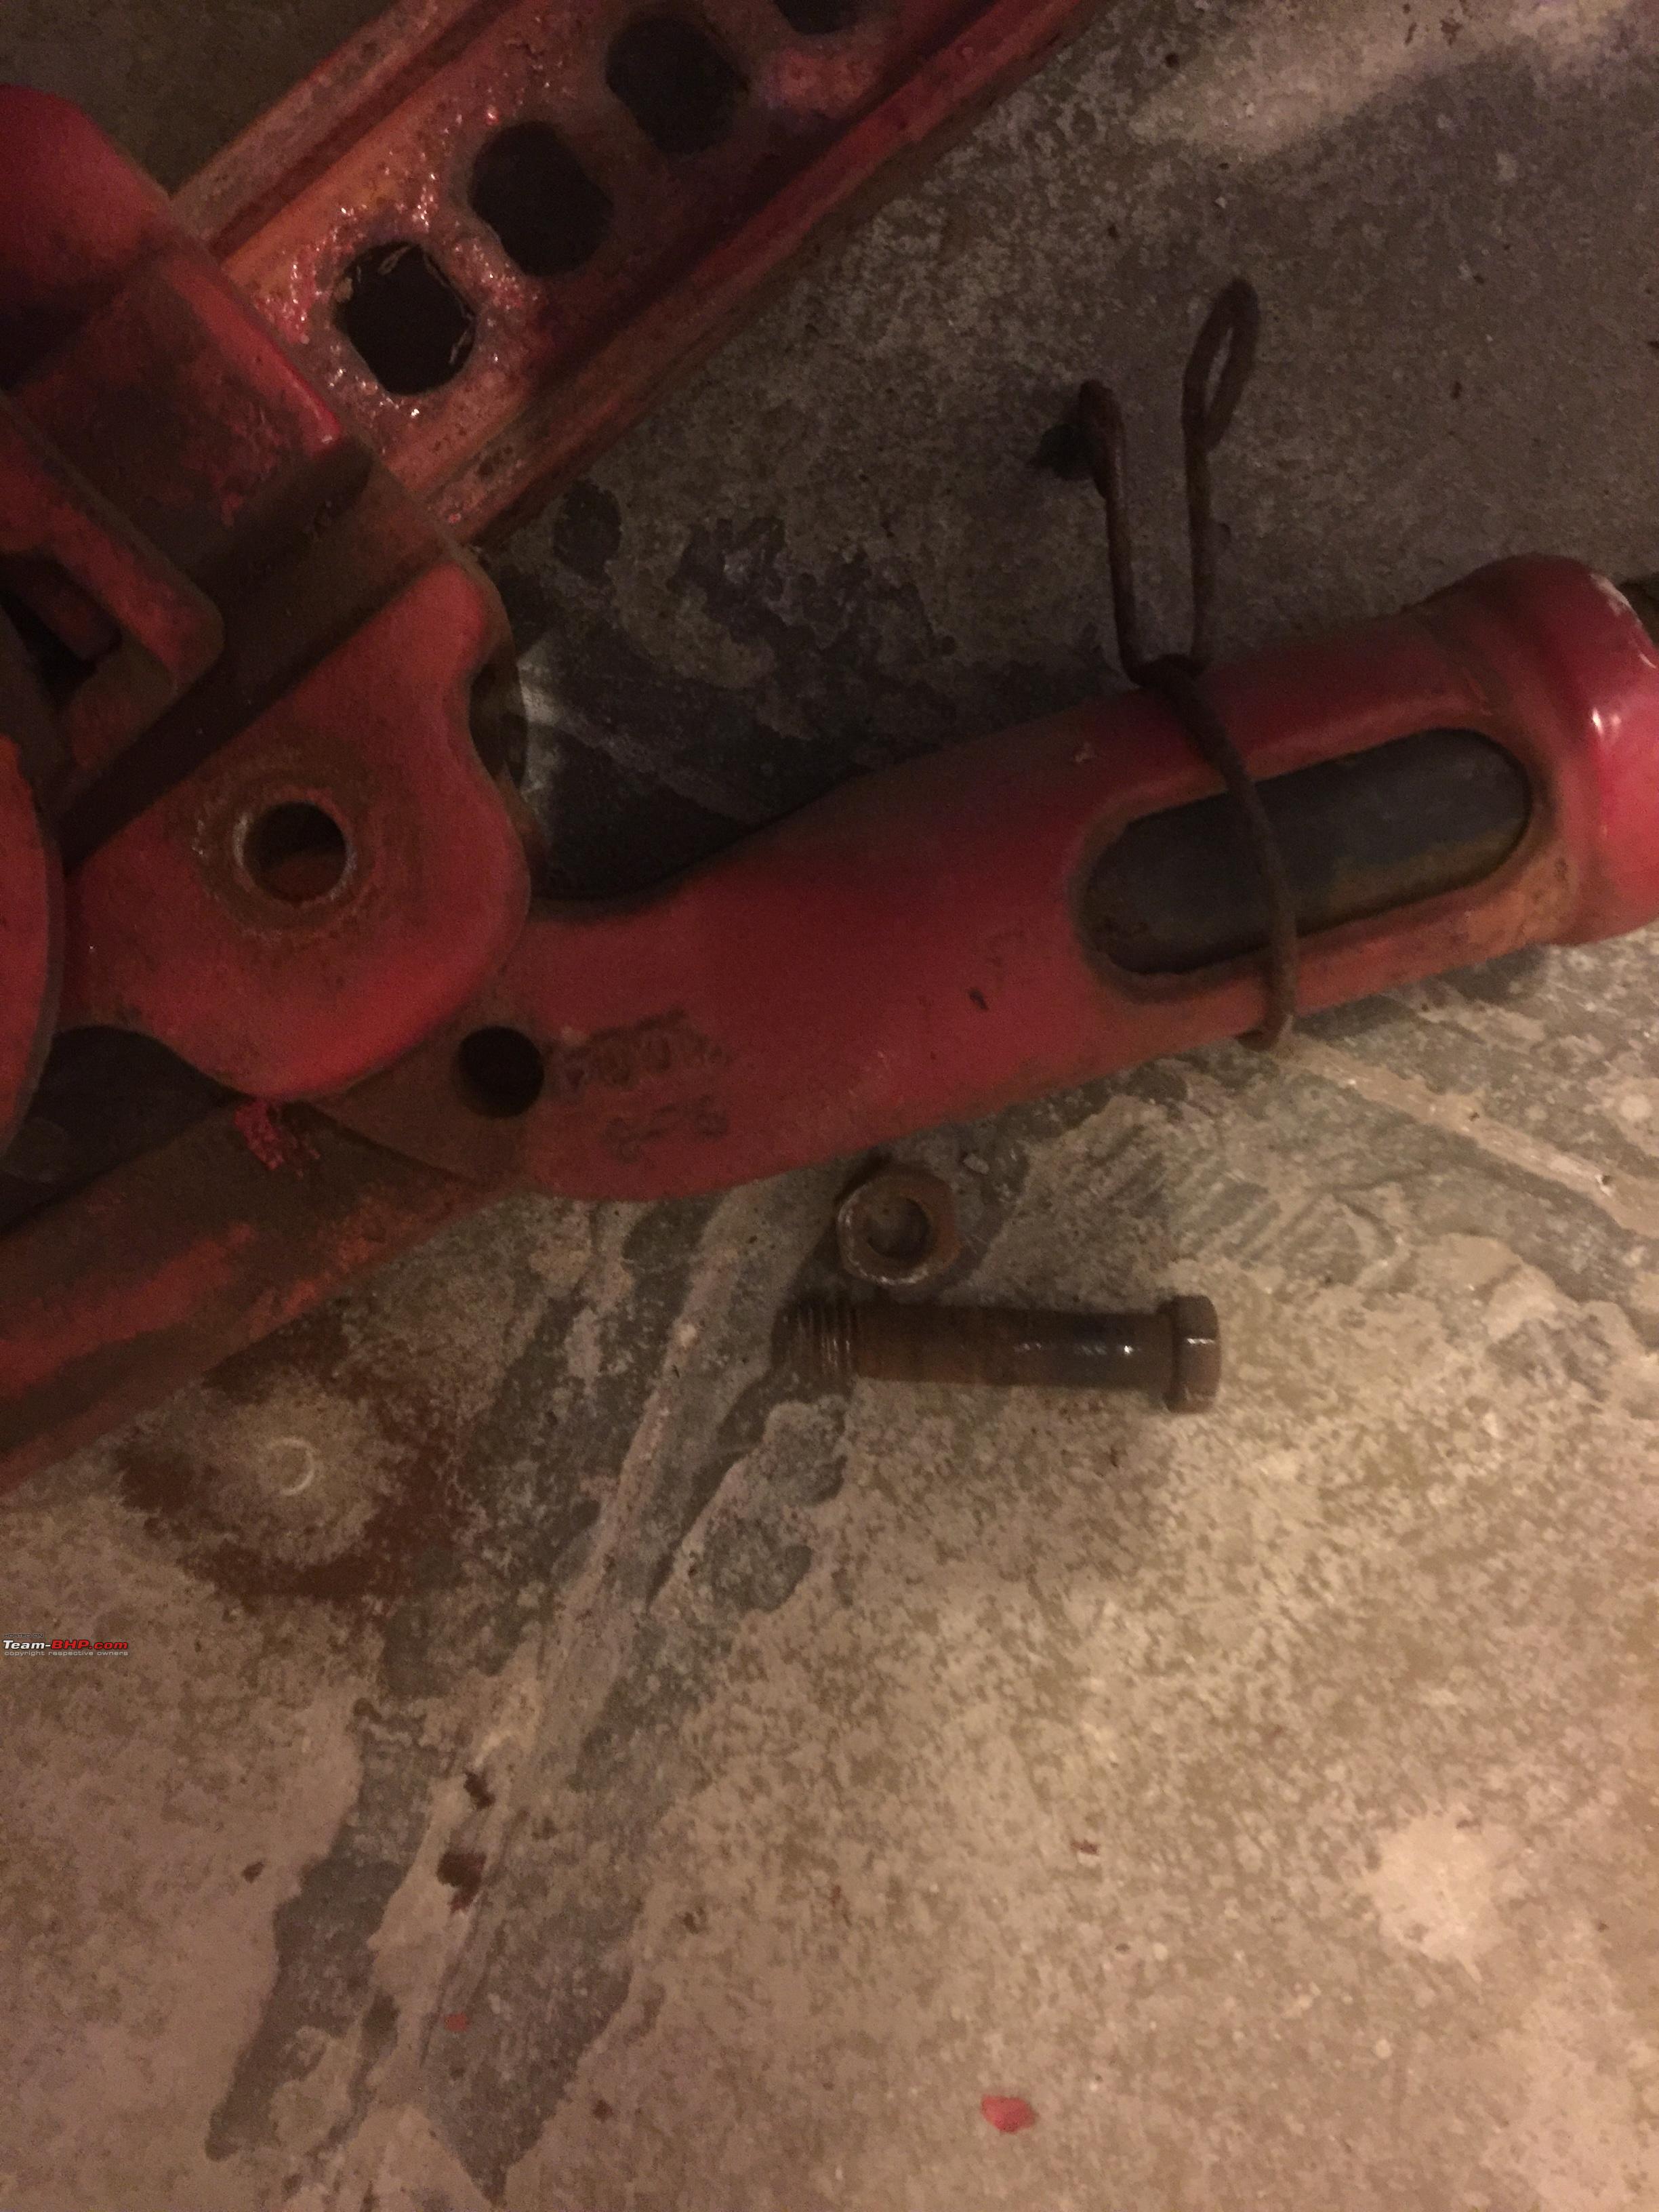
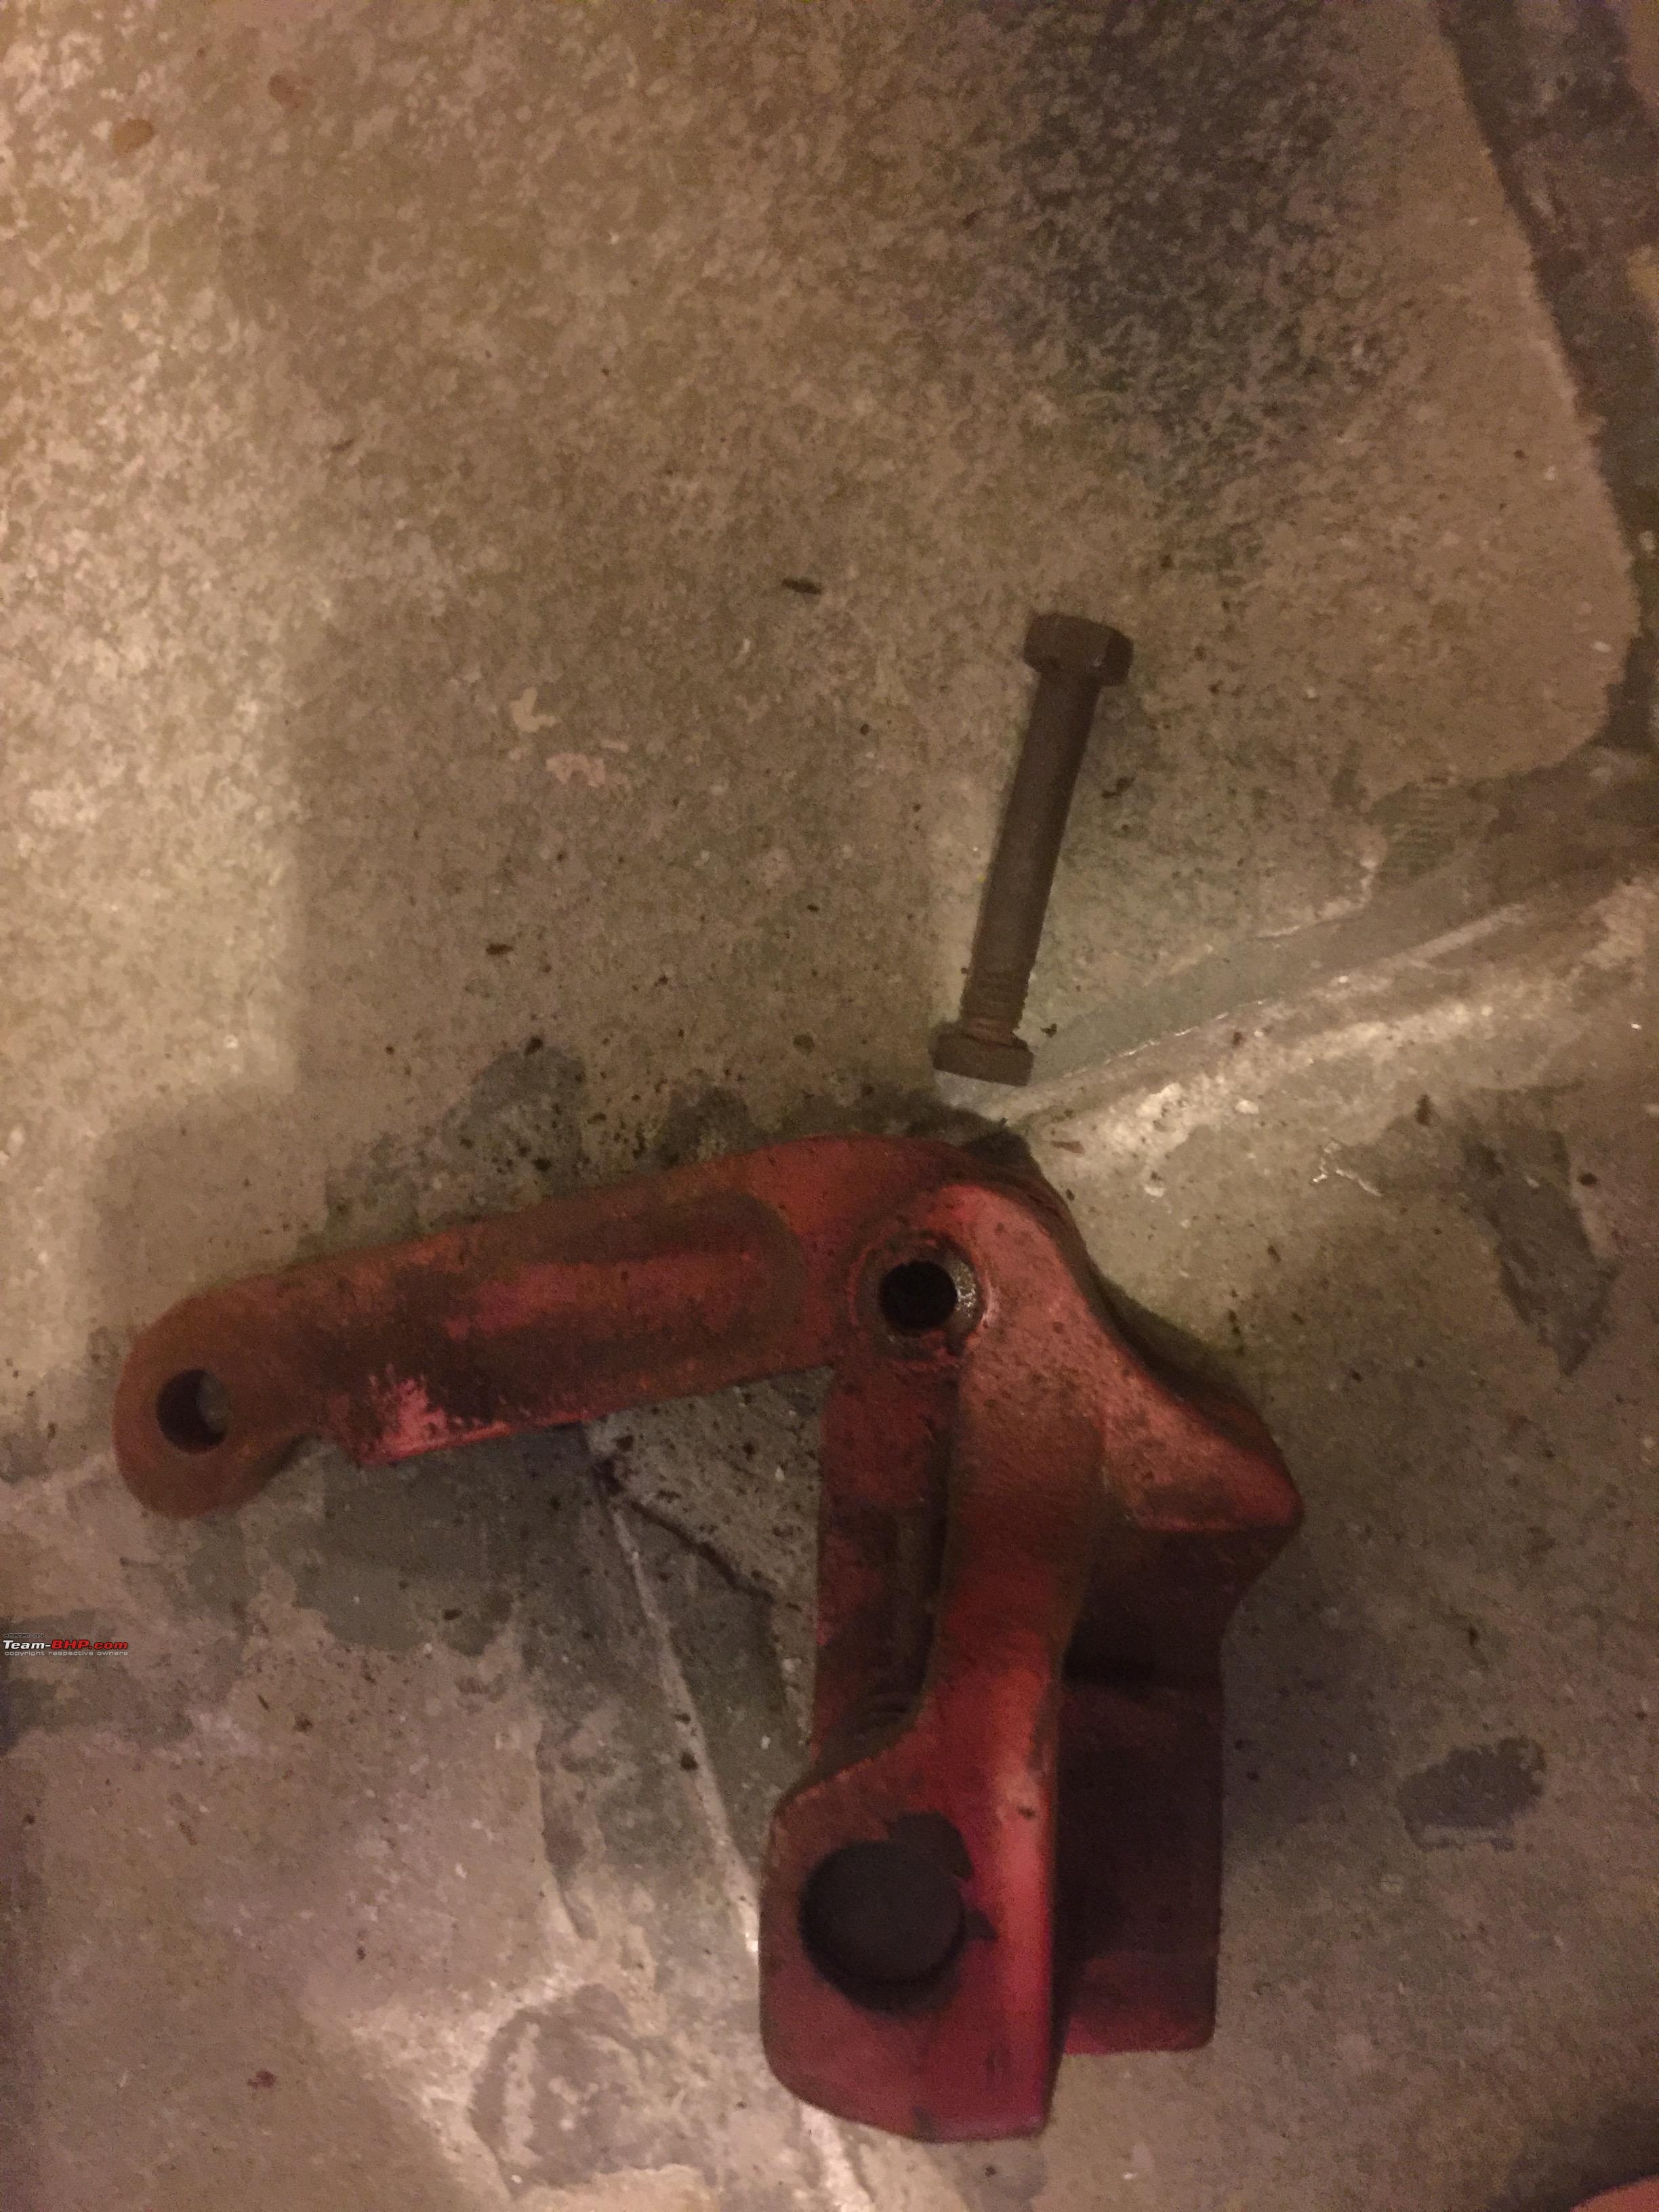
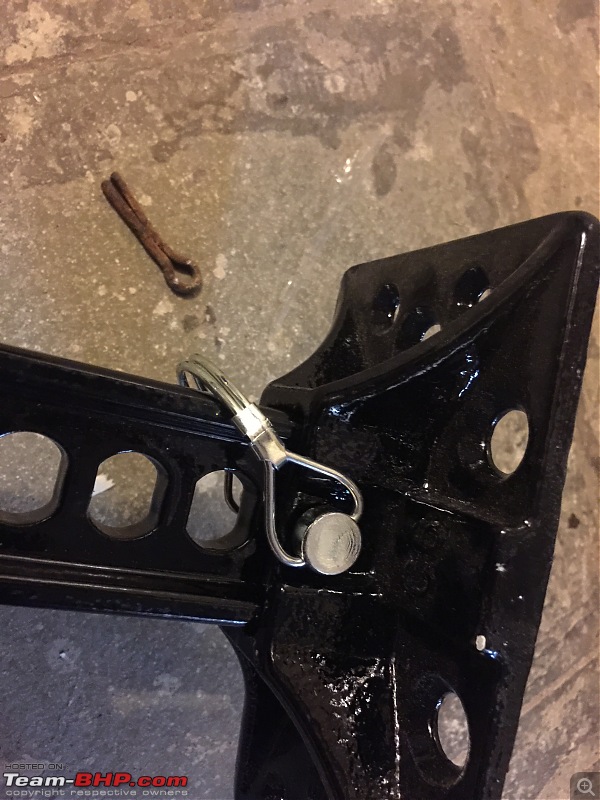
I also changed the cotter pin that holds the hi lift base to a proper lock pin. This makes it easy to remove the base plate when required.
Purchased from here:
https://step22gear.com/collections/a...plate-lock-pin 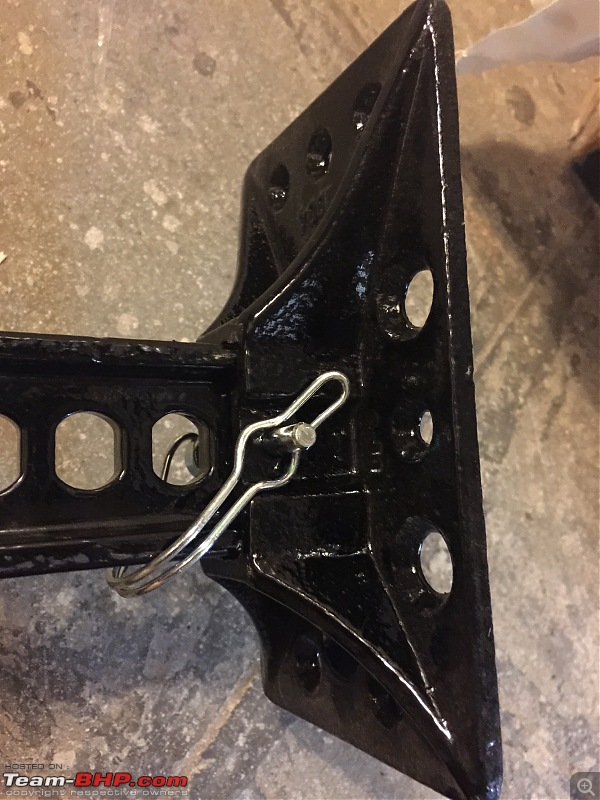
You can see the old rusted cotter pin in the background:
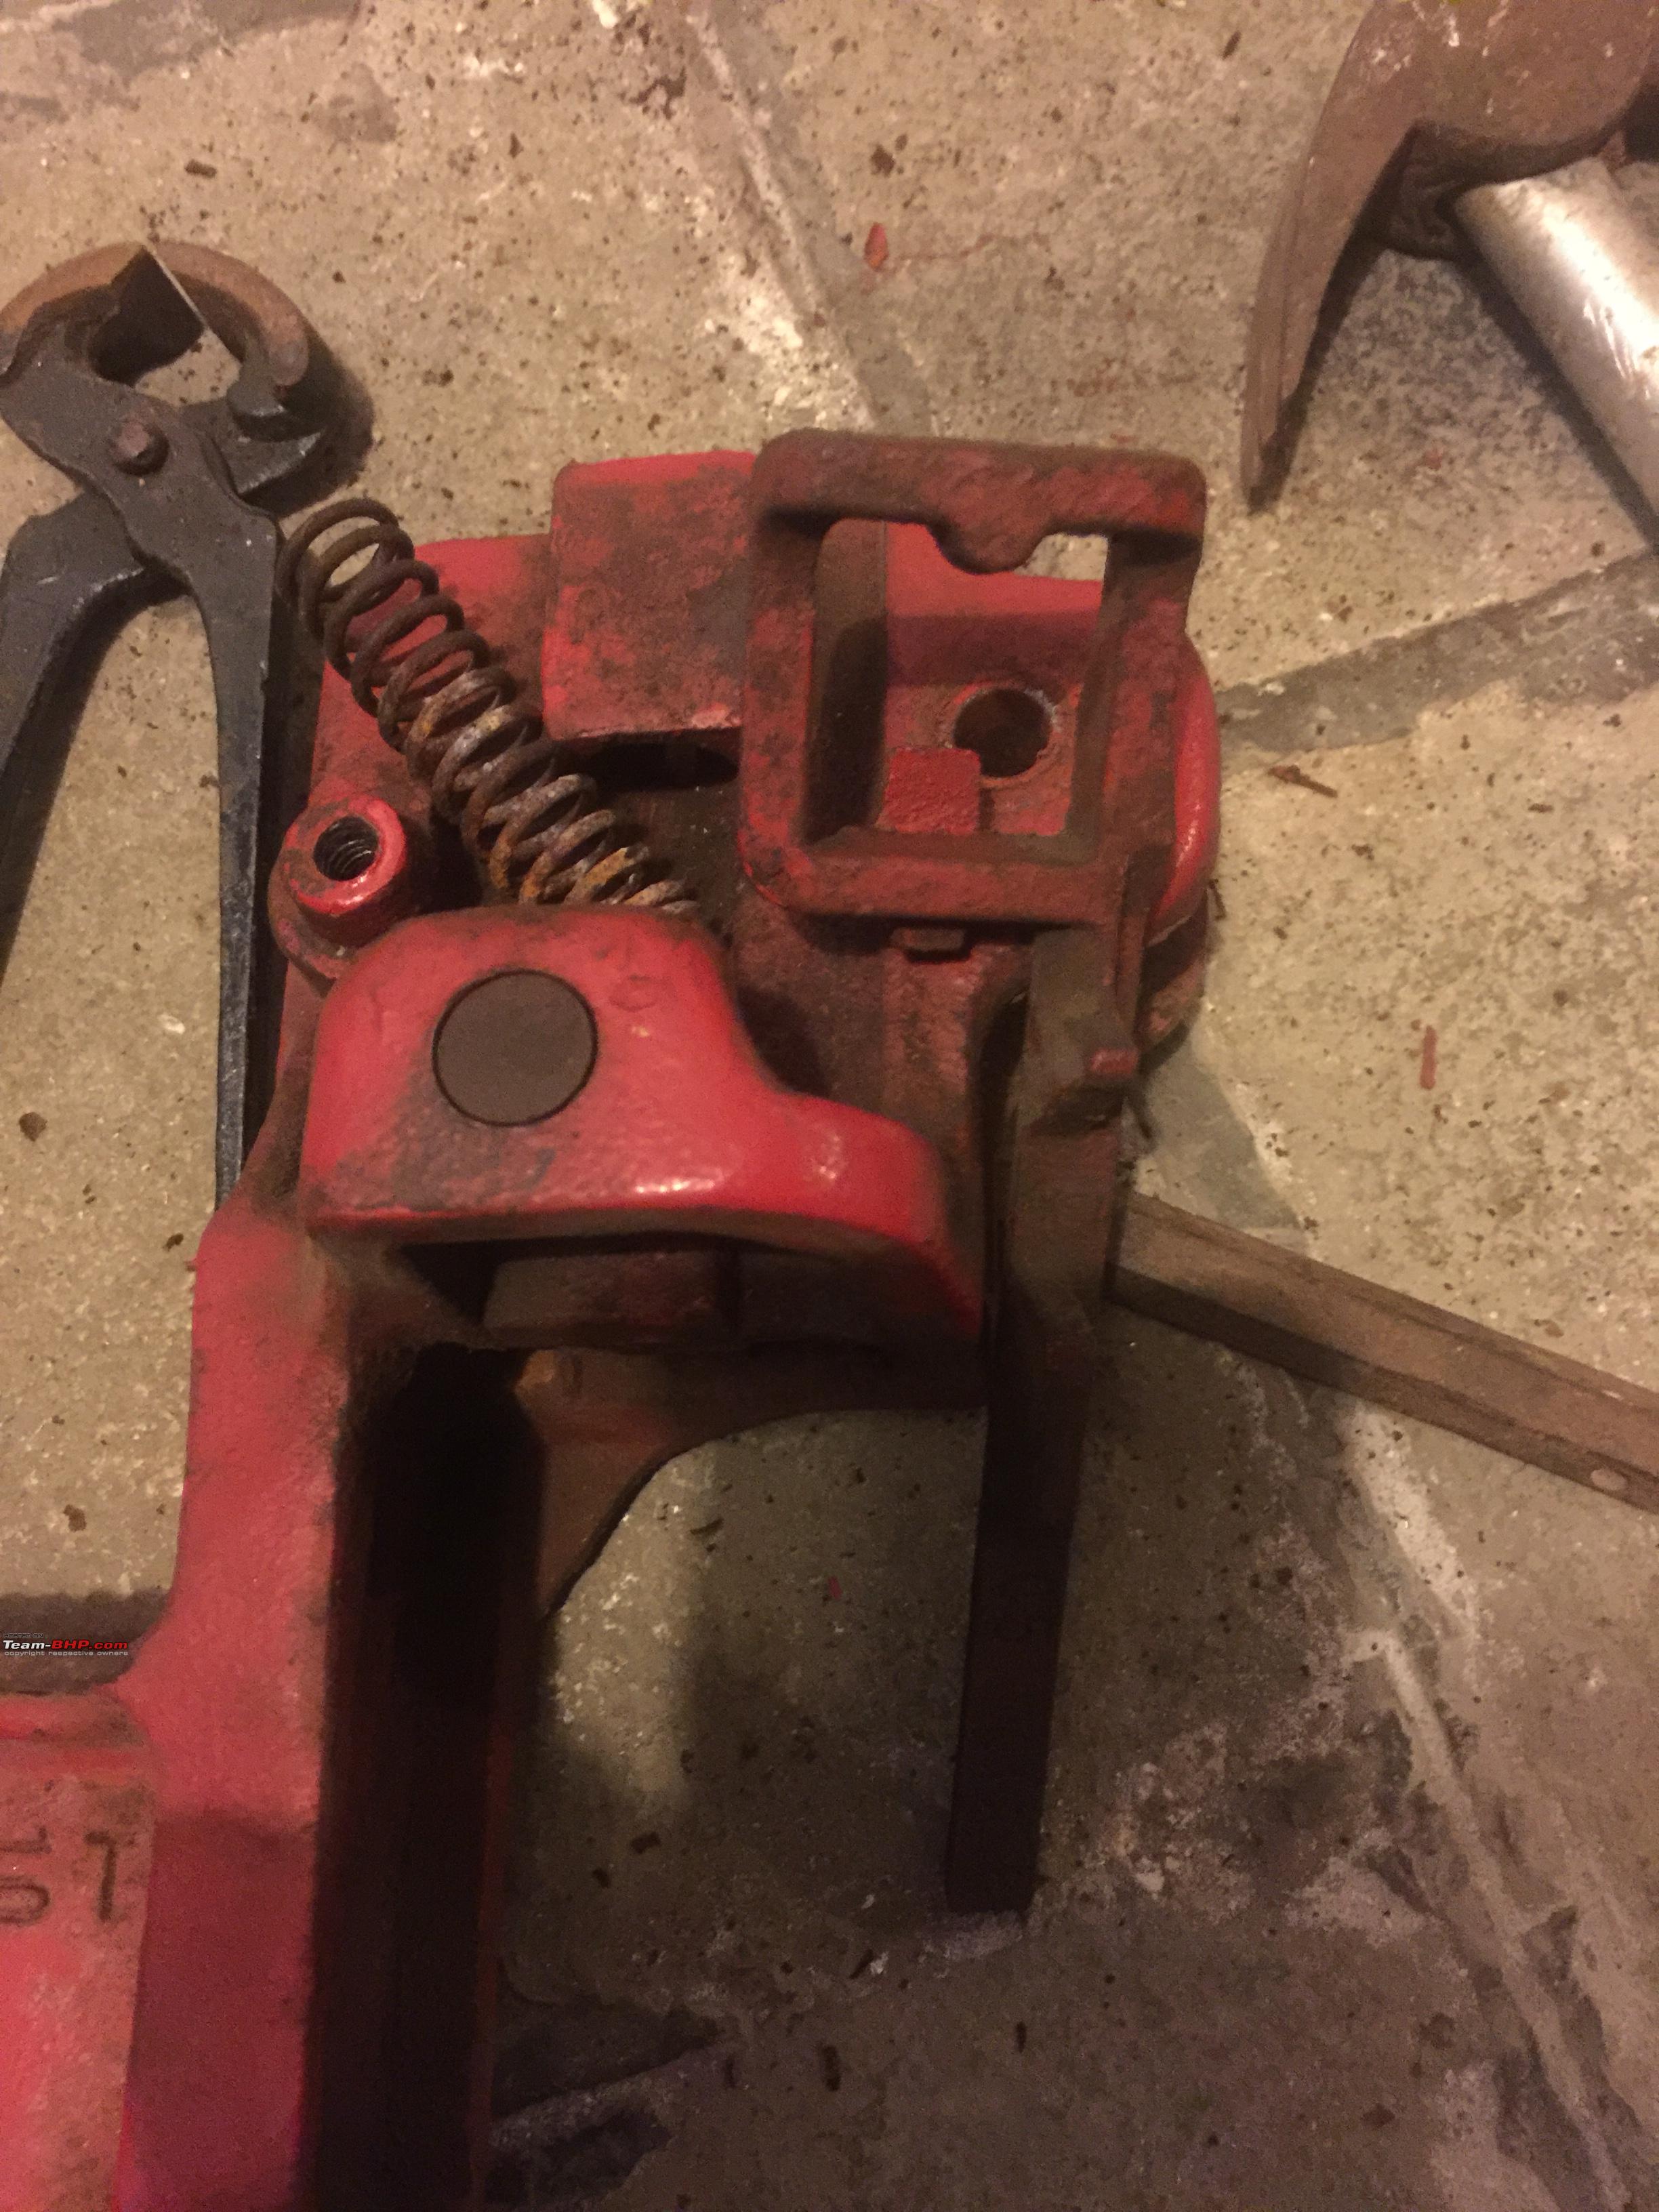
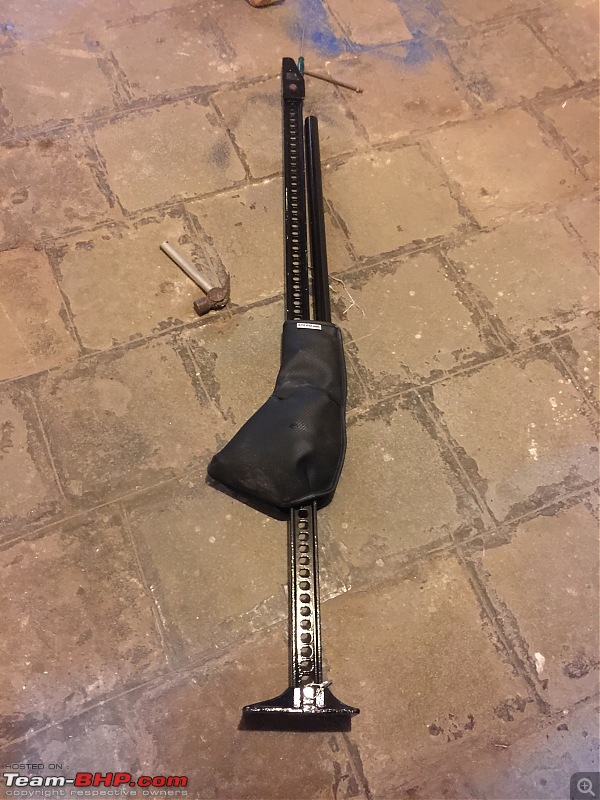
Once assembled, I lubricated the entire jack with lithium grease:
Did a few trial runs and she worked perfectly!
Put on the Step22 cover:
The full jack assembled:
I couldn't find the handle isolator - misplaced somewhere. So till I find it, I've used a velcro to hold the handle in place.
Miss points:
I thought of replacing the other bolts with SS but Hi Lift jack goes specify the ratings of these bolts so I just cleaned them and re used them rather than purchasing new ones.
I will replace the top bolt that holds the clamping plate with SS at a later date though.
| All times are GMT +5.5. The time now is 12:05. | |