Team-BHP
(
https://www.team-bhp.com/forum/)
-
Bicycles
(
https://www.team-bhp.com/forum/bicycles/)
- -
The Bicycles thread
(
https://www.team-bhp.com/forum/bicycles/20785-bicycles-thread-178.html)
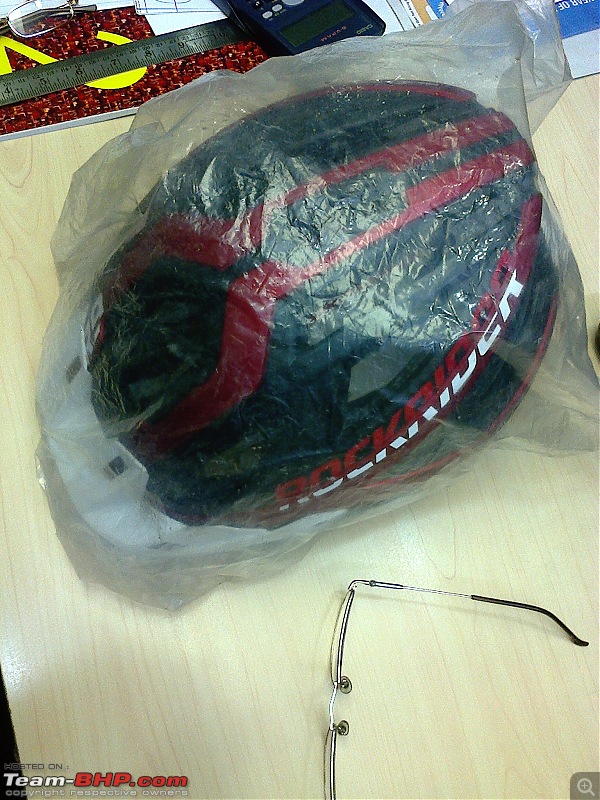
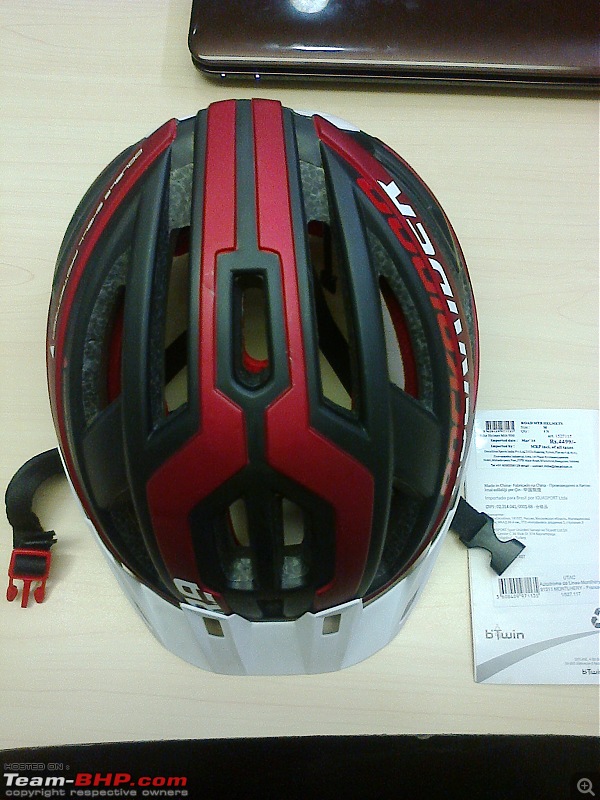
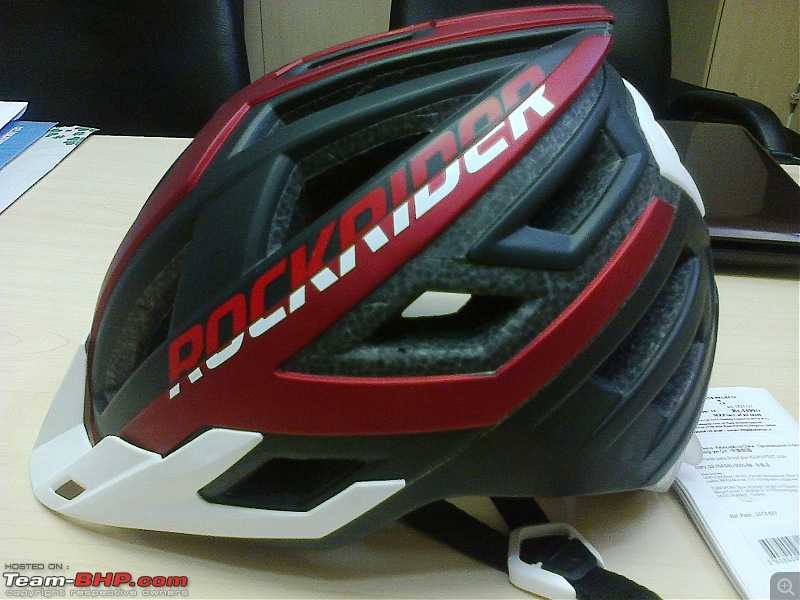
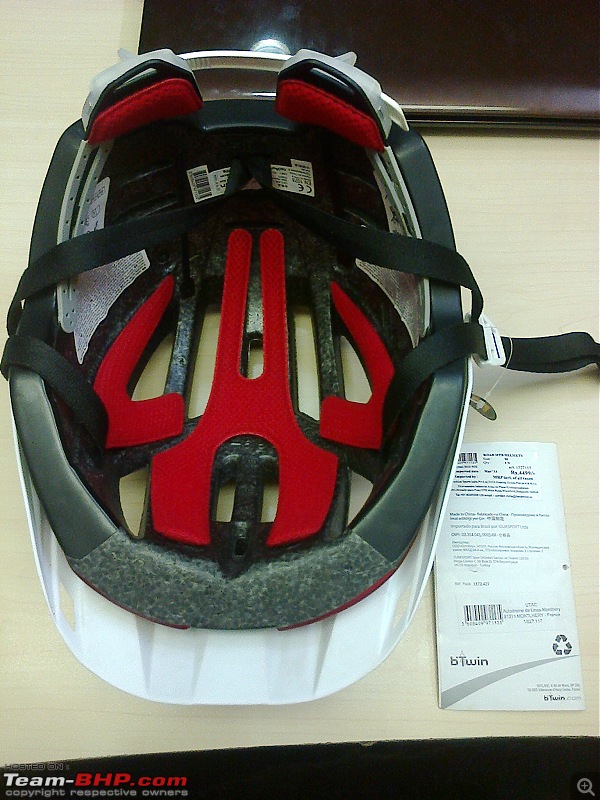
After a lot of follow-up and phone calls, managed to trace and snare the last remaining piece of the Btwin Road 900 helmet from their warehouse in Bangalore.
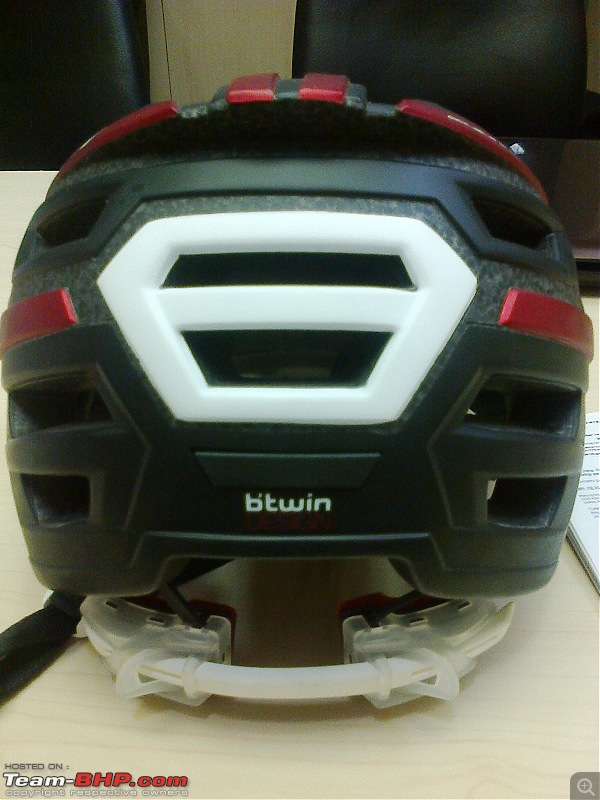
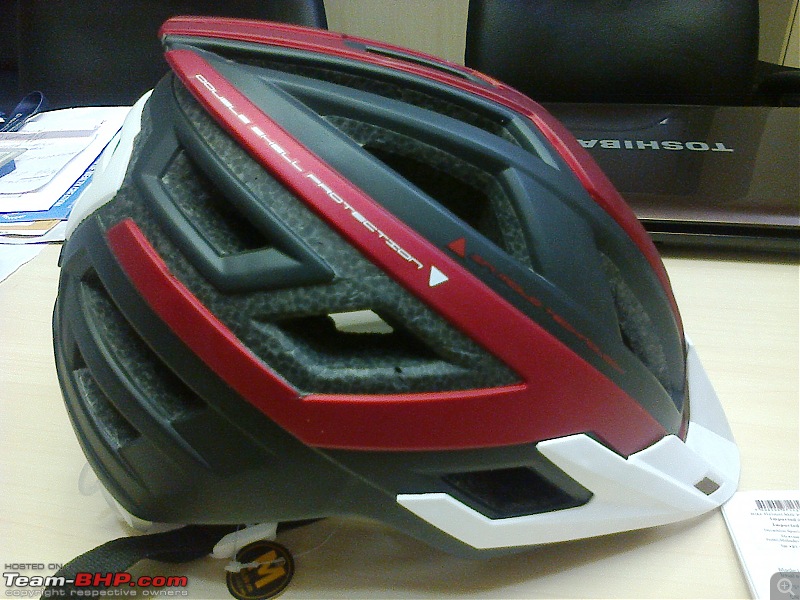
Today finally got my hands on it, and I simply love the quality and the fit. Its got 21 vents, is really lightweight, well padded on the inside, has a detachable peak, and the best part, I got a massive discount (its their costliest and top of the range helmet, retailing for Rs. 4,499/-) as the model has been stopped in India and this was a solitary piece left behind.
Some photos -
Quote:
Originally Posted by shipnil
(Post 3736415)
Not sure if you have done this but have you tried to completely unscrew the cable from derailleur then put it back with good tension (not maximum, it creates its own issues) and then adjust the barrel adjuster? Without this however much you adjust the barrel adjuster, it would still not give you enough tension to set it right.
I am not sure how significant role original vs. any indian cable would play in addressing the issue, but the most important issue is the movement has to be very smooth through the outer. The outer needs to be changed only if the new cable does not move freely.
|
Ya will try that when I replace the cable. Do the gears need to be in any specific position when the cable is replaced? Like 2 font and 3 or 4 rear (mine is a 3x6 speed).
As for the Shimano vs Indian, nothing specific. Just getting a Shimano one, so it should be better than the others available (Suncross, Btwin, local cycle shop derailleur wires, etc.)
Quote:
Originally Posted by ebonho
(Post 3736571)
Ya will try that when I replace the cable. Do the gears need to be in any specific position when the cable is replaced? Like 2 font and 3 or 4 rear (mine is a 3x6 speed).
|
Whenever you change any gear cable, always shift the derailleur to smallest cog. So in case front, it would be 1 and for rear it would be 6. I assume you are replacing both the cables. Do you have problems with both shifters? Otherwise you should stick to the saying, don't fix it if it ain't broke.
Quote:
Originally Posted by shipnil
(Post 3736621)
Whenever you change any gear cable, always shift the derailleur to smallest cog. So in case front, it would be 1 and for rear it would be 6. I assume you are replacing both the cables. Do you have problems with both shifters? Otherwise you should stick to the saying, don't fix it if it ain't broke.
|
Thanks for that tip about selection of the respective gear cog buddy.
No, I agree. Am a firm believer of the JIT school of vehicle maintenance. Which encompasses both sub-schools - (1) Don't fix something that ain't broke; and (2) Get the optimal bang for your buck - translating to getting the optimal life out of every bit of the vehicle one has paid for. Which includes not replacing OE parts on a brand or near new vehicle in an effort to modify it, without having used the OE parts it came with for a reasonable part of their functional life (even Bullet OE exhausts :)).
So no, the rear derailleur is working just fine and dandy, the cable end isn't frayed with individual strands all over the place like the front derailleur cable (the open end after the pinch bolt), so it stays as is.
Could not find a better place to post this:
Any fellow cyclists from West Delhi who are interested in short early morning weekend rides?
The definition of short is still not defined. Maybe West Delhi - India Gate types for starters.
Thanks
A long shout to folks who might have any bit of info.
Any feedback on Marin Cortina cyclocross bikes - getting a good deal on an old(er) model.
I'm a new poster here. :D
So, we have a Hercules Top Gear Ezy DX at home. (Yes, it is "quite" old)
We are looking to restore it. From the lookover this morning, I could see the chain being completely rusted and the entire front end(handlebar, handlebar stem, front wheel, everything!) is disassembled.
Problem being, we were looking to restore the cycle, gave it to a friendly mechanic, who asked for the parts, we got him the parts, but the restoration was very slow. He finally stopped working and we got it back home. The cycle and the new parts were left to the elements and is a mess now. I will be taking this up as a weekend project. But have no prior experience with rebuilding something from scratch. I have never worked with steel ball bearings before. So this seems like a huge learning curve and would love to have a guide.
Any volunteers? :)
I am slightly above amateur when it comes to DIY. I regularly set the tappets on my motorcycle and do some minor tinkering on it. So I will not need babysitting, just guidelines on how to go about things.
I am not particularly keen on buying a new bicycle as the bicycle is definitely in salvageable condition and will cost less to restore than to buy a new one altogether.
This is the model:
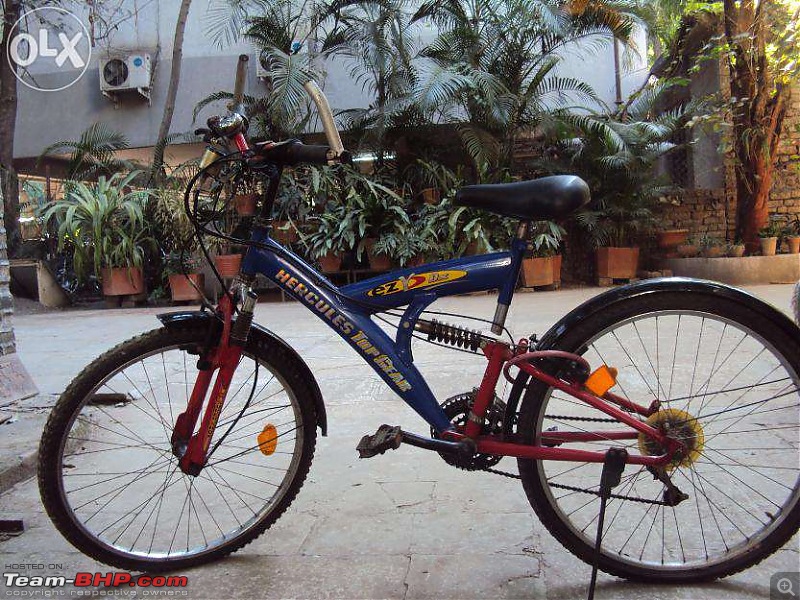
The front shock absorbers will need replacement. We have a new set that is slightly rusted. I guess plating it again will help sort out that issue? The bigger issue is that the stem is longer than the older one.So we will need to get the stem cut and then rethreaded if we are to fit it to the frame.
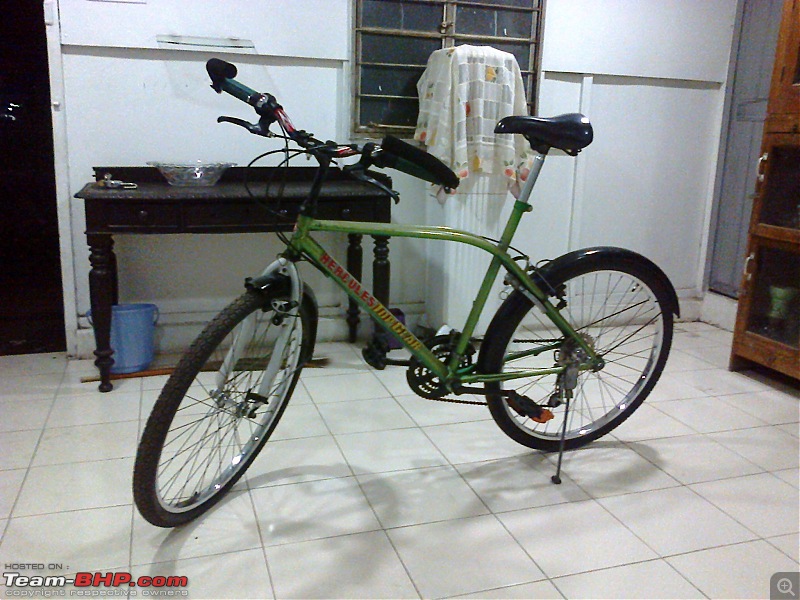
Ashwin, I know its a royal pain nowadays to get any fitter to work on old cycles, but my suggestion would be to first get the cycle up and assembled and oiled and in basic running (rolling) nick, with tyres and tubes nicely inflated and holding air, and then start riding the bike. Slowly, within a day or two you yourself will know what's not working or feeling right, and then from that stage onwards, your DIY skills and ability to figure things out will take over. When in doubt, or if you mess things up and cannot put them back again, you always have the refuge of the local fitter. This is what I did on my bike when I started a little more than a month ago (Page 171 here - also a Hercules Top Gear - no suspension). In my experience, the biggest start is first getting the cycle rolling and then giving it a good scrub and oil. Everything follows from there.
The front derailleur cable was changed last evening.
On rolling the crank on a stationary bike, the shift ups are feeling nice and precise. Click click. Raining cats and dogs so did not take a test ride.
After last evening's work session. She's coming along. A lot better now than what I started with -
Set the cyclocomputer wheel circumference to 209. It did not have anything for 26x1.95 so extrapolated.
26x1.75 was 205 and 26x2 was 210, so for 26x1.95 I entered 209. Hope that's correct?
Seems my rims will no take 26x1.50 tyres after all. Not safely at least, as its not a V section deep seat double wall rim but a typical MTB H section type one. So the fear of a too narrow tyres bead dislodging from the rim bead seat and popping out becomes a real possibility.
So for the time being decided to limit my tyre width down-shift to 26x1.75 for now. If I can procure a set of second-hand narrower and lighter alloy 20 rims (my current one are 25) then maybe I can next go as low as 26x1.20 in future as well. Till then, best to use the fatter ones and build up some resistance muscle. :)
Might also get a set of used toe clip and strap alloy pedals. Fingers crossed.
Wondering what to do about shoes. Last two days cycling my sports shoes are soaked (I can actually ring the water out of them) and they are not going to dry out in time every day in this weather.
The depressing (sobering reality) bit is that a pro cyclist friend of mine has this digital weighing scale hung from his roof which he uses to weigh his bikes and different components.
My bike is not the 16 odd kilos I "thought" it was.
Its actually 18.9 kilos.
Now the only option is to shave 5-10 kilos from the engine. :)
I could try putting on alloy stem, handlebar, bar ends, seat post, lighter seat, remove the ring lock side stand, mud guards, shift to an alloy 3 chain-ring crank and alloy pedals, and alloy rims with lighter tyres. But (1) all of that is easily going to be about as much as I can get a reasonably light new entry level modern cycle for (10-15K); and (2) it would still not count for much as just the frame alone weighs around 9 kilos.
Here is a very neatly modified version of my same bike, with a lot of the above weight reductions, which weighs about 16+ kilos.
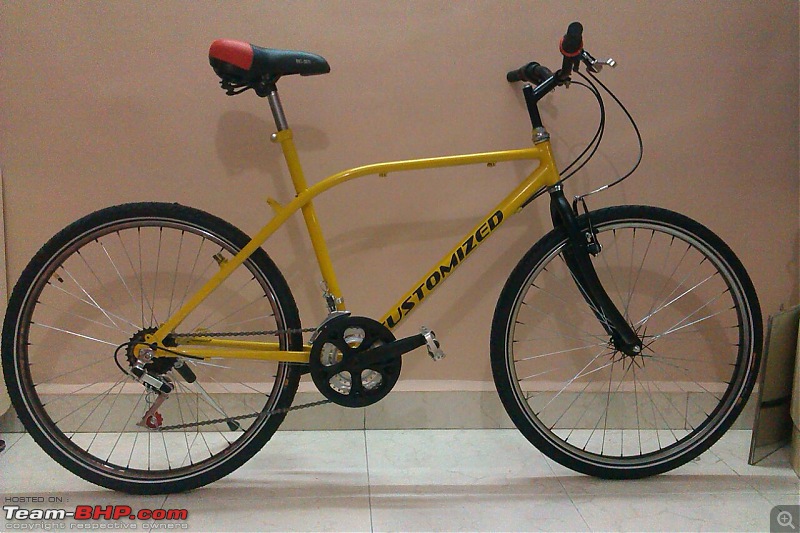
Bought a new helmet.
Manufactured by - Bell. :D
They were the official helmet suppliers to many Grand Prix drivers in the Sixties/Seventies.
Not only that- as a motorbike helmet manufacturer; they're actually quite famous.
P.S: 'Tis Made-In-USA. :D Shall post pics soon.
So today I planned to change around my cycling time to morning instead of late nights (thanks to the rain, the traffic and pollution I breath in in spite of the buff I wear, and in general wanting to have more of the evening for myself and family).
So did not cycle yesterday, set the alarm for 5 a.m., laid out my cycling gear, and went to sleep (around midnight). Before that having topped up air in both tyres and recce'd in my Storme a new 30 km route with a lot of nice rolling climbs.
Bottom line - I never even heard the alarm, forget shutting it off. And actually landed up getting up later than normal (near 8 instead of 7-7:30 ish).
So here's my first morning cycling session update -

Quote:
Originally Posted by ebonho
(Post 3738737)
....Set the cyclocomputer wheel circumference to 209. It did not have anything for 26x1.95 so extrapolated.
26x1.75 was 205 and 26x2 was 210, so for 26x1.95 I entered 209. Hope that's correct?
.....
|
One pretty simple way is to stand the bike up with the valve tube on bottom dead centre, and mark the ground there. Then push the bike forward, preferably while sitting on it and stop at the next bottom dead centre. Make another mark there. Measure gap between marks to get correct circumference.
Quote:
Originally Posted by prabuddhadg
(Post 3739744)
One pretty simple way is to stand the bike up with the valve tube on bottom dead centre, and mark the ground there. Then push the bike forward, preferably while sitting on it and stop at the next bottom dead centre. Make another mark there. Measure gap between marks to get correct circumference.
|
I actually tried with a string as well (my daughter struggling to hold the other end, then cello taping the other end). :)
Your idea seems a lot easier.
P.S. I just realized the significance/rationale of why you mentioned "preferably while sitting on it" :thumbs up
Quote:
Originally Posted by ACM
(Post 3736460)
How does one decide that a chain needs to be replaced?
A cycle let to be in the elements for a year will have a very rusted chain for sure especially if it was not lubricated prior to being left to the weather.
So should one replace a very rusted chain (1 years worth not 3) or does one get it serviced?
|
There is a small comb sized tool which you can get on ebay. It has small teeth which go into the space between the links. The idea is that they should take some push to get into the space between the chain links. If they slot freely then it means that chain has stretched due to use and is to be replaced. I saw the cycle repairman use it to tell the customer that his cycle chain still has some life left. No need to change.
Quote:
Originally Posted by ACM
(Post 3736460)
How does one decide that a chain needs to be replaced?
A cycle let to be in the elements for a year will have a very rusted chain for sure especially if it was not lubricated prior to being left to the weather.
So should one replace a very rusted chain (1 years worth not 3) or does one get it serviced?
|
This can be easily done using a steel rule. Check out the below video that explains this method.
http://youtu.be/5okJdYrANt8
| All times are GMT +5.5. The time now is 05:28. | |


