![]() | #16 |
BHPian Join Date: Jun 2014 Location: Mumbai
Posts: 432
Thanked: 397 Times
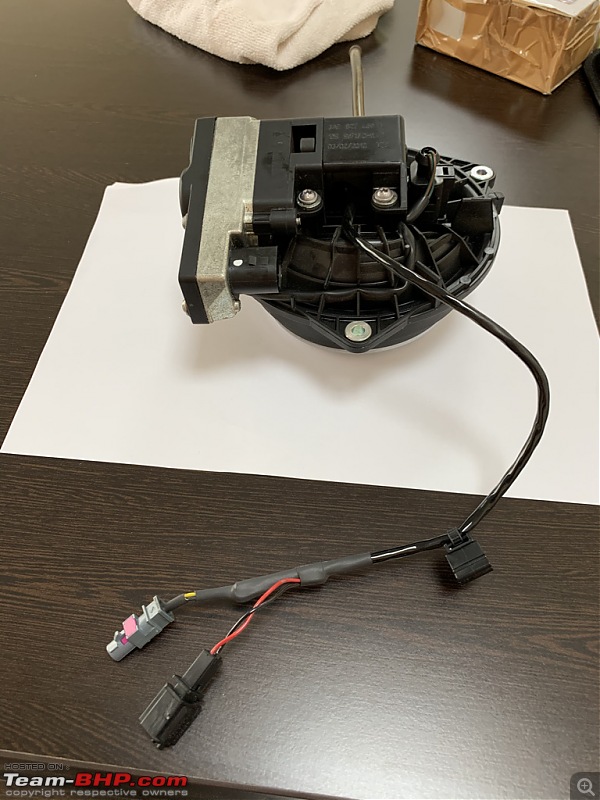
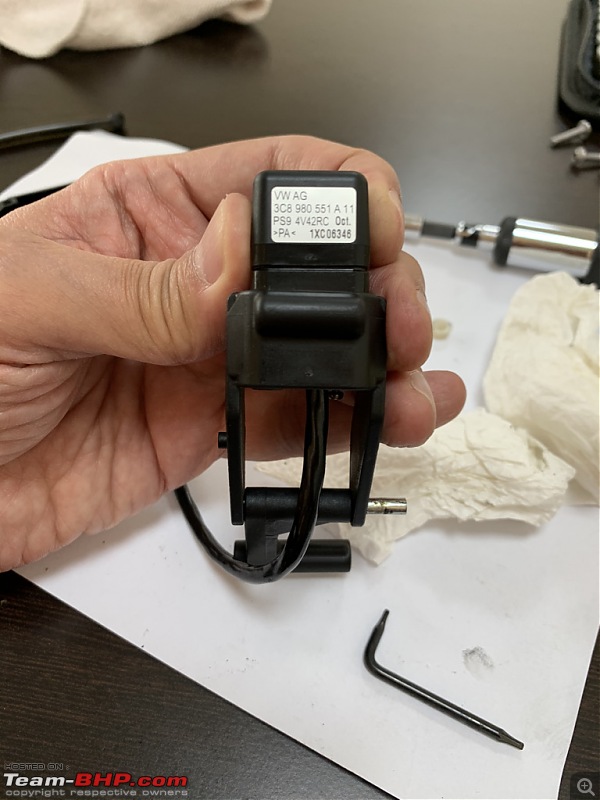
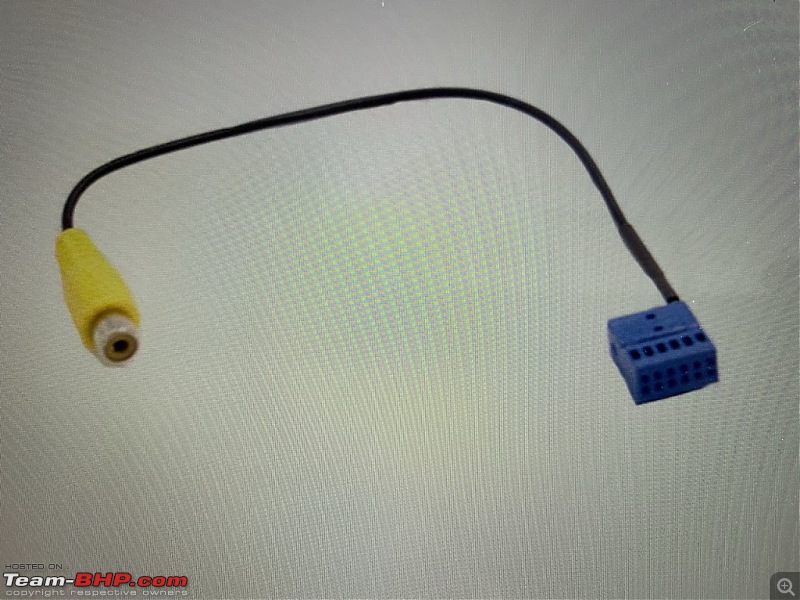
| ![]() Last Thursday, I decided to check out the rear view camera and see if it is possible to replace the camera unit, as suggested by a few experts. The trunk lid lining came off very easily - just had to be pulled gently. Removed the 3 electrical connections & unscrewed the emblem/camera unit. ![]() Camera Unit removed. The two cables are for 12V power & Camera Output (note that the camera output is Composite) ![]() ![]() Dismantling the camera module is pretty straightforward. Pay careful attention to the little white washers and take photos at every stage of dismantling - something I did not do ![]() The actual camera unit is shown below ![]() Also, I reconfirmed with experts whether the camera has a Composite Output and they confirmed the same. The process of activating the RVC now became very easy. Ran a camera cable from the head unit using the connector shown below ![]() Used a locally available RVC cable and connected it to the Emblem Flip Camera Video Output. The rest of the cables were reconnected to their original sockets. Apart from the video output, there is a 12V input and a trunk lock/power input which operates the flip camera motor and also locks the trunk. Connected the VCDS and went to the 5F Information Electronics and enabled the RVC (Low). The RVC is now working perfectly, however I have lost the trajectory feature. I believe that the original camera with the Composite Video output is the processed along with steering wheel input in the camera module situated in the right side of the trunk. The combined signal is then converted to a RGB Output, which fed the original RCD510 Unit. Next step is to try and see if I can get a Composite Video output from the camera module ! I will post pictures/video of the RVC shortly. |
![]() | ![]() |
|
![]() | #17 |
BHPian Join Date: Jun 2014 Location: Mumbai
Posts: 432
Thanked: 397 Times
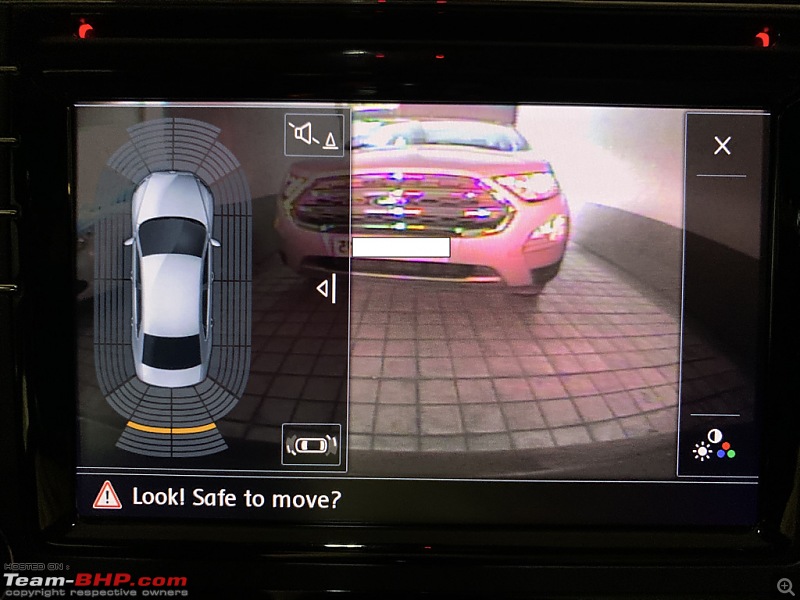
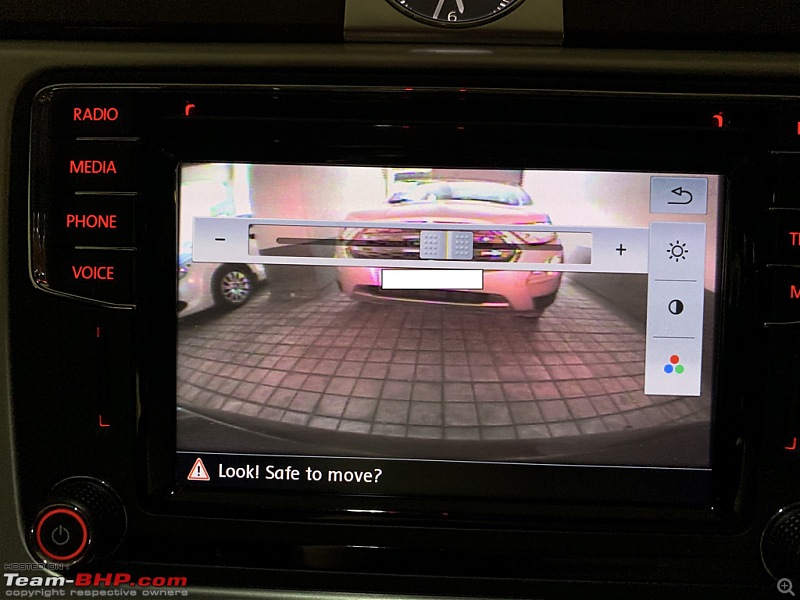
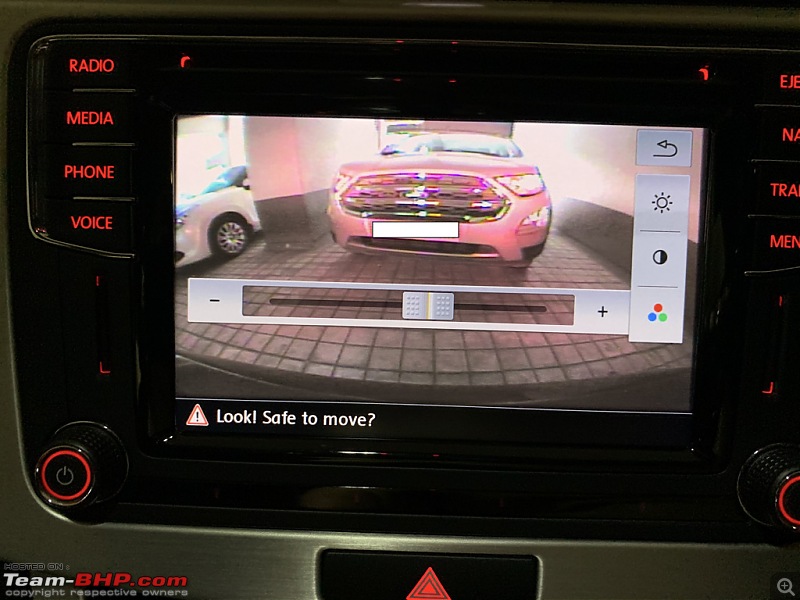
| ![]() Here are some photos of the MIB Unit and the RVC ![]() This screen appears when the car is put into Reverse ![]() If you move your hand close to the unit, the screen changes to this - which allows you to adjust the brightness, contract & colour as well as silence the park pilot beep and/or do away with the park pilot guide. Touch the symbol at the bottom right and you will get to the next stage - shown below ![]() Touch any symbol and you get sliders for adjustment as shown below ![]() ![]() ![]() I have also managed to change the screen to "HYBRID" type as seen below. Note the wavy background. You can also add radio station symbols ![]() ![]() This completes the upgradation of the Head Unit in my Passat B7 to the MIB Unit. Very pleased with the unit. Next on the upgrade list is changing the stock speakers to Focal Integration series. I would appreciate feedback from anyone who has/is using these speakers. Also planned for tonight is Head Light Beam Adjustment. Will create a separate post for that. Have learnt a lot during the installation of this MIB. Happy to help anyone wishing to upgrade |
![]() | ![]() |
![]() | #18 |
BHPian Join Date: Jun 2014 Location: Mumbai
Posts: 432
Thanked: 397 Times
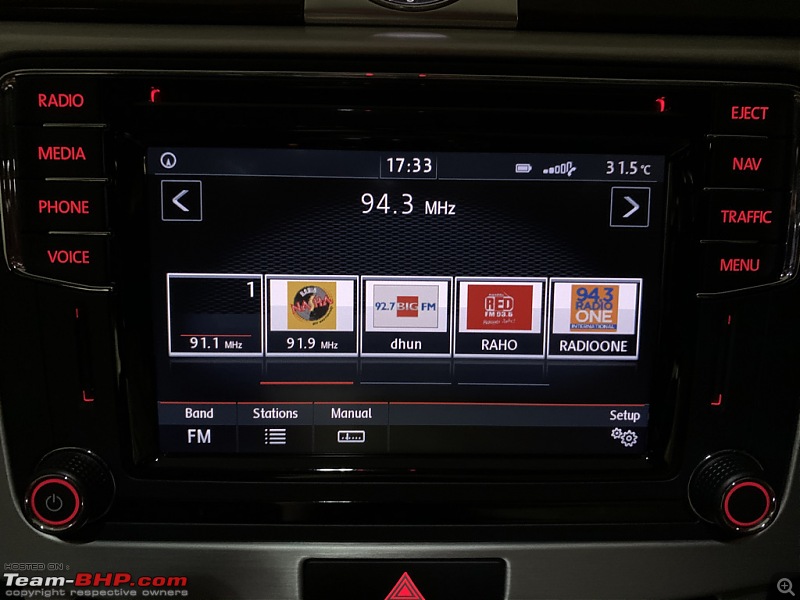
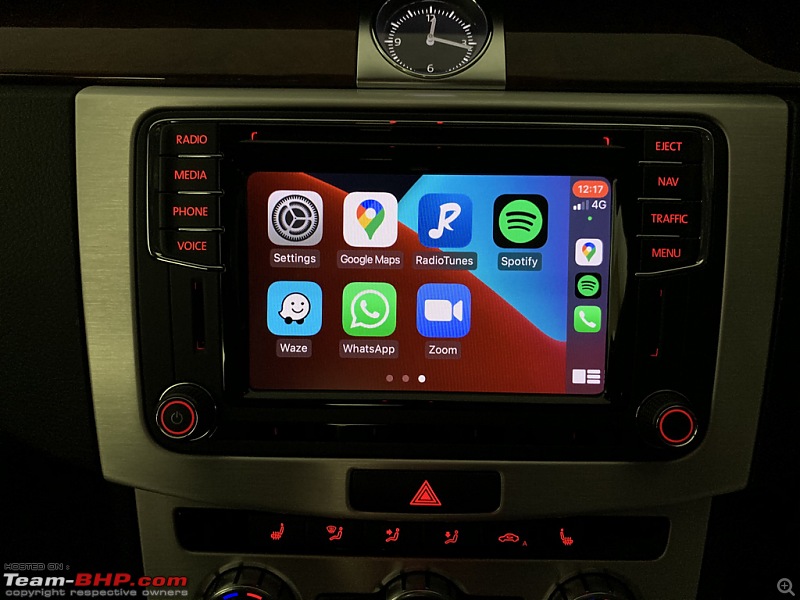
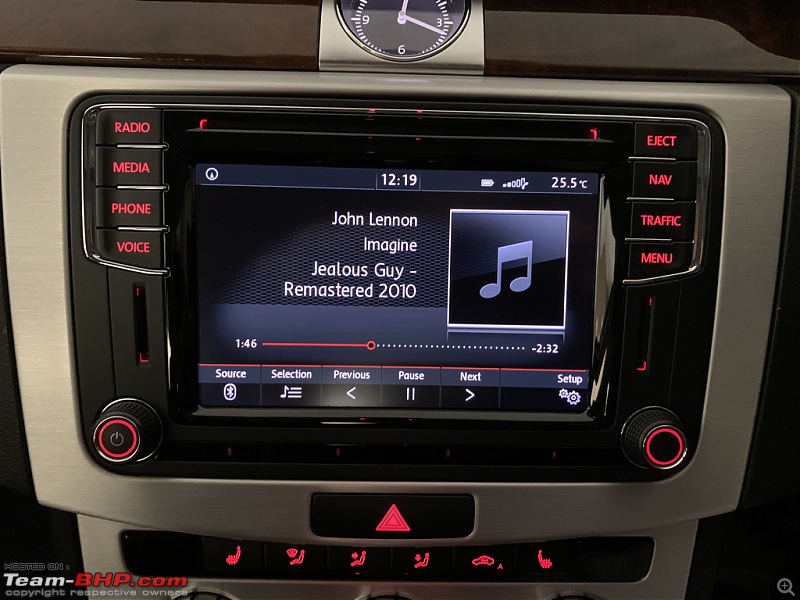
| ![]() Adding a few pictures of the MIB Unit in various modes ![]() ![]() ![]() Apple Carplay mode showing the split screen and usable apps ![]() MIB Unit in Radio mode ![]() MIB Unit in Media - Bluetooth Mode. The Unit also has input for Aux & SD Card. ![]() MIB Unit in Phone mode. One can add upto 4 favourites and if you have loaded their picture, it will be replicated on the screen. Each mode has specific voice commands, which can be activated from the steering wheel (Mic Button) |
![]() |