Firstly some introduction
i was always very font of the DIY and going through all the other threads in the DIY section made me pull more into the DIY.
So without more blah blah ,now the DIY circus starts
My previous setup
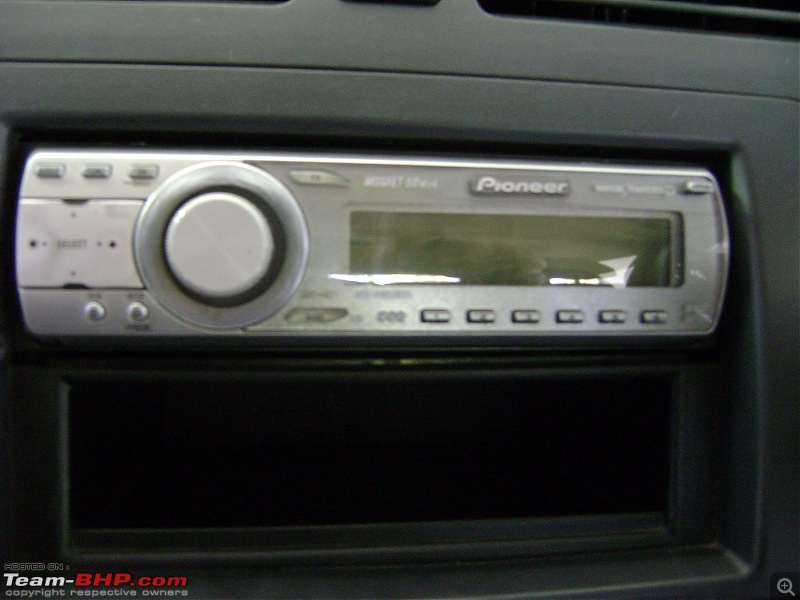
HU : Pioneer 4850
Comps : Illusion Electra 6.1 (from B&T ofcouse,who else)
Coaxials : JBL 937
Amp : Kenwood 2 channel 5303 powering the fronts (Takes 1 RCA
input and Speaker level input)
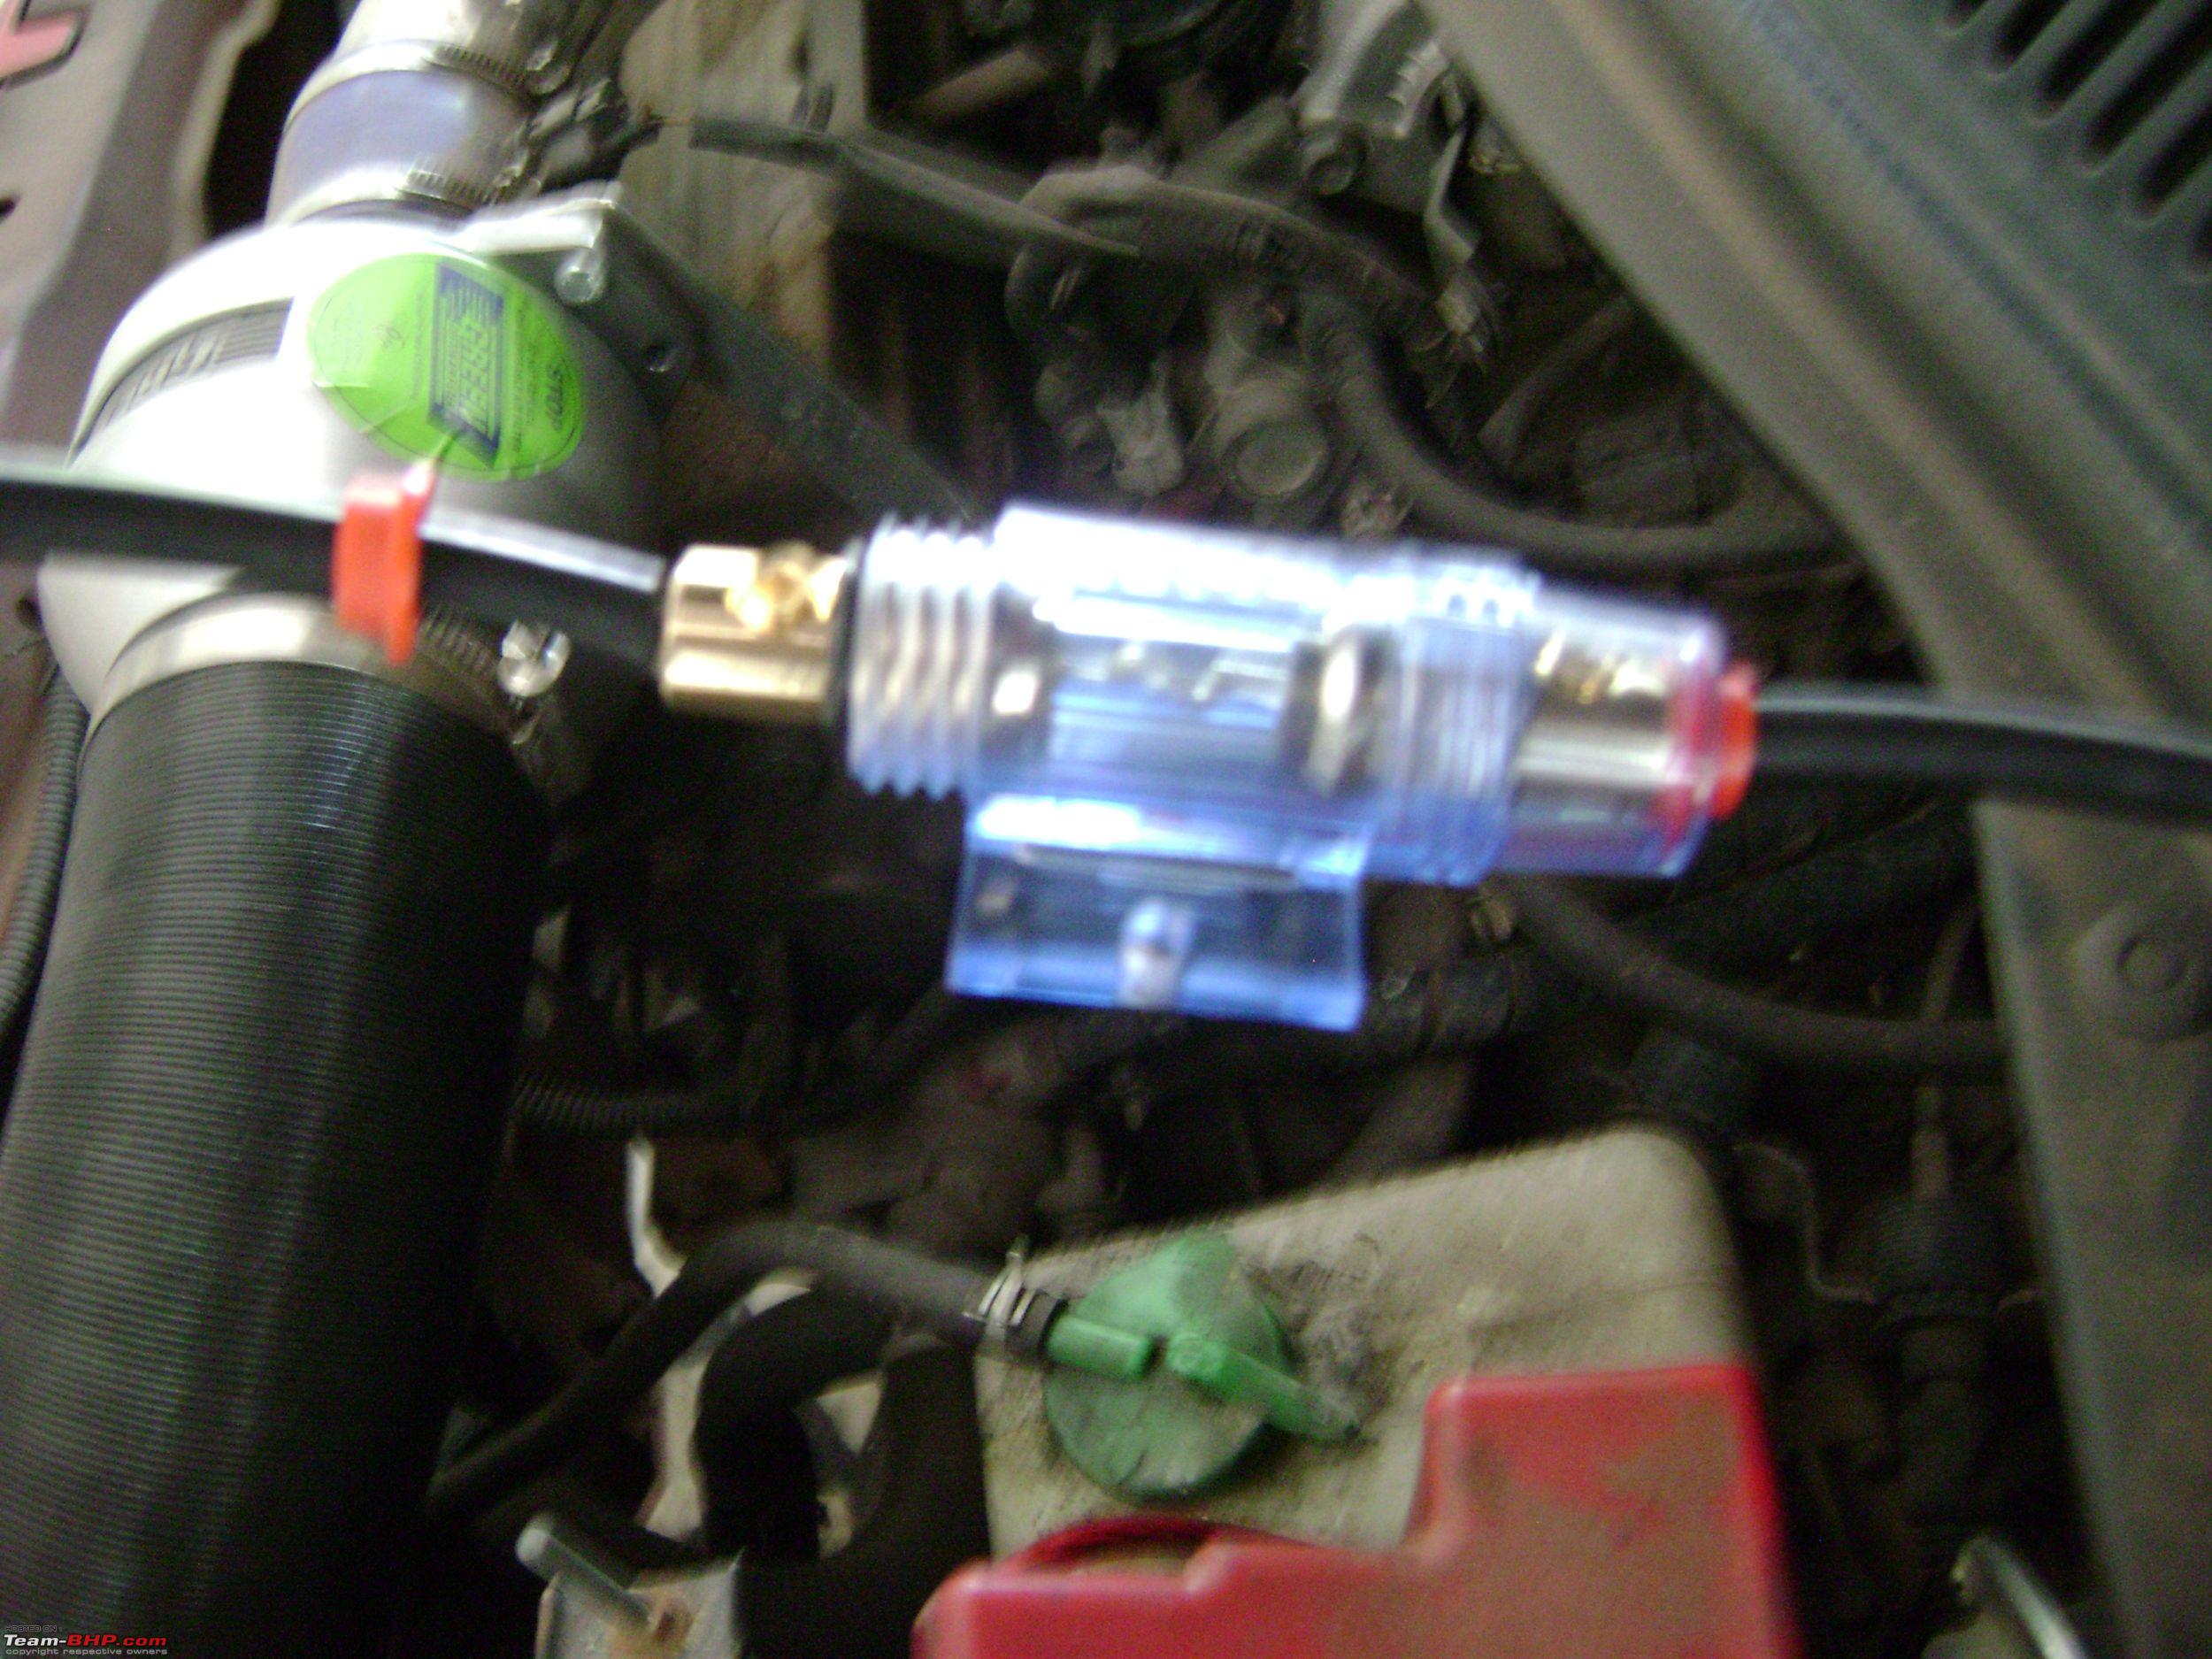
Power wires : Boss 10 awg wires (they say) with 40A and fuse holder
RCA : Same Boss stuff
Speaker Wires : Illusion 16awg wires (special thanks to B&T)
Damping : 20 sqft noise kill (a previous DIY) for front 2 doors
How connection was previously done
Since my HU only has a Rear Speaker/Sub RCA output (one at a time),the front left and front right connections were given to my rear speakers. Thus i was able to use the RCA outputs to the amp to power up the front components.
But the problem was, if the fader was set to F15(front),i could hear only the sound from the back speakers and when fader was set to R15(rear),i could hear sounds from the front components. Weird Na ..
This was done by the installer who installed front components. That was the only possible solution which was suggested by me to him coz,i wanted to use the RCA output to front comps.
Talking about the front comps installation, there is a funny incident i must share with you all. This I have already told in another thread.That goes like this.
I reached there to just inquire about the spacer rings for my swift. But seing the hertz components there, i thought why not install it there as i will not have time to DIY my new illusions in swift(yep some new work came at office) for a month. So i asked them if they could install it and they said,"Sure,Why not?".
The owner called a guy(who speaks hindi only) and asked him to install it. But since he was already working in someone else car,he instructed another guy to install it and second guy started installing it.
But when the time came to connect the amp out to speakers,he tried to connect to directly to the mid,then i instructed him to use the crossover and then connect the mid outs of the crossover to my mid and the treble out to the tweeters. So he started doing it that way.
Now comes our hero of the story(the hindi speaking installer).He asked him why are you connecting the tweeters to crossover since the out was from the amp. Now the second guy followed his instructions and was going to undo the installation of crossover.
At this time i interfered and told the first guy in my half-english-half-hindi (remember the scene in the movie kilukkam with jagathy) that i wanted more control over the music and i want to seperate the mids and highs. I don't know whether he understood it or not,but he went away. I instructed the first guy to do the install as i already said. And he finished job with good precision without the interference of first guy.
Thus my installation finishes. I thank the guy who installed it.(I must say he did good installation with me instructing him) and i pay them the installation charge of Rs 250 and also purchased a floor mat for the car and left for my home.
So after the above funny incident,i realized that,i would be better off with a DIY than from a installer in TVM. Or else i have to go to Cochin which i think will be on a costlier side if going for just the installation and i don't know whether they will just do the installation only.
Now the update : It was needed badly.
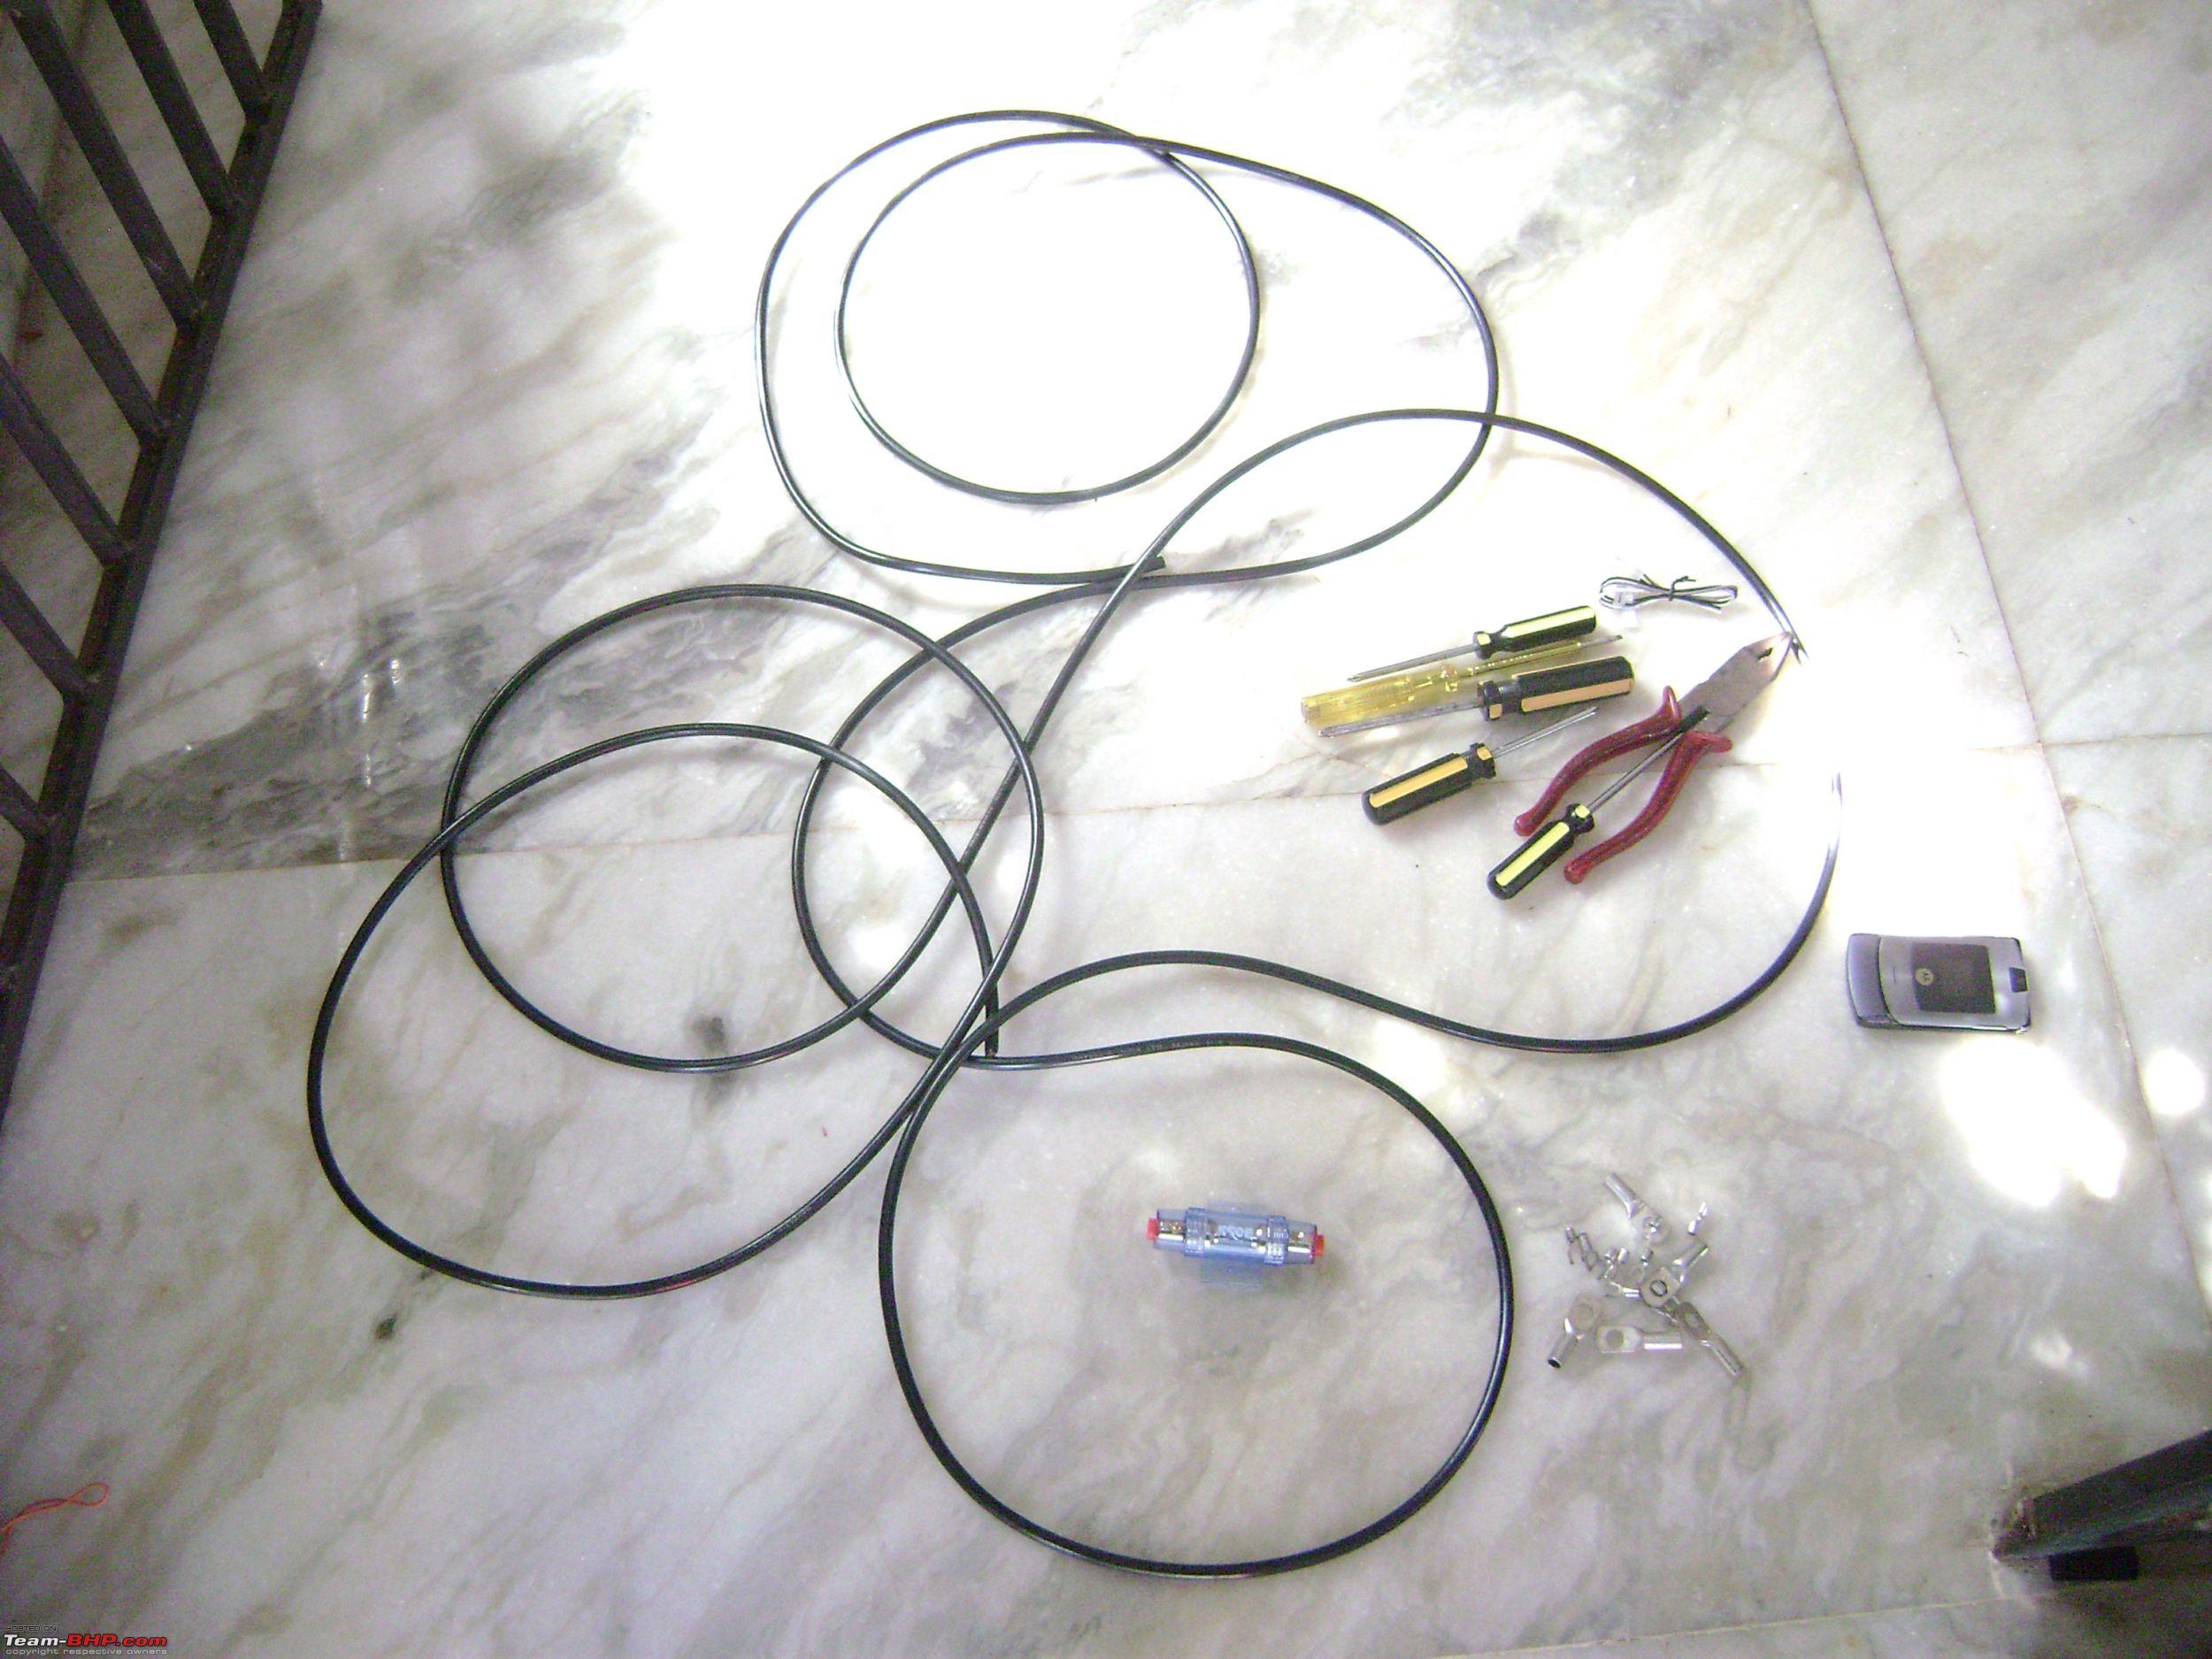
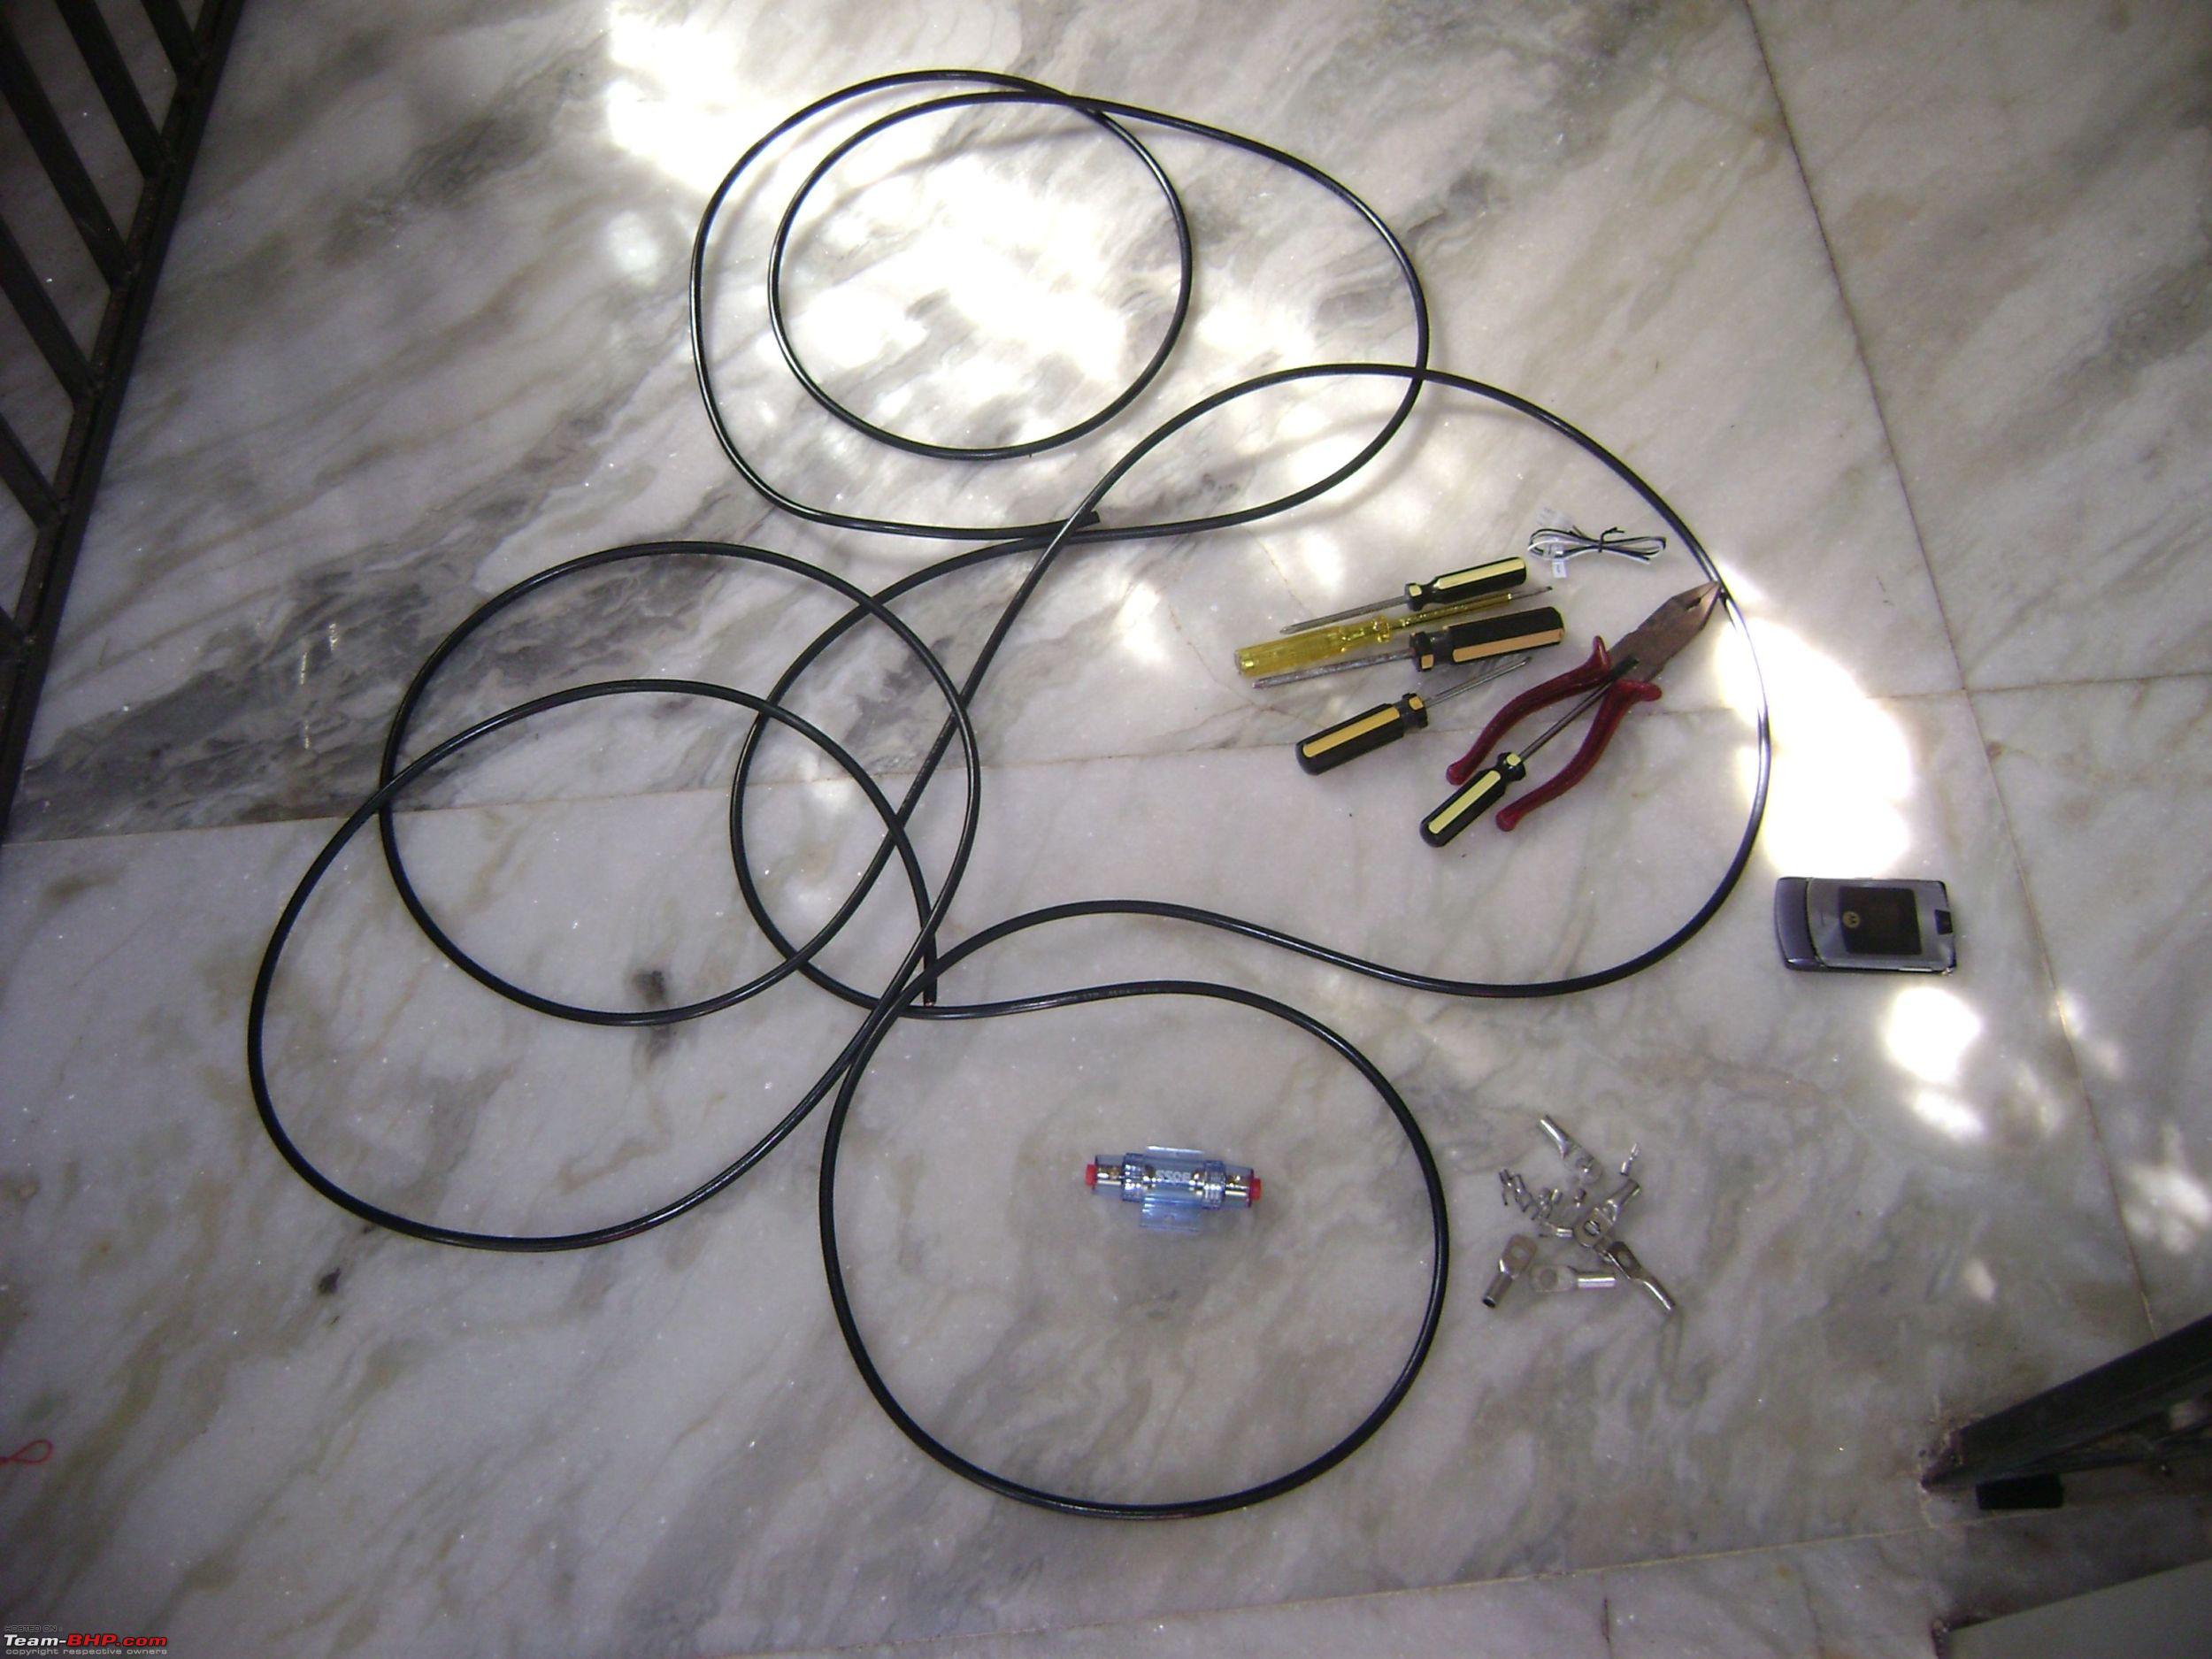
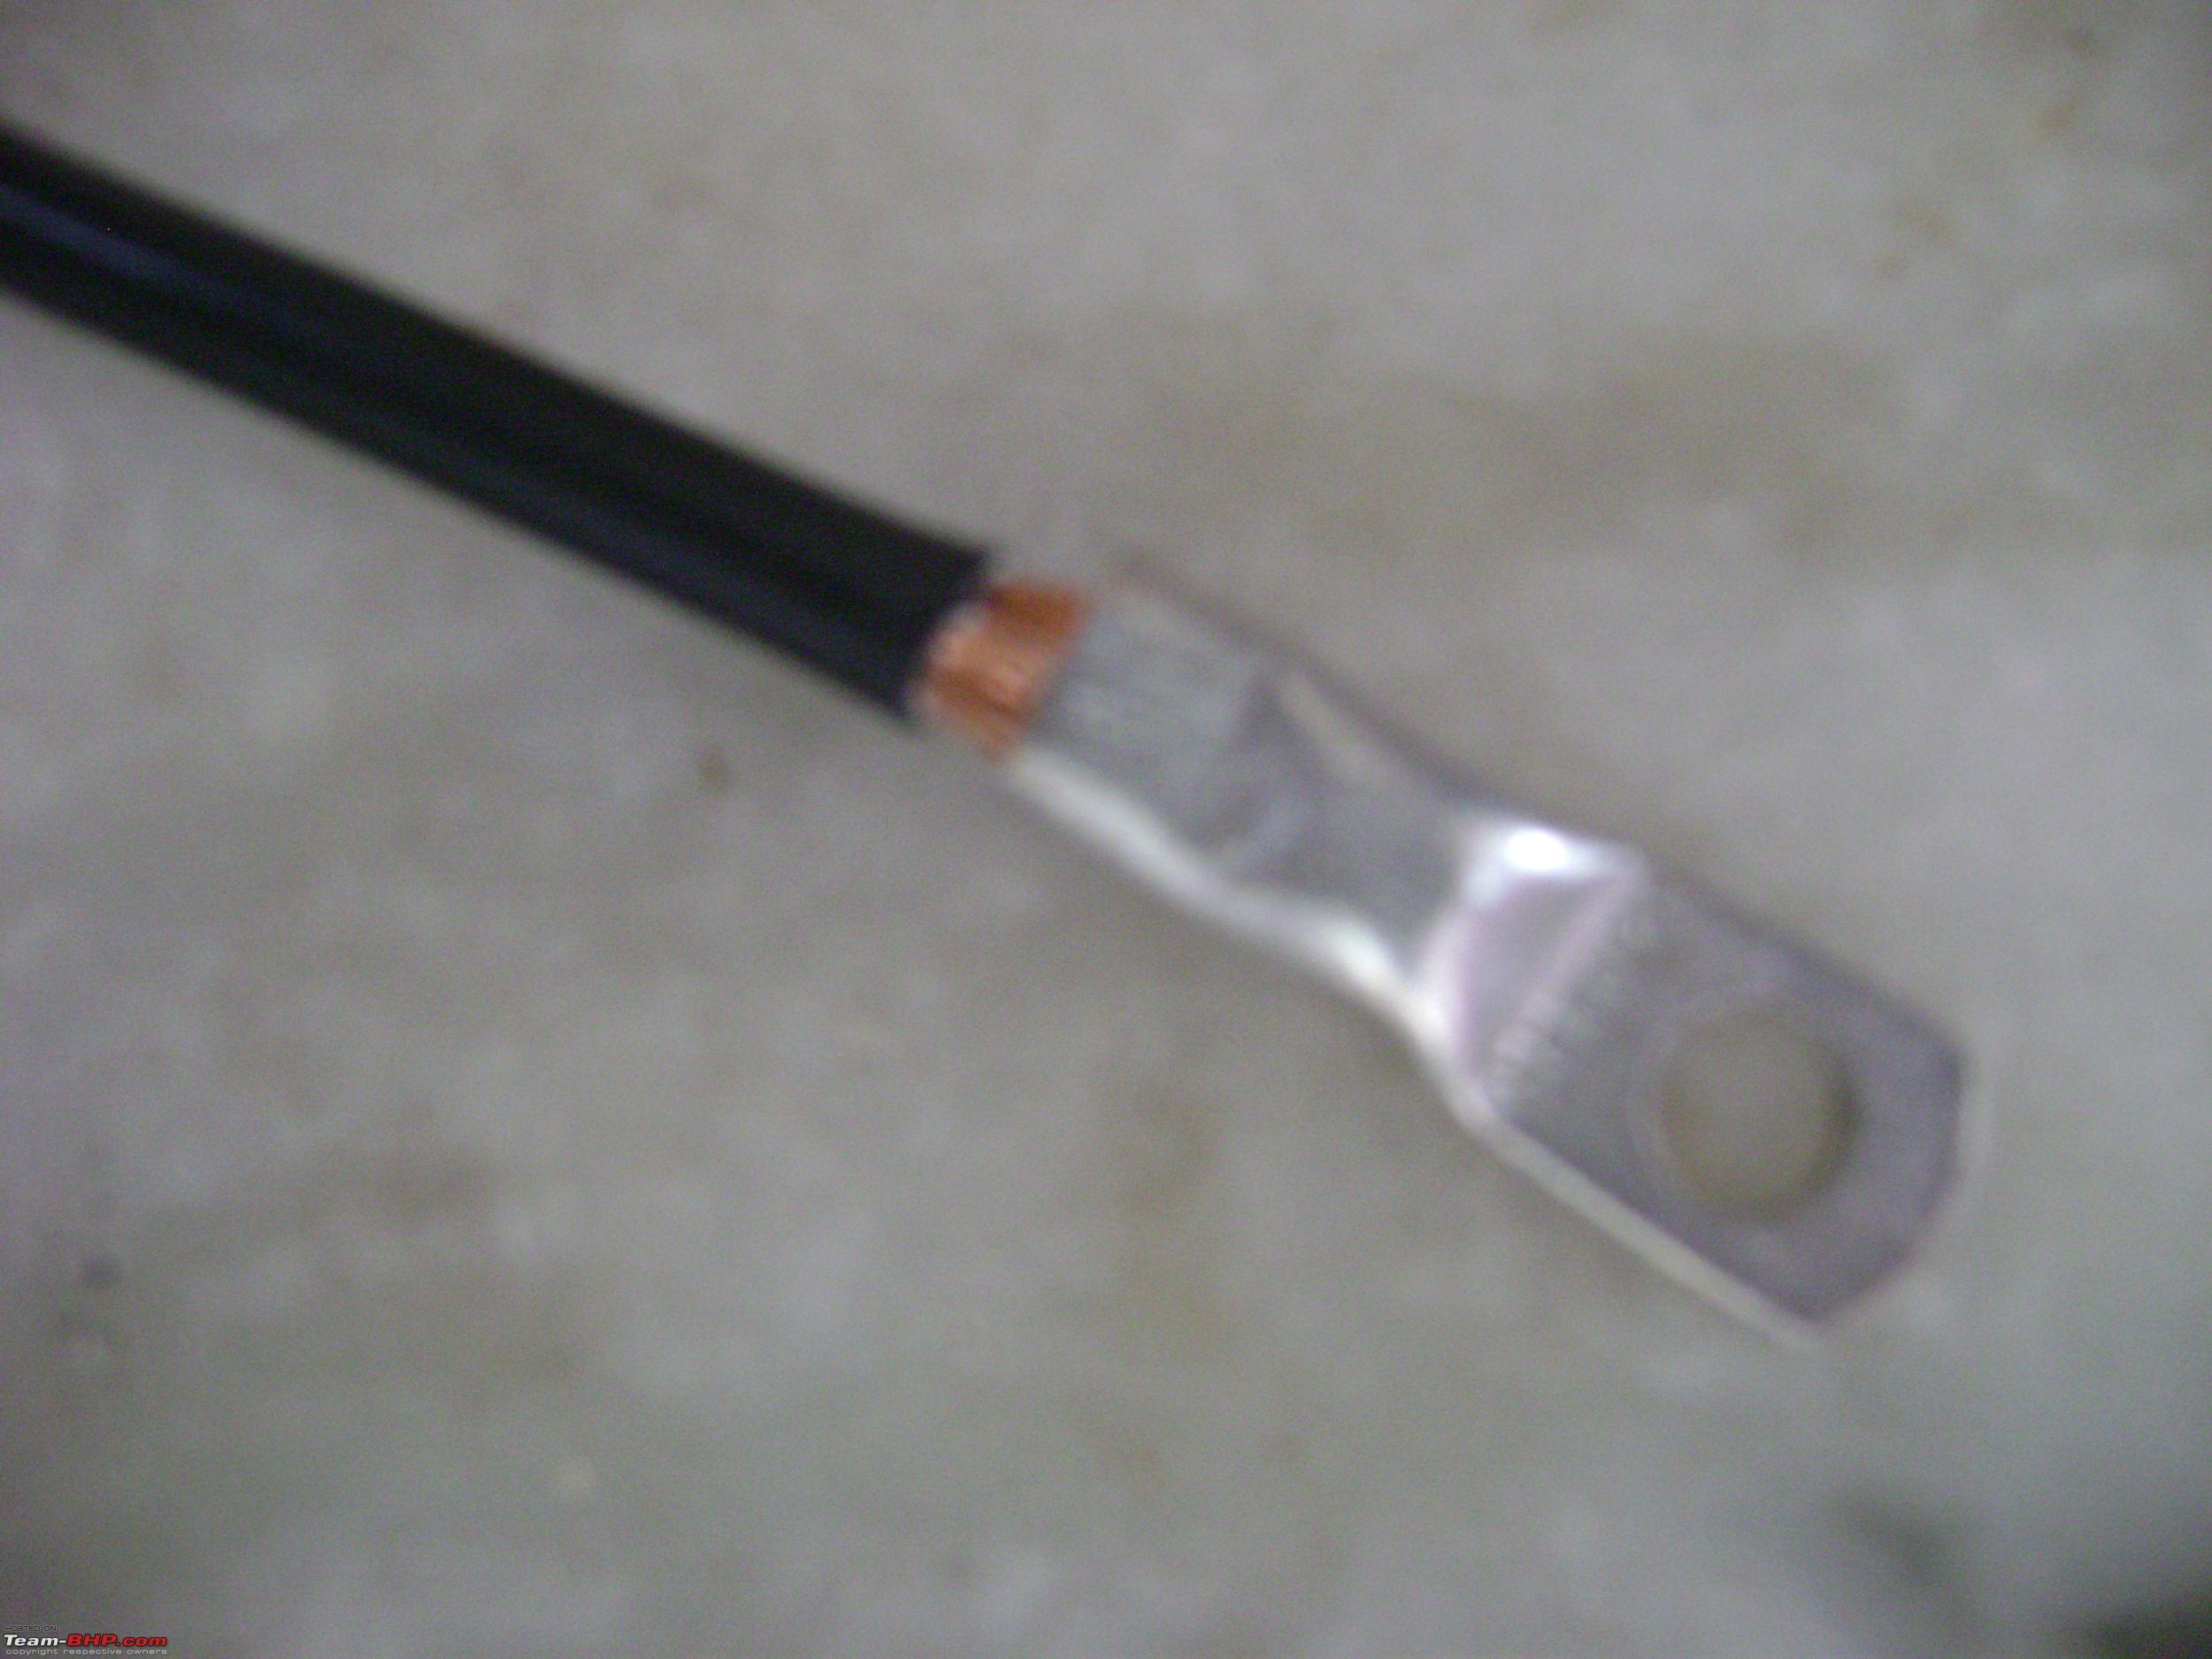
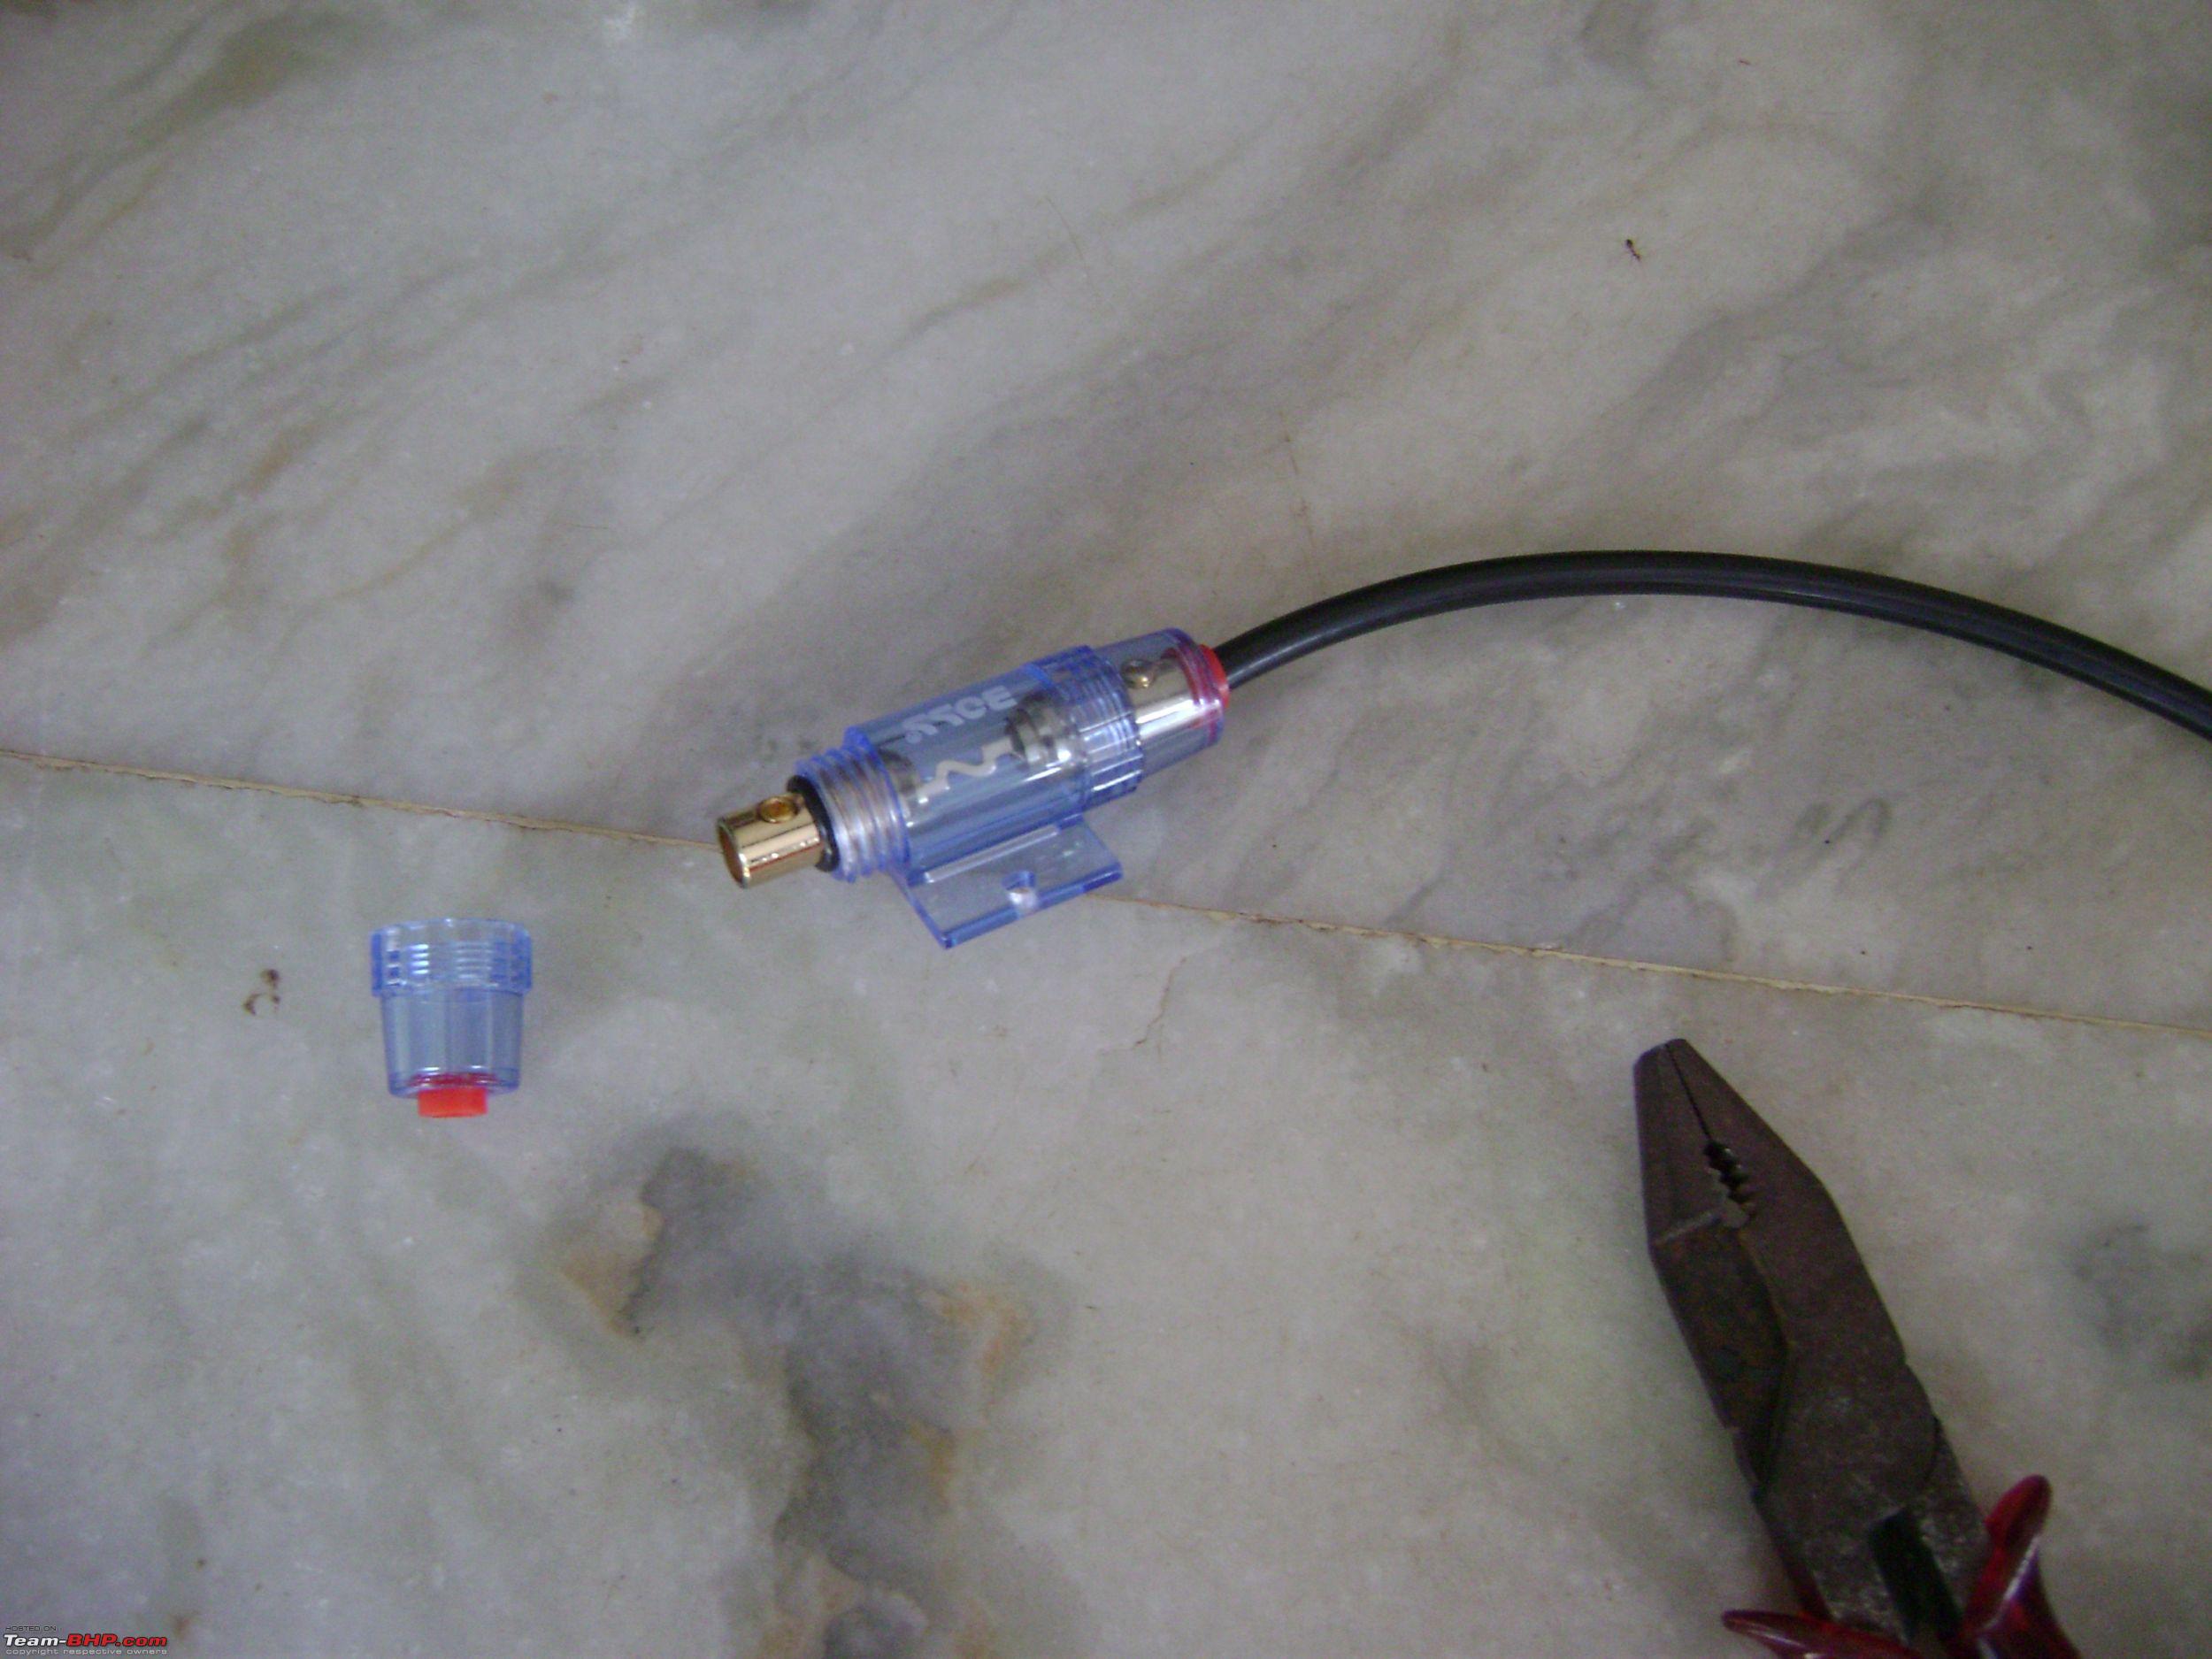
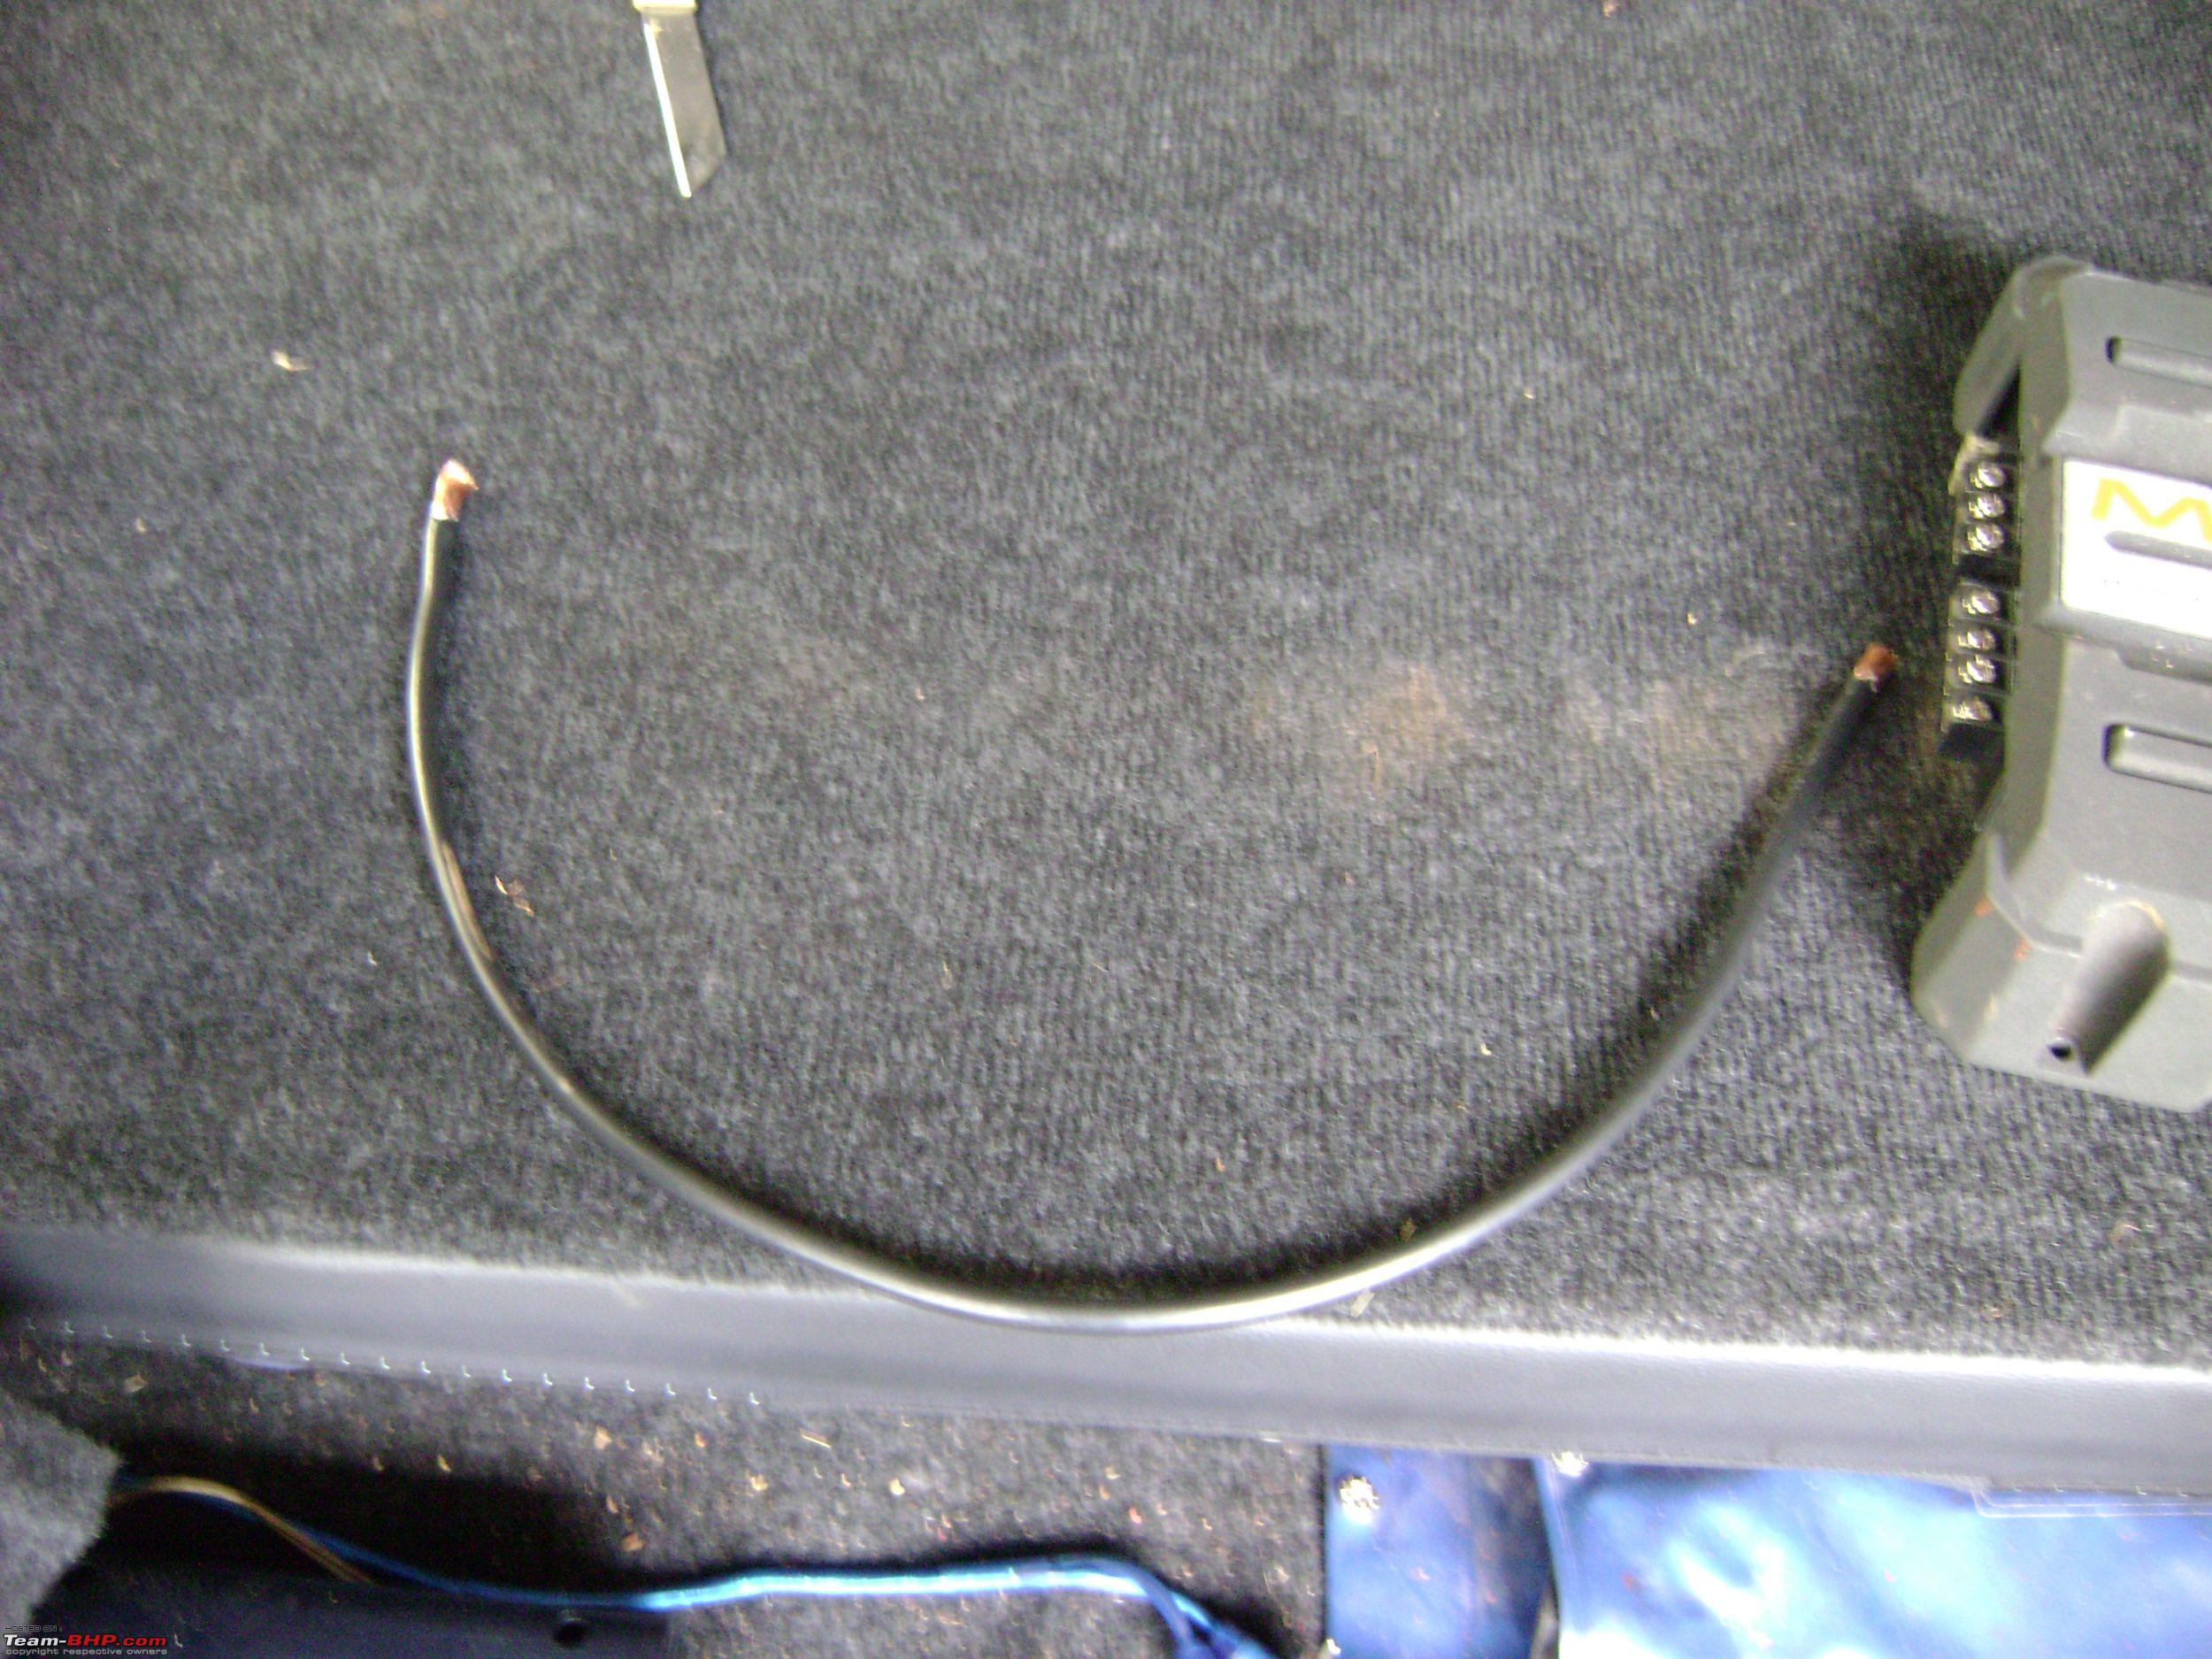
Power wires : Havells 16sqmm (7 metres) cable with 40A boss fuse
and fuse holder - ~1000 Rs
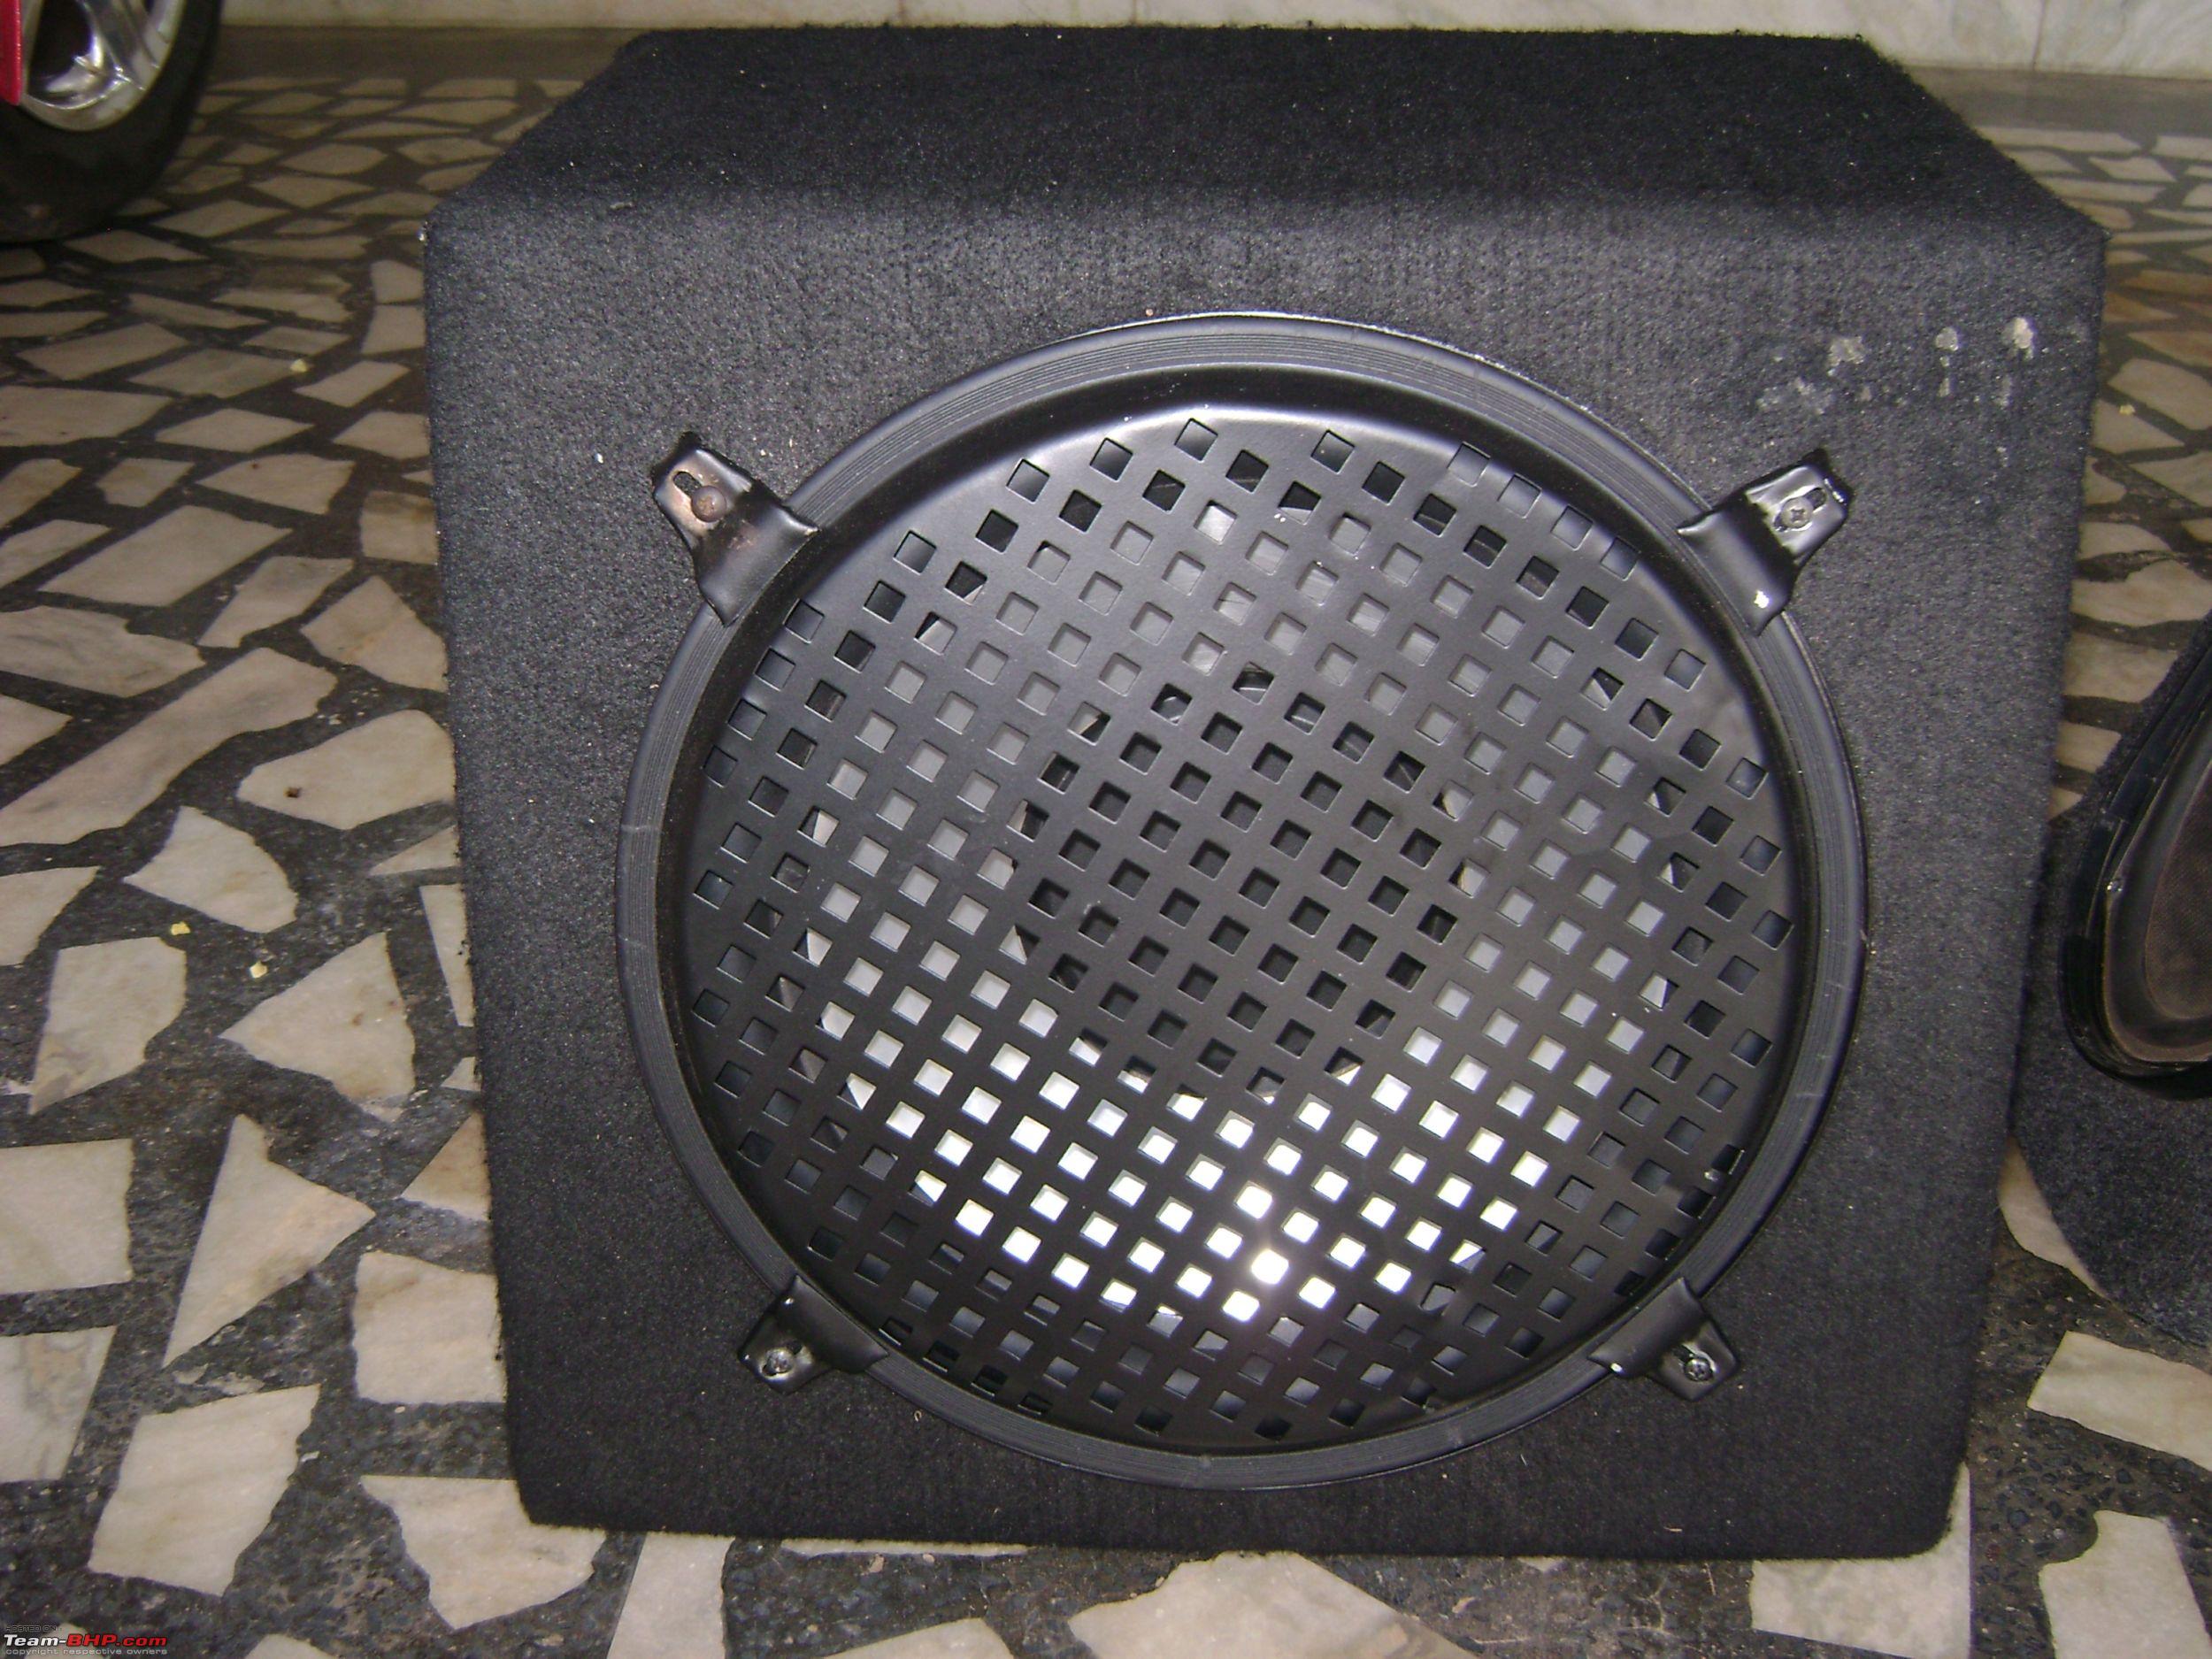
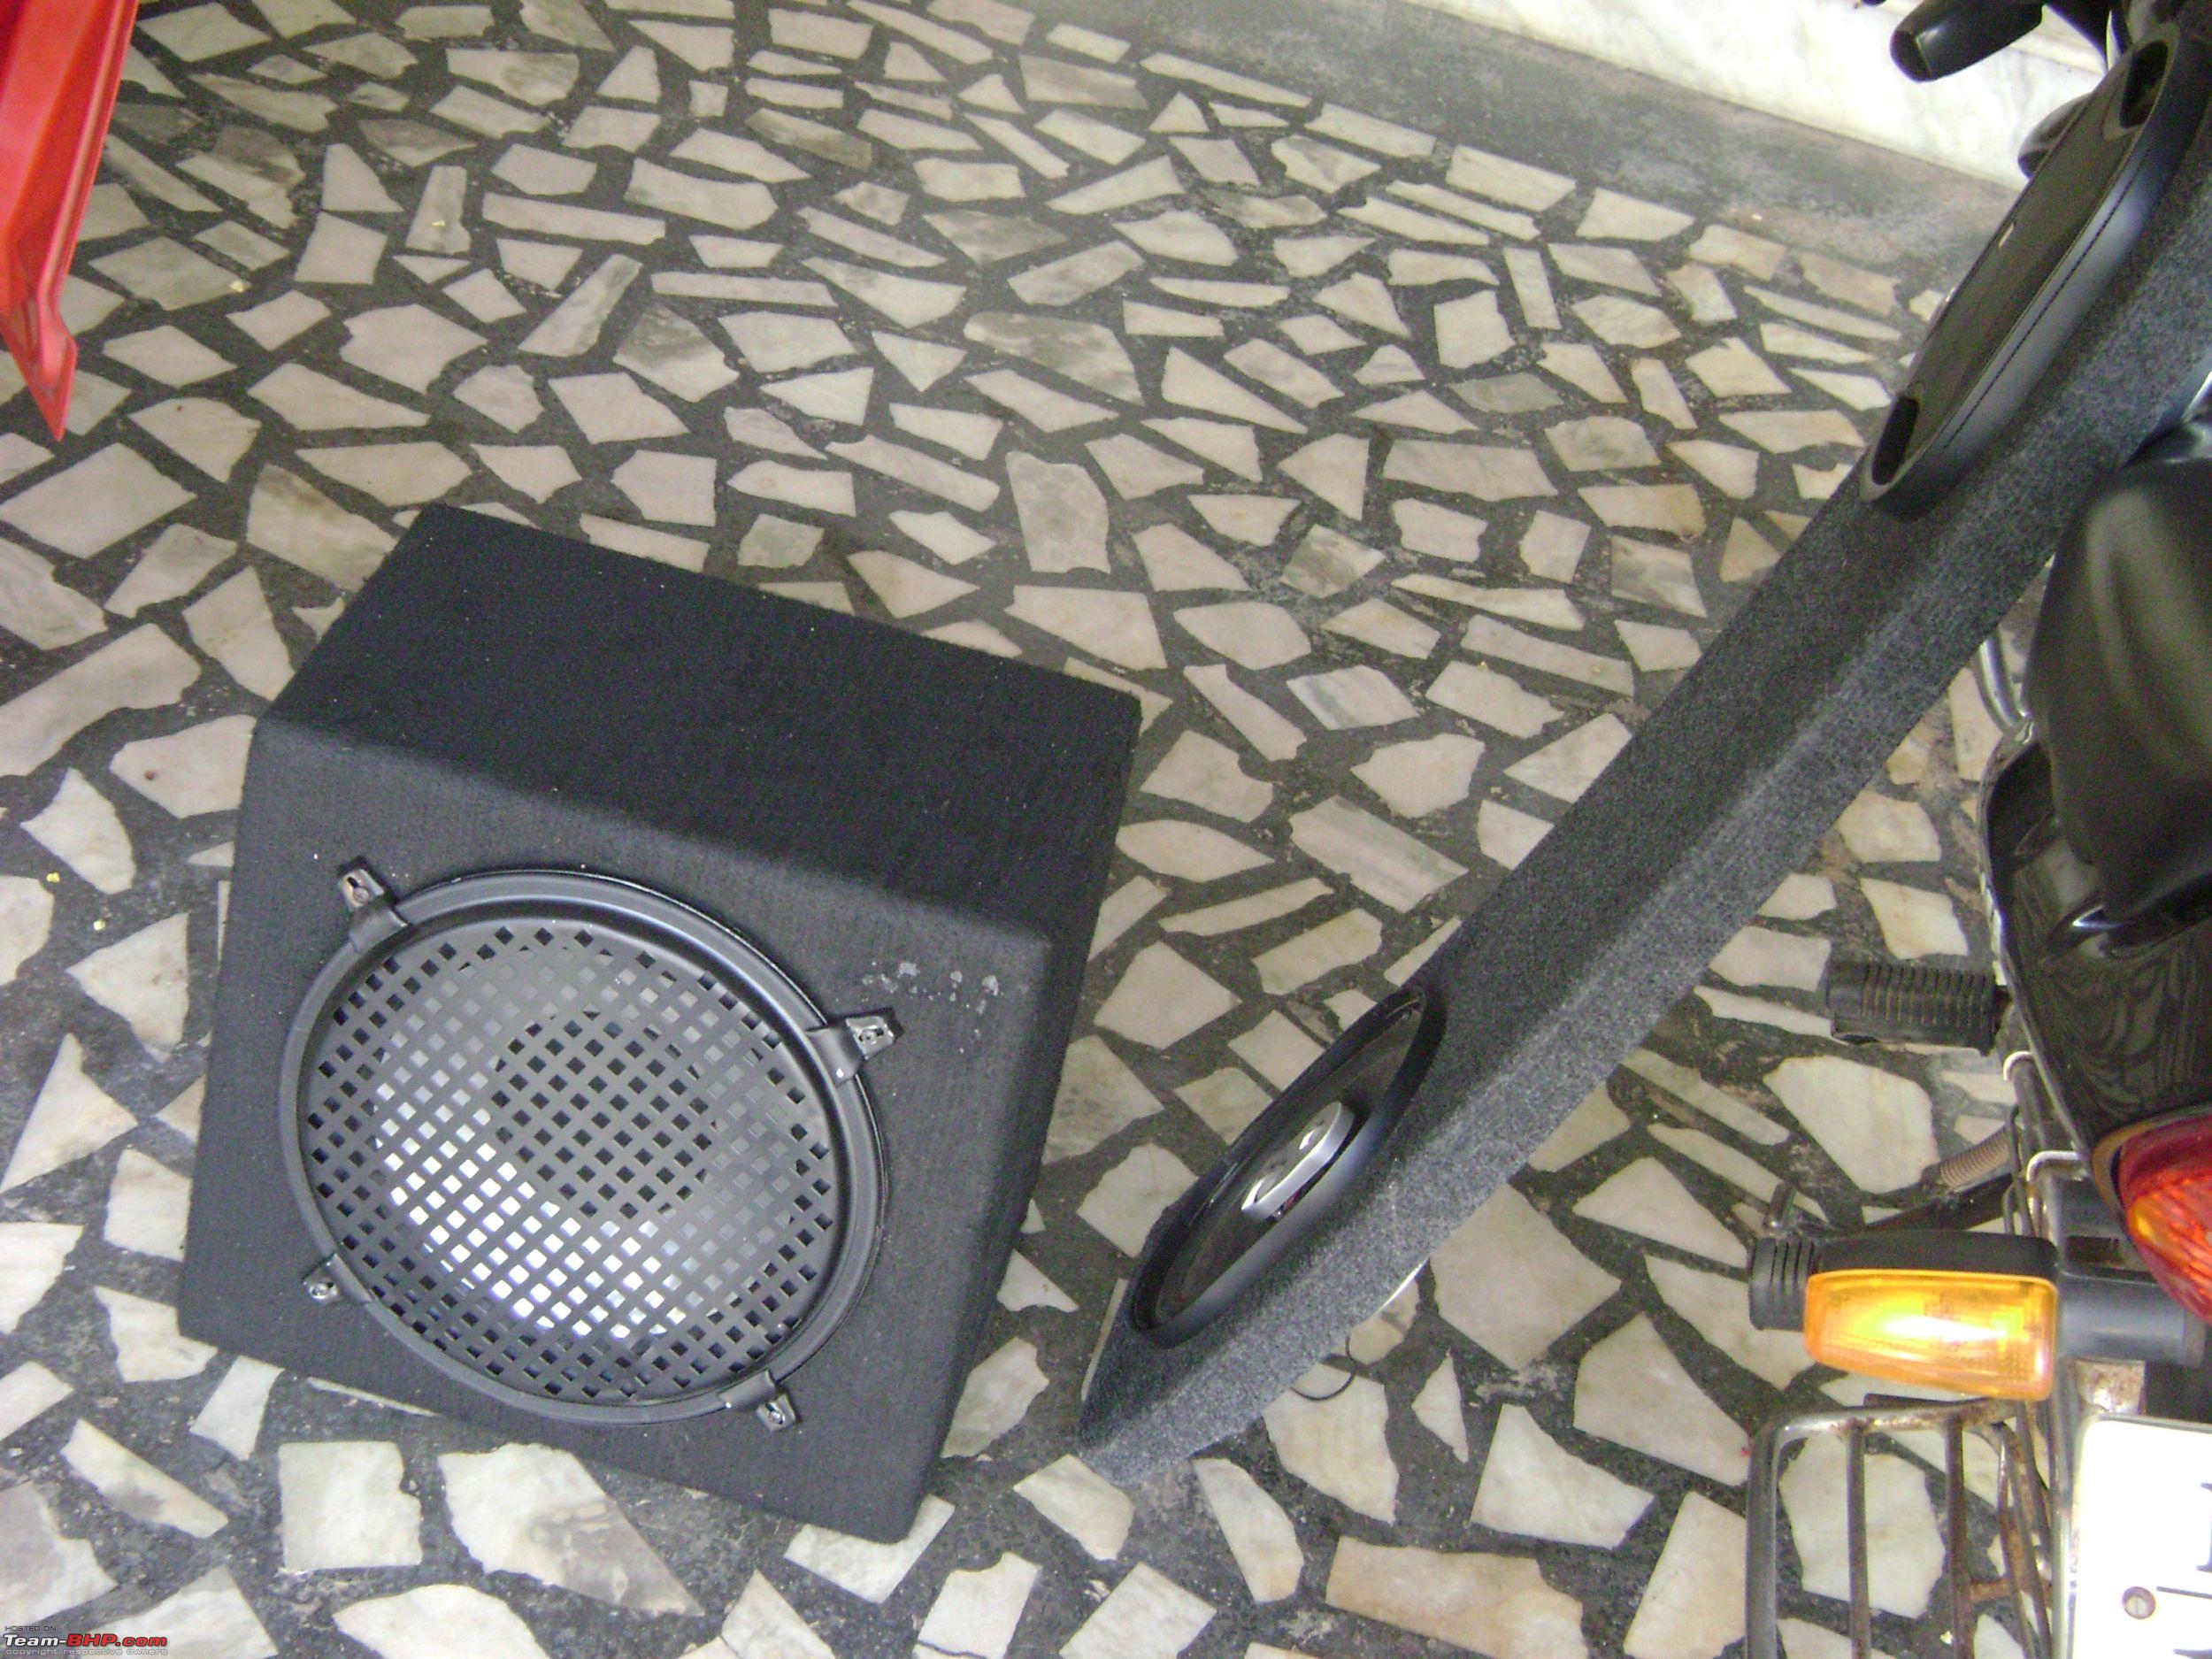
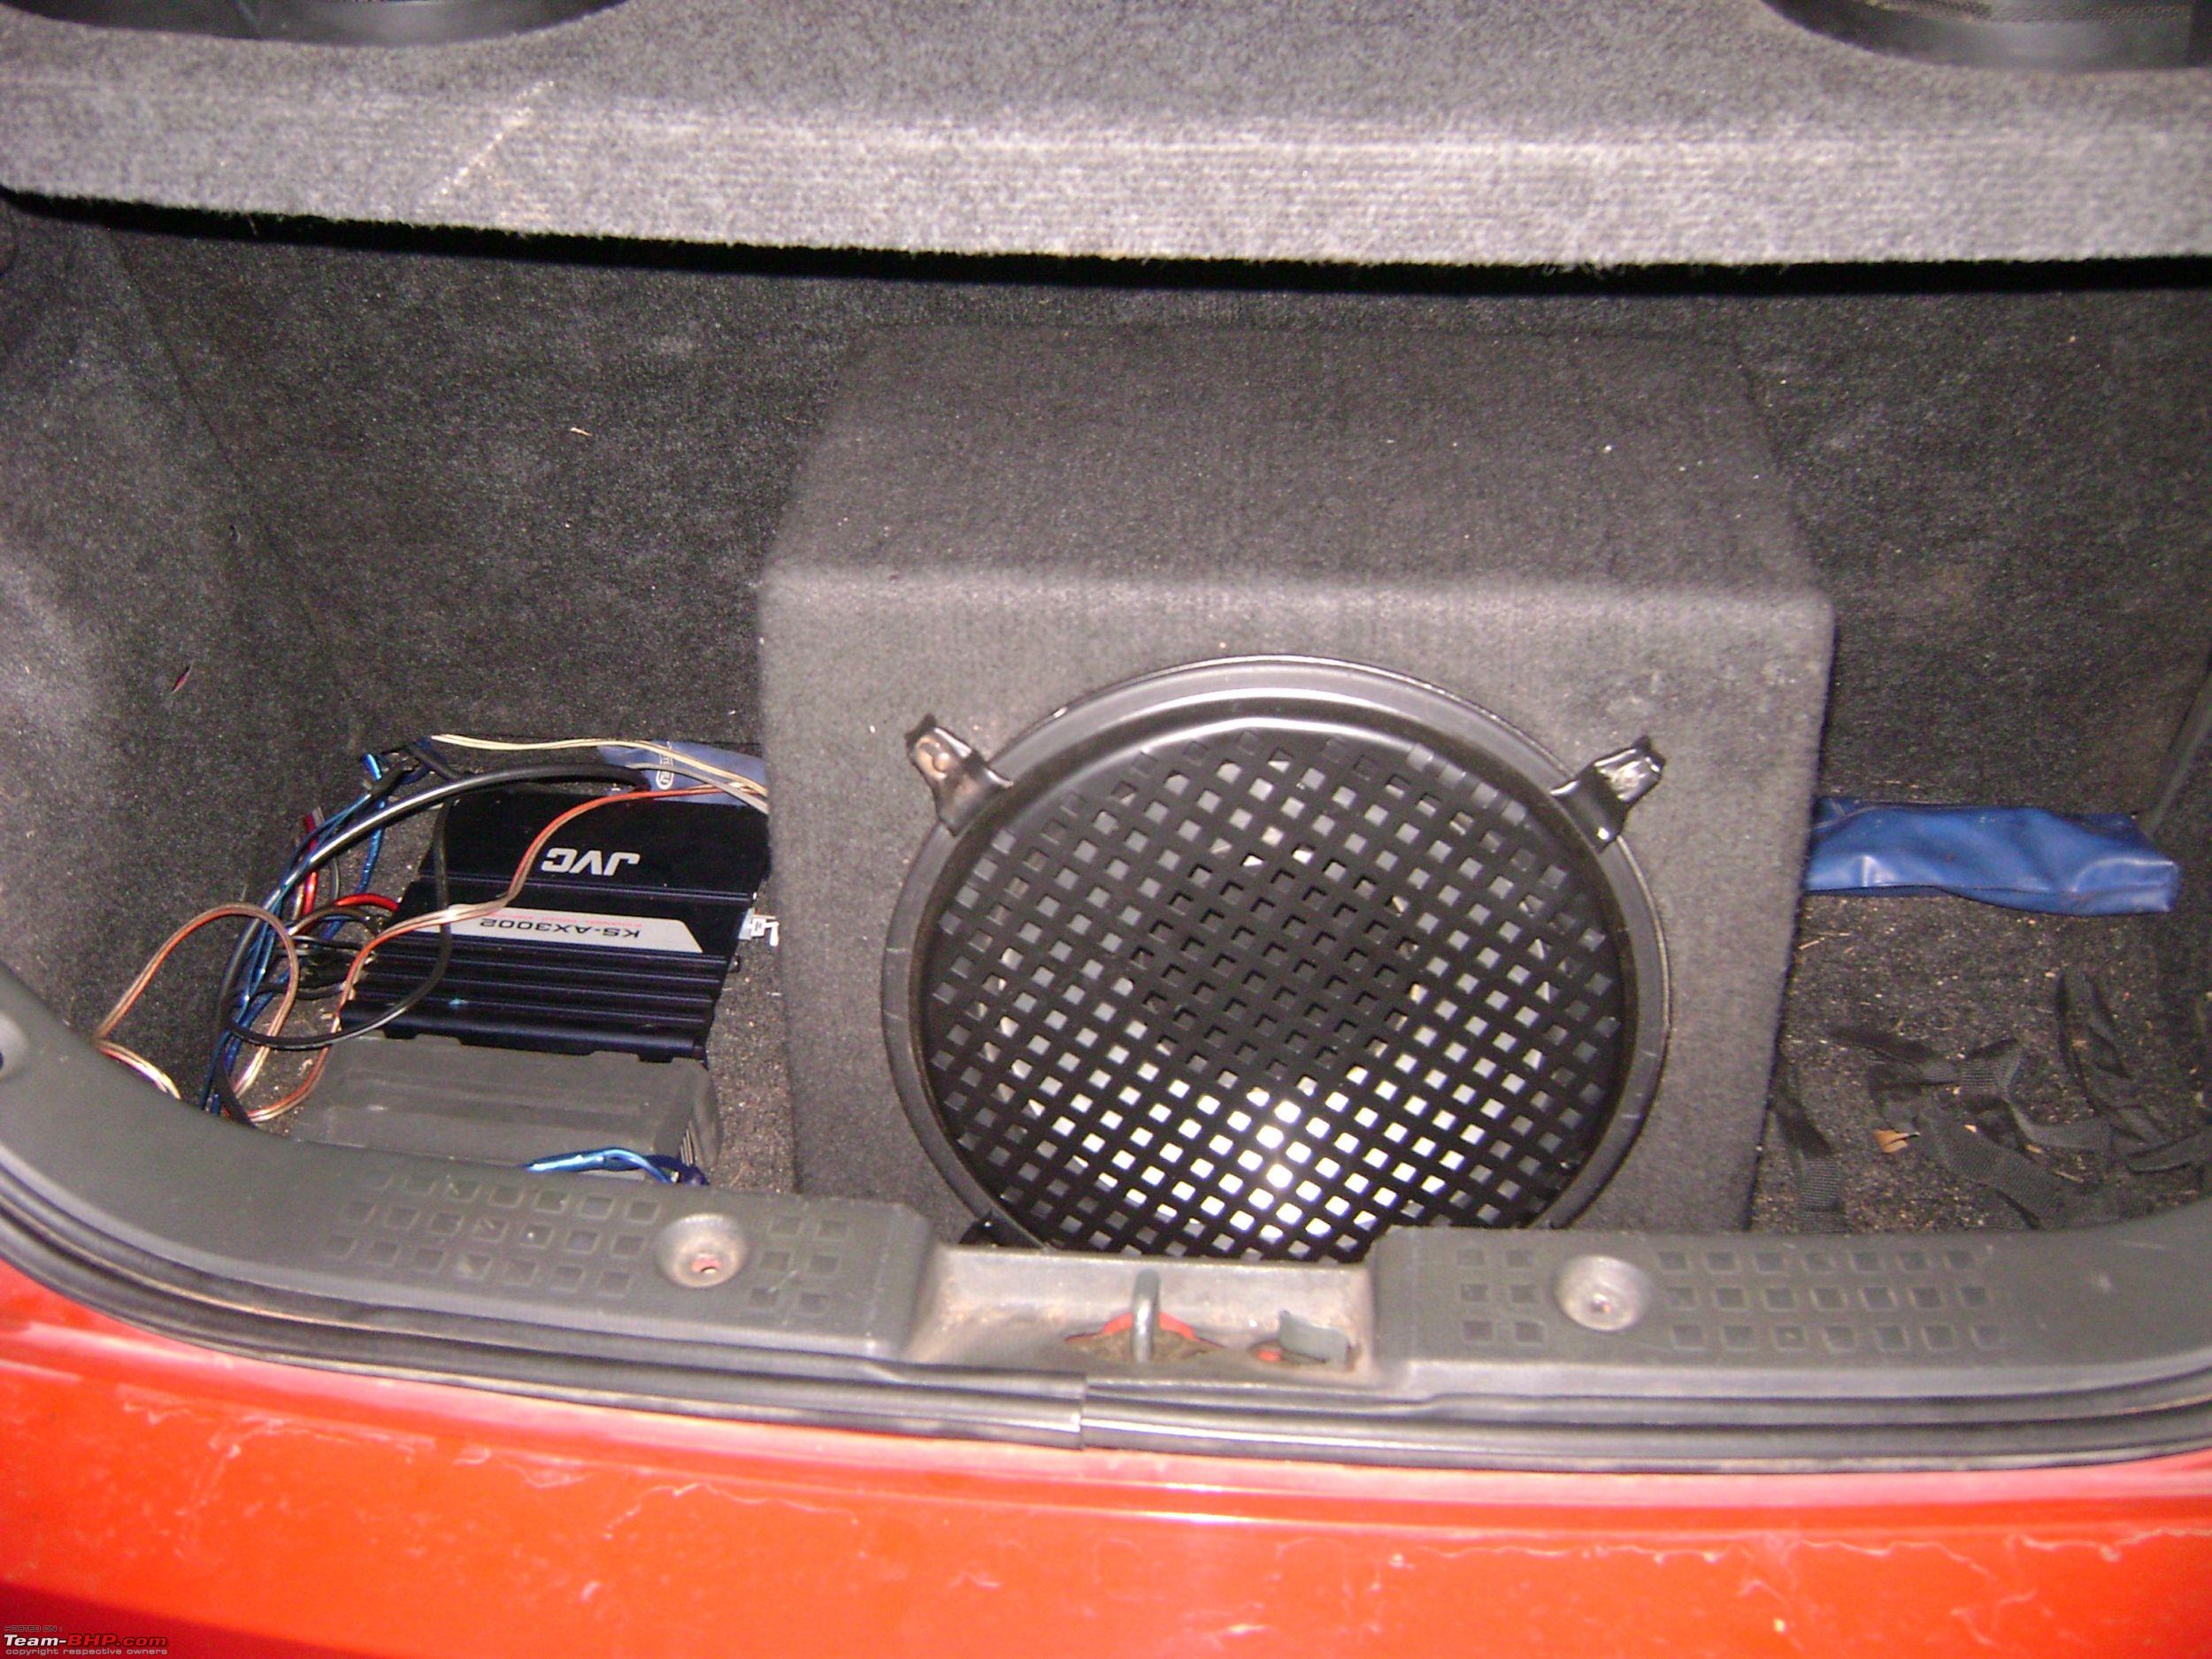
Sub : Illusion Electra Prototype 12' 4 ohm DVC sub +enclosure
+ shipping - 7000 Rs.(from B&T. I must say the packing was
superb for a 15Kg courier)
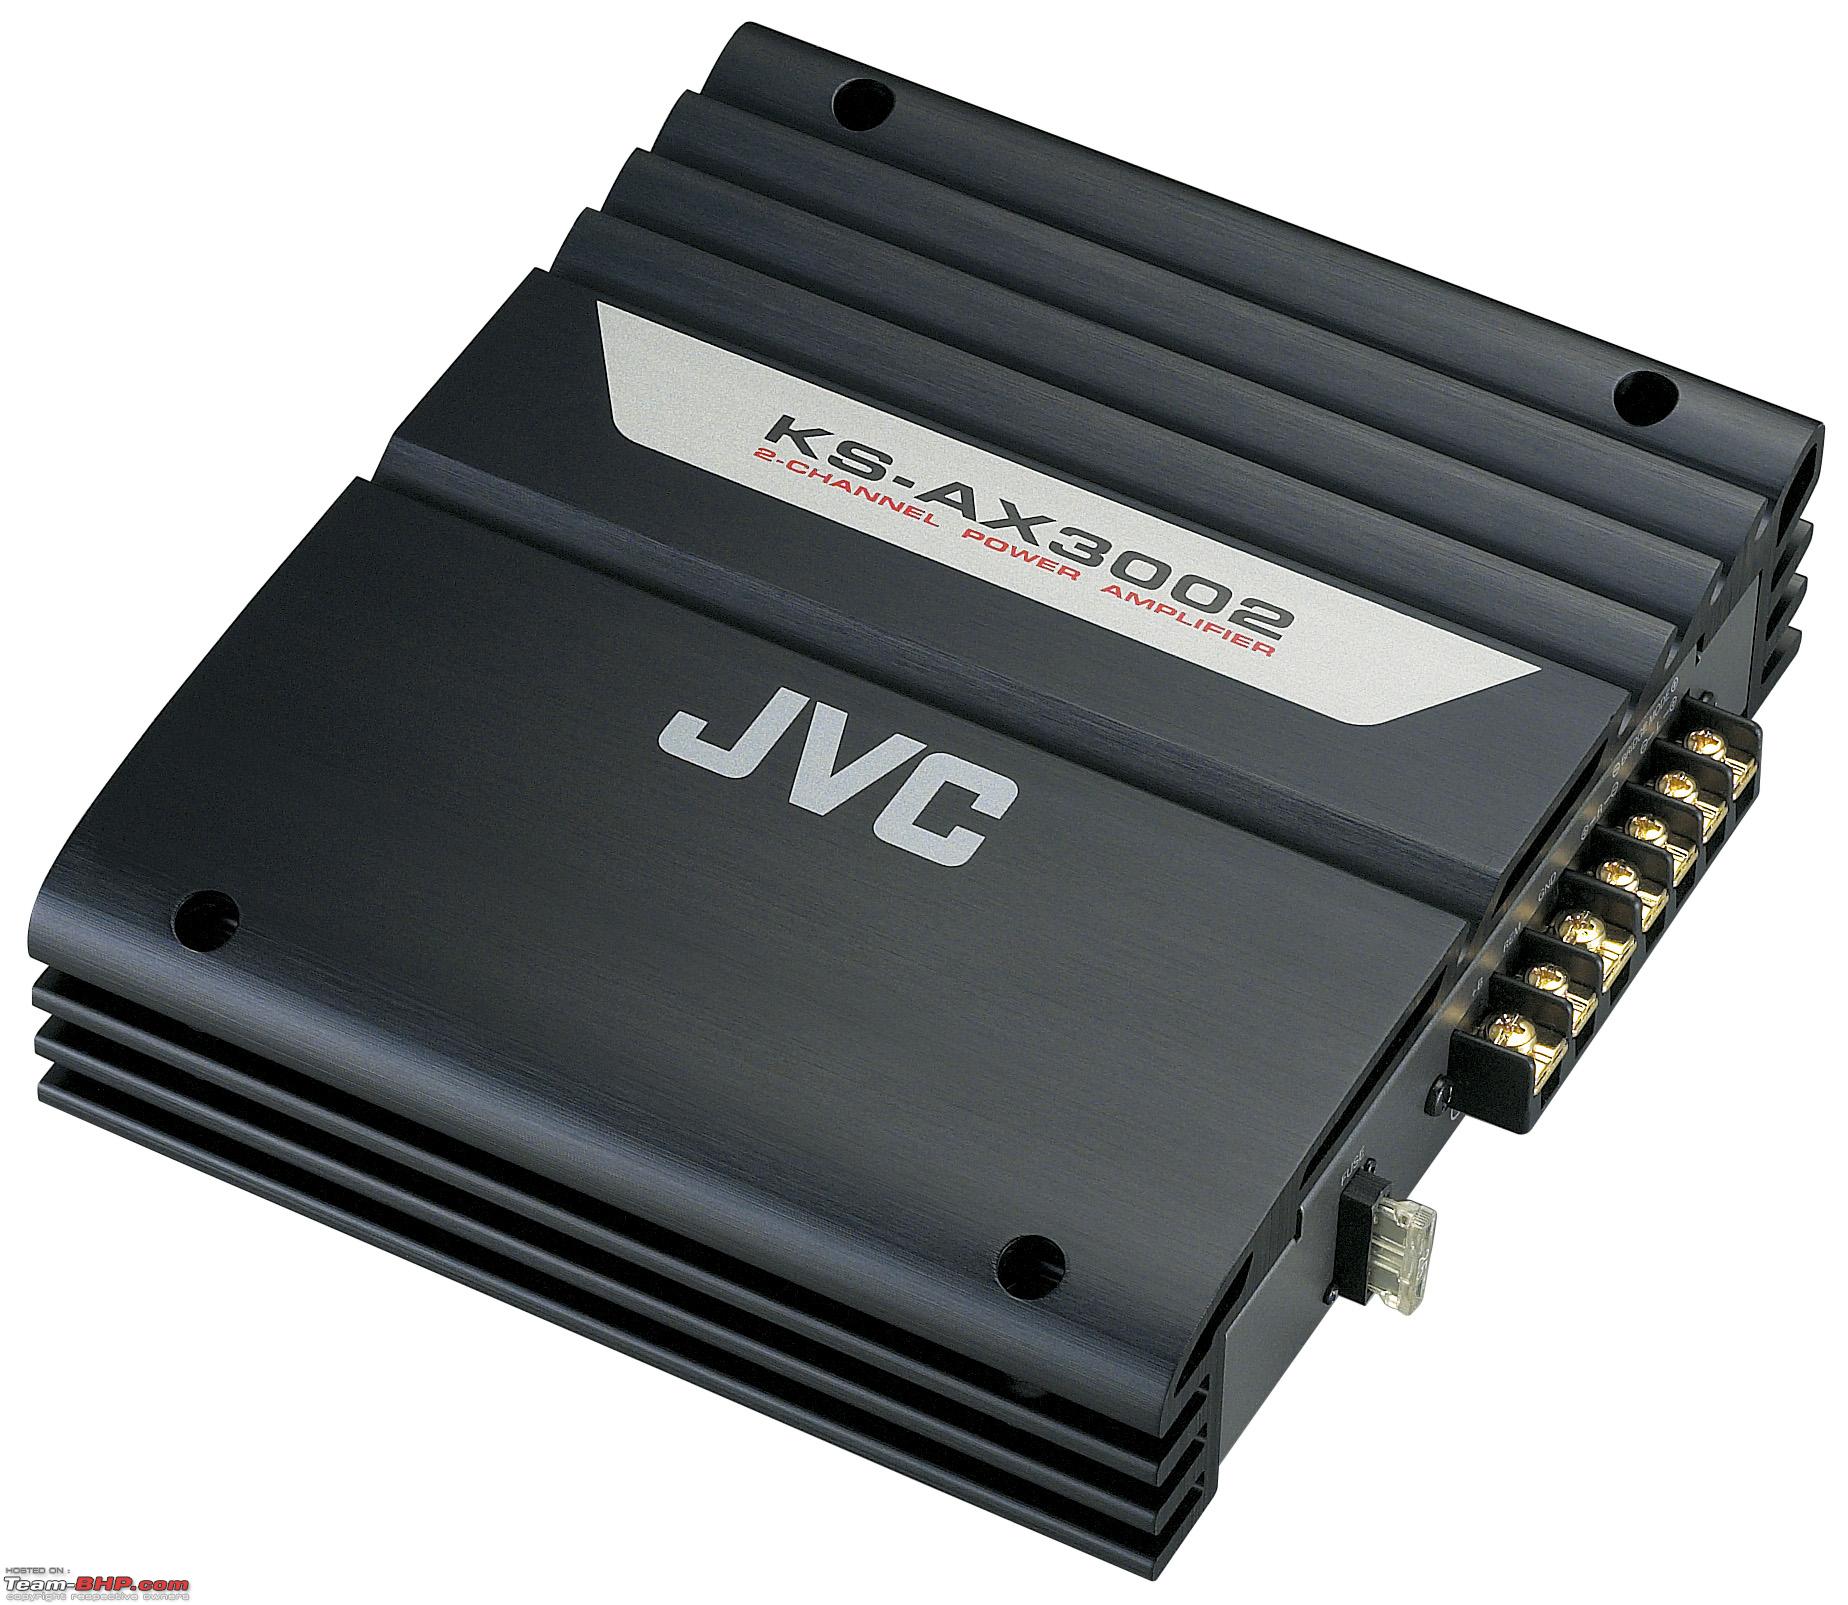
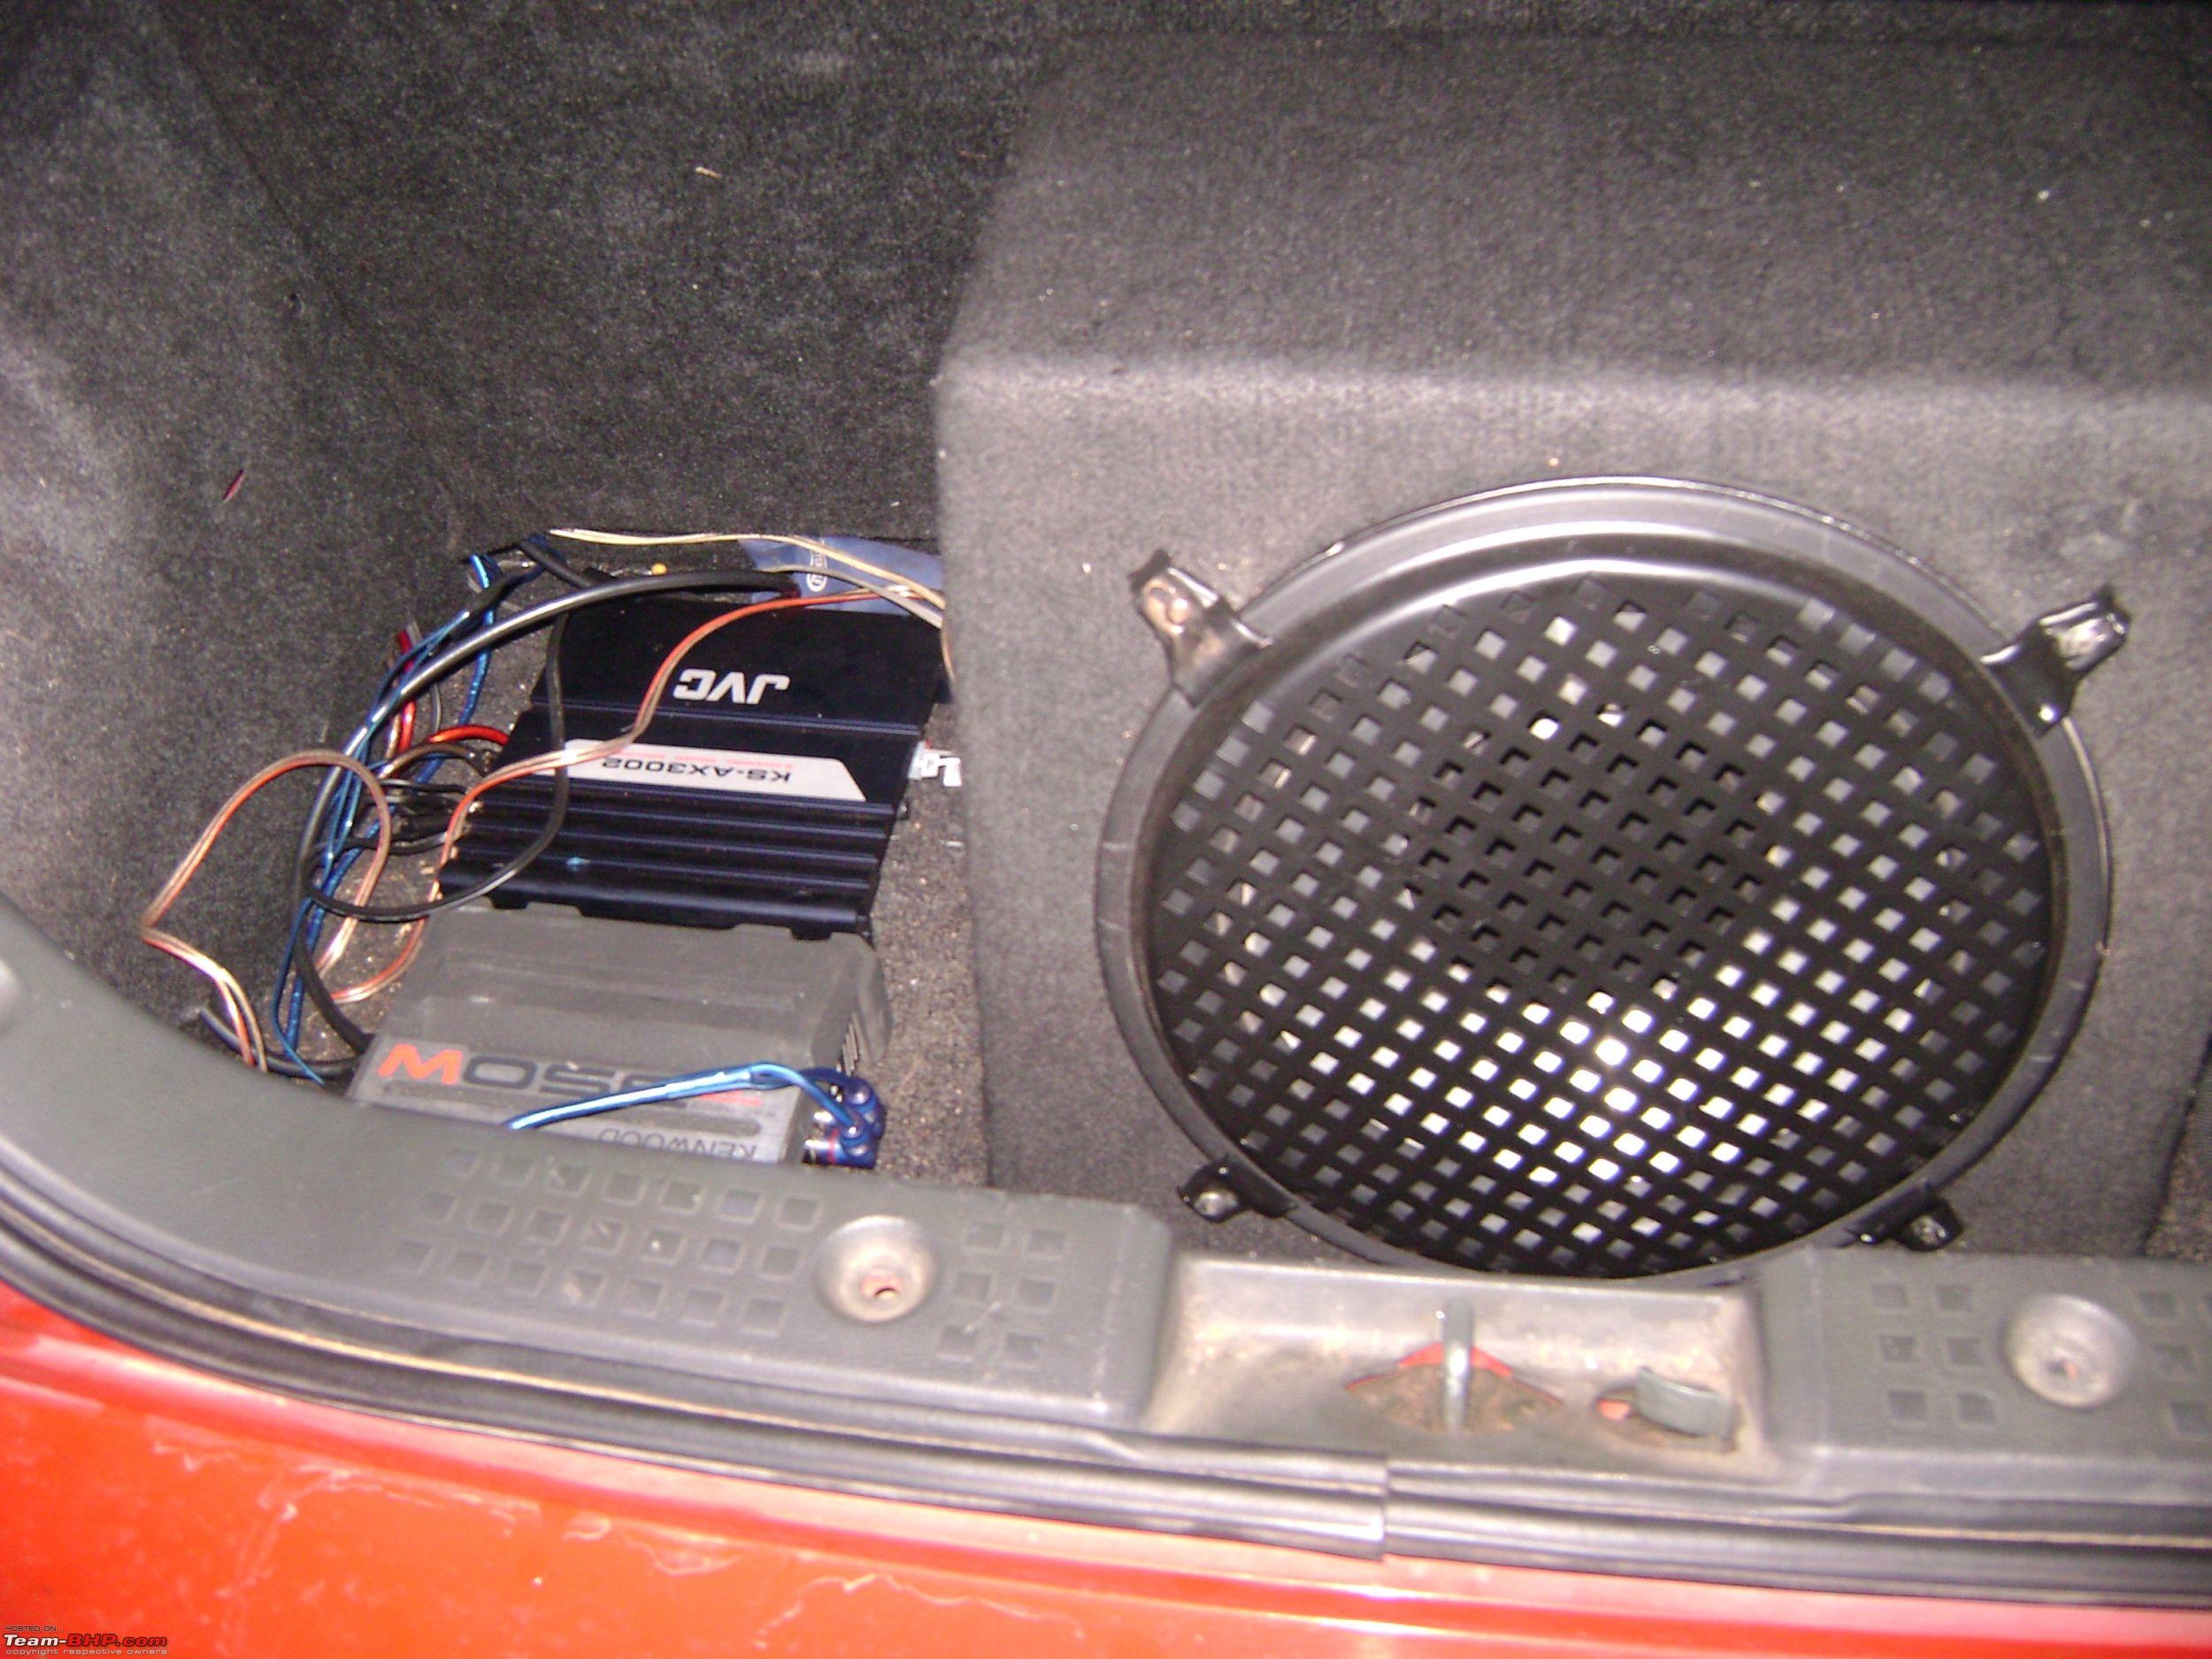
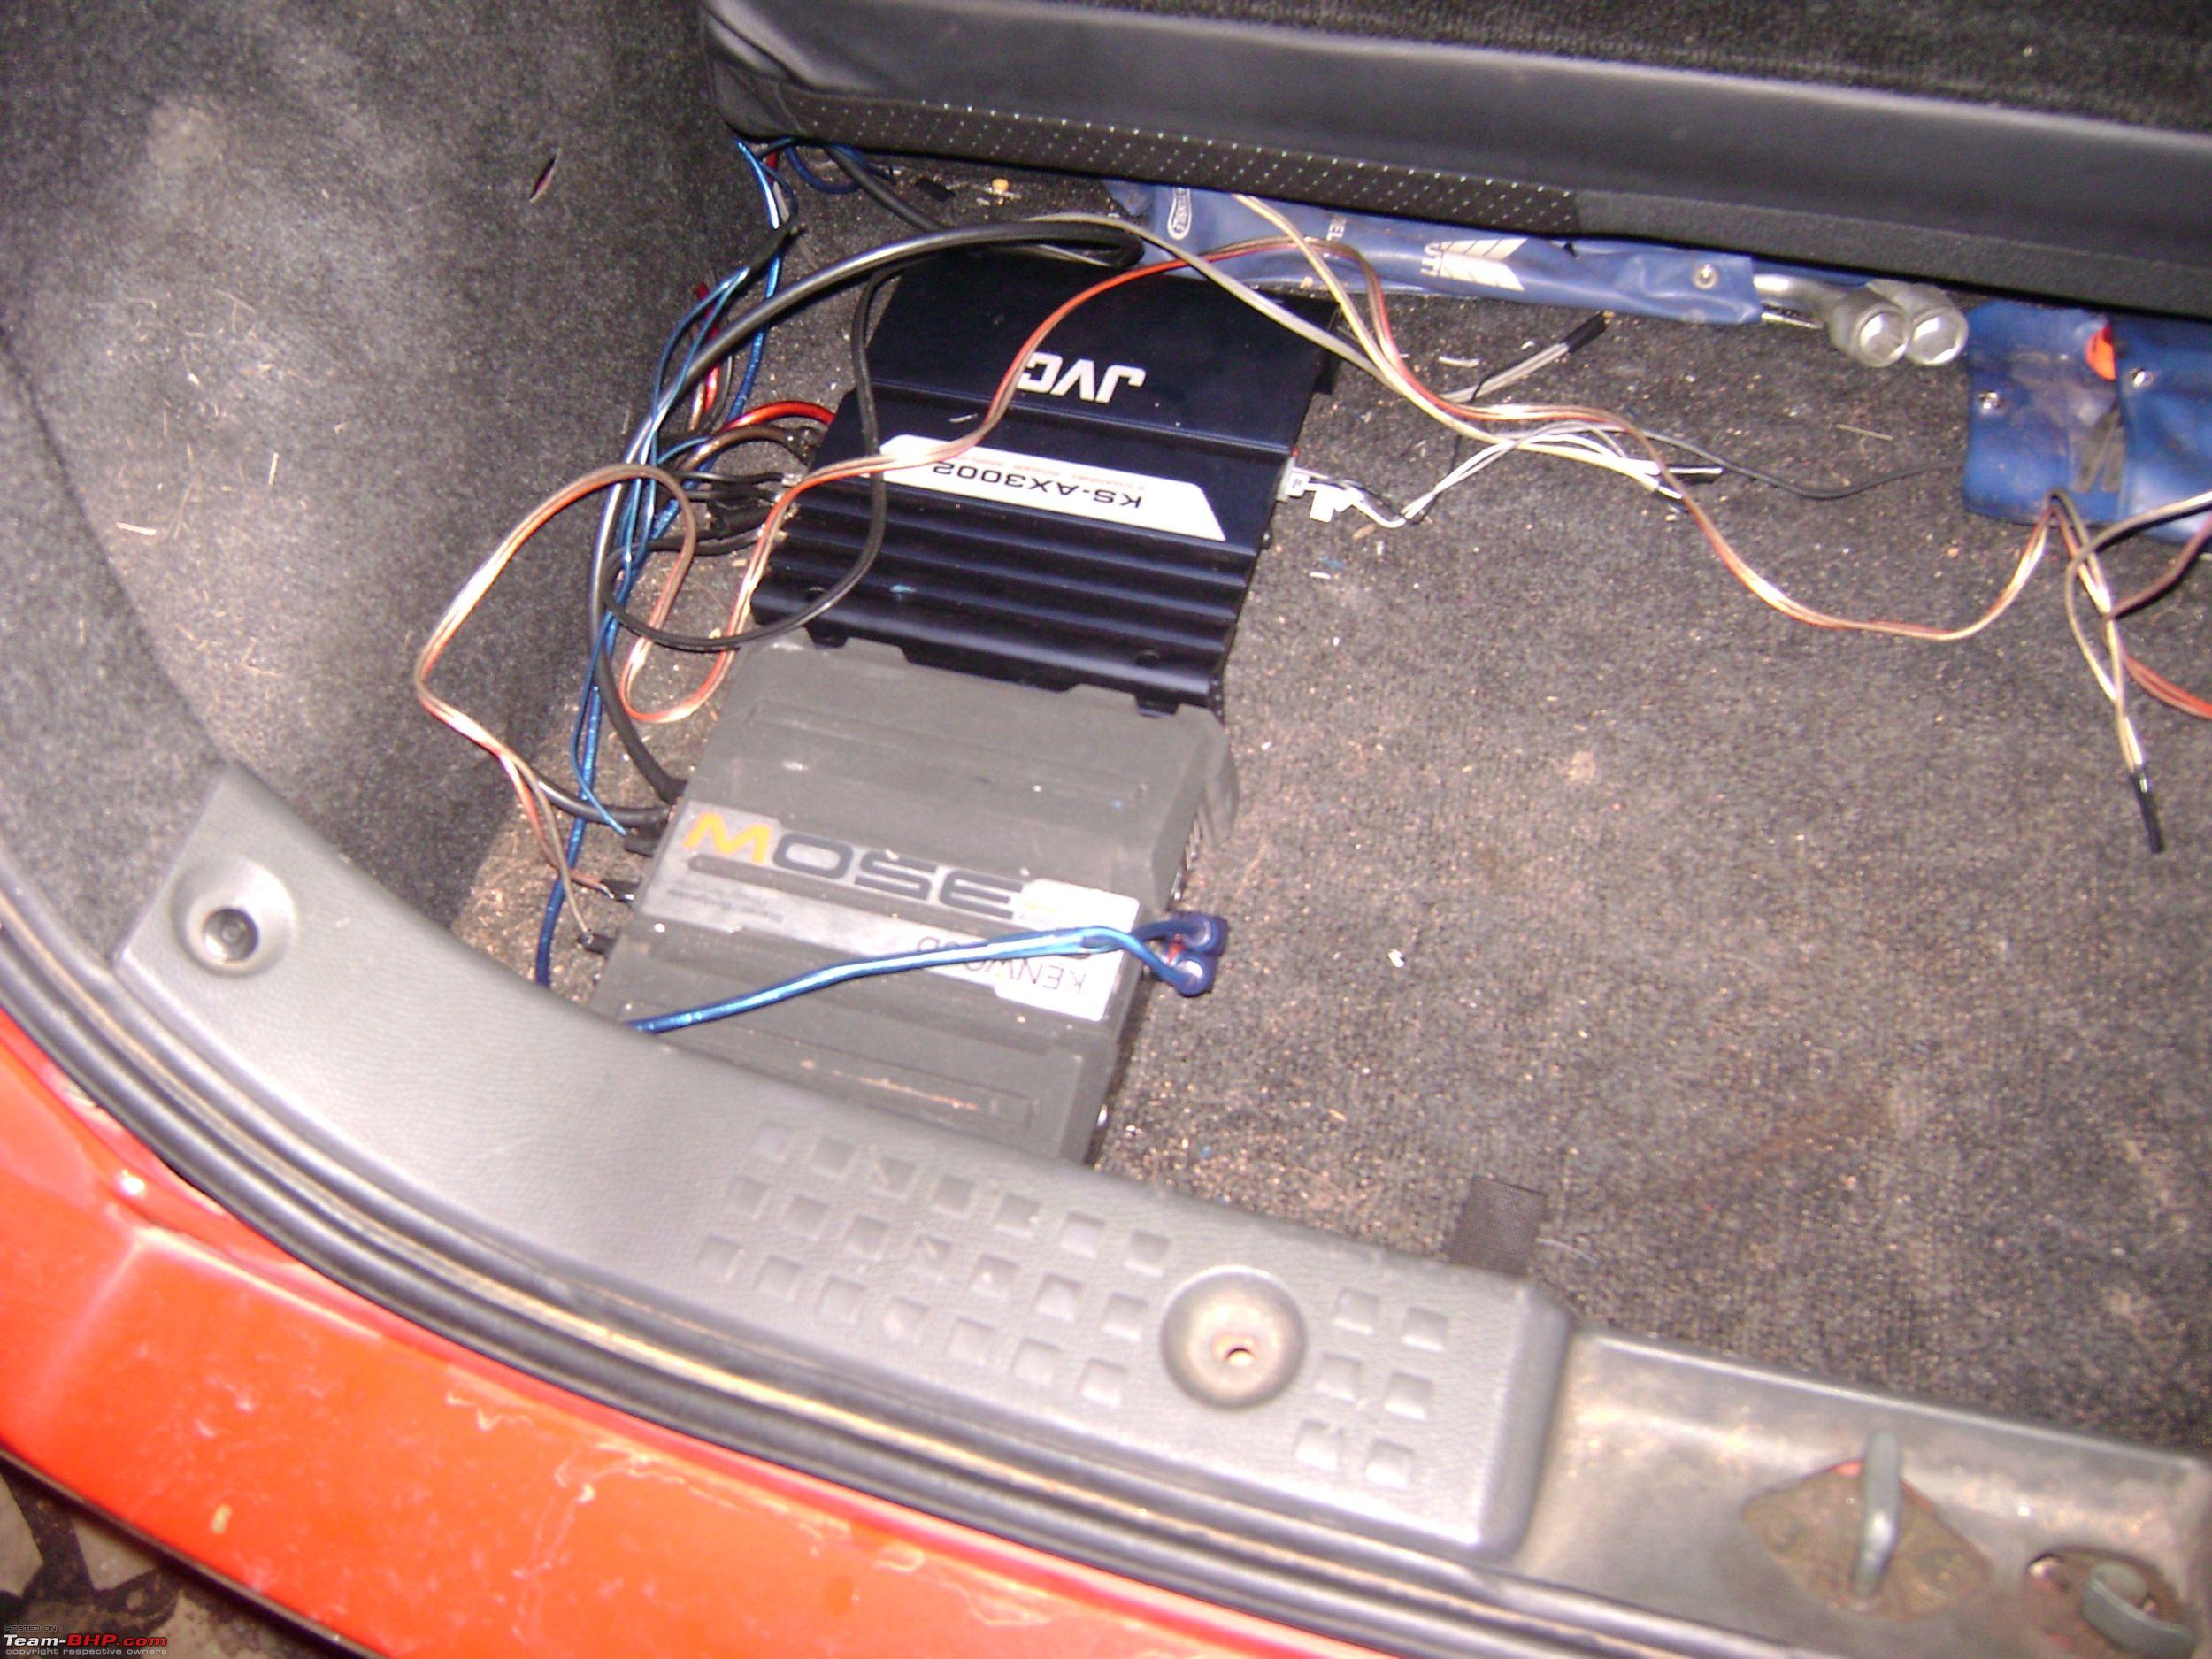
Amp : JVC KS-AX3002 2 channel amp : gifted by my uncle.
First i was opting for a mono and i almost finalized on the Infinity 1600a mono amp. Asked about this with my cousin on USA and he agreed to buy and carry it for me. But the problem was his date of arrival was postponed for 3 months and he will be arriving here on next Feb only. Hmm
So now what, as i already transferred the money to B&T and the shipment was send by the B&T. Then mom tells me that my younger uncle will be coming soon from Dubai. So i called him and asks about this mono amp. He agrees to bring it. After two days he arrives, and i went to see him (or to get the amp. hehe).Now i am eagerly waiting to see the infinity amp,instead he gives me the JVC 2 channel amp. I was like

.
He explains that the sales guy told him that i won't need a 900 w amp since its for my small swift. Instead he suggested him this amp and my uncle bought it without even asking me.

So i was stuck with the 2 channel amp. Now what ?
Note : One more thing i forget to tell you guys, is that,if my cousin had bought the infinity amp,then i had to pay for that. But now the JVC amp is like a gift since its from ma uncle. So i saved the money for the mono amp which can be used to get me a new HU later.
So now i have two 2 channel amps which gives power almost the same ie
Kenwood : 55W @ 4ohms x 2 channels and 150W @4 ohms
bridged
JVC : 65W @4ohms x 2 channels and 130W @4ohms bridged.
With this power ratings its clear that the JVC can be used to power the fronts and Kenny for the sub.
Amps


Humble HU


 20th October 2009, 22:48