Here's a quick DIY for changing your brake pads.
This one's for the
Rear Pads only - I'll put up a write-up for the front pads once I get around to changing them.
My car has now crossed around 86,000 miles (@ 1,40,000 km).
Since I haven't tracked my car, my stock pads have held up and haven't been changed since the car was new.
The
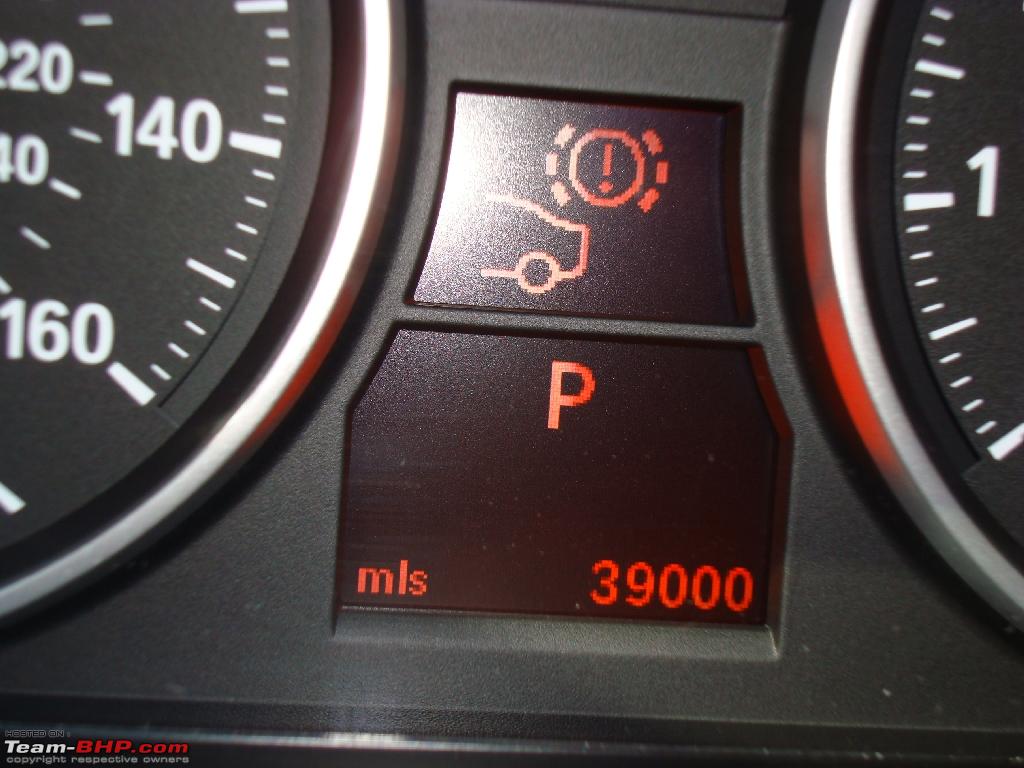
Service Interval was still showing a life of @ 13,000 miles left on the rear pads but I decided to change them.
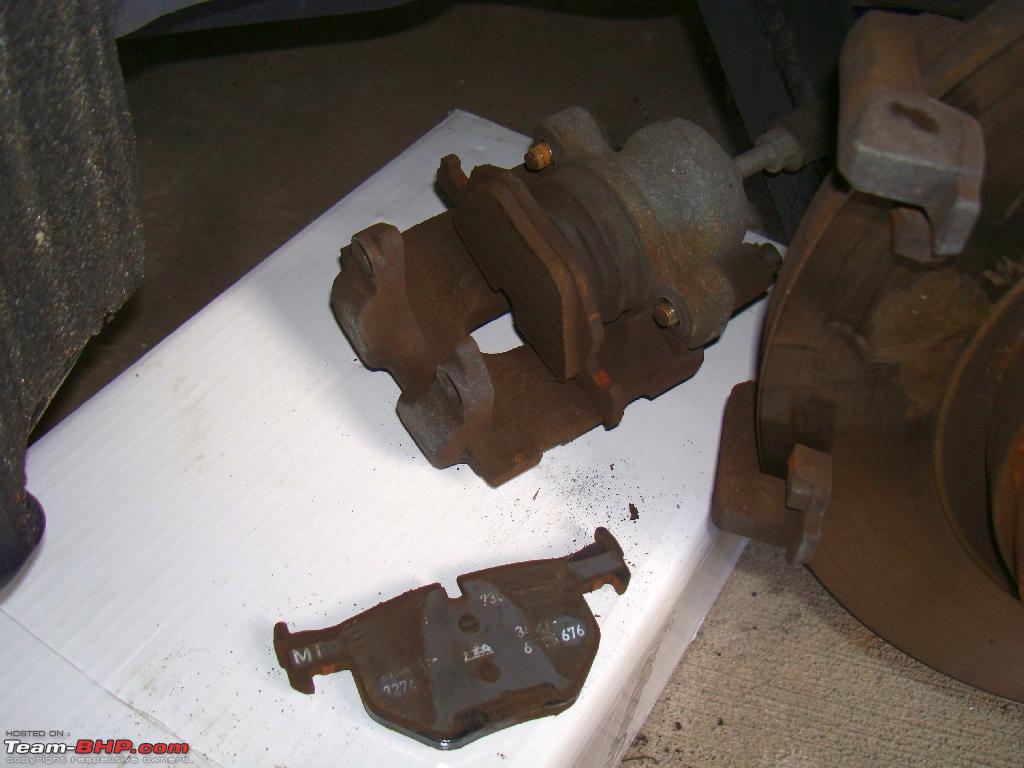
Here's what you'll need:
Brake Pads (Front) (BMW P/N: 34 11 6 794 917) - 1 set (4 pads)
Brake Pad Sensor (Front) BMW P/N: 34 35 6 789 440) - 1
Brake Pads (Rear) (BMW P/N: 34 21 6 791 938 or 34 21 6 769 105) - 1 set (4 pads)
Brake Pad Sensor (Rear) (BMW P/N: 34 35 6 789 445) - 1
Brake Pad Paste (BMW P/N: 83 19 2 158 851) - 1 pack / set of pads
Lift jack with jack stands
17 mm socket for wheel lug nuts (1/2" drive)
17 mm allen / hex-socket (3/8" drive)
10 mm socket for removing 2-3 plastic bolts on wheel-well liner
Brake spreader or C-clamp
Brake cleaner spray
Anti-squeal paste - CRC Disc Brake Quiet
Rags / paper towels
Disposable rubber gloves
[PICTURE 1 - Parts] 
Jack up the car using the rear differential. Place your jack-stands at the jacking points.
Remove rear wheel(s).
[Some DIY'ers recommend opening the lid for the brake-fluid reservoir located under the bonnet (hood). Possibly to ease pressure when you push brake piston back (more below)]
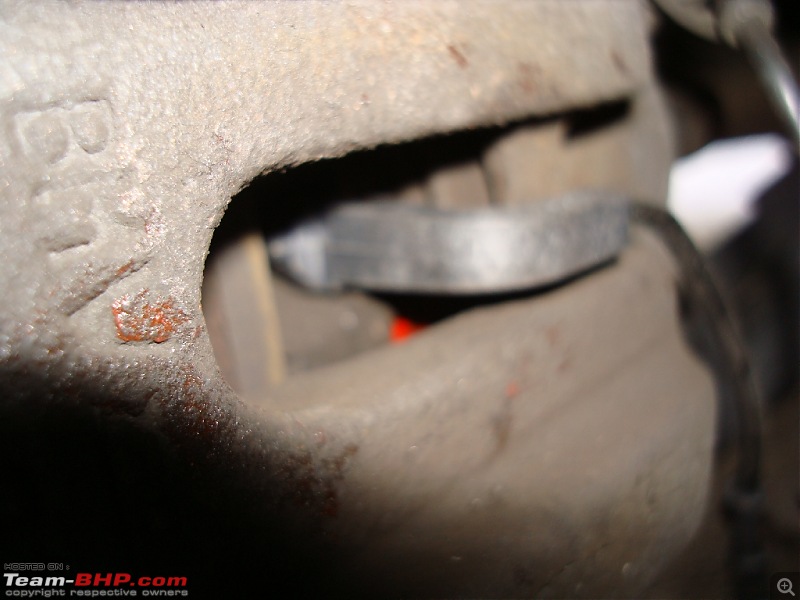
[PICTURE 2 - Top & Bottom Hex]
[View from inner side - Top]

[View from inner side - Bottom]

Remove the anti-rattle clip. Unfortunately, I didn't click a picture but it comes off fairly easy if you use a flat bottom screw driver between the rotor hub and the caliper, and press on the spring away from the hub.
If you're doing the left side first then remove the wear sensor cable that's clipped onto the inner pad (Picture in thread below). Leave the cable attached for now so you can follow the same routing while fitting the new sensor. The sensor is attached with a spring clip that'll probably stay on the pad when you remove the sensor. Save it for the time being just in case your new sensor doesn't come with a clip - usually they all do.
The right side doesn't have a sensor. There's one on the front left & another on the right rear.
If you're only changing the pads then you only need to remove the two 17 mm hex nuts / caliper guide bolts (one top, one bottom) hidden under two plastic caps (caps can be pulled off or pried off using a small flat screw driver).
You need to fully loosen the hex nuts but don't
need to fully pull them out
[PICTURE 3 - Support caliper & remove pads] 
Once both the nuts are fairly loose you'll need to wriggle the caliper off the rotor (disc) - this might need some muscle but it'll come off.
Support the caliper on a box or something - don't let it hang off the brake lines.
The outer pad comes off easily, then inner one is held inside the piston by metal clips so it'll have to be pried out.
Before removing the inner pad, use it as a support for your brake-spreader / C-clamp to push the piston as far back as it'll go - don't use force.
[Make sure your brake fluid reservoir lid is open before you do this, so it eases pressure]/
[PICTURE 4 - Compare new & old pads]
[Outer]

[Inner]
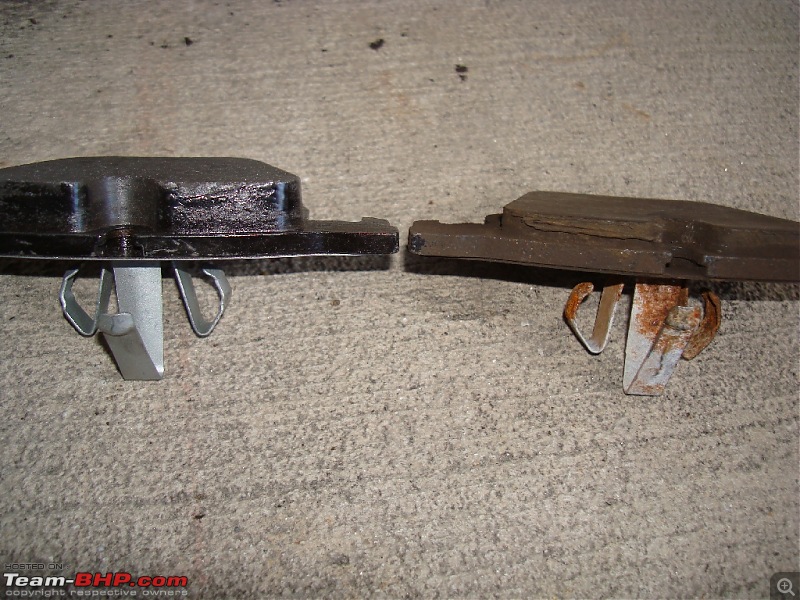
These pads were changed for the first time since the car was new - so they have lasted pretty well for @ 4-1/2 years & 86000 miles without tracking the car.
[PICTURE 5 - Lubricated guide bolts] 
Now you can liberally clean the area with the Brake Cleaner - avoid getting it on rubber parts or paint as it'll damage paint.
I'd bought this lubricating paste along-with the pads, so used it to lubricate the guide bolts after cleaning.
[PICTURE 6 - Anti-squeal paste] 
Some DIY'ers recommend this, some don't. I used some anti-squeal paste just so I don't have to redo everything again in case the brakes do start squealing.
You don't need to do the whole pads, just the portions that touch metal.
NOTHING on the side that touches the rotor please.
 [PICTURE 7 - Brake Pad Sensor]


You need to remove a couple of plastic hex 10 mm bolts to uncover the sensor cable car-mounting point that is under the wheel-well liner.
Note that the rear sensor is longer than the front one.
I was ignorant, and didn't notice it so I wasted a lot of time in installing the wrong length, seeing it doesn't fit, getting frustrated, removing it and then refitting the longer sensor 2 days later.

Follow the routing of the old sensor wire and you're all set.
[PICTURE 9 - Reverse & reset] 
Put everything back together.
It's easy enough to write a short line but it takes time re-installing everything.
Get in the car and reset the Rear Brake Pad change interval.
The OEM pads don't require any specific bedding-in.
That's it!


 25th August 2012, 23:02


 (4)
Thanks
(4)
Thanks