Its been a long time since I wrote a post here on Team-BHP. Most of it was because of me being busy with college.
The summer vacations started and I seem to have found time to do what I love.
So, this is a tutorial about fixing the ever so popular Hella Red Grills. These horns are amazing, they suit well on almost any car that you can find. I use them on my 2000 Zen. There are two horns- one is a 300Hz tone horn and the other is 500Hz.
After two years of installing these horns back in 2009, they started giving me troubles. Sometimes, one of the horns wouldn't work, sometimes they would and sometimes, both of them would die.
But you see, just like your car speakers, horns are not supposed to go bad, well, not this early at least. Plus, these are German made horns, so a little cleaning is all it requires to bring them back to life in a dusty country like ours.
I went to numerous shops. Some of them would blame loose connections and after a little fiddling say the connections are now tight, but no, after a few kms they would still act up. One of them took them off, screwed the tunning screw in and out a few times and they worked for a maximum of 2 weeks before acting up again.
This time, I decided to fix them myself and clean them inside out so that they never go crazy on me for another 2 years atleast.
So, here we go-
First step would be to remove the car's grille to get access to the horns. For my Zen, I did not require much tools. I used a 10mm-11mm ring spanner and a Philips screwdriver to REMOVE the horns.
Below is the ring spanner, if you didn't know.

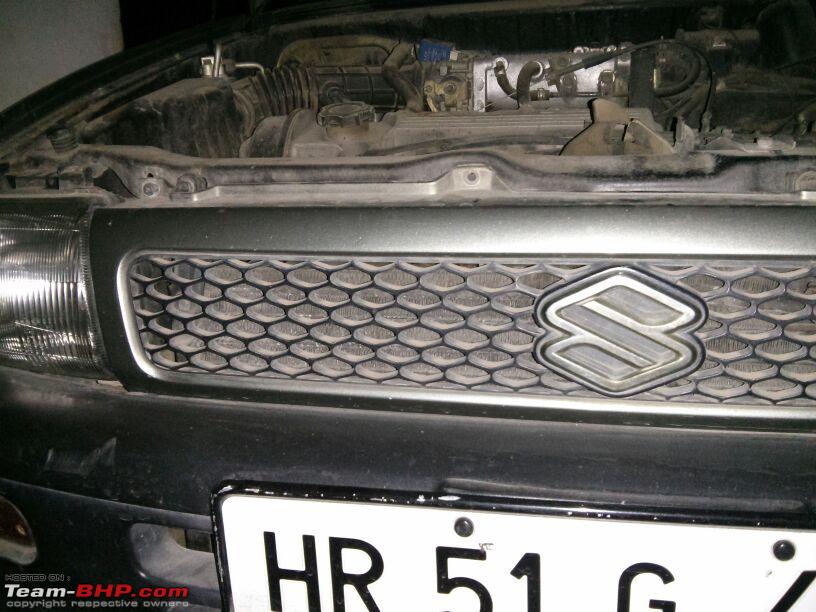
Now, the grille that I had to take off in my Zen.

And this is the second horn behind the passenger side headlight. Its difficult to find a proper mount in a Zen, well, its a little pocket rocket.

Aaaanndd, here's the horn!

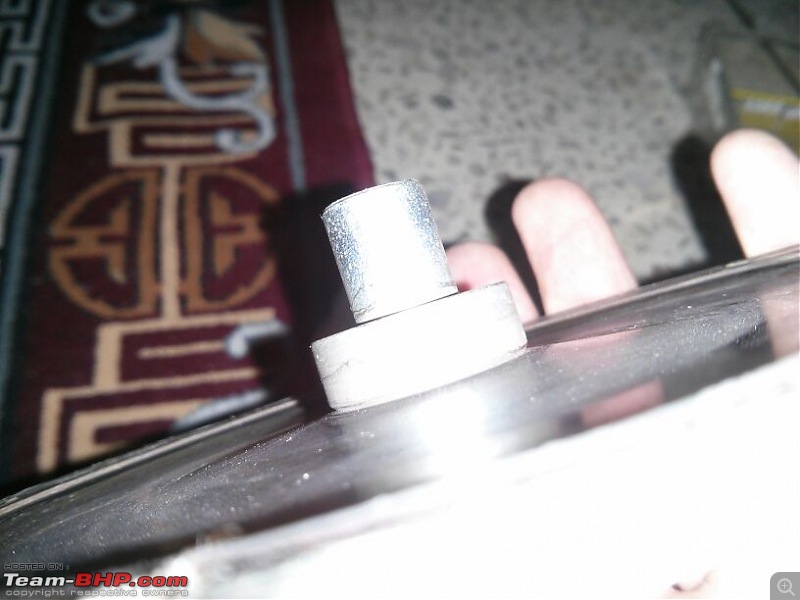
After that, proceed with removing these screws at the periphery. If I remember correctly, they are 8 in total.

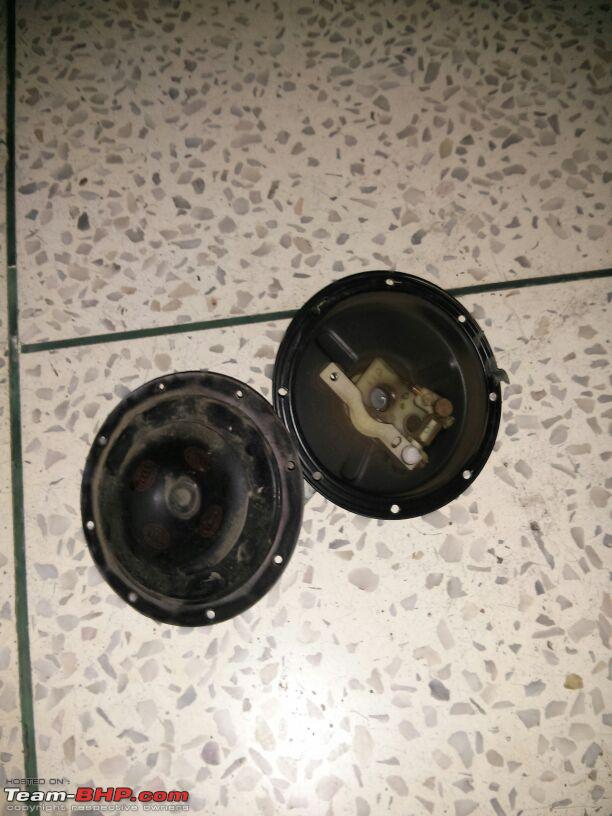
And this is what you'll see after opening them.
I am not sure if its clear enough in the picture below, but the insides are pretty dusty and the contacts have a thick, black layer on them. And yes, this is the horn that was mounted behind the headlight, the one behind the grille was much much more dirty than this.


^^That chocolate brown thing in the middle is the iron core, it is supposed to be clean and metallic shiny. This is 4 years of abuse on these horns!
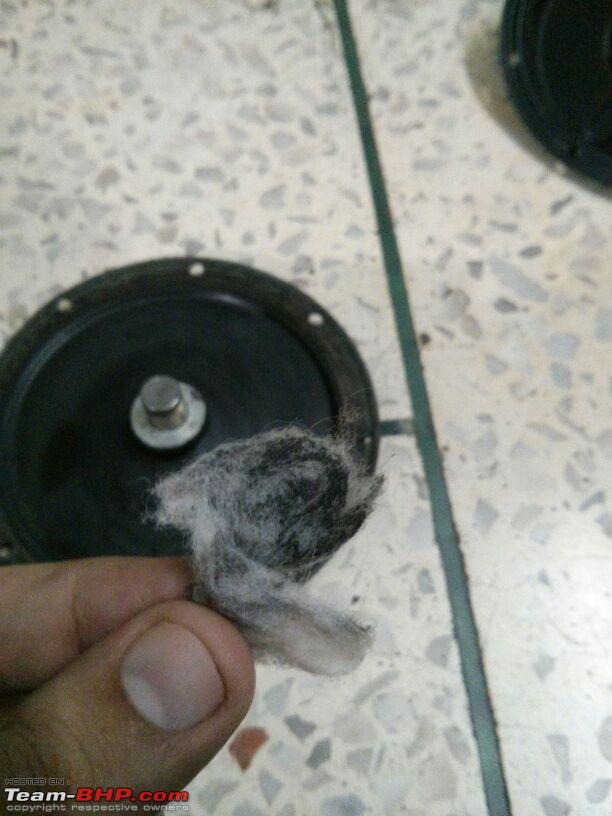
And another one to show you how dirty it actually was.
Someone gave me company all this while.

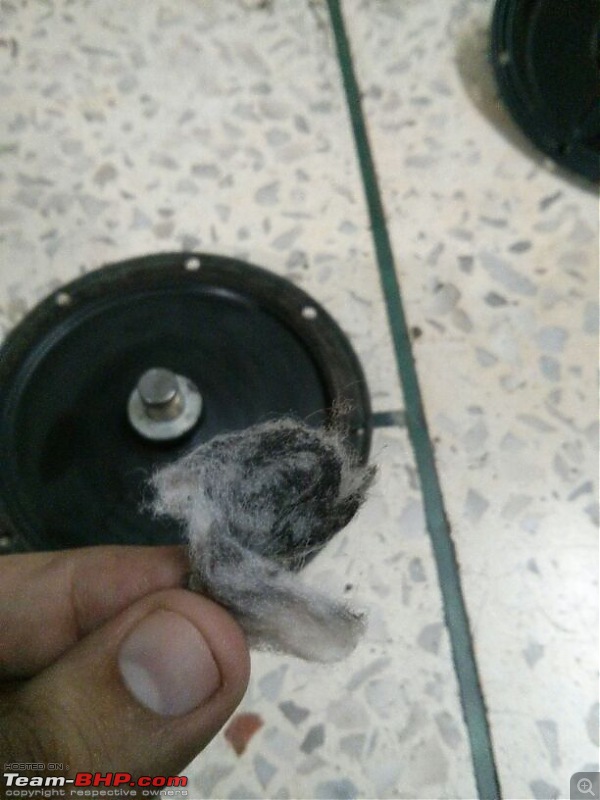
I used Isopropyl Alcohol to clean everything. Below is a picture.

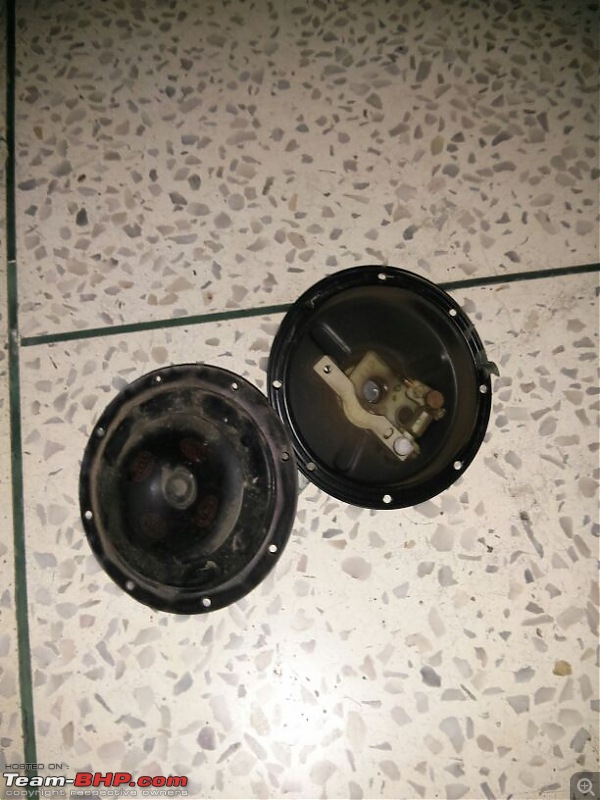
After thorough cleaning, you'll probably see something similar to what is below.
Now, I couldn't take a lot of pictures while cleaning because obviously I didn't want to soil my phone. These are all the pictures I could manage.
Just make sure you clean all the metallic contacts thoroughly.
Then, simply put it all back and you're done.
I went back and installed the horns, and believe me, the feeling that I got even after being deafened by these horns was priceless. Its another story that I may have woken up my neighbours at 5 in the morning

.
The horn is working great since then and I am a partially happy Red Grille customer :P
P.S. Special thanks to one of my friends on Watsapp who put up with all my gyaan and pictures I was offering her while going about repairing HORNS at 2am in the morning
. And yes, this job can get lonely especially when you do it on an impulse at such an ungodly hour.
Damn, I love summer vacations!
But hey, these are probably my last :(


 13th June 2013, 23:05

 (13)
Thanks
(13)
Thanks