| |||||||

| Search Forums |
| Advanced Search |
| Go to Page... |
 |
| Search this Thread |  12,984 views |
 29th September 2013, 12:04
| #1 |
| Senior - BHPian | DIY: Replacing the windshield washer pipe (Tata Nano) Background: During the last one year of use, the water pipe which carries water from the washer reservoir to the nozzle suffered some wear and tear. The place where it comes out of the hood developed some holes as a result of this wear and tear, and water started leaking out resulting in no spray at the nozzles. Since monsoons had arrived, it wasn't a very severe problem, as Providence provided with ample water all time of the day. I tried to fix it temporarily by using insulation tape, but to no avail. However since I had to give the car for the dashboard replacement, I decided to get it replaced. As usual the SA at Balaji Motors, Thane didn't note down the work to be done, and as a result, this particular job was missed. When I landed at the workshop to pick up my car, the pipe still leaked. After raising this point, a worker was summoned. Replacing the whole pipe was my idea, but this worker stripped off the damaged portion of the pipe and fixed a hard plastic connector, about an inch long, to join the part coming out of the hood to the part under the wiper arm. Done and the spray is back on! However when I reached home I realized another problem. As soon as the cleaning guy lifted up the wiper arm, the top part of the pipe came undone. After a couple of days I fitted the part onto the connector rather forcefully, to ensure it wouldn't come out. However this resulted in the end pipe being considerably shortened. I had no choice but to reposition the nozzle about half an inch behind its correct position. Not acceptable! When the Tata CRM called me for the feedback, I reported this matter to her, and she confirmed the new pipe would cost Rs. 150 (not under warranty) and would be done the next time I visited them. But this means wasting almost a whole day for a small item. At the same time I couldn't live with the thing as it was. So I started scouting for a replacement. In a shop a few metres from my home I found a 4mm X 6mm plastic pipe suitable for the purpose. The price was Rs. 15/- a metre and I bought a metre. Initially I thought of replacing the top part, and keep the rest of the pipe for any future use. Then I realized I didn't have the cutter with me. I thought what the heck! Why not replace the whole pipe? After opening the hood and tracing the existing pipe, I realized the job would be tricky. The rubber pipe bends easily and it was fitted during assembly when it was rather simple. However replacing it now, even with a rubber pipe would involve some clever use of tools. The plastic one I had bought was even stiffer, and I was sure it wouldn't bend the way the rubber pipe did. So I scouted for an alternative route. Finally the entire pipe from the connector of the reservoir till the windshield nozzle was replaced and the spray is as strong as new. The images are rather big in size: It was rather easy to disconnect the top part from the nozzle and the connector and put the new pipe in its position. The pipe was first fitted onto the nozzle, and then using the stock clamps I secured it to the wiper arm. Pushing it through the wiper spring cavity was a bit difficult. Finally I used the car key to push the end of the pipe through. Here's the new pipe all ready to be joined. You can see the old bit of pipe along the new one, and the white connector sprouting from the remaining pipe:  The inscription on the new pipe:  The ends of the two pipes: More or less same size, but the rubber bit is a bit flared up because it was fitted onto the connector for a couple of days.  Here's something interesting the shopkeeper sold me: It's a connector with a 6mm diameter hole on both sides. You can just push-fit a pipe into the side and it locks. To pull the pipe out, you have to press the small blue disk down - just like when fitting the nozzle on the home LPG cylinder. Neat little 'jugaad'. Didn't have to use this connector though.  You can probably make out the white connector fitted by the Tata garage worker. It does the job, but unfortunately the pipe length has reduced.  Here you can see one end of the new (blue) pipe inserted into the hole from where the stock pipe comes out of the hood. Right after this insertion the stock pipe bends and goes around the wiper arm base screw. The plastic pipe, being considerably harder, cannot possibly bend this way unless you open the whole plastic cover. I doubt if even a rubber pipe could be bent this way.  You can see the small opening made in the plastic cover to allow the rubber pipe through. The pipe was already chaffing with the edge of this opening because of the frequent pulling. Possible leakage in future:  I had already taken the plunge and pulled out the bottom part of the pipe from its hood fitment. Now there was no going back, or else I would have to get the whole exercise done from the garage. However the situation was quite salvageable. The plastic pipe could not be bent to take the original route, however when I pushed it down, it came out behind the plastic box: 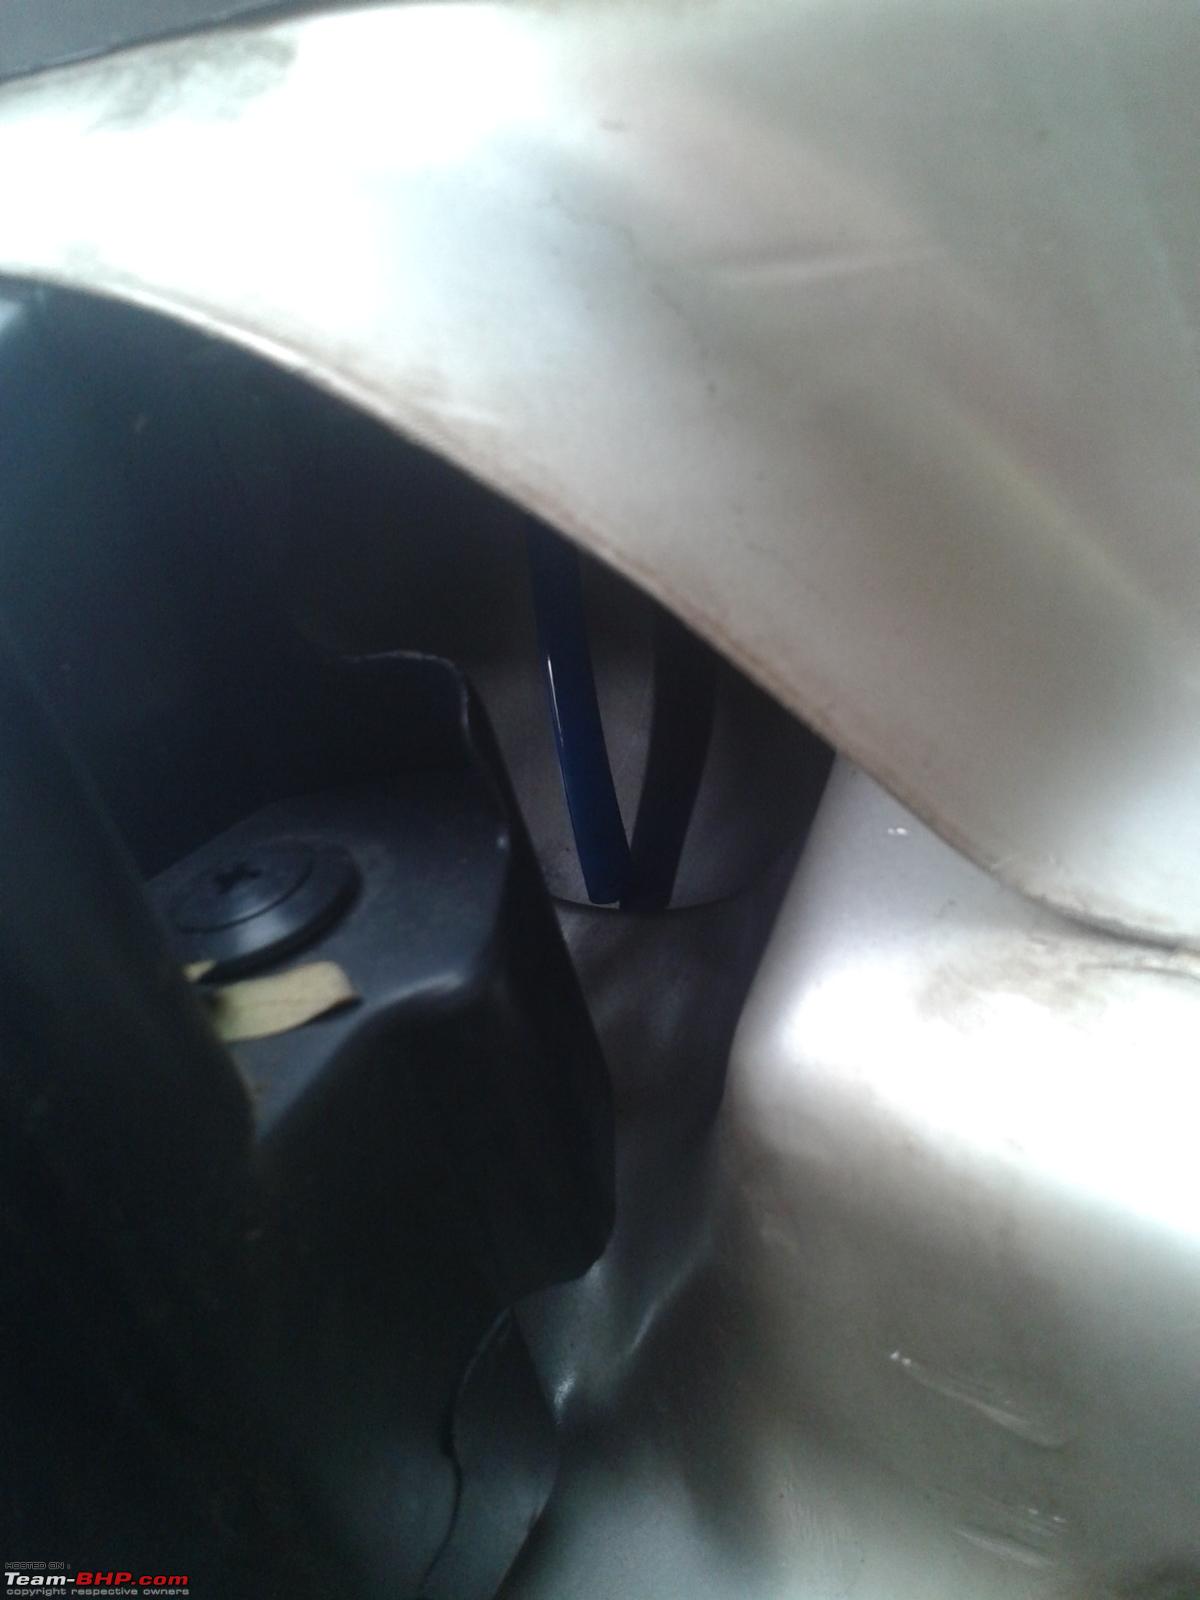 I found a hole near the clamp for the box, and pushed the pipe through the hole.  Here's how the new pipe goes to the reservoir. I have also marked the route of the original pipe in yellow:  The final view at the reservoir's side. I might take the plunge and replace that last bit of rubber too:  No tools, except the car key, a better quality pipe for Rs. 15/- and approximately ten minutes (less if you plan it beforehand) and voila! One component which will seldom fail in your lifetime! |

|  (6)
Thanks (6)
Thanks
 |
| The following 6 BHPians Thank honeybee for this useful post: | arvindmanju, Blow Horn Ok, GTO, Klub Class, kutts, lambuhere1 |
| |
|