Hi All,
Let's just say this was kind of the beginning to the realisation of my dream to build a project car!
I was hell-bent on doing something for it, starting with Stage 1 upgrades was first on my list.
With the recent upgrade to 15" Lensos and some wider treads (Yokohama S Drives - 195/55) - well described in my long-term ownership report
http://www.team-bhp.com/forum/long-t...ms-review.html, it was time to bring on the heat or 'ahem reduce it (technically!).
I owe my research on the Stage 1 upgrades to loads of threads available here on team-bhp with valuable inputs from many members - so a big thank you for that!
Getting back on track to what I decided would be a fair/decent upgrade in improving the stock performance of my car without too much of an investment (I'm a working student, need to save for my MBA!) I felt an upgrade to the intake system would give me the best of both worlds, a better grunt as well as a free throttle response and may be a performance improvement.
I'm a total DIY'er and I wanted to invest in something I could fix myself, so I decided to check for systems I could fit on without breaking too much sweat.
I was in 2 minds over a CAI or a RAM intake system, and chose a short RAM.
It's much easier to install and doesnt require too much engineering skills to fit. So after checking a few youtube videos on how to make one for yourself, I ordered a K&N RR 3003 (twin cone filter) from Amazon.com.
It cost me Rs. 4600/- including shipping and import duties (in India I was told it costs around 7500!) so this was a bargain!
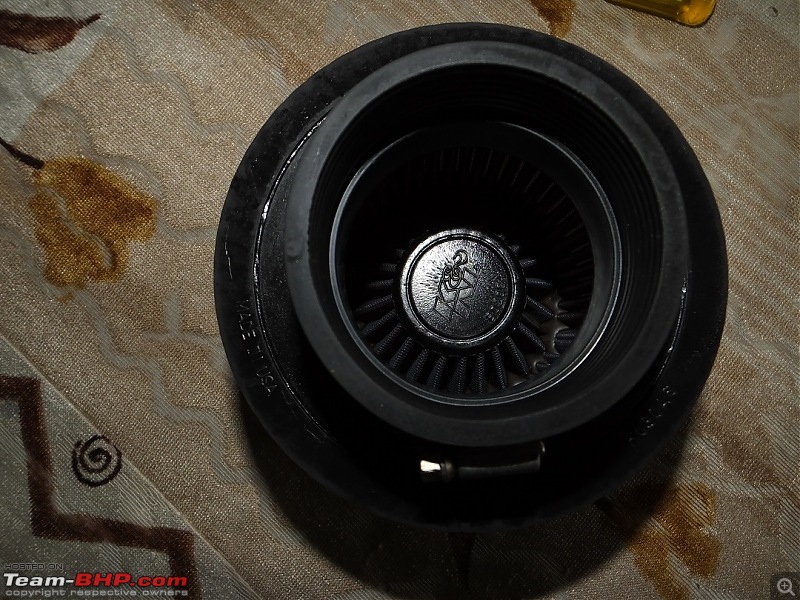
The filter arrived in 2 weeks time and as you come to expect off Amazon, it was shipped, packed and delivered well.
Here are a few pictures after I just received the filter:


Now I had planned in advance how I was going to fit it (this is where all my research paid off), I had to remove the stock airbox cover to ensure this fits directly on the existing air-intake pipe. The trouble however was how to get the pipe some support!
A lot of garage owners have given me feedback on how much like a "truck" a diesel engined car would sound with a performance air filter and to only go with a CAI, I laid those doubts to rest by just checking on how it would sound without the stock air-filter box - and as I had imagined it was nothing like a truck, infact it sounded the same, even under duress! (obviously i didnt drive around for more than 3-4 minutes after the engine was warm enough - didnt want to intake the neighbourhood).
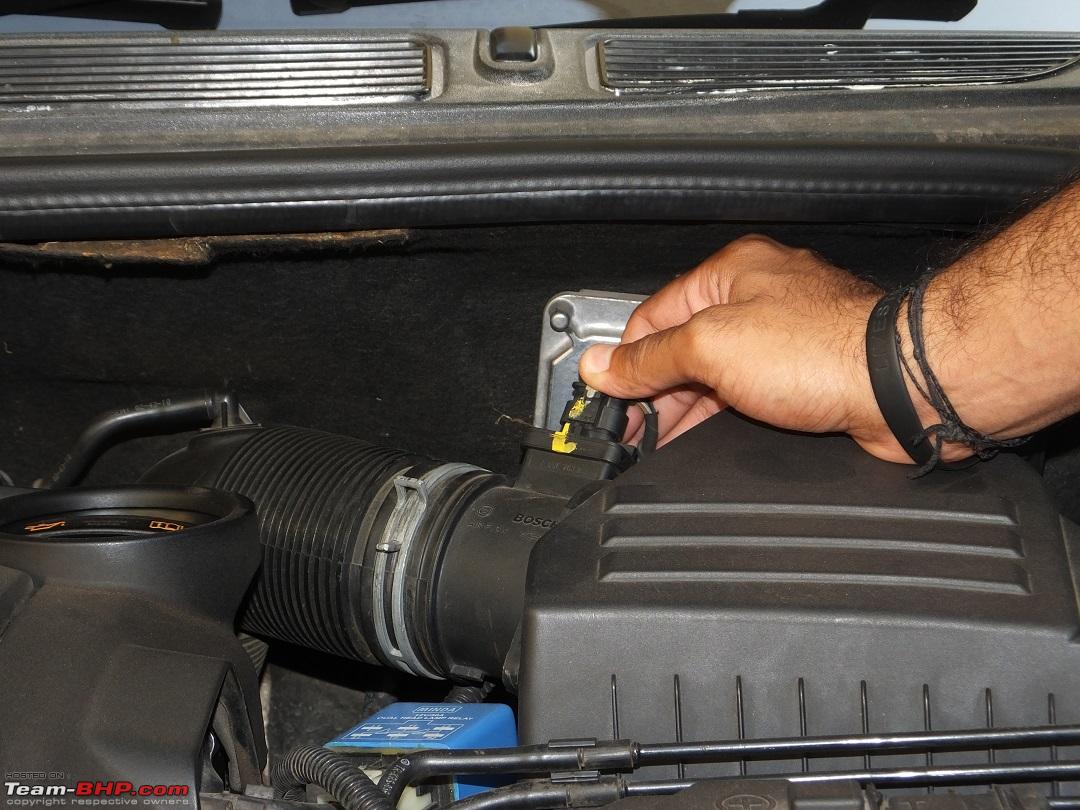
Here's a quickie for those who are looking to clean or follow suit on how to remove the stock box:

There are 6 screws in all, which cant all be seen in the picture - but you'll need a torque nut remover or a star shaped screw driver bit to remove this (t 15).

Make sure to unplug the MAF sensor before though (remember as hell to put it back once done)

Once all are out, the box just opens up easy like:

Back to my project after the research paid off again - the intake pipe would need some brackets which could support it without the air-box cover, so down I went to get some measurements and build a bracket to support the stock intake pipe.
A local iron welder helped me do this right.
Let the pictures do the talking:
The brackets

The intake mounted on them

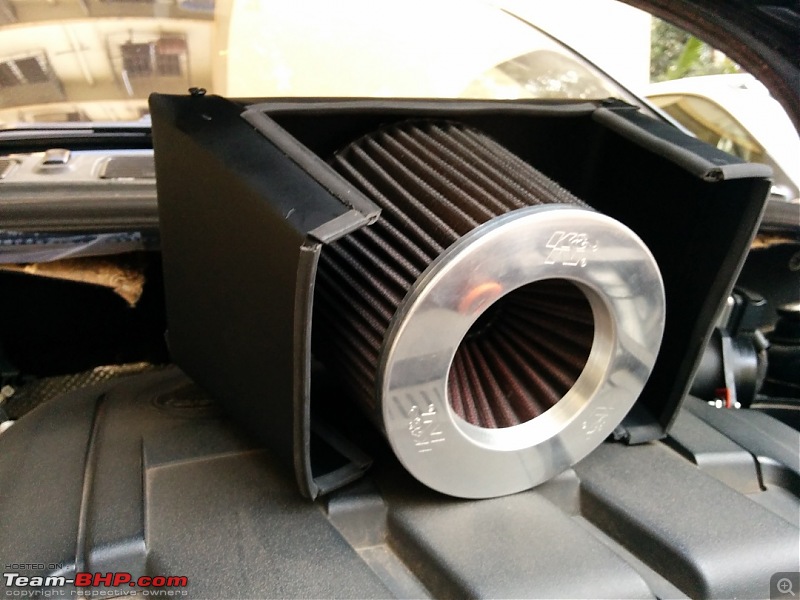
..and finally the install, a hard days work and 3 lemonades later:


..and Phew!
Time it was to switch on the car and hear for my self how this beast of a filter would now sound, it was eargasmic!
I really wanted to see the engine bay while a pressed down the accelerator but there was no one around to help, so this was like one of those selfie picture moments, when you cant capture everything!
The drive felt a lot better than the selfie though, with the turbo whistle even more prominent. Everytime i entered the turbo zone (1500 Rpm +) the grunt was phenomenal and it let of a vroom everytime you let off the gas in this zone. The car responded much quicker than before, though i've not been able to tell if it is faster, but a lot lot smoother and the sound like said earlier is to die for!
Now to the downside of this great install, after having spent more than a month in this high revving zone I felt (also as per the research) the filter unwittingly intakes warmer air from the engine bay (as its a Short-RAM), I felt that in the hot summer sun in the afternoon it kind off took time (not a lot but a little more - still better than stock) to get into the free response you get used to in the morning.
So back I went to the drawing board to see what else there is to improve in this area. After a lot of work there were 2 things that I found I could do to improve this behaviour:
1. Place an intake pipe providing a cold air feed close to the filter
2. Build a heat shield to protect the filter from getting a sauna from the engine.
The cold air feed was easier to do, but I think i totally outdid myself when i made the heat-shield.
I didnt believe I could actually pull it off, but I wanted to try. So once again back to the internet (its such a boon for DIY'ers) and I found everything this job would take to build.
Here's my inventory list:
Part A: to build a mould
1. White Card board
2. Fevi-bond
3. Scale
4. Cutter
5. Scotch Tape
Part B: the Heat Shield
1. Aluminium sheet (3mm)
2. Metal Cutter (Bosch)
3. Drilling Machine (Bosch)
4. 2 Nut Bolts
5. 2 Screws
6. Matte Black Paint Spray
7. Rubber beading
Let me tell you, it wasnt easy having to take measurements of an already packed engine bay - but that was the least of my problems, I have no experience in cutting metal.
Having built the mould using the card board fairly easily, it was an awesome experience in making the entire heat shield using the aluminium sheet.
I'm going to let the pictures do the talking:
The first build:

Some more adjustments in the lions heart


After the paint job
3 evenings and some bruises later:


I'm amazed at how well it has turned out, the real test will be tomorrow when I drive back home from work in the scorching Bombay heat (keeping all fingers and toes crossed)
Truly though I dont expect too much to improve, but I'm sure it will make some sort of an improvement (not that it was bad to begin with!)
Thank you for reading this, i'll share how it went tomorrow!
Until then..keep your engines revving!
Cheers,
Aayush.

 23rd April 2014, 21:21

 (24)
Thanks
(24)
Thanks


 Interesting to note that importing the short ram intake was cheaper than buying one here.

