THE BACKGROUND
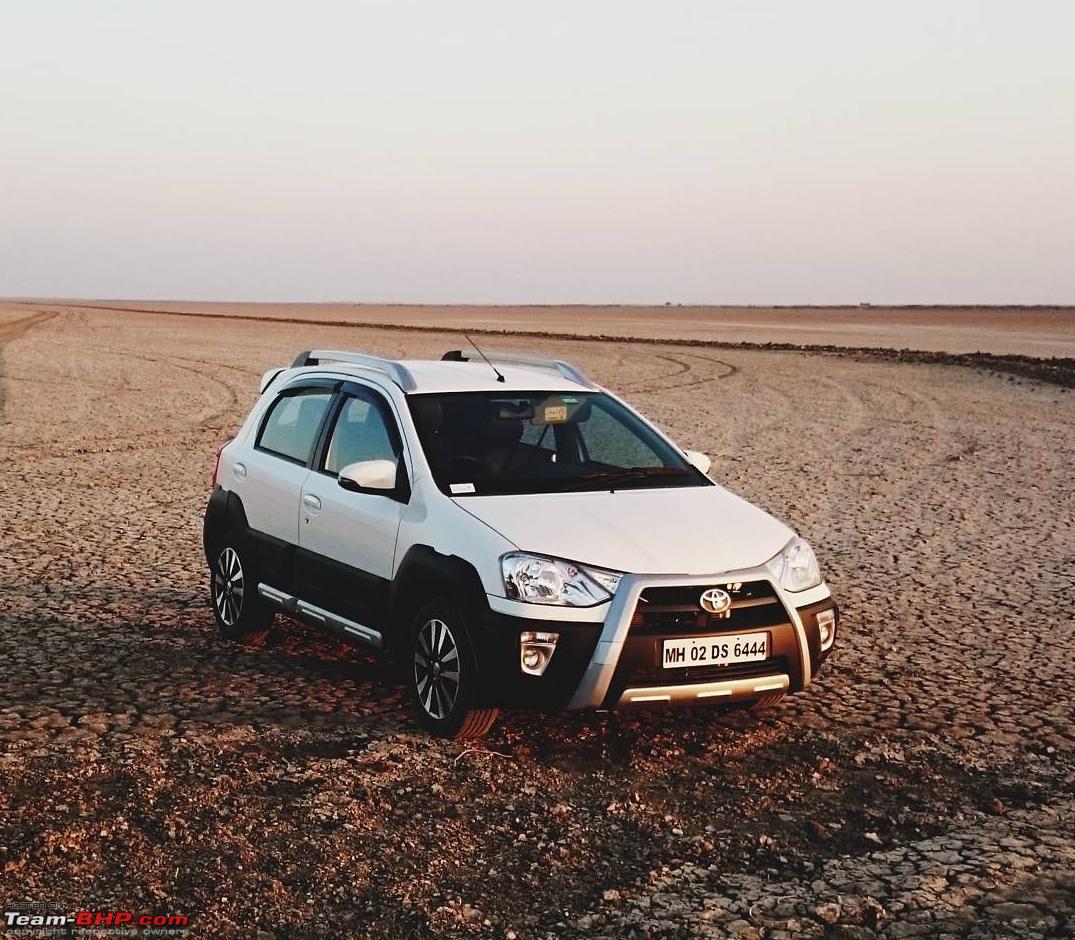
In January '15, I drove from Mumbai to Ranthambhore; on the way taking a detour to Little Rann of Kutch. Unfortunately, I couldn't extend my stay there because there were no rooms available in the area. That's when I thought about having a vehicle so I could drive up to such places and camp out for a few days. Me having such thoughts wasn't unusual, but those thoughts lingering on for more than a few days in my ever-occupied head, was.
I was now back in Mumbai but I still couldn't completely let go of the idea of having such a vehicle. I figured I'd need a reliable and comfortable 4x4 LWB vehicle to drive long distances. It would need to have room at the back for my stuff and still have some left for me to sleep. The vehicles I kept coming back to were Scorpio, Safari or a Xenon. But neither did I have the means, nor the need to justify buying a new vehicle and chopping it up for a project like this.
What I did have was a Thar. I knew it wasn't the ideal vehicle. But it's not a bad option either, I thought - half lying to myself. There were a couple of huge problems glaring before my eyes, the biggest one being the soft top. This meant the vehicle wouldn't have any security. The other was it being a SWB vehicle. This meant it had a lot less space. Though these were big disadvantages, they were by no means deal-breakers, I lied to myself. Again. Somehow I convinced myself that it was a perfect way to test if I actually liked overlanding. Having a vehicle of my own which I could drive into remote wilderness was too tempting to resist. I gave in...
THE PLANNING
I got on the internet and researched overlanding vehicles from Africa. I also found some excellent YouTube channels and some great blogs which discussed such builds in detail. One vehicle I referenced a lot were the older Land Rover Defenders. Since these were the
smallest of the commonly used vehicles, the builds, I thought, would be the easiest to adapt those builds to the Thar.
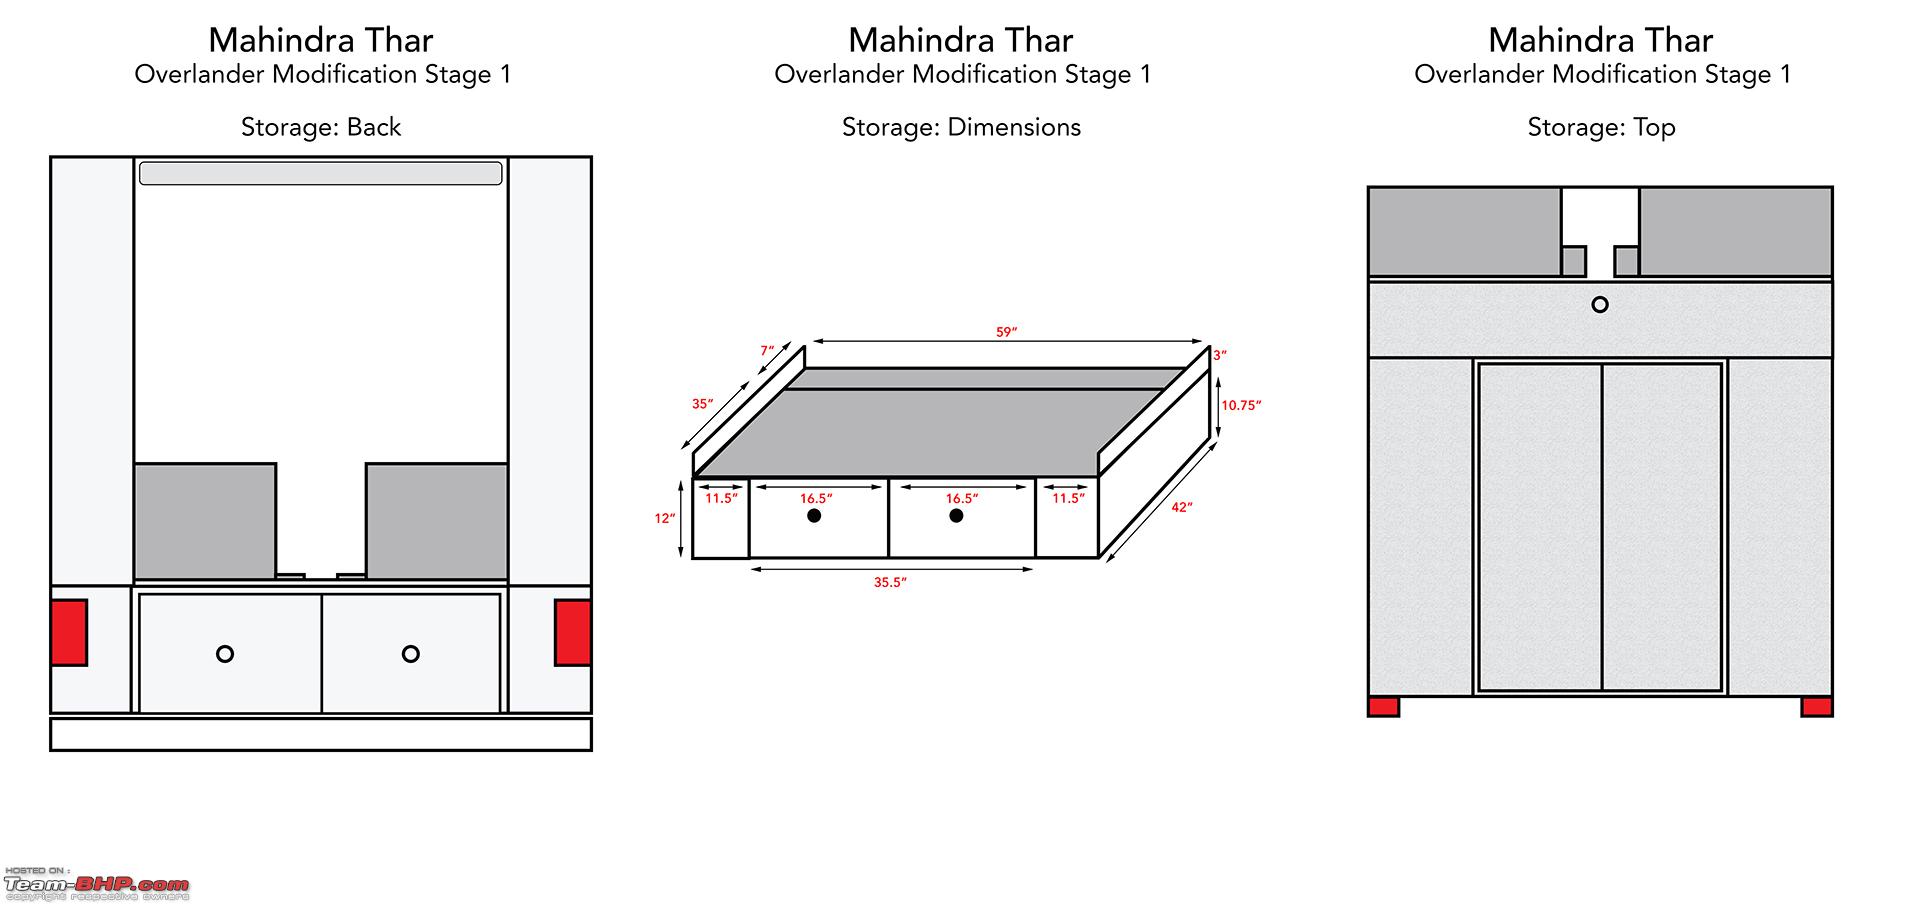
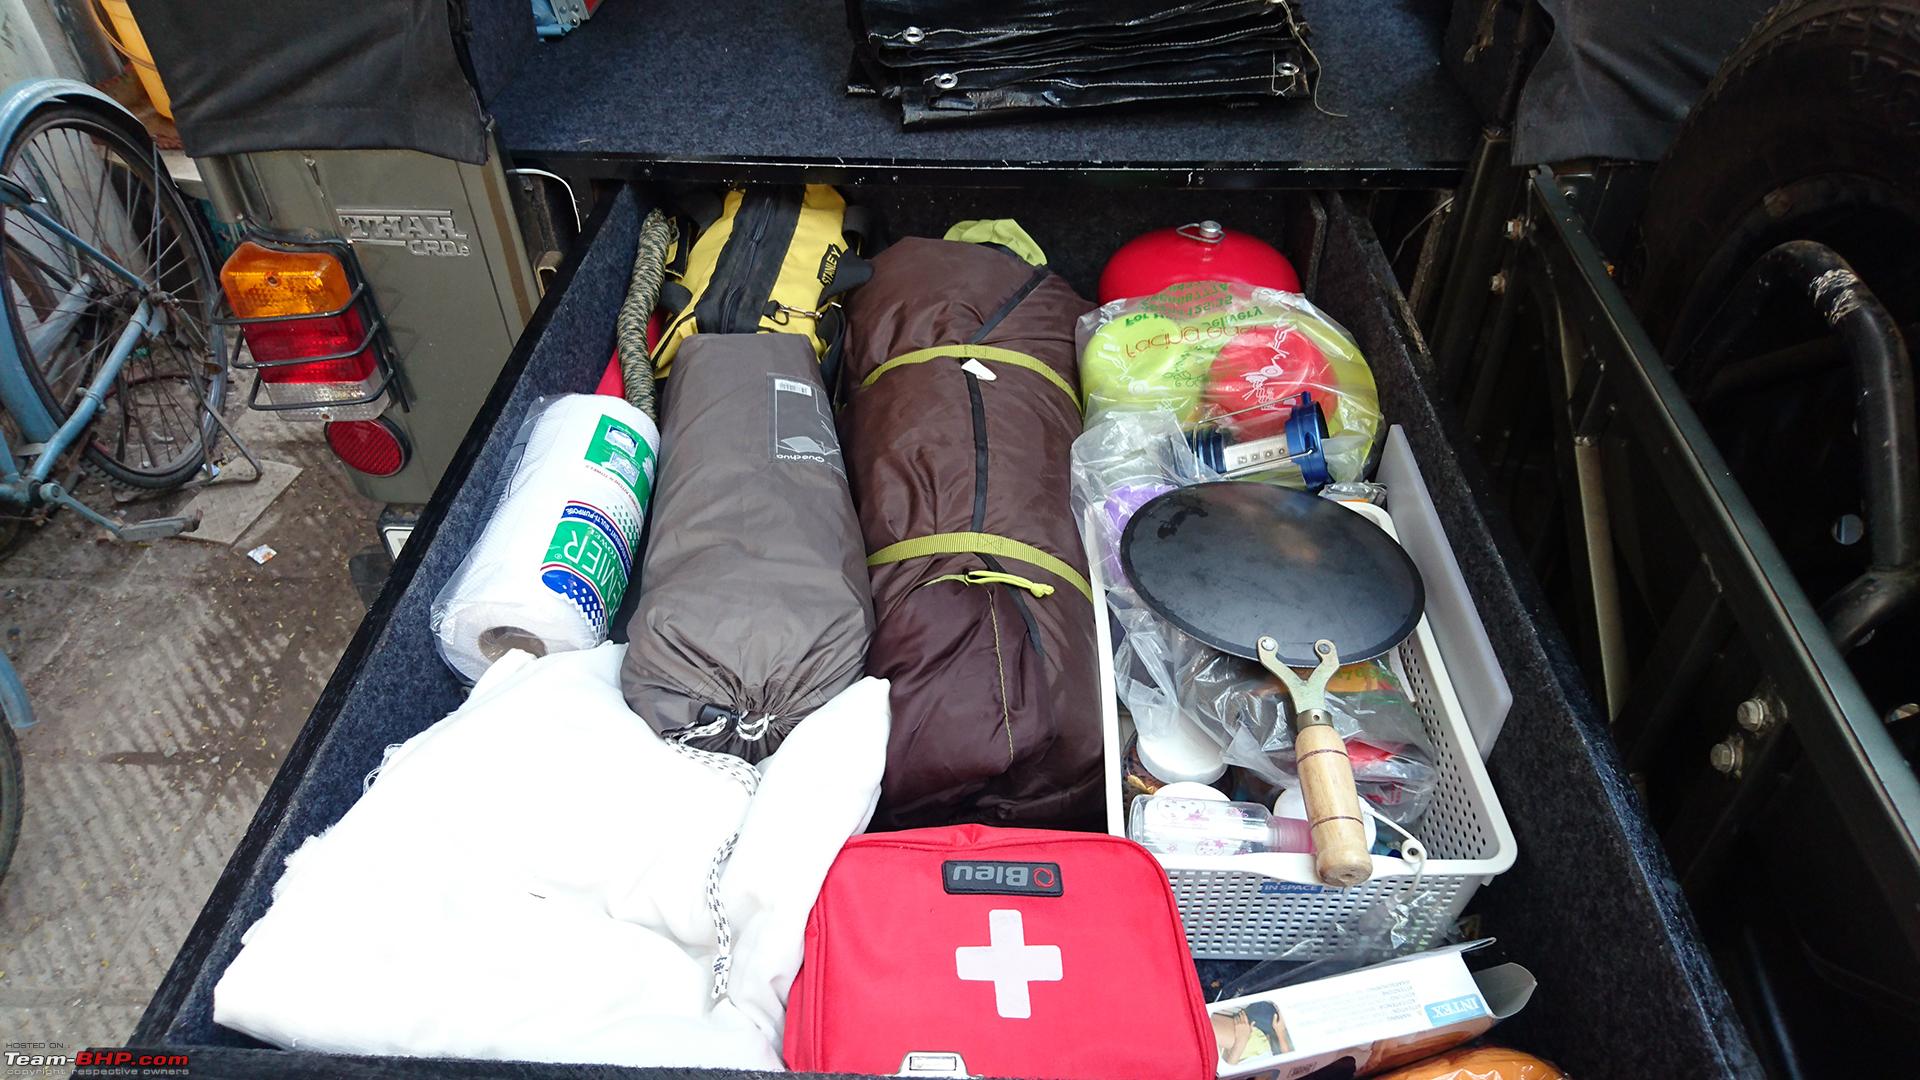
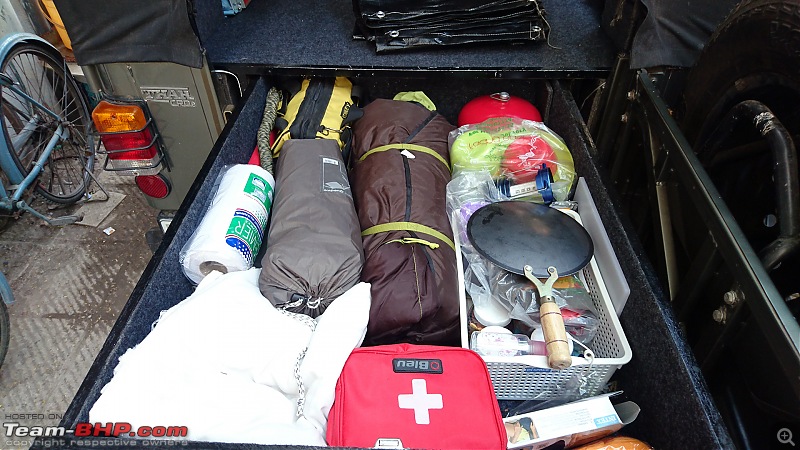
Given the budget I had, I ruled out rooftop tents or even converting to a hardtop quite early on. I would first concentrate on building the storage and sleeping area, then upgrade to these later. The main work would be in the rear half of the car which roughly measures 5'x5'. I decided on making the entire rear cab into a storage area, the top of which would double as bed.
This was the underlying build design for a lot of basic vehicles. It was tried and tested, except all of those were LWB vehicles. This meant the area was a comfortable 6' or longer. This gave them the option to have two separate storage spaces.
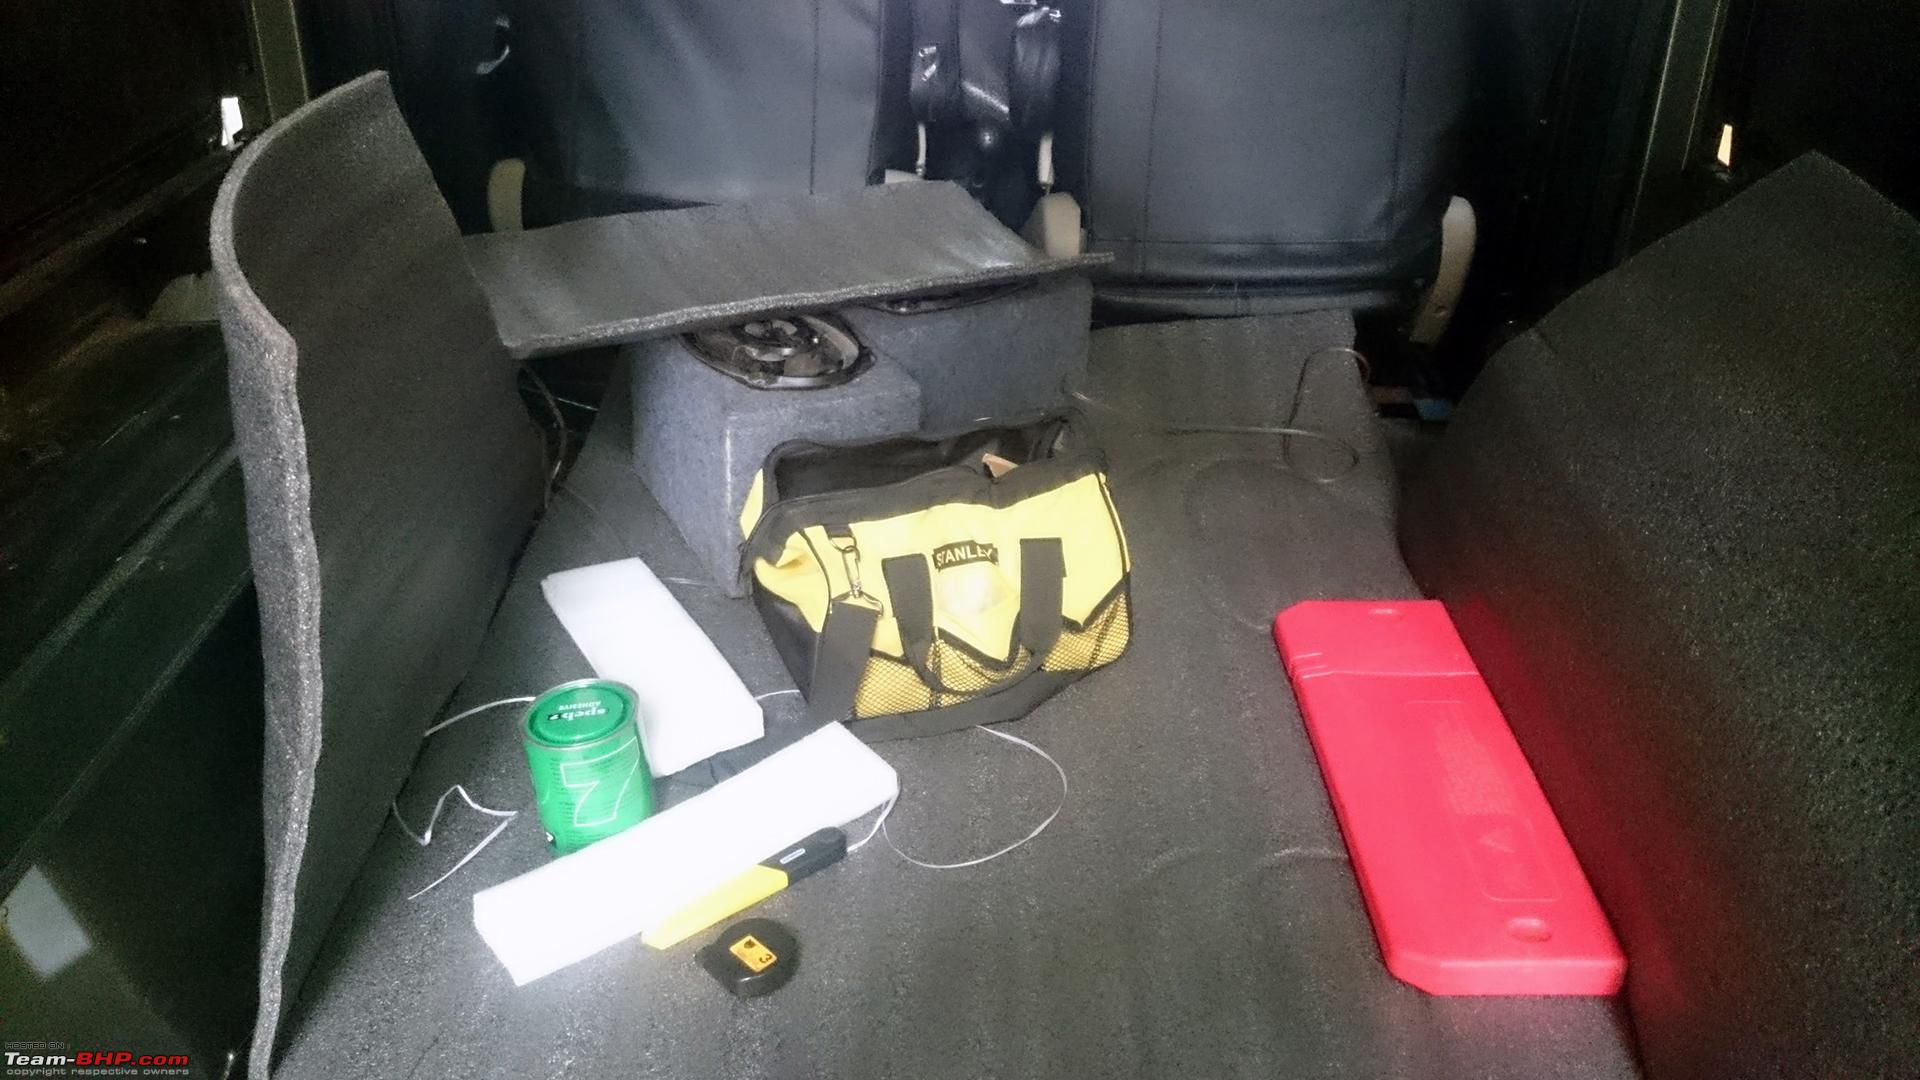
My initial design plans were based on this concept, which is why you see two storage areas in photos above. But once I realised it wasn't possible with the area I had, I simply removed one of the storage areas, the one commonly used for batteries and tools.
THE PREPERATION
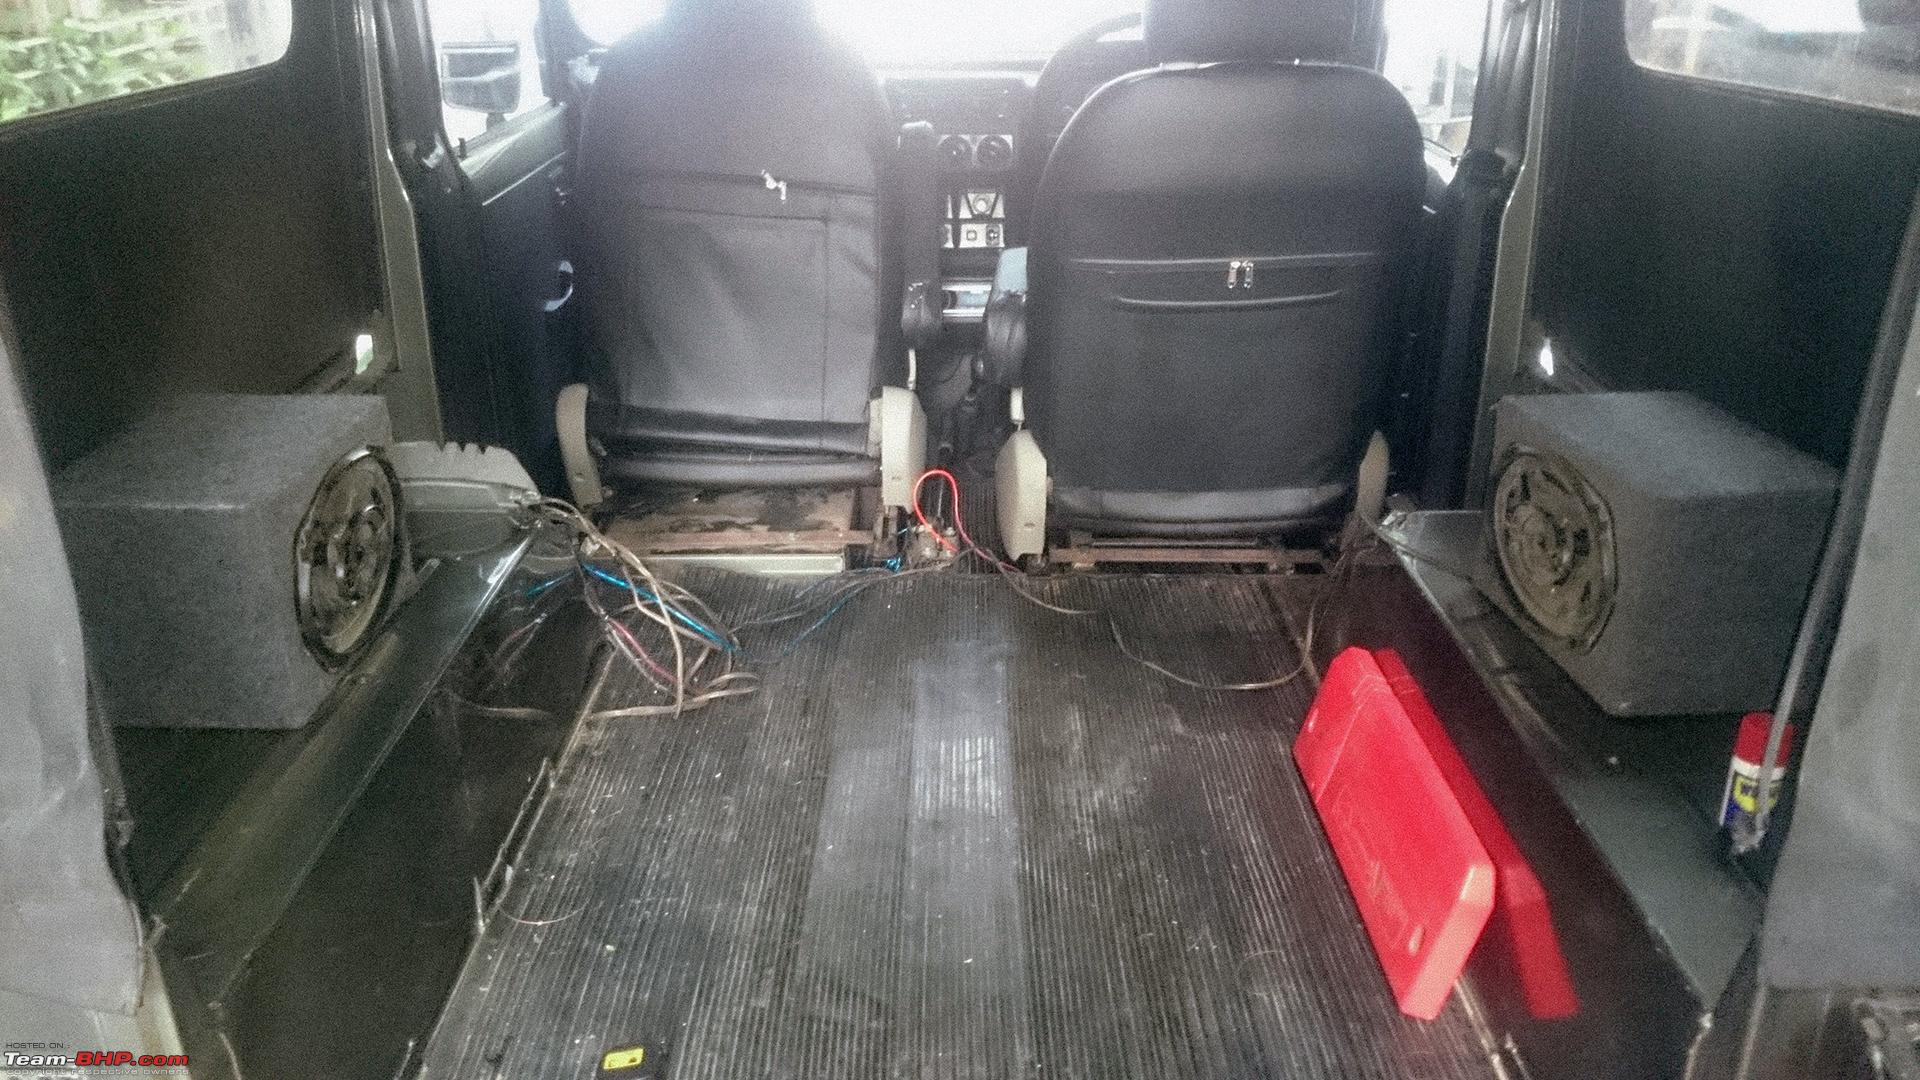
Once I had a rough idea of what I wanted to make, the first job was removing the rear seats. A simple enough process if you have enough WD-40.

I should probably add here why I was so excited about this project. This was the first ever DIY project I'd taken up. The only other time I'd
worked on the car was replacing the front bumper of the Thar with the expedition edition one. I understood the consequences of screwing this up but let's just say my judgement was clouded.
Having removed the seat, I now had a better idea of how much space I actually had. Honestly, it wasn't ideal but my first project had begun and there was no way I was backing out now.
Before cutting through any plywood, I made a template of the entire storage box with 1" heatlon foam. This gave me an idea of how things would look and I realised a few mistakes I'd made, which I corrected. One thing I always did was make templates. It was quick and easy to work with and correcting mistakes saved a lot of valuable time and materials.
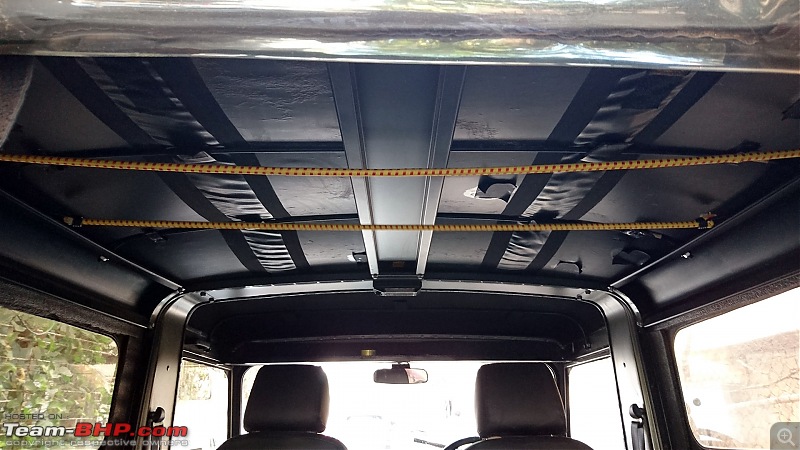
One problem I always had with the Thar was the lack of sound and heat insulation in the entire vehicle. There were products like dynamat but it was just too expensive to cover the entire car in it. Now I had no choice, I couldn't have wood rubbing against steel. So, after talking to a few people I found the best option for me, heatlon foam. It worked well to insulate sound and also kept the heat out.
Quote:
| TIP: Speb7 is the best adhesive for this foam. Also, make sure you know where everything goes because once you stick it, it doesn't come off clean. |
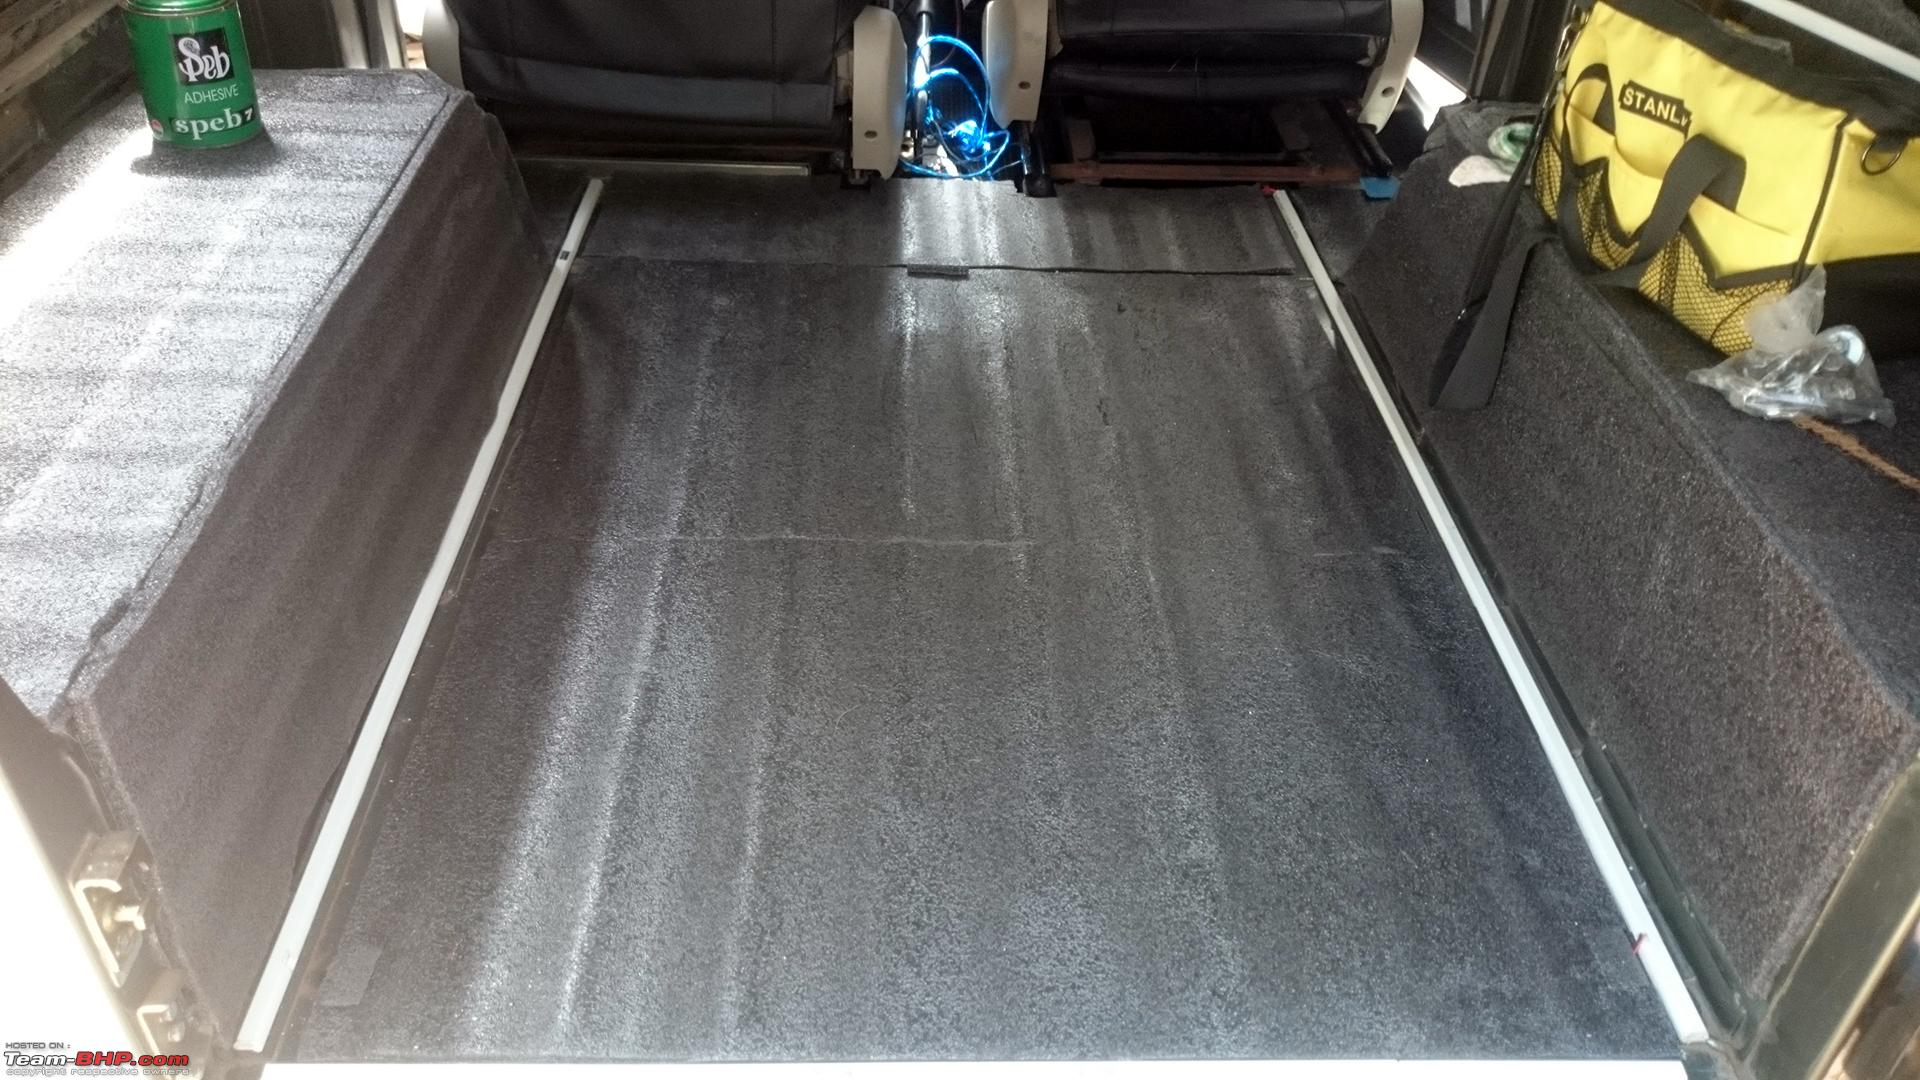
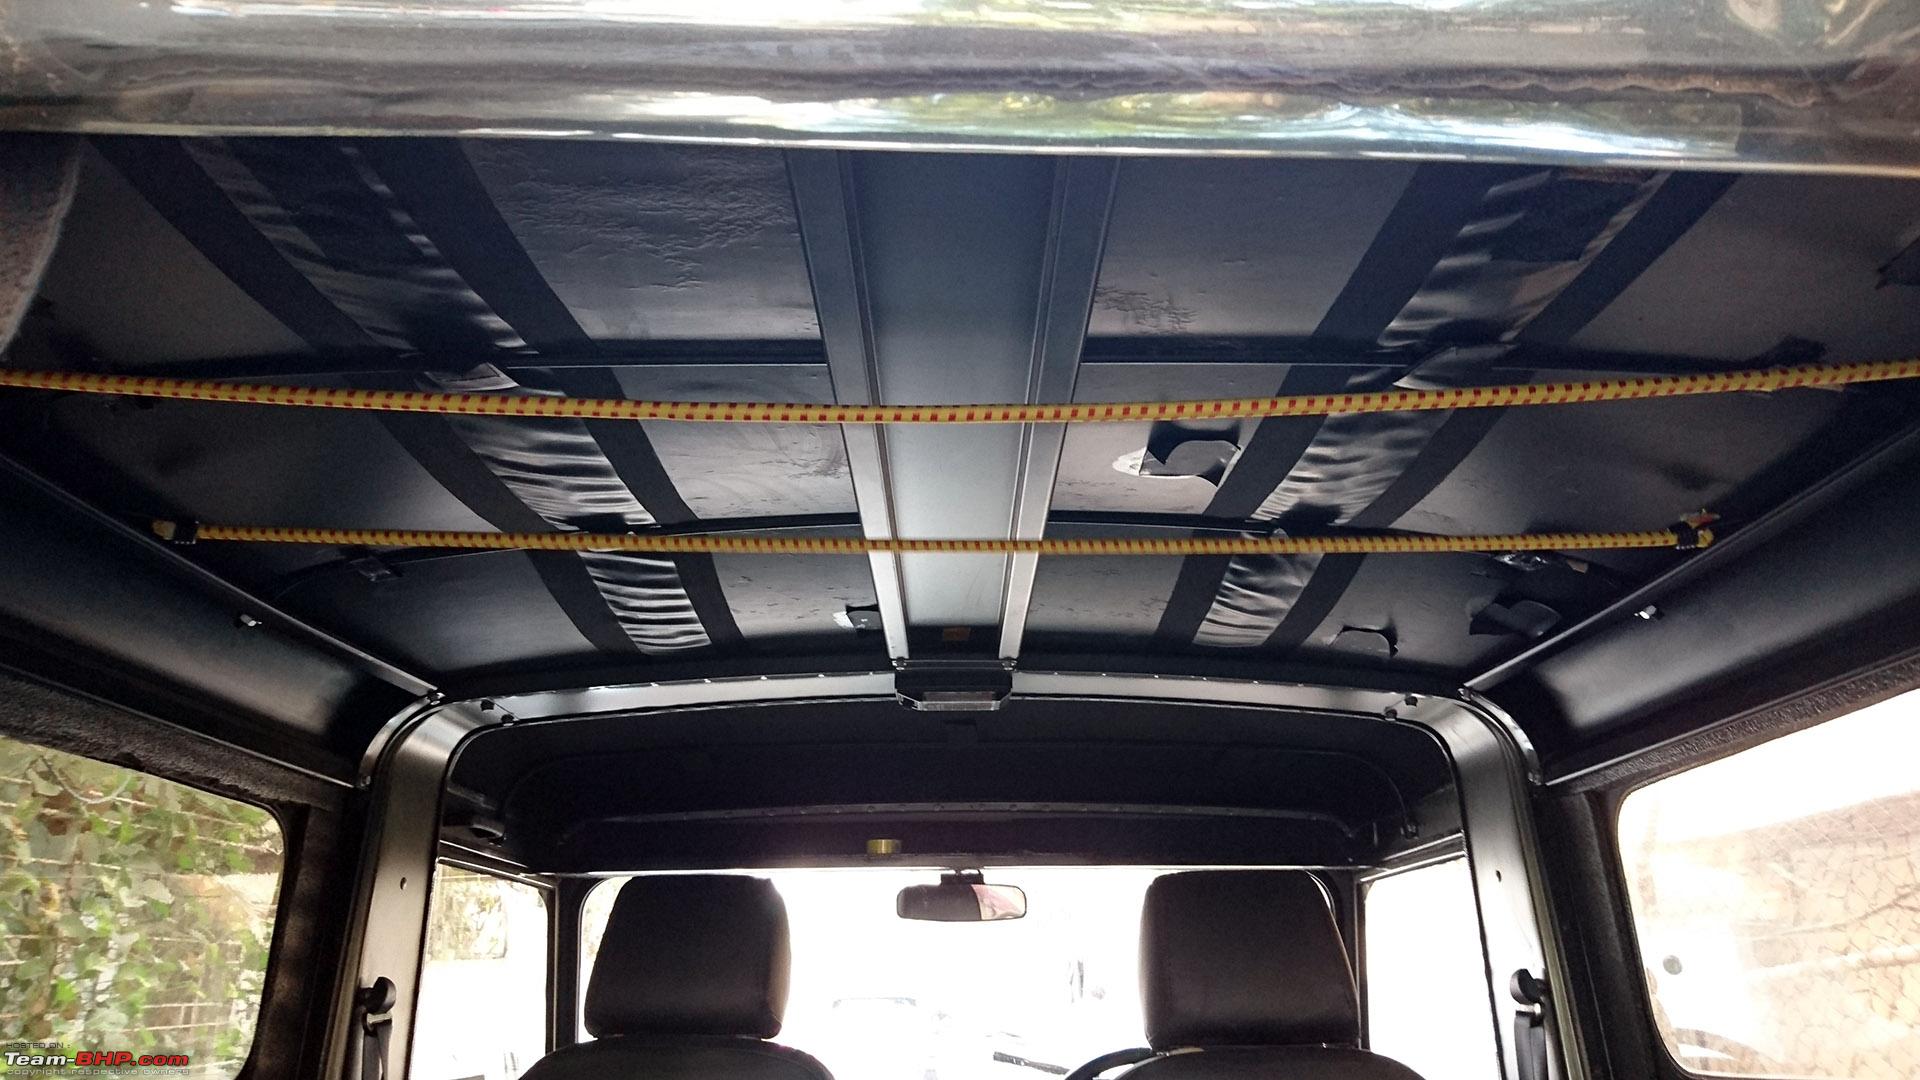
A few rolls of foam and a few tins of Speb7 later, every inch of the rear cab was insulated. During this process, I realised I'd have no way to move wires around to the back of the vehicle once the storage was in place so I cut half an inch from either side and added wire casing to all 4 sides. Before, I had wires for a rear work light and the speakers running below the carpet. All these ran neatly in the casing now.
I also covered the insides of the soft top with heatlon. This worked out better than I'd expected. Because it was heavier how, it flapped a lot less on the highway and outside noise was also noticeably reduced. It looks positively ugly, though. I still haven't figured out how to correct that!
 THE BUILDING
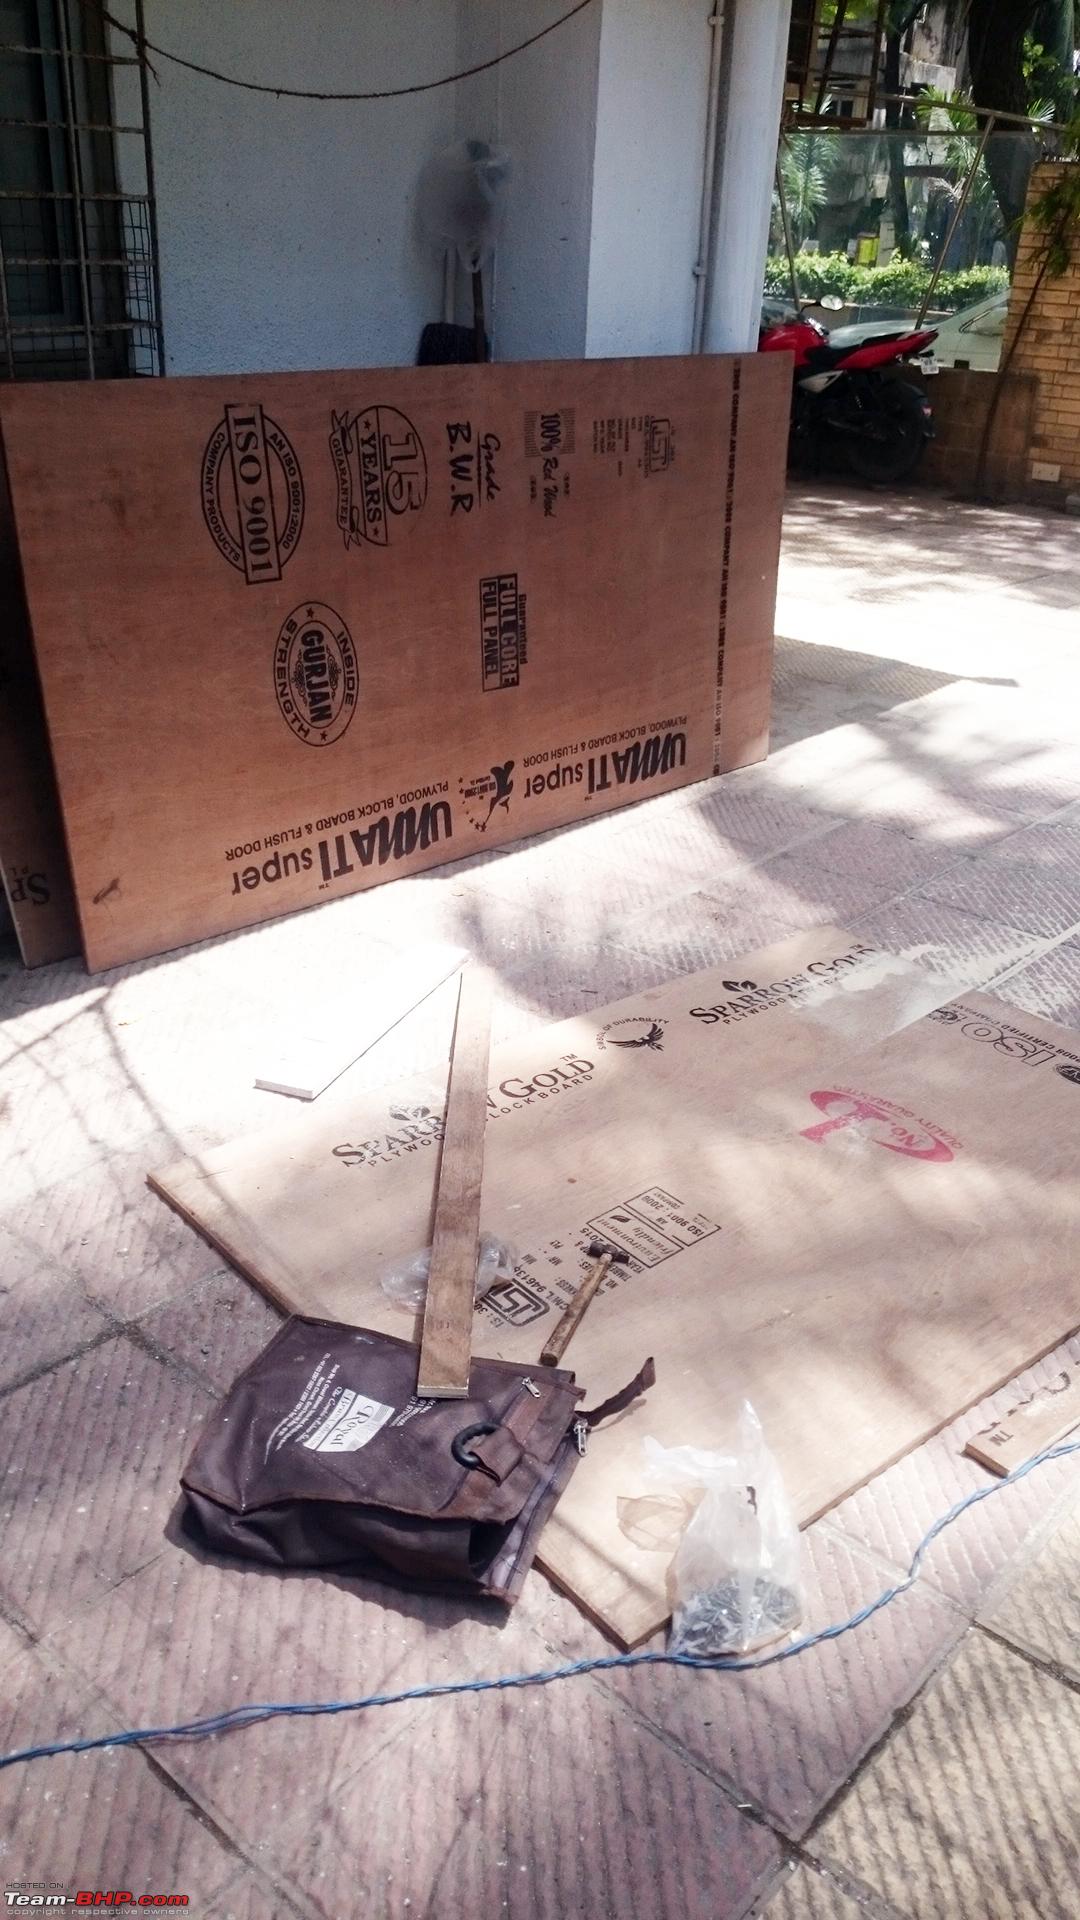
It was only a couple of days later when the plywood and other materials were delivered to my house that it suddenly got all too real. Woodwork/carpentry was something I had
absolutely no experience in and I understood how crucial it was to get everything right. Instead of taking any chances, I took help from a friend. It took us a few days more but we eventually got everything just right.
List of Materials Used - 12mm marine ply (2 sheets)
- 24" heavy duty channels (4 pieces)
- 48sqft grey (speaker box) fabric
- 20' Aluminium 'L' strip (1/2" thick)
- 20' Heatlon foam (8mm thick)
- 3 litres Speb7 Adhesive
- 2 litres Fevicol
- 8' x 6' tarp
- 10' PVC tubing (1" thick) + 2 1" couplings
- 3 cans of black spray paint, 1 can of Rustoleum LeakSeal
- Misc. screws, nails, angle bracket, handles, etc. not accounted for.
Quote:
|
TIP: If you remove the soft top from the side (like the photo above), it's impossible to pull it back into place by hand. Instead, use a screwdriver to hold the top down, while screwing in the next nut.
|
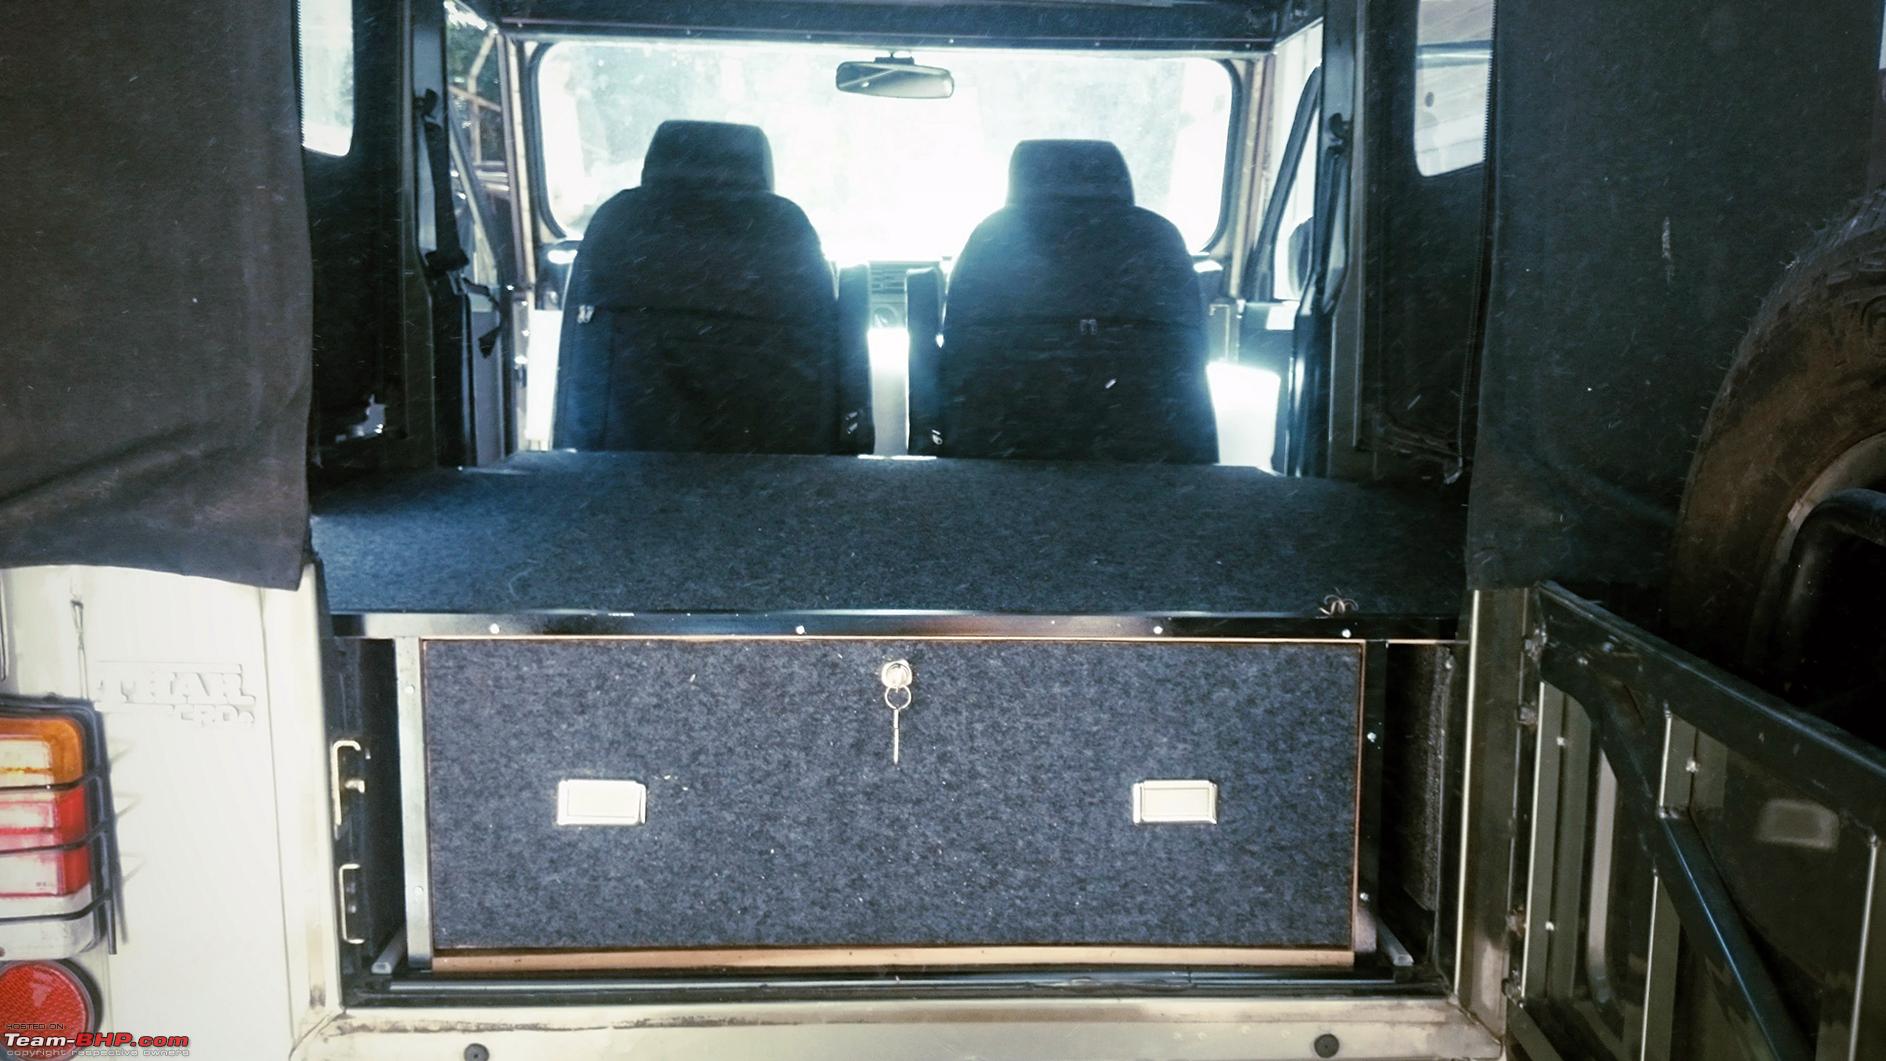
My design originally had two 2'x4' pull out drawers. It was only when I placed the wood that way I realised I'd be wasting a lot of space if I went with this configuration. Not only would I have to leave space for two more channels, I would also need to have 1 supporting piece of plywood running through the centre. Eventually I would only end up with 12" wide drawers, so instead I decided on making a single large drawer and maybe add a divider inside.
The only way to slide in the top sheet of ply was by opening the top from one side and sliding it in. The sides and the bottom were nailed and glued into place outside and then slid easily into place from the back. Once that was fixed to the top, the entire box was bolted to the body using the holes which were meant for the seats. 3 on each side.
The single most frustrating thing in this entire project was getting the channels levelled. I tried for a half a day before realising I'd have more holes than wood in the sides of my drawer and I asked a friend's help. That's the only thing that I didn't do by myself.
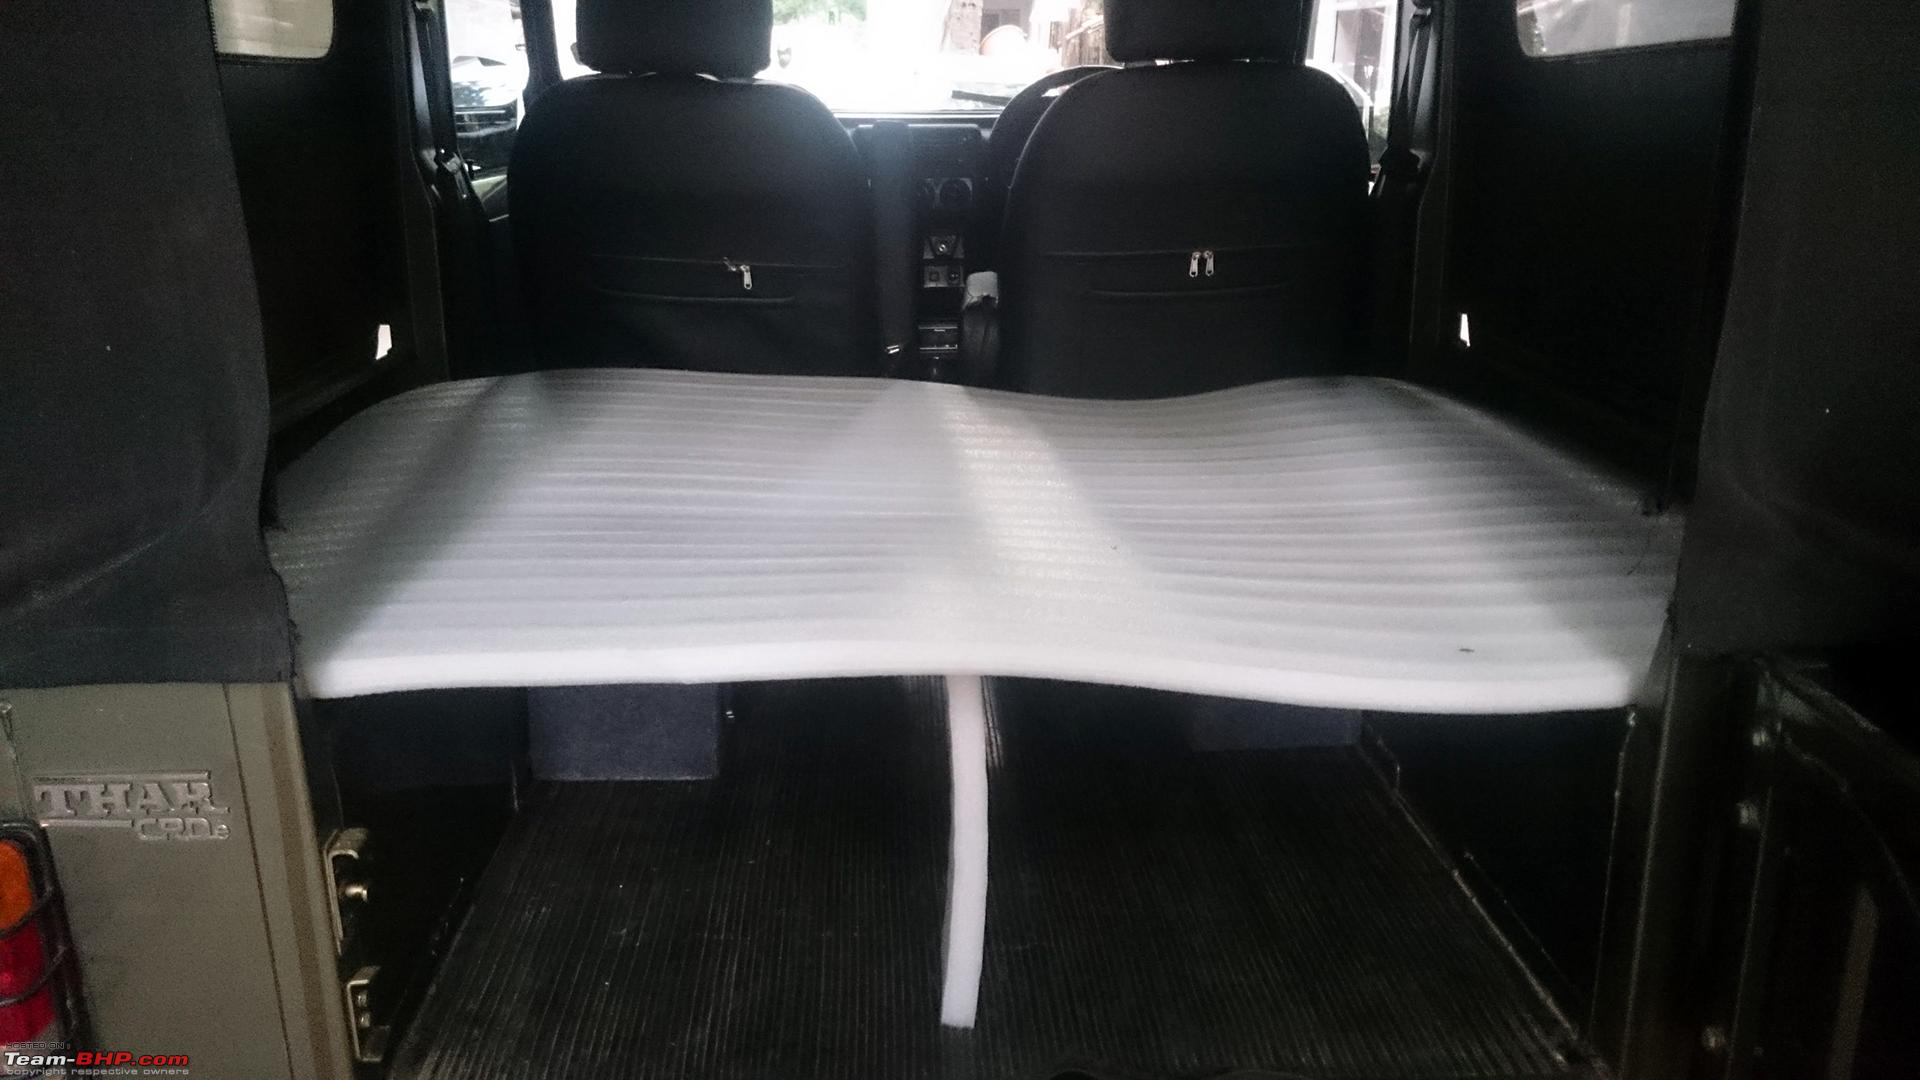
Adding this extension was the trickiest part of the build. Given the dimensions of the rear cab, the length of my bed would only be 4'. It would be impossible to sleep on (I'm 6'). I needed at least 5' so I had to improvise.
I took a piece of 1' long plywood, attached a collapsible bracket under it on either side and screwed it at the far end; between the front seats and the storage box. Getting this right took some time, as drilling holes in the area was particularly difficult, given the angle and the space in the area. But it was manageable.
The only way to pull it up would be if both the front seats were pushed fully ahead. It wasn't the prettiest thing, but I got another foot to sleep on. That's what mattered more.
Quote:
|
TIP: Before cutting any fabric, place it flat and trace a paper template of each part you need, over it. This ensures you waste the least amount of fabric.
|
With the drawer in place, sticking the fabric was simple and straightforward. Next was putting the handles to pull open the drawer and aluminium 'L' strips around the edges to ensure the fabric doesn't come off with regular use. I'd spray painted these black beforehand. Which, obviously is optional. Next, all the visible edges which didn't have fabric were painted black.
It was ready, for now.


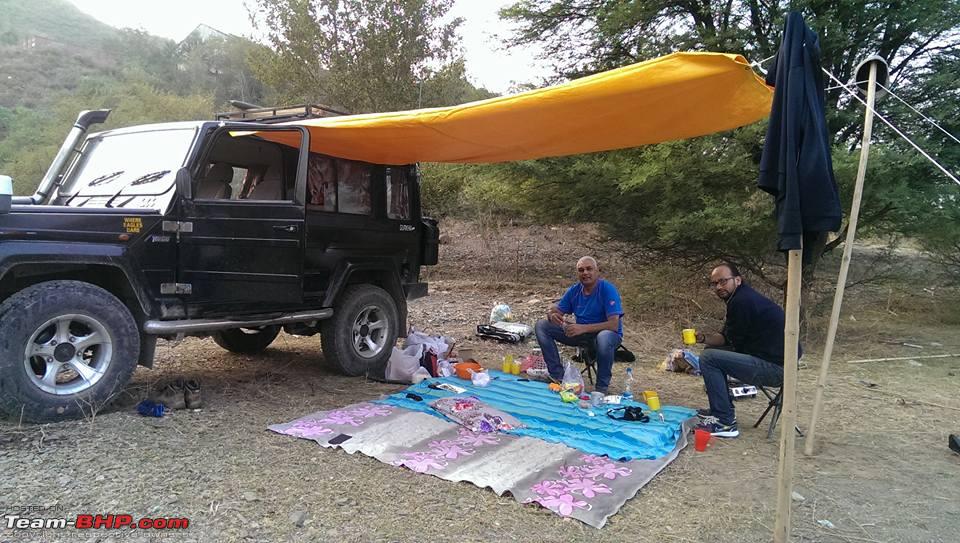
I use that space to store PVC pipes for an awning and an umbrella.
Quote:
|
The two elastic ropes are used to store my sleeping bag, blanket and anything else which I want out of the way temporarily. I'm still looking for a sturdy cargo net to replace this, I plan on hanging one up in the entire top of the rear cab.
|


 3rd January 2016, 22:51

 (71)
Thanks
(71)
Thanks