Team-BHP
(
https://www.team-bhp.com/forum/)
Note: All the DIY/Modifications done to the car are for my own convenience. None of the parts used are sponsored by any brand whatsoever, neither am I related to the seller or the company in any manner. The whole purpose of this DIY's is to help other Bhpians/guests find solutions to common problems they may face. I will not be held responsible for any warranty issues you may face after following my DIY's. I'll try my best to help and provide all the support I can.
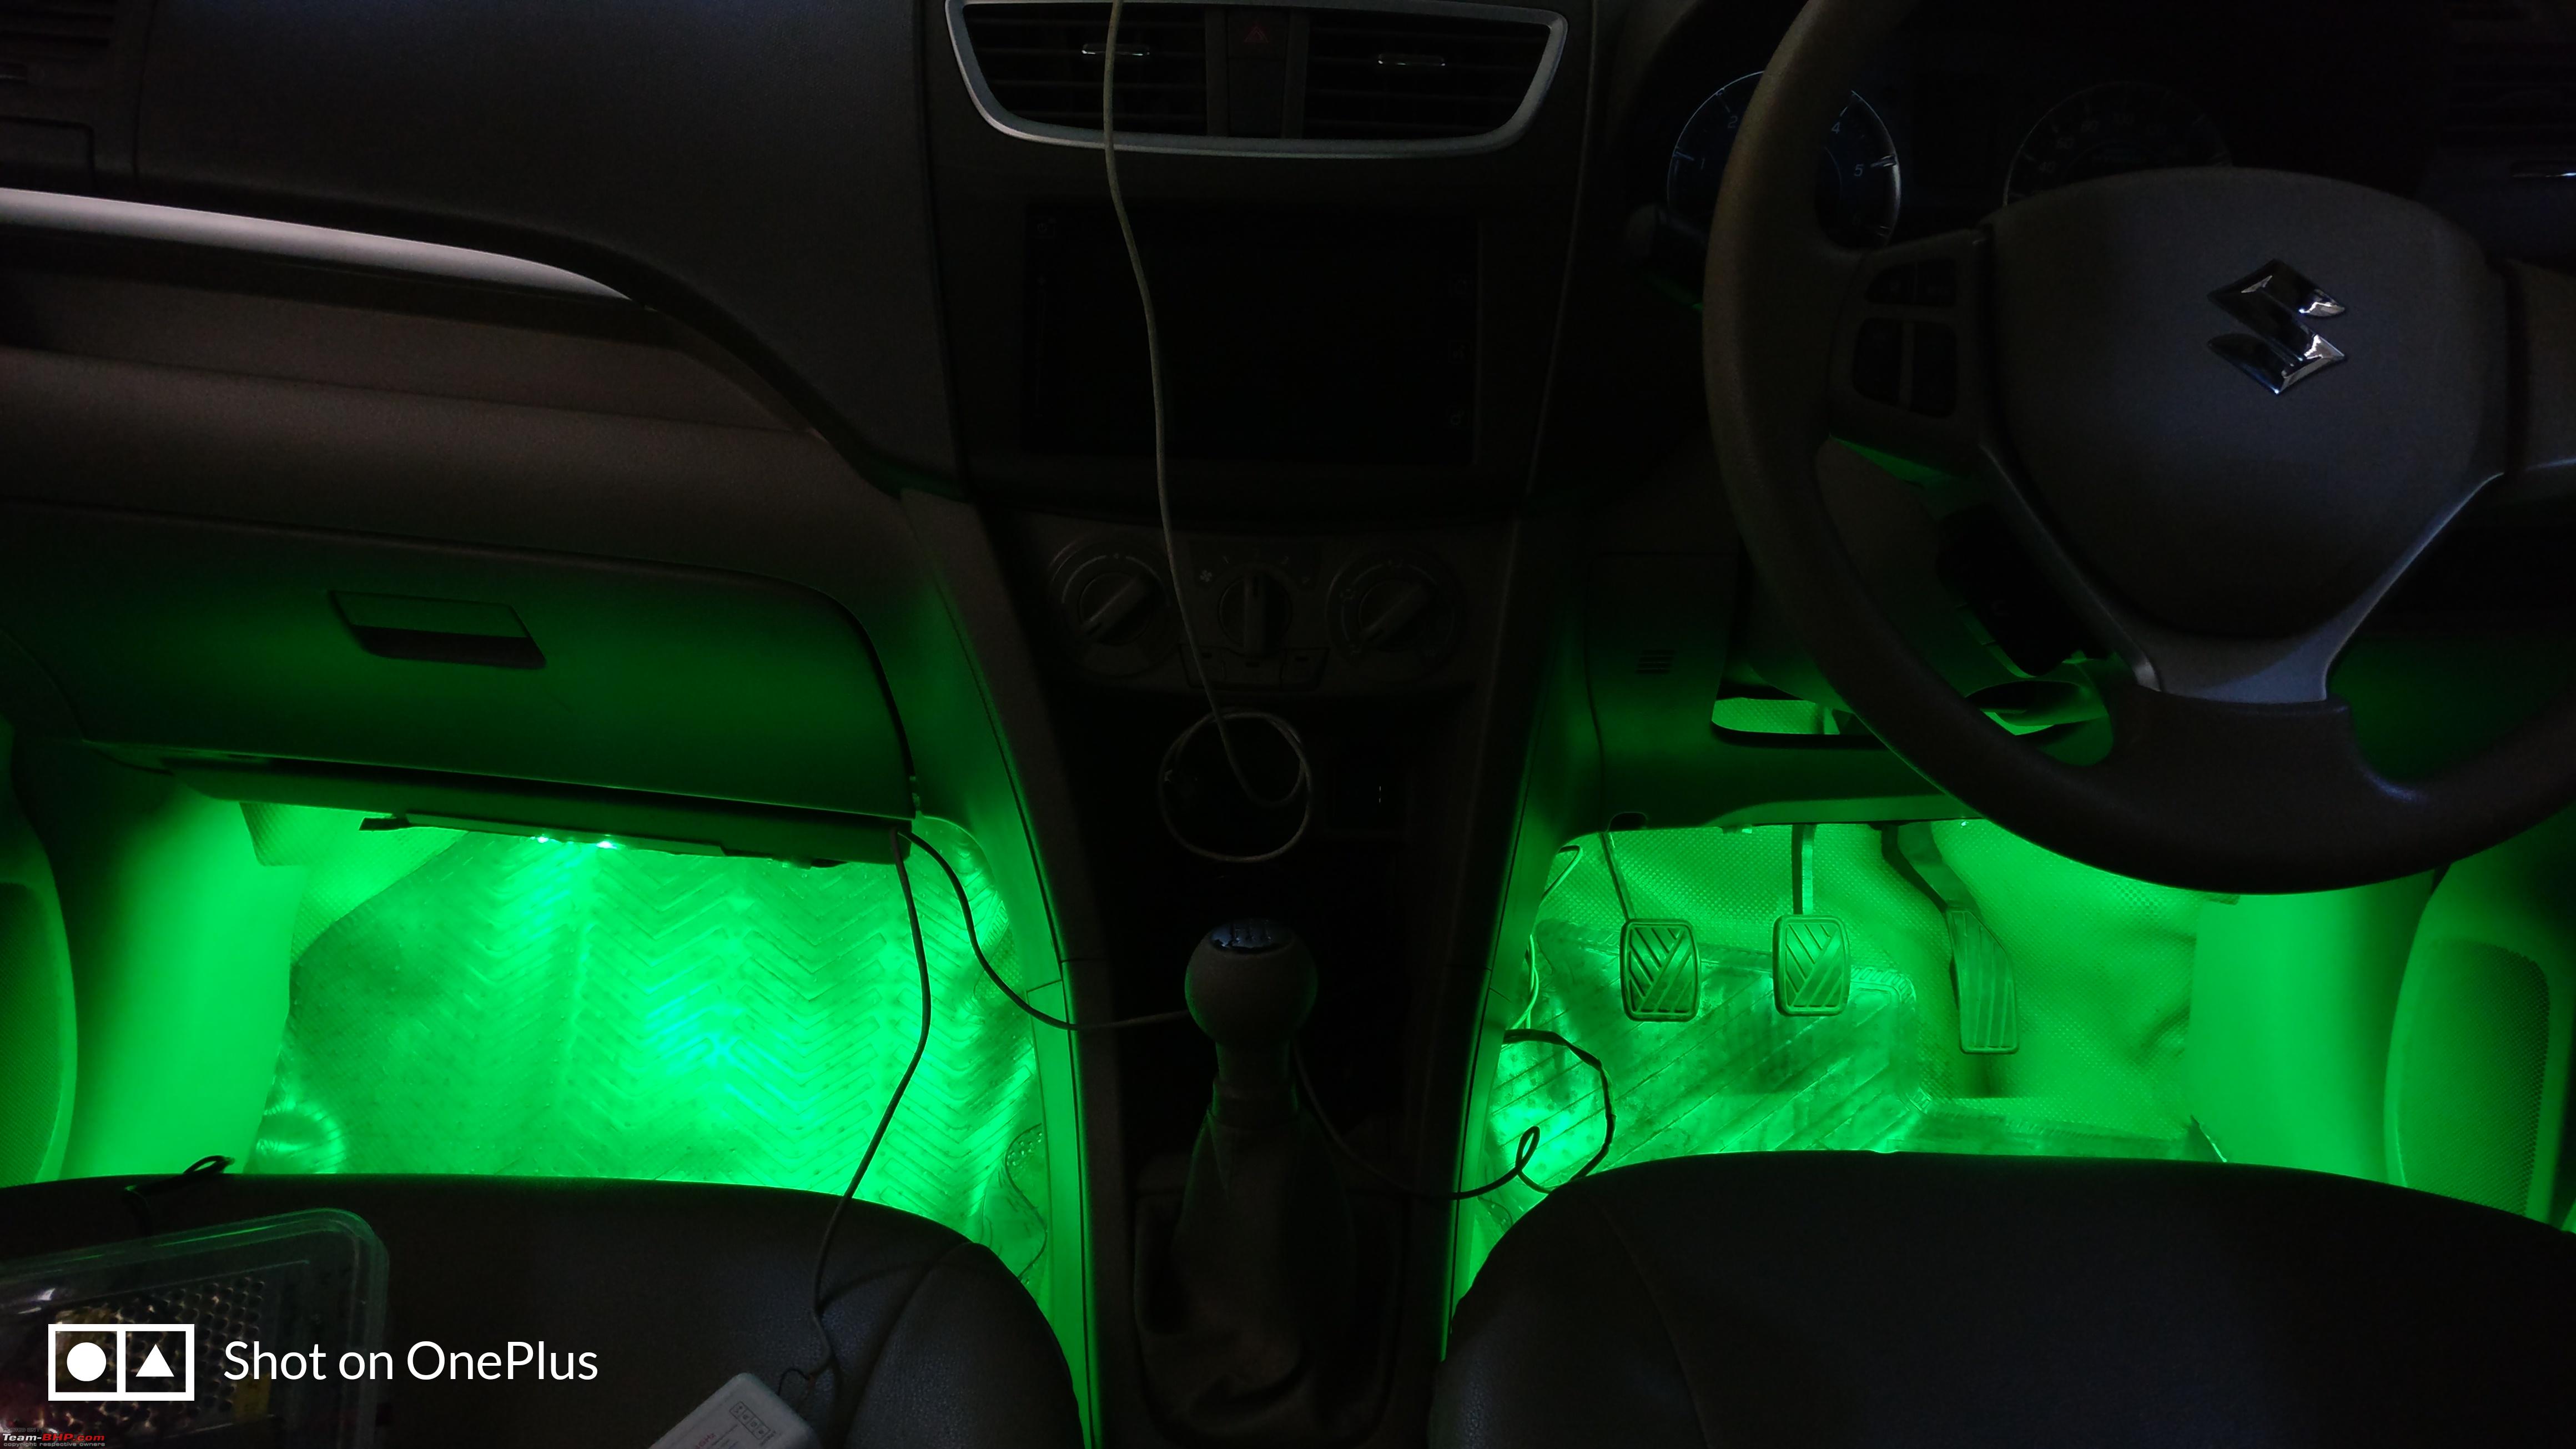
Mood lighting or ambient lighting is becoming quite common in higher segment cars. I was quite bored with the interiors and the itch to do some DIY had started.
This DIY was planned a long time ago, but due to some shipping issues some parts didn't get delivered, and the ones that got delivered had some quality issues.
The link to the items are given below, make sure you check them after they arrive before going ahead.
RGB connectors:
https://www.amazon.in/gp/product/B01...?ie=UTF8&psc=1
RGB controller:
https://www.aliexpress.com/item/Mi-l...71094c4dppYnKE
Fuse taps:
https://www.aliexpress.com/item/12V-...71094c4dppYnKE Tools/Parts required:- RGB lighting strip type 5050. (Sourced from local store for 50rs/meter)
- RGB connectors.
- RGB controller.
- Four core wire. (Sourced from local store for 15rs/meter)
- Flat head screw driver.
- Line tester.
- Hobby knife.
- Wire stripper.
- Heat shrink tubing.
- Electrical tape.
- 9V battery or a DC power supply source. (I used my test kit)
- Hot melt glue gun.
- Casing capping 10/12mm size.
Time taken: ~2.5-3 hours.
Apologies for the soiled interiors. I) Routing the wire:
Since I was planning to get all the 3 rows covered, the wire required was more in my case. Before getting the wire make sure you measure and make a virtual map of the wiring so you can be sure that the wire won't be short in length at the last connection. I'll recommend to start with the last row and then go ahead so that you will have a better idea where the wire needs to be left more so that you can cut it accordingly.
I started from the driver side last row, and made my way up to the passenger side front seat.
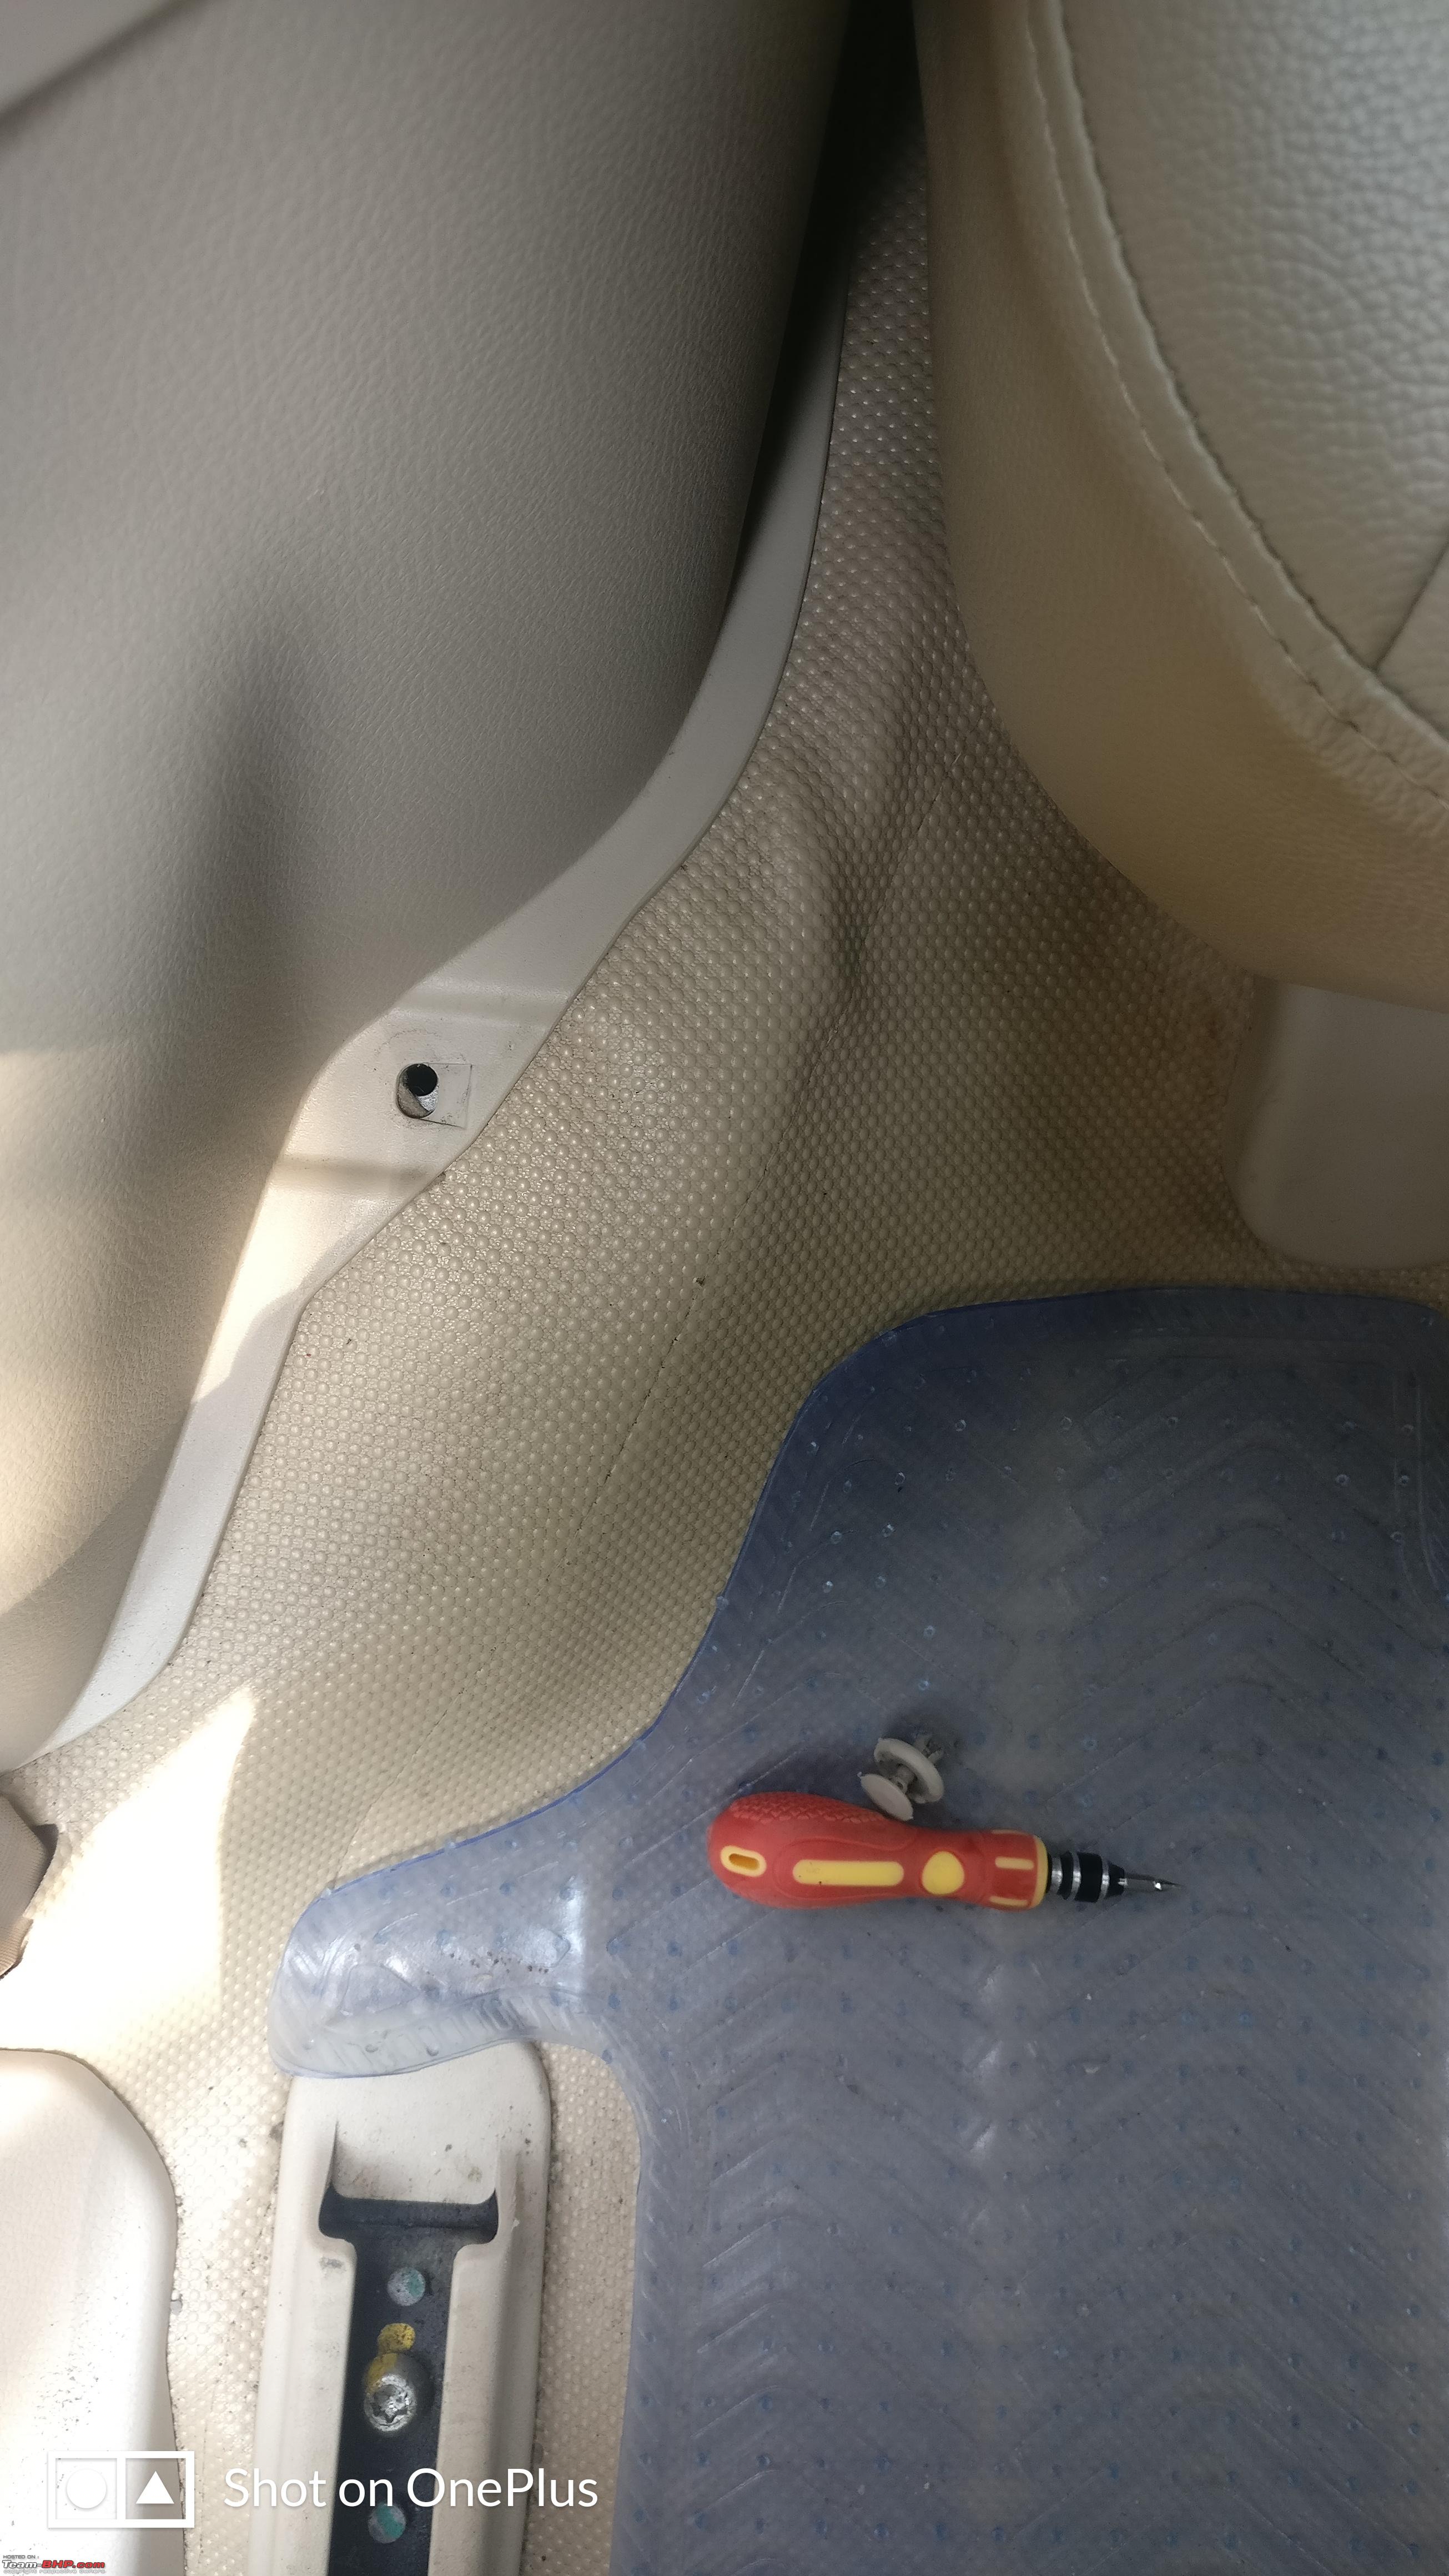
The wire being thin passed through most if the plastic trim easily. The only place where the trim was removed was near the driver side and the passenger side running board.
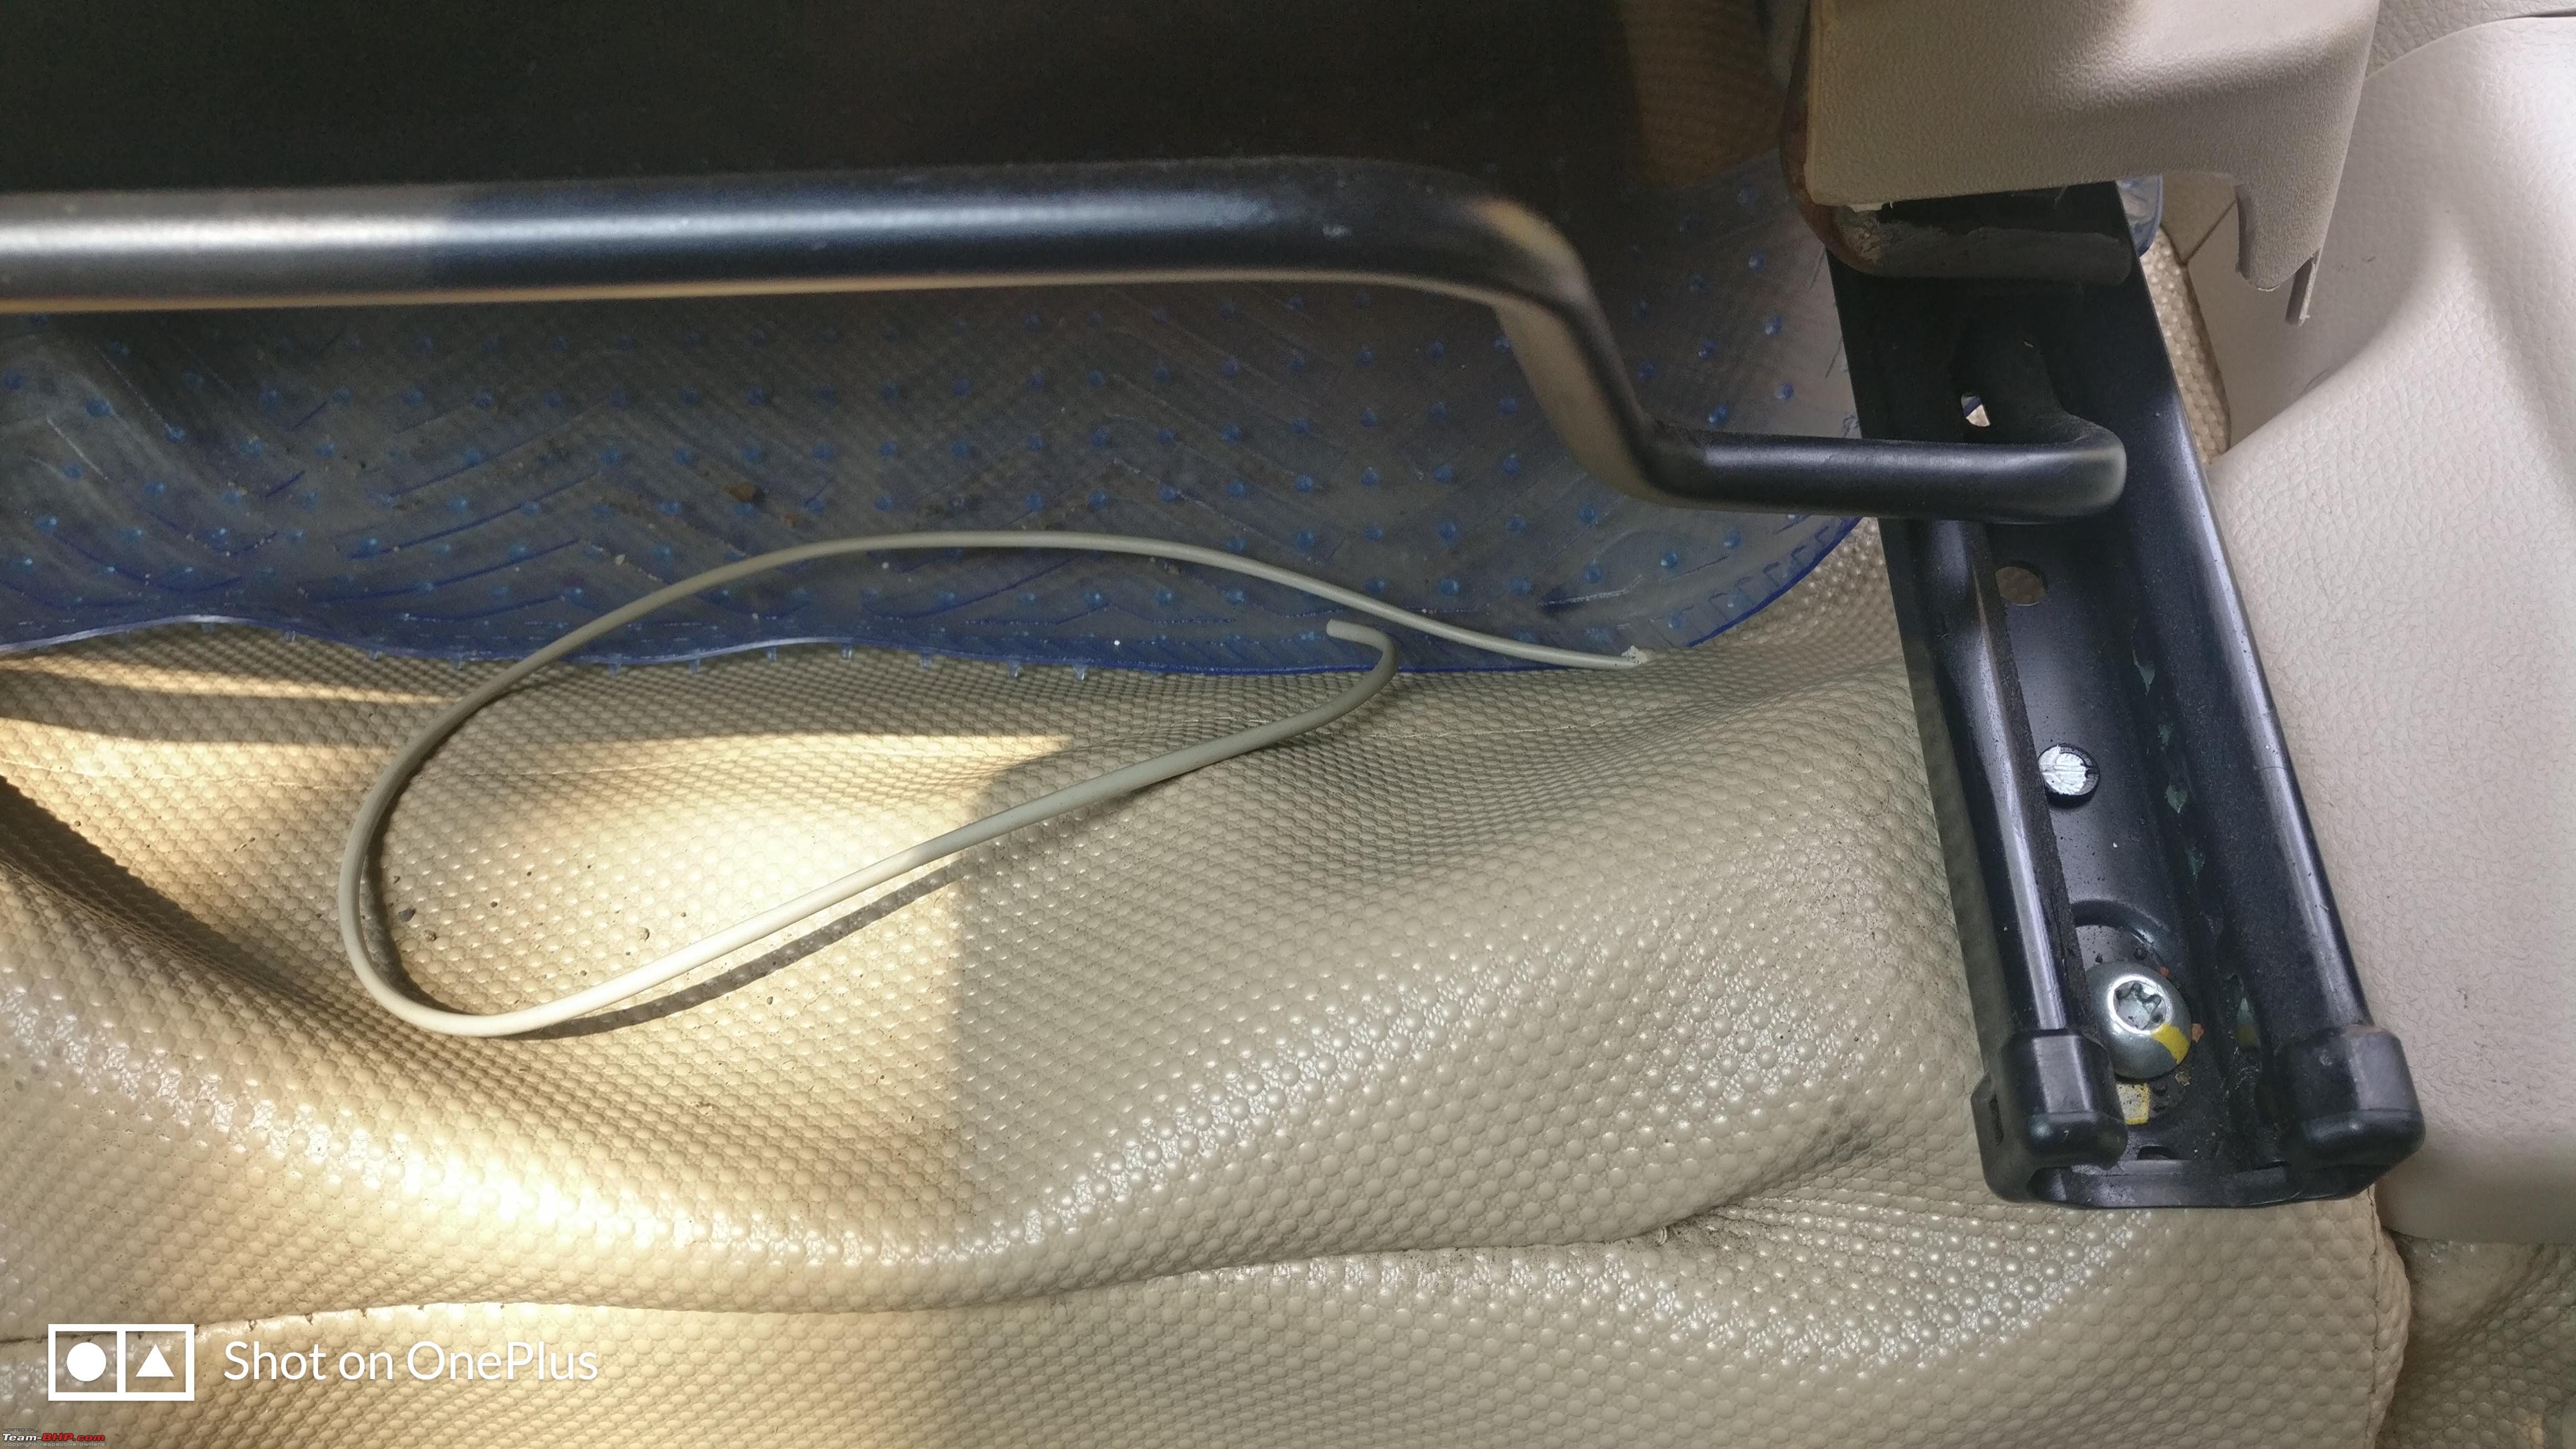
Clip removed and wire tucked under the trim, keeping around a meter extra wire under the seat.
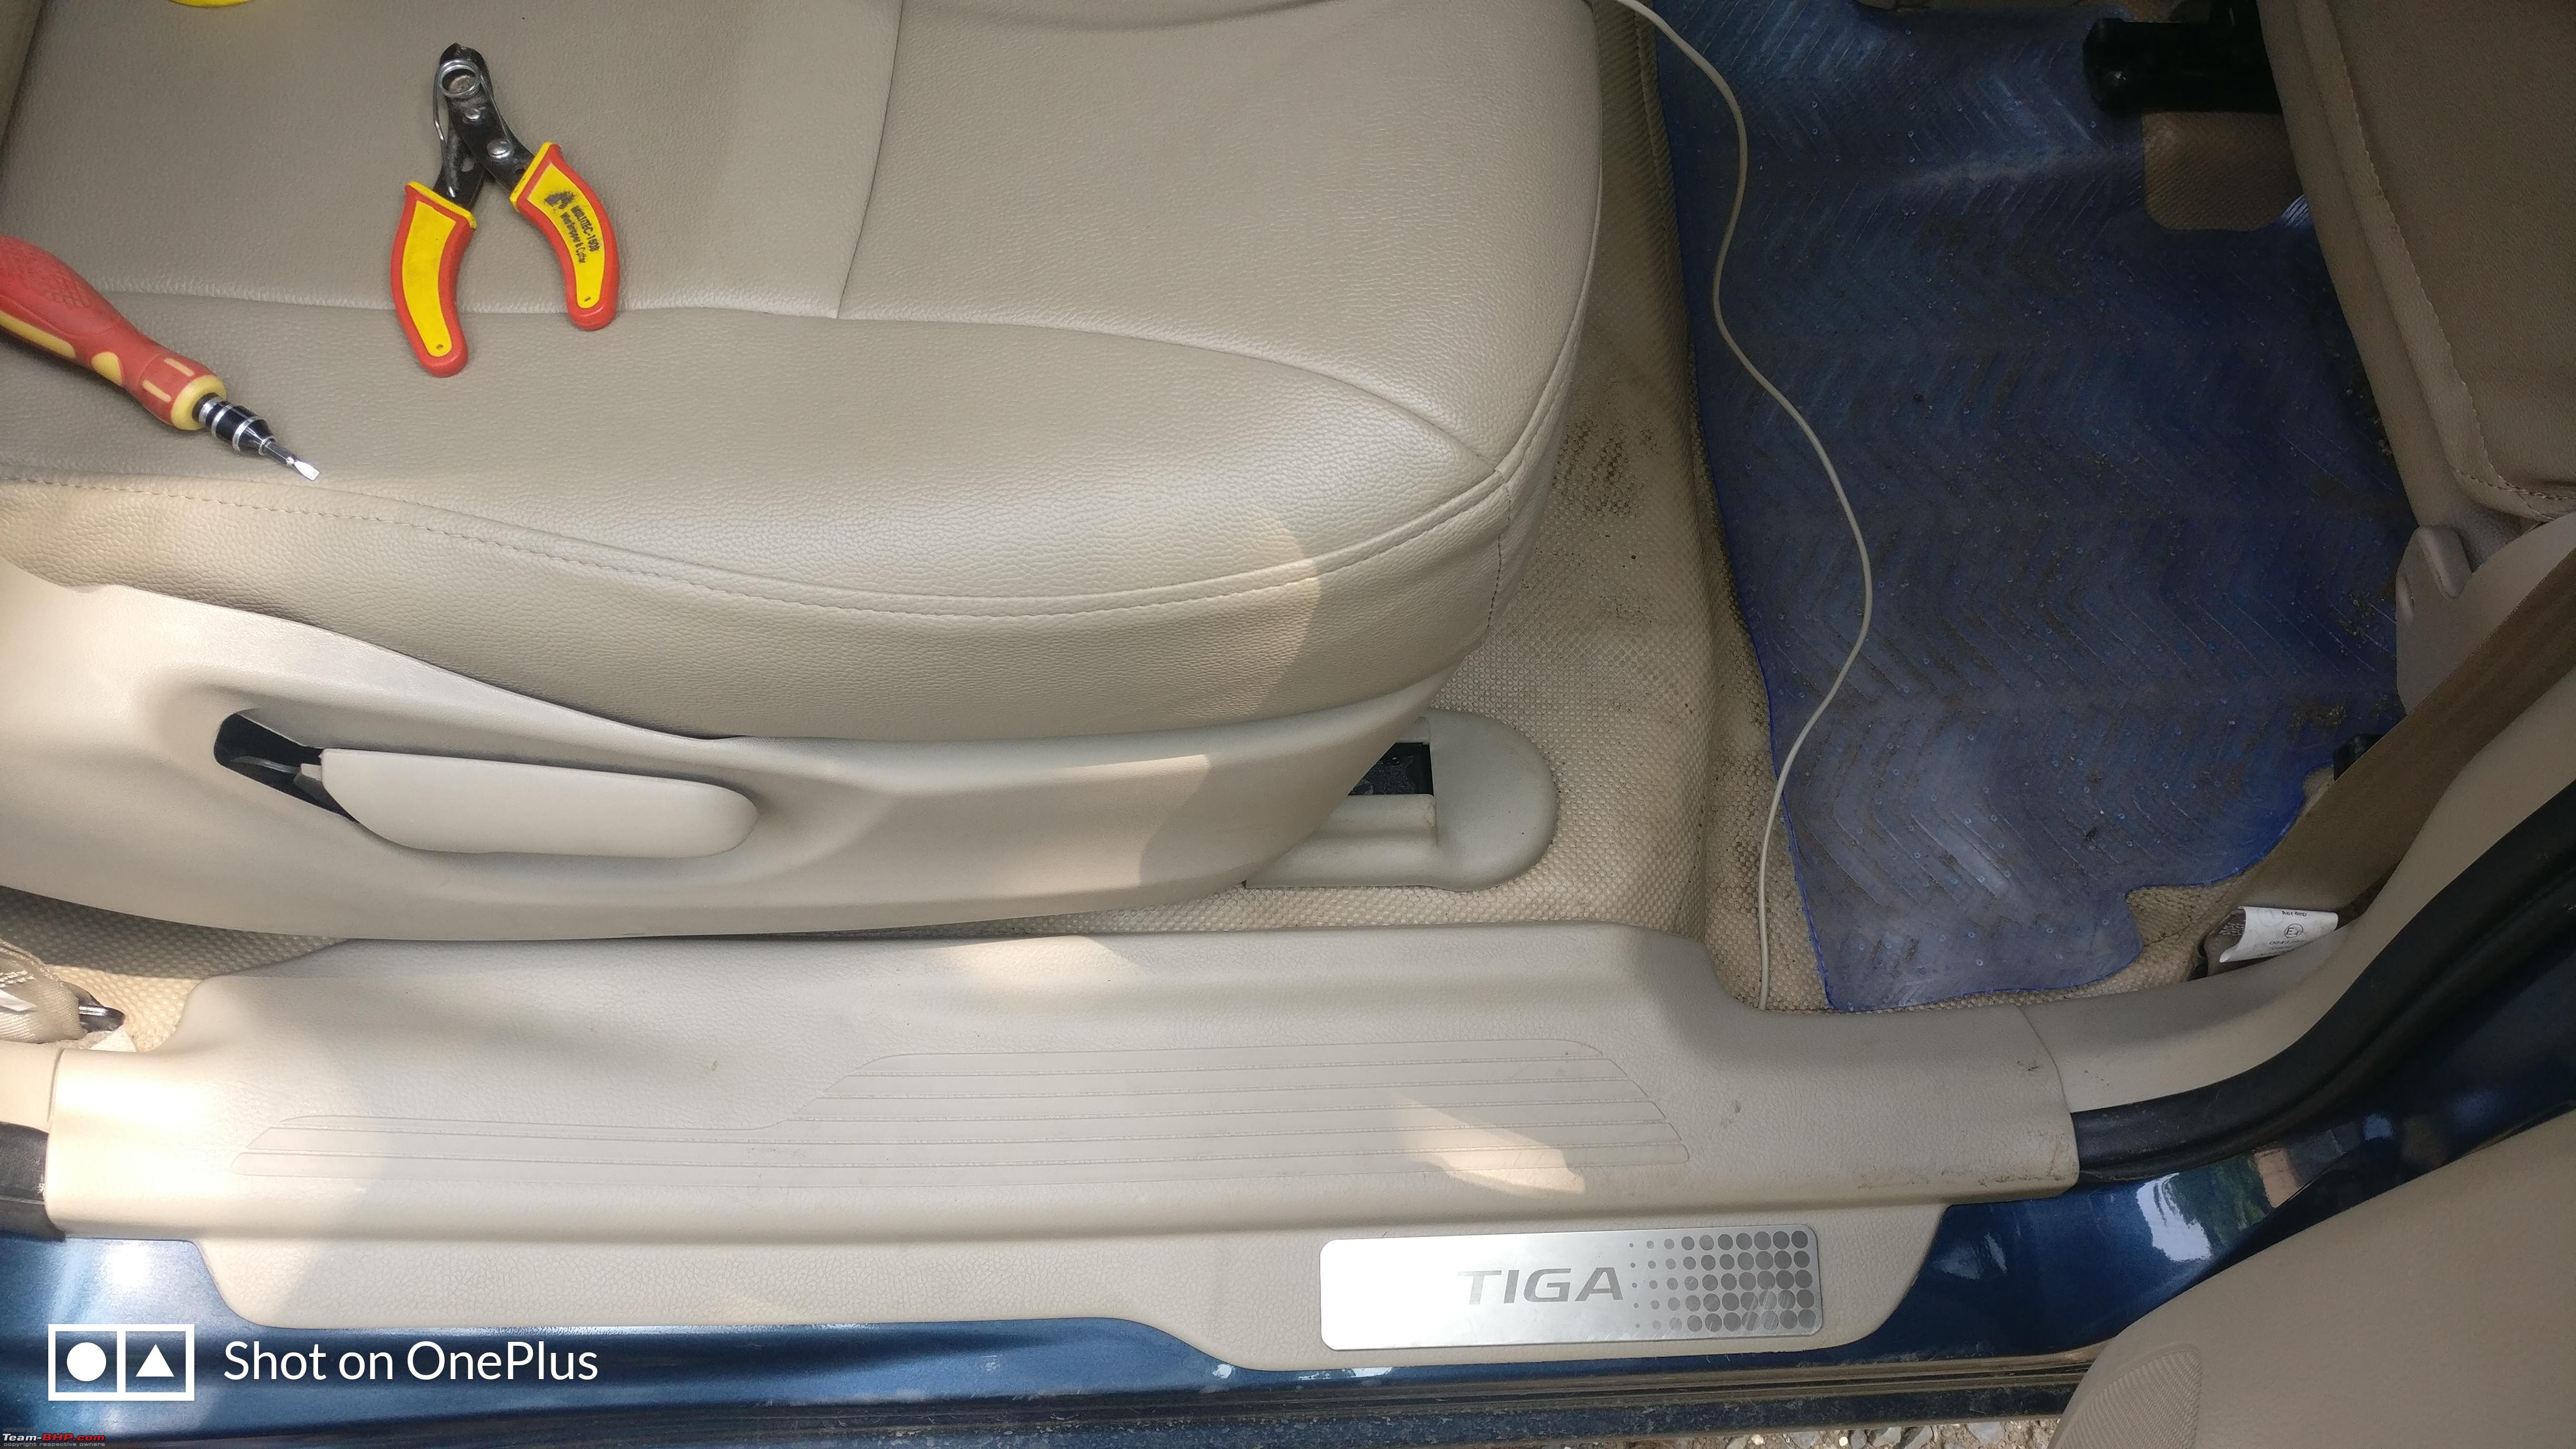
Moving to the middle row running board:
 Under the driver seat, two wires about a feet long.
The reason for two wires is the simplicity of the connection and ease of working, more on this during the connection part. The wire from the last row will be terminated here and a new wire from there will be taken up to the hood release lever area.
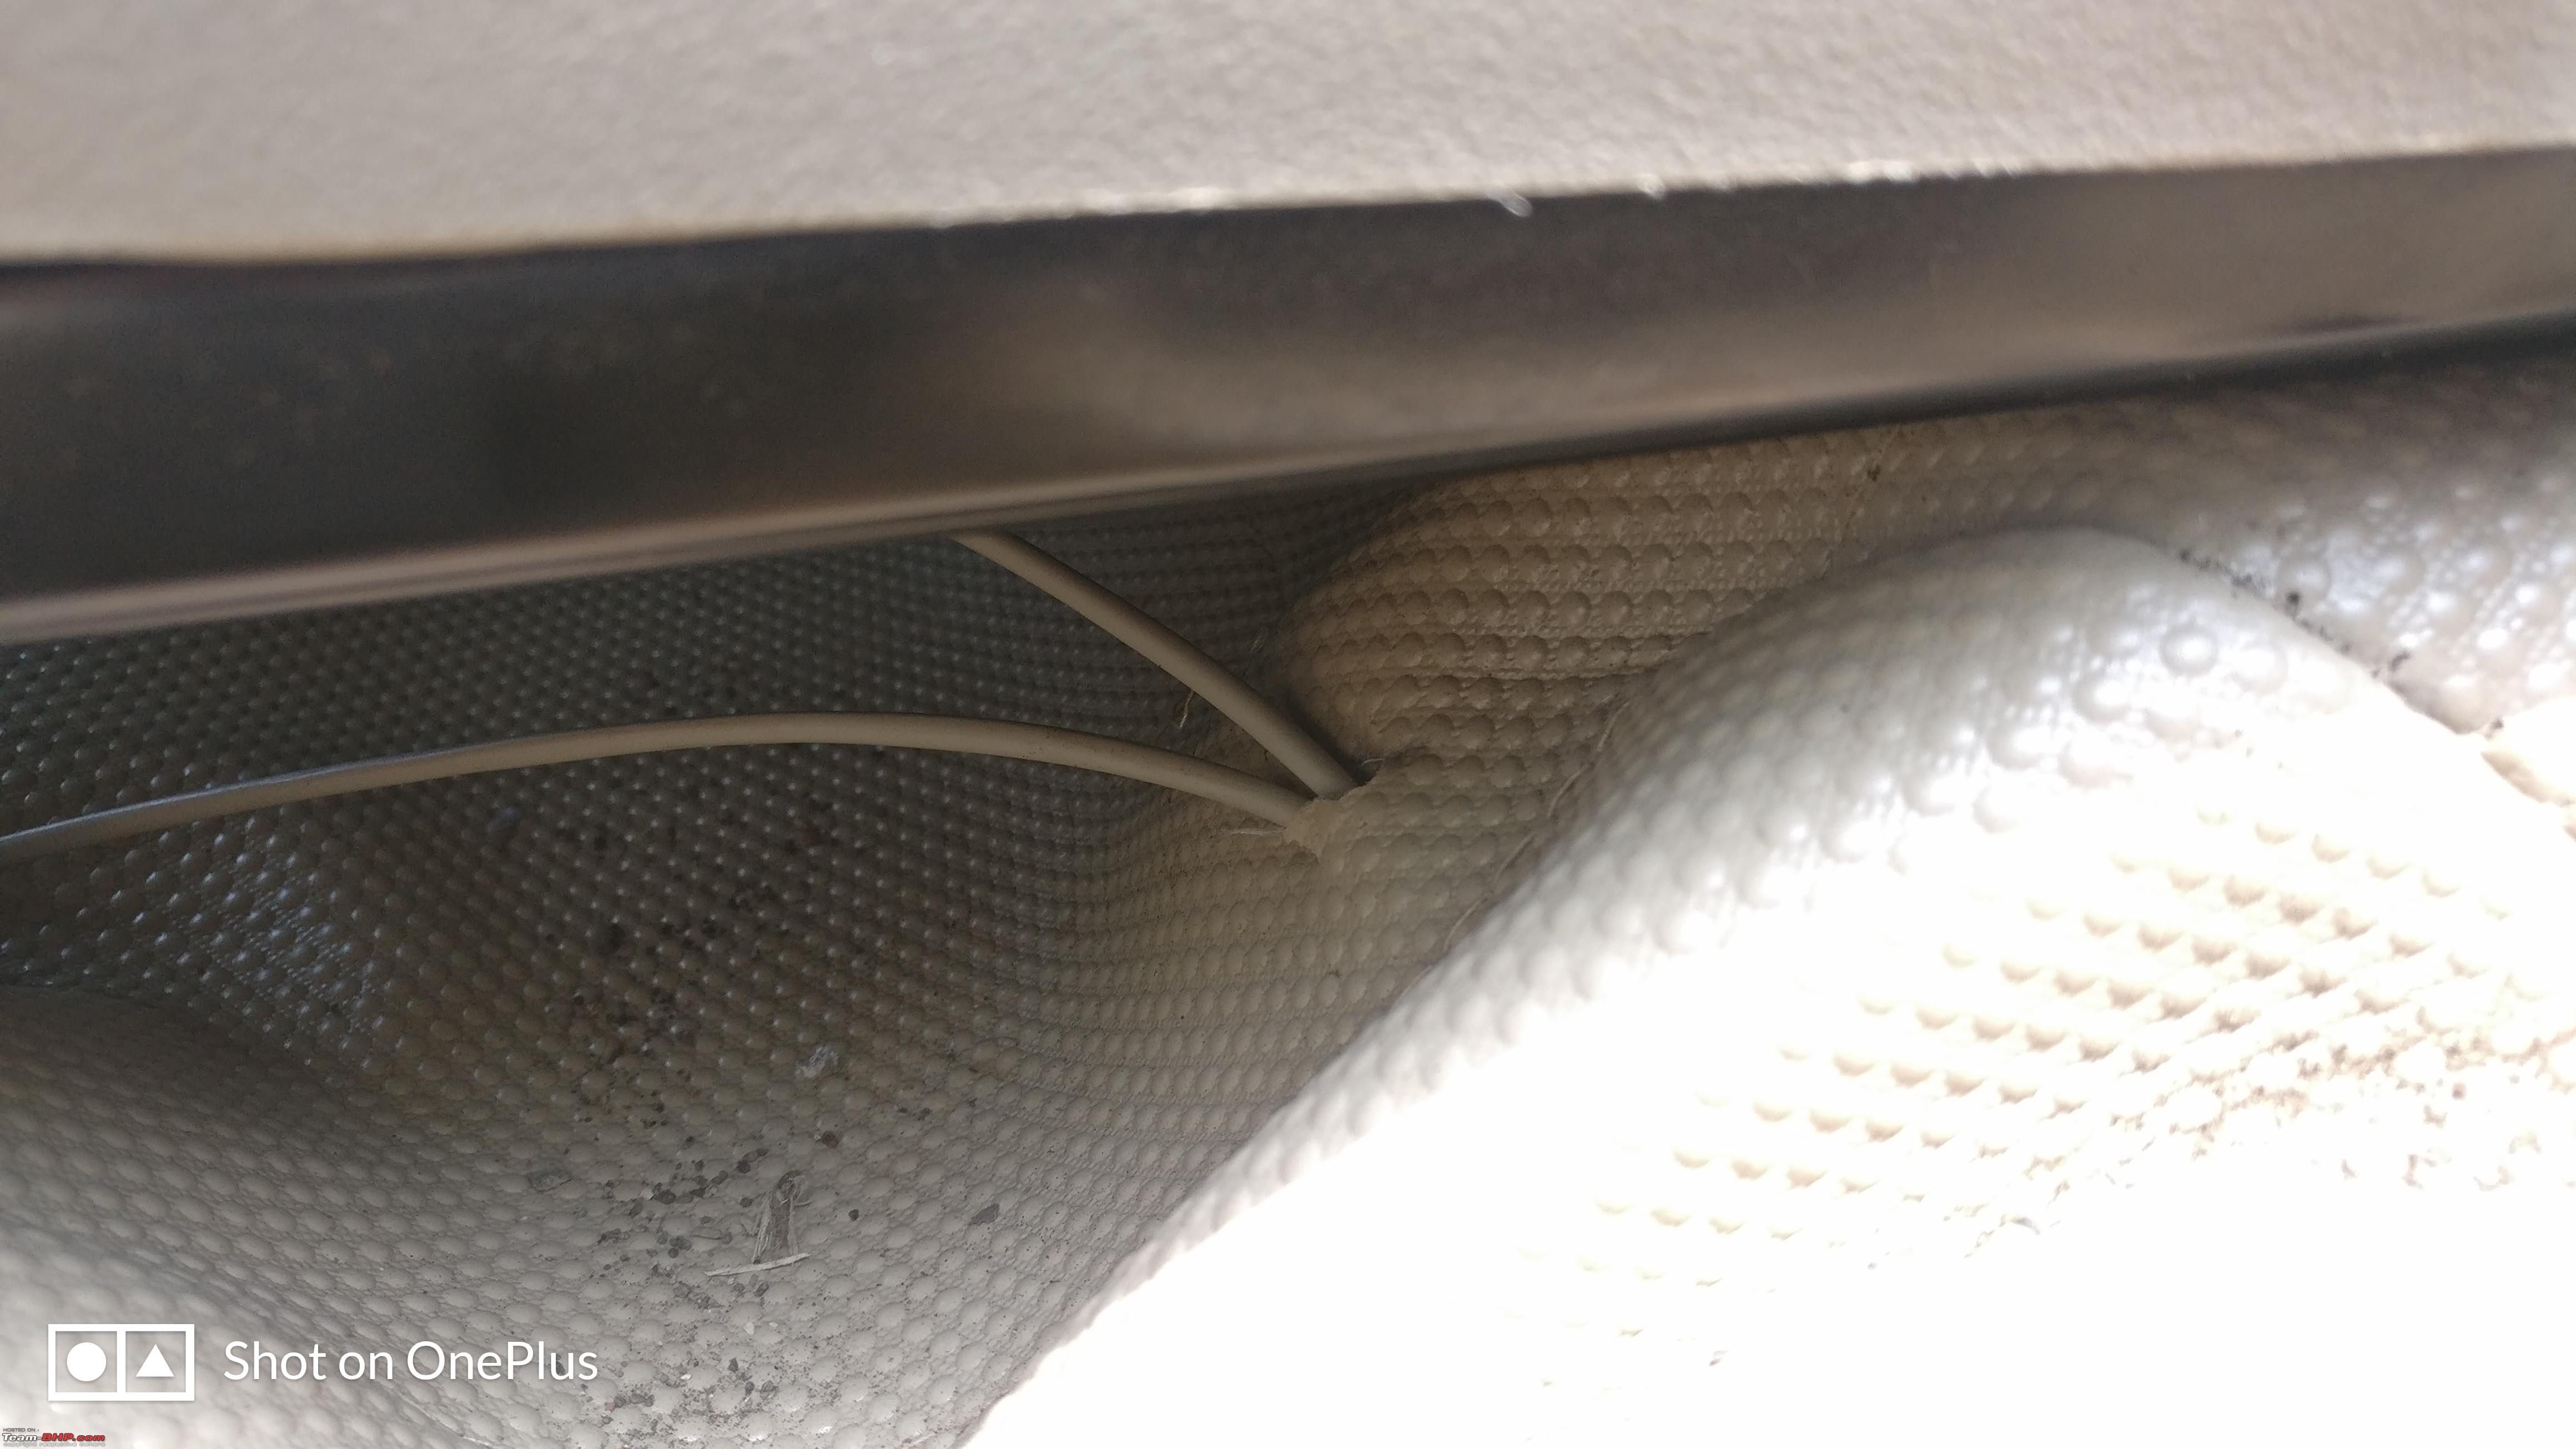
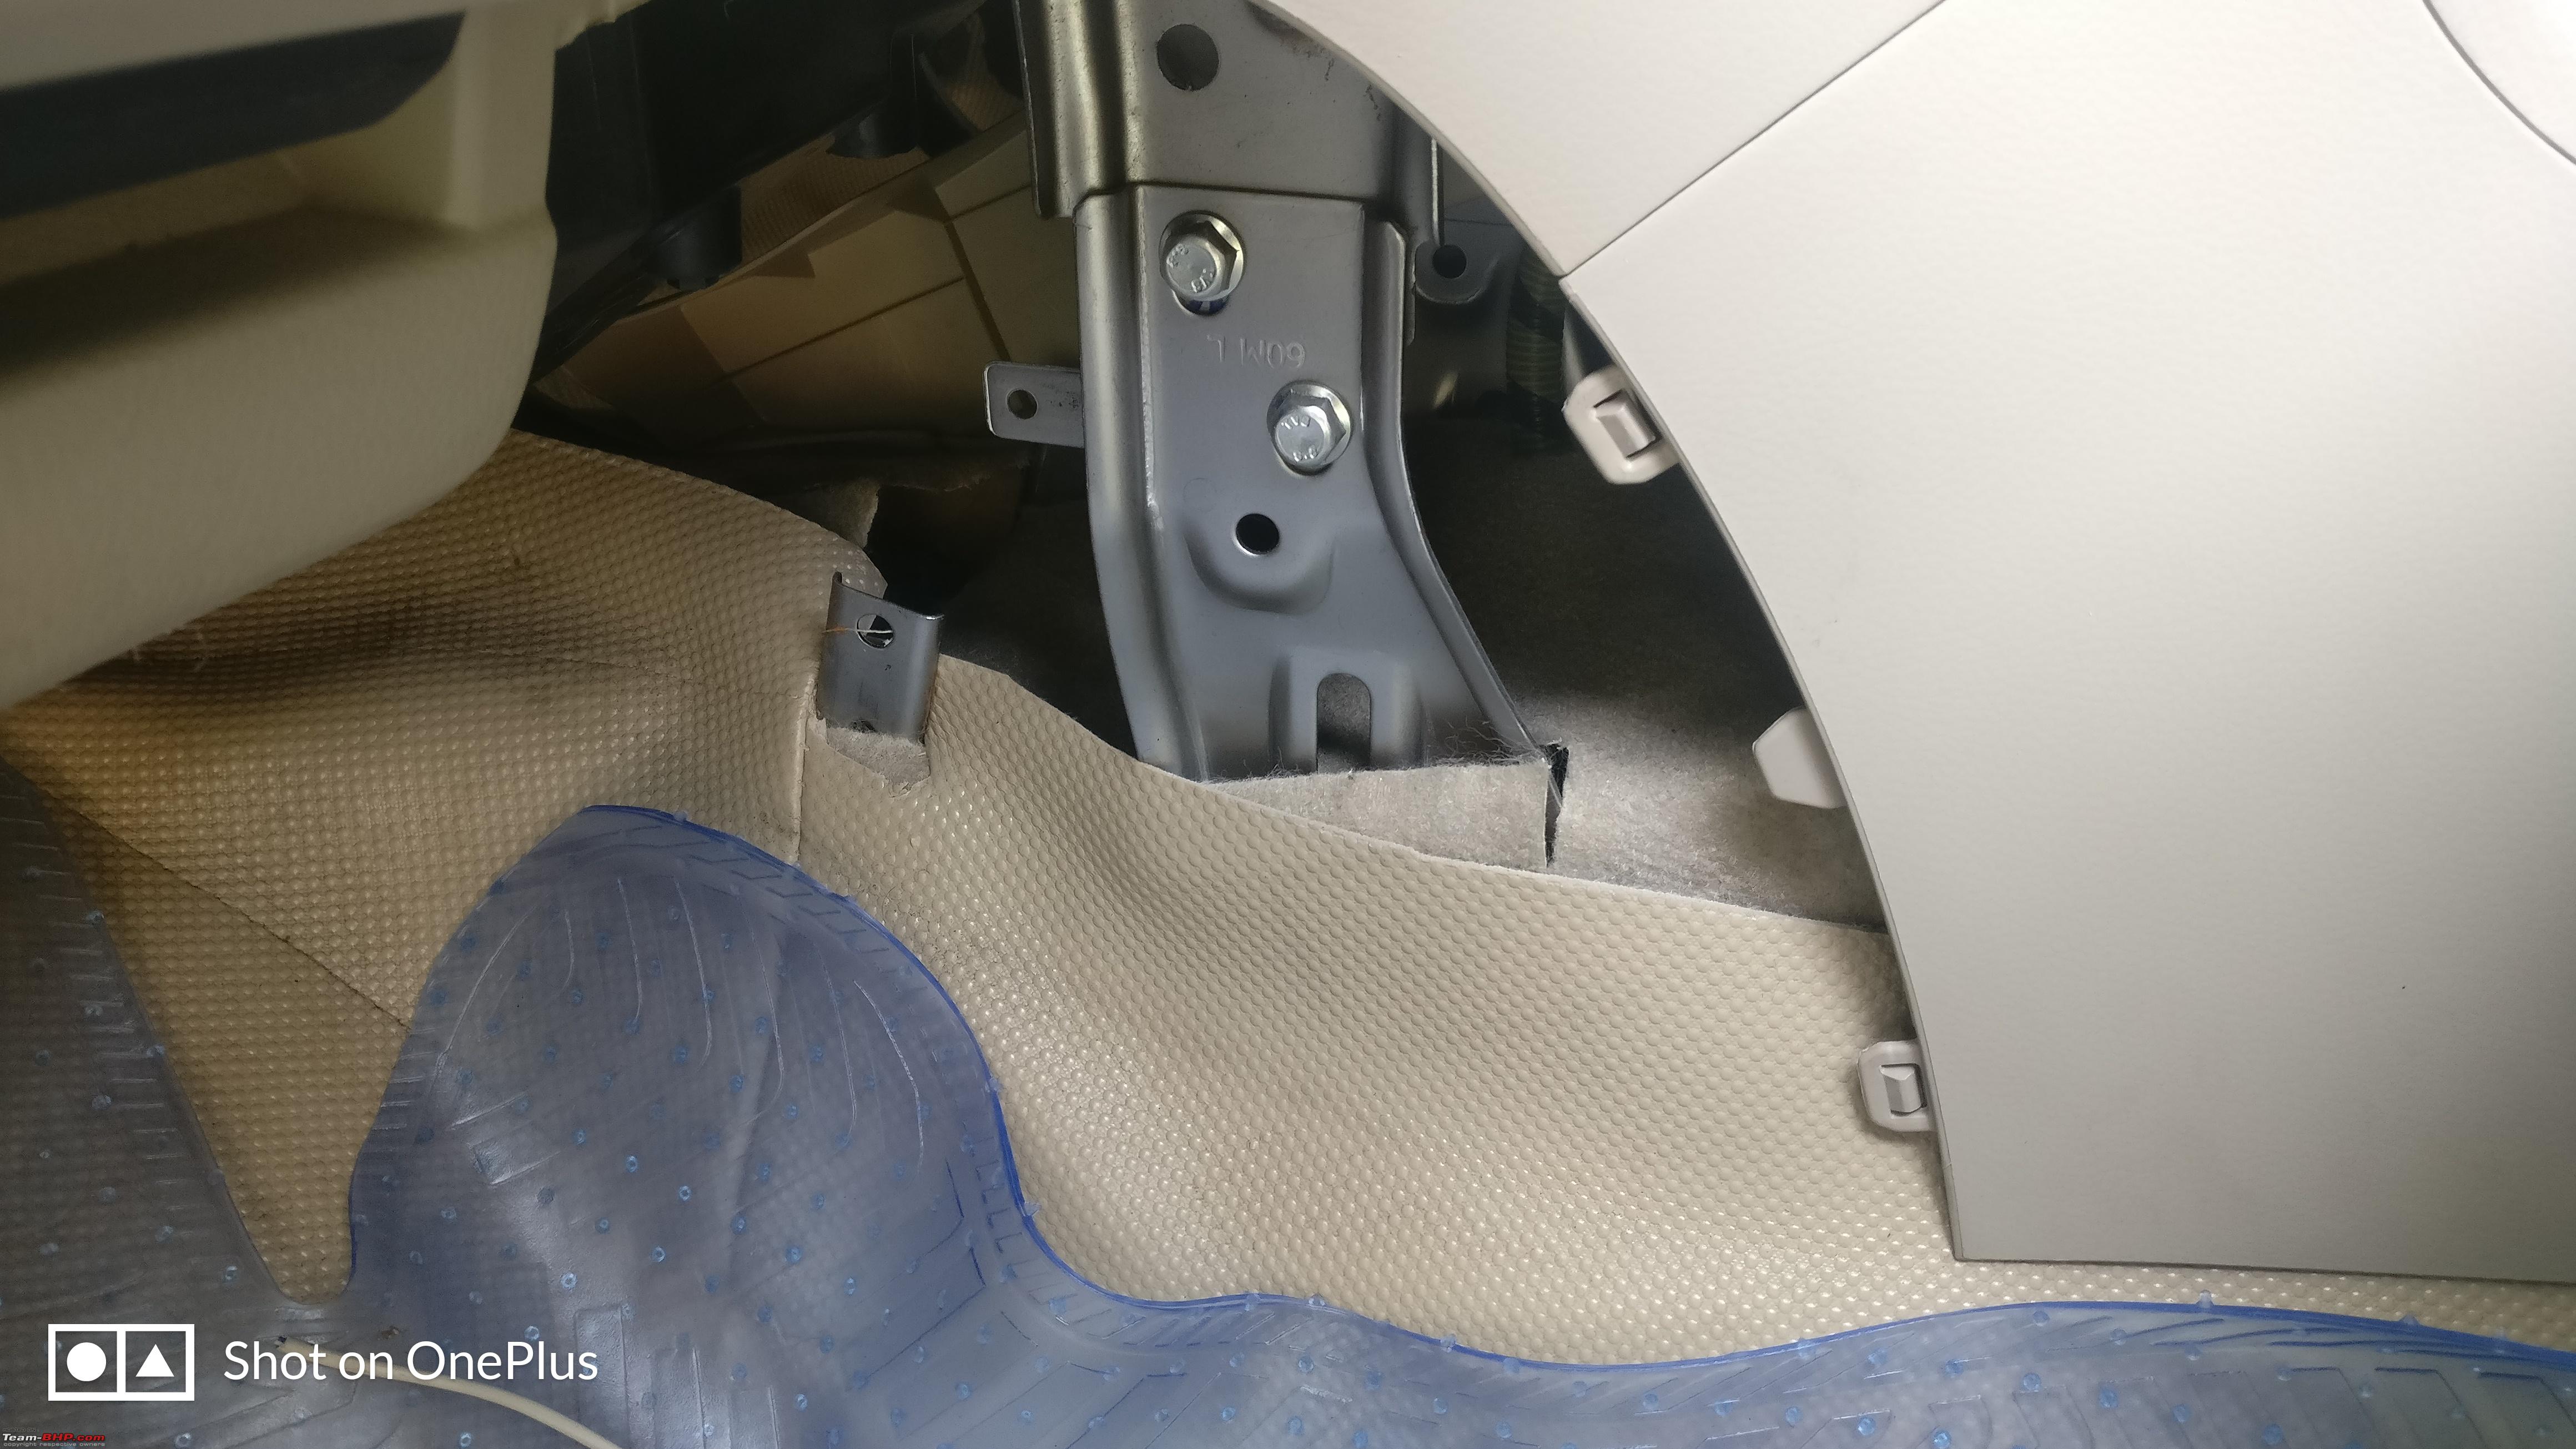
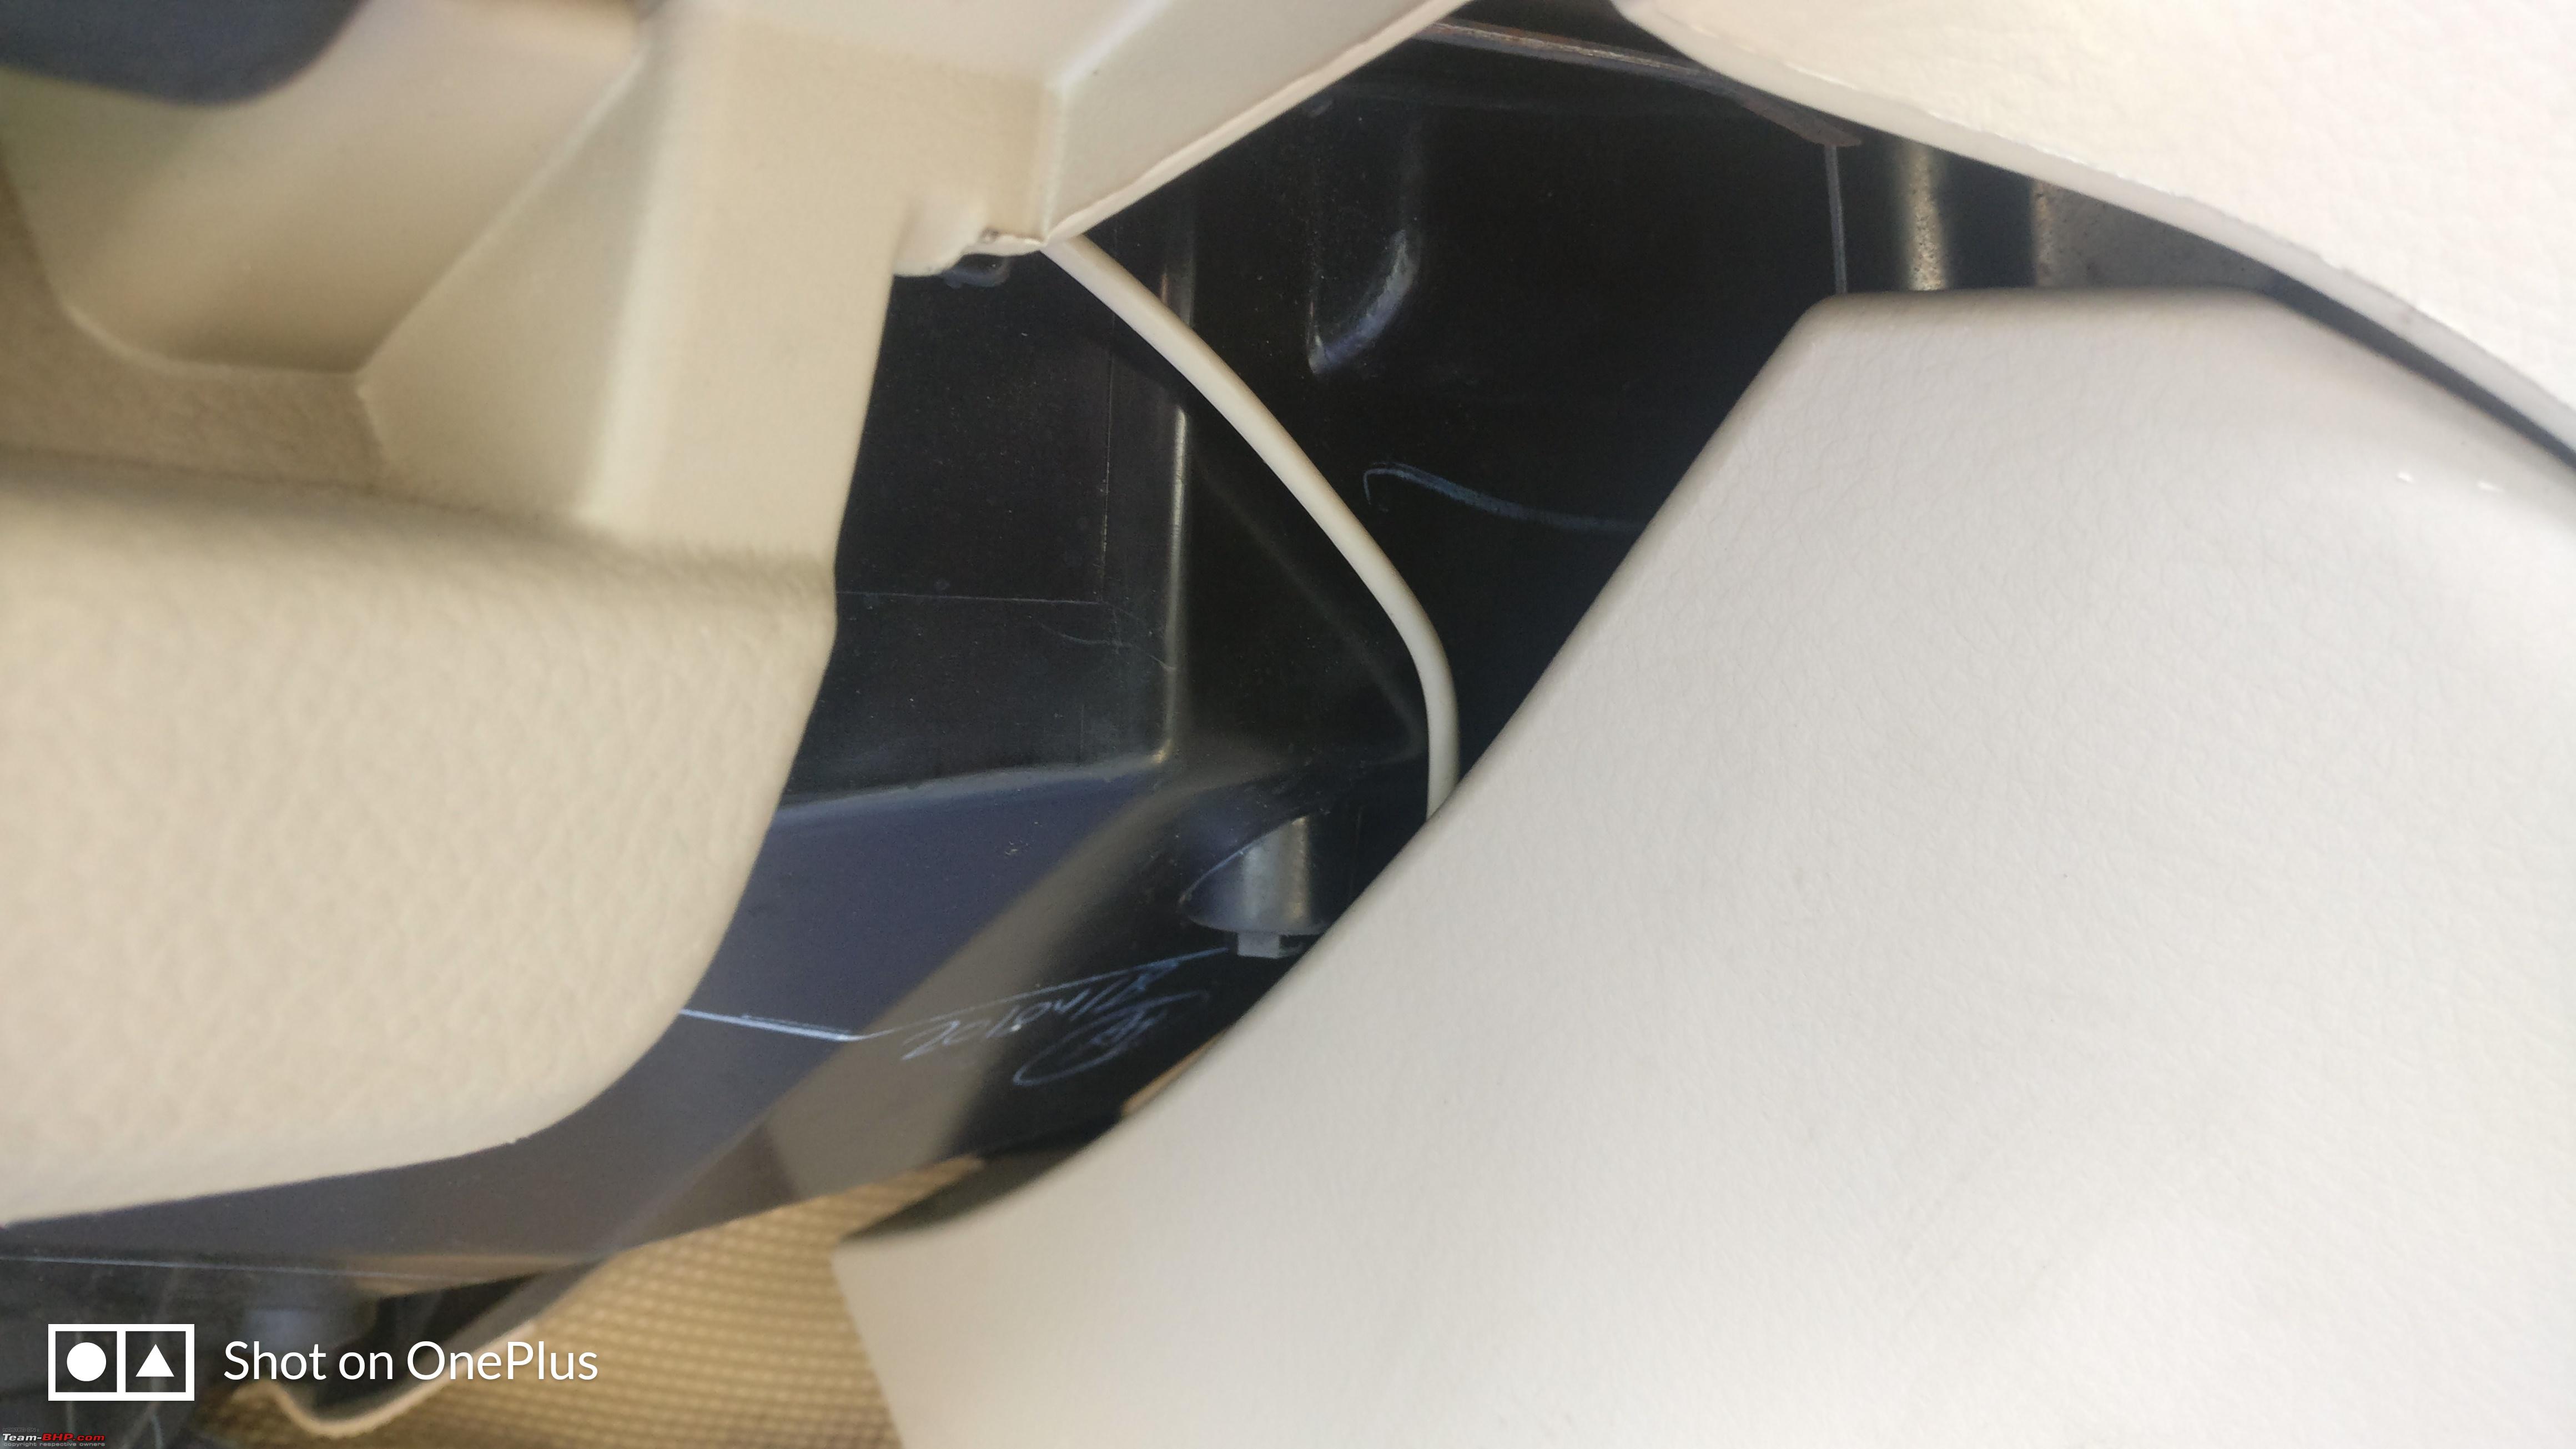
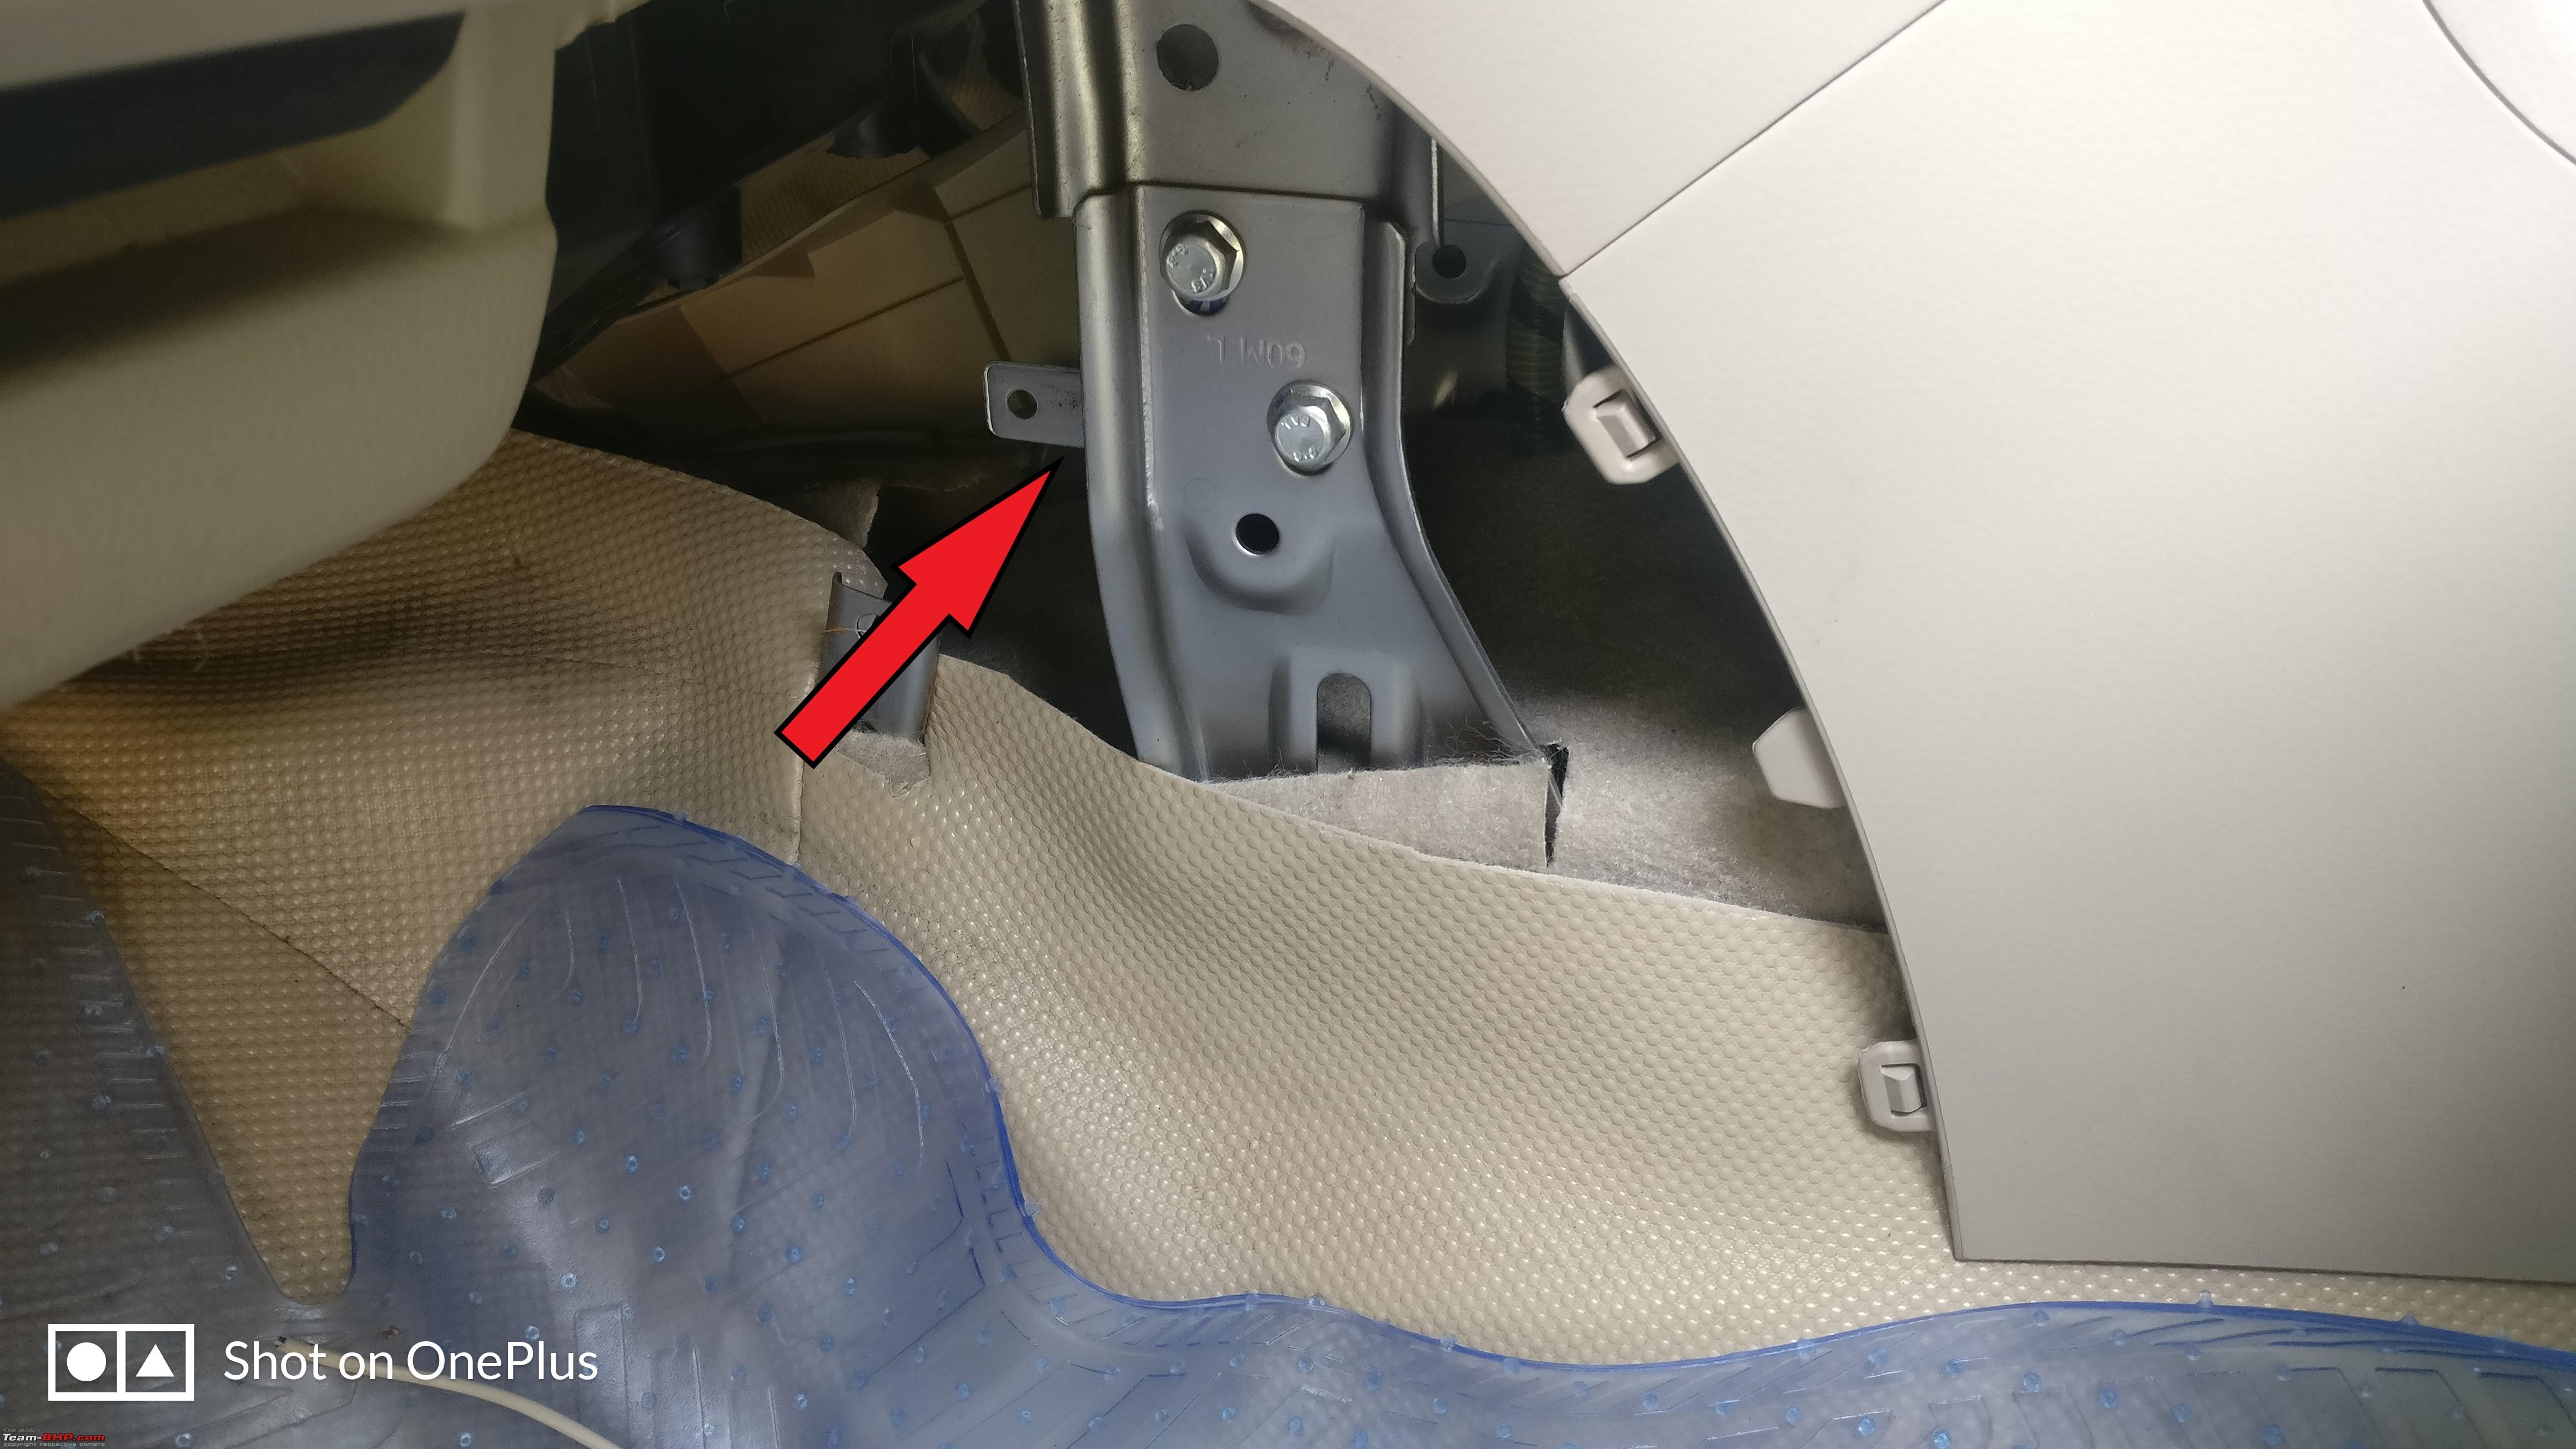
Wire passed through the first row running board: 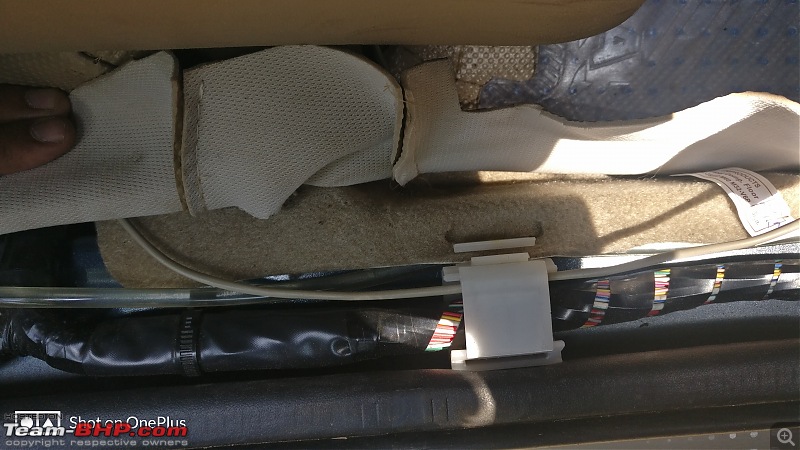 Moving ahead to the hood lever area, secure the wire properly so that it doesn't interfere with the steering operation:
Keep around 5" of wire extra and cut the wire here. Take another piece of wire and keeping around 5" extra move the wire through the center console to the passenger side area.
Take out the trim that covers the center console bottom section: 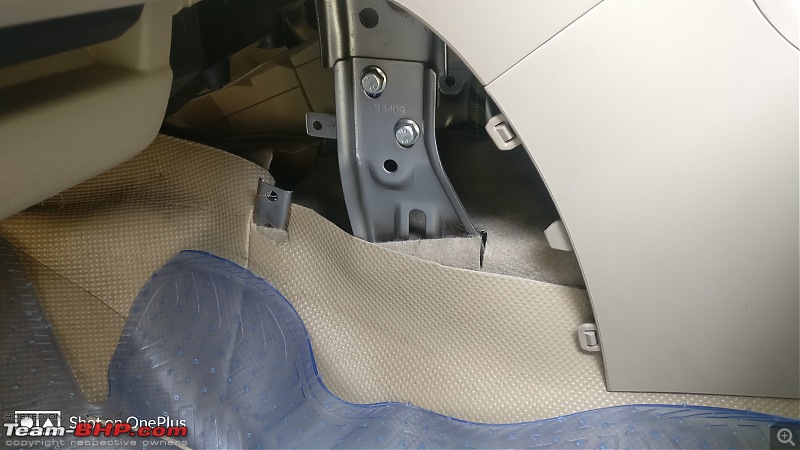 Passing the wire under the glove compartment:
Again terminate the wire here keeping around 6" of wire, take another piece of wire keep an extra 6" and proceed with that wire to the passenger side running board.
Using the same route as on the driver side, pass the wire through the running board and under the passenger seat.
Wire under the passenger seat:
II) Mounting:
After the wiring is complete it's time to set up the RGB strips with the connectors and fix them on the casing capping so that they can be easily mounted under the seat.
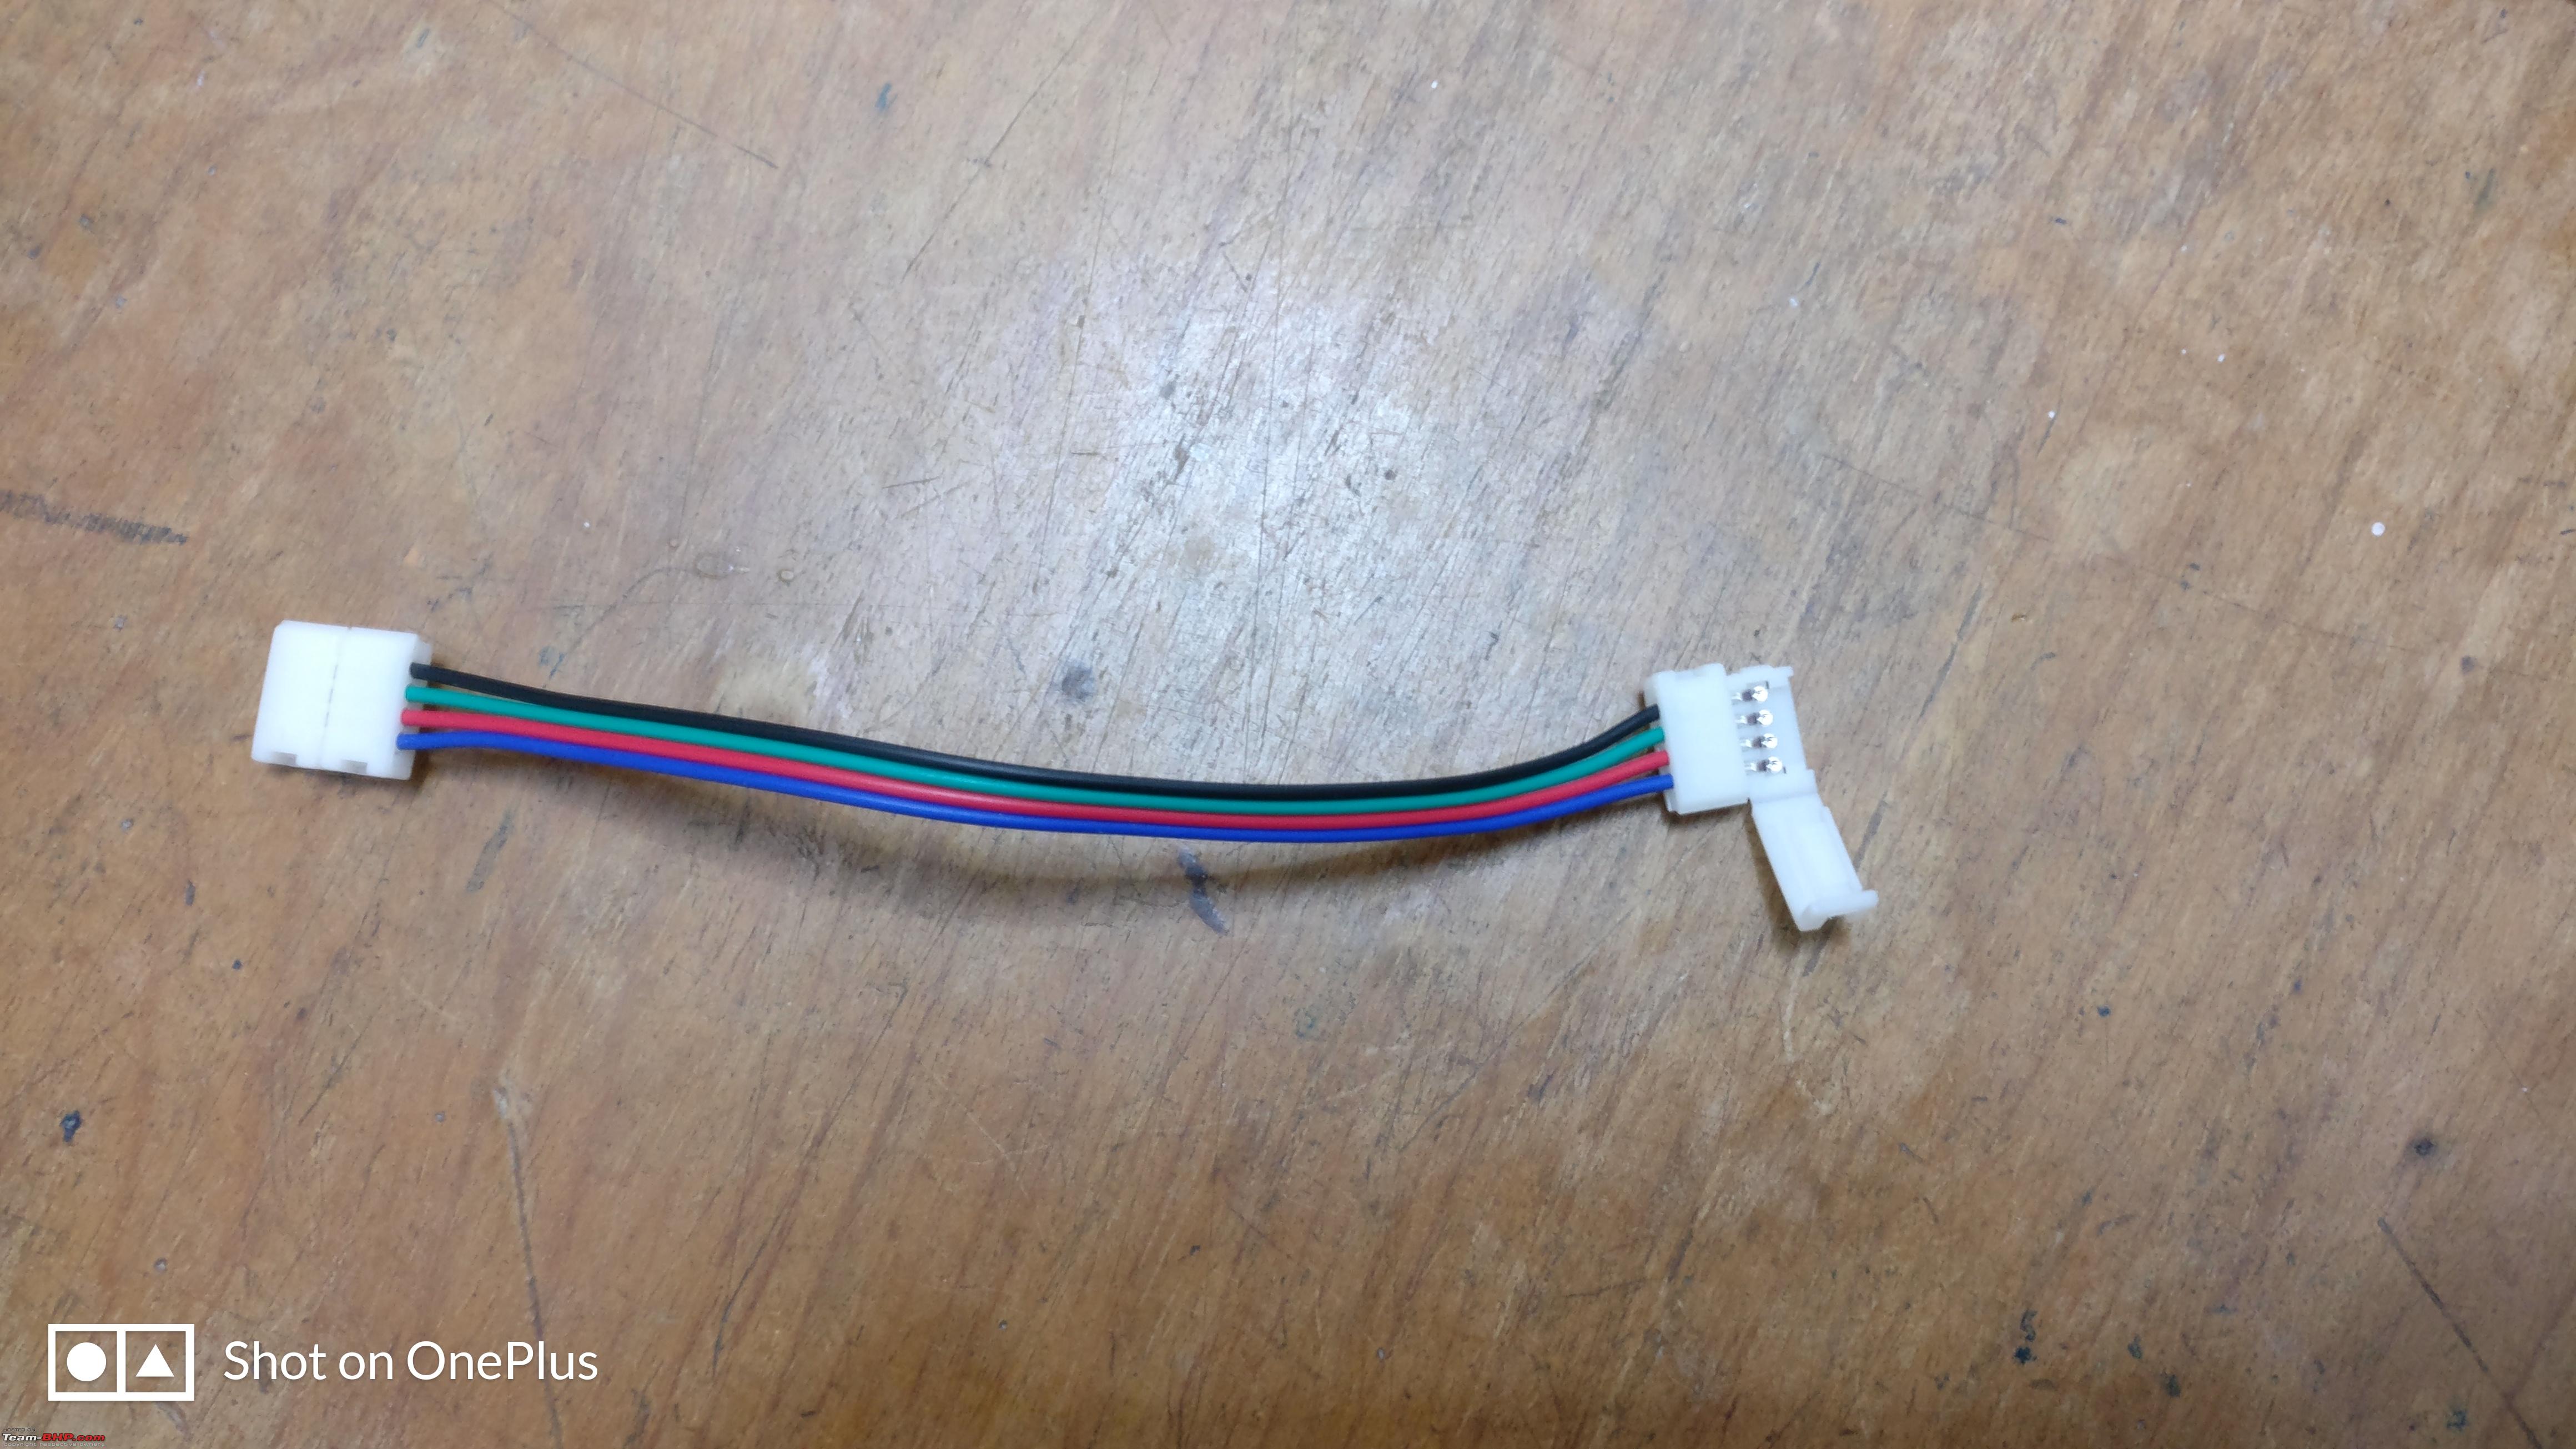
The connectors come in a single strip and you need to cut it in half so that you can use both the sides.
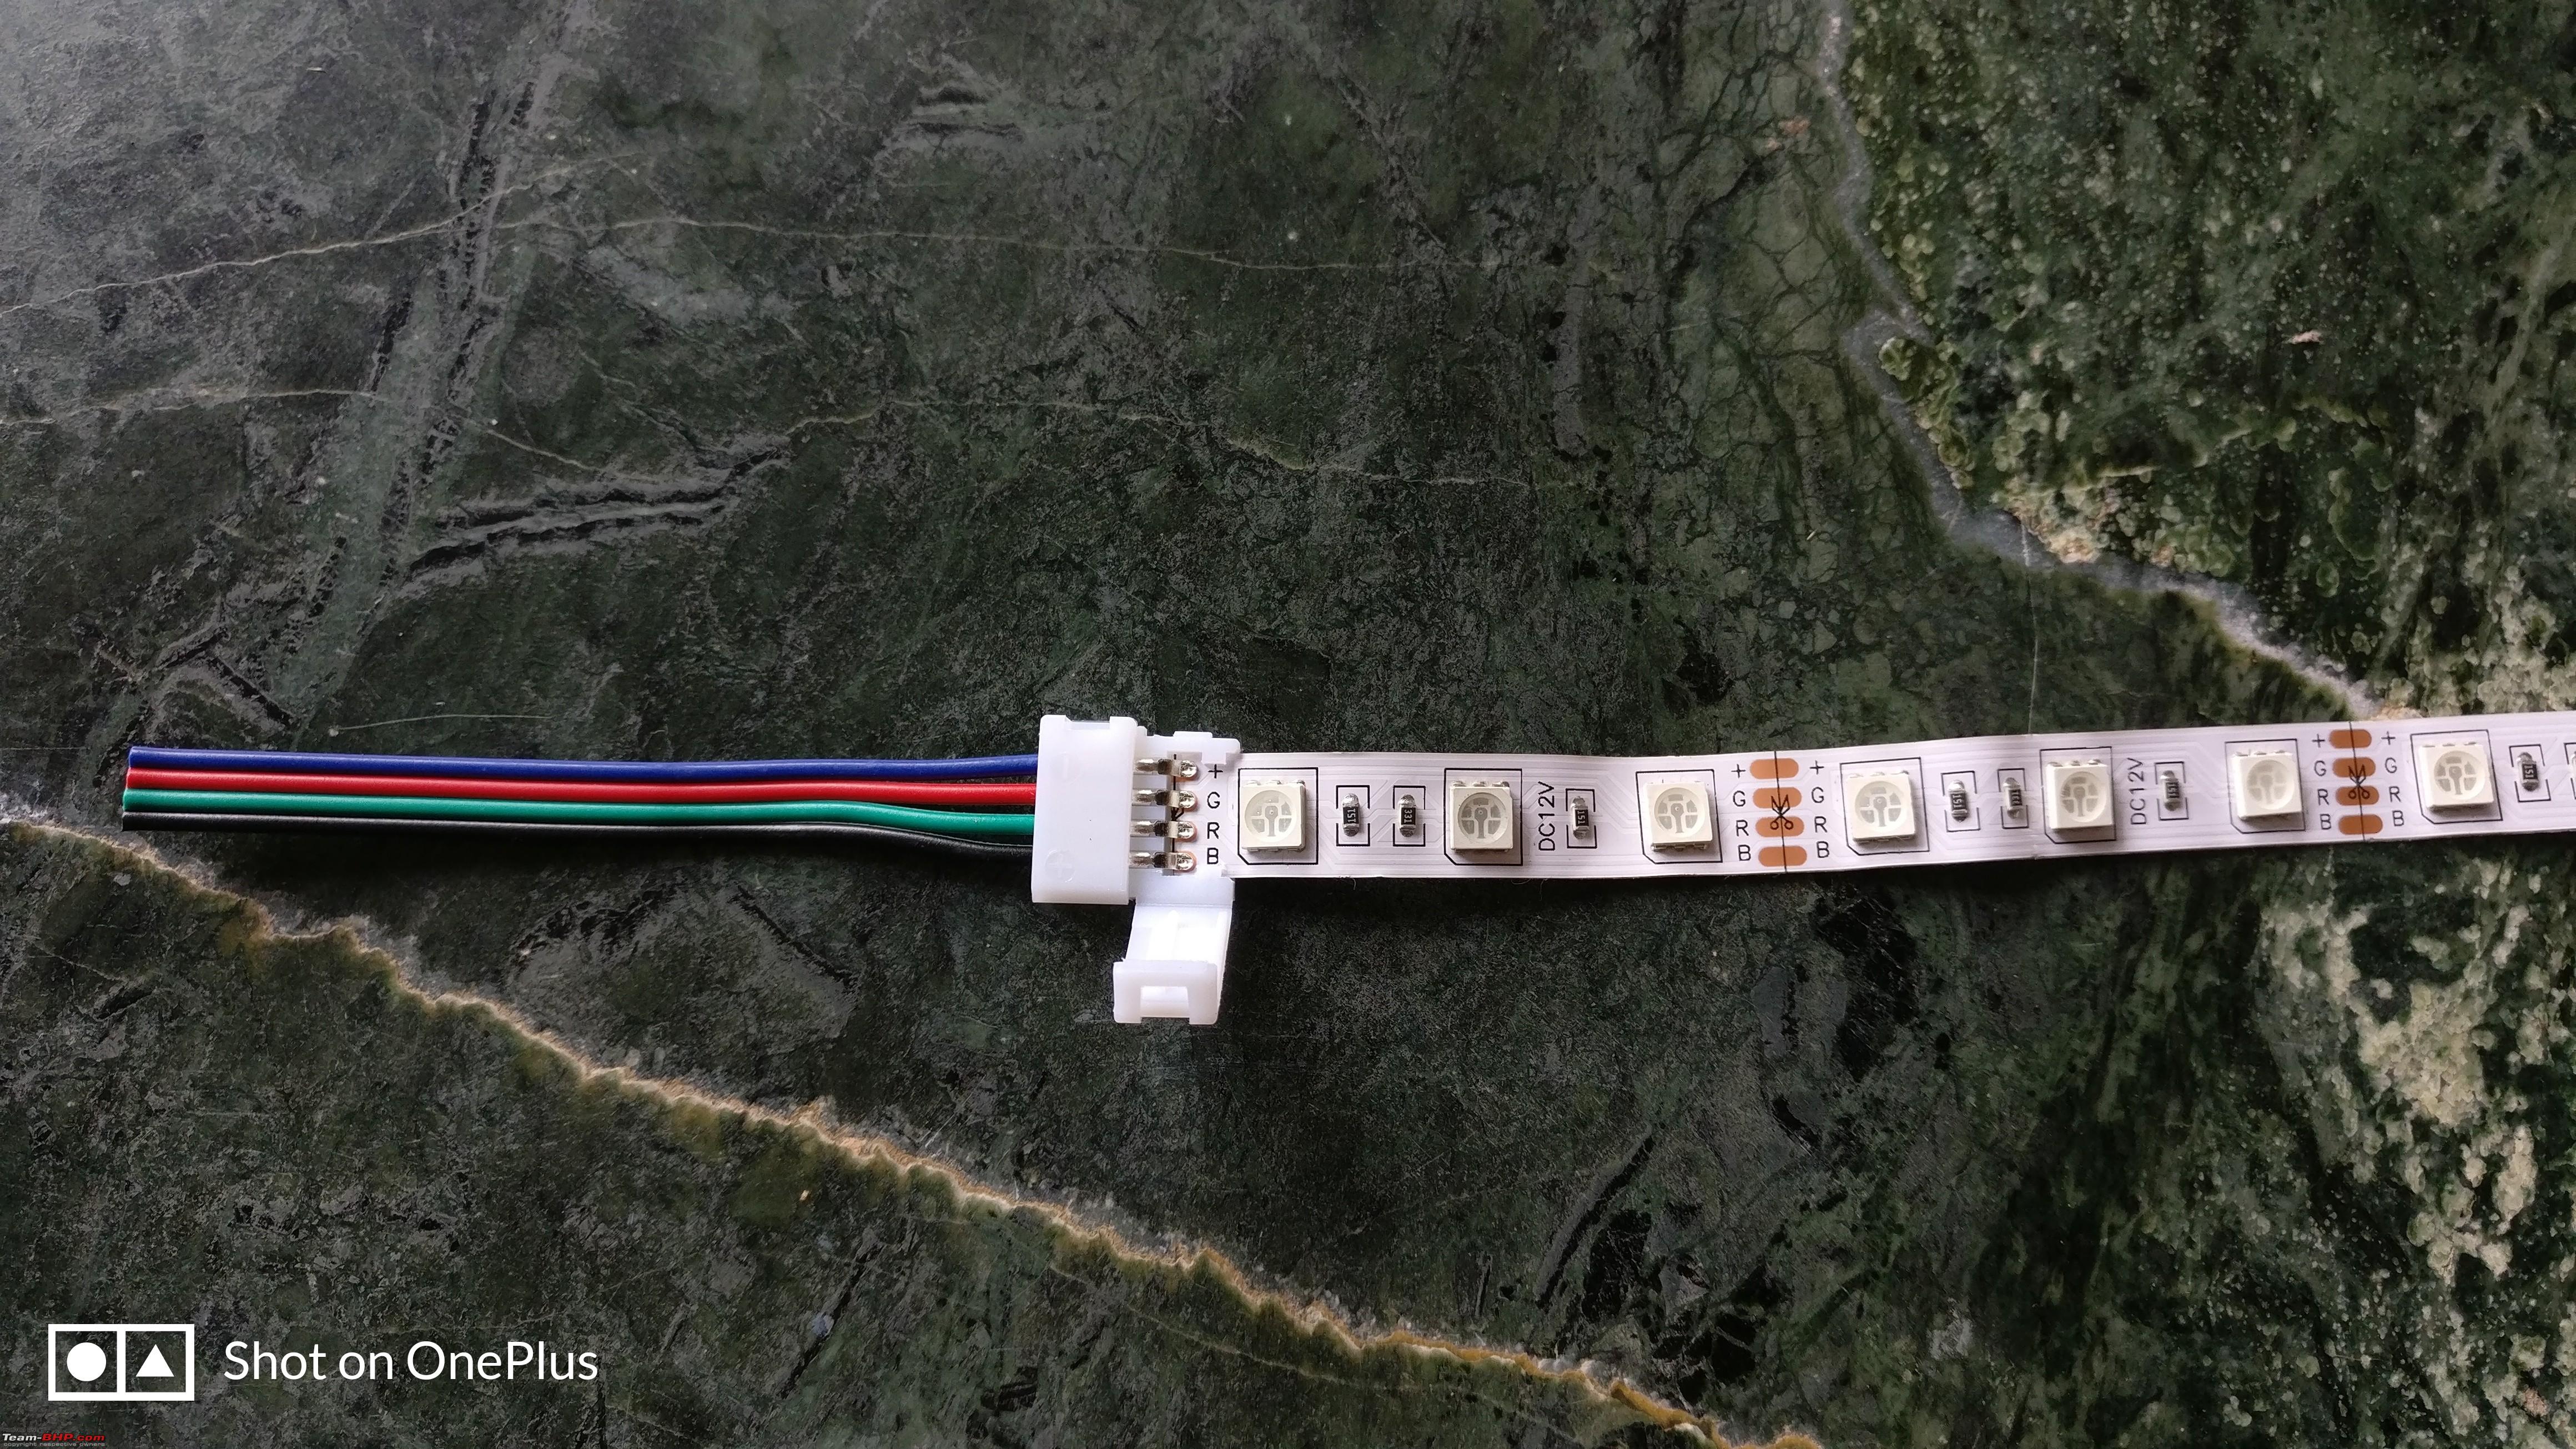
A picture of the connectors before cutting and after installing a RGB strip in it: 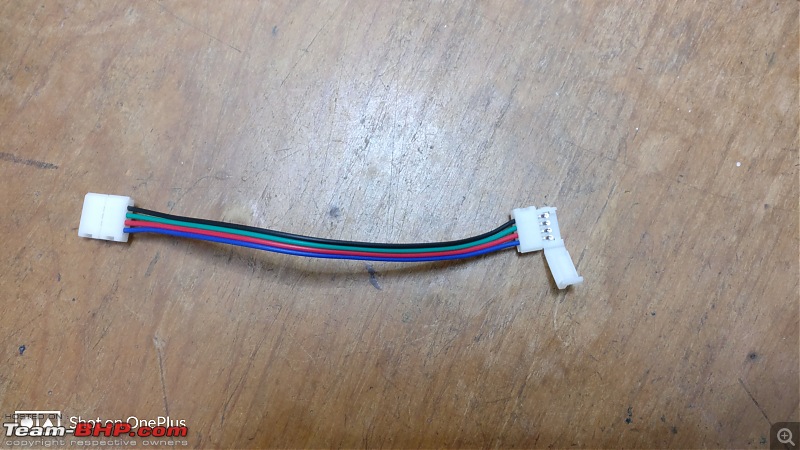

Cut the strip on the marking provided, use a sharp scissor do not use a knife.
Then just push the strip inside the connectors, without peeling off the paper at the back.
Make sure the contacts fit perfectly over the RGB strip, then using a DC power supply or a 9V battery connect the wires to the battery and check if the colors show up properly. The (+) on the strip is positive and RGB stands for Red, Green and Blue colors on the strip respectively, connect the negative(-) of the battery to it .i.e RGB. Connect each of them individually so that you can check if all 3 colors are working. Once checked keep that set aside and make the remaining ones, which in my case were 6.:D
Now to install these lights we need to fix them on casing capping, use a 10/12mm size casing, you can use both the top and bottom sections, so that it won't be wasted. Using a tape measure the distance between the mounts of the seat, away from the sliding portion. Once you have the distance cut roughly two inches more so that you can bend it about an inch from both sides and mount it under the seat. To fix the RGB strip to the casing capping use hot melt glue gun and fix the connector portion first. You might need to cut off the edges of the casing a little bit to accommodate it. Once the connector is fixed carefully stick the remaining portion using the hot glue
(making sure the strip doesn't get pulled from the connector), over the casing.
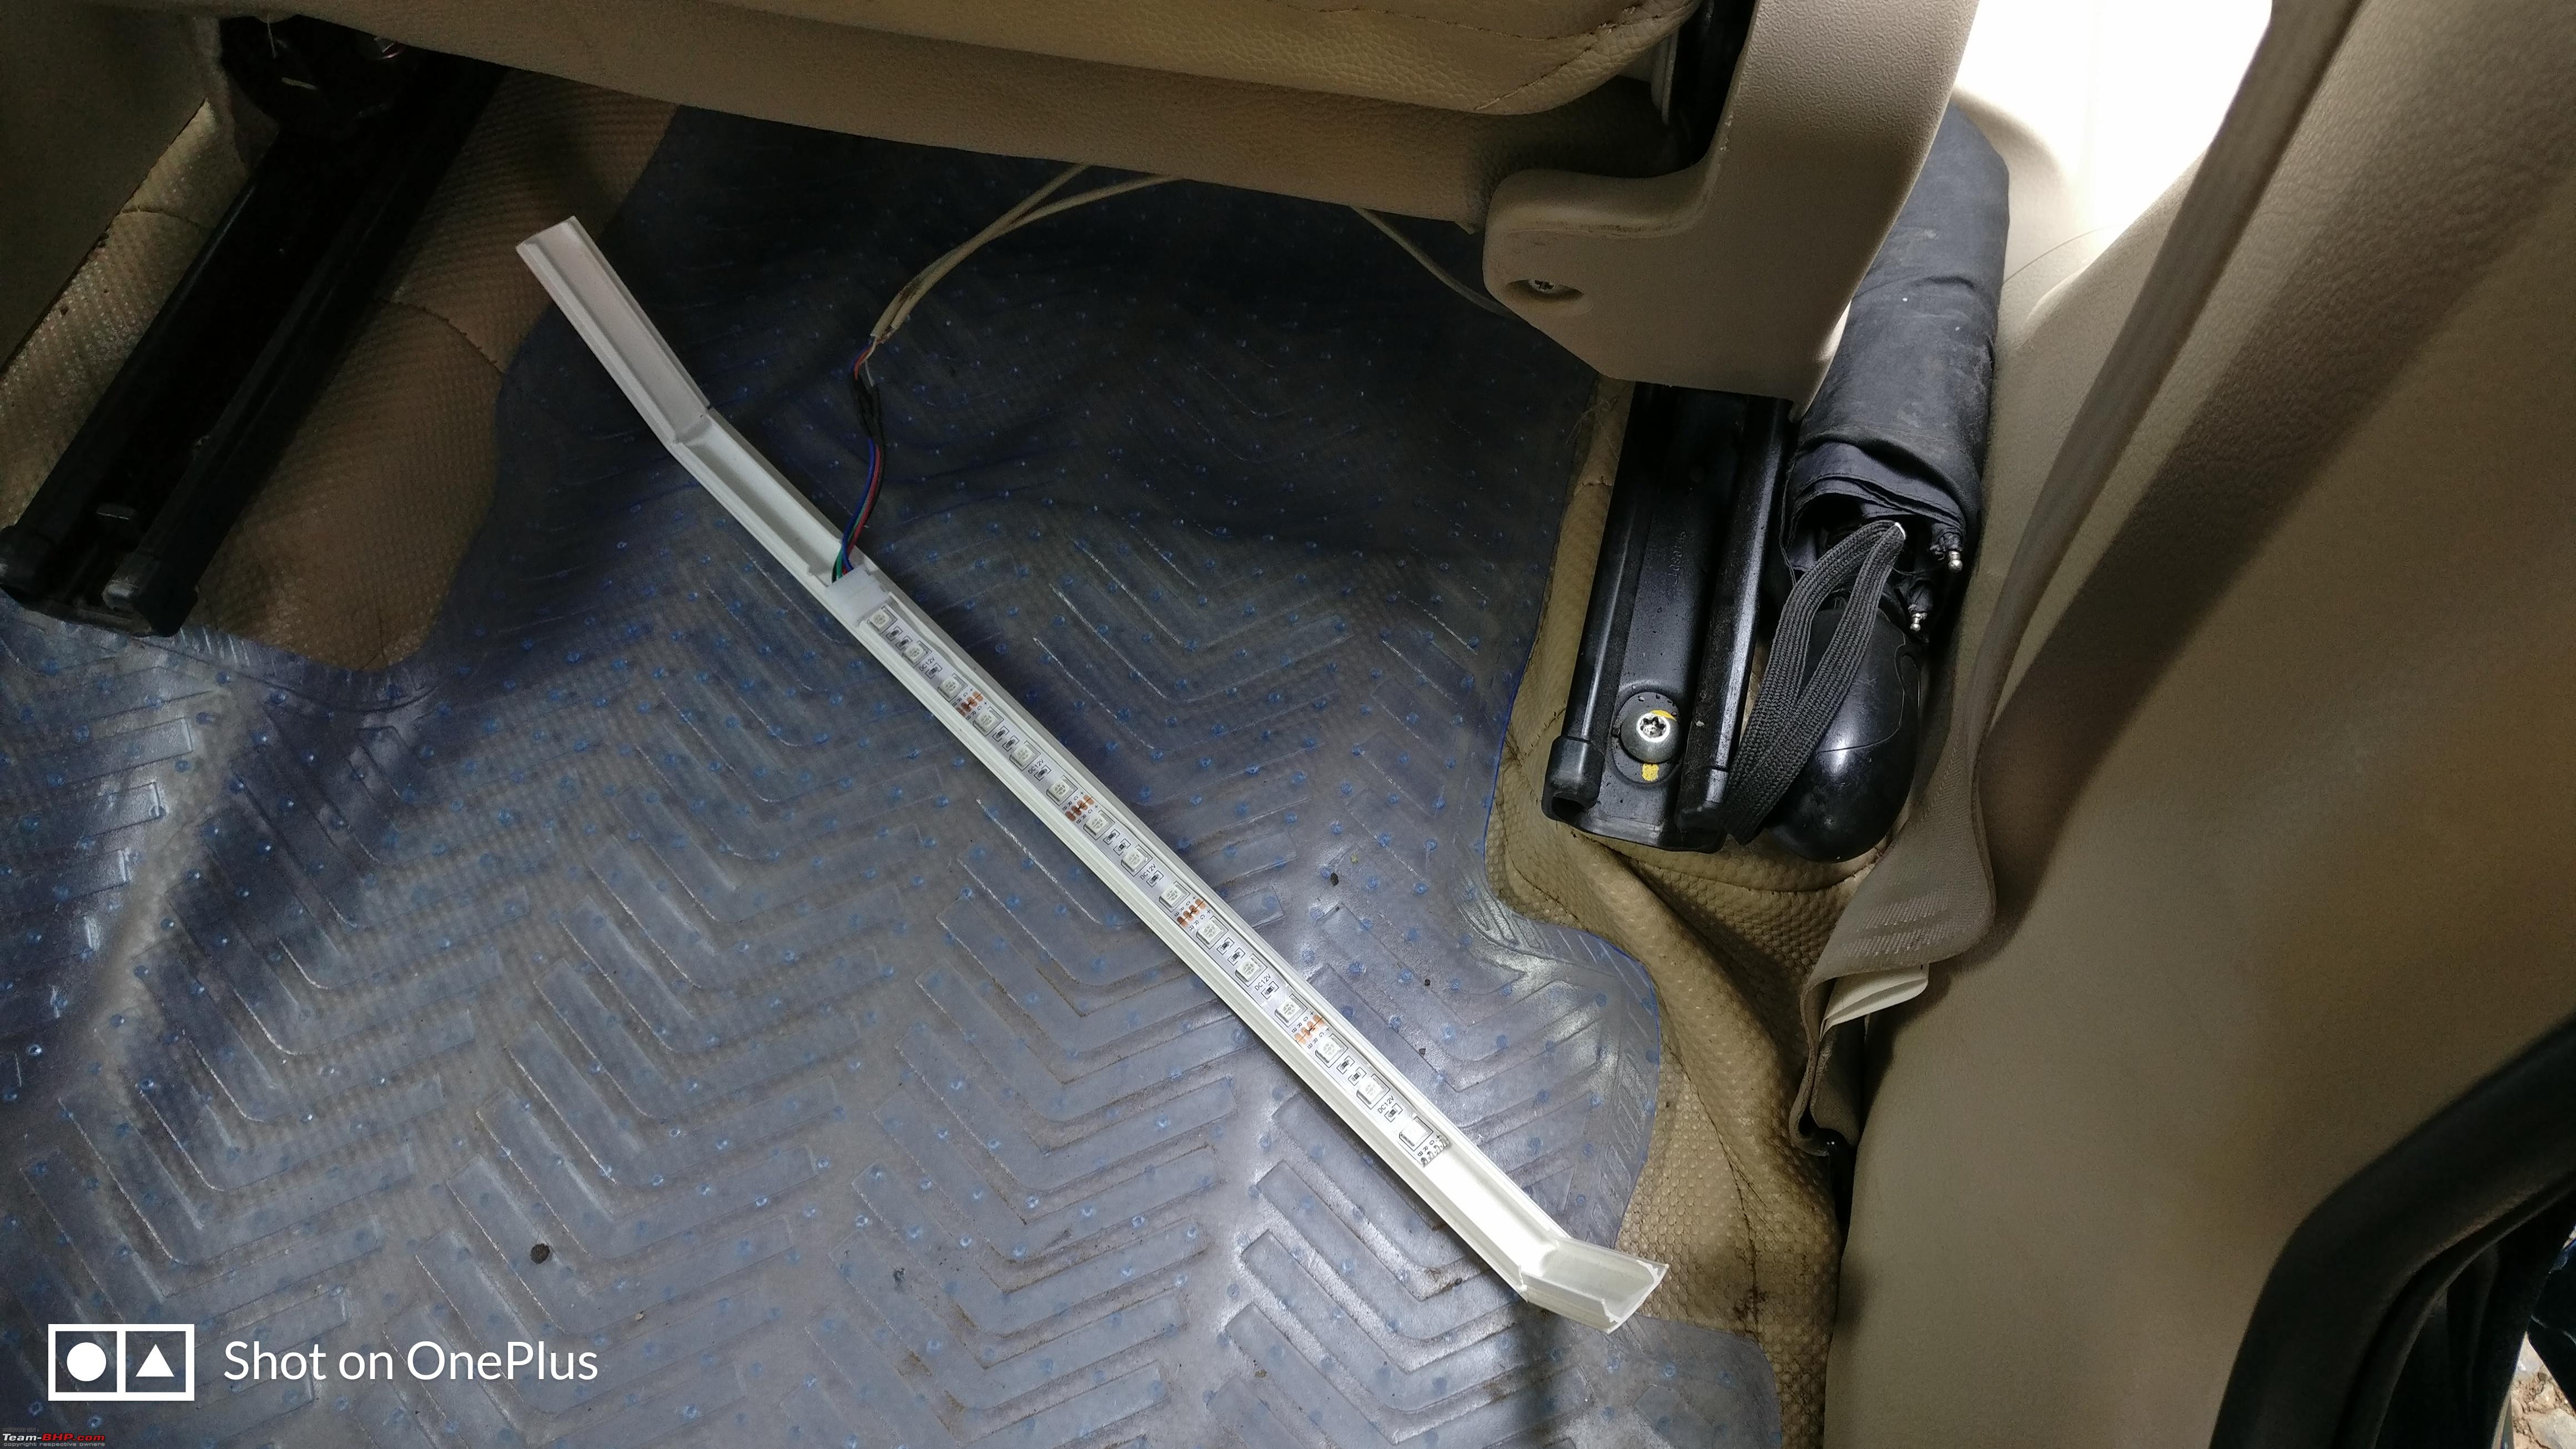
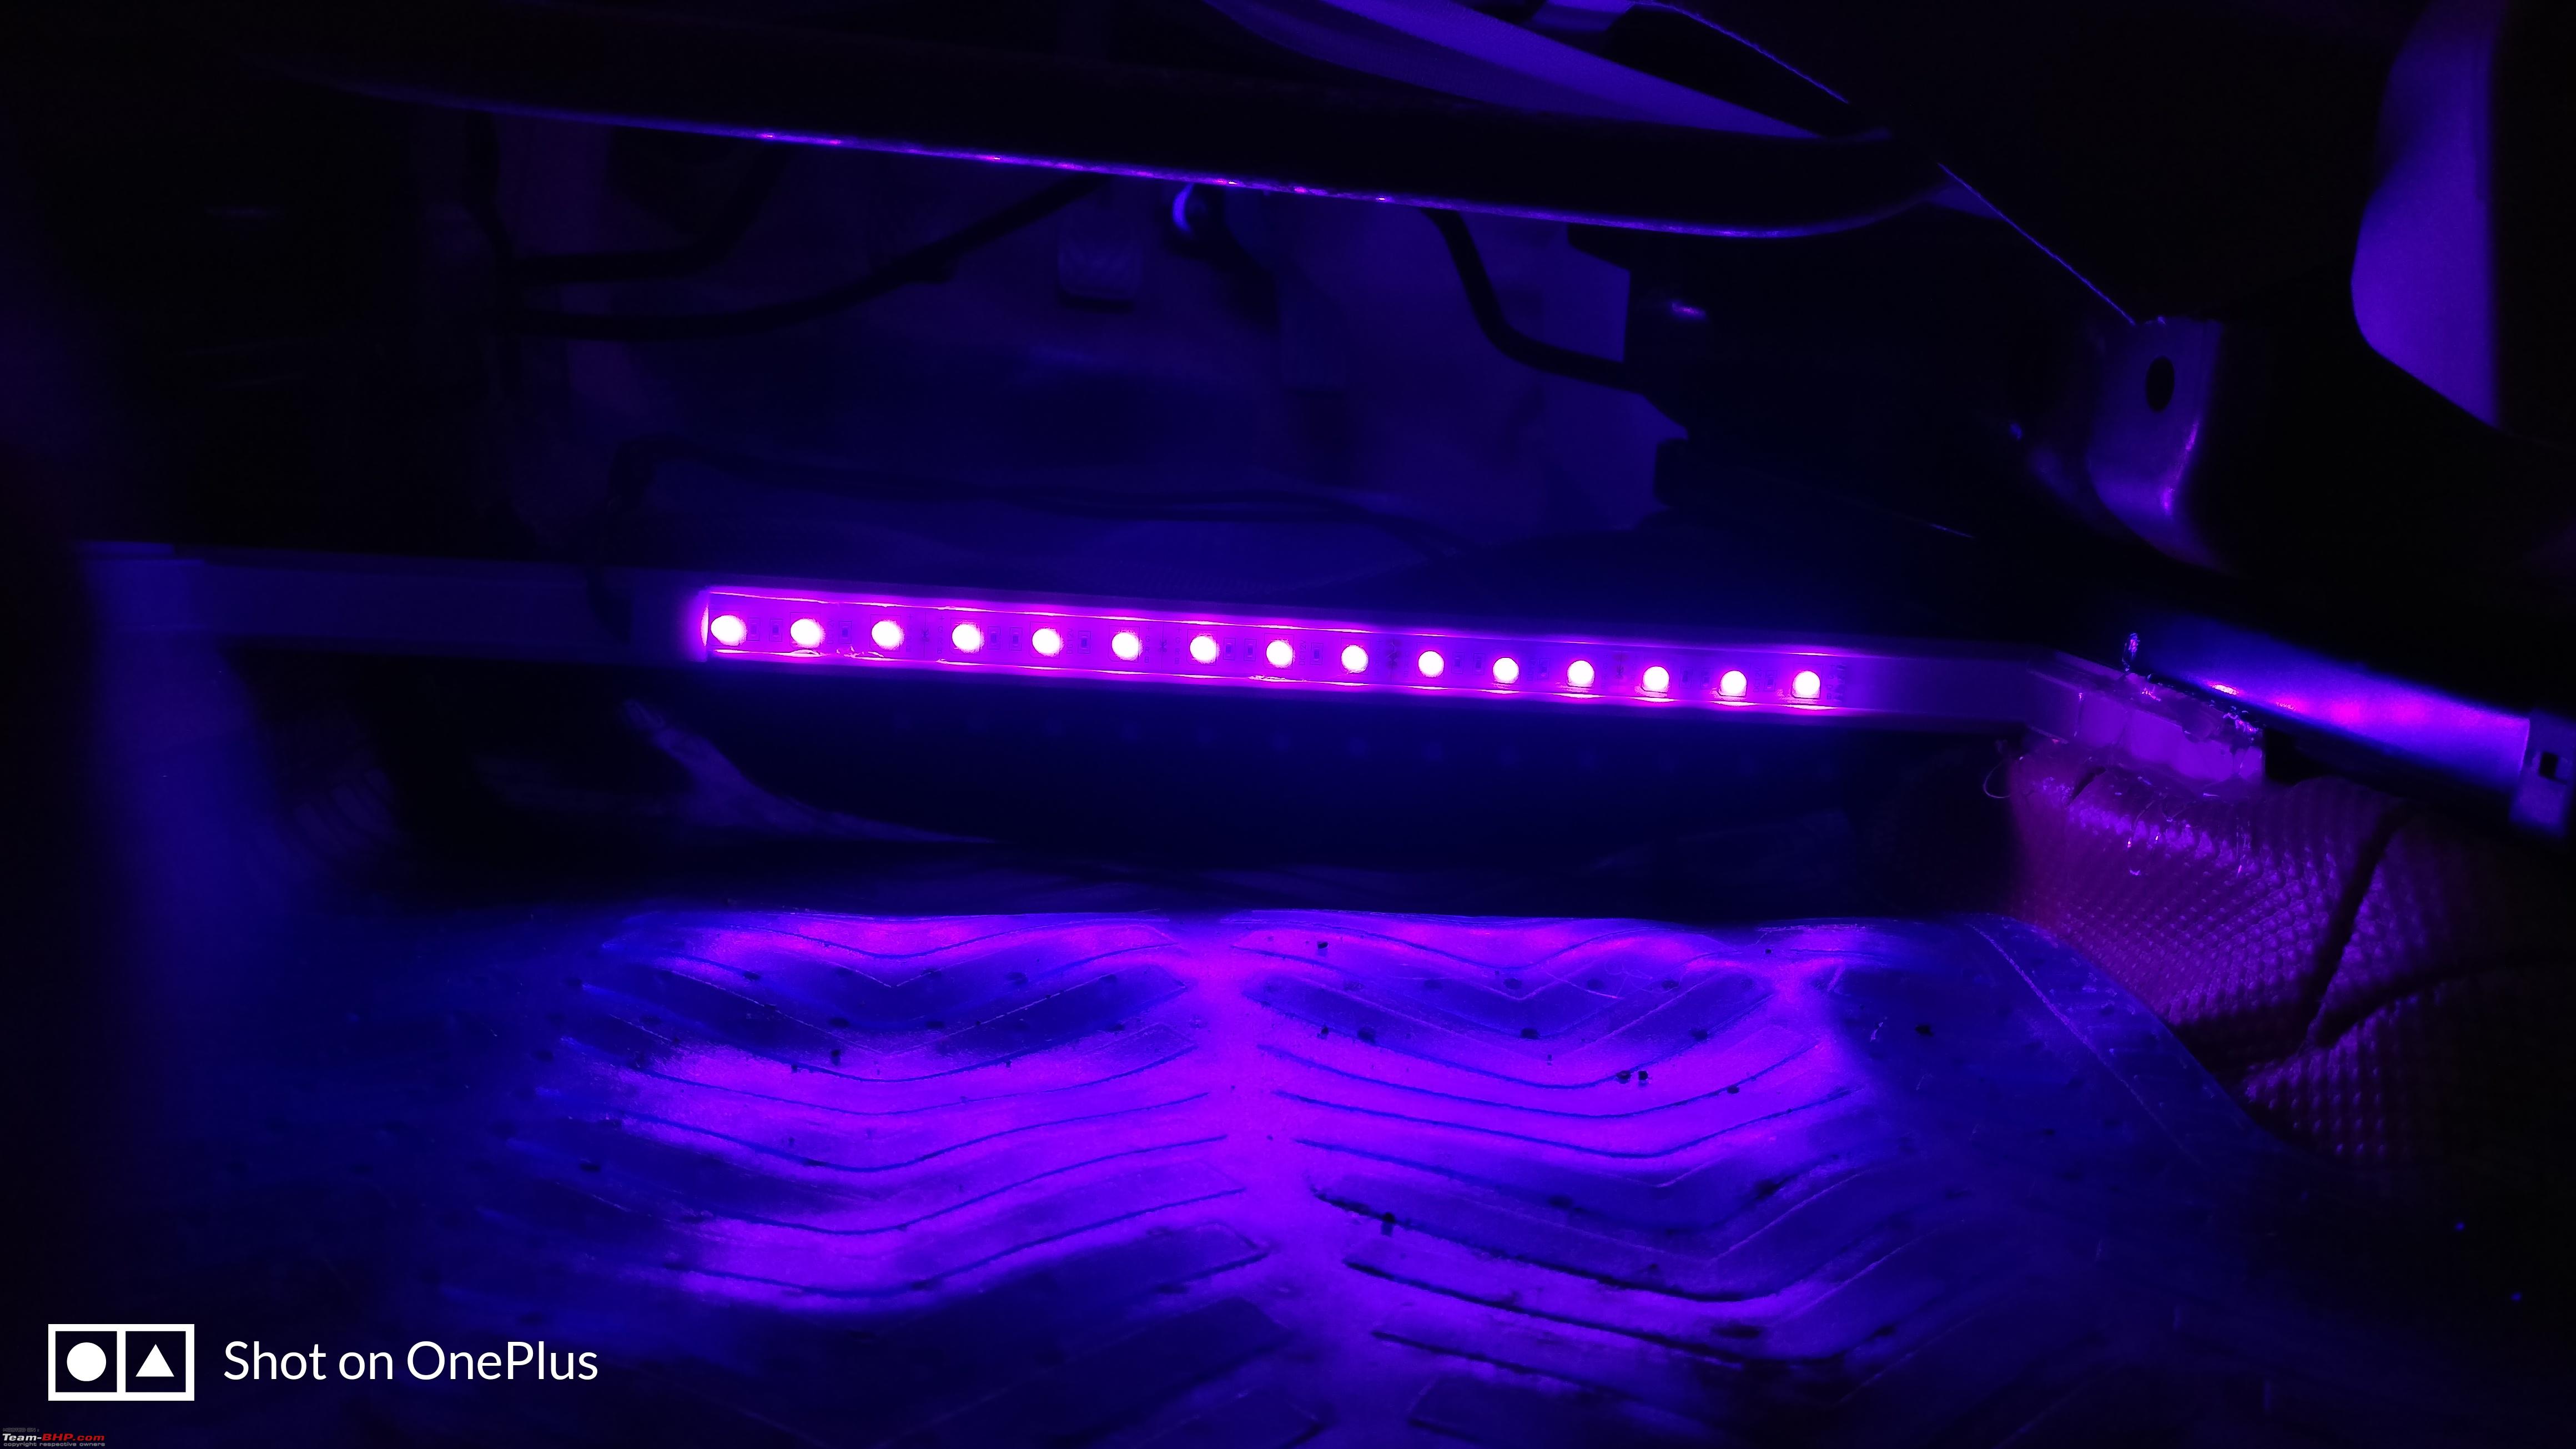
The RGB strip fixed on the casing capping: 
Follow the similar procedure on the passenger side front seat and also for the last row. I stuck the RGB strip directly using hot glue to the seat supports in the last row. I would recommend to use a casing capping, as it makes work easier. Once fixed on the casing, use the battery and check it again for any loose connections and make changes accordingly.
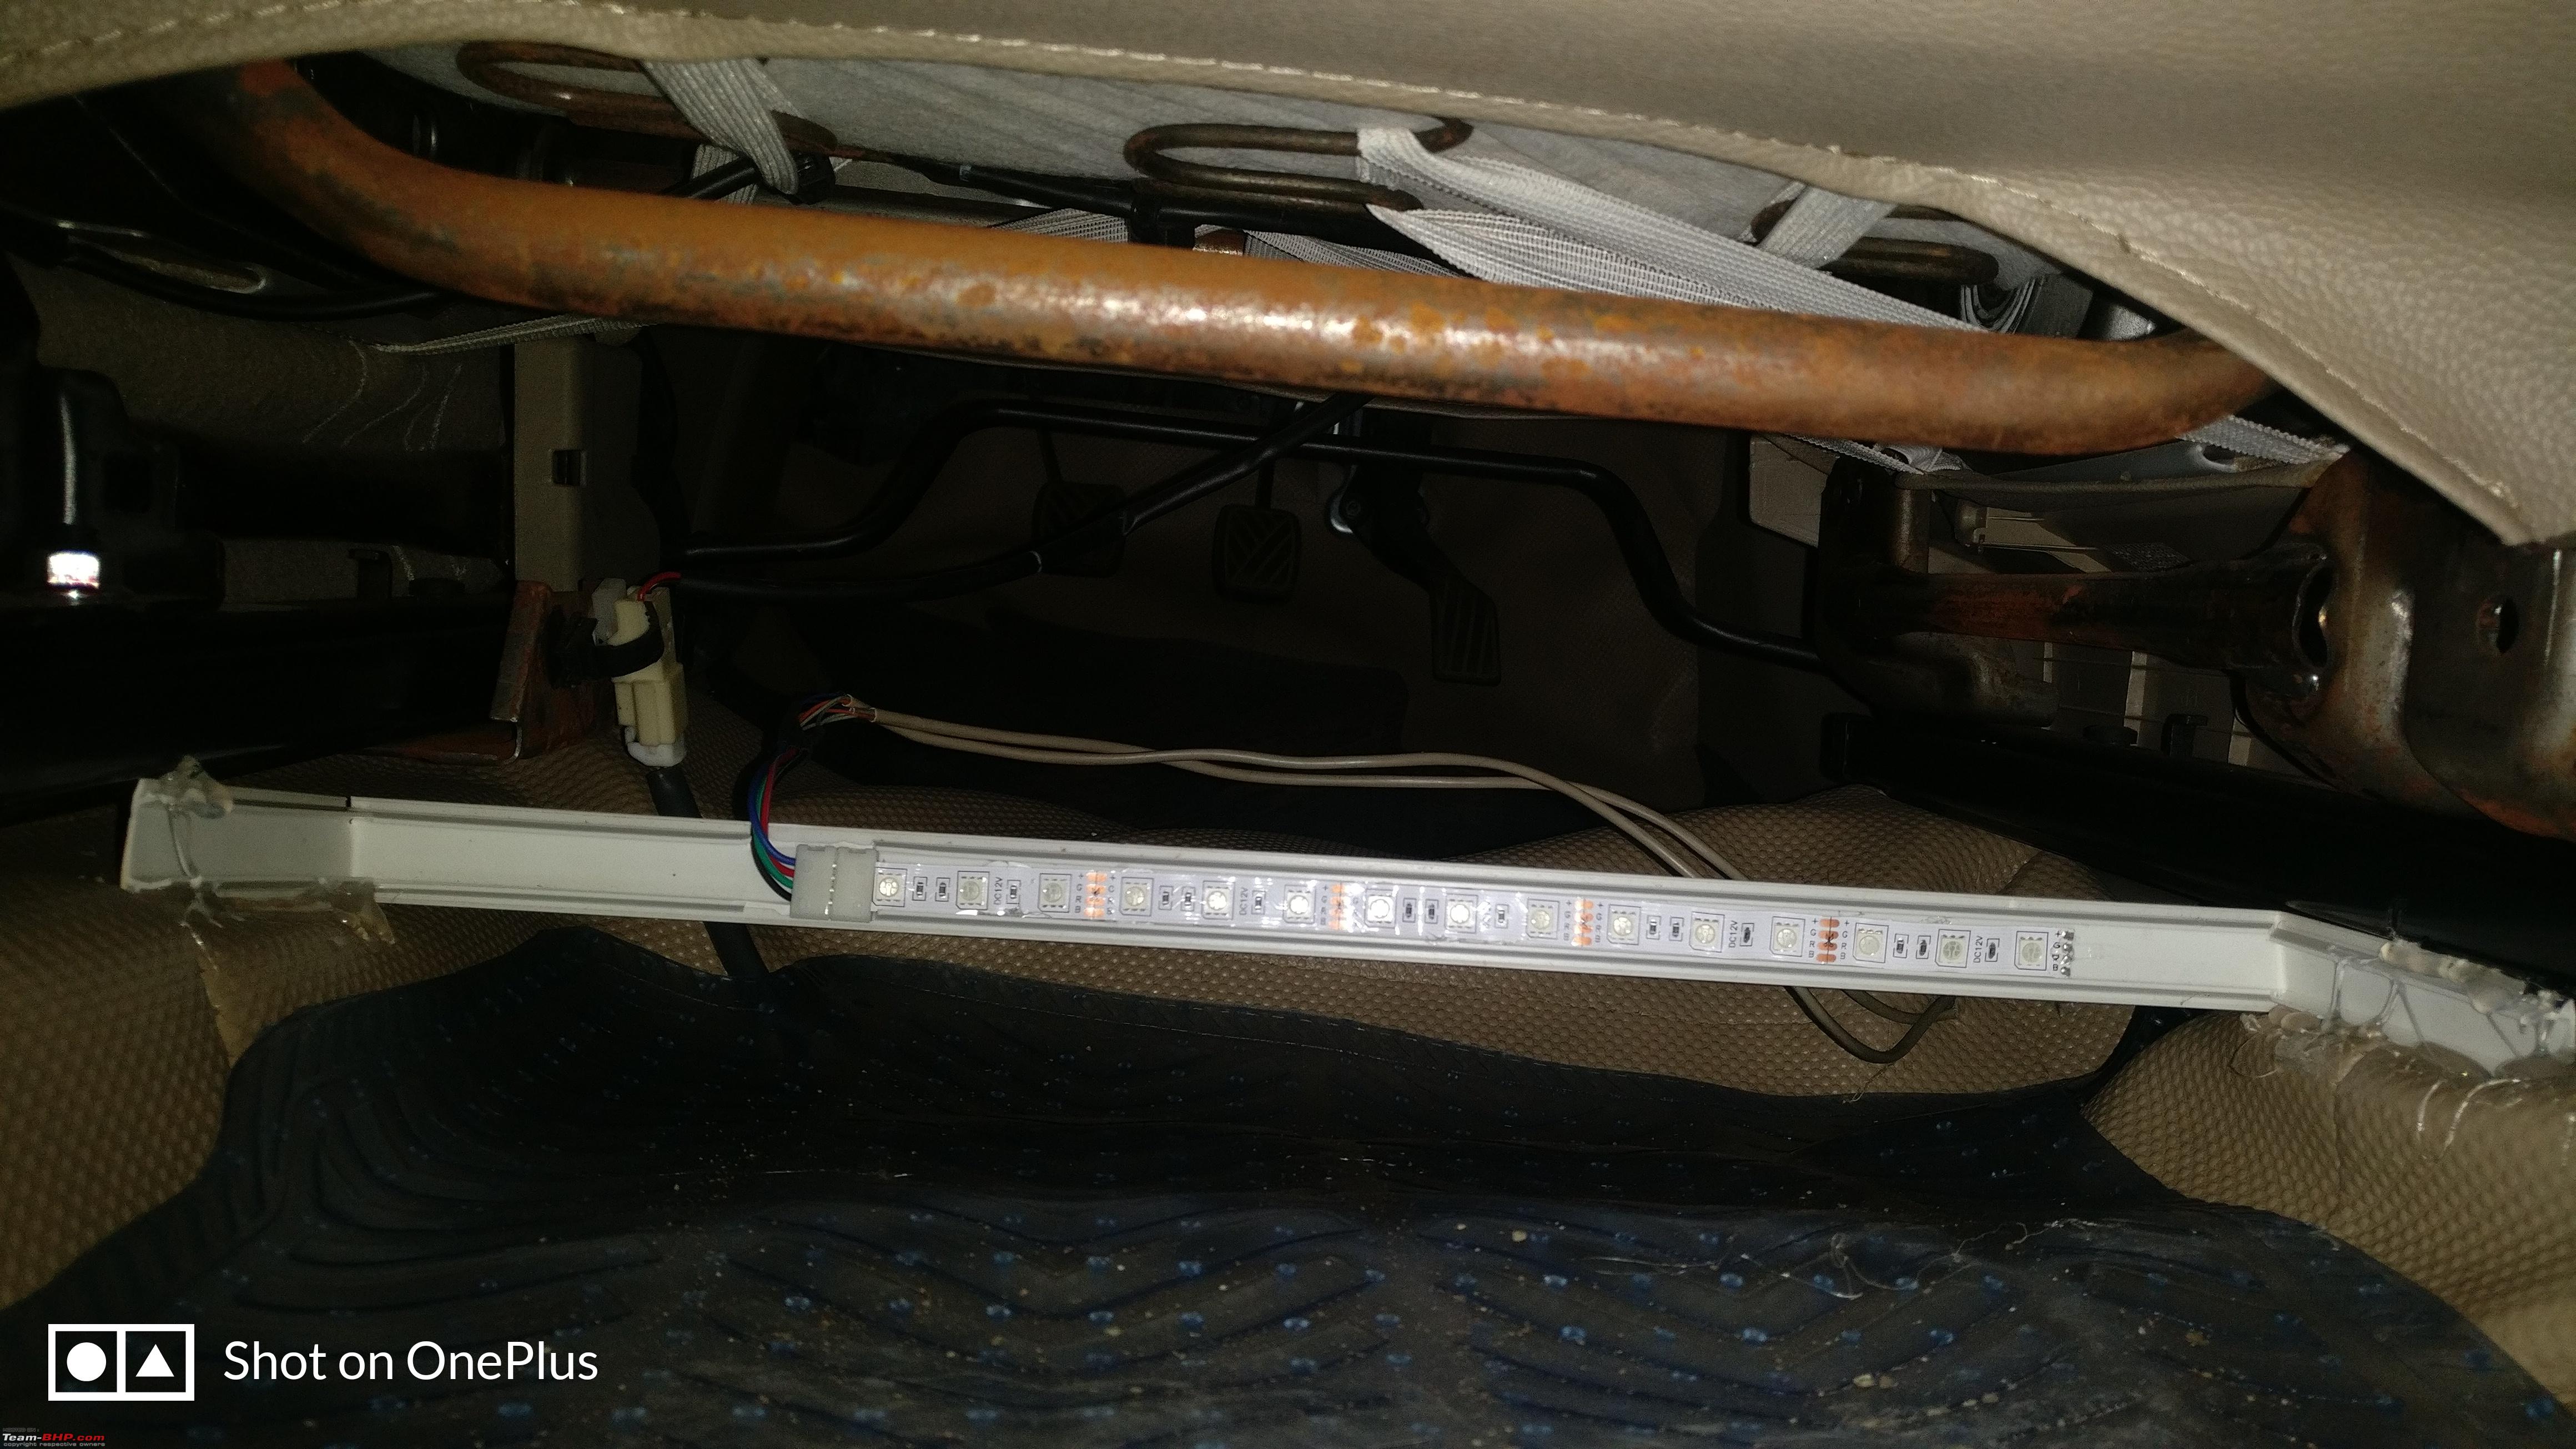
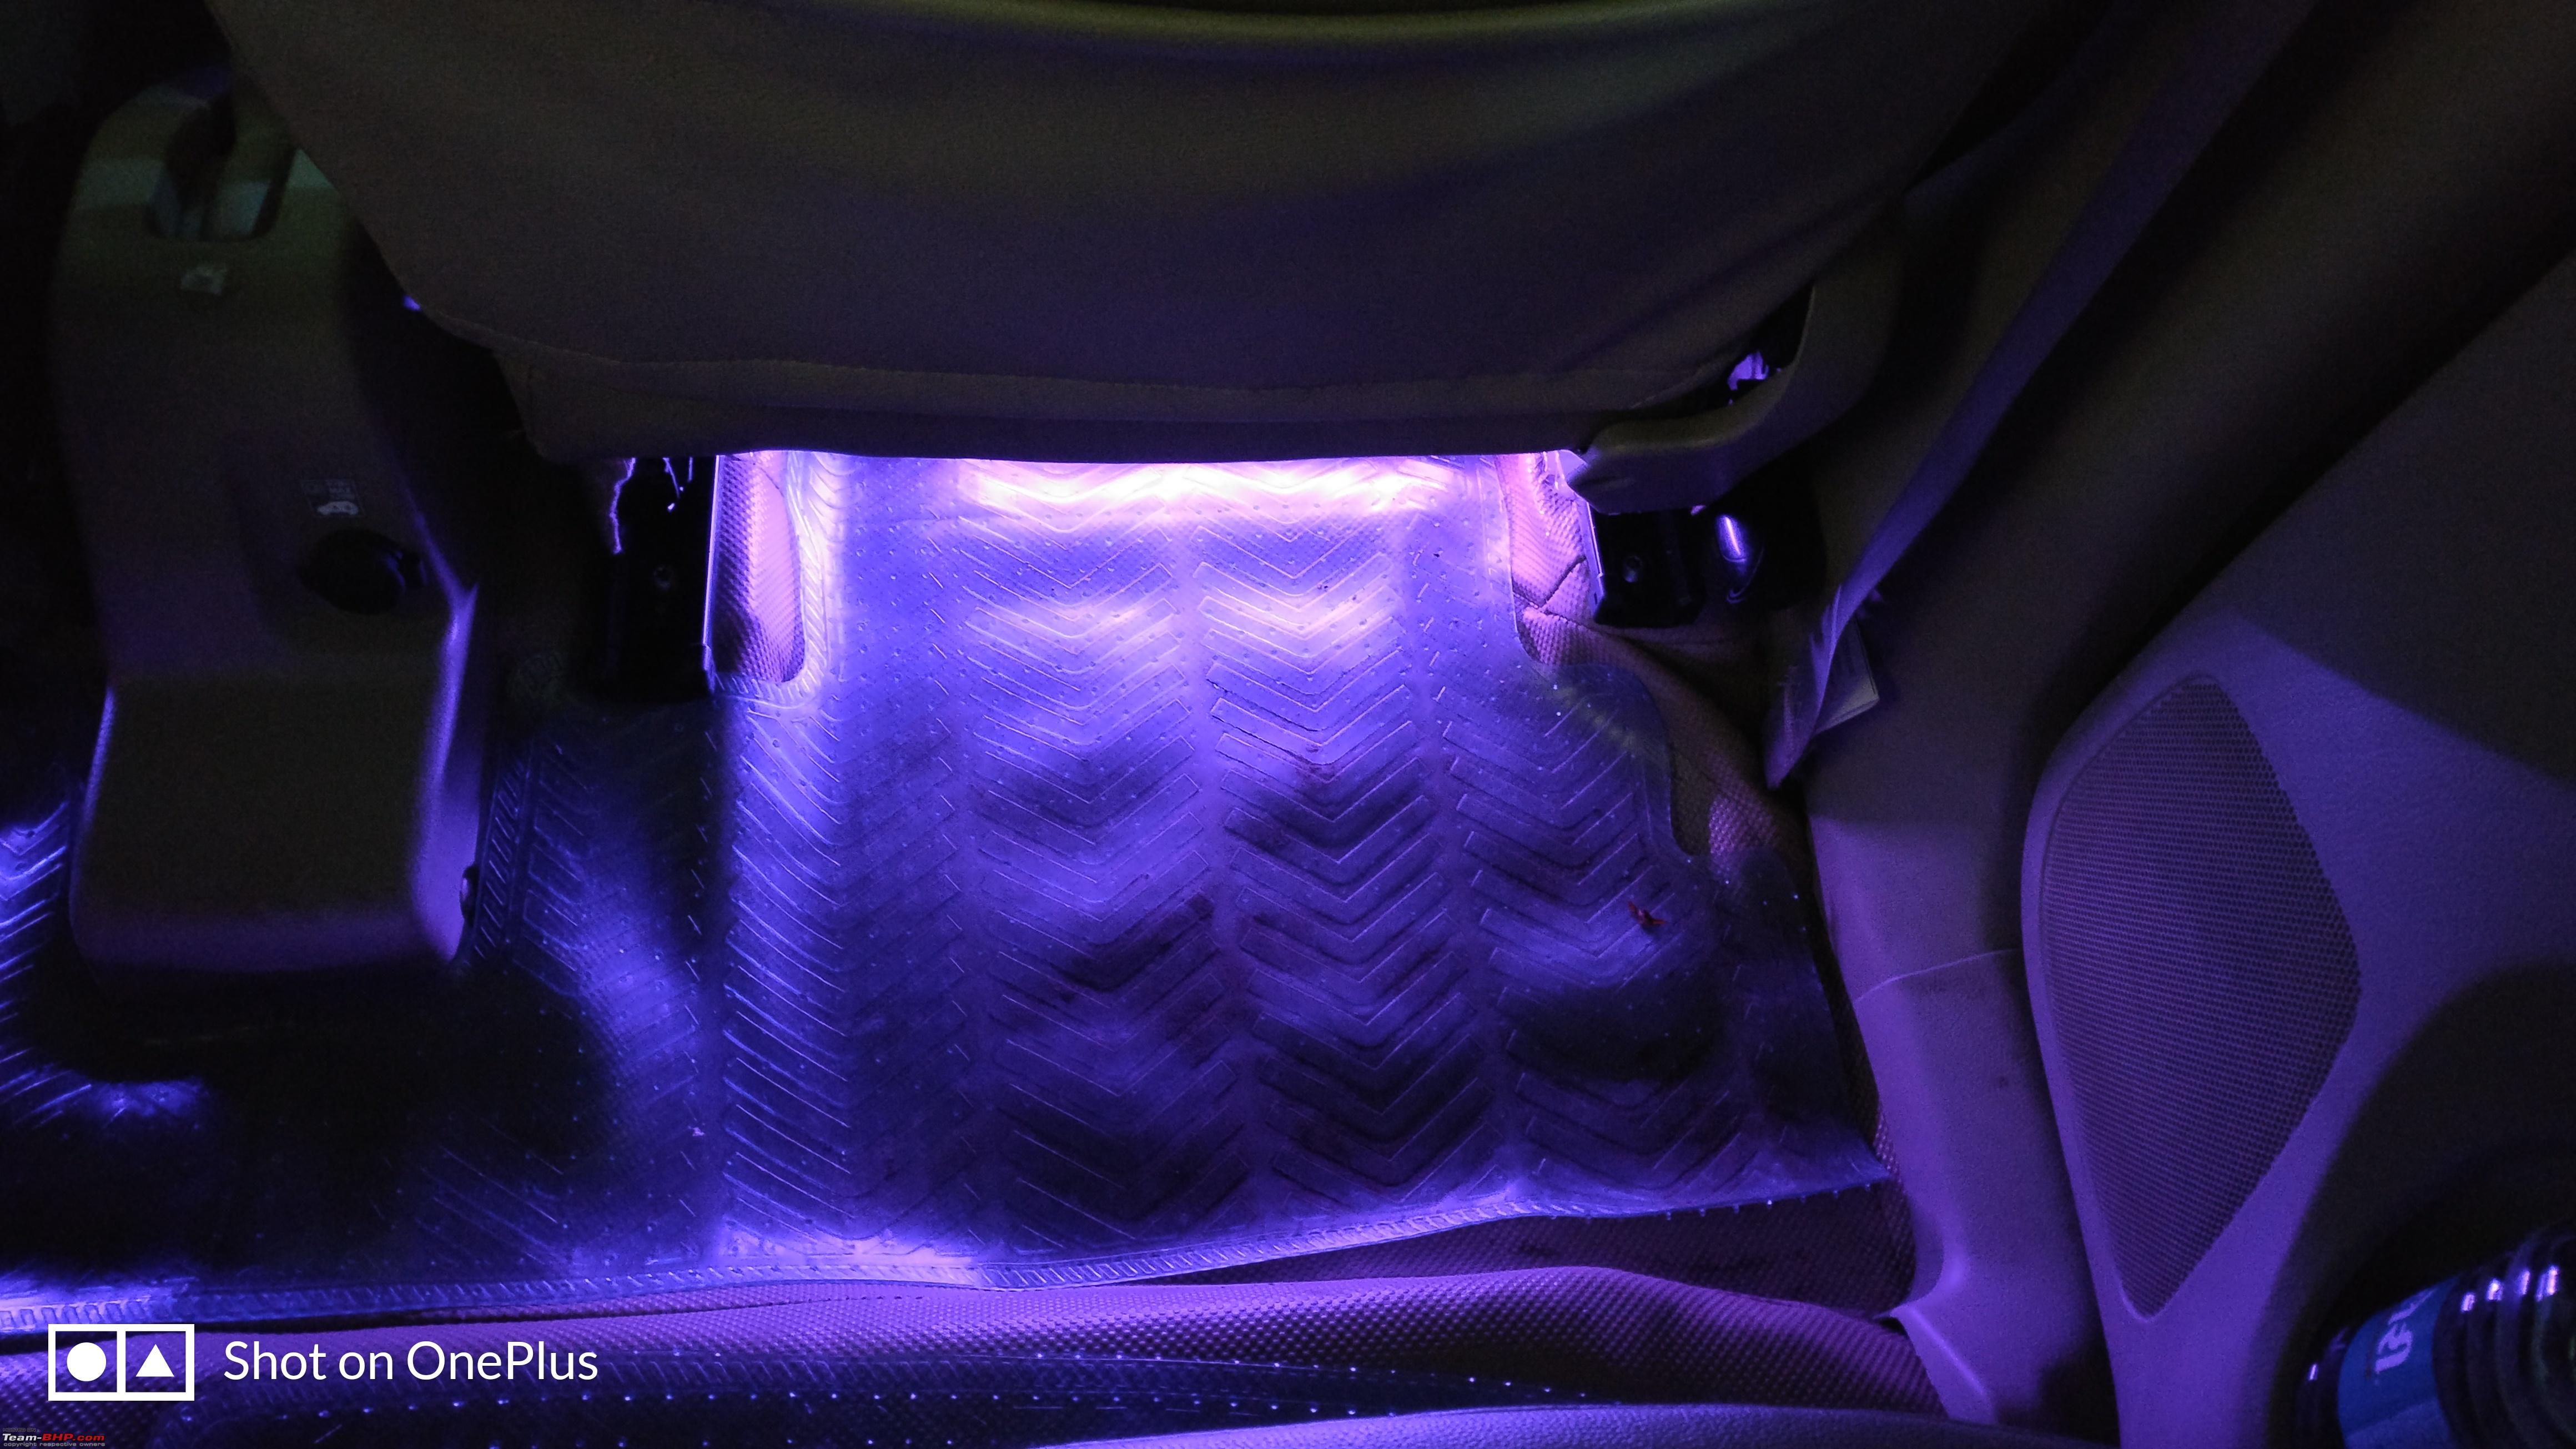
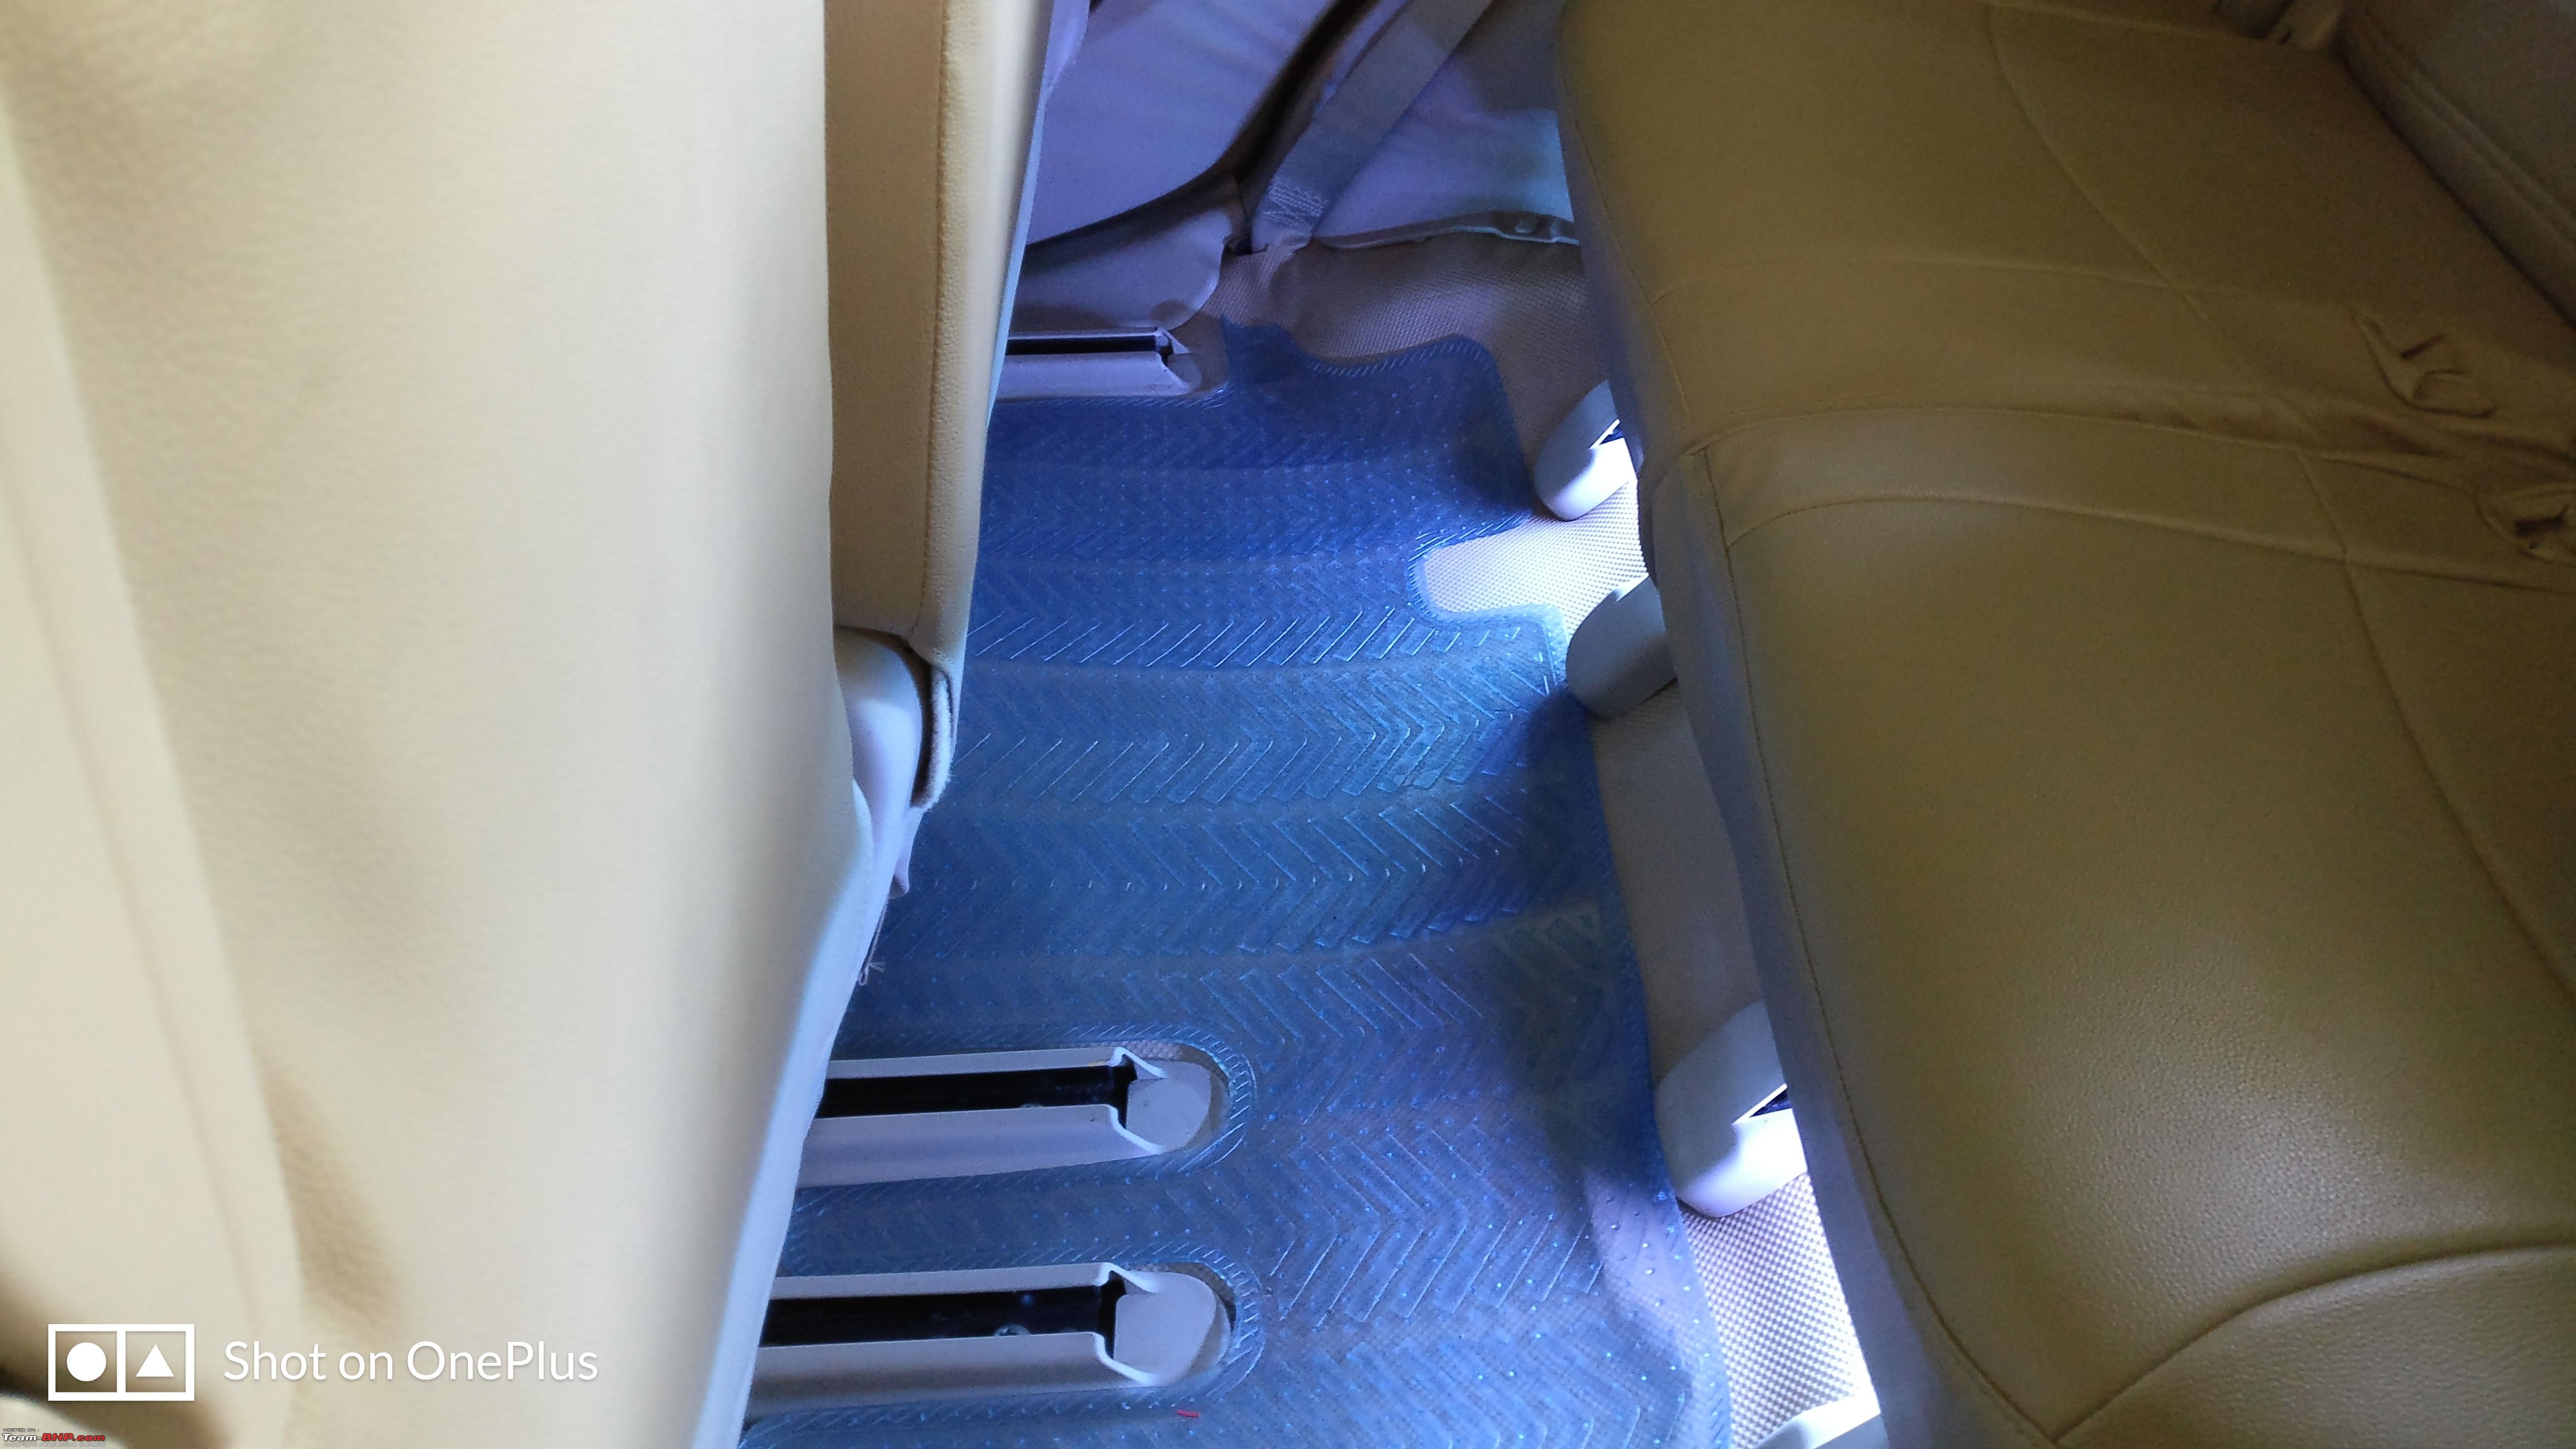
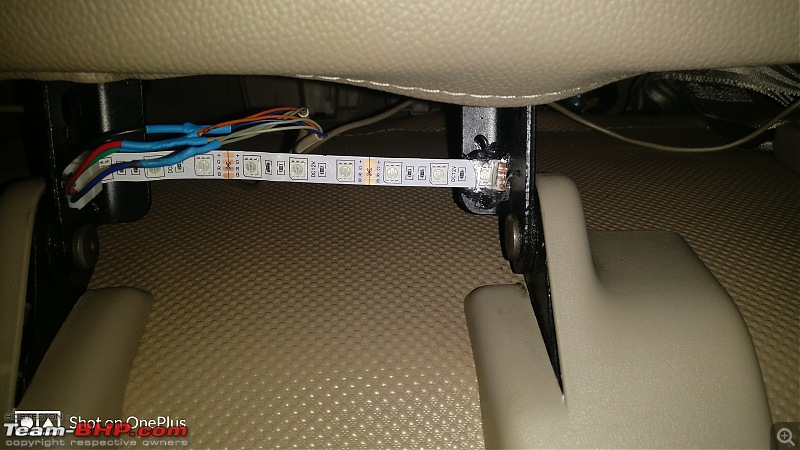
A picture showing the RGB strip in the last row: 
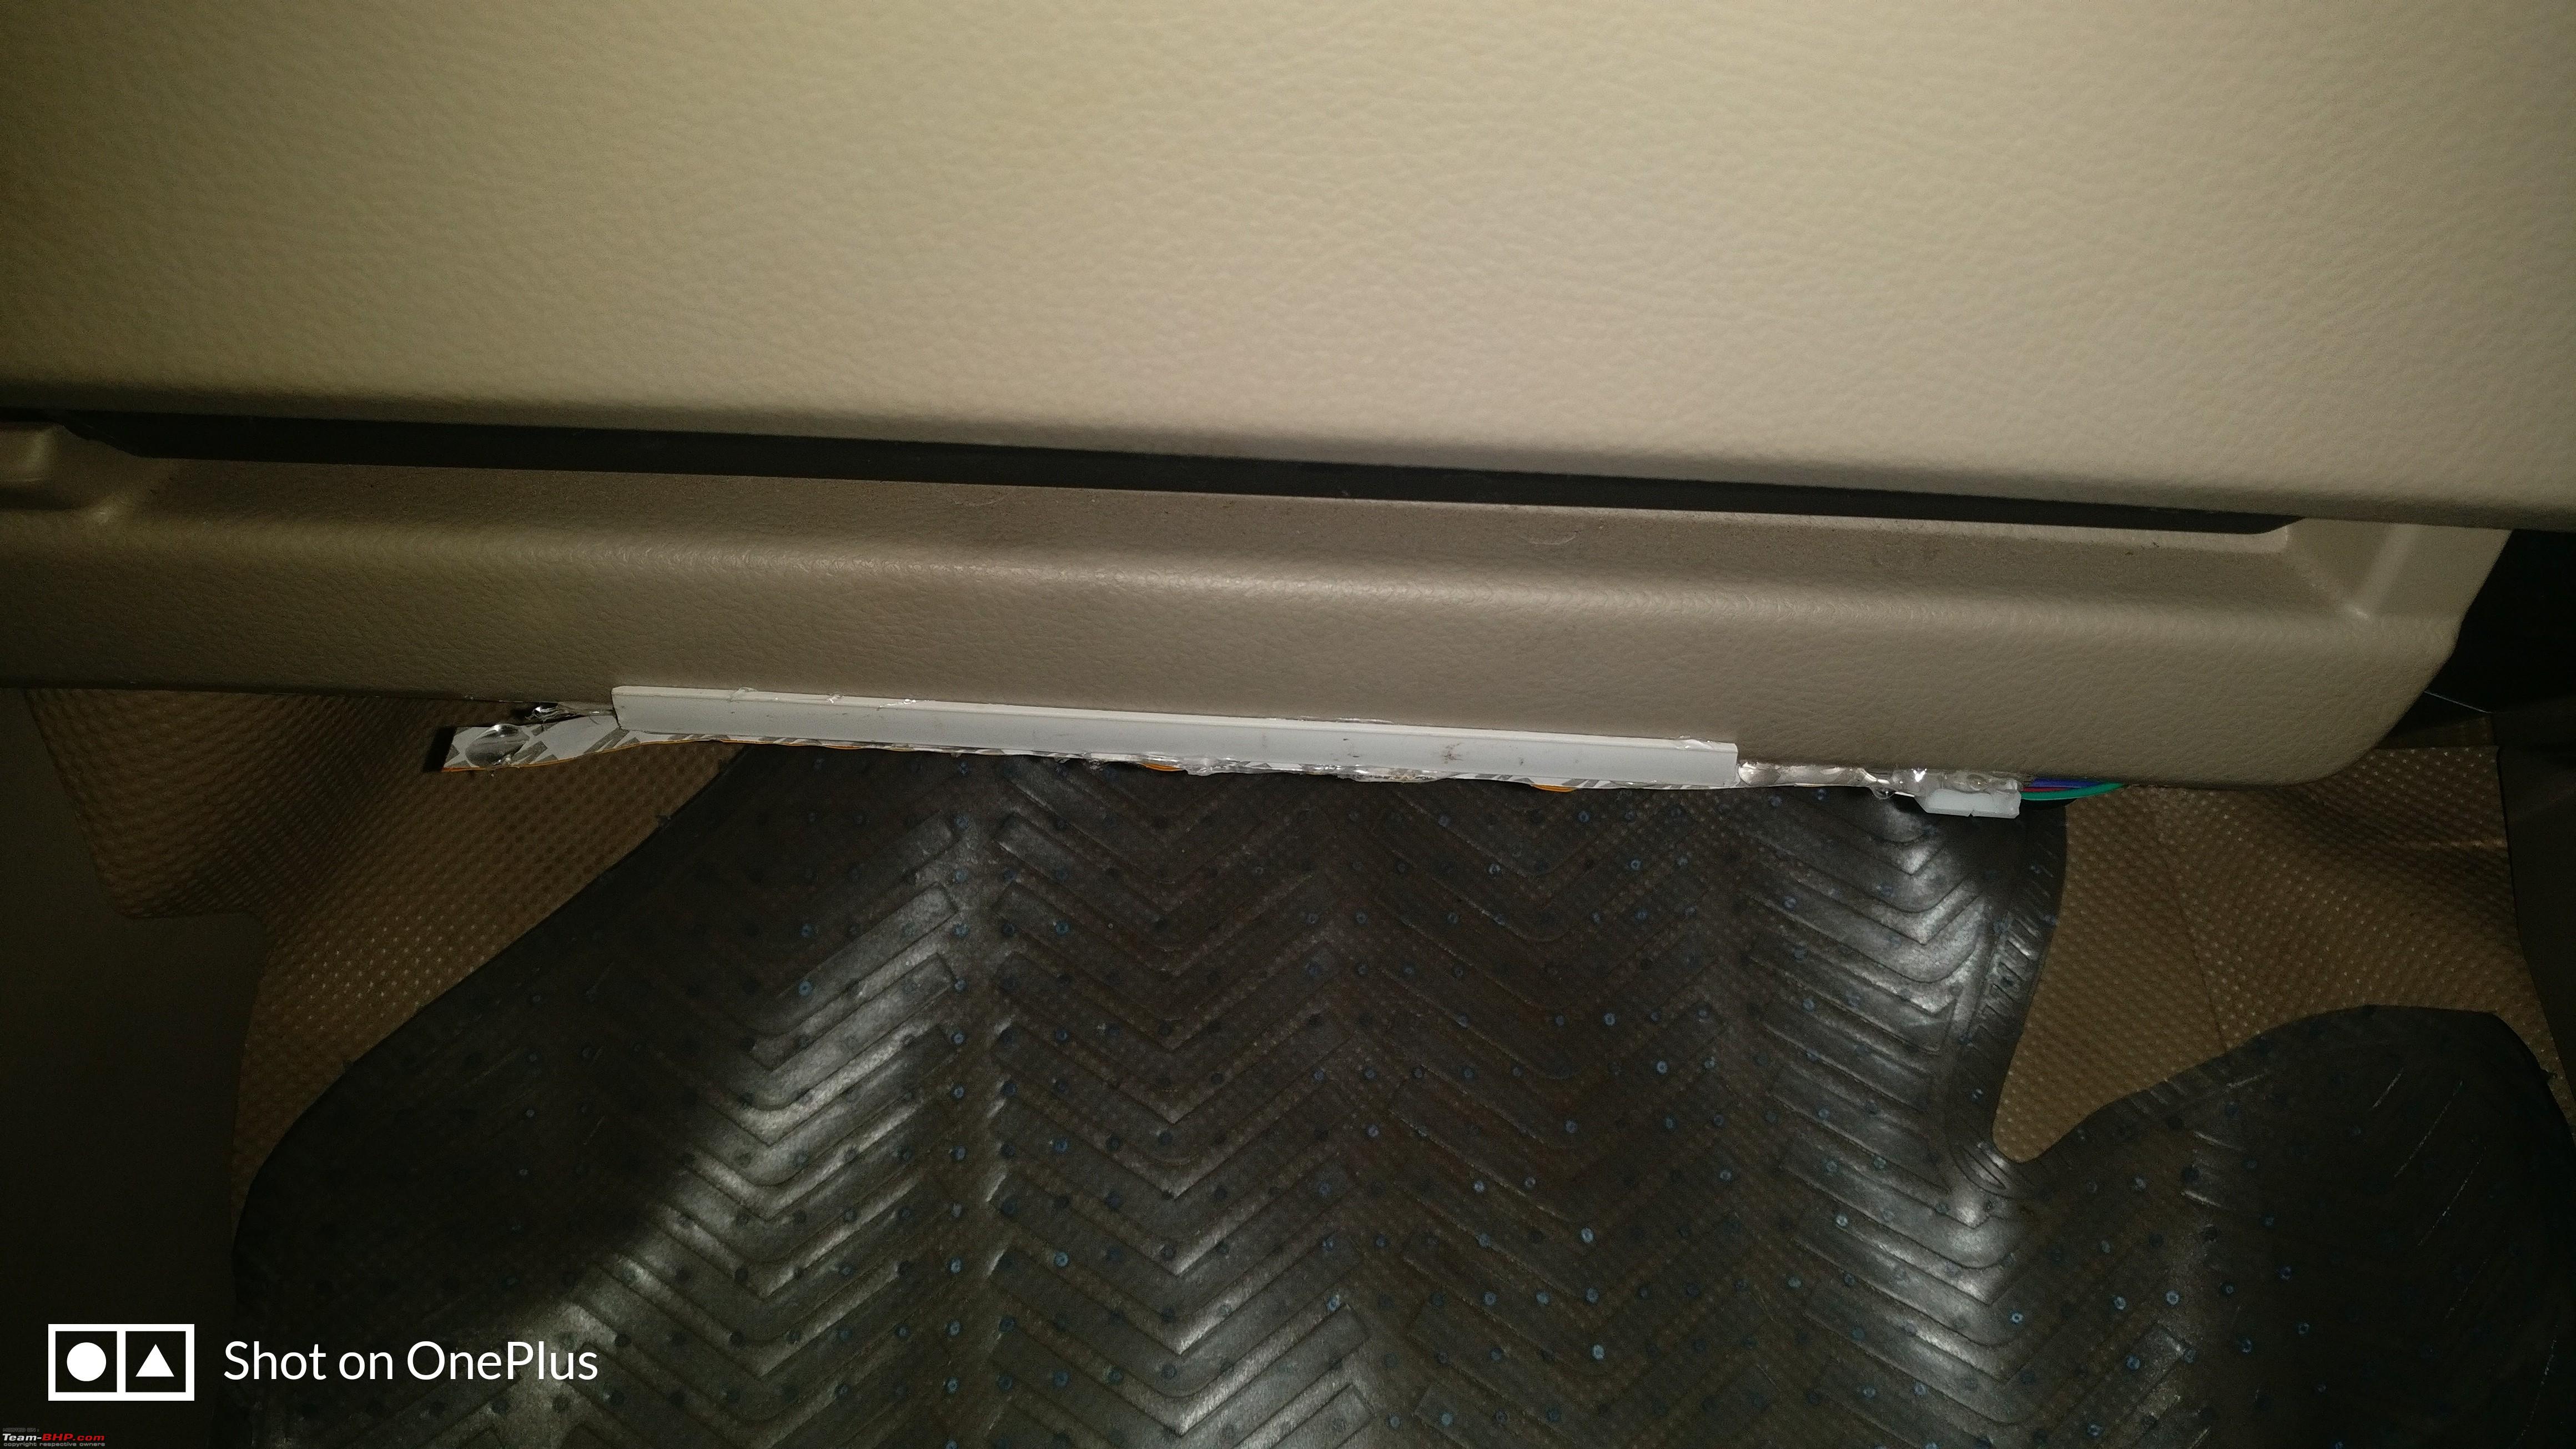
The first row passenger foot well does not have any flat surface to mount the strip, so stick the casing portion face down using glue gun and later stick the strip over it.
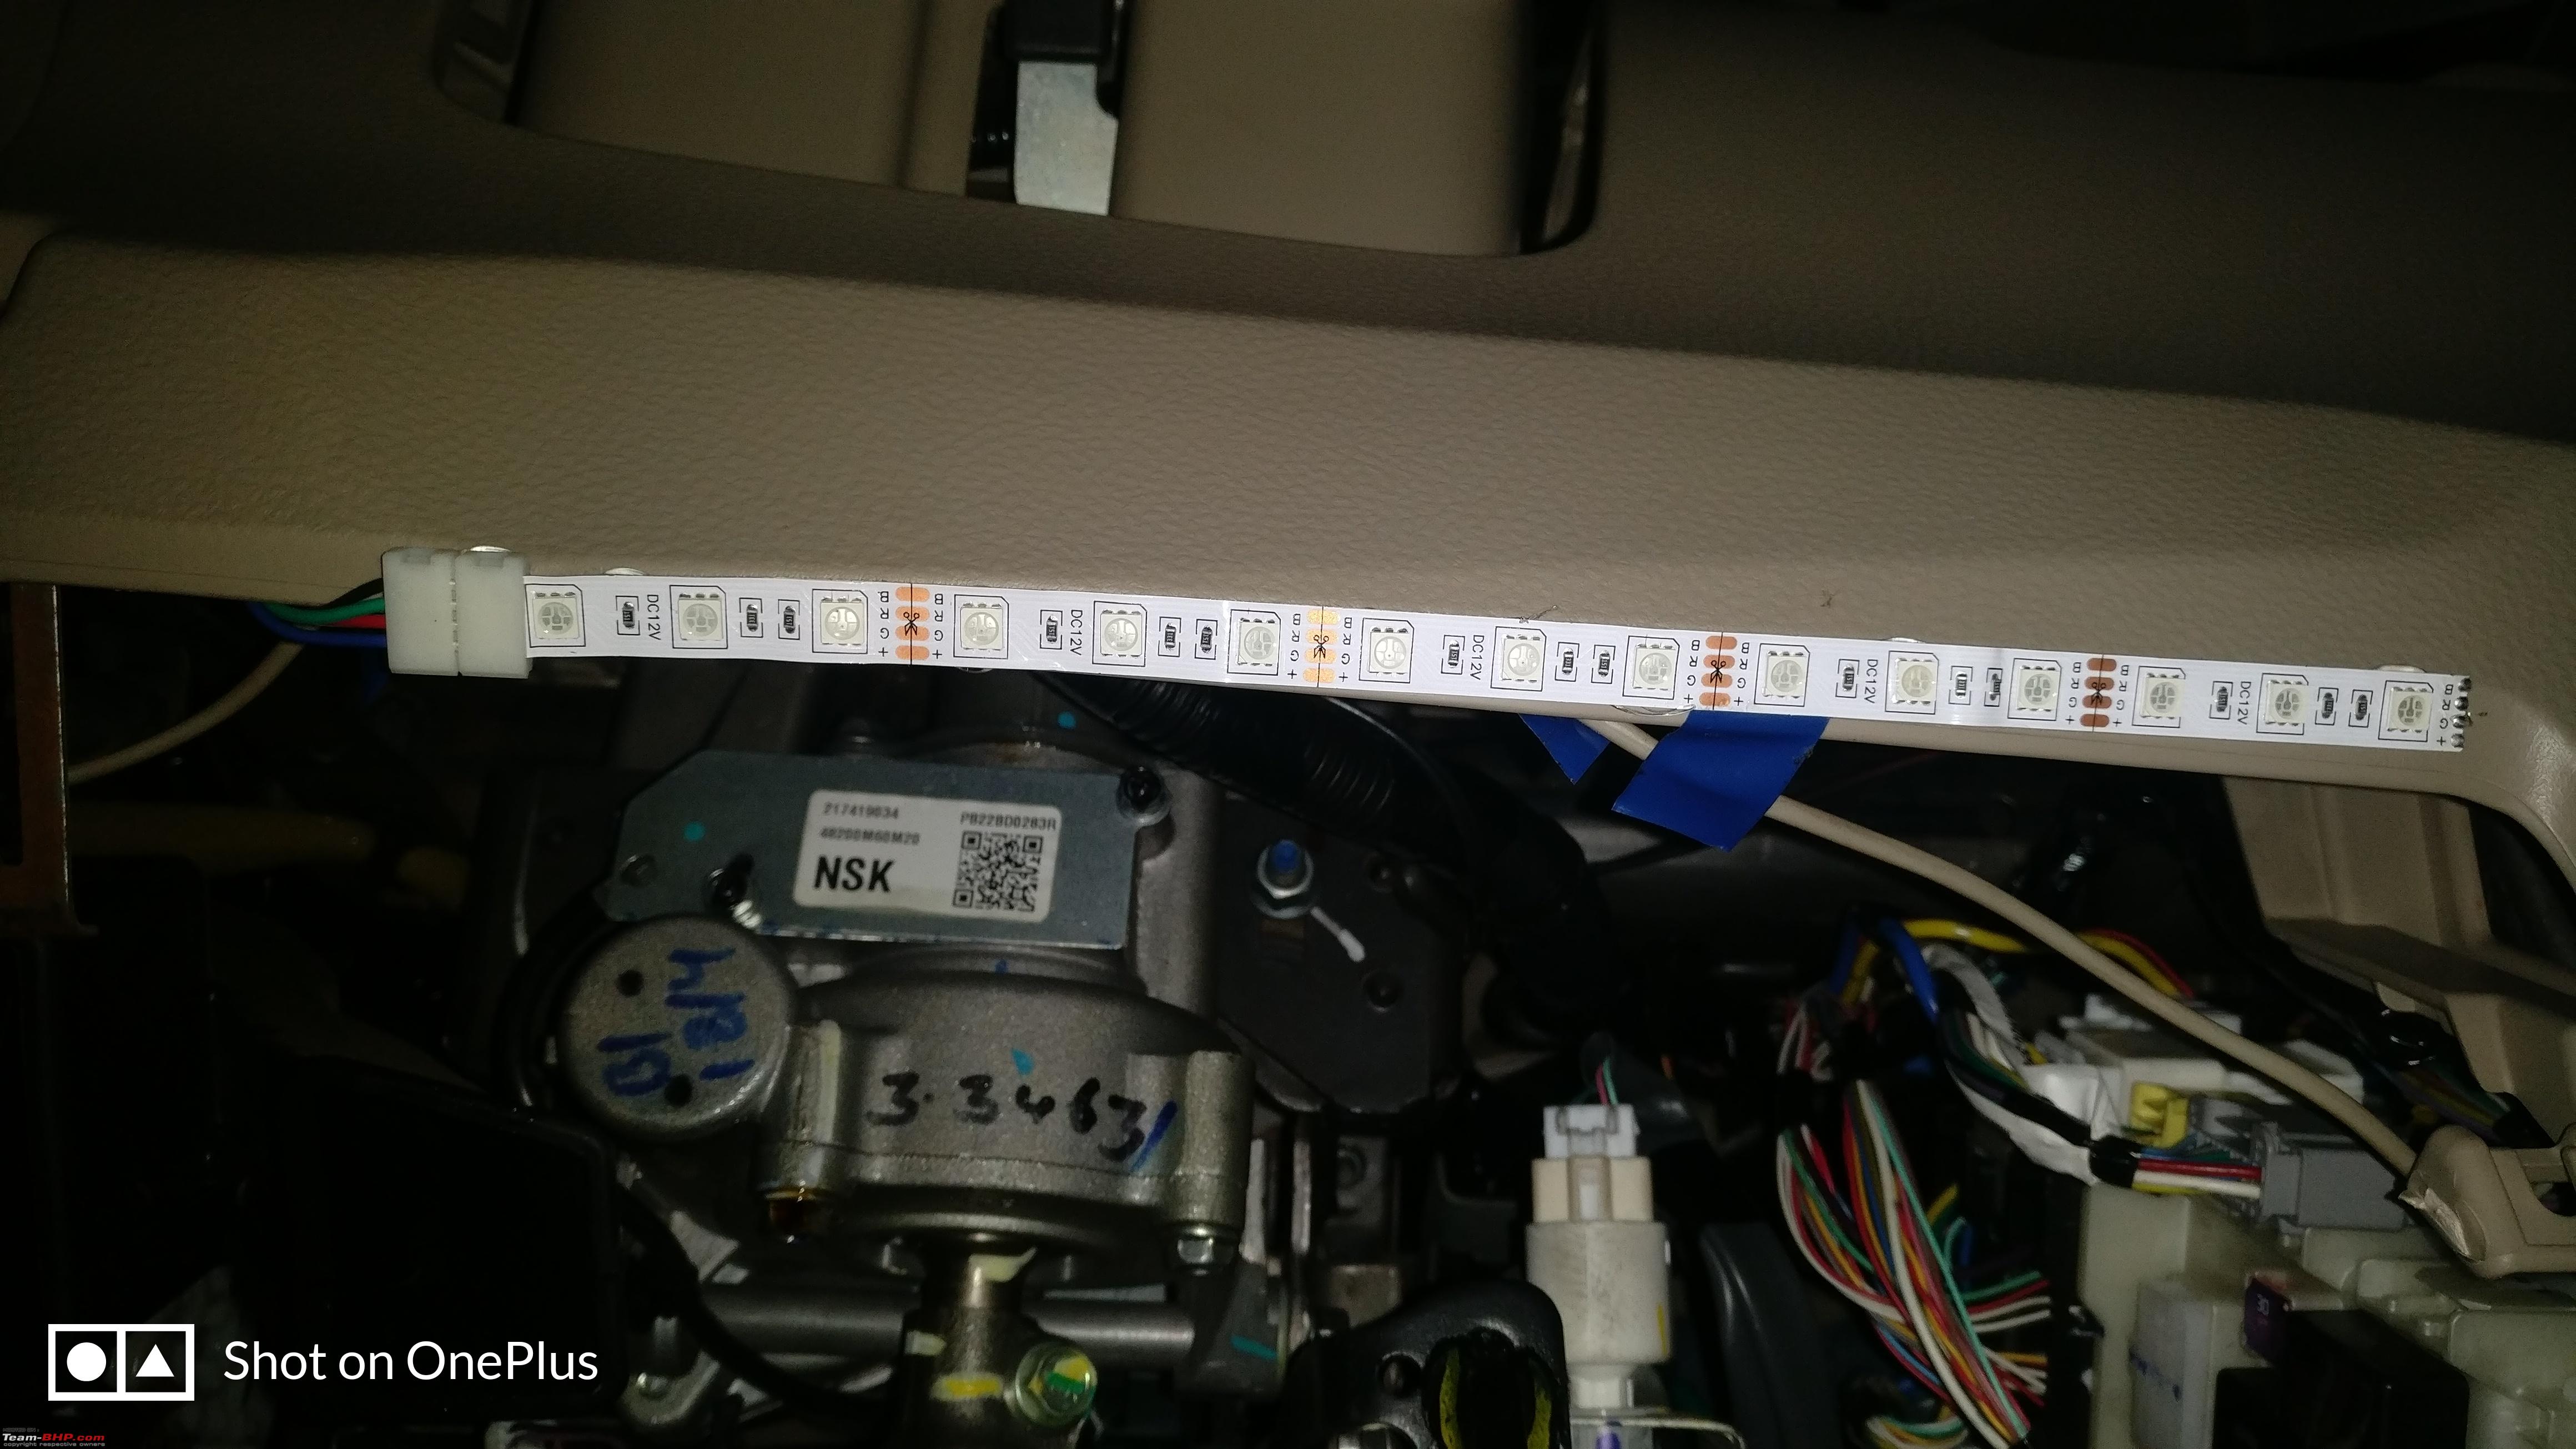
A picture of the mounting under the glove box: 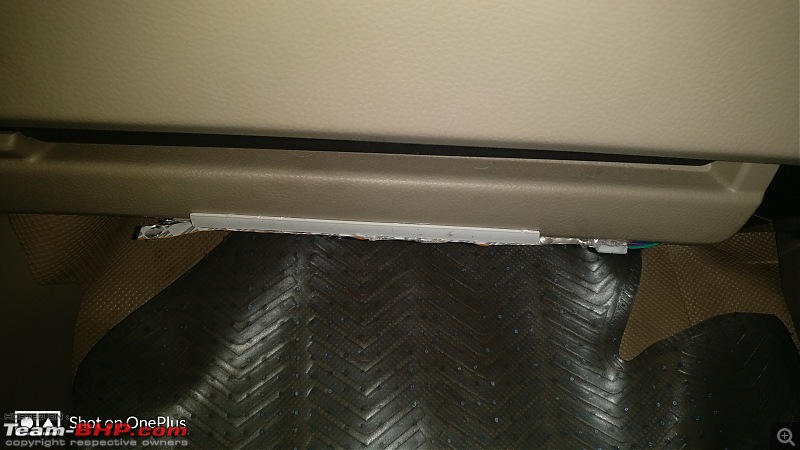

I did the connections before mounting, as that would reduce the difficulty and make things a bit easier. I posted the mounting step before connections, so as to make things clear on fixing the strip to the casing capping.
III) Connections:
The four core wire I used for this DIY has four single strand cores. There are four different colors in the wire, to avoid any confusion during connections.
The connections to the RGB strip need to be done very carefully, as one wrong connection can short the entire strip. Check the connections two times before starting the lights.
Now before starting to do the connection, note down the wire color that represents the marking on the strip to the color of the wire on the connector. Also decide a color for each of the connections on the four core wire as well. The wire I used has orange, blue, grey and white colored wires.
The connections were done accordingly:
RGB strip marking>Connector wire color>Four core wire color.
(+)>Blue>Blue
(G)>Red>Orange
(R)>Green>Grey
(B)>Black>White
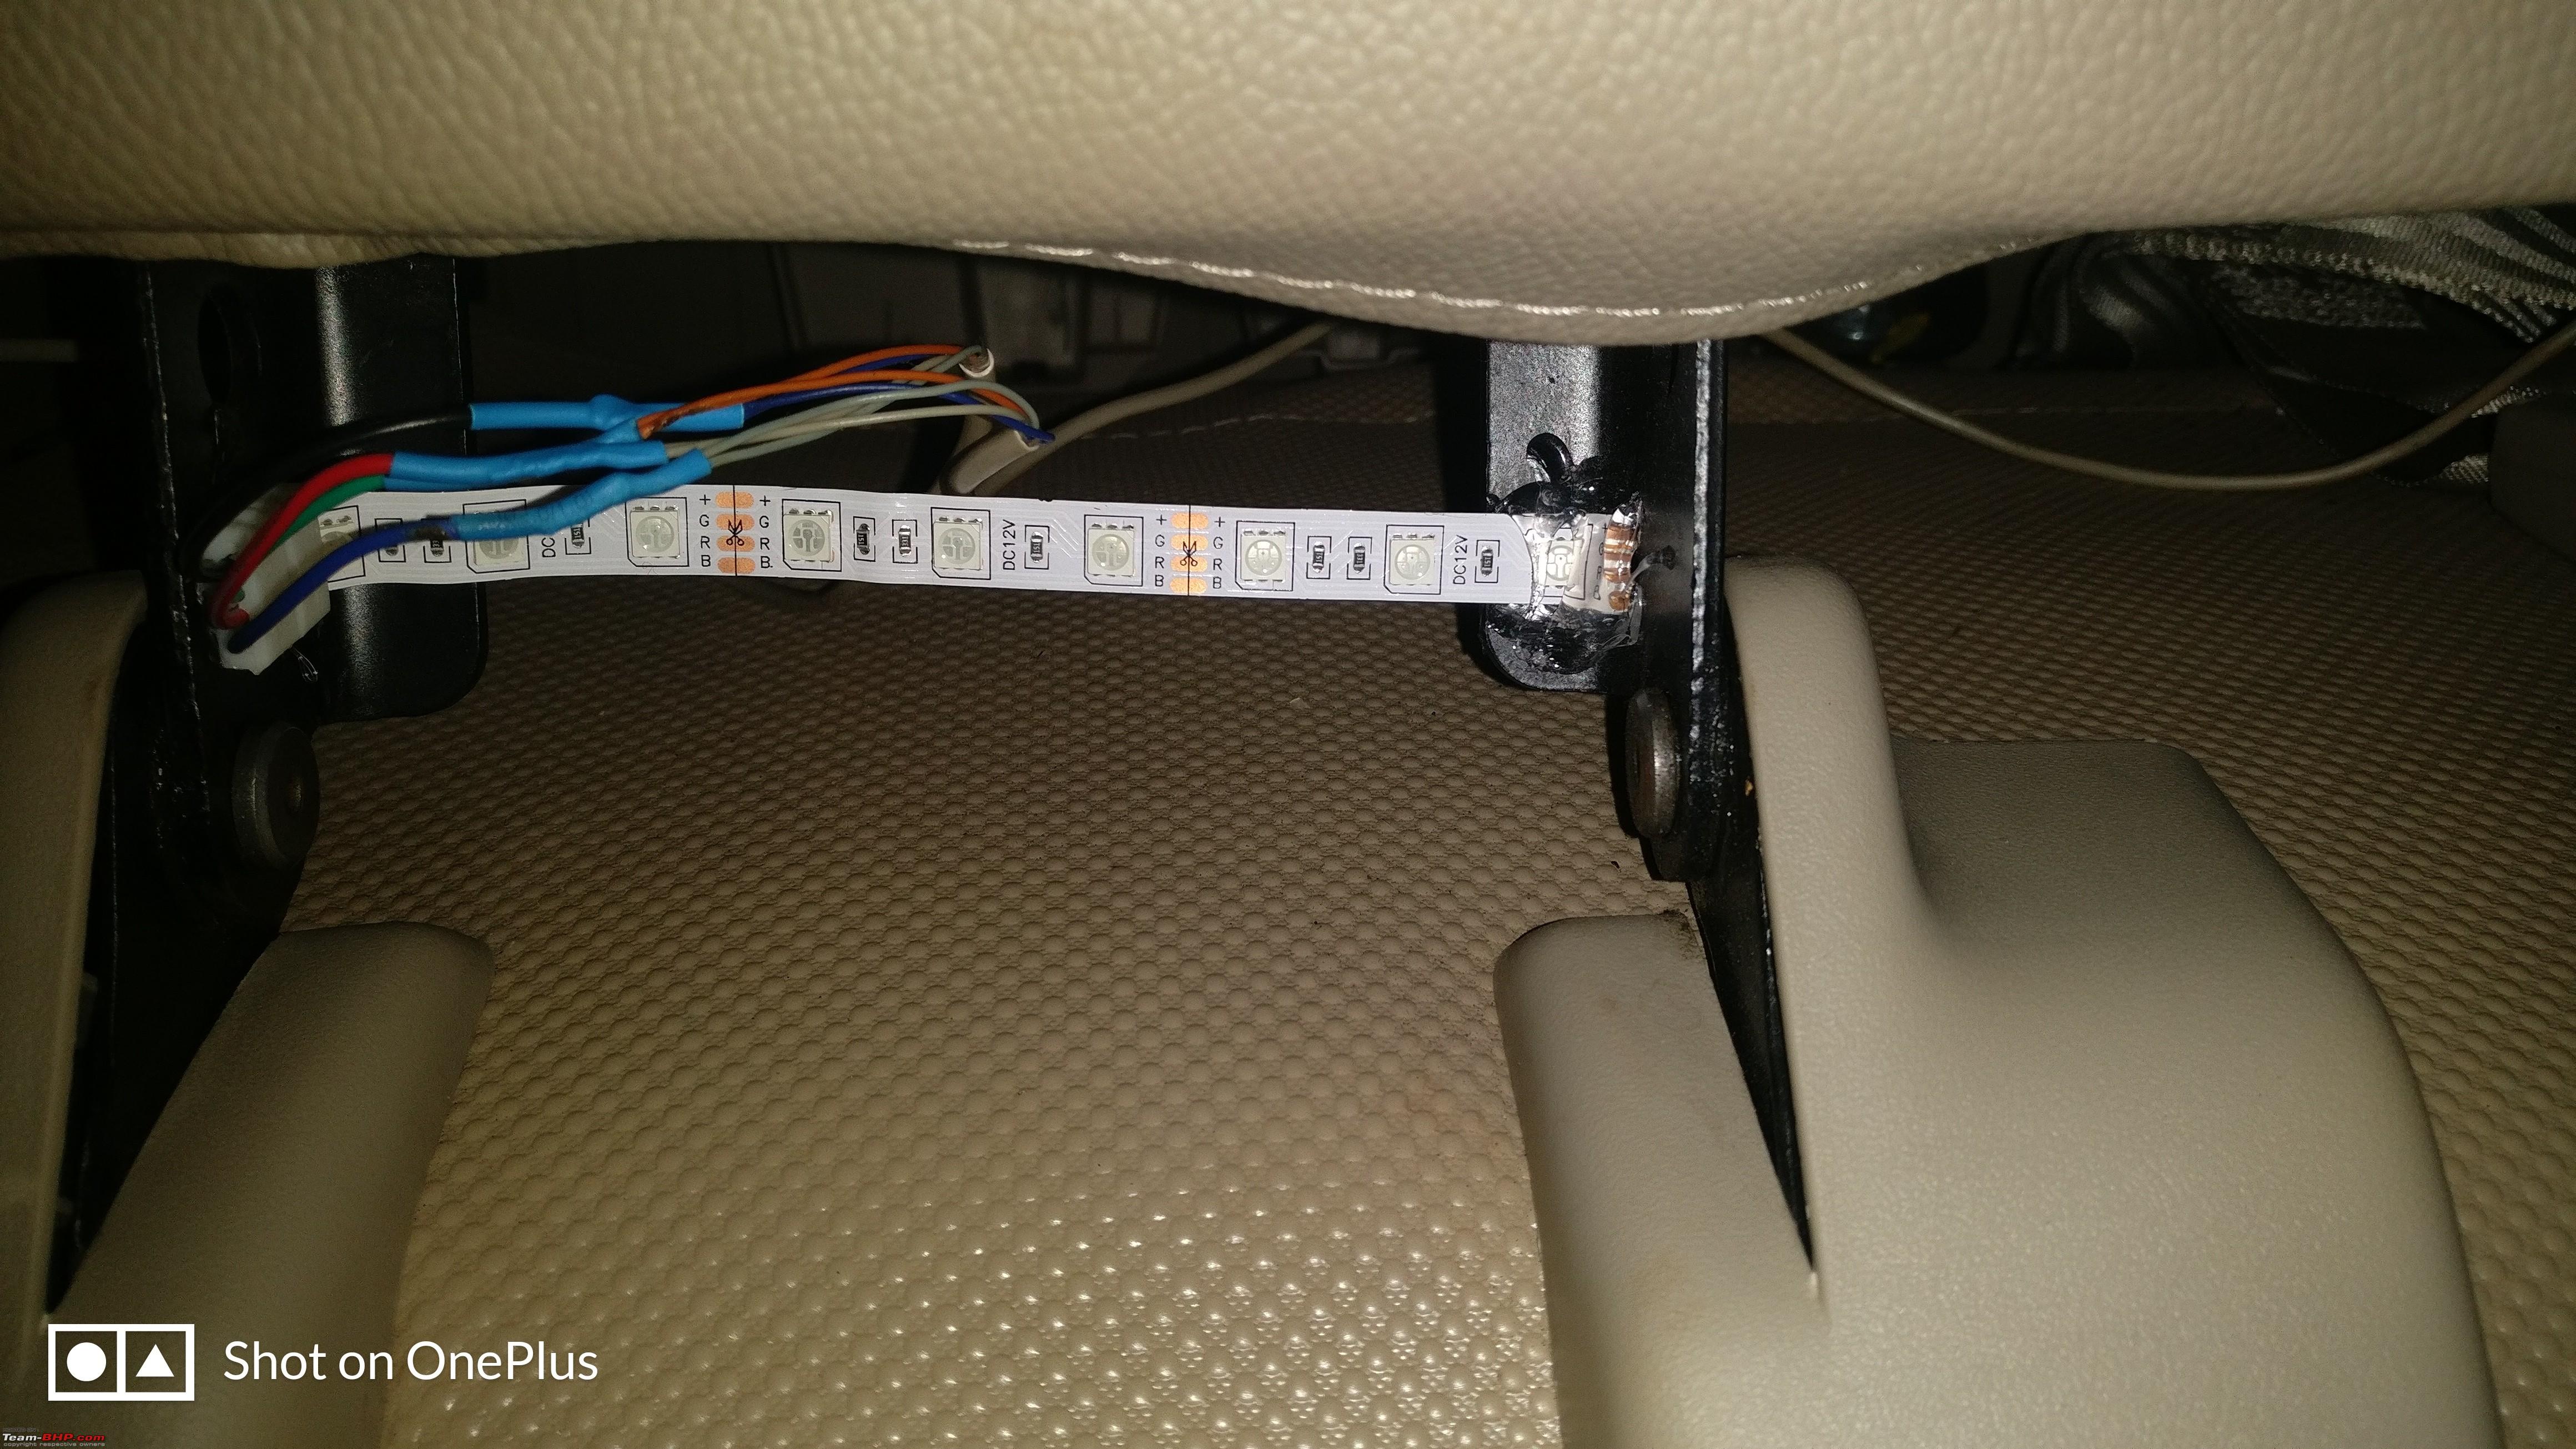
Following the above pattern do all the connections. Use heat shrink sleeves and seal them properly.
The driver seat had two wires under it, connect those two wires together to the RGB strip using the above pattern. Similarly, under the steering column and near the glove box and the last row passenger side seat. While making the connection near the glove box remember to take a meter long wire and connect it over there with the RGB and the wire connection. This wire will be connected to the controller. So we are actually connecting all these strips in parallel and making a common circuit for it to work simultaneously, when connected to the RGB controller.
The common wire that goes to the controller:
Once all this is done, you should have four wires from the gray wire near the center console.
These four wires now represent the connectors that we used, where (+) is the blue wire, (G) is the orange wire, (R) is grey wire and (B) is white wire.
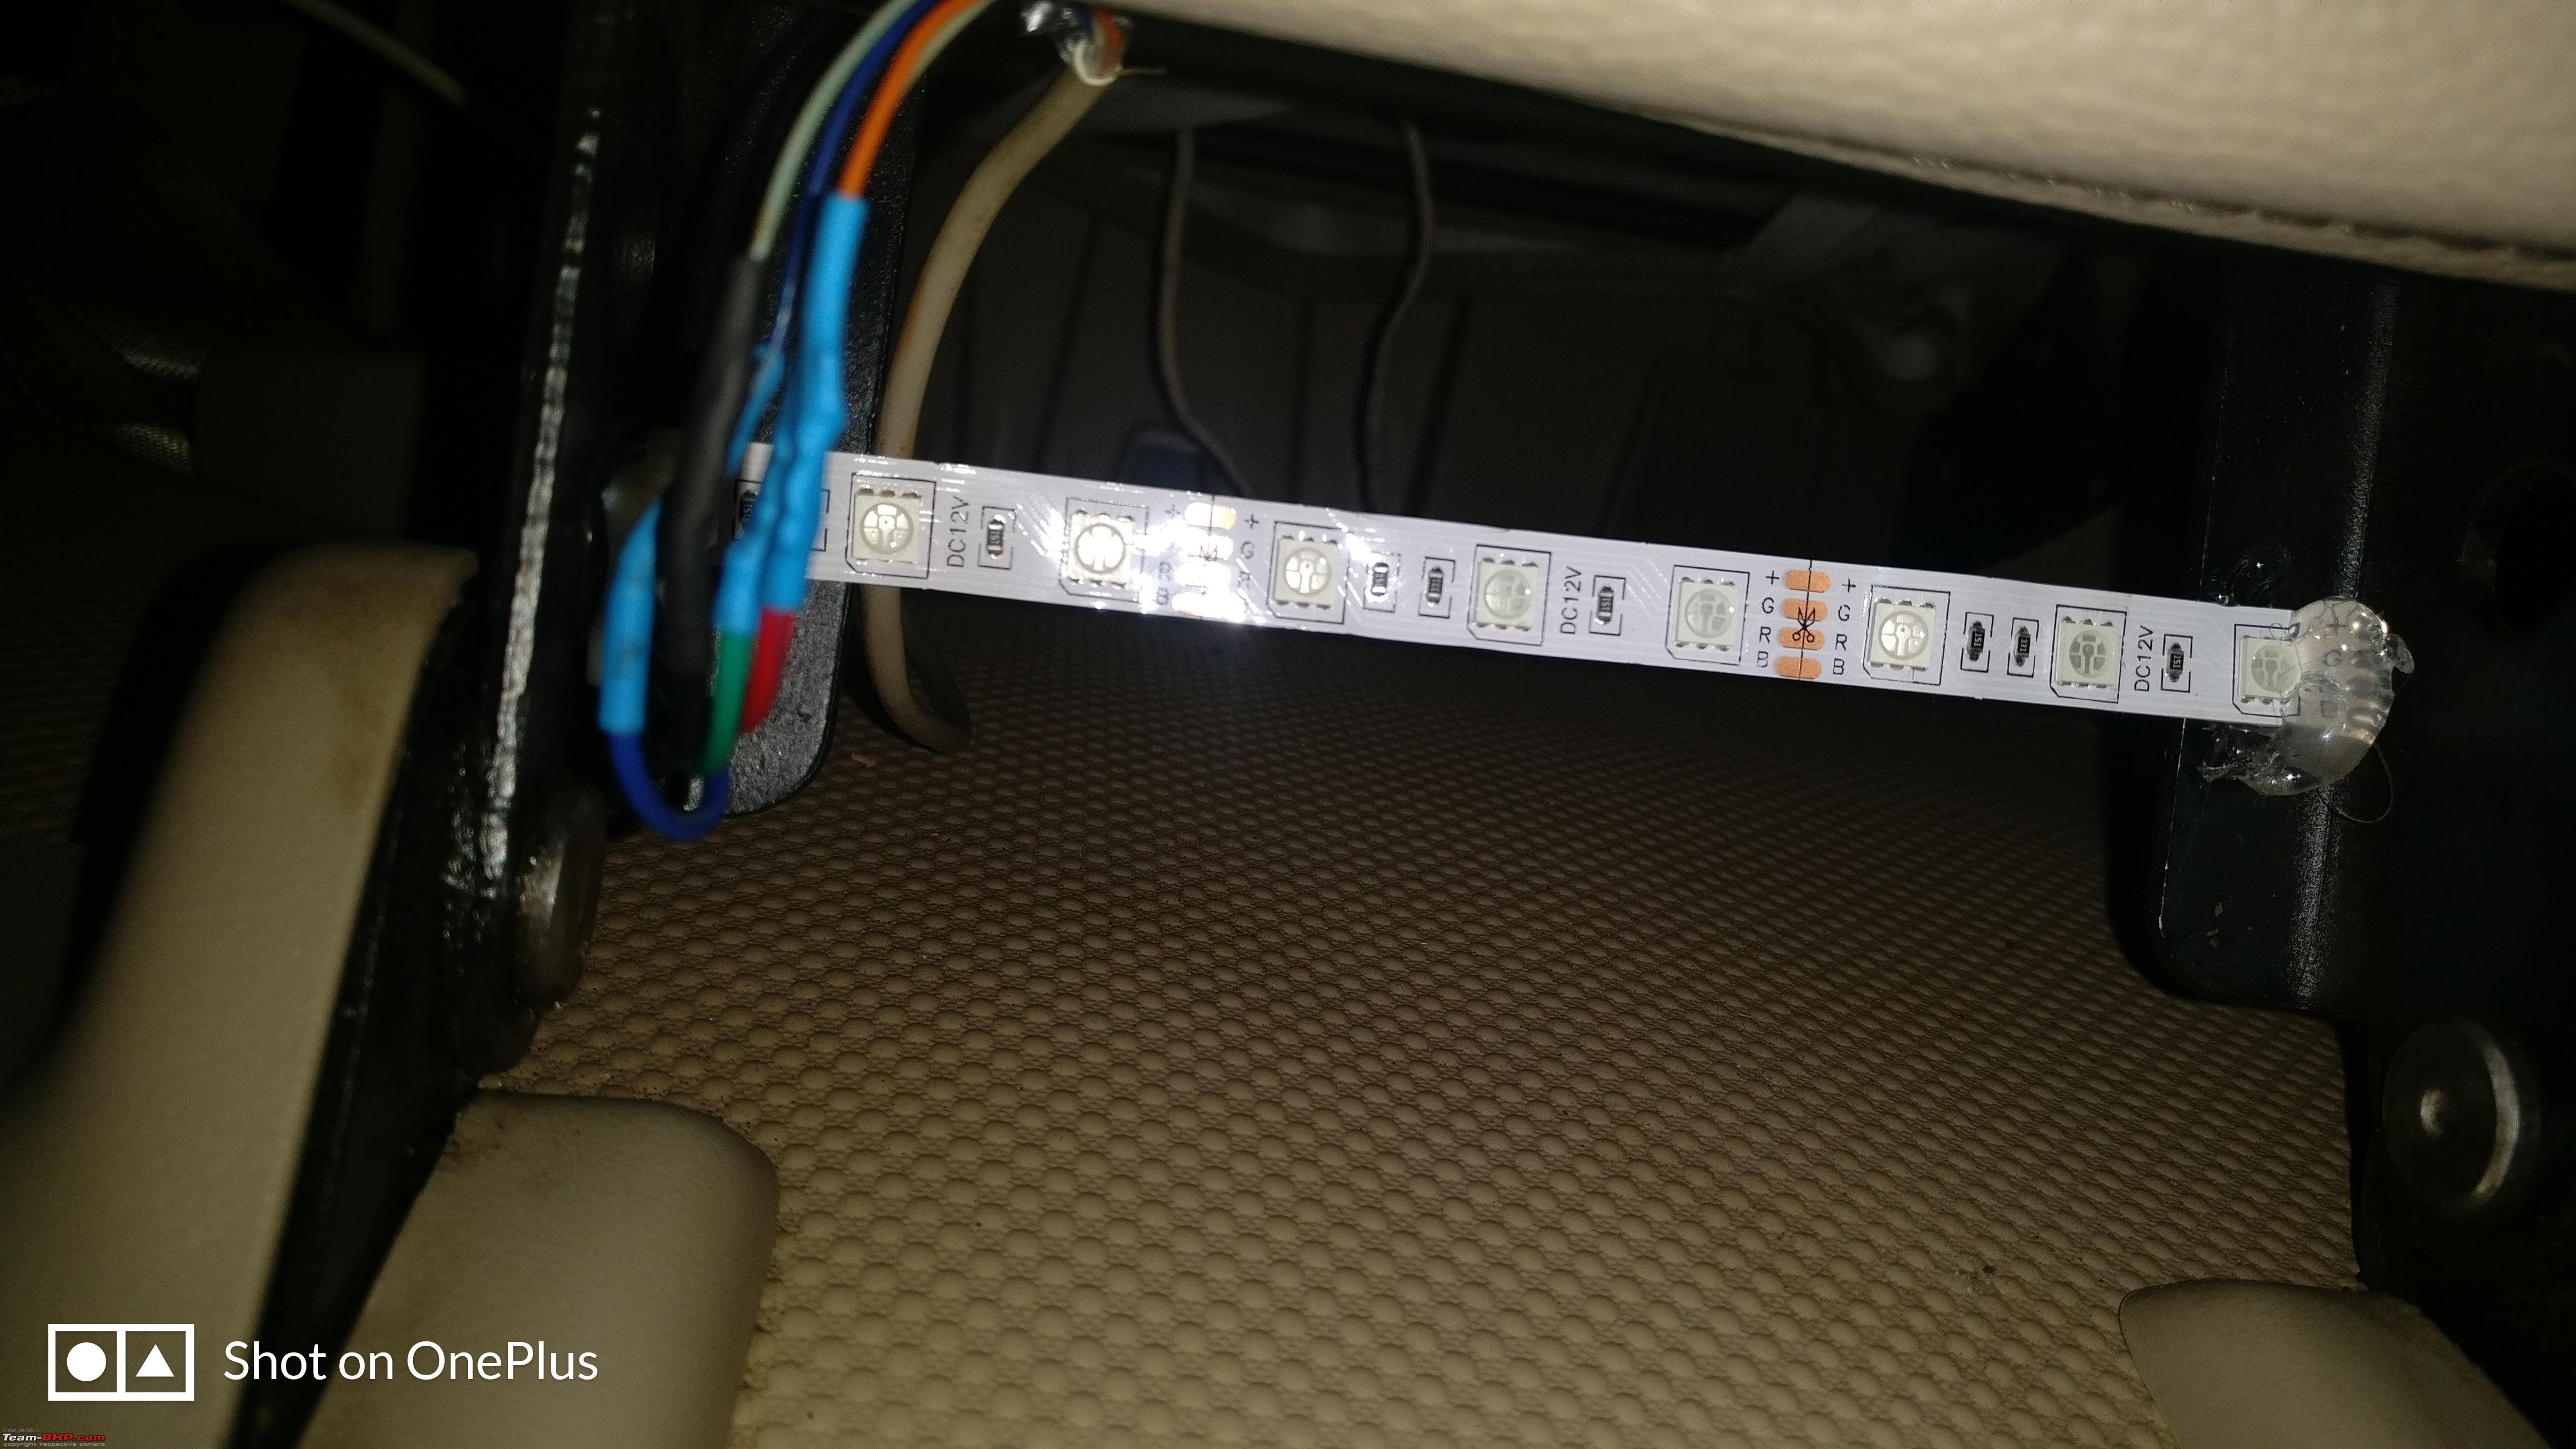
Again use a battery or DC power supply to check the entire circuit, you should have red, green and blue colors respectively when connected to the battery. Once this is done and you have all the strips working, it's time to mount the strips into place.
The pictures below will show the connections done and also the mountings.
Starting from the passenger side last row, driver side last row, driver side seat, steering column, glove box and passenger side seat: 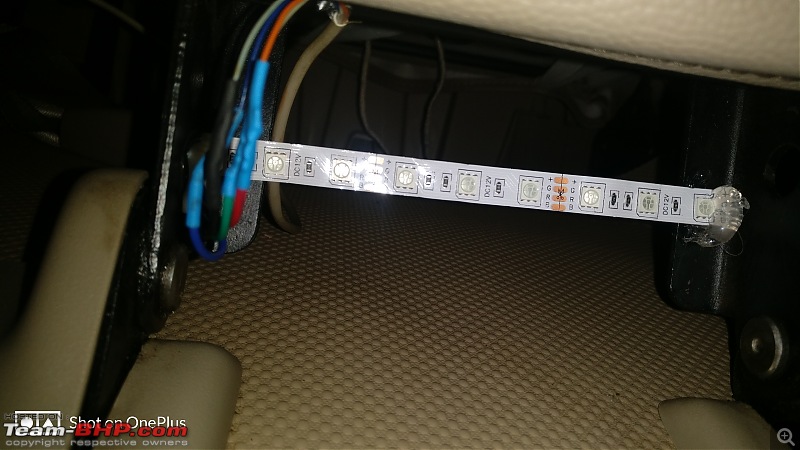


Now take a deep breath as the difficult part is over.lol:
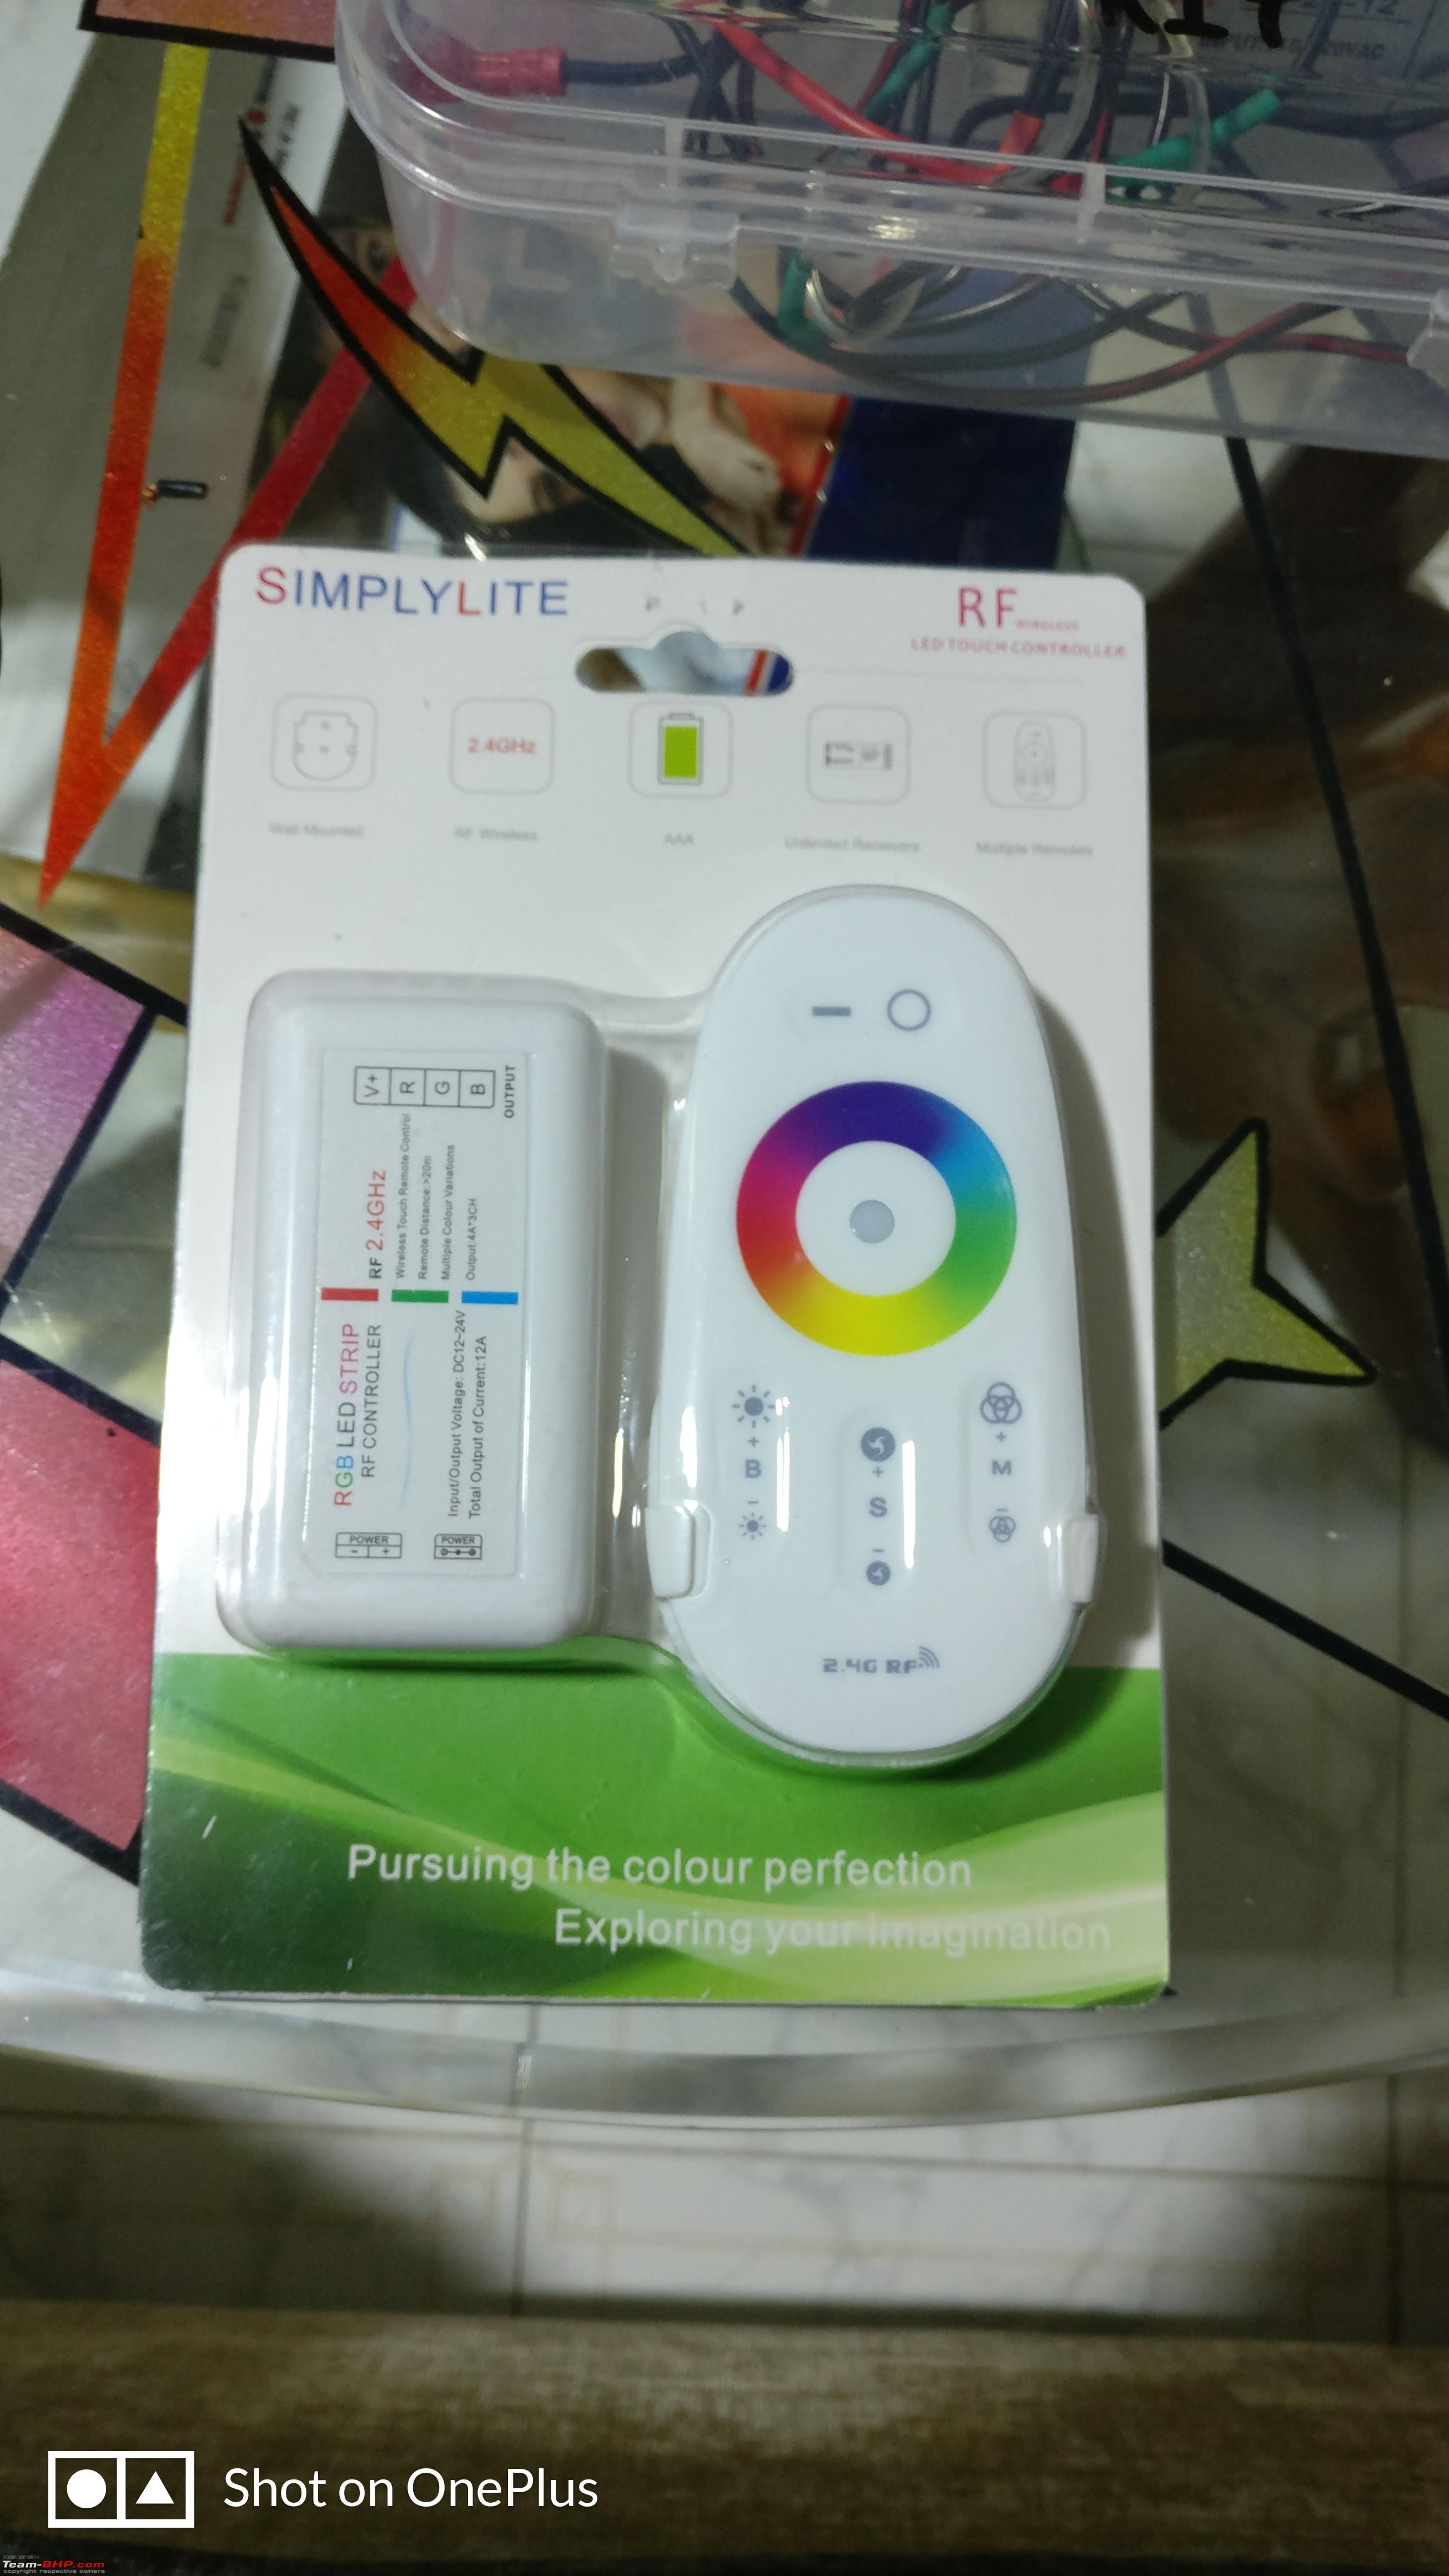
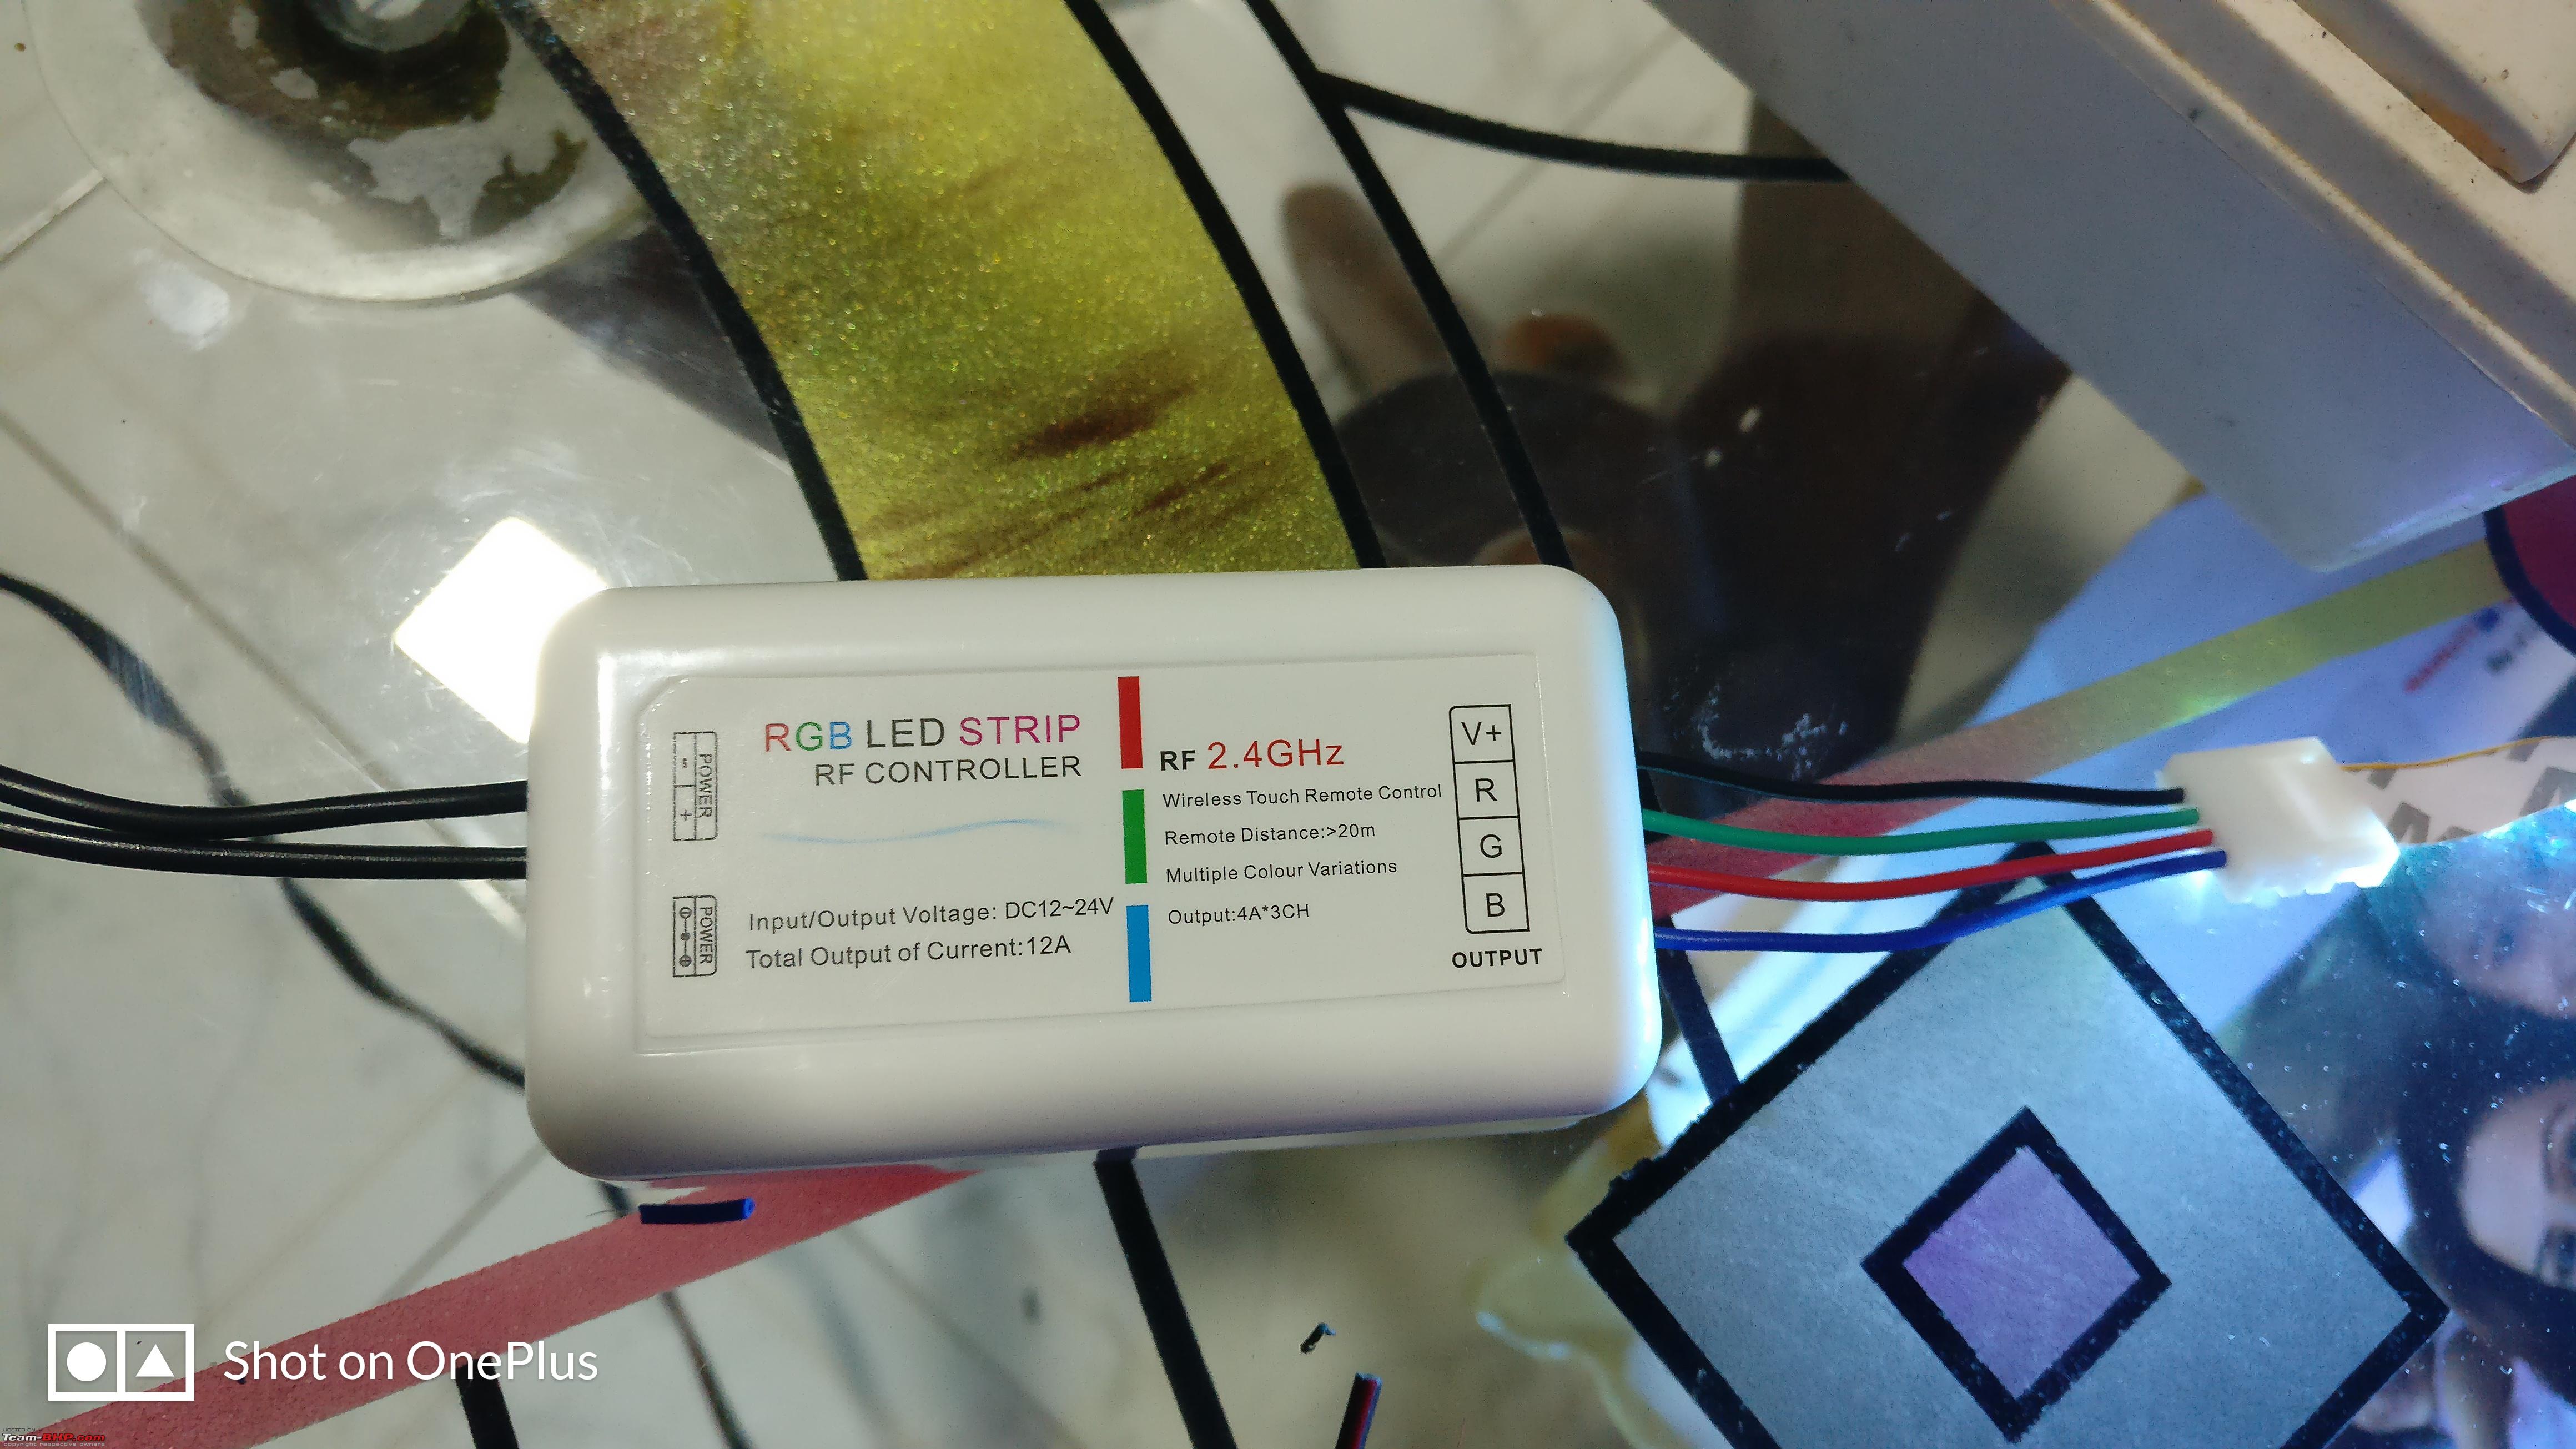
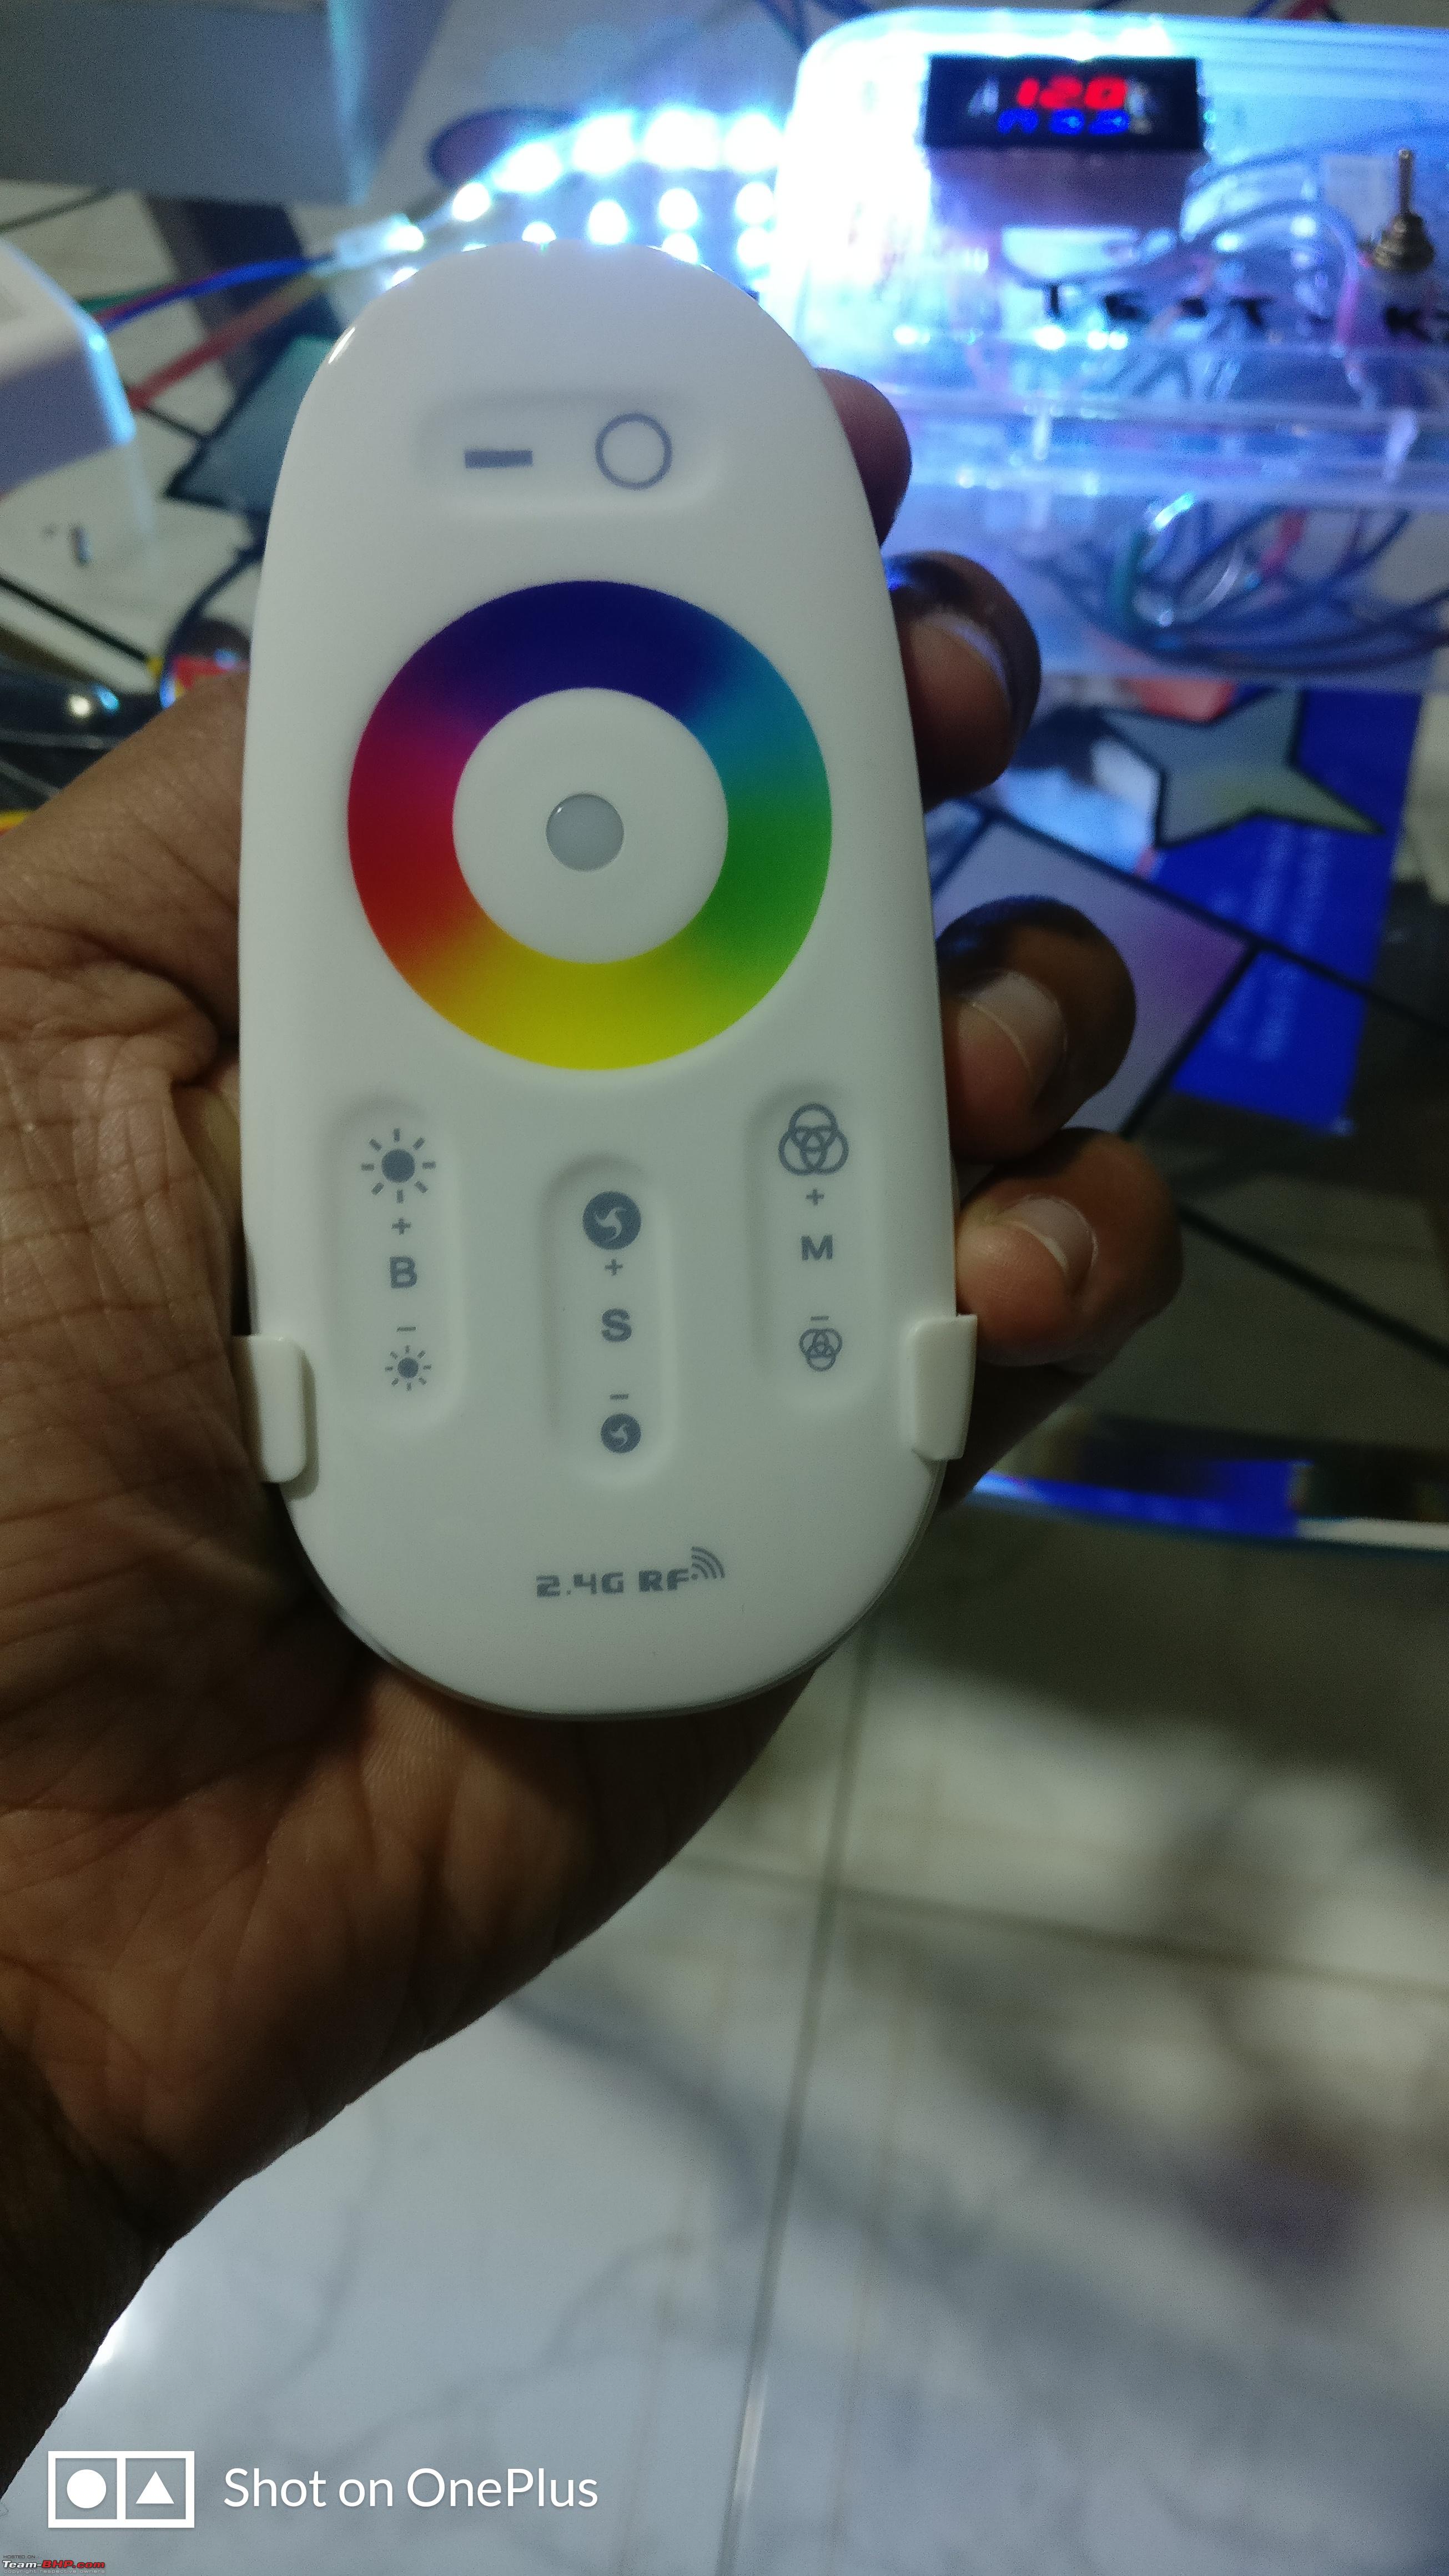
The RF based RGB controller with the touch remote: :D  The controller and the remote:

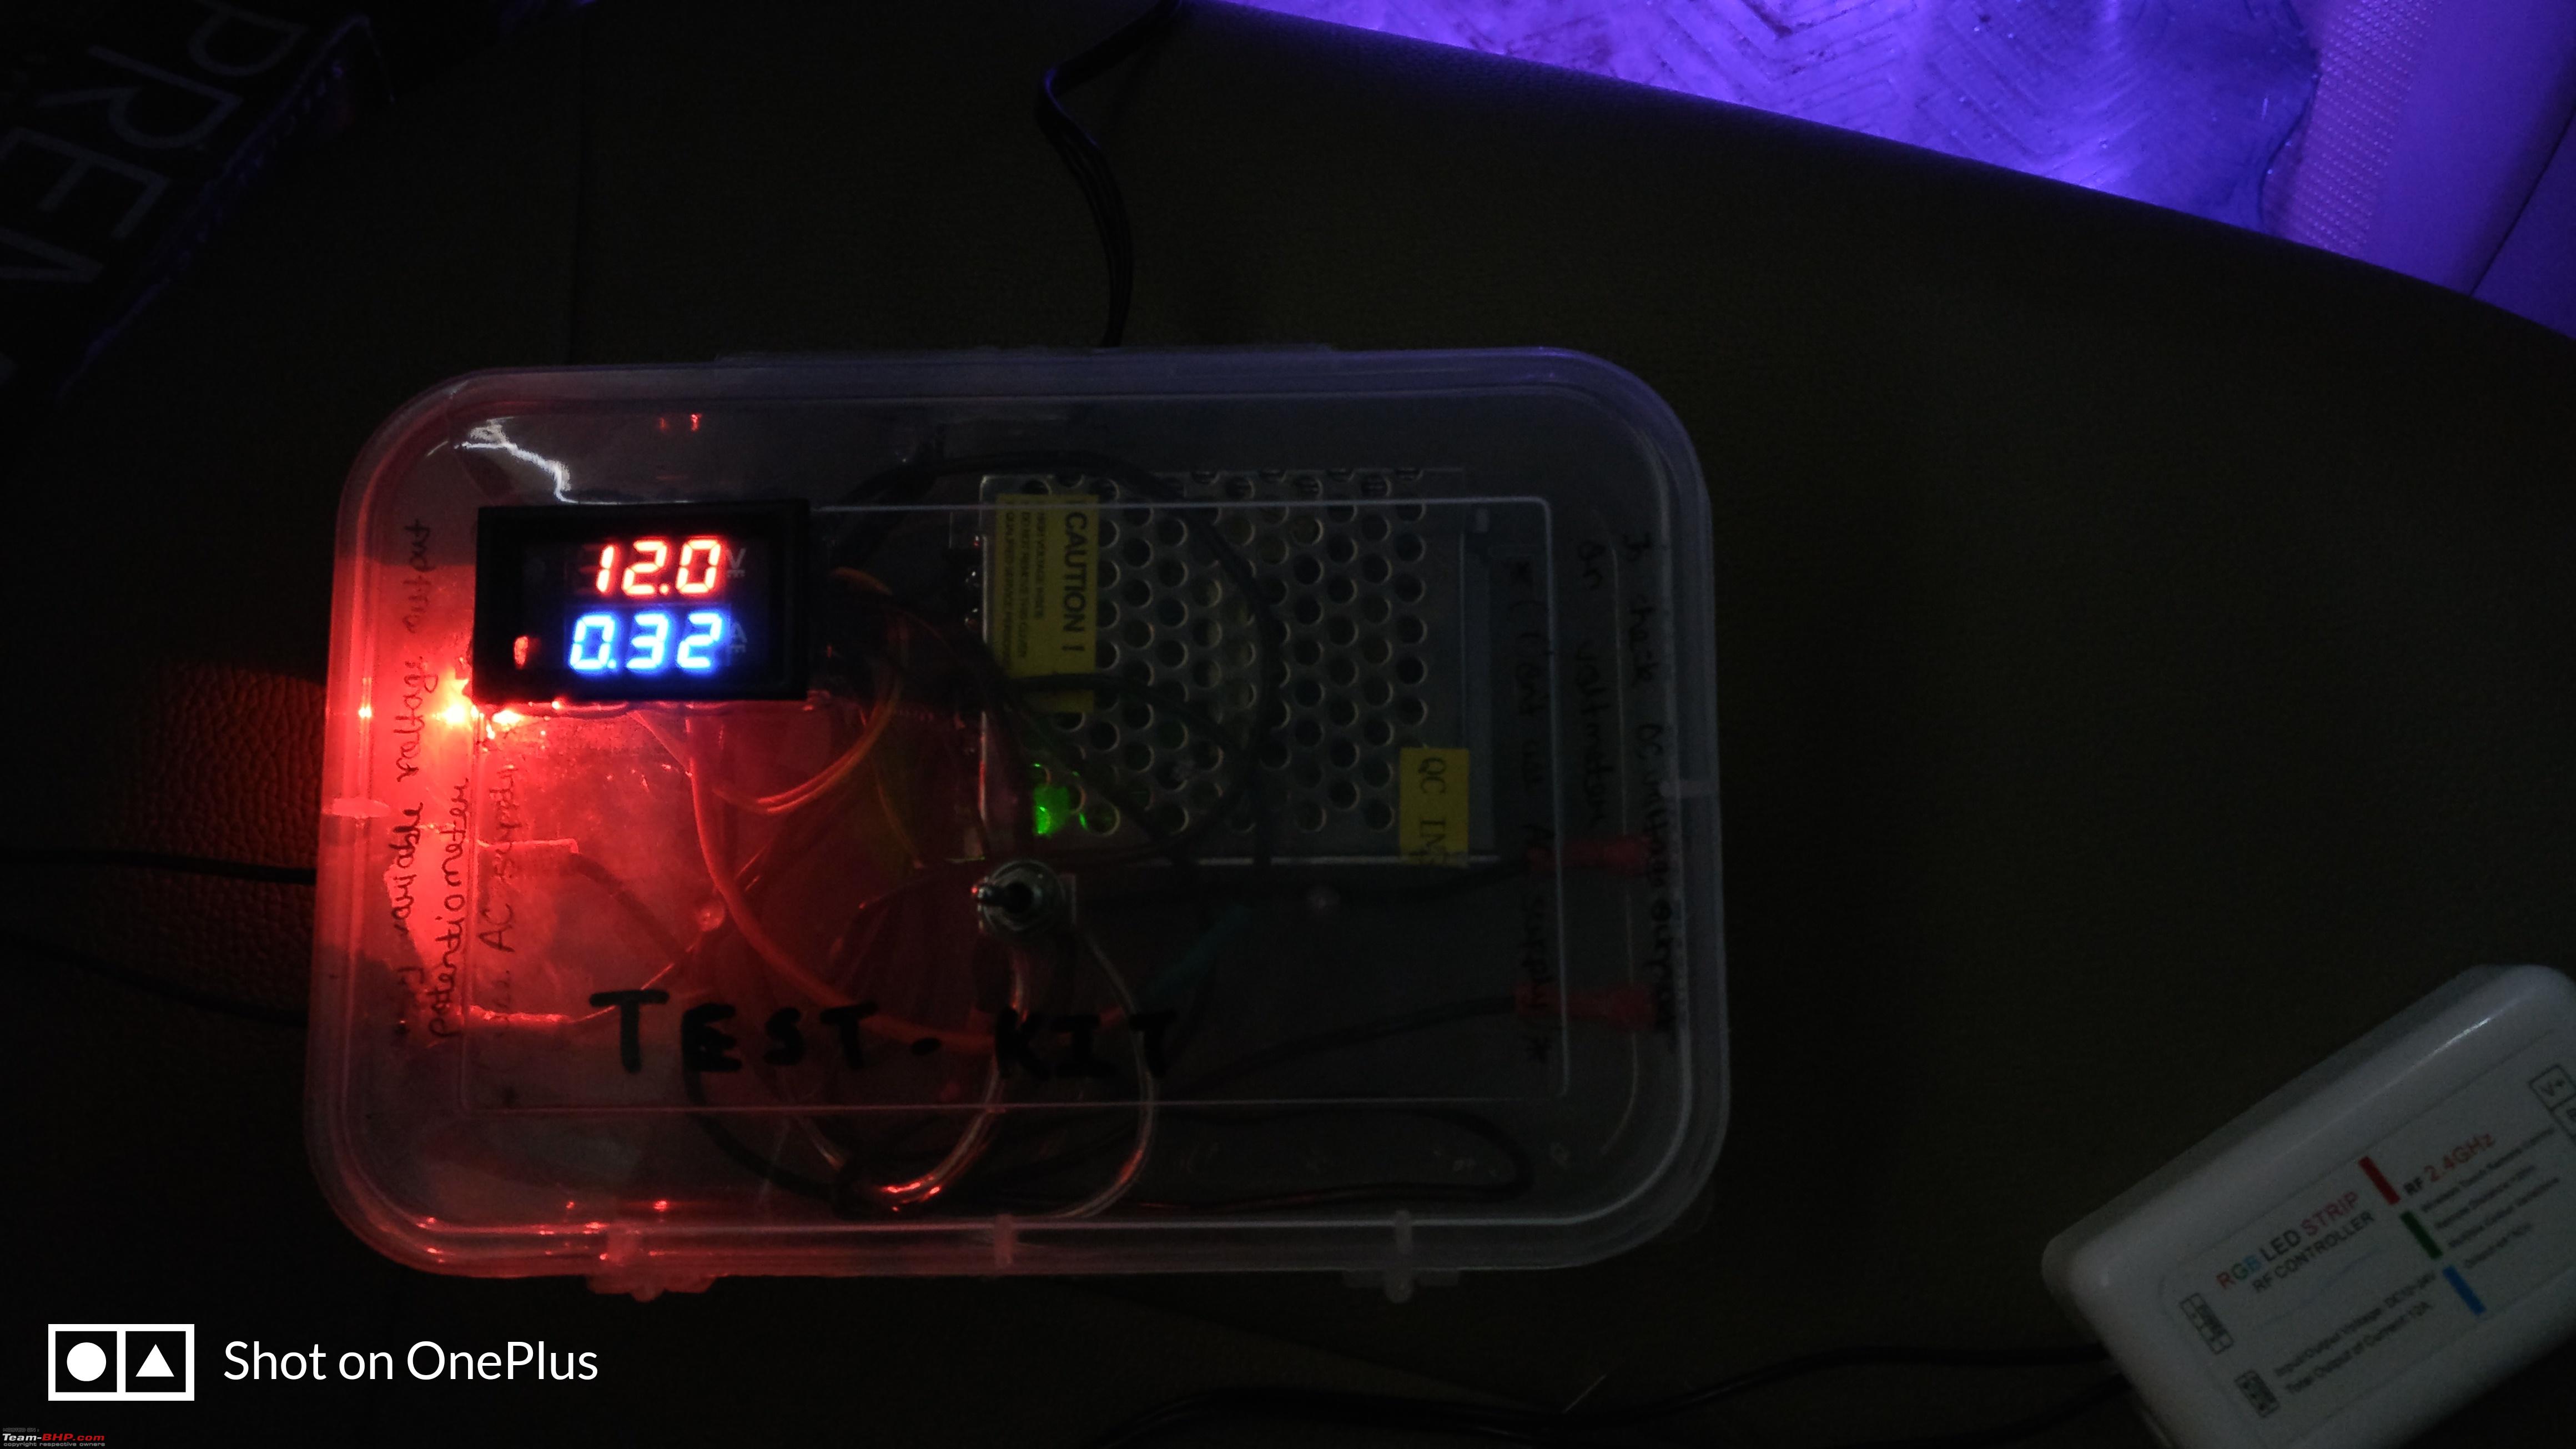
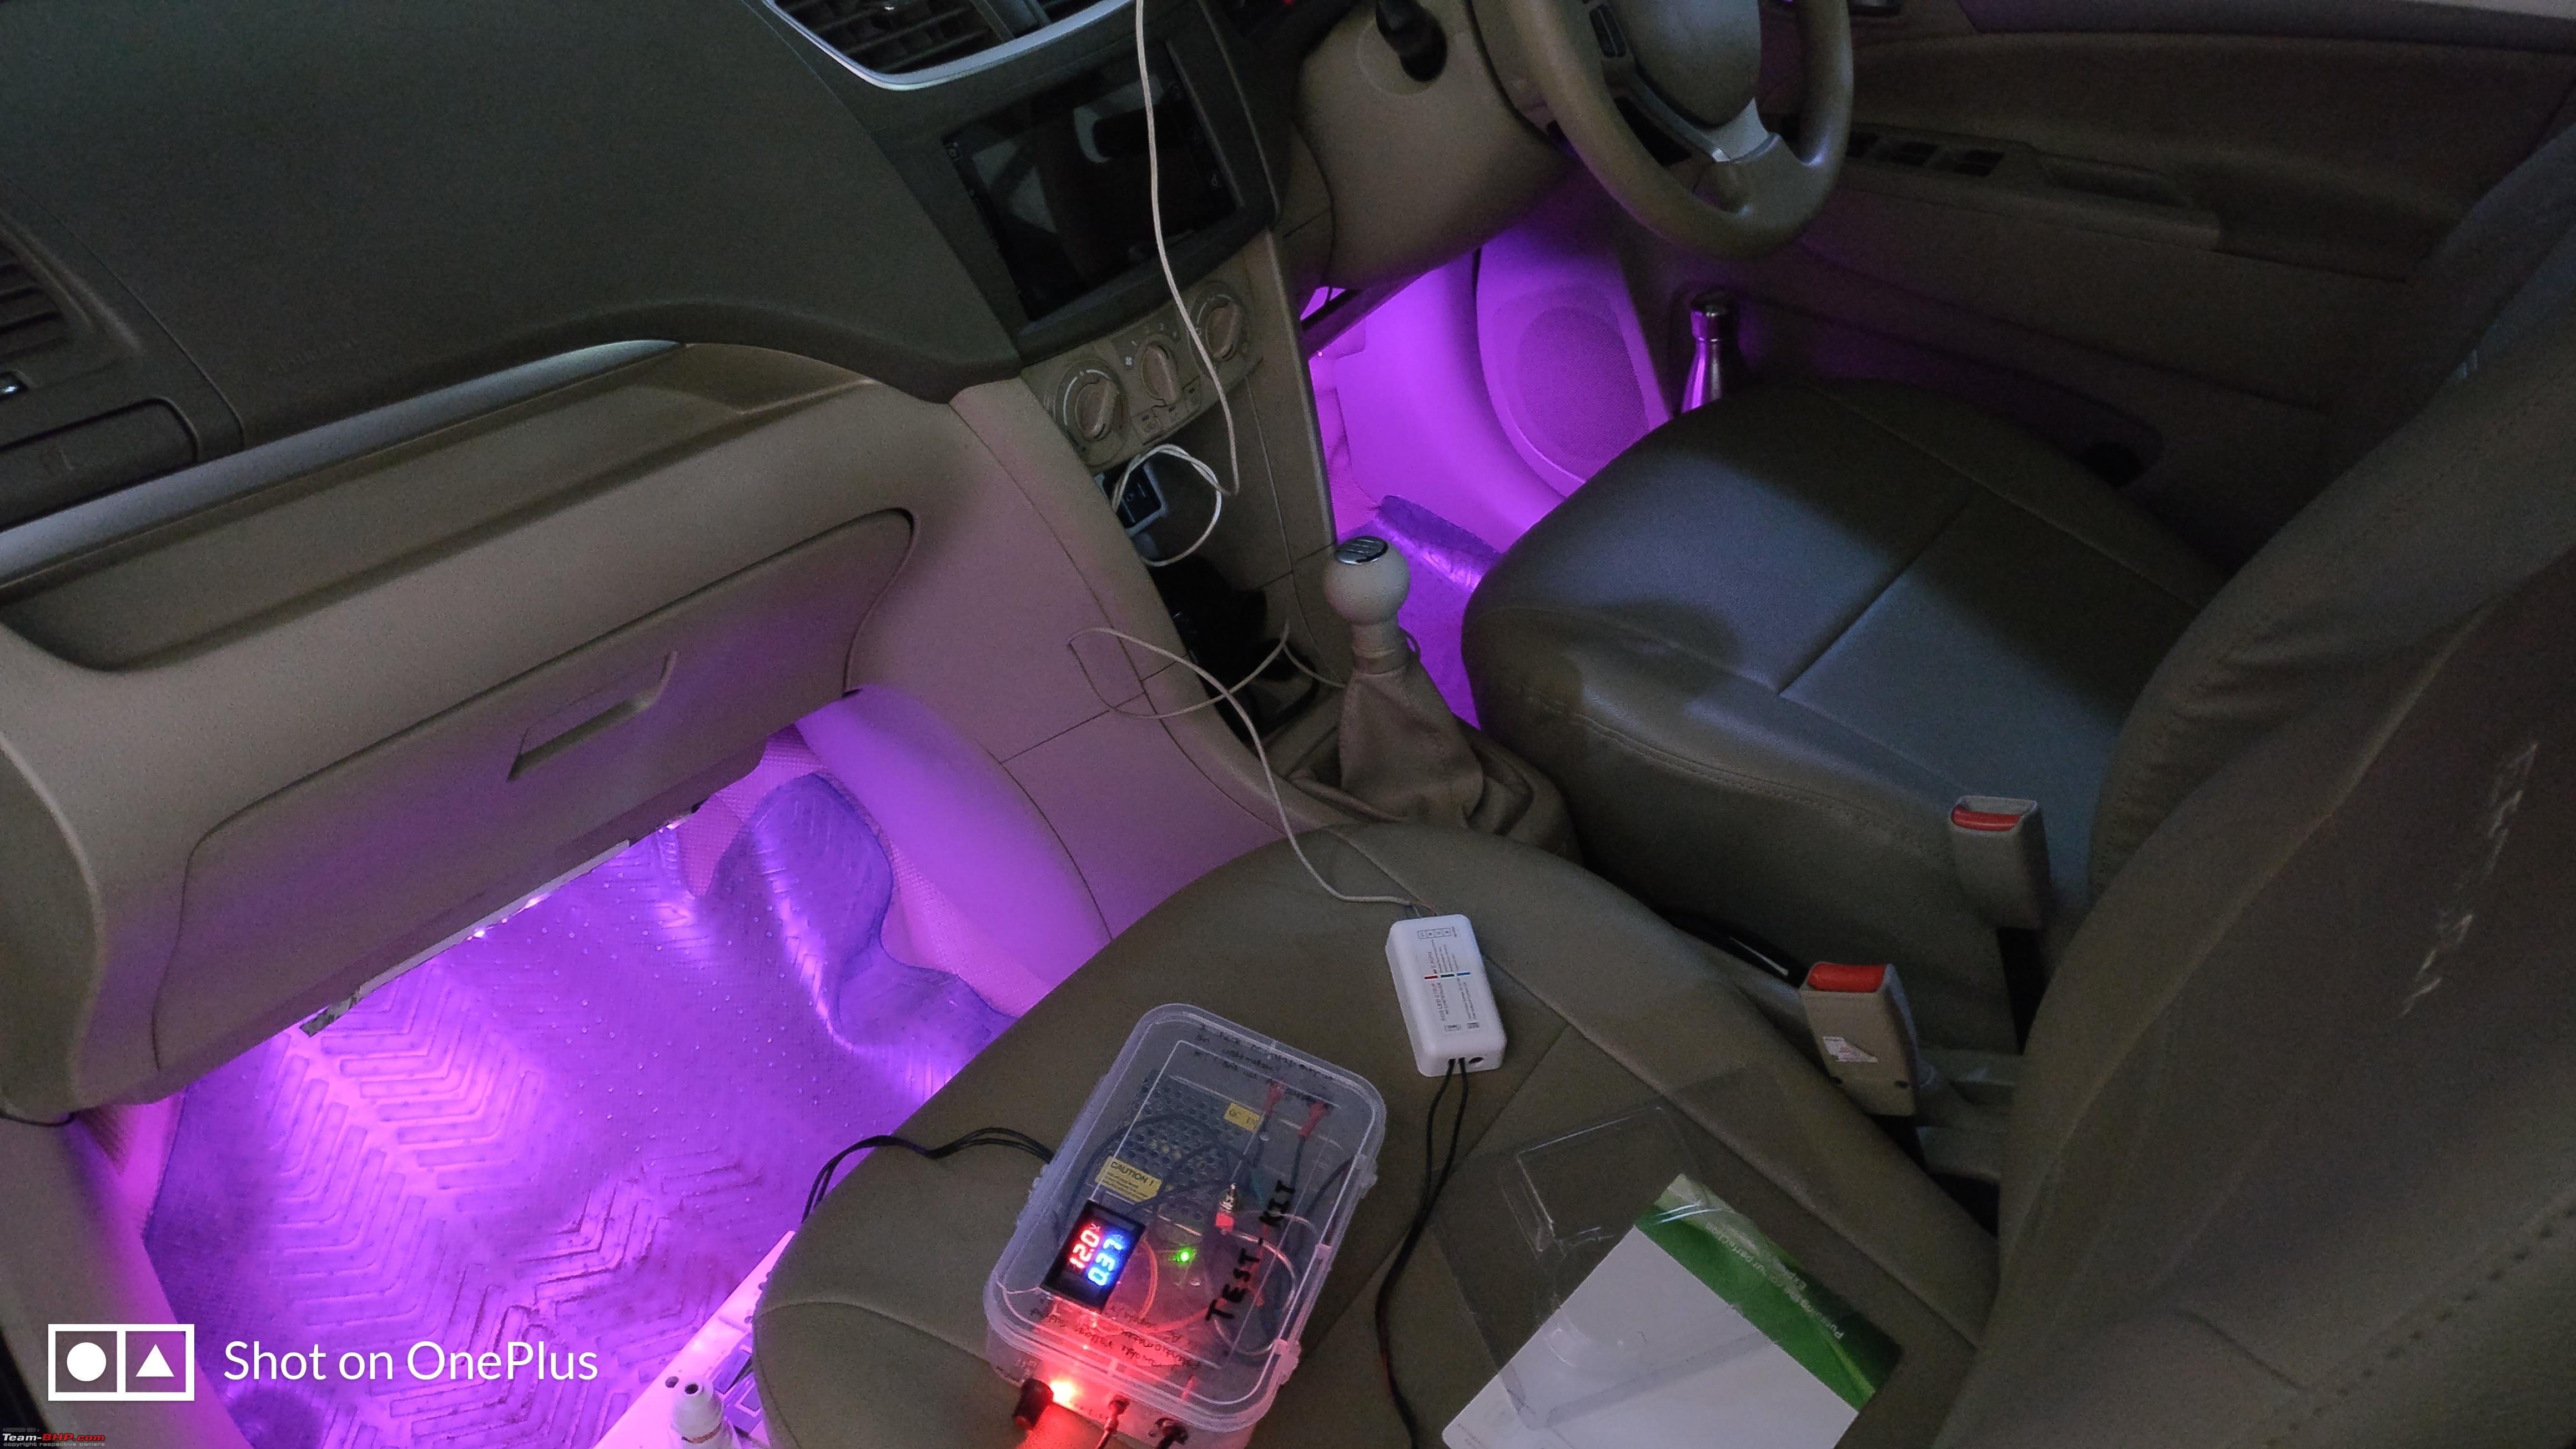
Now connect the four wires to the controller according to the markings provided at the bottom of the controller. The controller also needs a power supply to work. There is an option to connect 12V DC power supply directly to the controller. Since, I was testing the entire setup, and I wasn't of the power rating, I did a trail run on my test kit first and found the Amps and the Volts required for the same.
Volts(in red) & Amps(in blue) consumed (Min and Max): 

Now to make sure that the Mood lighting turns off when the car is off, I decided to take power from the fuse box directly.
Special thanks to @paragsachania sir for helping with the fuse tap selection.
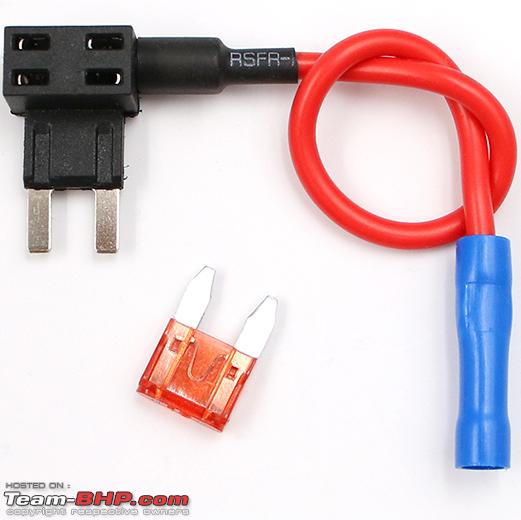
The fuse taps I ordered are mini types and they fit well, even though it's a micro type fuse socket.
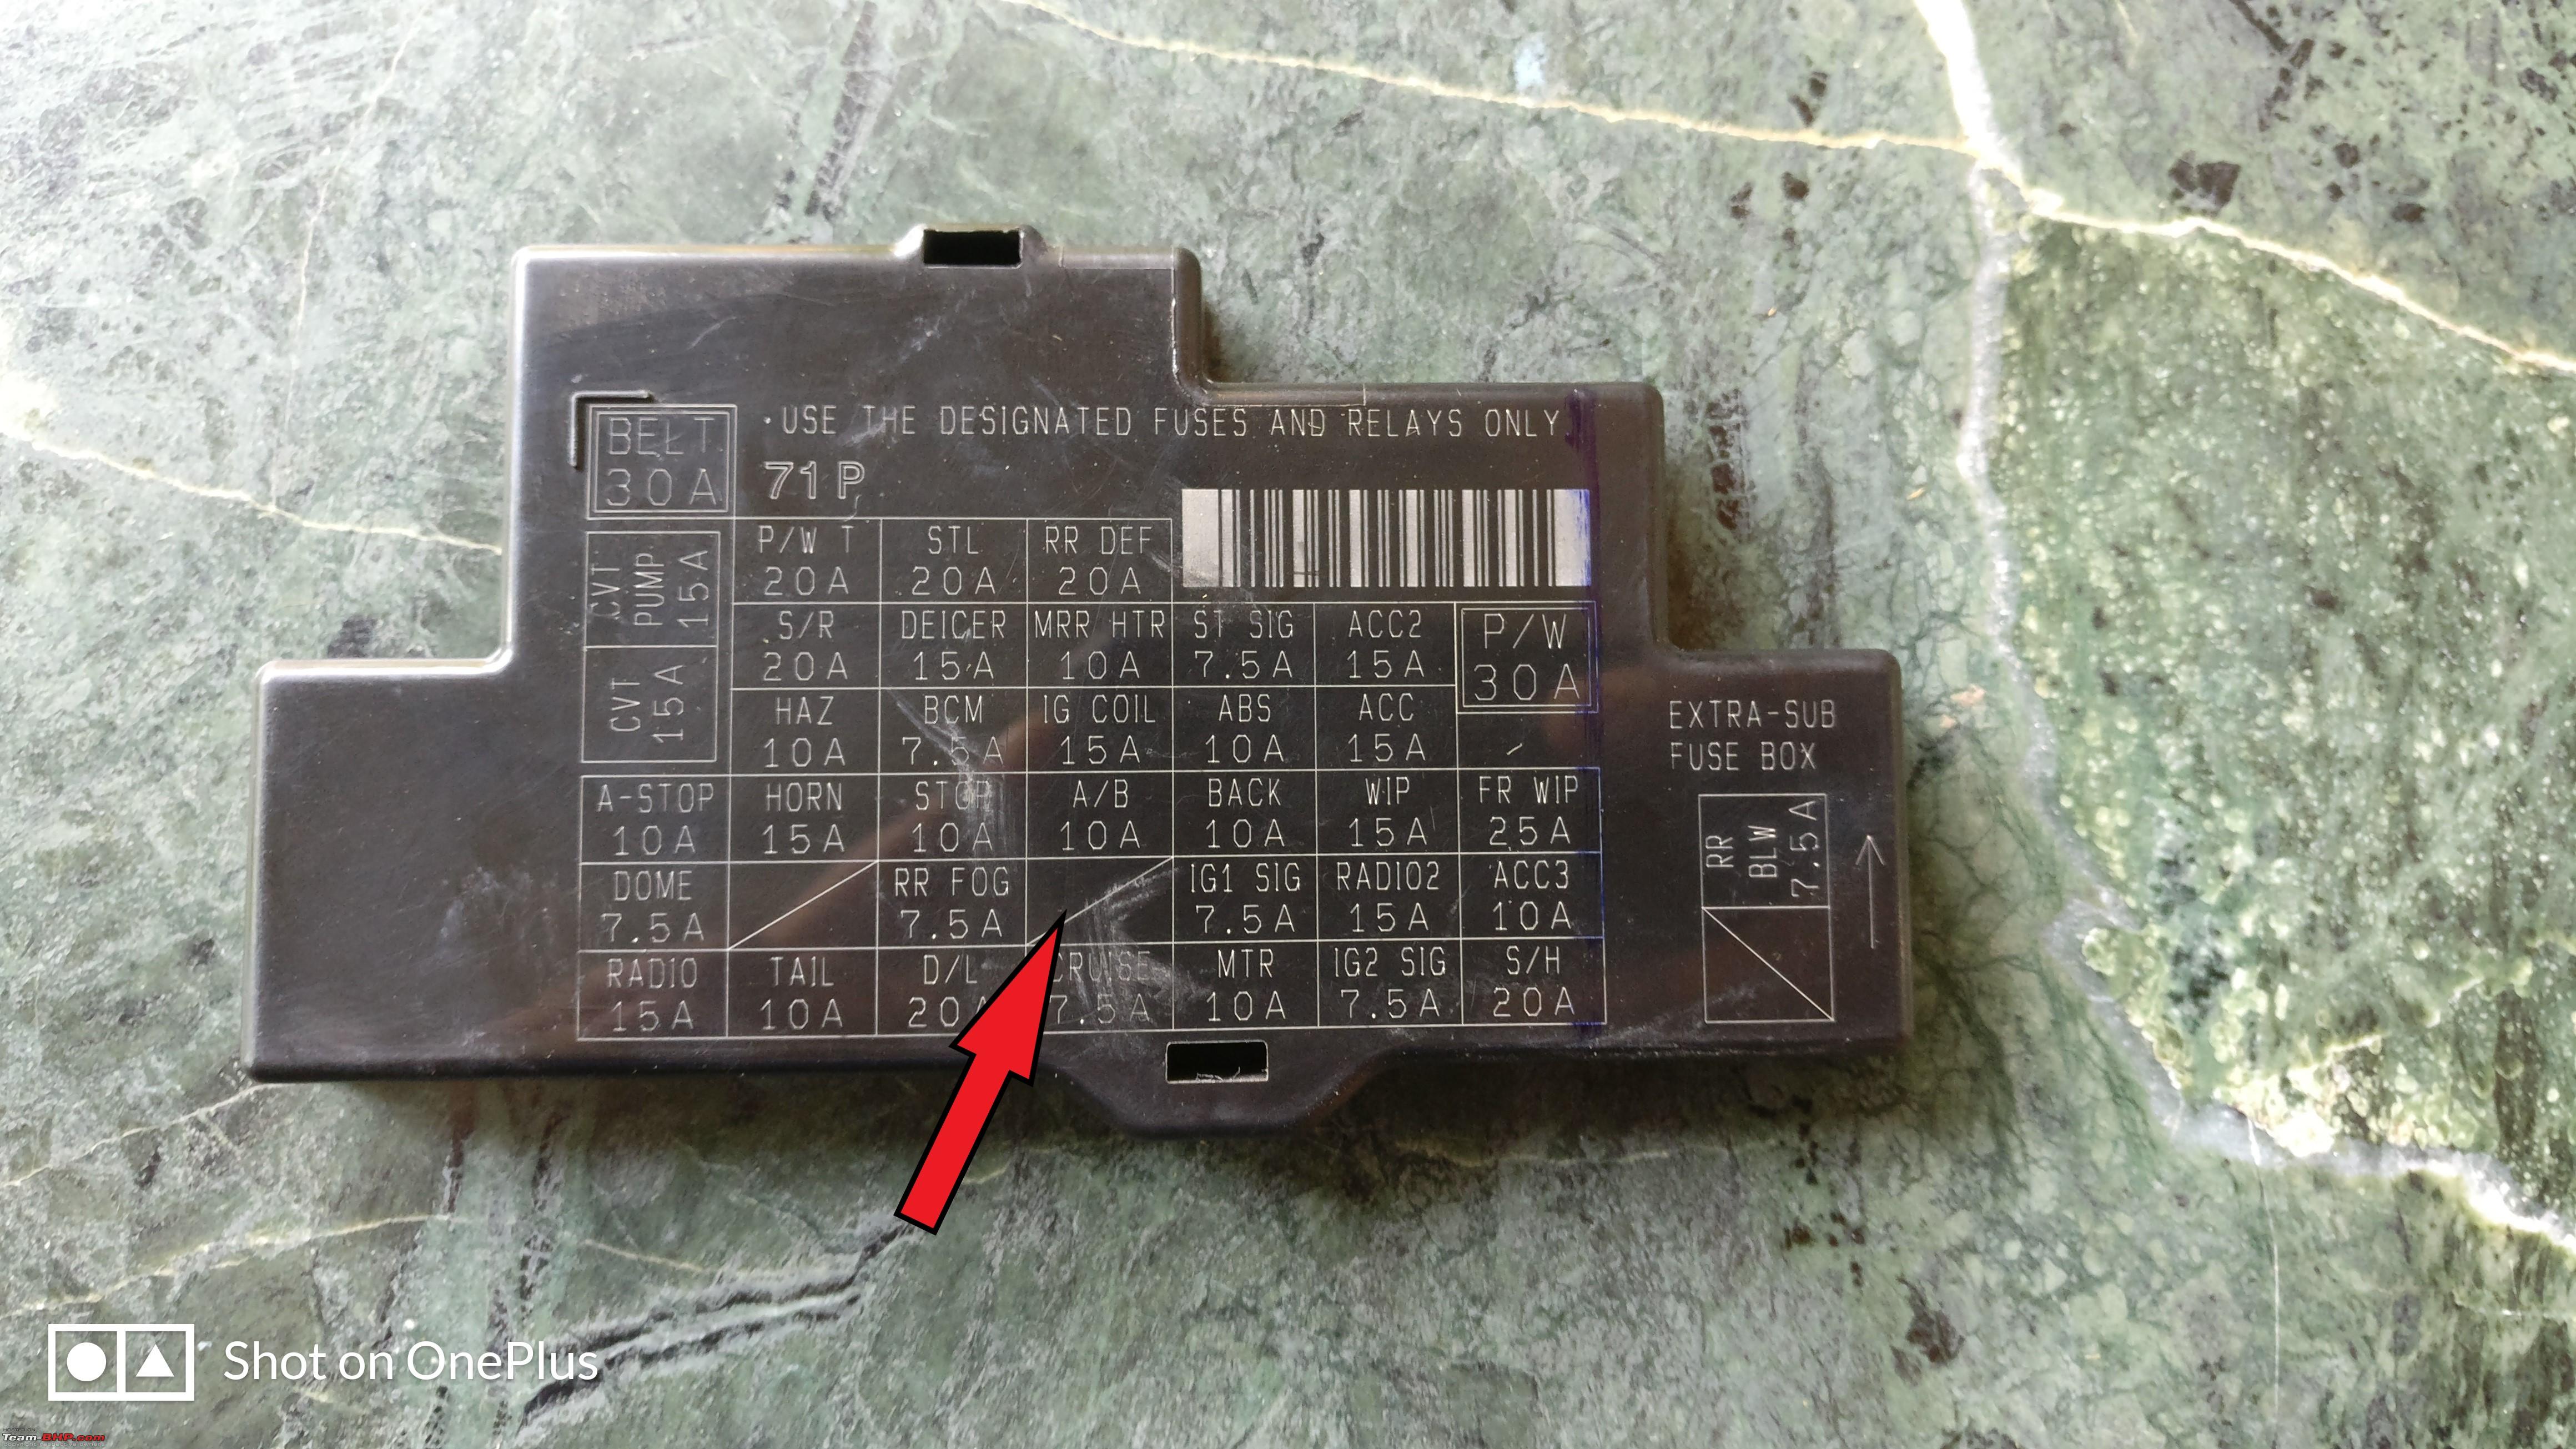
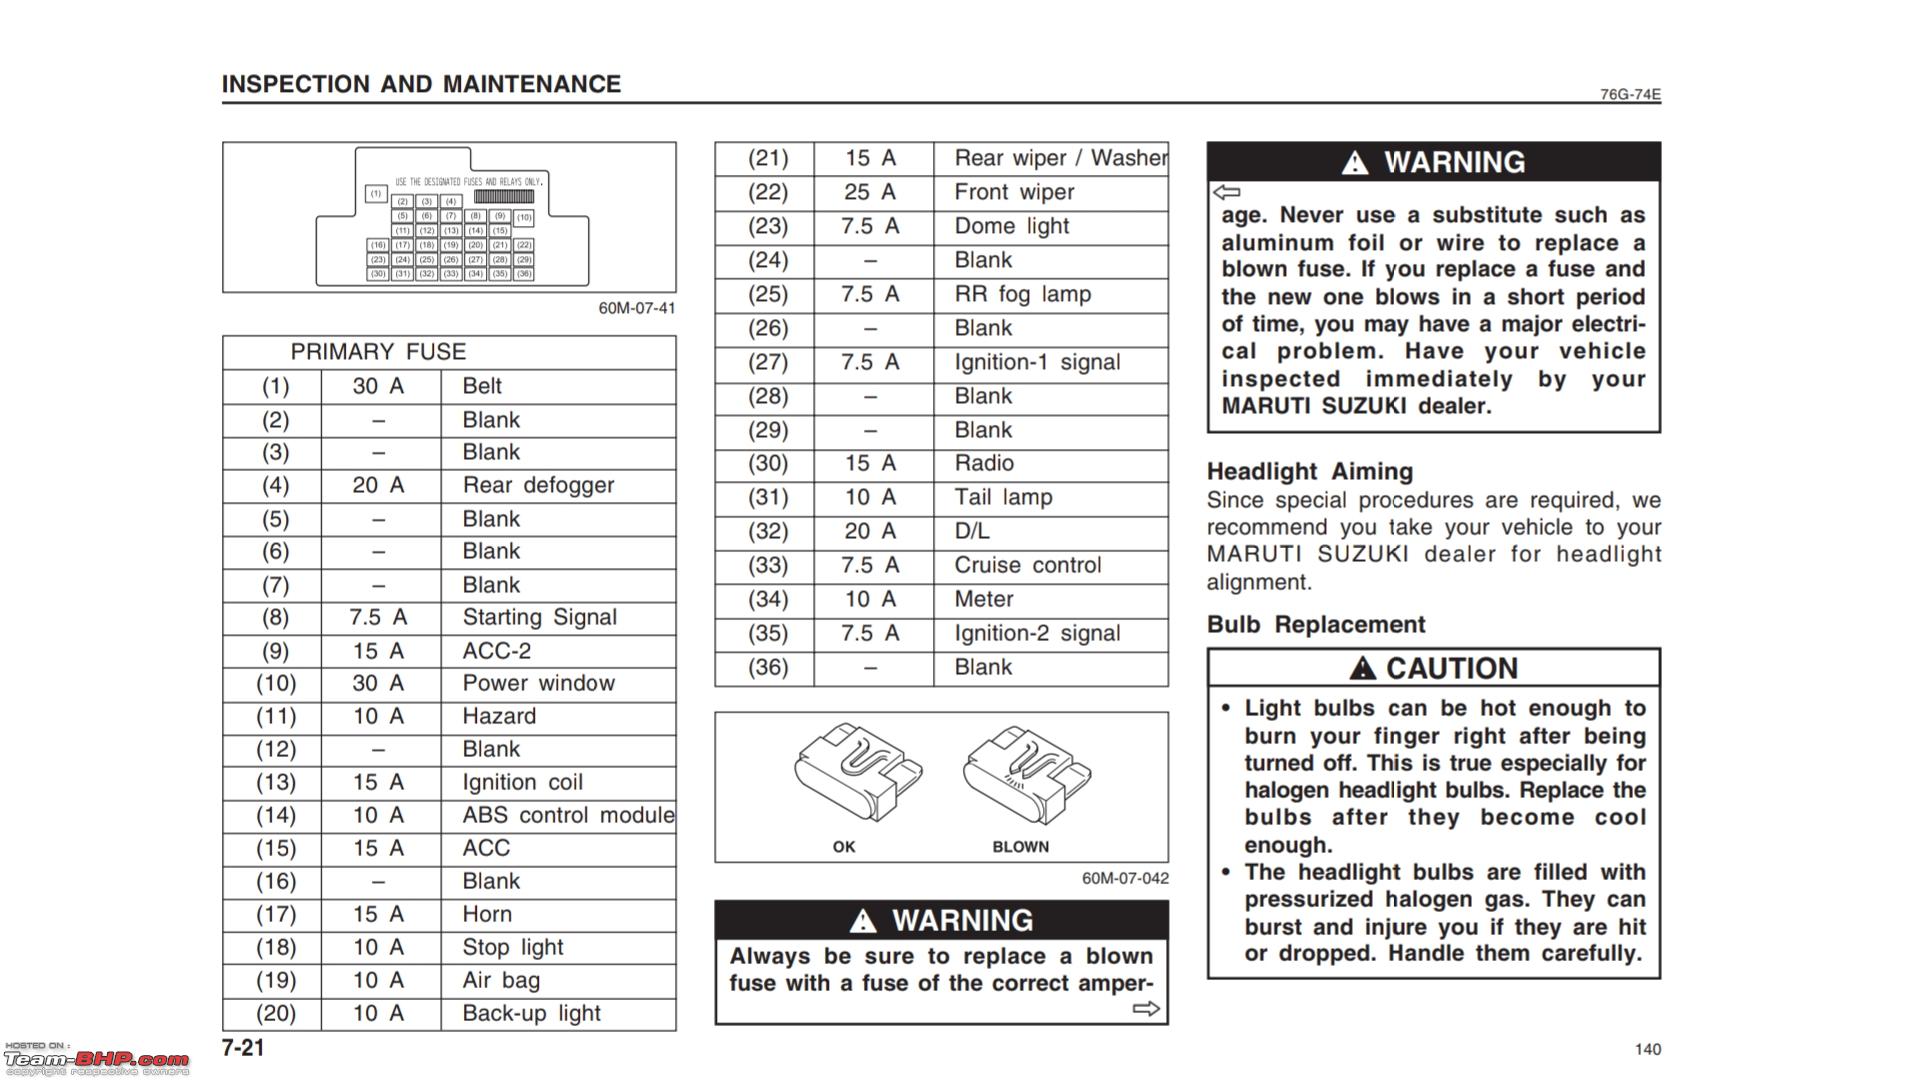
Take power from the fuse box using the fuse taps, but first make sure to check the blank fuse socket with a line tester to make sure it turns off with the car and doesn't stay on.
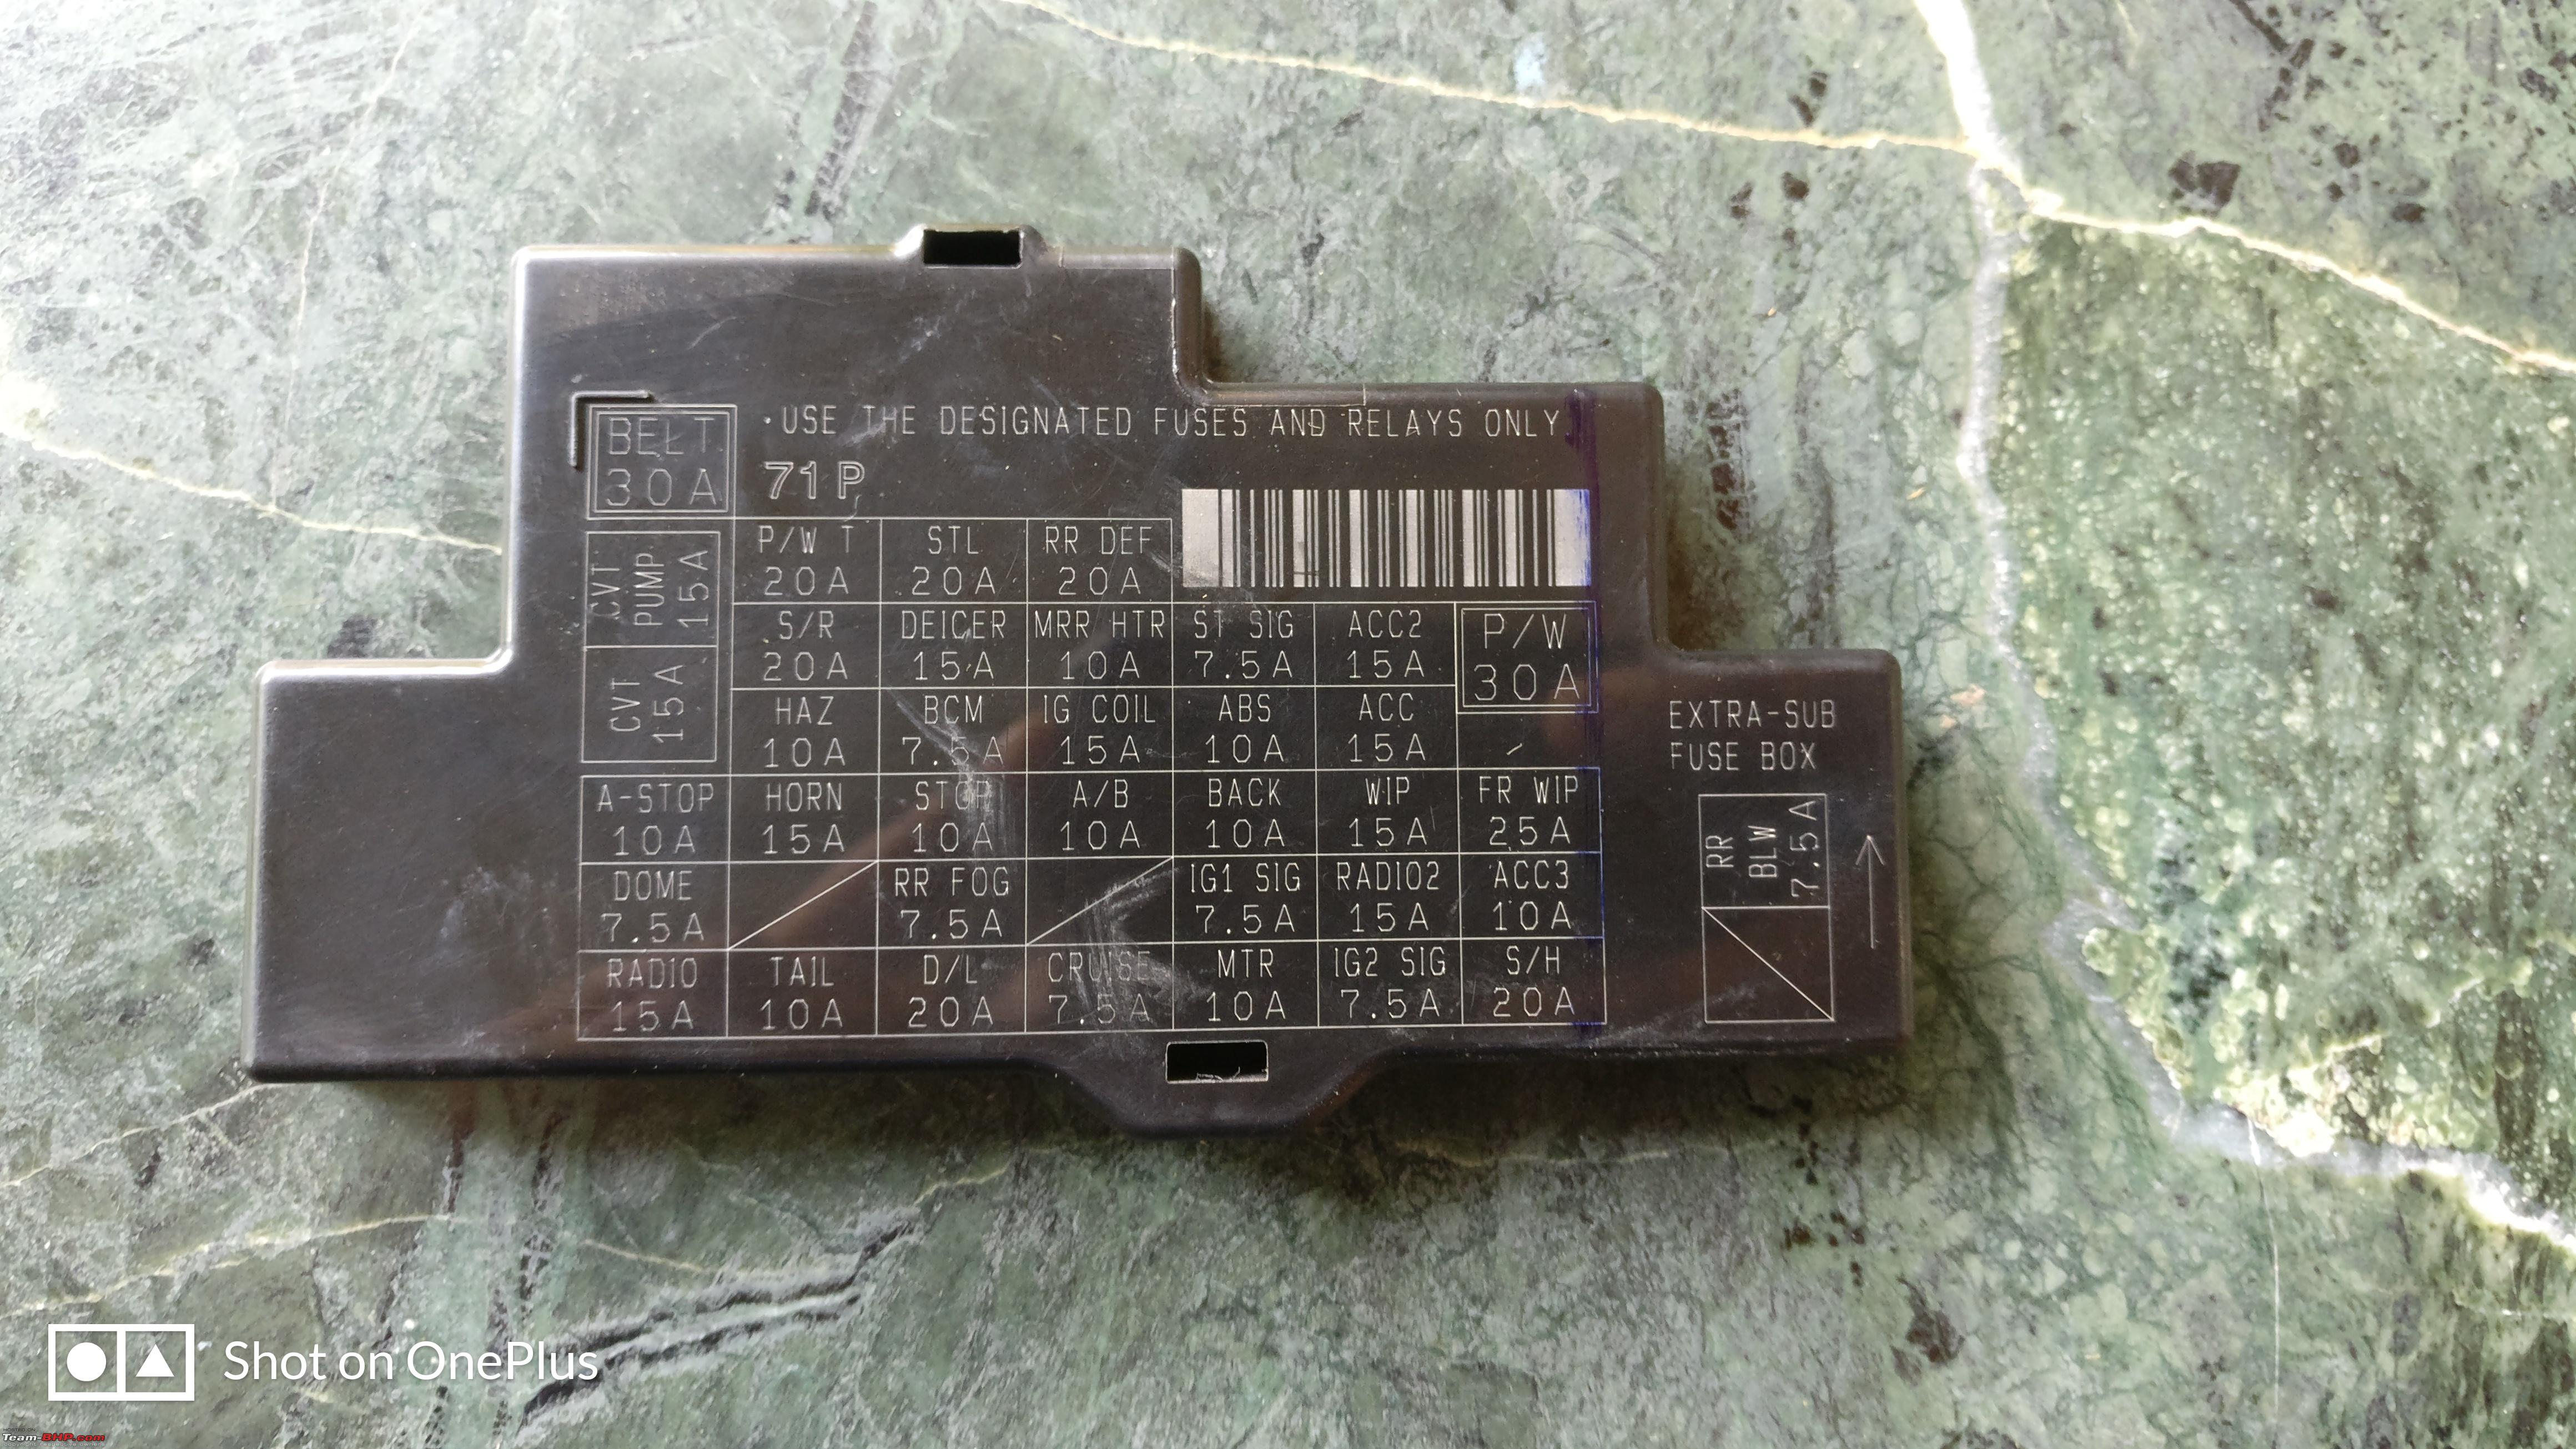
My home made line tester: 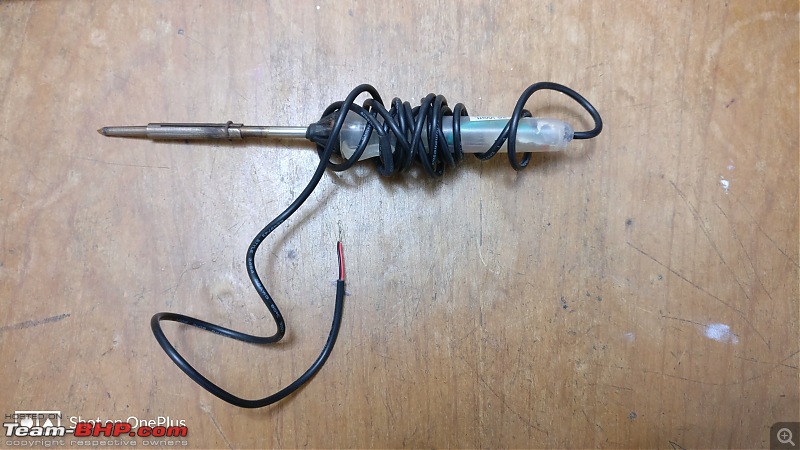 Fuse box cover and fuse tap:
I decided to take power from the empty fuse above the cruise control fuse; fuse number 26.
Pass the wire from there up to the central console and connect it to the positive of the controller. For the negative you can take supply from anywhere you like, I took from the metal part behind the central console, that is covered by the trim.
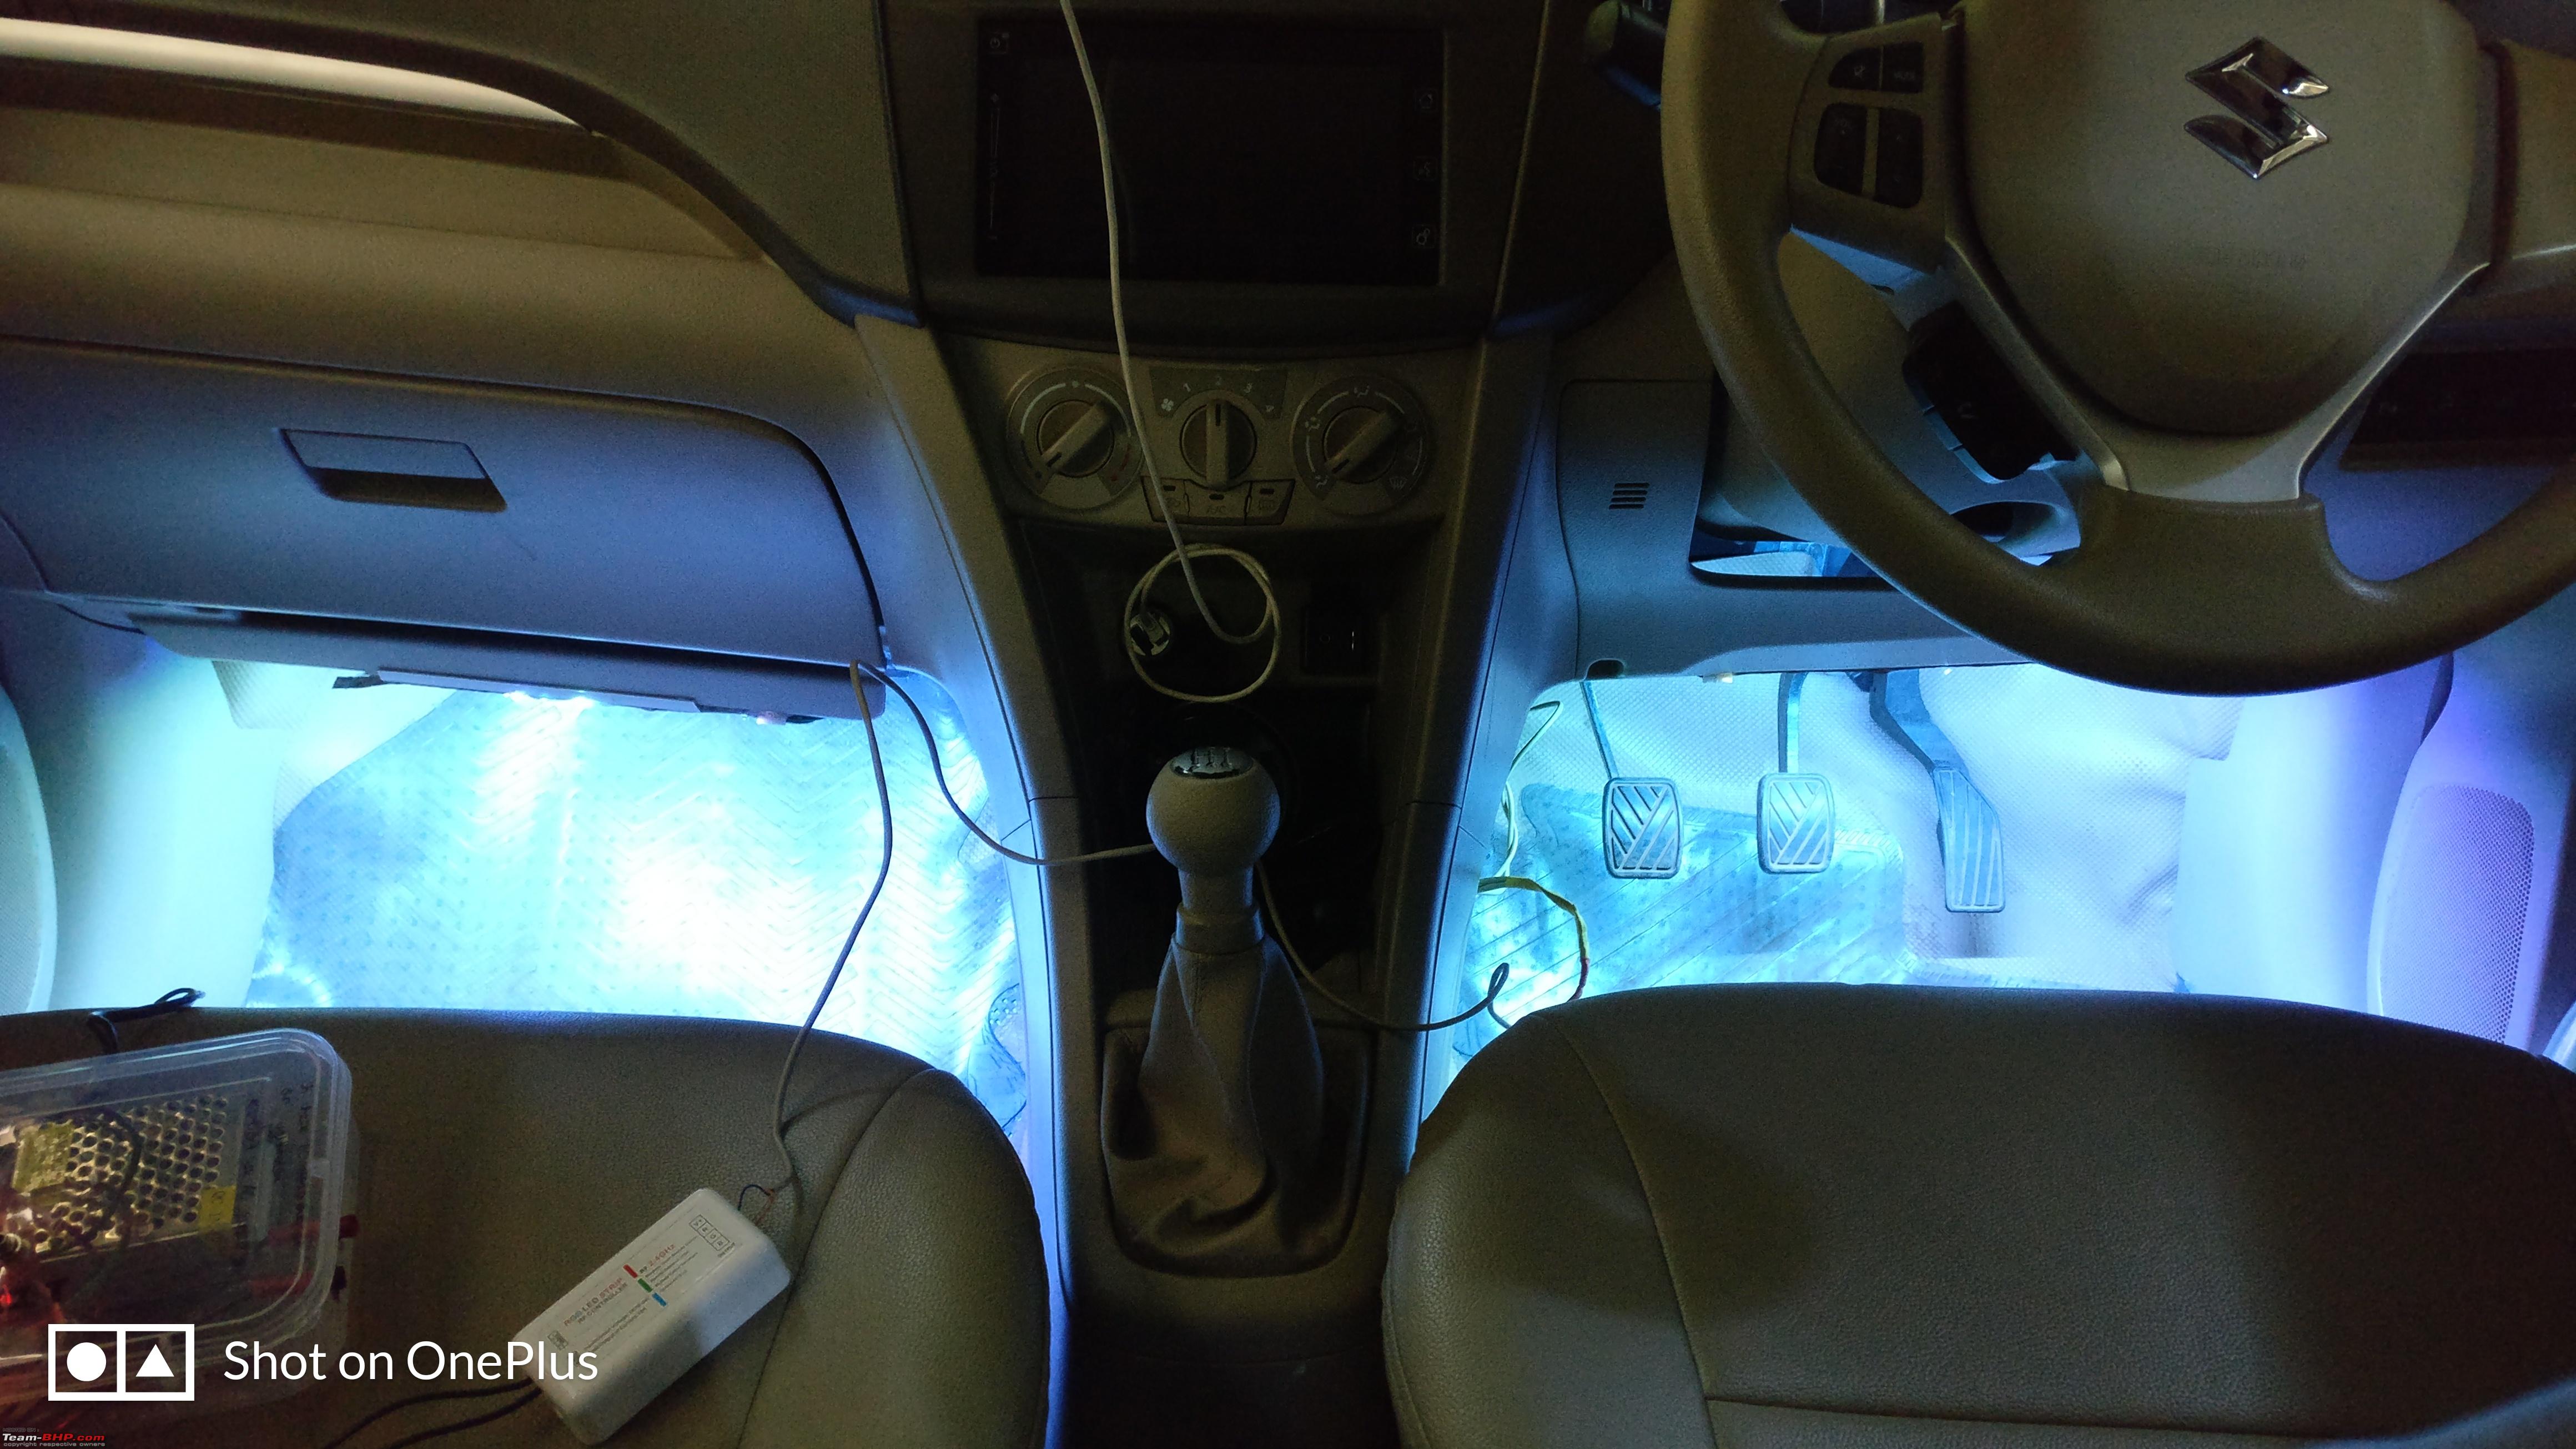
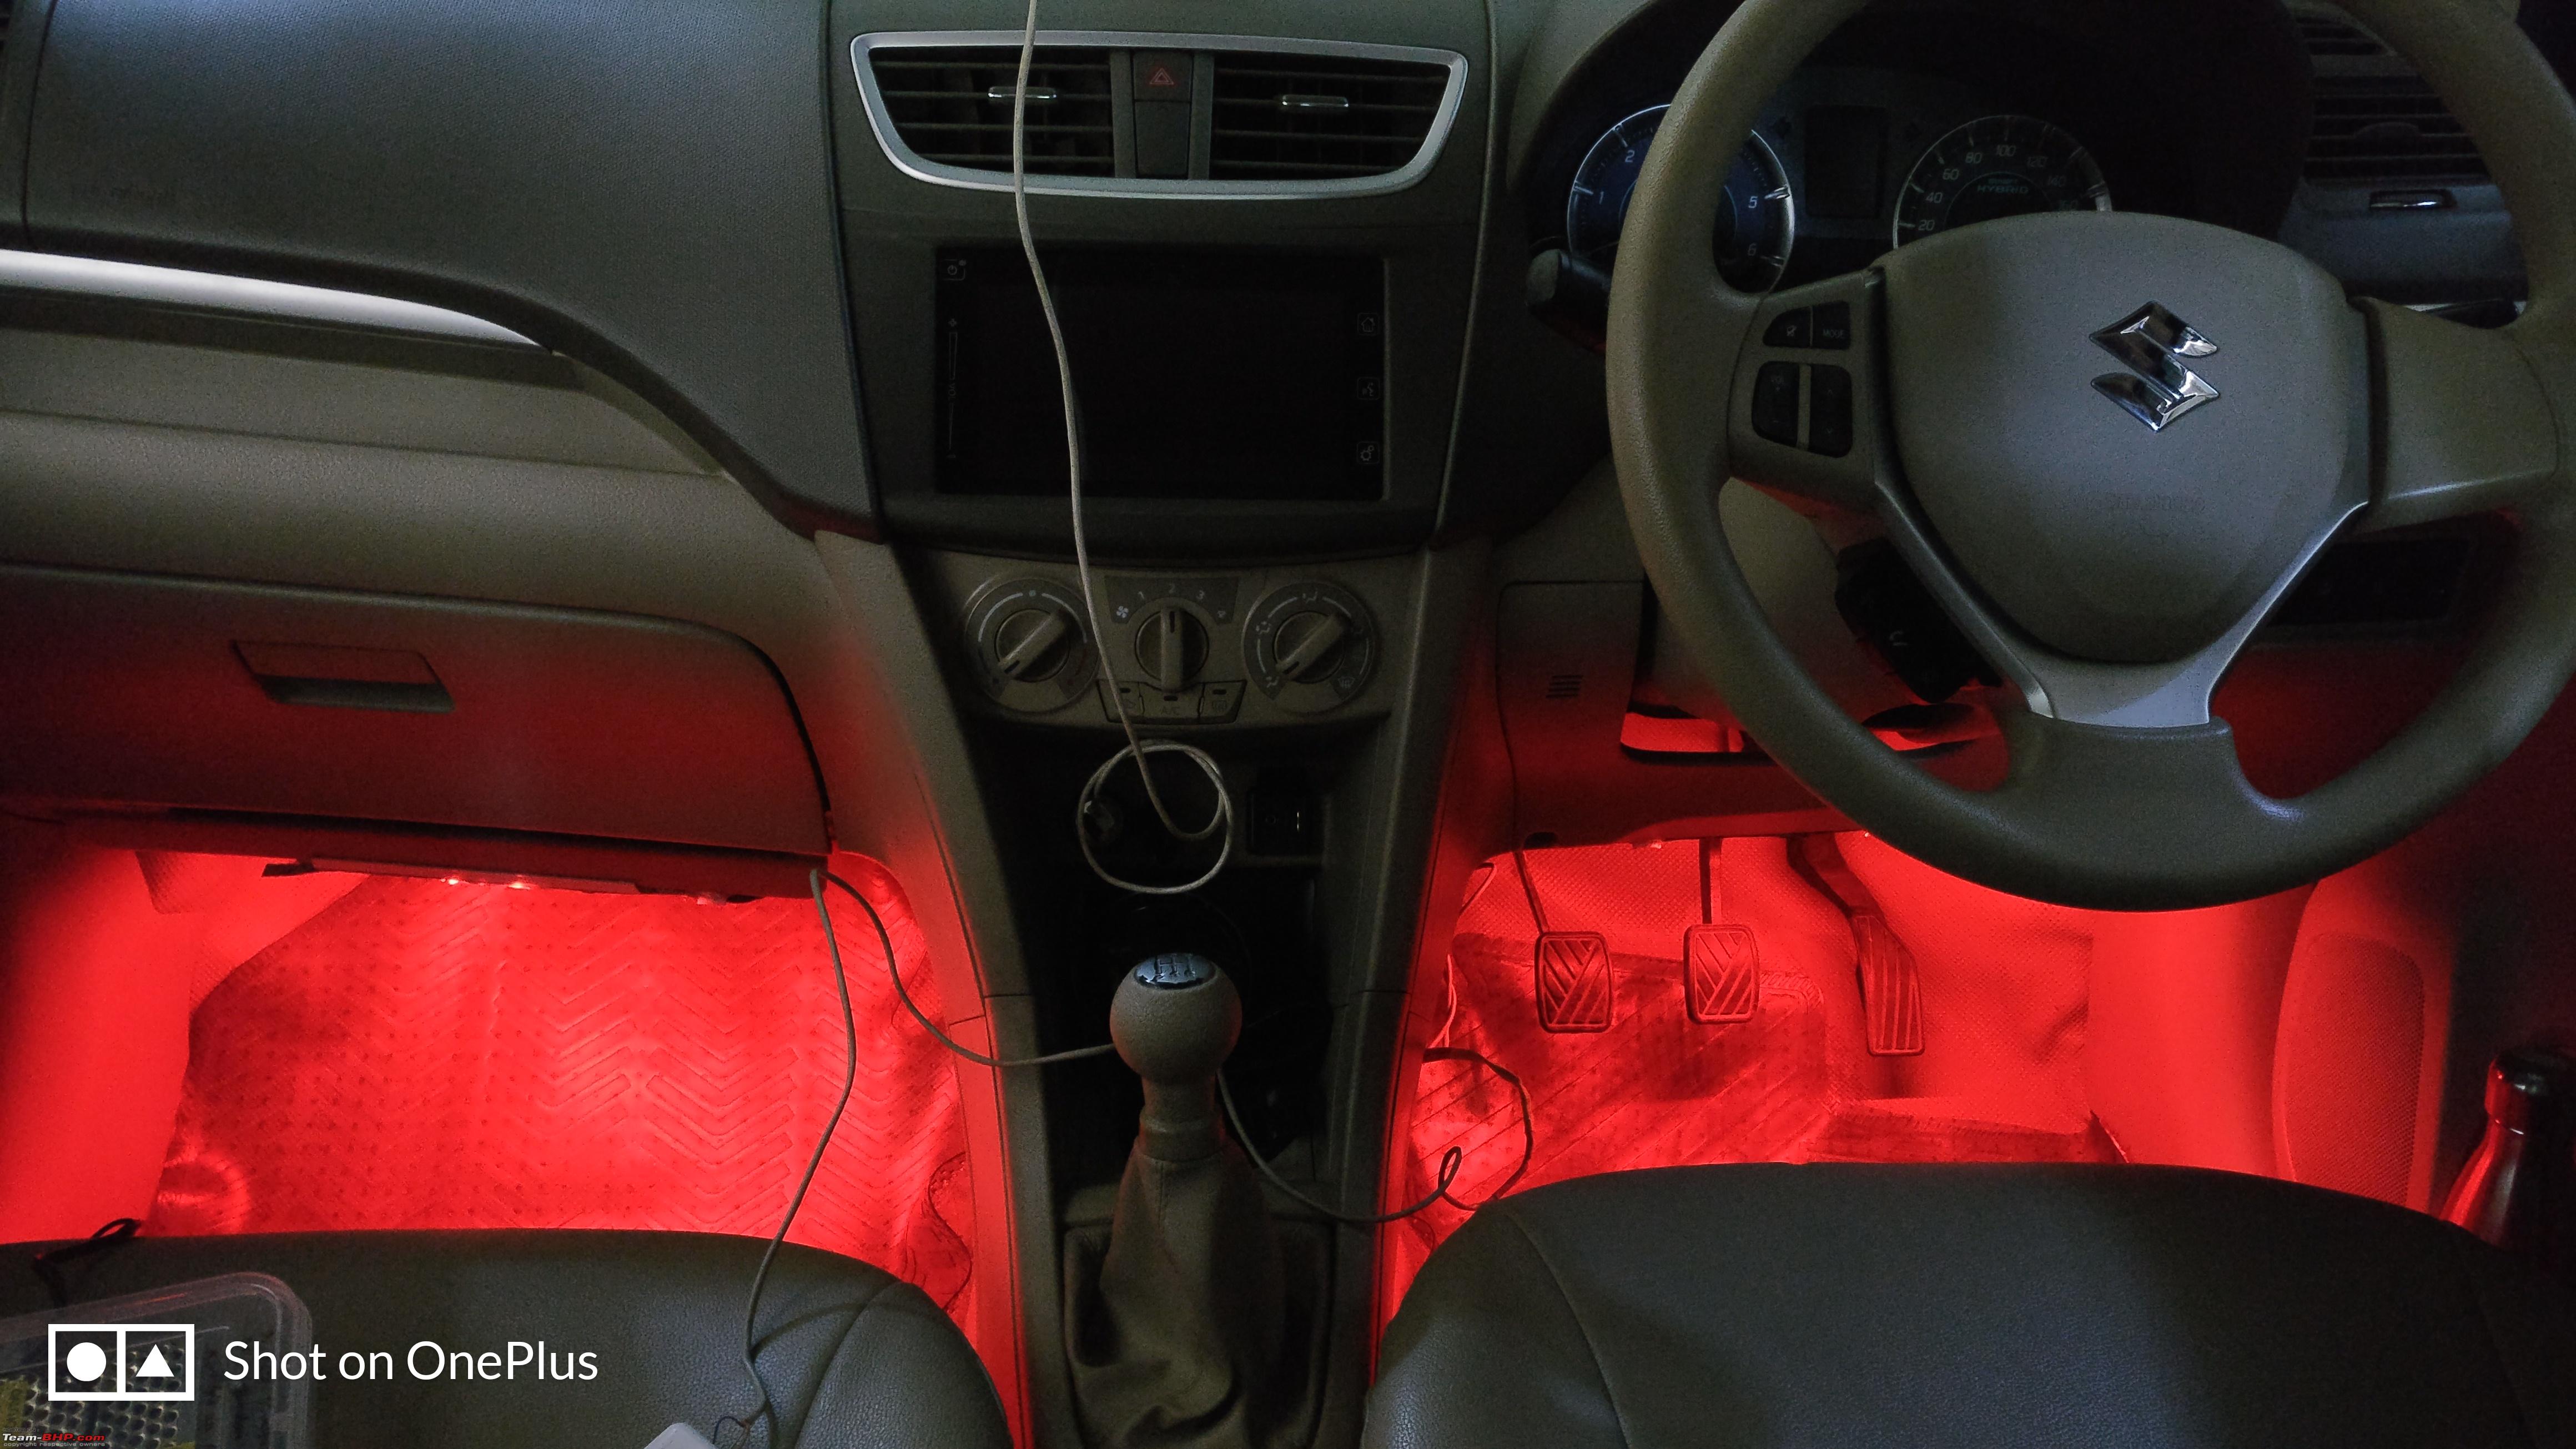
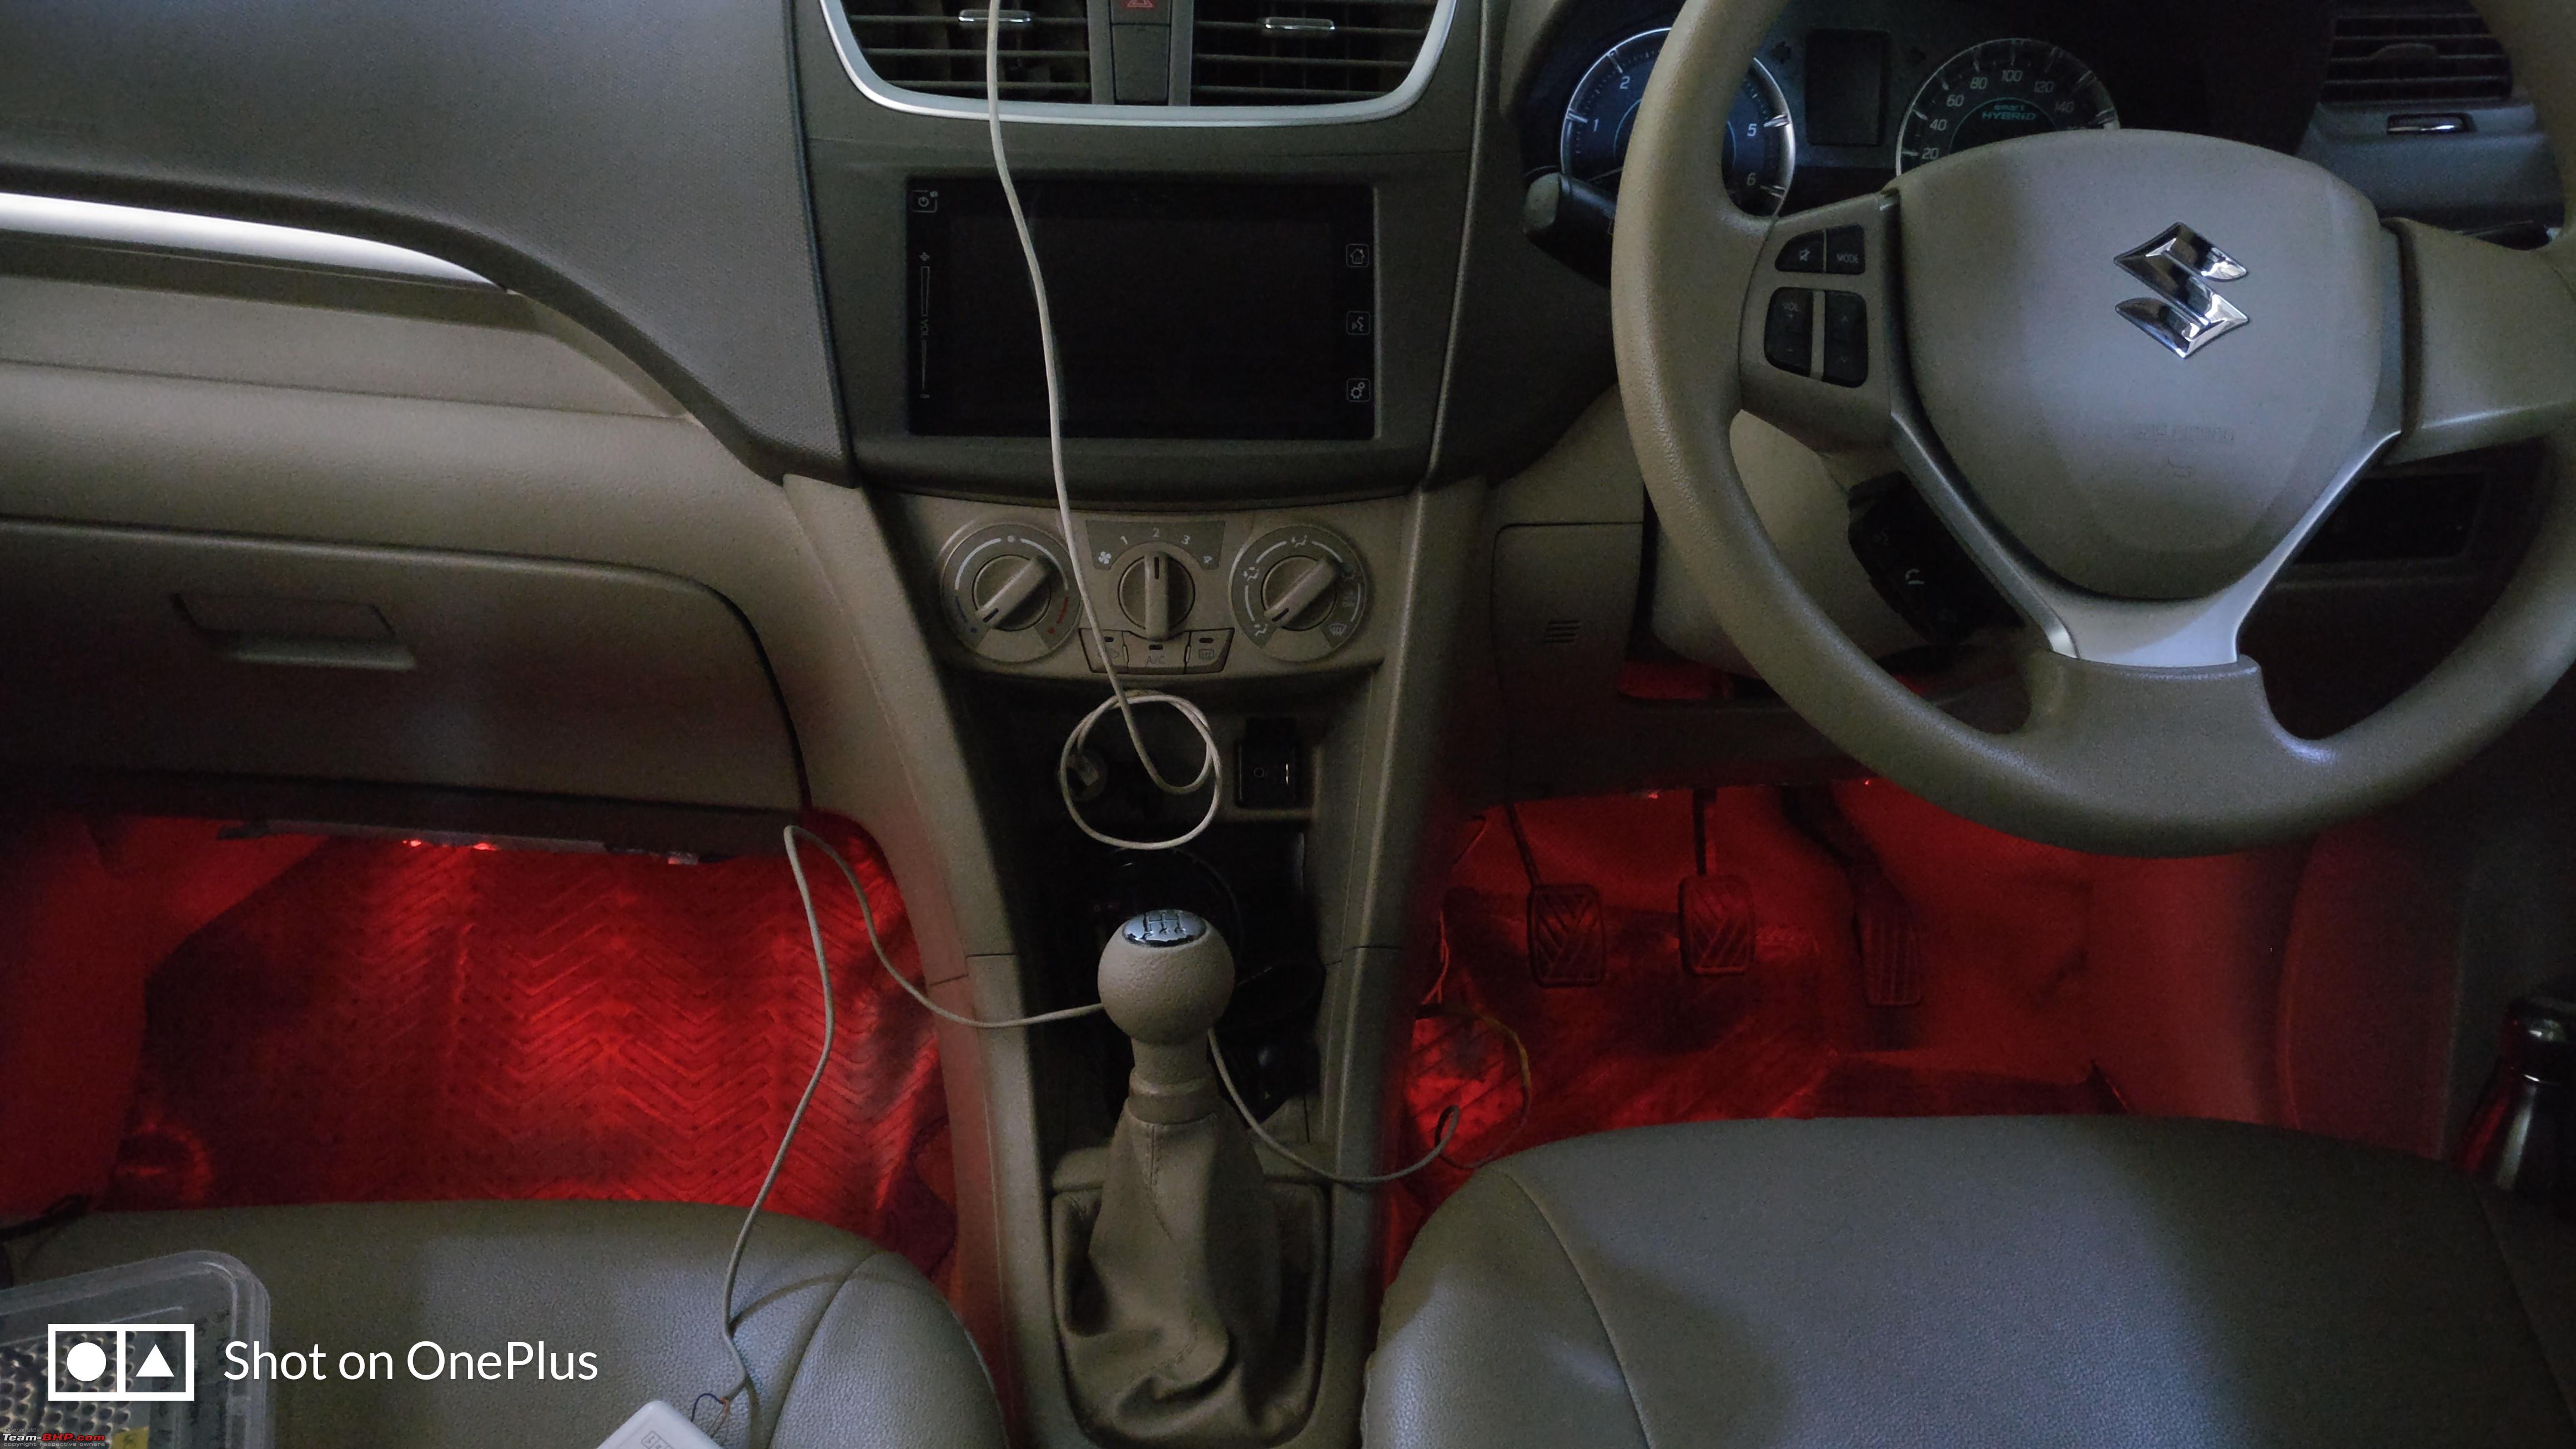
Do a test run by turning the Ignition ON and you should have the Mood Lighting working as expected.
Fix the controller in the central console area, using some hot glue.
The controller need not be exposed as it works on RF and not IR.
Points to remember:
- Do not take out the glue cover from the back of the RGB strip as it can lead to short circuits, if it touches any metal part.
- Make sure to double check all the connections before starting with the testing.
- Use an external battery or a test kit to check the setup.
- Heat shrink all the connections very well, to prevent any short circuit.
- Also make sure the end terminals of the strip, don't touch any metal parts.
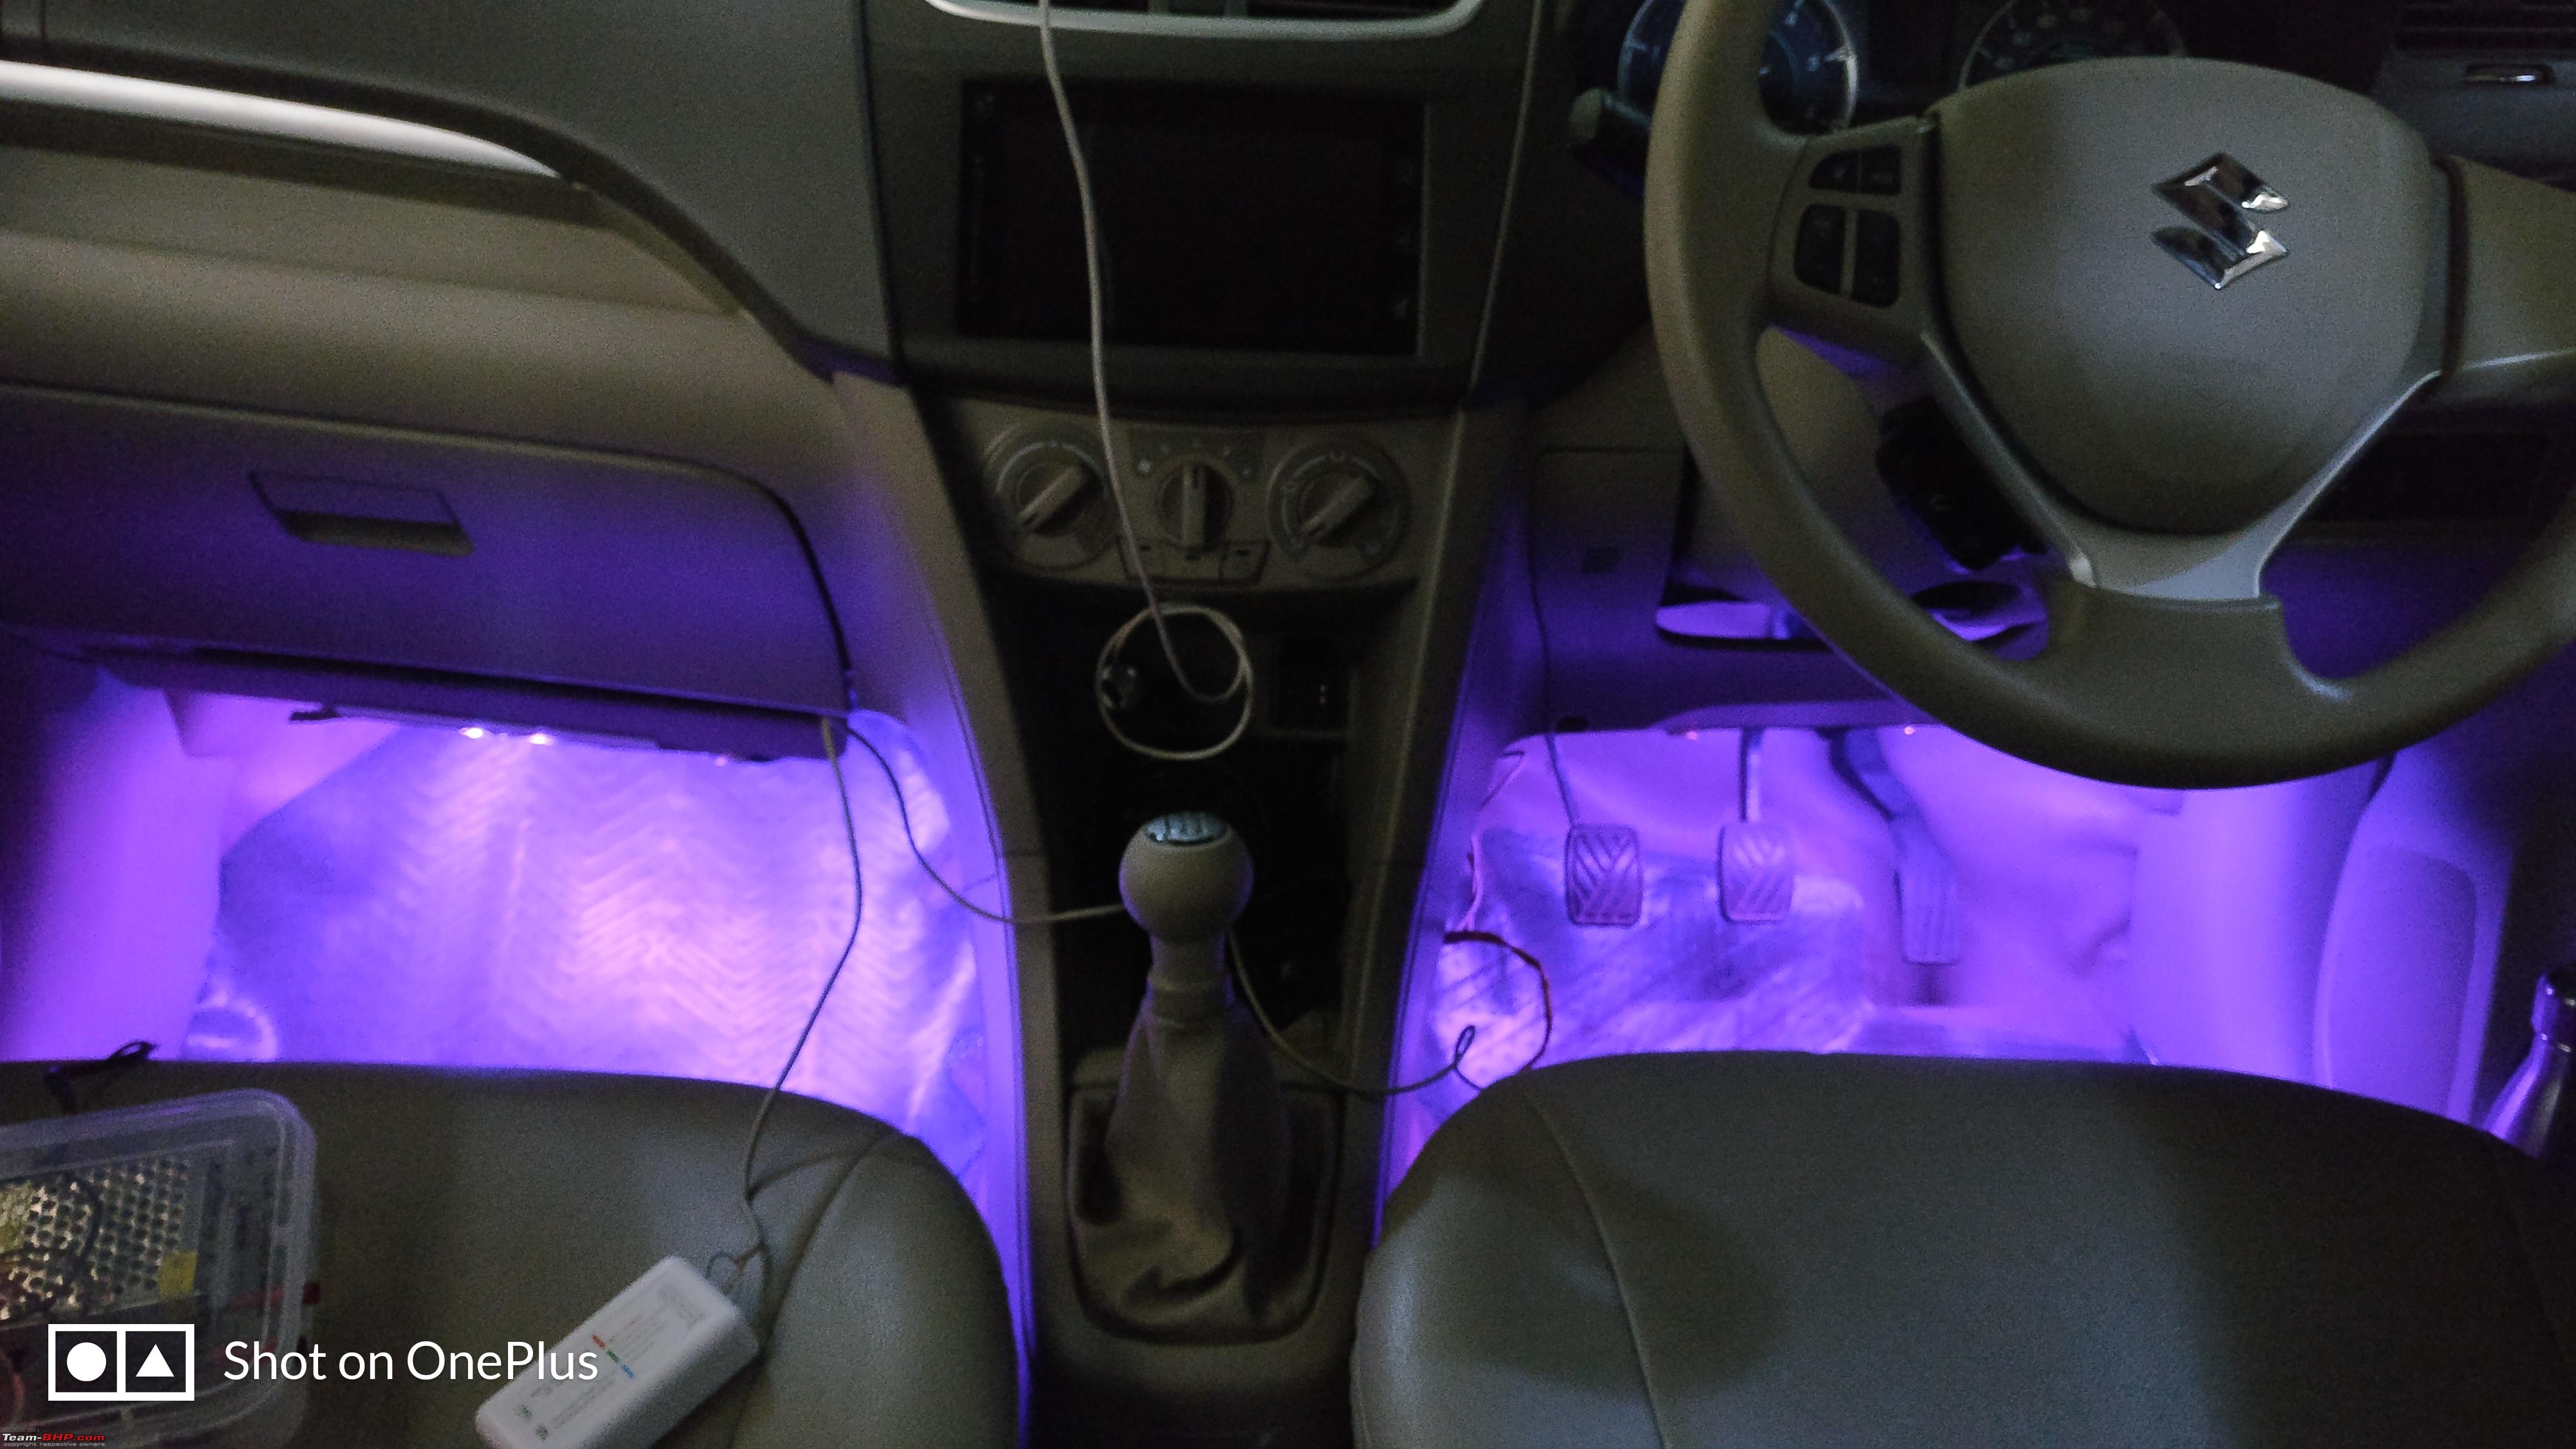
The color wheel on the remote can output multiple colors depending where you touch, there are no fixed or limited colors, just slide your finger over it and you will always have a different color with a different shade. The brightness can be adjusted for all colors.
Excellent DIY there Francis! I was contemplating such a mod in my car as well.
Quote:
Originally Posted by francis_vaz
(Post 4473626)
The color wheel on the remote can output multiple colors depending where you touch, there are no fixed or limited colors, just slide your finger over it and you will always have a different color with a different shade. The brightness can be adjusted for all colors.
|
One doubt, is there any provision to save colours on the remote, eg like a couple of frequently used ones? Reason being, once I match colour to other ambient lights in the car, how do I get back the same one after say showing off the colours to friends?
Quote:
Originally Posted by blackwasp
(Post 4474291)
Excellent DIY there Francis!
|
Thank you!!
Quote:
One doubt, is there any provision to save colours on the remote, eg like a couple of frequently used ones? Reason being, once I match colour to other ambient lights in the car, how do I get back the same one after say showing off the colours to friends?
|
There is no option to save any recent colors. But the controller does remember the last selected color or mode after turning it OFF and ON again. The only colors that are preset are RGB and white, which can be selected by cycling though the mode button.
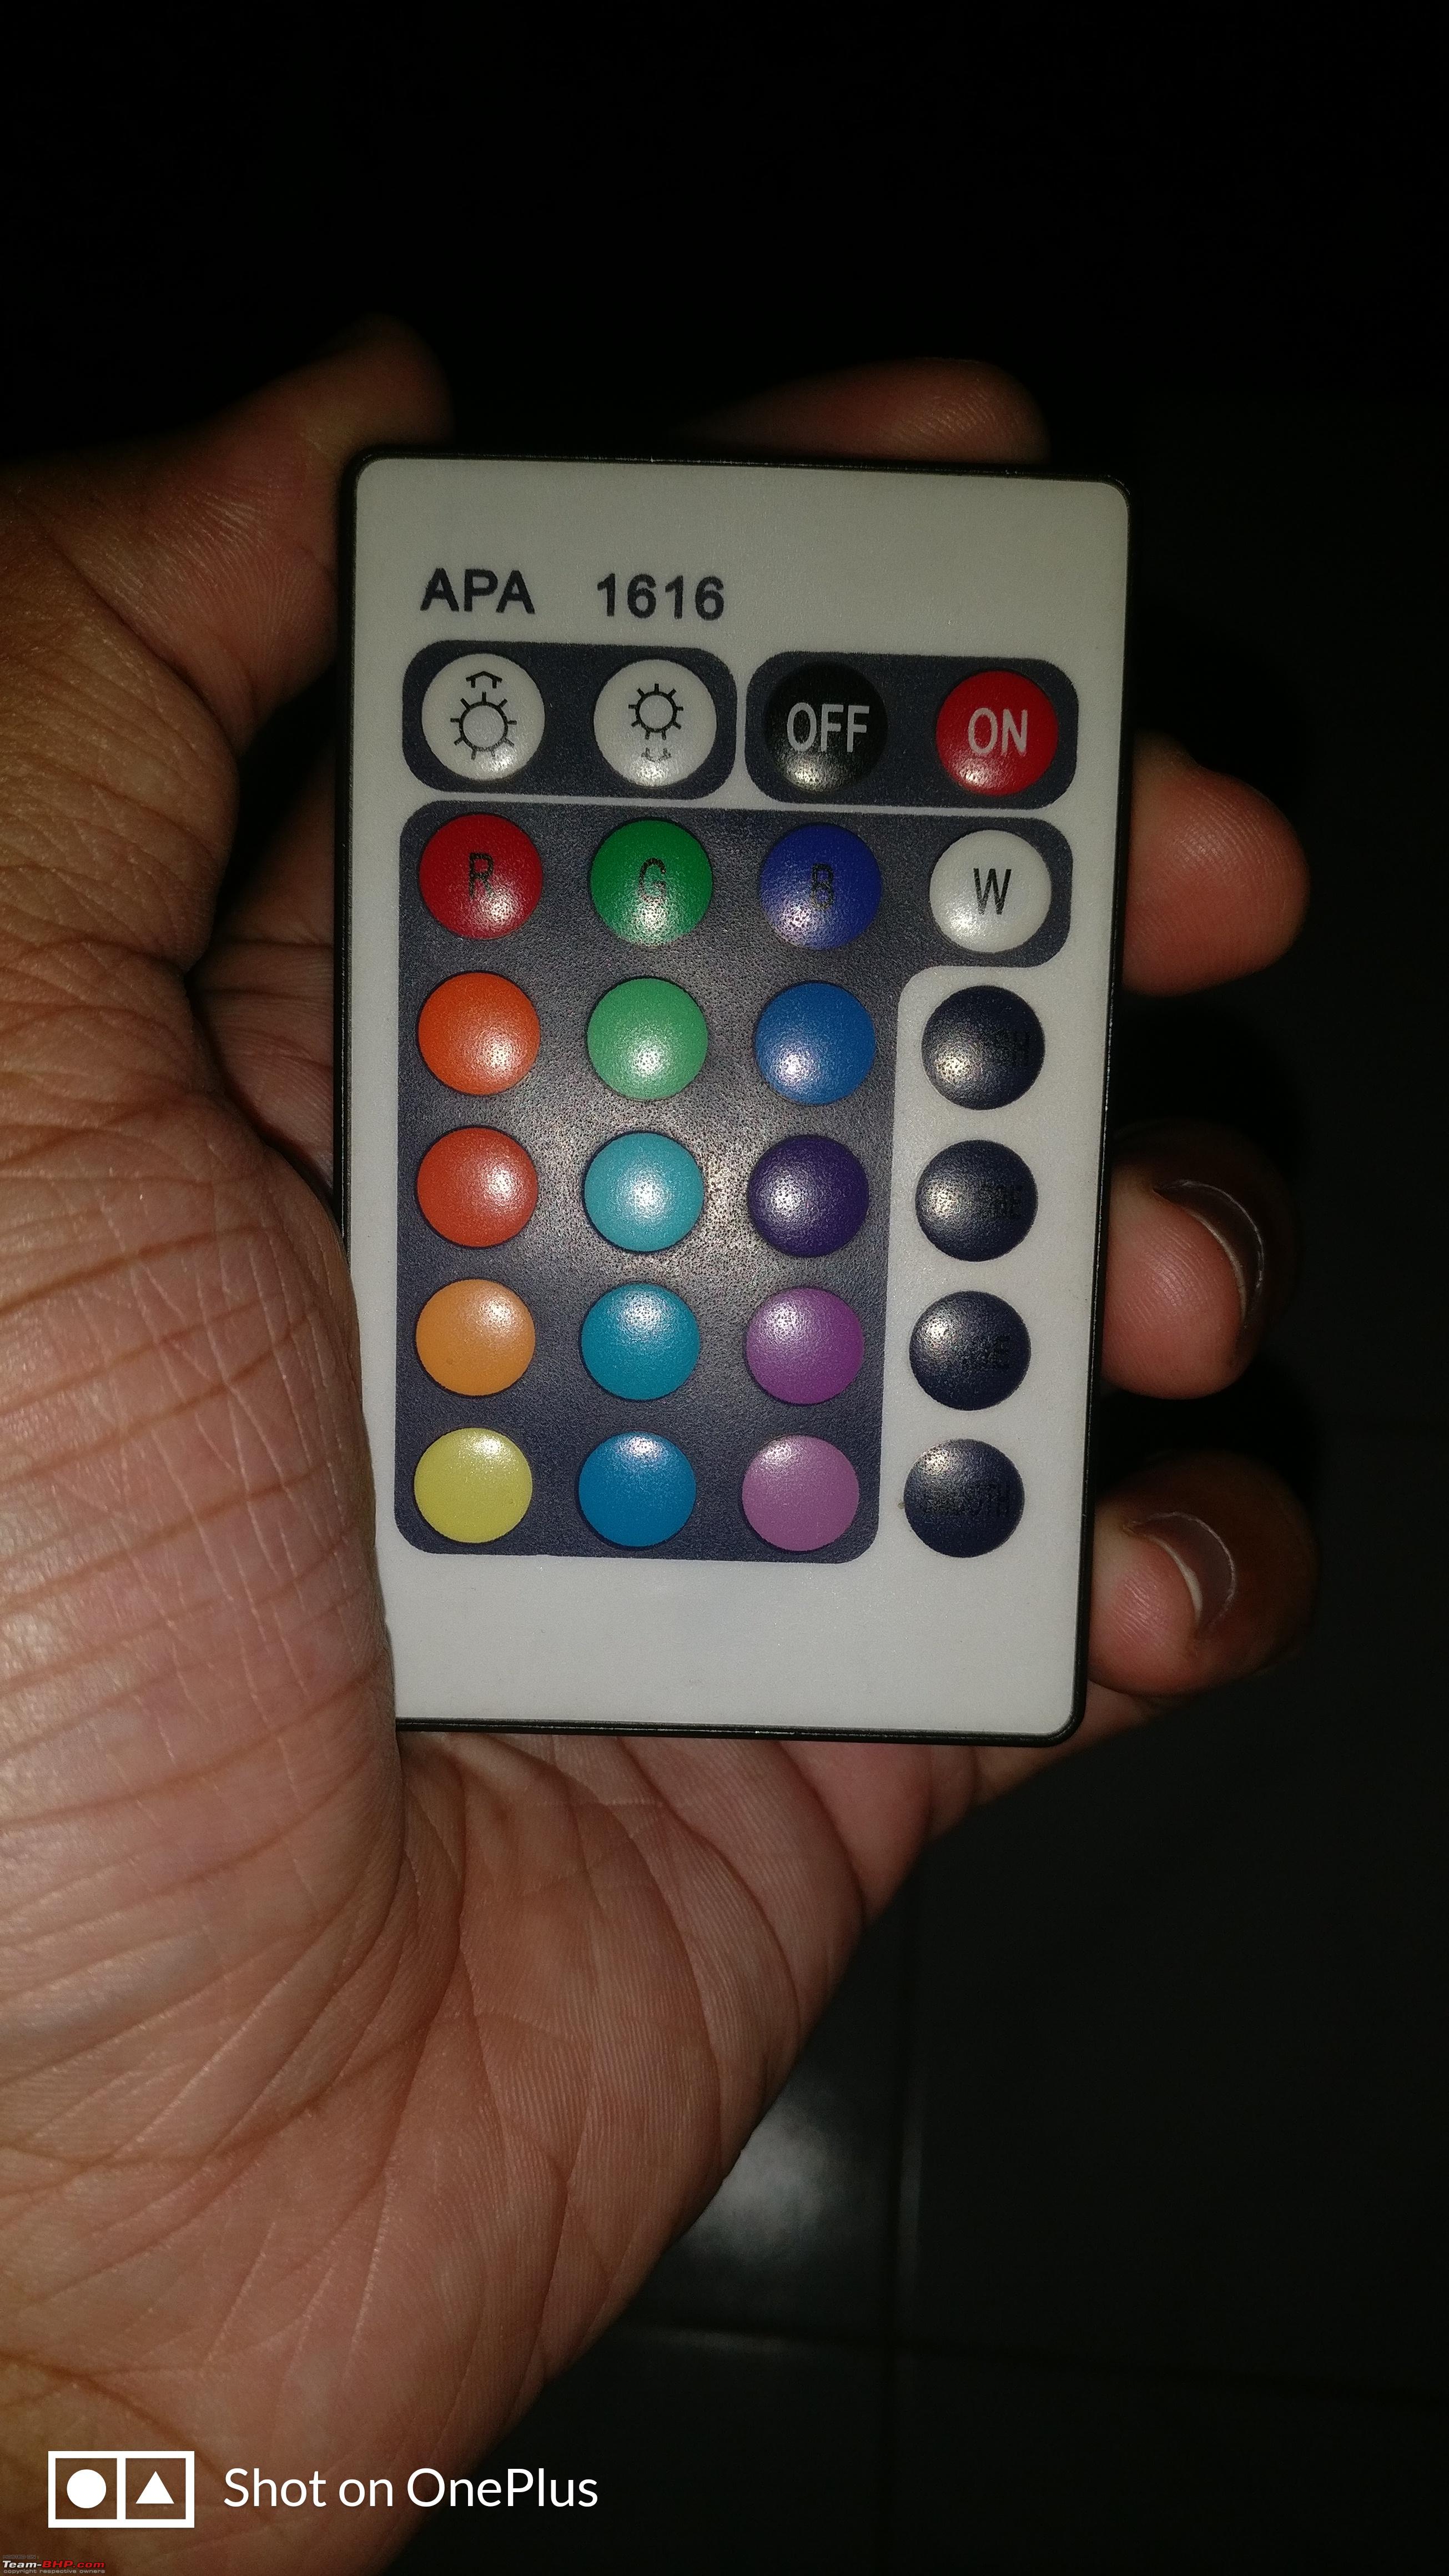
There are IR based controllers with the color palette type remote. There are separate buttons for each color. So you can just press the desired color button and go back to it.
But the only downside of those remote is the IR sensor on the controller needs to be stuck out somewhere.
I am adding a picture of the color palette type remote.
Link to the item:
24Keys LED RGB Controller DC12V IR Remote Controller for SMD 3528 5050 RGB LED Strip Lights
https://s.click.aliexpress.com/e/SWmnzes
| All times are GMT +5.5. The time now is 05:39. | |