Team-BHP > Technical Stuff > DIY - Do it yourself
Register New Topics New Posts Top Thanked Team-BHP FAQ


Reply
  Search this Thread
12,644 views
Old 15th October 2020, 08:45   #1
BHPian
 
saadat1992's Avatar
 
Join Date: Jun 2012
Location: New Haven, CT
Posts: 618
Thanked: 387 Times
Easy DIY: Restoring hazy headlamps on my Toyota Avalon

Hello!

I'm writing a thread on this forum after a really long hiatus. The last thread I wrote was perhaps in 2013? A lot happened over the years, undergrad, work, work and work and moved abroad to pursue masters. I might have lost touch in writing on this forum, but bear with me as I narrate the tale of how I restored my car's hazy headlamps.

What is this about?


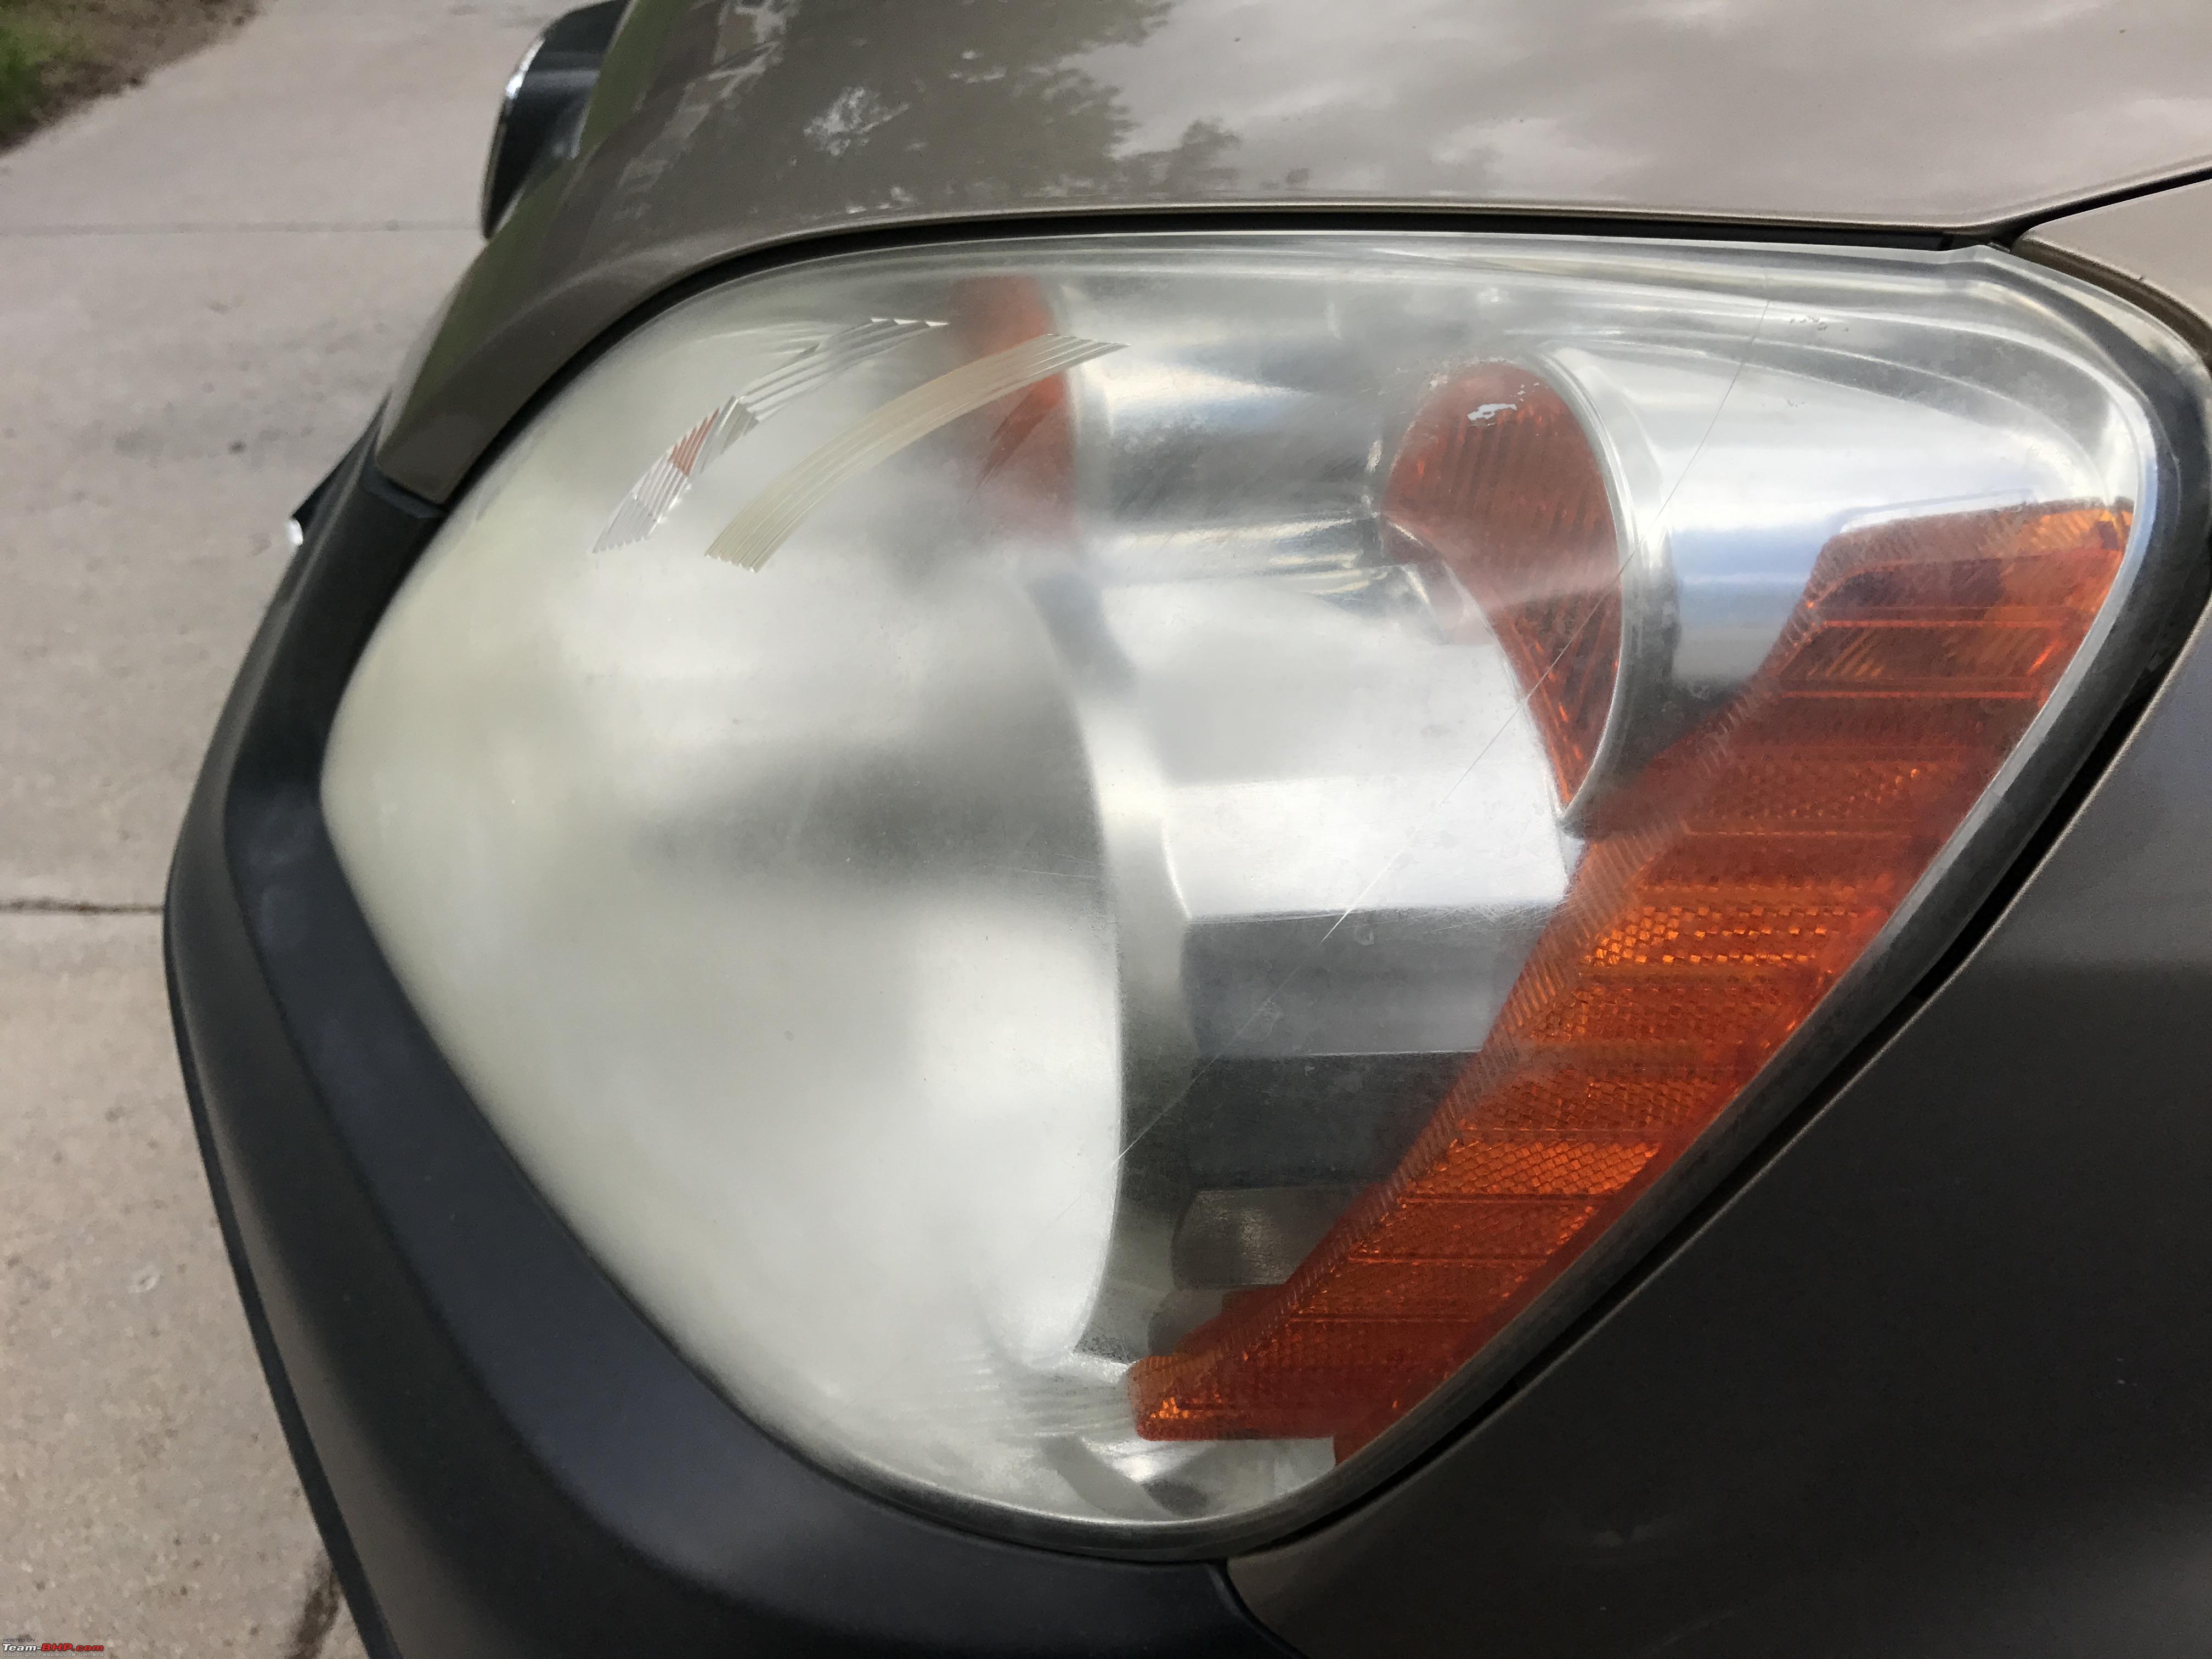
A car's front is seen as just a facade by some and as a face by many. Having a well maintained, shiny vehicle is very desirable and easy too. But, I wouldn't say the same for the headlamps. Being exposed to varying weather conditions over the years, a car's headlamps start to fade out and become hazy over the years, which can become an eyesore over the years. Hazy headlamps not just affect the aesthetics of the vehicle, they also tend to have a poor downroad light output.

What vehicle do I use?

I purchased a preowned 2007 Toyota Avalon Limited few months ago from a friend of mine. Having primarily driven a Toyota back in India, Toyota was the first brand that came to my mind when I set out to buy my first car here in the land of 50 states. I did temporarily own a classic 1999 Toyota Camry during the winter before I sold it and upgraded to this much more beefy and premium Avalon.

Why am I writing this?


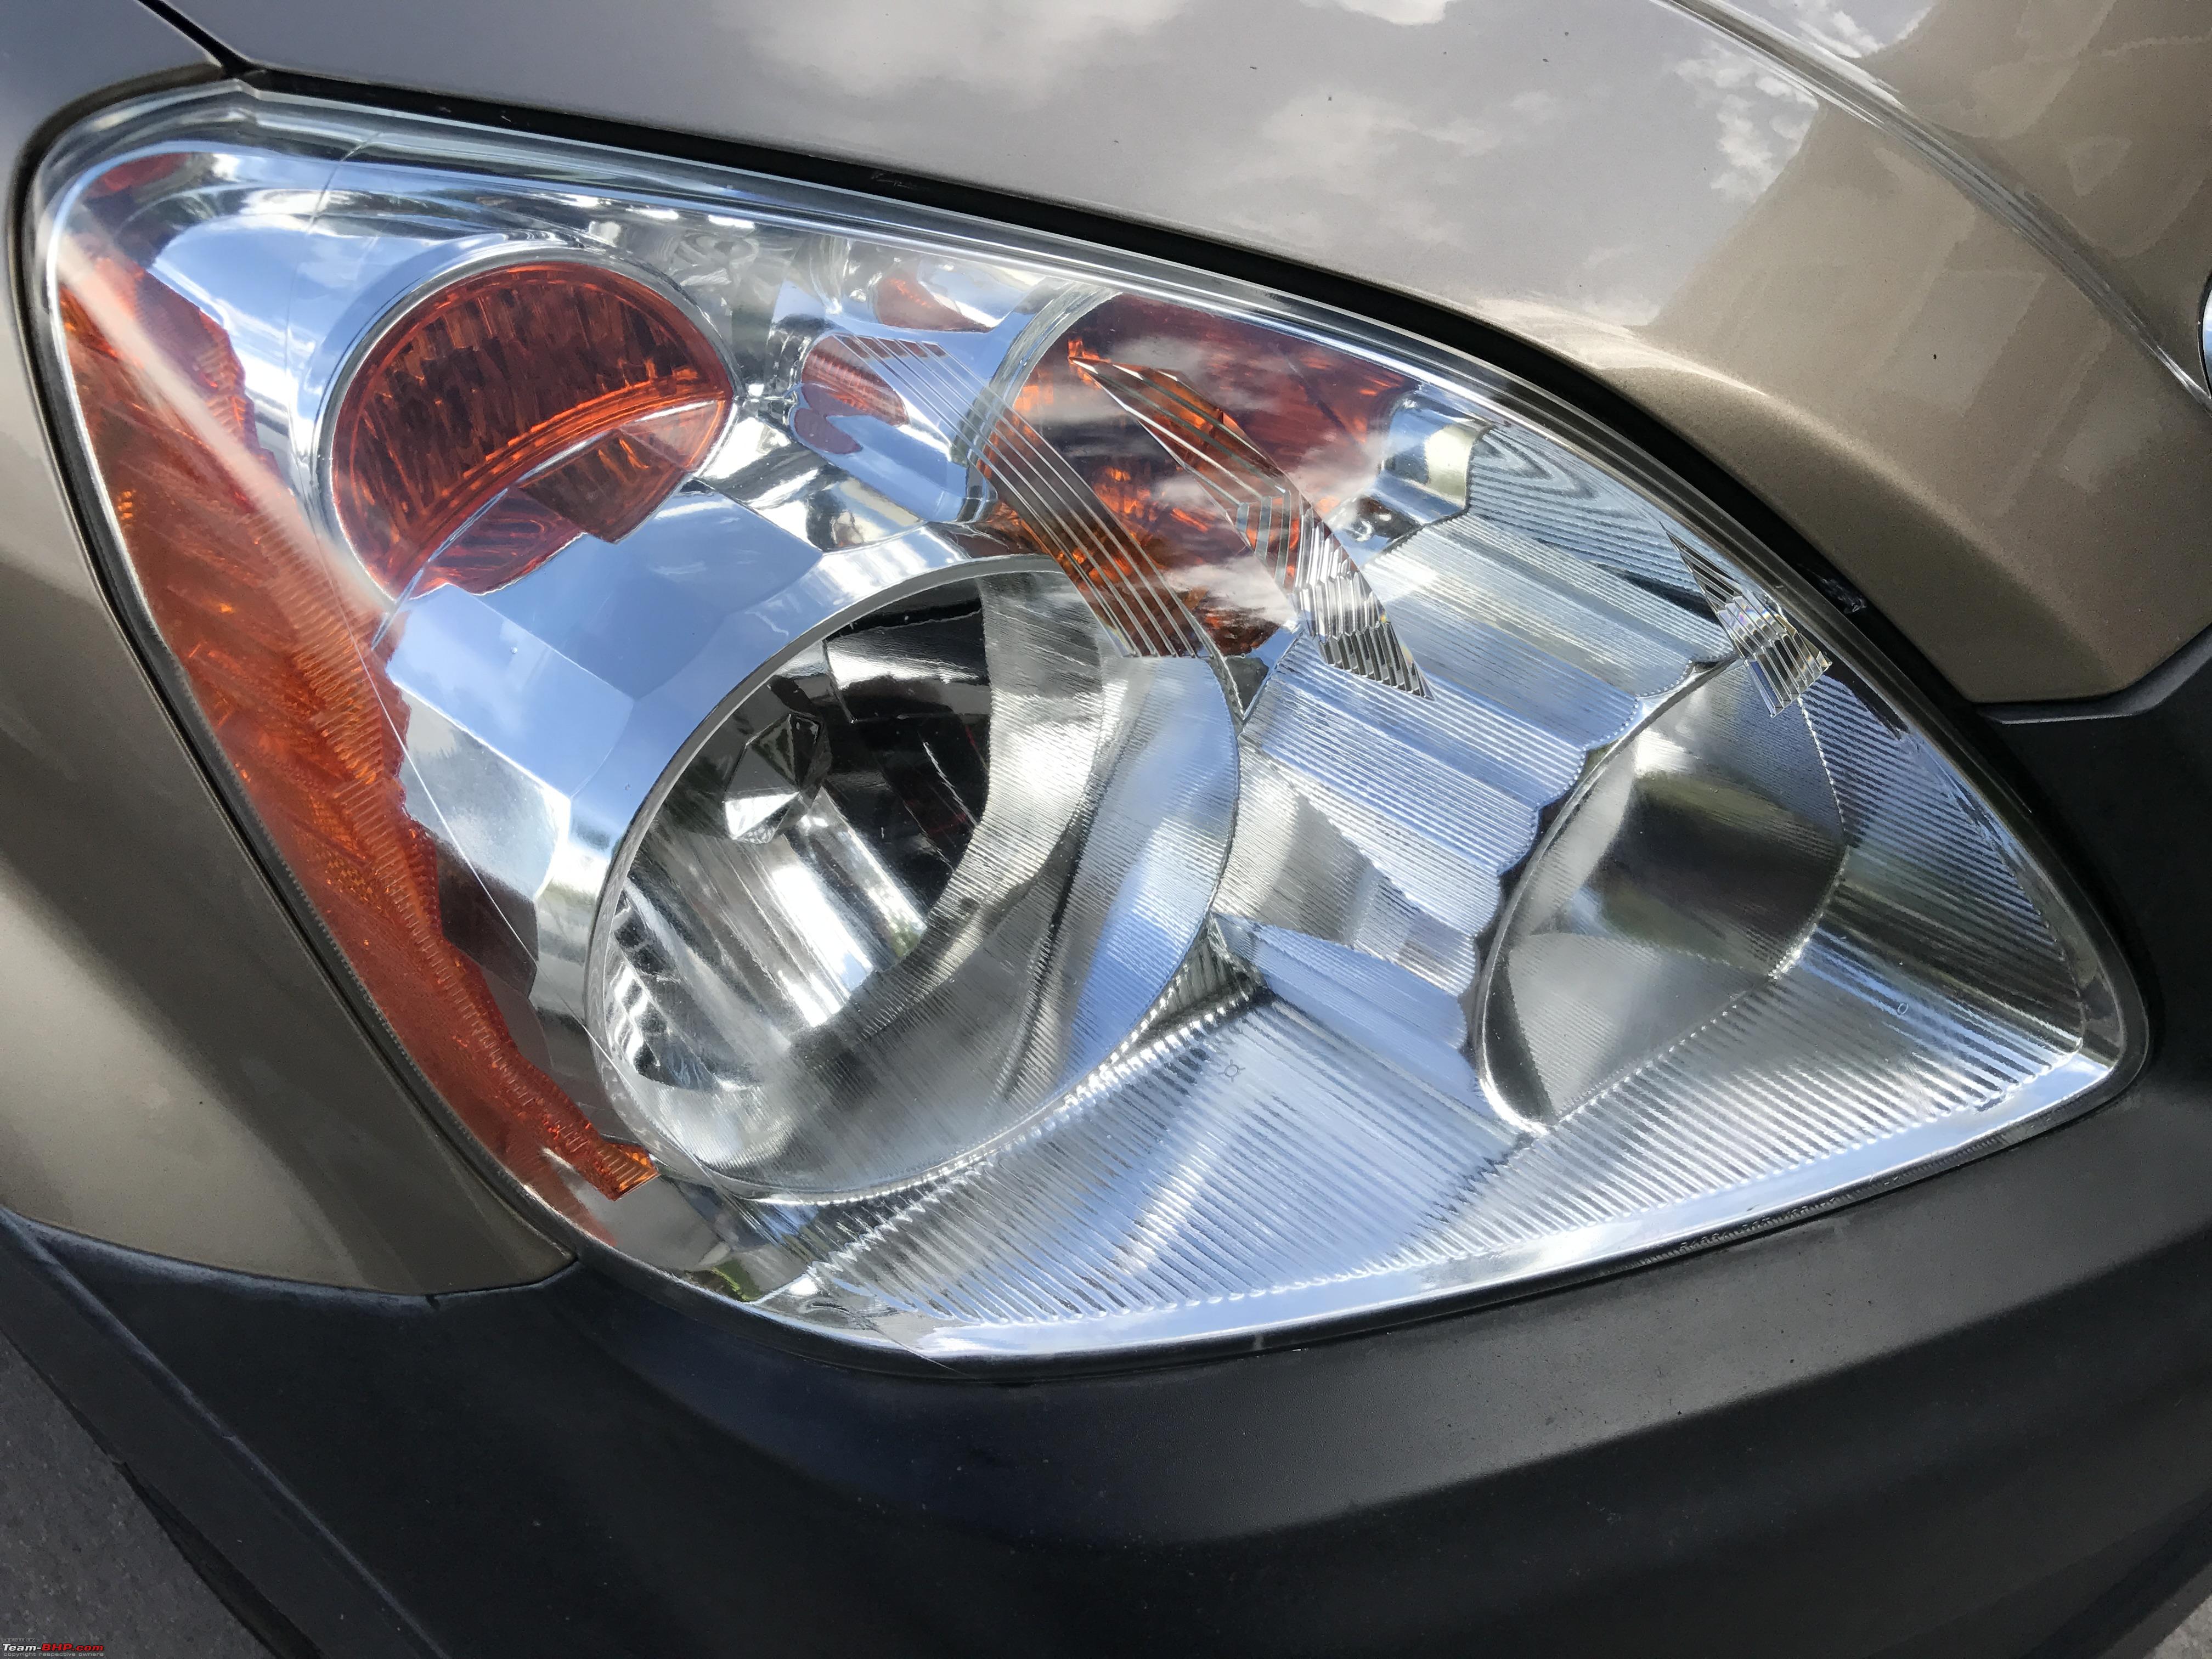
I was really excited with the purchase of this vehicle, everything looked great inside out, except for the hazy headlamps that seemed to scatter the brilliant 6500k HID headlamps. It was bothering me, I tried out the safe toothpaste and toothbrush method, it hardly made a difference to my vehicle, but produced excellent results in my Uncle's Honda Odyssey.
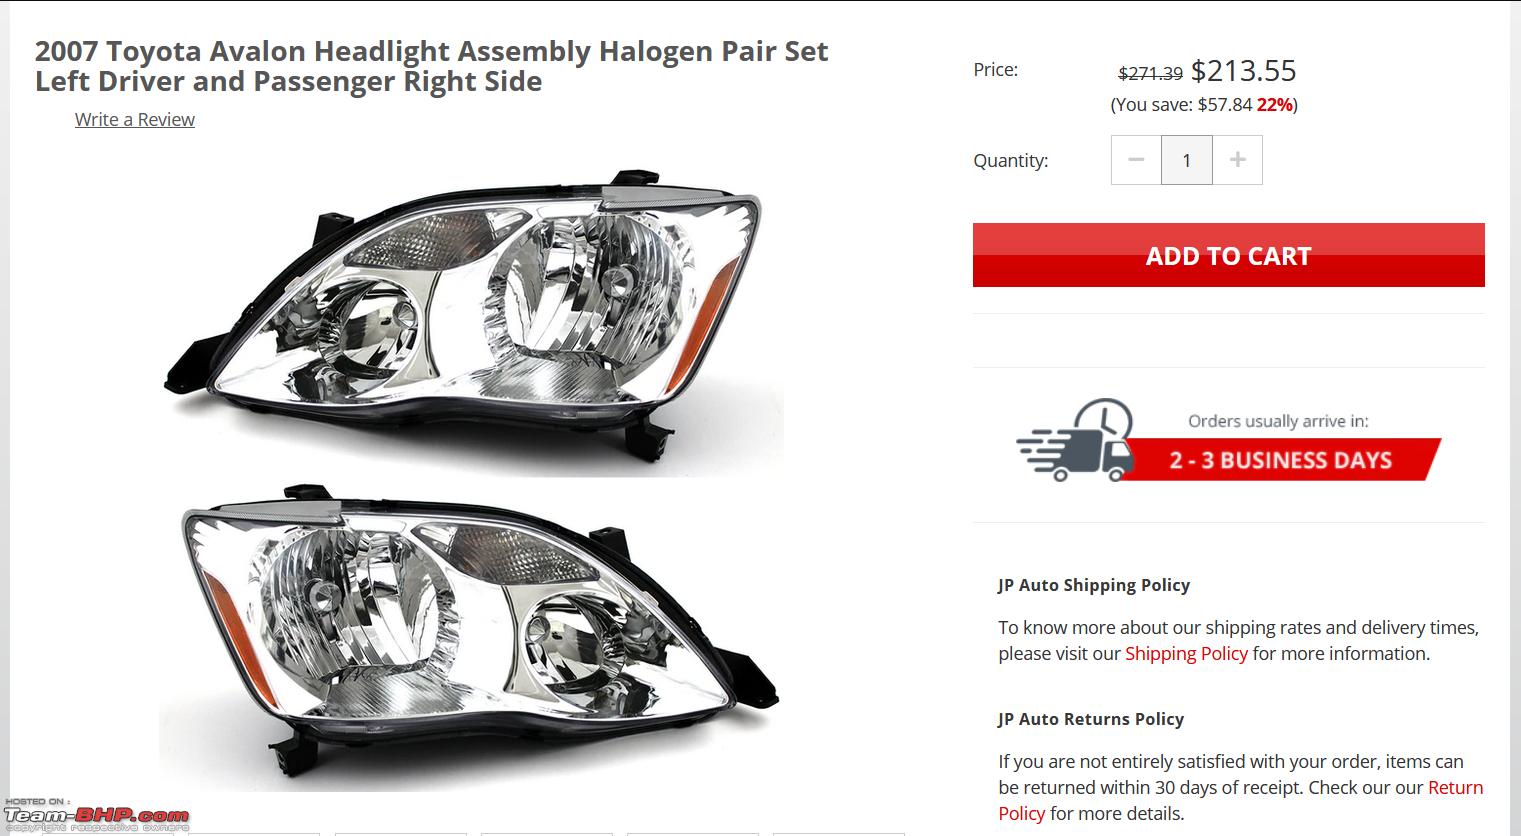
I searched online for fixes and even new headlamp assemblies. They were priced out of my budget.

Easy DIY: Restoring hazy headlamps on my Toyota Avalon-screenshot-20201014-215713.png

I started looking for headlamp restoration services and asked my local carwash chain for a quote. This is what I got.

Name:  Splash.png
Views: 8162
Size:  402.0 KB

Even though they offered a year's warranty, the $75 price tag seemed pretty steep, at least for a student like me!

I was in pursuit of finding a solution to the hazy headlamps whilst juggling between adulting, taking online classes, writing assignments, taking quizzes and of course, watching my favorite shows on Netflix

That's when I stumbled upon the DIY kits on Amazon. Browsed a bunch of products, shortlisted, read reviews of the product on Amazon and watched tutorials and results on youtube to get the whole picture. Most kits required power tools, but there was one kit that required strong fingers and forearm: Sylvania! This was the only kit that did not require a drill. I quickly ordered it for a mere $20 inclusive of taxes and waited for it to arrive.
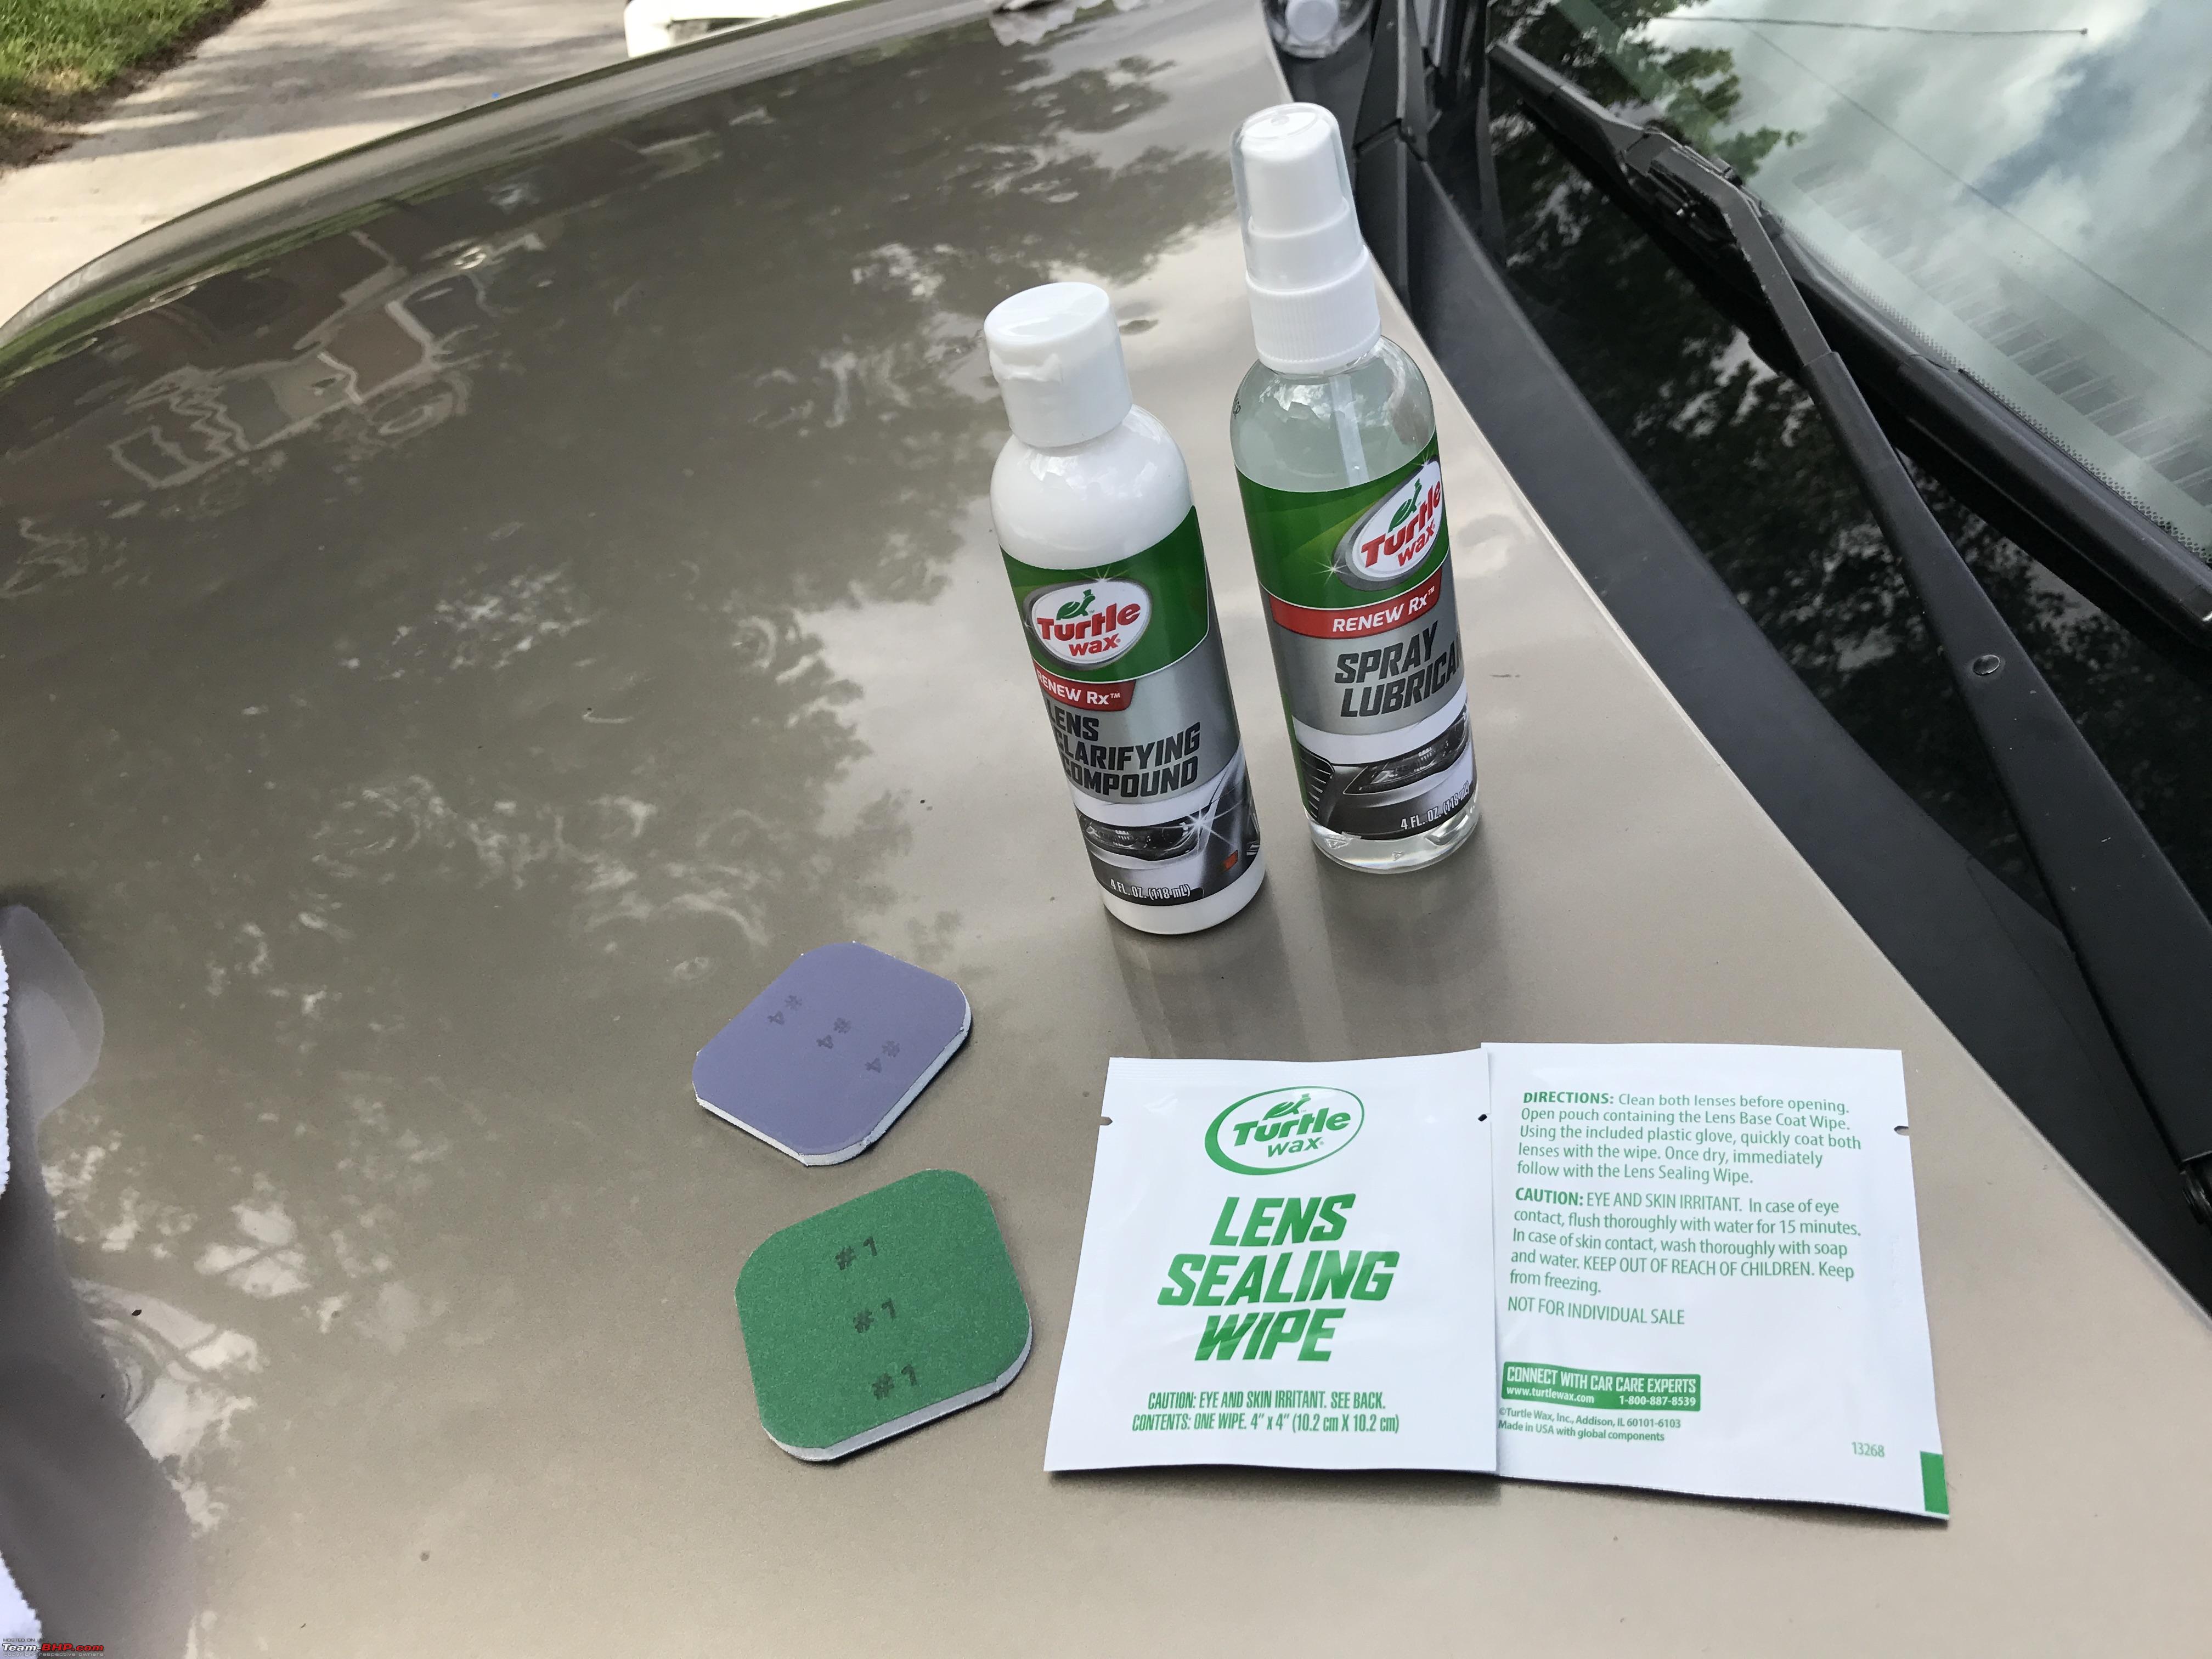
The Kit:


The kit reached me in about 3 days, as this wasn't a prime fulfilled product and it was pretty simple.

Easy DIY: Restoring hazy headlamps on my Toyota Avalon-kit.jpg

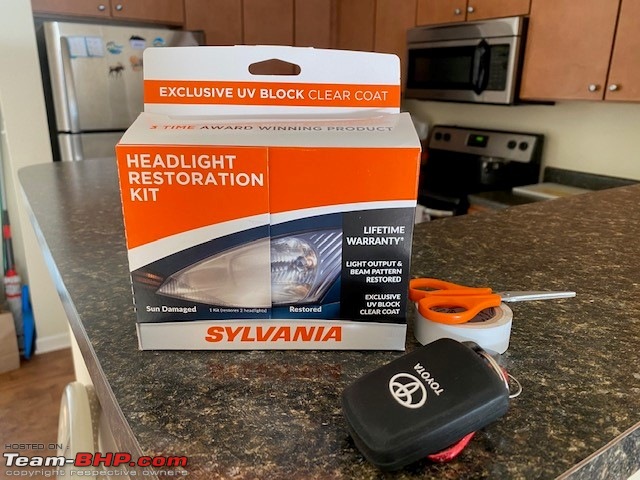
It had a variety of tools in it to get the headlamps back to looking like new.
  1. Surface activator
  2. 400 Grit Sandpaper
  3. 1000 Grit Sandpaper
  4. 2000 Grit Sandpaper
  5. Two soft towels
  6. Clarifying Compound
  7. Applicator cloth
  8. UV shield coating
  9. Vinyl gloves
  10. Instructions
Easy DIY: Restoring hazy headlamps on my Toyota Avalon-full-kit.jpg
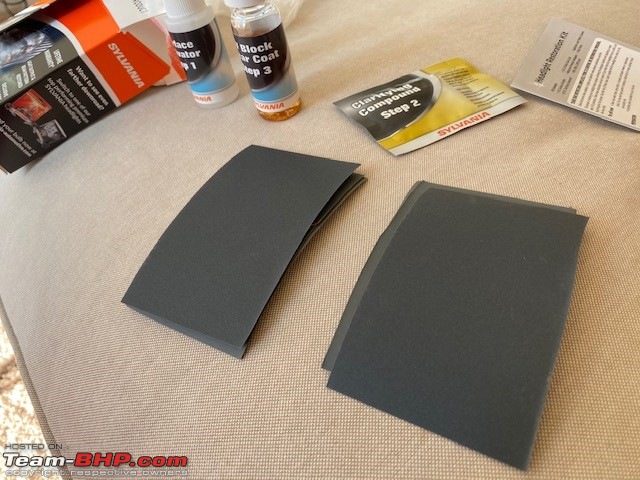
The Sandpapers they had given were all single papers. To use them on the two headlamps, I cut them into two smaller and equal sized papers.

Easy DIY: Restoring hazy headlamps on my Toyota Avalon-sppr.jpg

For the masking tape, I had used the insultation tape that I had at home. I also took plenty of paper towel, two foldable chairs, a bucket full of water to get the process done.

The Process:


Step 1:
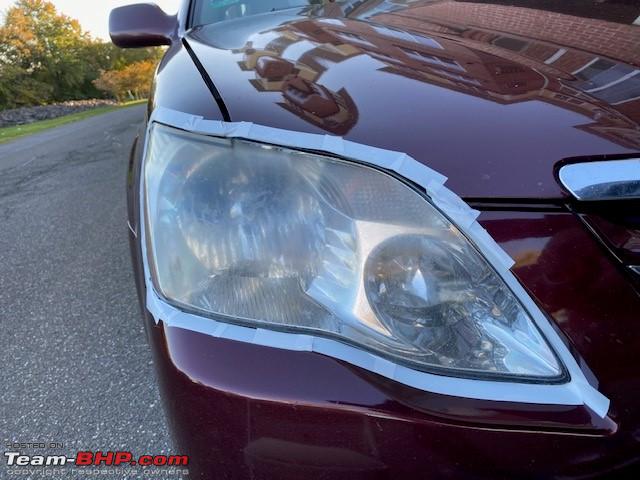
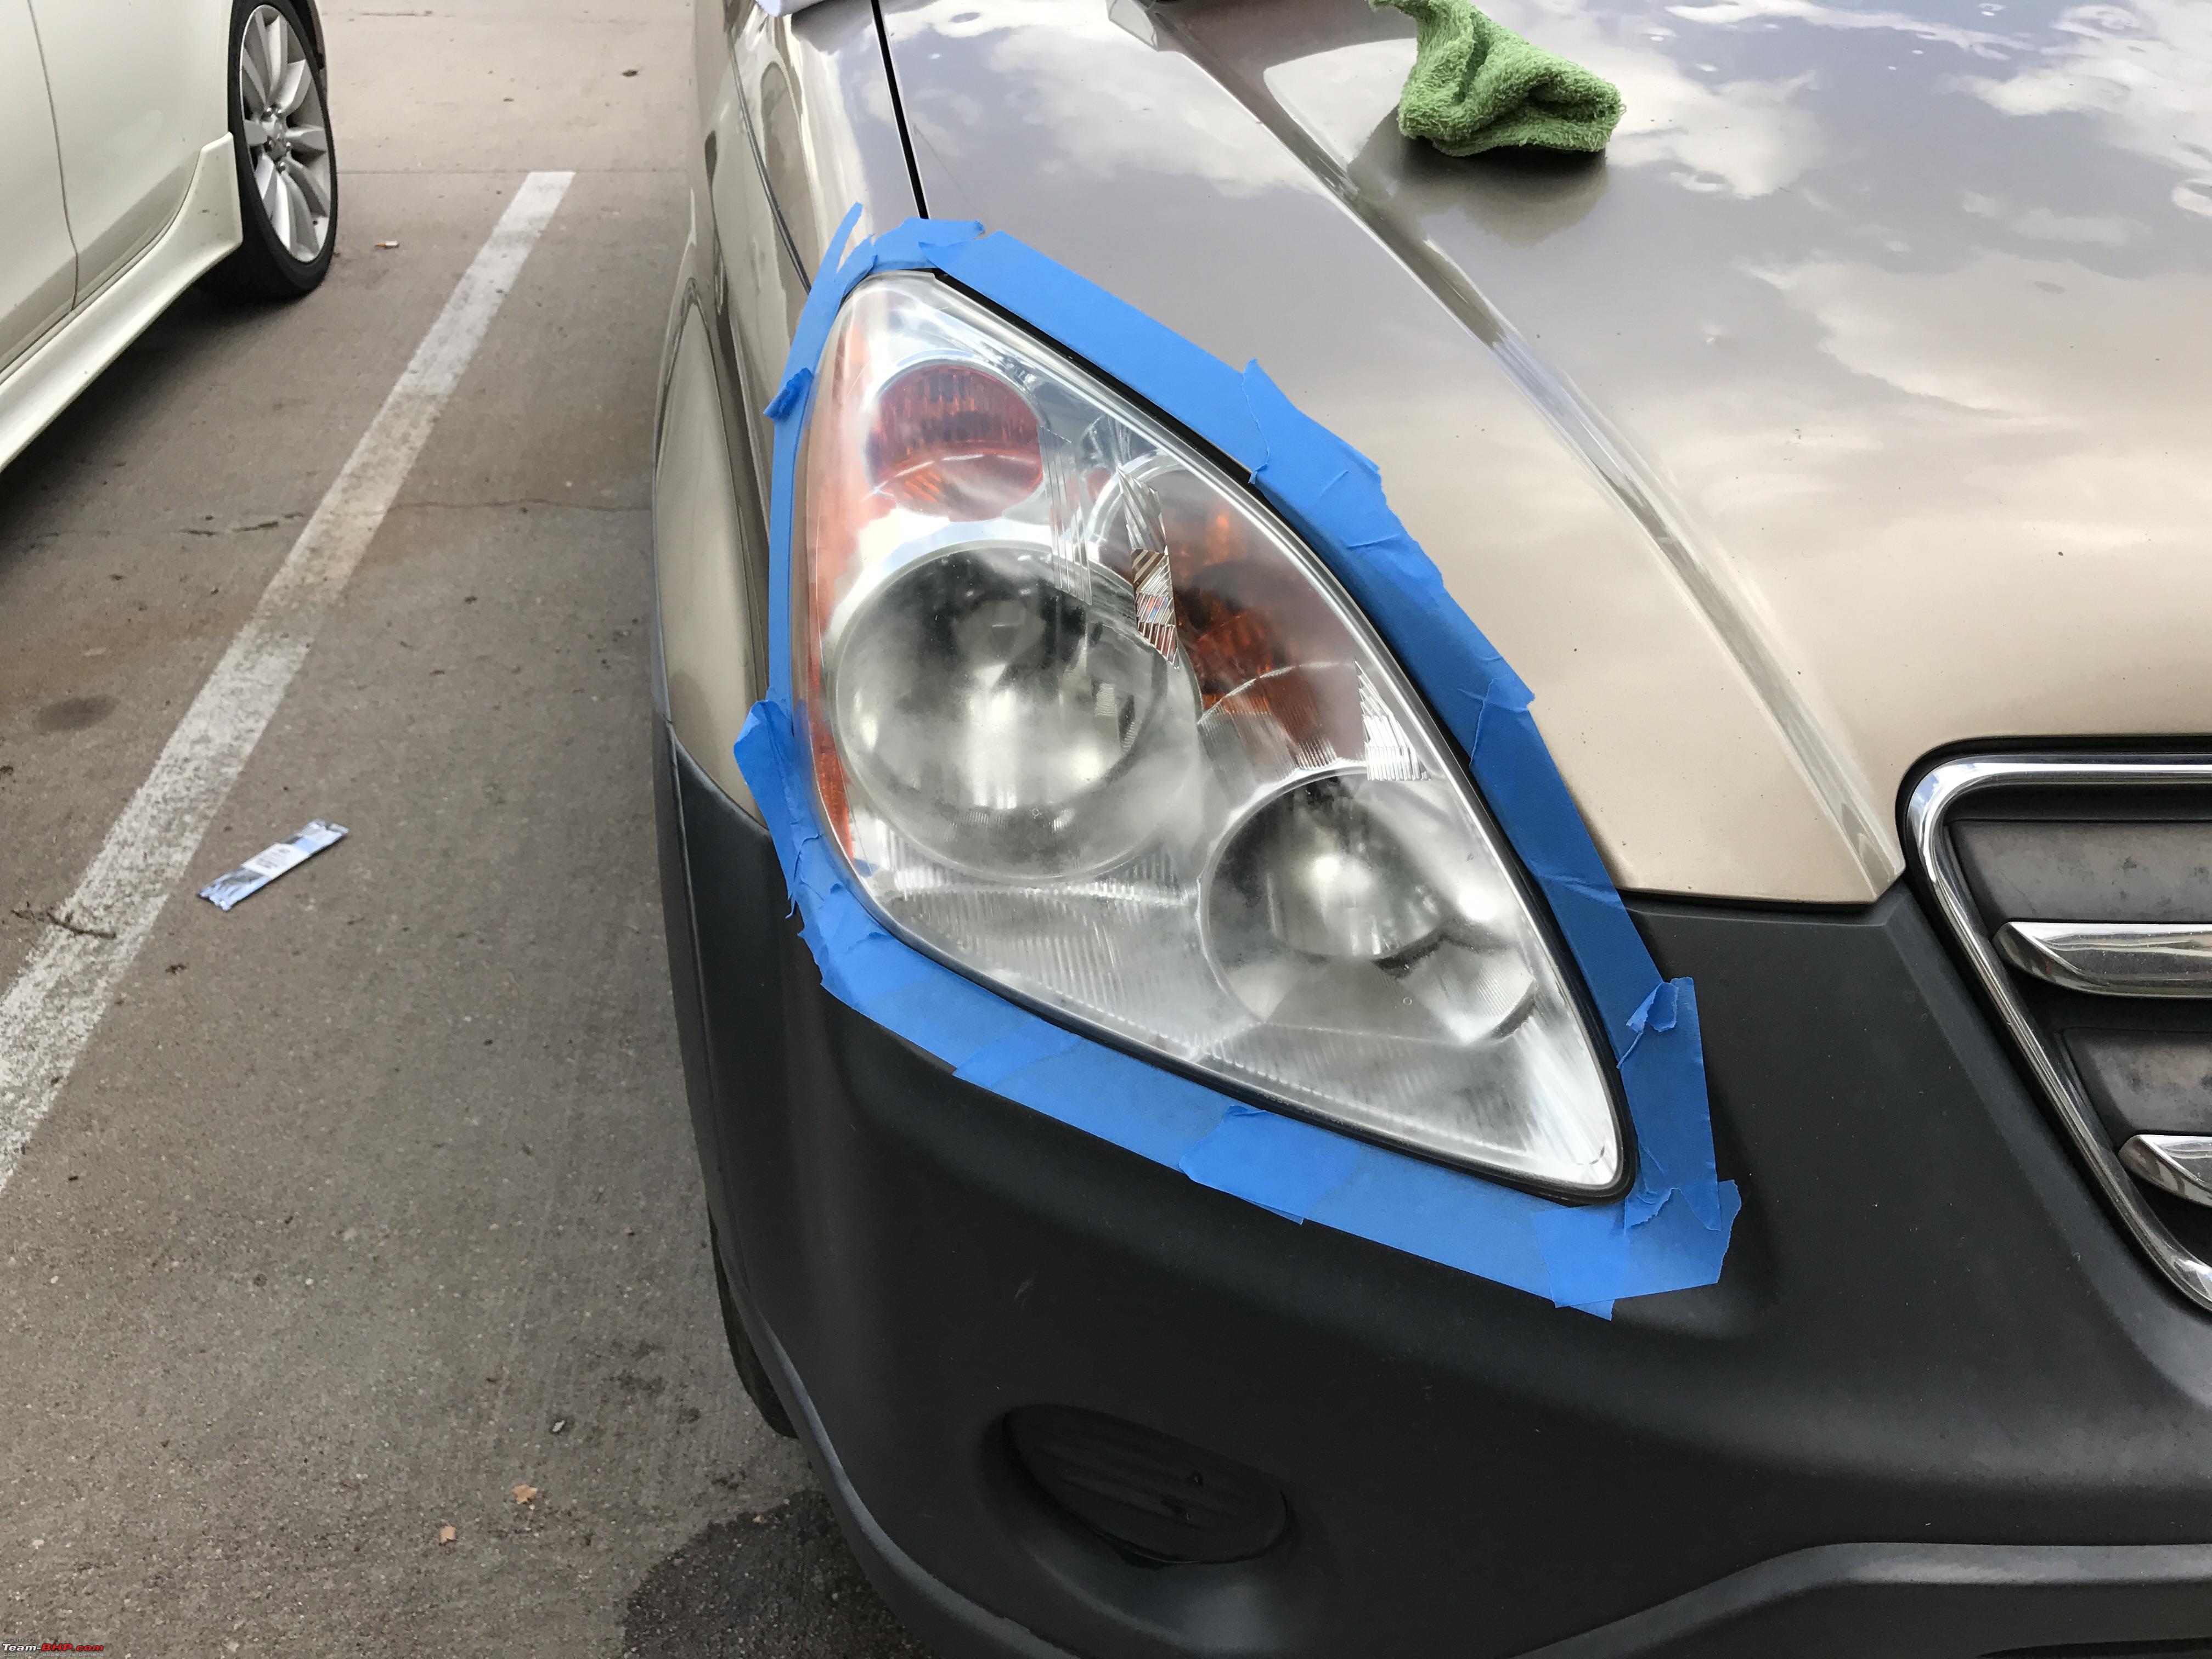
Step 1 is to prepare the vehicle for the procedure. I had moved my vehicle from my covered parking to an open area where there wasn't direct sunlight. It was easier to carry out the procedure as I started exactly at 5pm and it was relatively cool and pleasant 60 degrees. Set the chairs up next to both the headight, had my spotify playlist on shuffle and started washing the headlights and then applying the tape around the headlight assemblies.

This is how it looked before the process.
Easy DIY: Restoring hazy headlamps on my Toyota Avalon-before.jpg

With the masking tape in place.
Easy DIY: Restoring hazy headlamps on my Toyota Avalon-masking.jpg

Step 2:
With the masking done, it was time to apply the surface activator. This is a crucial step where the surface activator removes all the damaged UV coat and softens the plastic. You can see the yellowish haze on the headlights run down after the surface activator is sprayed. The activator soaked the headlights for about a minute before I washed them off.

Step 3:
After washing and drying the headlamps, they were sanded with the 400 grit sandpaper. This seemed easy at first, but sanding the headlights with 5-6 minutes on each side, whilst watering them is a very tiring process. Wet Sanded both the headlights, washed and wiped them dry. Had to sand them till they became smooth. It was a painful process, but it seemed to have worked. The headlights became completely hazy and white. But this was a part of the process.

After sanding and drying with 400 Grit

Easy DIY: Restoring hazy headlamps on my Toyota Avalon-400.jpg

Step 4:
This was another tiresome process! I had to repeat the same wet sanding process on both the headlamps for 5-10min each. But, this time it was with 1000 grit. I could see the scratches made by the 400 grit being evened out by the 1000 grit paper. It looked like it was getting better in this step.

After the 1000 grit sanding and drying.

Easy DIY: Restoring hazy headlamps on my Toyota Avalon-1000.jpg

Step 5:
When I thought this whole process was going to be easy, it was now when I was proved wrong! My hands were in agonizing pain from all that sanding. This was when I started questioning myself, why didn't I simply pay $75 for getting this work done. But, I wasn't giving up. So, I went on with the 2000 grit wet sanding and the results were very good. The headlamps were gaining some clarity here. But as soon as it was dried out, it went back to being hazy.

The result of the painful 2000 grit sanding

Easy DIY: Restoring hazy headlamps on my Toyota Avalon-2000.jpg

Step 6:

Just when I thought I was all set with sanding, then came the clarifying compound application. I had to apply the clarifying compound on the white towel and apply it on the headlamps in circular motion for another 5 minutes! I almost gave up at this point, but the determination to have better looking headlamps had me going.

After applying clarifying compound

Easy DIY: Restoring hazy headlamps on my Toyota Avalon-clarifying.jpg

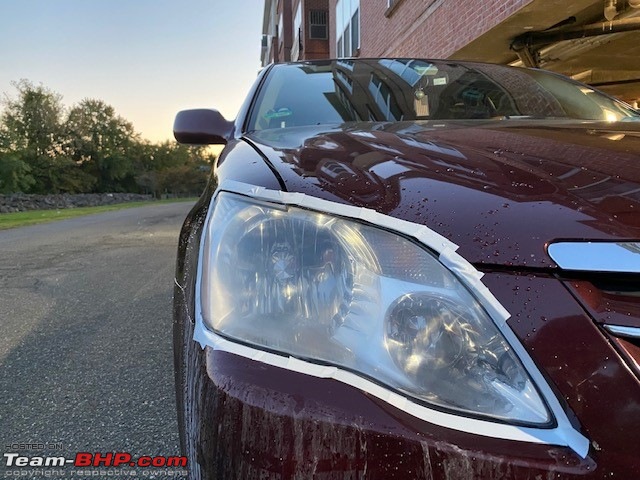
My roommate helping me wash the clarifying compound off
Easy DIY: Restoring hazy headlamps on my Toyota Avalon-inkedcleaning_li.jpg

Step 7:
This was the 2nd last step, I had to spary the surface activator all over the headlamps and rinse it off before the final step. After drying, it was left all smooth, but still a bit hazy.

Easy DIY: Restoring hazy headlamps on my Toyota Avalon-2nd-activator.jpg

Final step:

This is the step where you see the results of your hardwork. This is where I knew it was worth spending an hour and fifty nine minutes on a cool fall evening on restoring the headlamps.

The UV block coating is to be applied with long strokes, overlapping the previous stroke from end to end. It is easy to do, but we need to make sure that we do not leave any gaps.

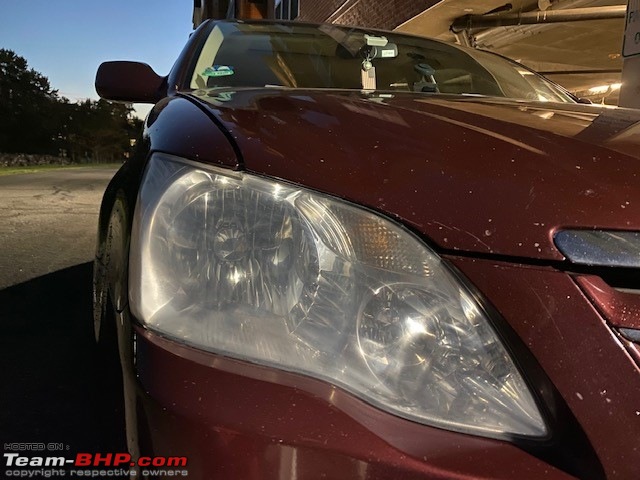
Once the tapes were removed and the UV block coating was applied, the headlamps went to looking like brand new! I'll let the pictures do the talking!

The UV block coating before it was applied.
Easy DIY: Restoring hazy headlamps on my Toyota Avalon-uv-block.jpg

Voila! The astonishing result!
Easy DIY: Restoring hazy headlamps on my Toyota Avalon-final.jpg

What do you guys think of this? Has anyone used this kit previously? If so, how has it's performance been over time? I'm hoping to keep this thread alive with updates on how the restoration fares over time
saadat1992 is offline   (59) Thanks
Old 15th October 2020, 09:09   #2
Team-BHP Support
 
moralfibre's Avatar
 
Join Date: Dec 2004
Location: MH-12
Posts: 8,451
Thanked: 13,973 Times
Re: Easy DIY: Restoring hazy headlamps on my Toyota Avalon

Quote:
Originally Posted by saadat1992 View Post

What do you guys think of this? Has anyone used this kit previously? If so, how has it's performance been over time? I'm hoping to keep this thread alive with updates on how the restoration fares over time
I had used a headlight restoration kit from Meguairs (I think) on my brother-in-law's Camry in the US. He had one of the lamps replaced due to a nick it had and the other one looked really weird. Once the job was done, it looked shiny new and matched the other. However, a few months down the line it was back to the original dull self.
moralfibre is offline   (12) Thanks
Old 15th October 2020, 17:32   #3
BHPian
 
saadat1992's Avatar
 
Join Date: Jun 2012
Location: New Haven, CT
Posts: 618
Thanked: 387 Times
Re: Easy DIY: Restoring hazy headlamps on my Toyota Avalon

Quote:
Originally Posted by moralfibre View Post
I had used a headlight restoration kit from Meguairs (I think) on my brother-in-law's Camry in the US. He had one of the lamps replaced due to a nick it had and the other one looked really weird. Once the job was done, it looked shiny new and matched the other. However, a few months down the line it was back to the original dull self.
I heard of such cases too. That primarily happens when the vehicle is parked in direct sunlight, especially in summer when the temperatures soar and the days are longer. I’m willing to see how it fares when it’s parked in a covered parking over fall/winter.
saadat1992 is offline   (3) Thanks
Old 16th October 2020, 23:42   #4
BHPian
 
300 KMPH's Avatar
 
Join Date: Mar 2007
Location: Mumbai
Posts: 210
Thanked: 1,022 Times
Re: Easy DIY: Restoring hazy headlamps on my Toyota Avalon

To avoid the headlamps getting dull, there is no other better solution than applying a good quality clear coat from a painter. This hazing happens only in hot countries. For example, India, UAE, etc.

These plastic headlamps can't bear the heat and start giving up after 3-4 years. Other main reason for the lamps to give up are the upgraded bulbs which produce more heat & the lenses are not designed to take that much of heat.

No matter what you do, (apart from clear coat), plastic headlamps are going to go dull. Upgraded bulbs will accelerate the hazing process.

Best permanent solution is new lamps. But if spending that much doesn't make sense, then restoration is always an option.
300 KMPH is offline   (2) Thanks
Old 17th October 2020, 01:55   #5
BHPian
 
yamaniac's Avatar
 
Join Date: Aug 2008
Location: Mangalore
Posts: 283
Thanked: 270 Times
Re: Easy DIY: Restoring hazy headlamps on my Toyota Avalon

Am restoring a 2008 jetta, getting the headlights in India costs a whooping 25k for a single headlight. A pair costs 50k easily.
The headlights do look aged. But I don't want to spend a bomb on buying a pair of headlights that almost costs half the value of the car.

So ordered in turtle wax headlight restorer kit on amazon. Should arrive tomorrow. Costs just a fraction comparing buying new lights. The reviews look promising though. Let's see if it works..
yamaniac is offline   (1) Thanks
Old 17th October 2020, 03:37   #6
BHPian
 
josejoseph's Avatar
 
Join Date: Oct 2006
Location: San Jose, CA
Posts: 664
Thanked: 406 Times
Re: Easy DIY: Restoring hazy headlamps on my Toyota Avalon

Thanks saadat1992 for sharing your experience.

I tried Mothers Mag & Aluminum Polish on our Civic - https://www.walmart.com/ip/Mothers-M...bc307fcfa85fc6

I had to use a drill attachment to get better result; still need to put a sealant to maintain the look.
josejoseph is offline   (1) Thanks
Old 17th October 2020, 07:43   #7
BANNED
 
Join Date: Apr 2006
Location: MUM/CCU/Tokyo
Posts: 310
Thanked: 393 Times
Re: Easy DIY: Restoring hazy headlamps on my Toyota Avalon

Will it be possible to go to the 2000 grit polishing stage directly, skip the 400 and 1000 grit polishing stage.?
norhog is offline  
Old 17th October 2020, 09:08   #8
BHPian
 
Join Date: Dec 2012
Location: Chennai
Posts: 261
Thanked: 416 Times
Re: Easy DIY: Restoring hazy headlamps on my Toyota Avalon

Looks great. I had done something similar on my CRV few years ago. Very satisfying. The haze came back after 8 months I think. Attachment 2069033

Easy DIY: Restoring hazy headlamps on my Toyota Avalon-b12757cda9324c6c9988149b6b3f1823.jpeg

Easy DIY: Restoring hazy headlamps on my Toyota Avalon-6a95035c722b42a3bfb7fed1d94b2f43.jpeg

Easy DIY: Restoring hazy headlamps on my Toyota Avalon-f6eac51dfd9a467f82d19dbcc7741165.jpeg

Attachment 2069037

Easy DIY: Restoring hazy headlamps on my Toyota Avalon-ef08df5ddcd643f586ef506f97f6a4c5.jpeg

Attachment 2069039

Easy DIY: Restoring hazy headlamps on my Toyota Avalon-11dc0ad2e04b4cfb98b88378a7bff788.jpeg

Easy DIY: Restoring hazy headlamps on my Toyota Avalon-90e70109df184e8f8256befb20388f89.jpeg

Attachment 2069042

Attachment 2069043

Easy DIY: Restoring hazy headlamps on my Toyota Avalon-ba6d8d462e6a4b1d9dec88052a297a02.jpeg

Easy DIY: Restoring hazy headlamps on my Toyota Avalon-adb2927e4c9342e992a775d82ece9f4f.jpeg
TorqMaster is offline   (3) Thanks
Old 17th October 2020, 09:24   #9
BHPian
 
saadat1992's Avatar
 
Join Date: Jun 2012
Location: New Haven, CT
Posts: 618
Thanked: 387 Times
Re: Easy DIY: Restoring hazy headlamps on my Toyota Avalon

Quote:
Originally Posted by 300 KMPH View Post
To avoid the headlamps getting dull, there is no other better solution than applying a good quality clear coat from a painter. This hazing happens only in hot countries. For example, India, UAE, etc.

These plastic headlamps can't bear the heat and start giving up after 3-4 years.
True. The scorching heat is something that will weather all the plastic trims on the vehicle, including the dashboard if you do not have the interior sun shades installed.

Quote:
Originally Posted by yamaniac View Post
Am restoring a 2008 jetta, getting the headlights in India costs a whooping 25k for a single headlight. A pair costs 50k easily.
The headlights do look aged. But I don't want to spend a bomb on buying a pair of headlights that almost costs half the value of the car.

So ordered in turtle wax headlight restorer kit on amazon. Should arrive tomorrow. Costs just a fraction comparing buying new lights. The reviews look promising though. Let's see if it works..
Turtle wax products are good, but Sylvania had better reviews, so I bit the bullet and went for it. Give turtle a shot and let me know how it goes

Quote:
Originally Posted by josejoseph View Post
Thanks saadat1992 for sharing your experience.

I had to use a drill attachment to get better result; still need to put a sealant to maintain the look.
I was considering buying a drill to perform this task, however, cordless drills would die midway through the process and I'd have done the rest with hand. So, I saved myself $40 and did everything by hand.

Quote:
Originally Posted by norhog View Post
Will it be possible to go to the 2000 grit polishing stage directly, skip the 400 and 1000 grit polishing stage.?
It is possible, but you'll not get the best results. 400 Grit does the work of removing the oxidised, UV damaged layer off the headlamps. The 1000 and 2000 grit smoothen it out. So, it's highly recommended to follow the cycle.

Quote:
Originally Posted by TorqMaster View Post
Looks great. I had done something similar on my CRV few years ago. Very satisfying. The haze came back after 8 months I think.
Impressive! But is your vehicle parked in direct sunlight most of the time?
saadat1992 is offline   (1) Thanks
Old 17th October 2020, 18:35   #10
BHPian
 
Join Date: Dec 2009
Location: Bangalore
Posts: 148
Thanked: 208 Times
Re: Easy DIY: Restoring hazy headlamps on my Toyota Avalon

I got this exact thing done at 3m and it looked fine for a few months. And then the yellowing and fading started on one side. My car is a 2006 Hyundai Tucson so the original headlights are not only expensive but also very hard to procure.

I chanced on a set of lenses on aliexpress and glued them to my original headlights after removing the original lens 3m supposedly fixed permanently. The aliexpress lens has been rock solid for 2 years now.

Incidentally, the lenses were cheaper than the 3m job. Hope you have better luck.
shankarbn is offline  
Old 18th October 2020, 10:30   #11
BHPian
 
Join Date: Dec 2012
Location: Chennai
Posts: 261
Thanked: 416 Times
Re: Easy DIY: Restoring hazy headlamps on my Toyota Avalon

Quote:
Originally Posted by saadat1992 View Post
...is your vehicle parked in direct sunlight most of the time?
Yeah, all the time. Probably one of the reasons why it came back.

Last edited by Chetan_Rao : 18th October 2020 at 10:51. Reason: Fixed quotes.
TorqMaster is offline  
Old 22nd October 2020, 22:48   #12
BHPian
 
yamaniac's Avatar
 
Join Date: Aug 2008
Location: Mangalore
Posts: 283
Thanked: 270 Times
Re: Easy DIY: Restoring hazy headlamps on my Toyota Avalon

So, I restored the VW Jetta's Headlamps with the turtle wax last Sunday. And here are the results.

I had the headlamps removed anyways because the car was undergoing restoration, So it was much easier to do the job.Not bad actually... saved me a lot of cash. But I am yet to see how long this will last. Hopefully for a long time.. Because keeping this car is turning out to be a White Elephant.
Attached Thumbnails
Easy DIY: Restoring hazy headlamps on my Toyota Avalon-fc6e0f0bdc454d57a04b28fb7f67f80d.jpg  

Easy DIY: Restoring hazy headlamps on my Toyota Avalon-4fc192b30562496b874c82c20cbdea2f.jpg  


Last edited by yamaniac : 22nd October 2020 at 22:48. Reason: spacing issues.
yamaniac is offline  
Reply

Most Viewed


Copyright ©2000 - 2024, Team-BHP.com
Proudly powered by E2E Networks