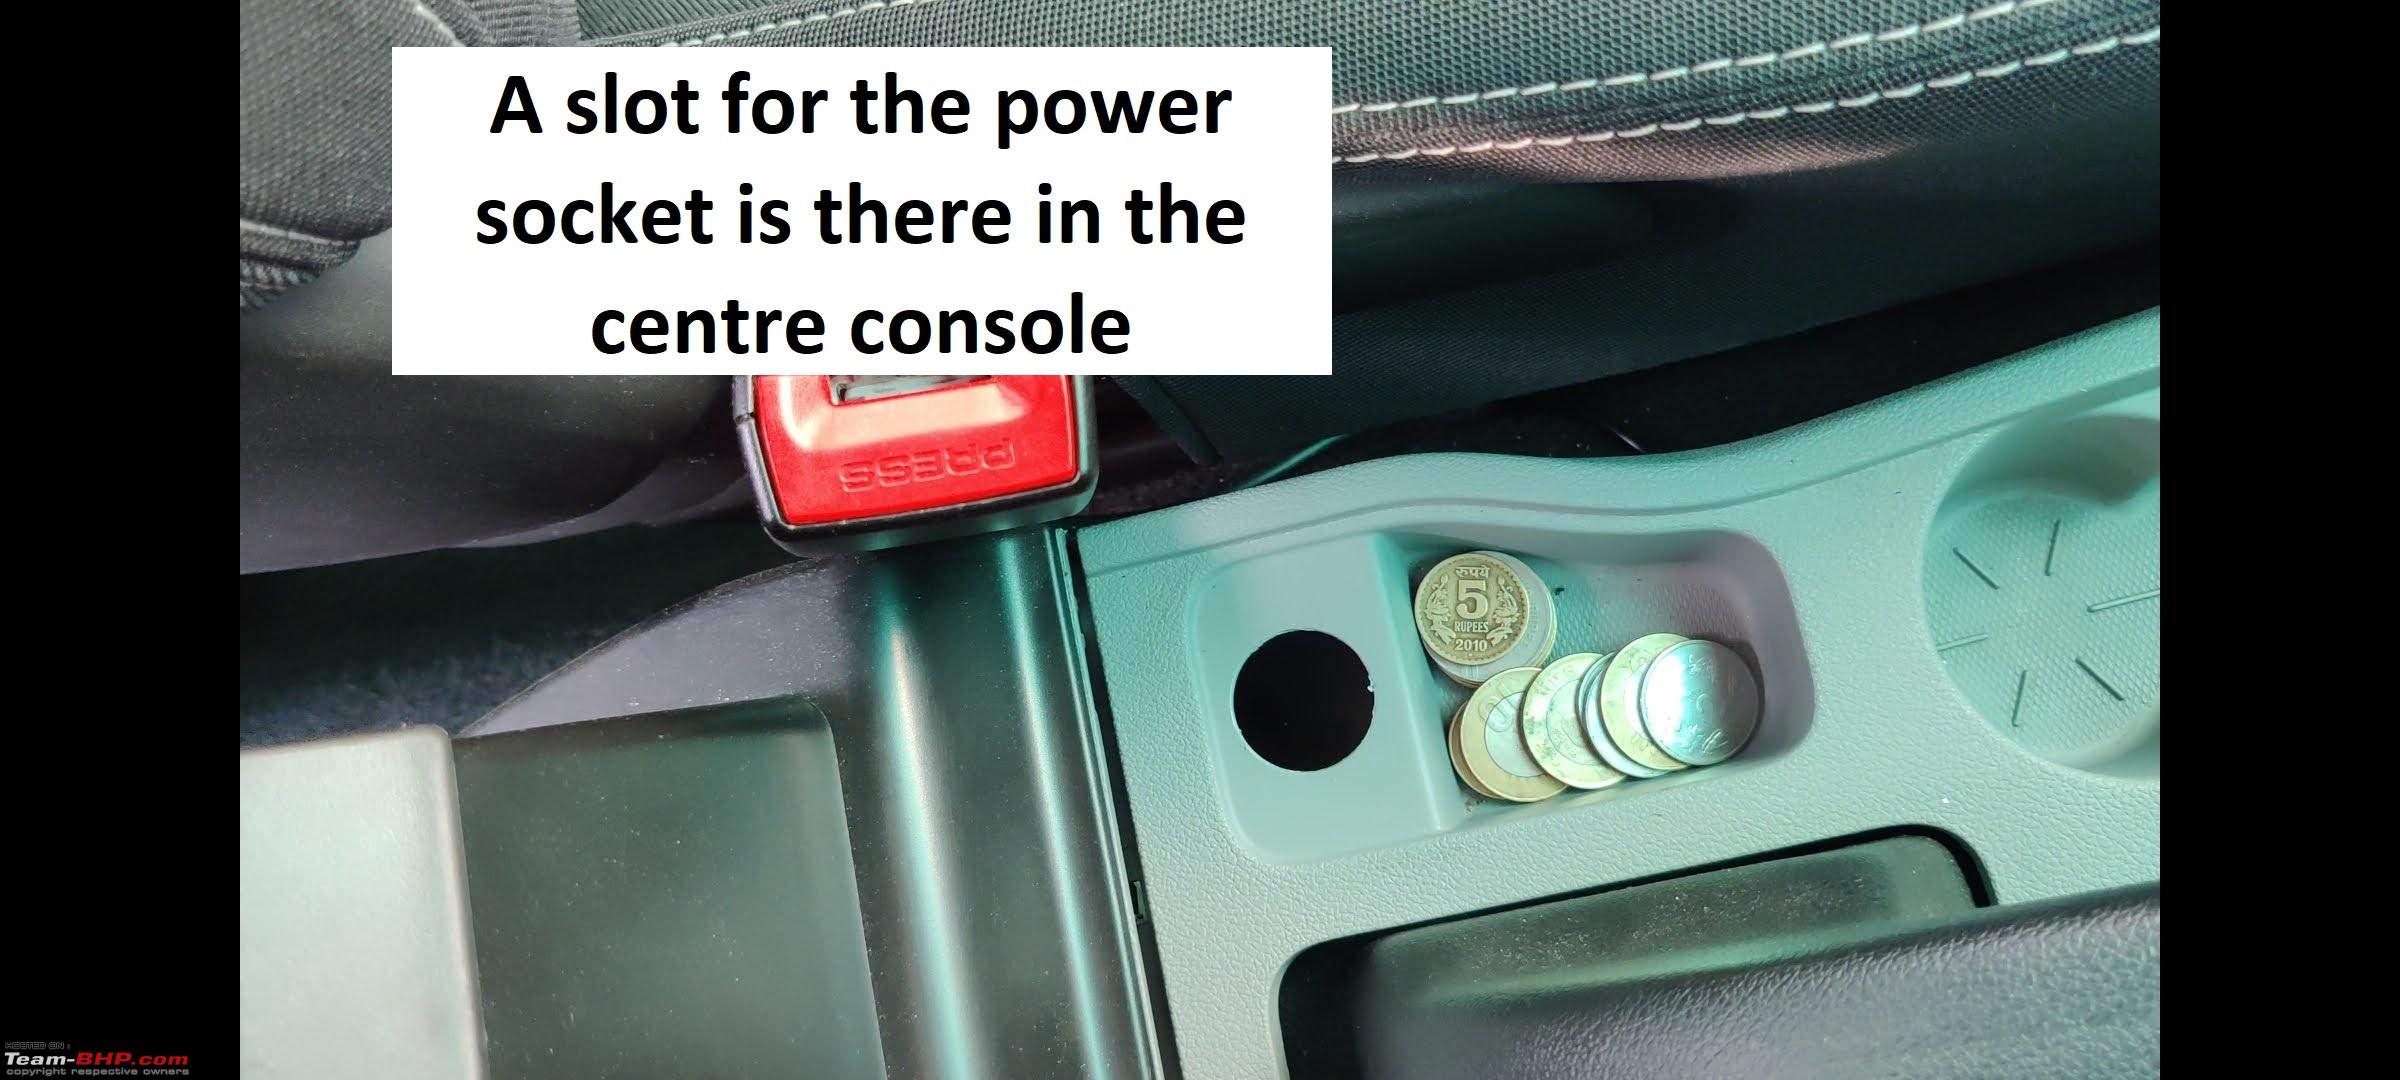
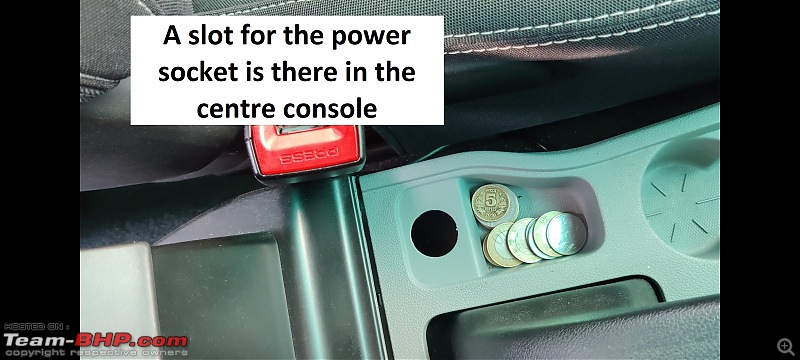
Tata is keen on cost-cutting, and lemedico is keen on DIYing! In continuation with my multiple jobs on this car, I set about to replenish another lost feature on the Tiago. Now I cannot say for sure if the older models had a power outlet in the rear, and then later lost it, along with a lot of other conveniences. But there surely was a dedicated cut-out in the centre console for one.
A few YouTube videos were suggesting that the wiring is present, and one simply needed to buy a socket. A plug-and-play would be enough. However, I was not sure if my car had the wiring loom and I also did NOT want to dismantle my centre console. I thought a fresh circuit creation from the secondary fuse box would be easier. And indeed, it was.
Here is a list of things you need to do it:
1. A car with an absent 12v power outlet.
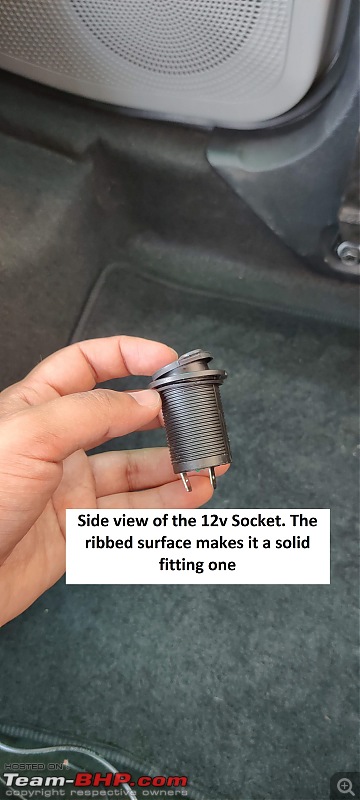
2. A power outlet from the aftermarket. I got mine off Amazon instead of Boodmo. Costs less and is really good quality. It came with two straight thimbles as well.
https://www.amazon.in/gp/product/B07...?ie=UTF8&psc=1
3. 1.6 meters of wire, 1 sqmm.
4. A mini-type fuse tap. This size is specific for the Tata cars.
https://www.nexdigitron.com/products...pr_seq=uniform
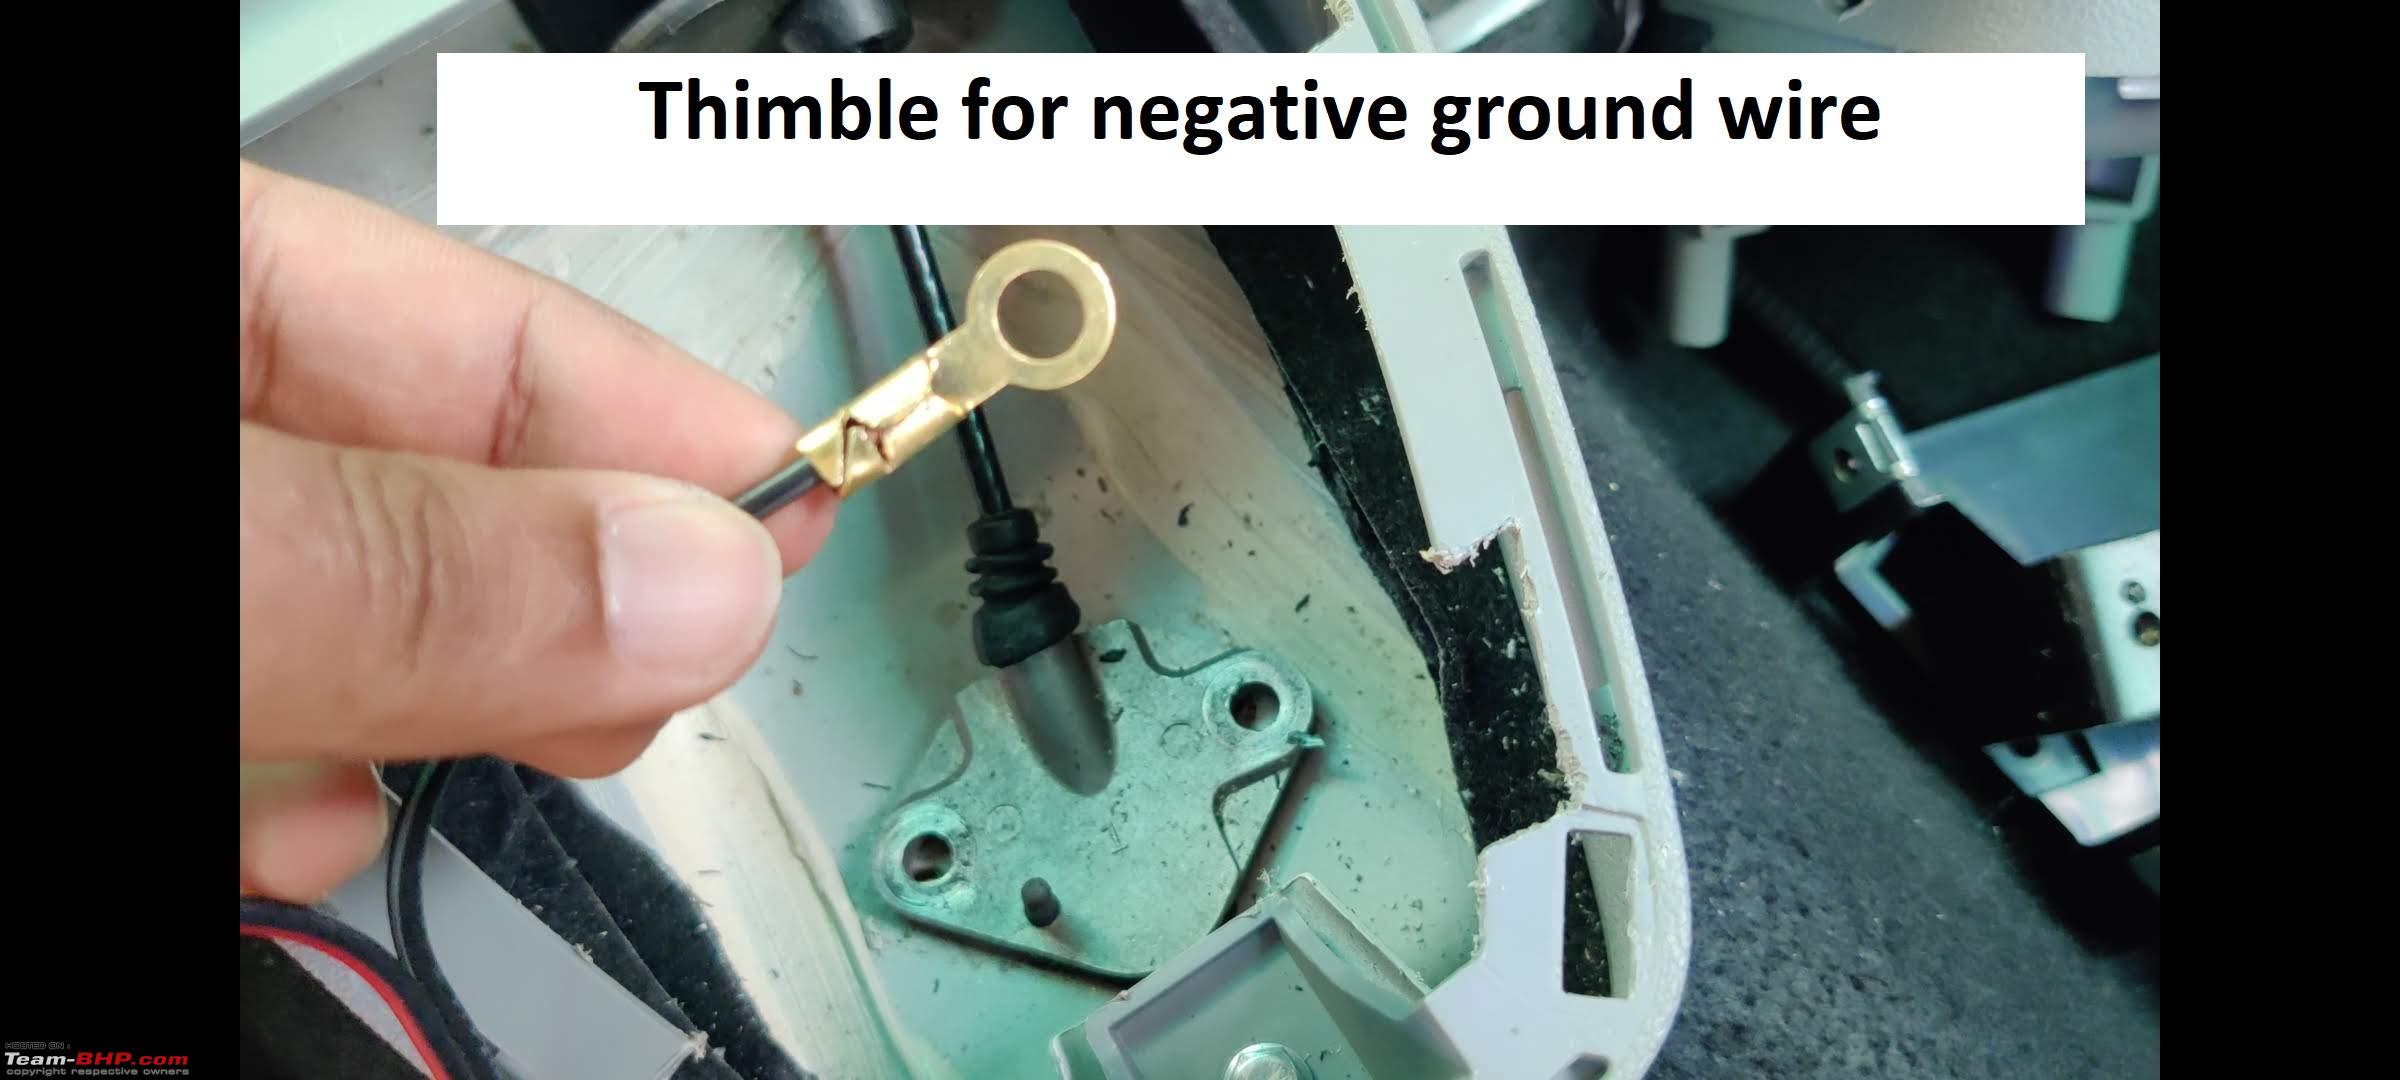
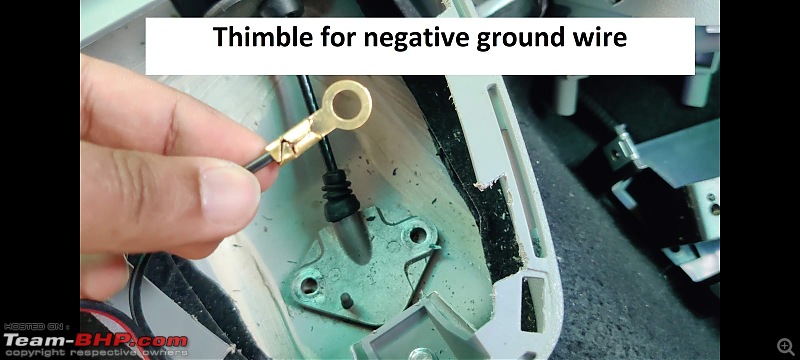
5. A wire thimble for the chassis bolt grounding/negative connection.
6. A multimeter to determine which fuse is appropriate to tap in to.
7. DIY toolkit with the usual things.
8. Pry tool set, optional.
I would like to shout out to fellow TBHPian sagarpadaki, whose thread on the same DIY gave me help to do it as well. I would like to mention that my method is much less tedious as I do not remove any parts of the centre console
https://www.team-bhp.com/forum/diy-d...-my-tiago.html 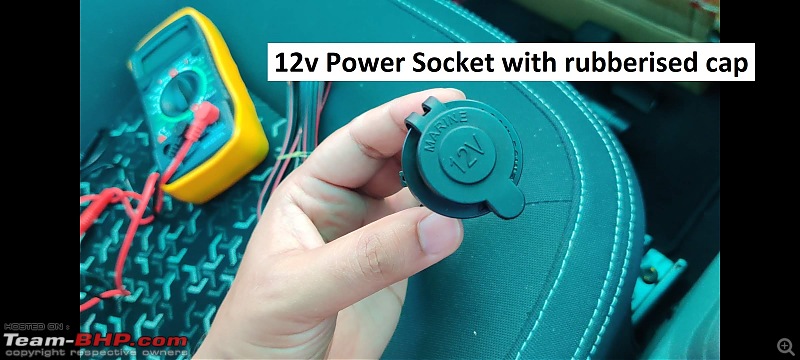
1. Park your vehicle, and remove the keys. Experts say disconnect the negative terminal of your battery but I kept mine connected.
2. Pull out the fascia panel over the secondary fuse box by your right knee. I chose fuse number F11 which had a 5A EPAS marking, and was not powered during ignition off. This is important to check to avoid trickle discharge of the battery.
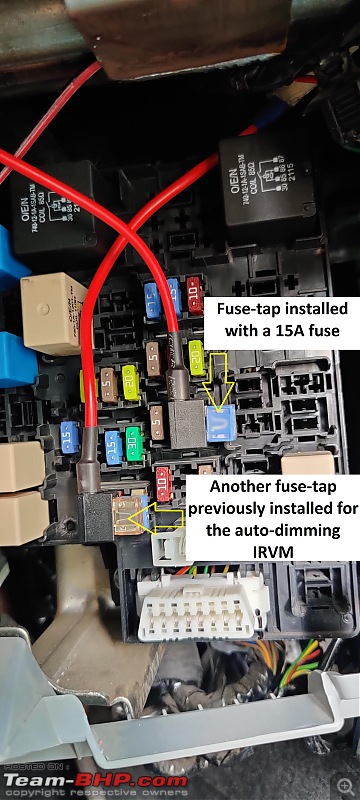
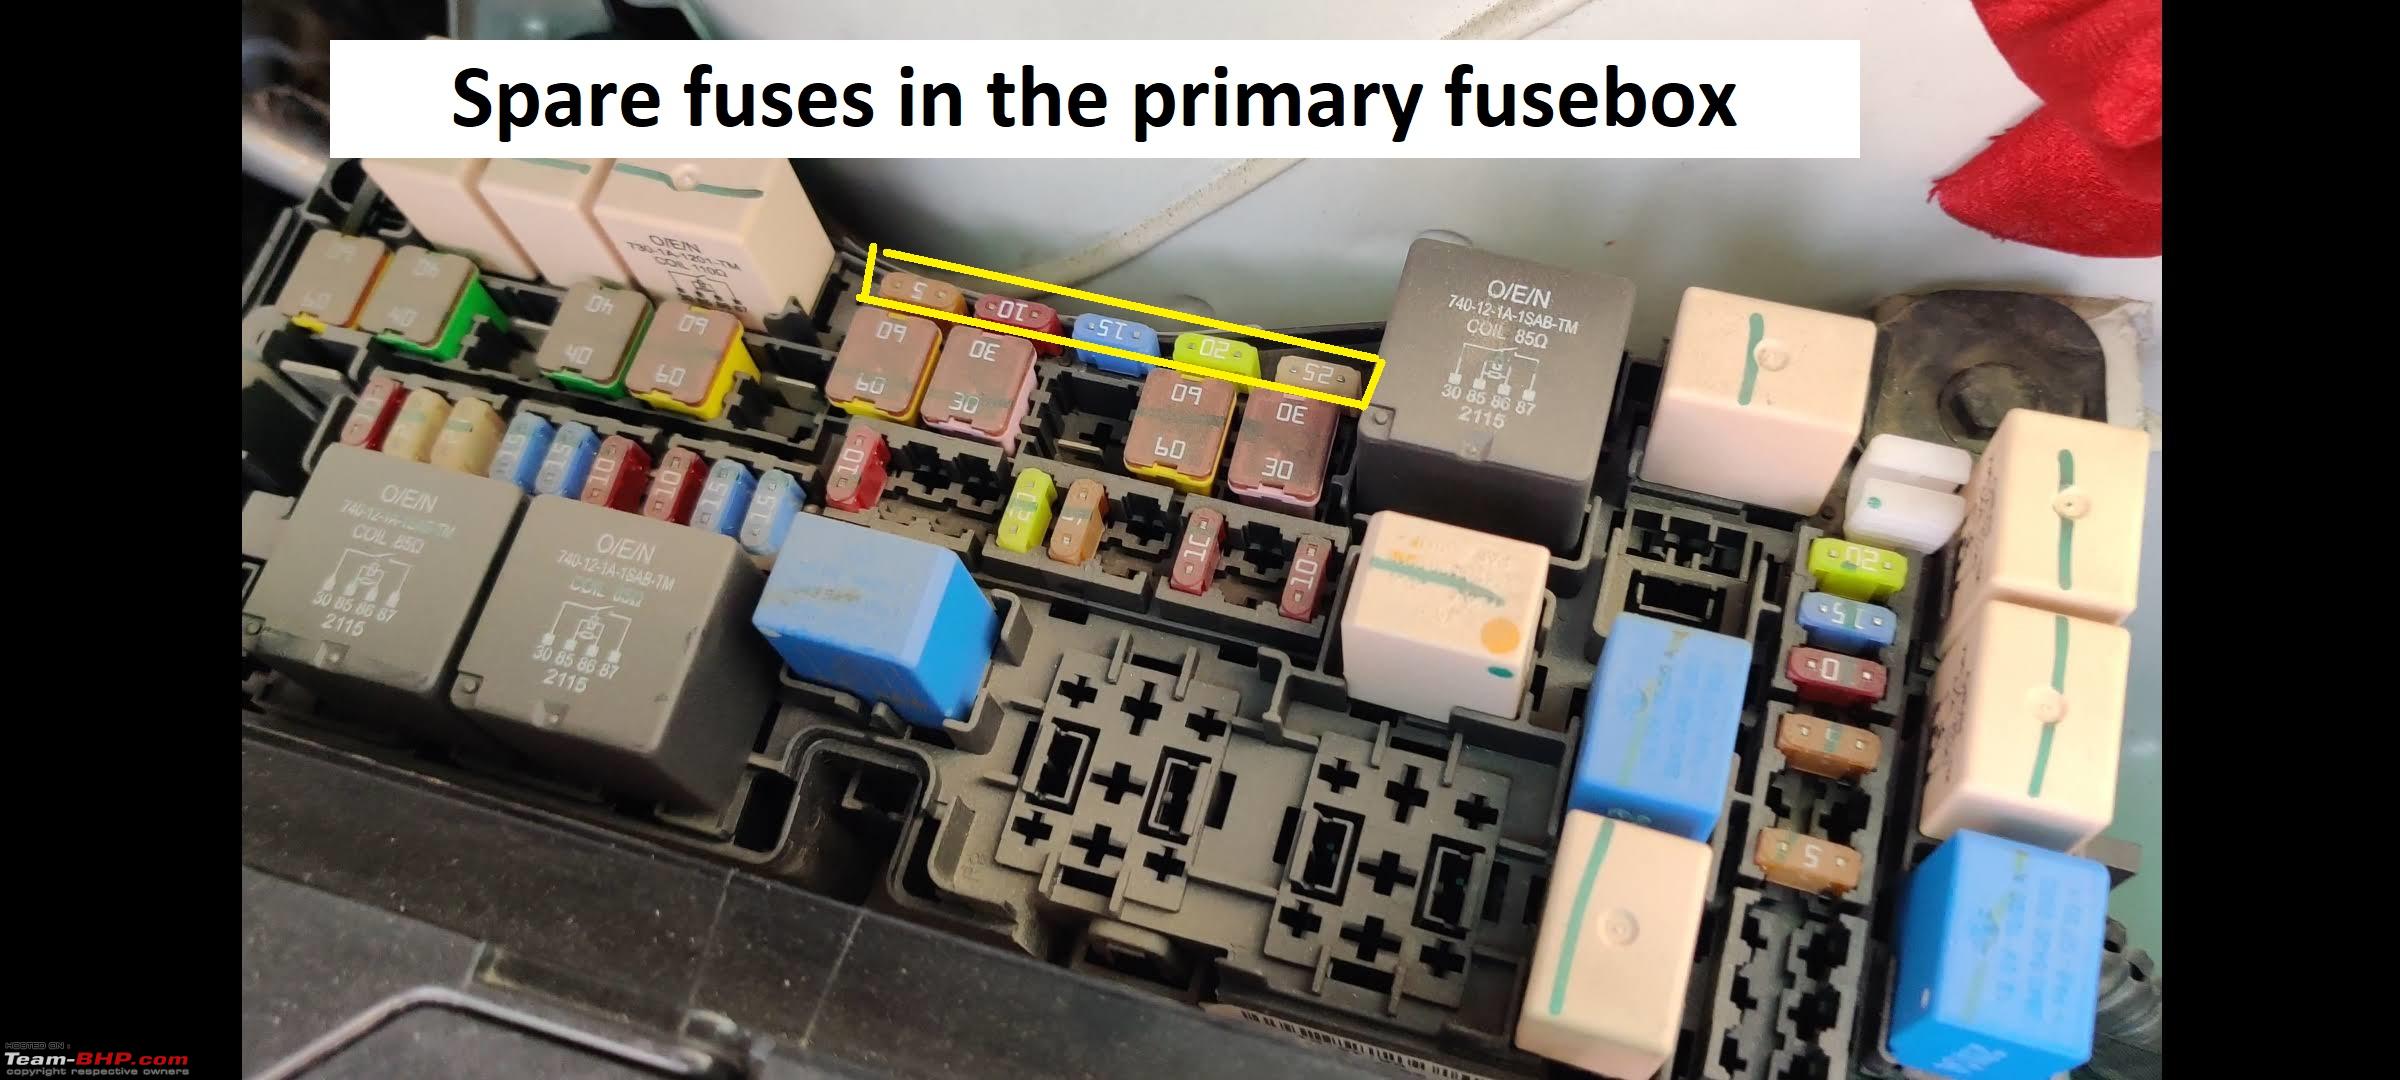
3. I swapped the 5A fuse on the fuse tap with a spare 15A fuse from the primary fuse box in the engine bay. This was in anticipation of the current draw of the accessories that would be used.

4. I have a rear armrest DIY installed on the Tiago so I had to dismantle that to access the space around the rear power outlet.
https://www.team-bhp.com/forum/diy-d...ata-tiago.html https://youtu.be/2OxelimpXR0
For those who do not have it, all you need to do is pull/pry out the rear cup holder and it opens up a vast space to work with.
5. Snake the wire from the rear end of the centre console towards the gear shifter. Grab it and snake it further towards the steering column and then up to the secondary fuse box. Tuck in the wire and zip tie it to the dashboard as needed.
6. Connect the fuse tap to the wire end and piggyback it to the desired fuse. Put the fascia panel back on.
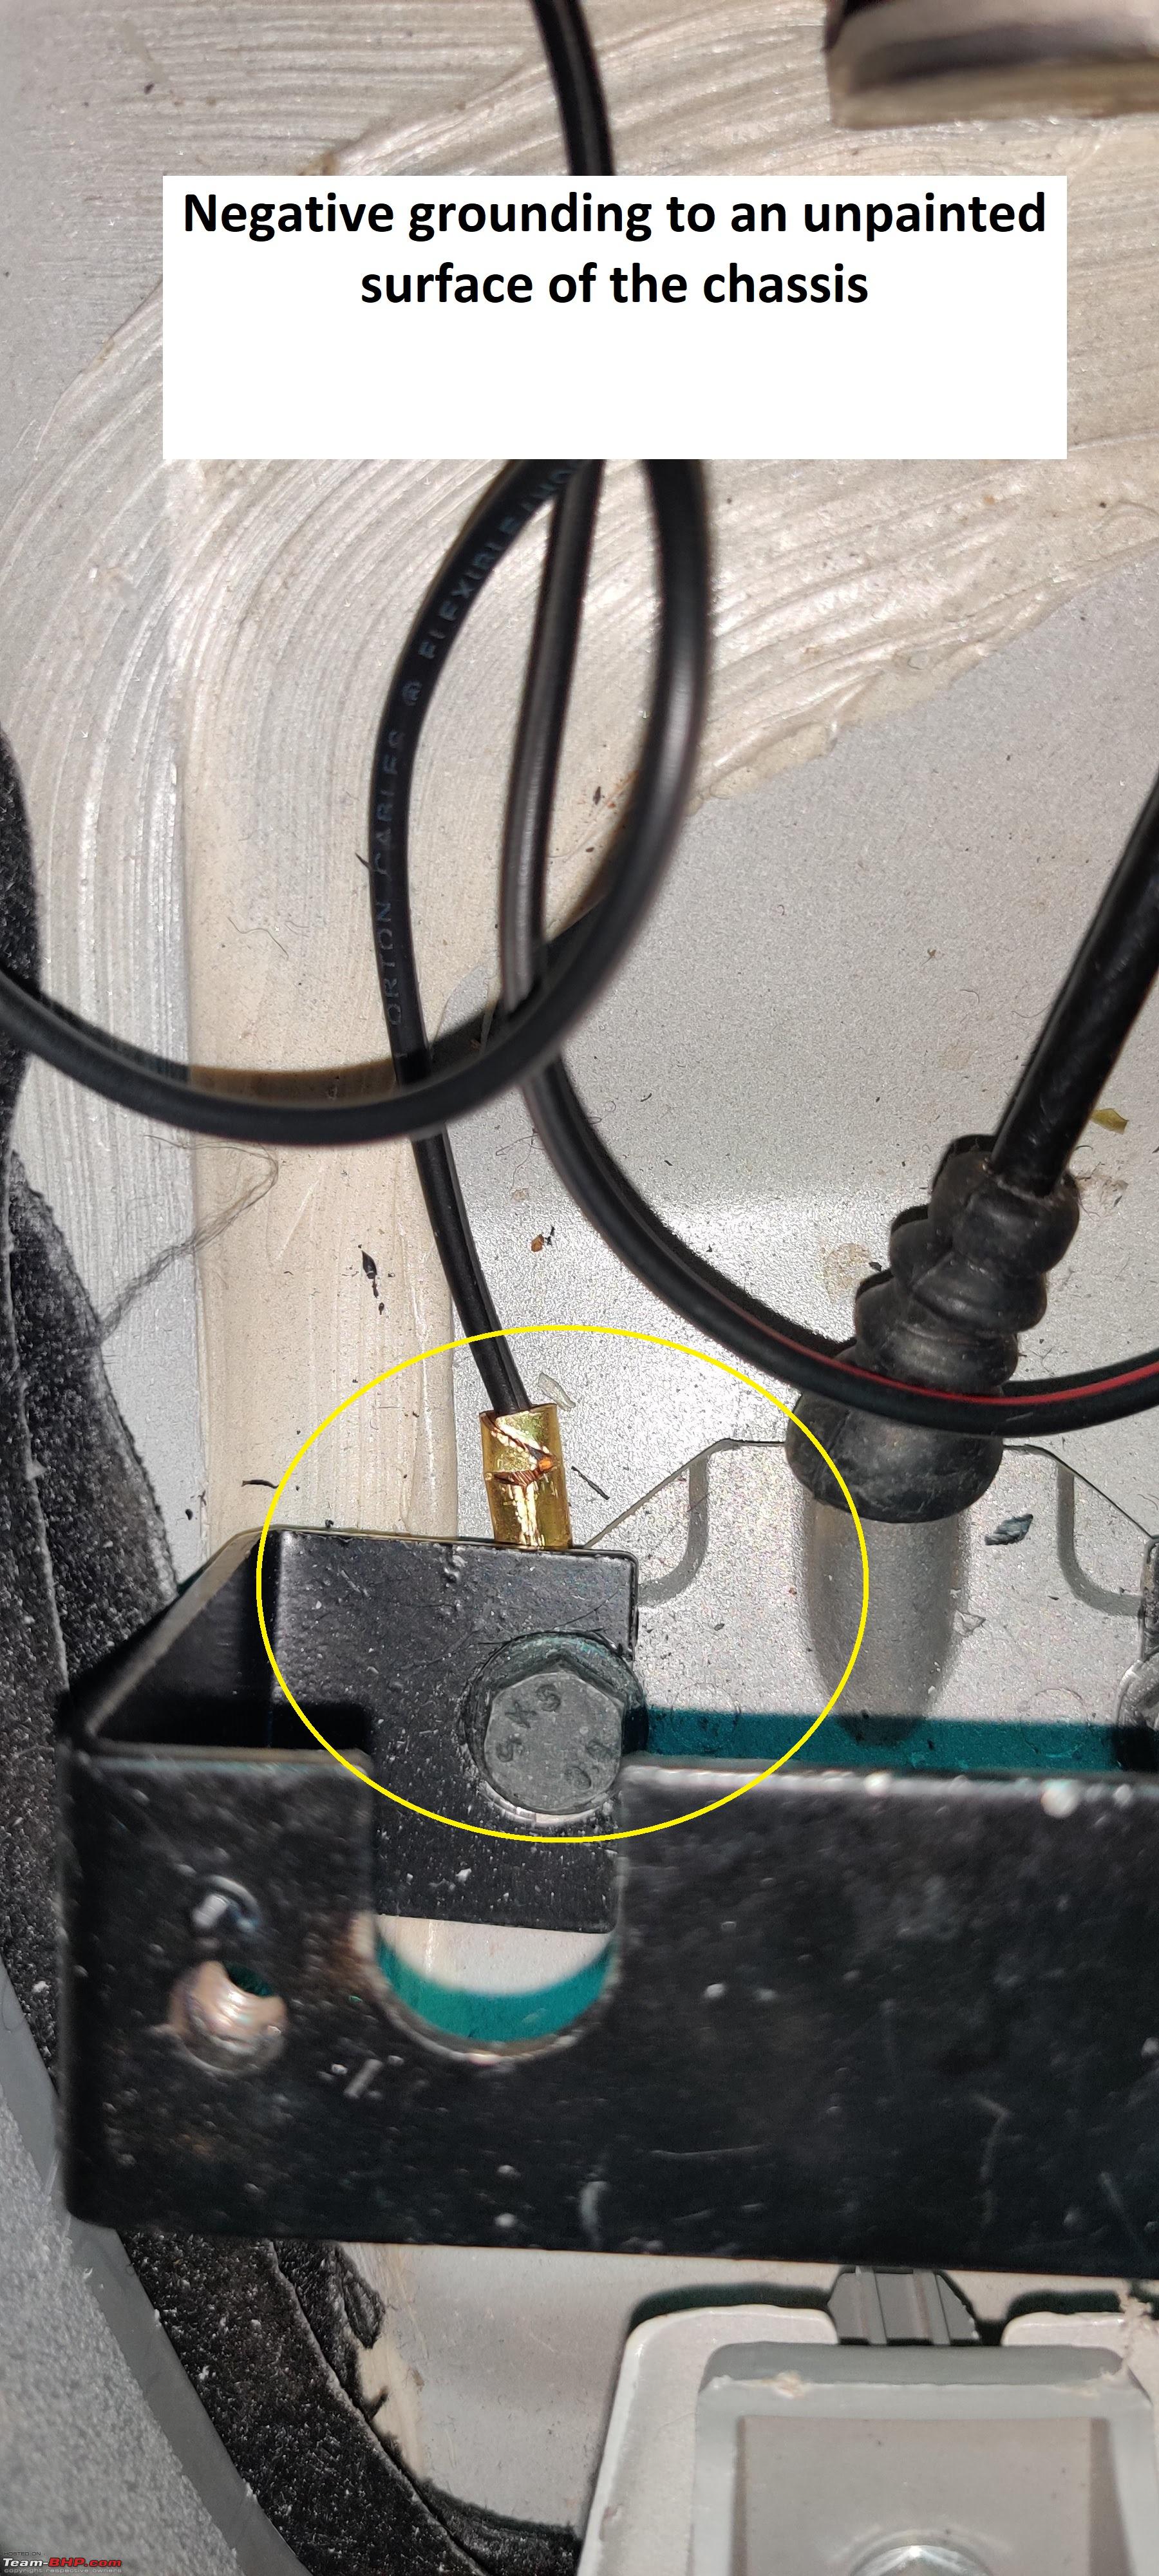
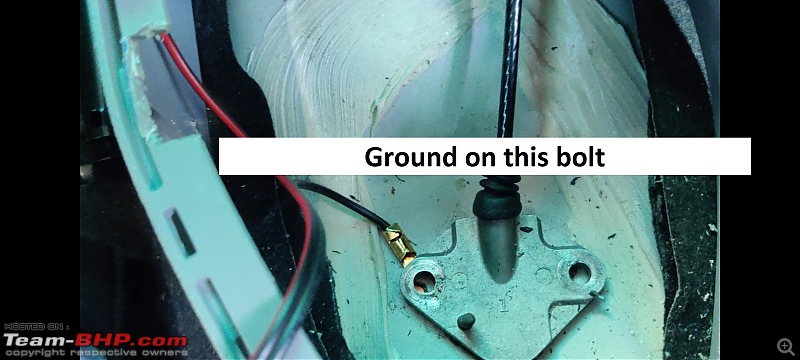
7. Ground connection is made with a piece of wire 4-5 inches long. I grounded it to one of the bolts holding down the handbrake mounting plate which was loosened up with a 10mm socket.


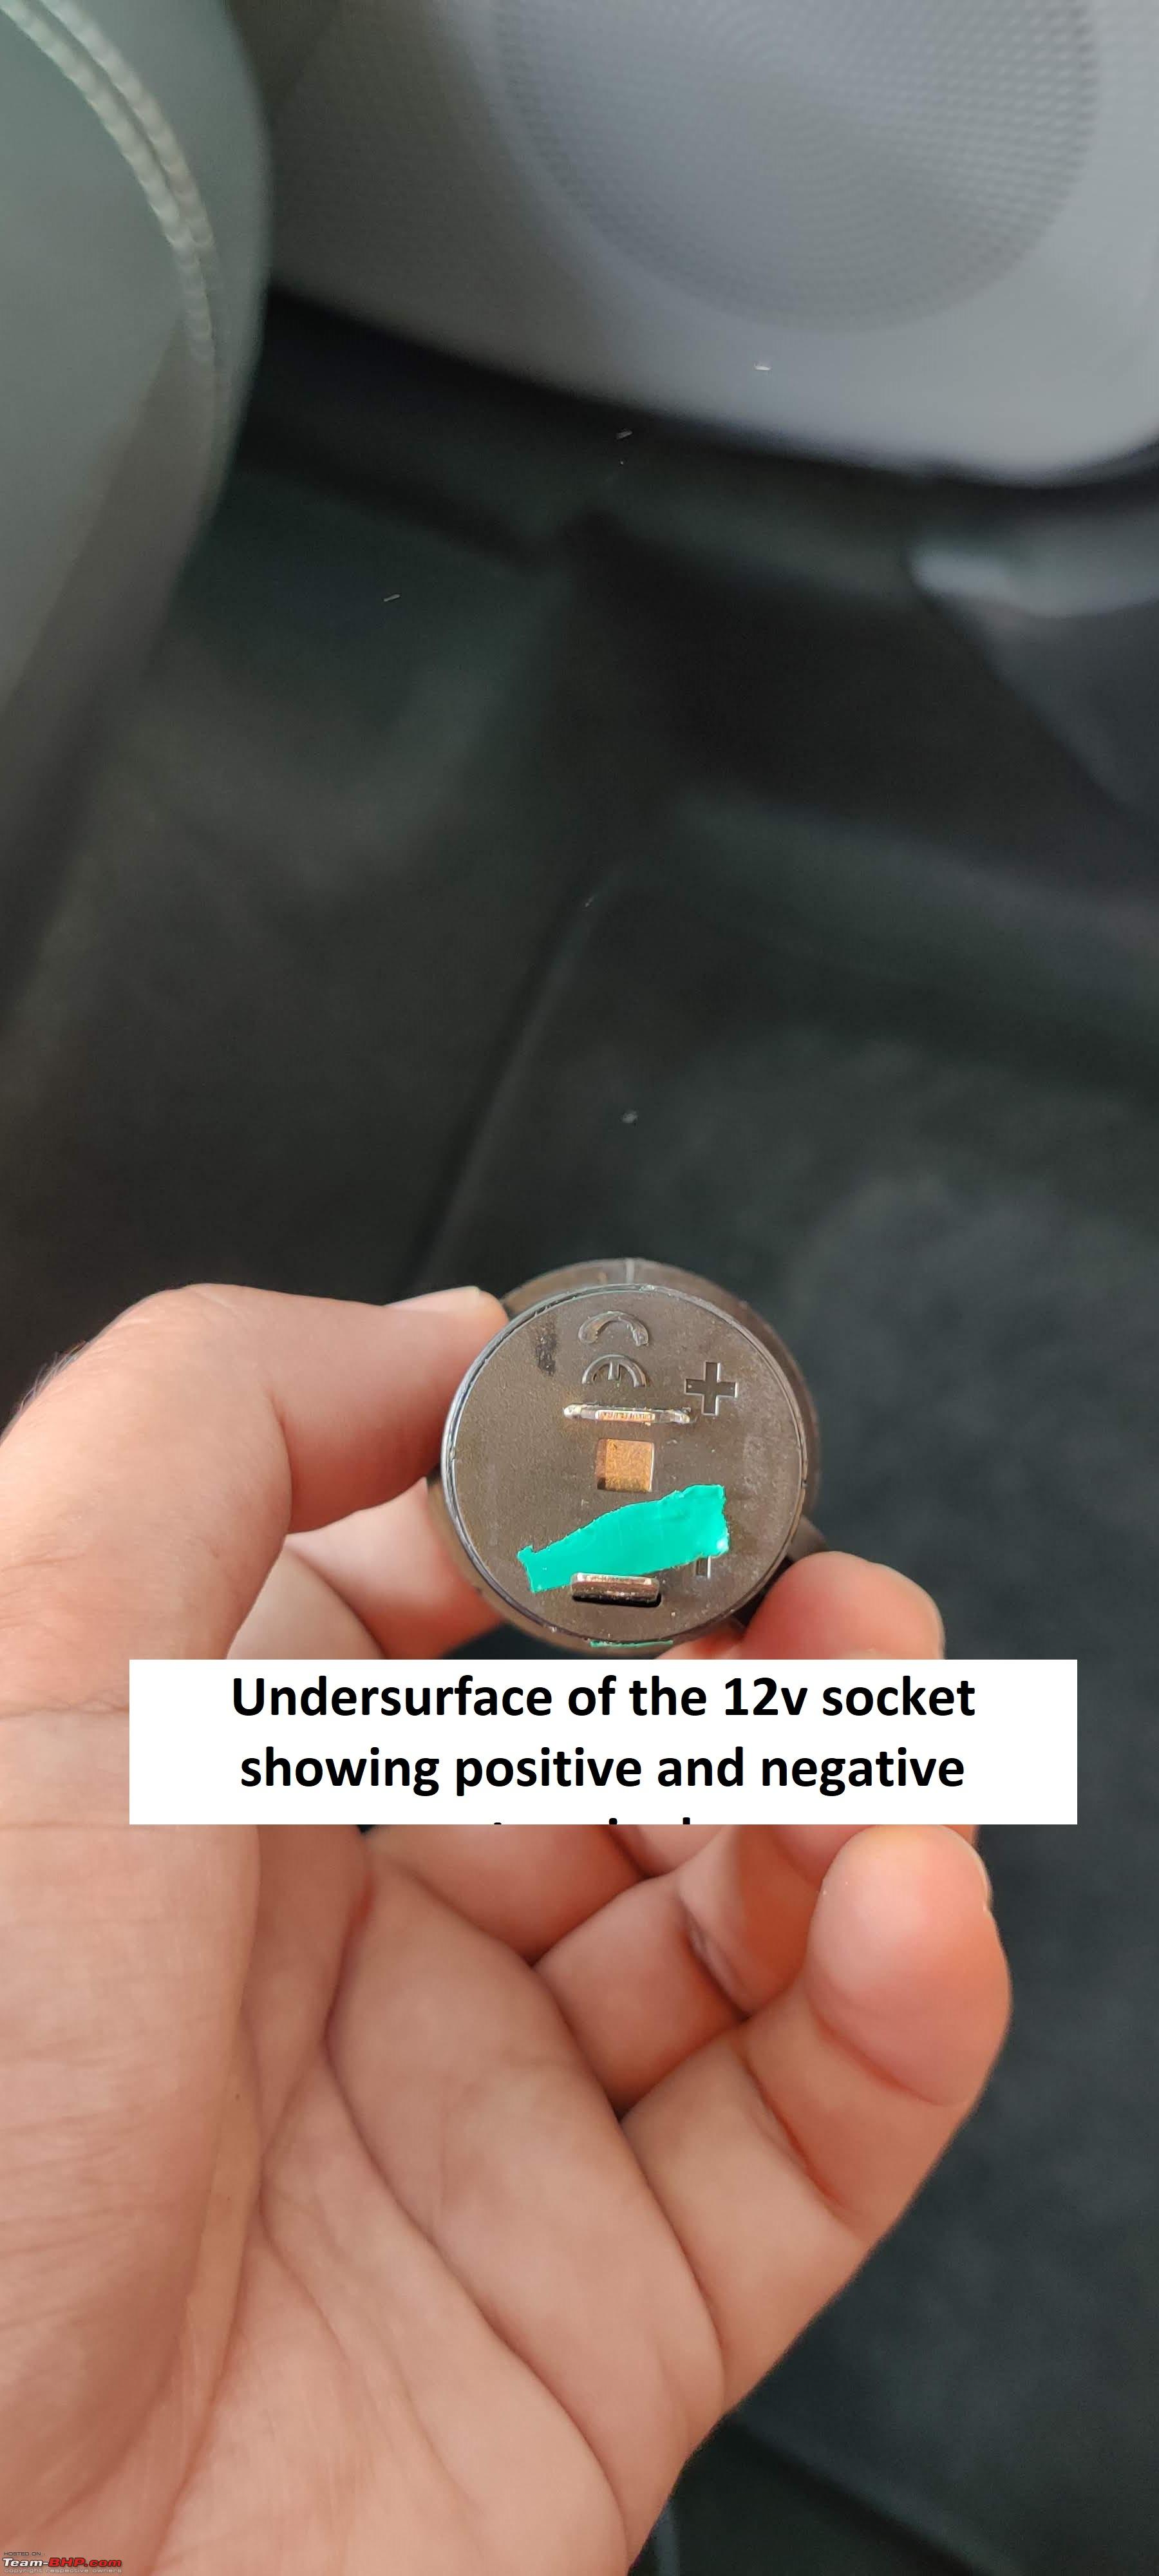
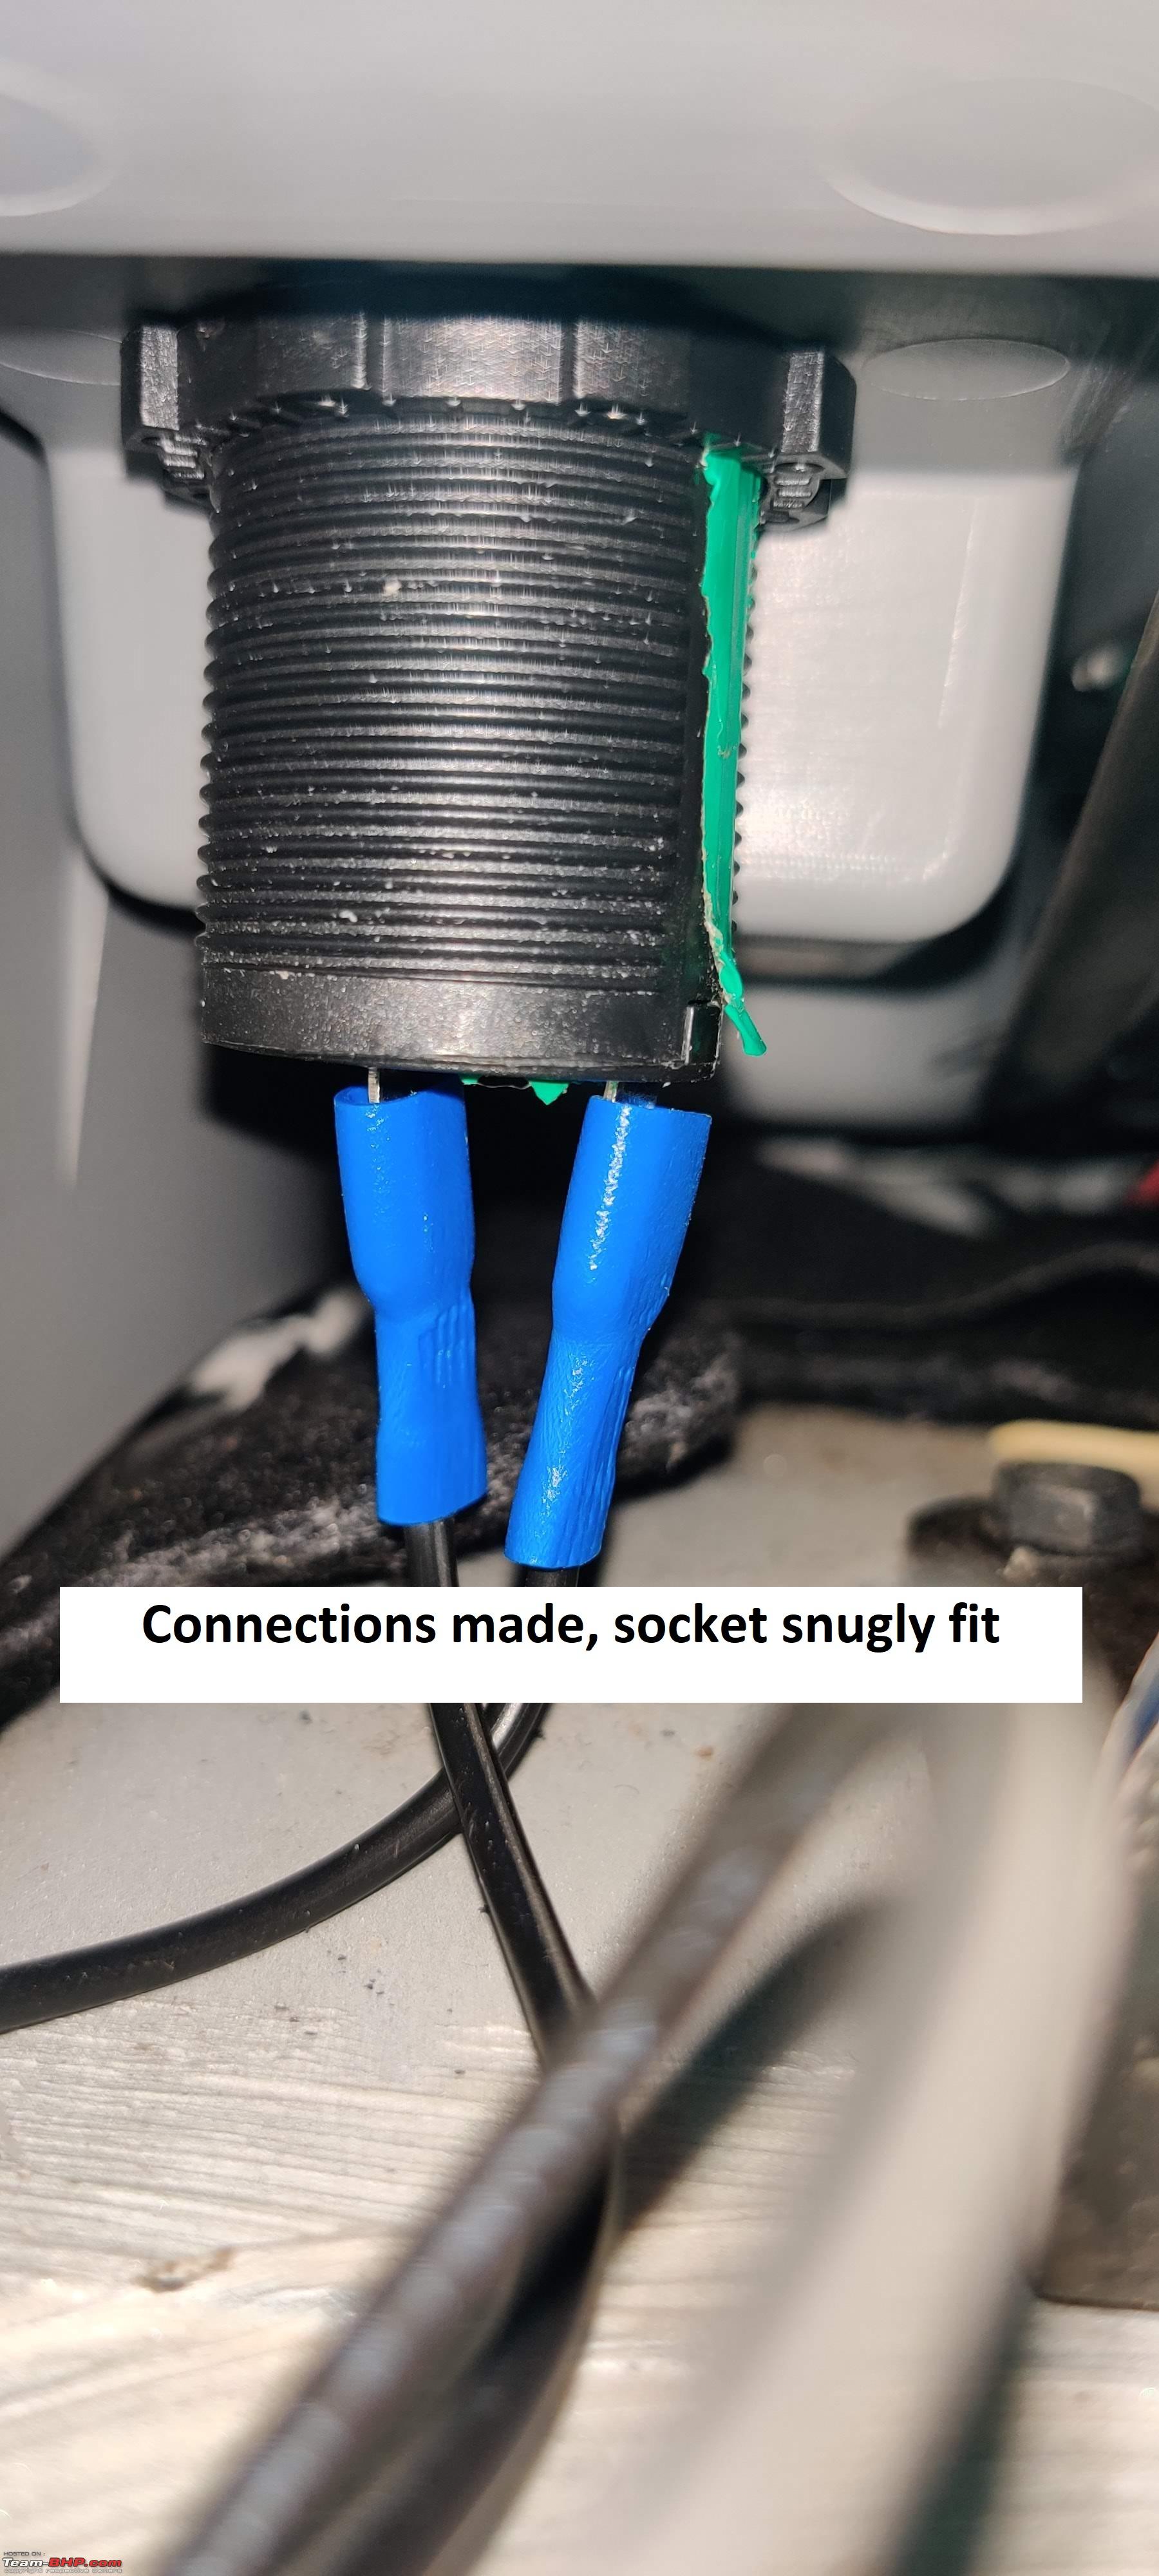
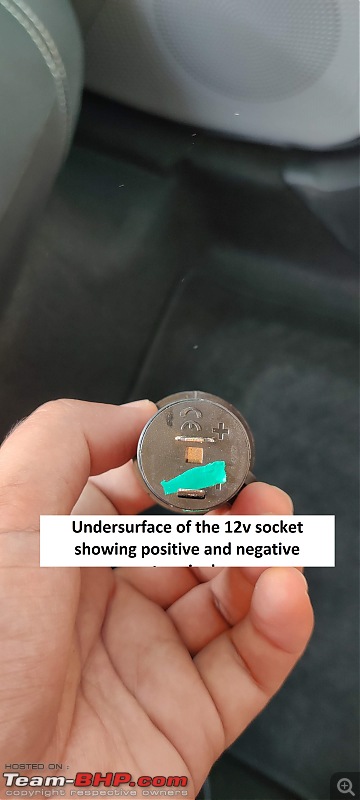
8. Identify the + and – terminals on the 12v socket and connect the corresponding wires the respective straight thimbles. Crimp them down strong with some pilers.

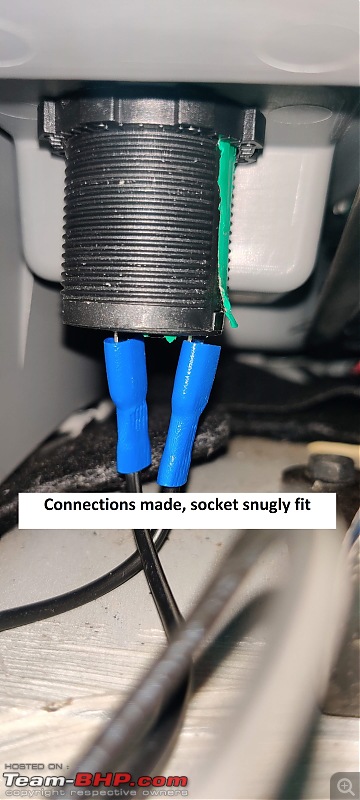
9. Test fire the power socket to see if it works, and holds the plug well.
10. Fit the socket into the slot. This particular socket I bought from amazon has a ribbed shaft and was really tight to push in. but it got there eventually!
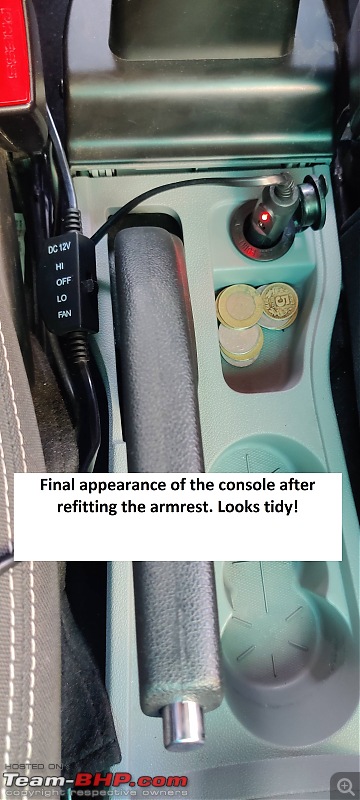
11. Re-install the armrest, vacuum the carpets, tidy up and you are done!
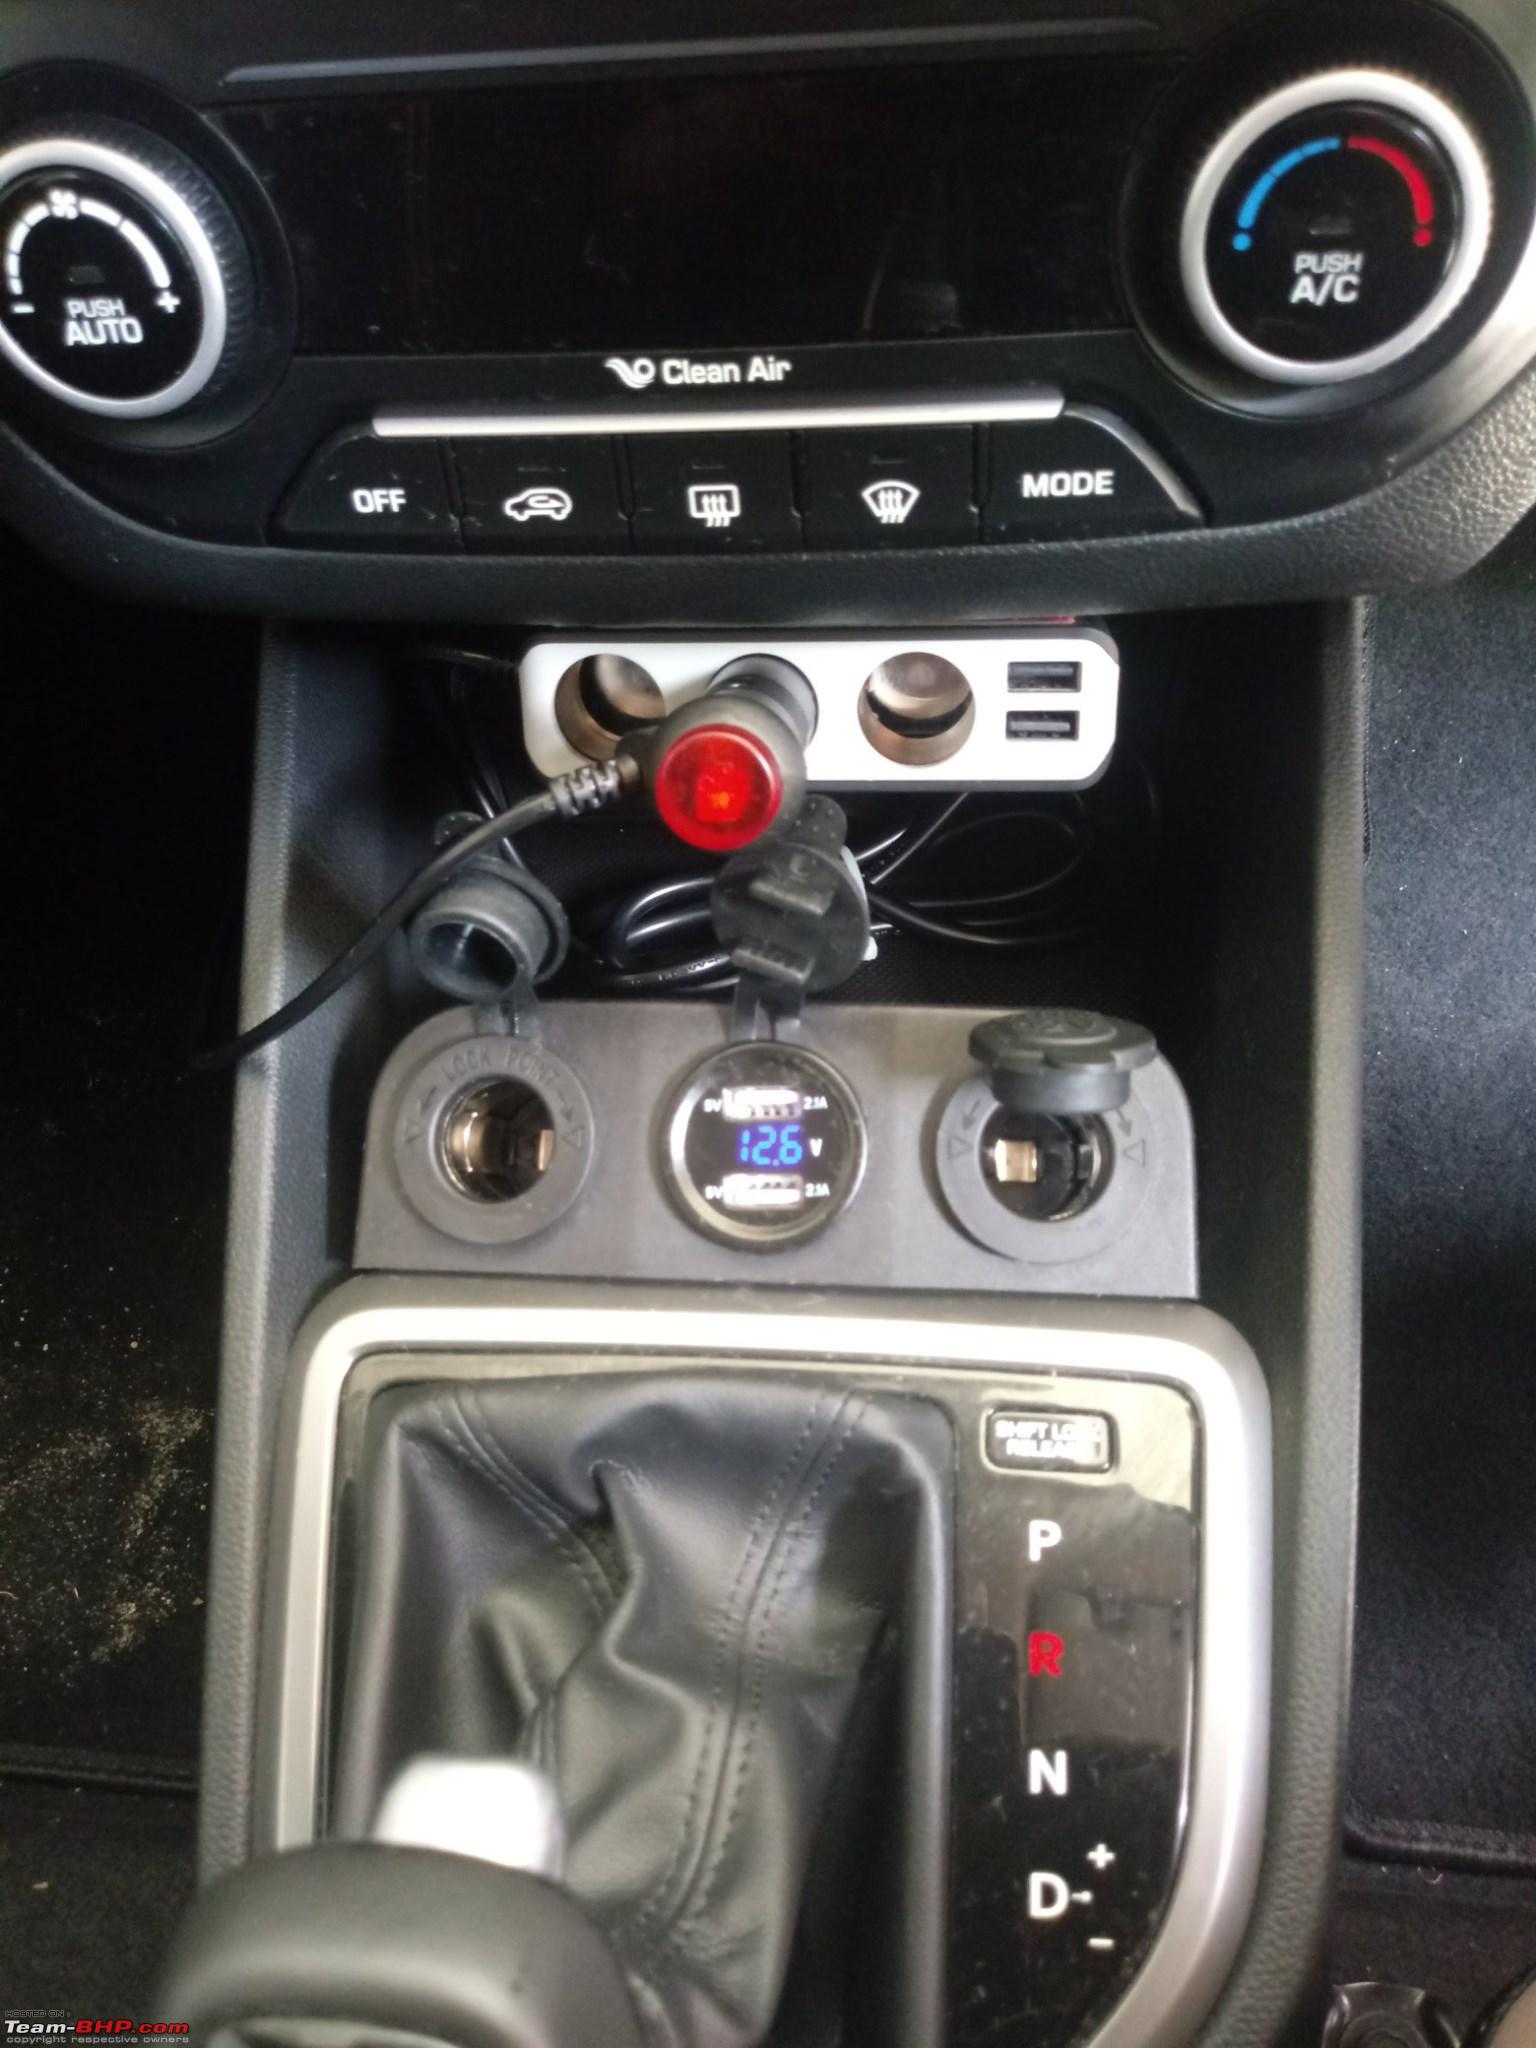
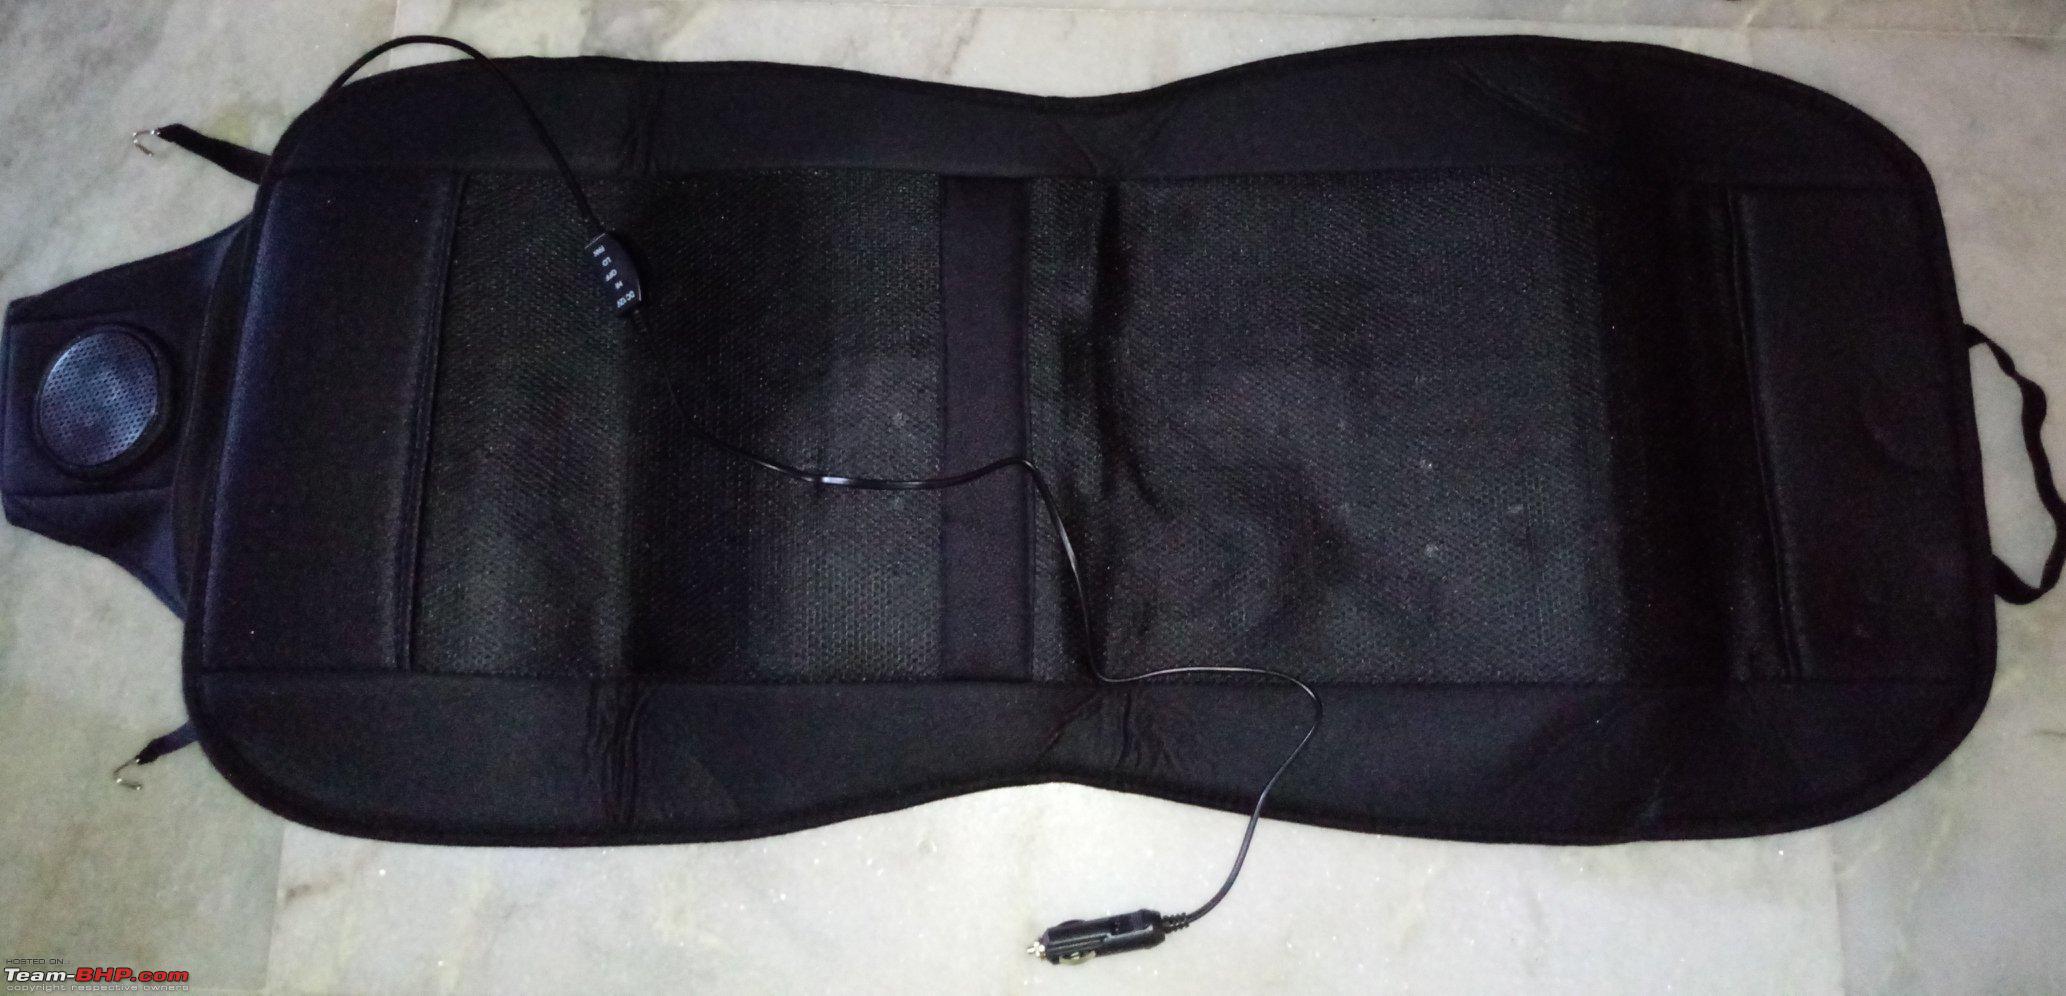
I spent around Rs. 500 in all. Rs. 299 for the socket, Rs. 150 for the fuse tap and Rs. 50 for the wire. One may spend more if he/she choses to buy Tata branded chrome ringed illuminated sockets. But I was not too bothered about the appearance, as it stays concealed under the armrest. I will be using it permanently for the ventilated seat cushion in the summer, and then a heated + massage seat cushion in the colder months.
https://youtu.be/aNWuU8nzM7M https://youtu.be/ZKWeNY8mFbc
Here is the YouTube upload on the same clap:
https://youtu.be/rYrMtNua6WAVery nicely done clap:
Coincidentally, we too got those exact same 12v marine sockets installed in our Creta and for the exact same purpose of running ventilated seats/covers.
However, instead of going the fuse-tap route, we decided to go for a separate connection to the battery since these same 12v marine sockets would be used for the solar battery charging system while car-camping as well. We got these 12v sockets from Aliexpress for around INR 31 each including delivery charges in 2018 but alas, no more :Frustrati
Quote:
Originally Posted by lemedico
(Post 5513392)
I chose fuse number F11 which had a 5A EPAS marking, and was not powered during ignition off. This is important to check to avoid trickle discharge of the battery.
|
You are absolutely correct here but on the downside, it would not be safe to draw more than around 5 amperes of current from the 12v socket unless you are absolutely sure that the stock wiring can handle that much current. So plugging in a 12v vacuum cleaner and/or a 12v tyre inflator into this 12v socket could be a risky affair. This was another reason why we chose to go for a totally independent wiring connection to the battery through a fuse and a switch as you can see below.