| DIY : Suzuki Logo LED in SX4
Suzuki Logo LED Setup Tools required:
1. Cardboard / Plastic box
2. Plain paper, pencil, Black paper, glue
3. LEDs White/Blue/Red
4. Resistors
5. Soldering Iron, Lead, wires, Screw driver
6. 12 V Adapter (Optional)
7. Insulation tape
Take a slim cardboard box, the size of the box depends on the size of the logo needed. Wrap the box with black paper.
Draw the suzuki logo in a paper and mark the holes for LED 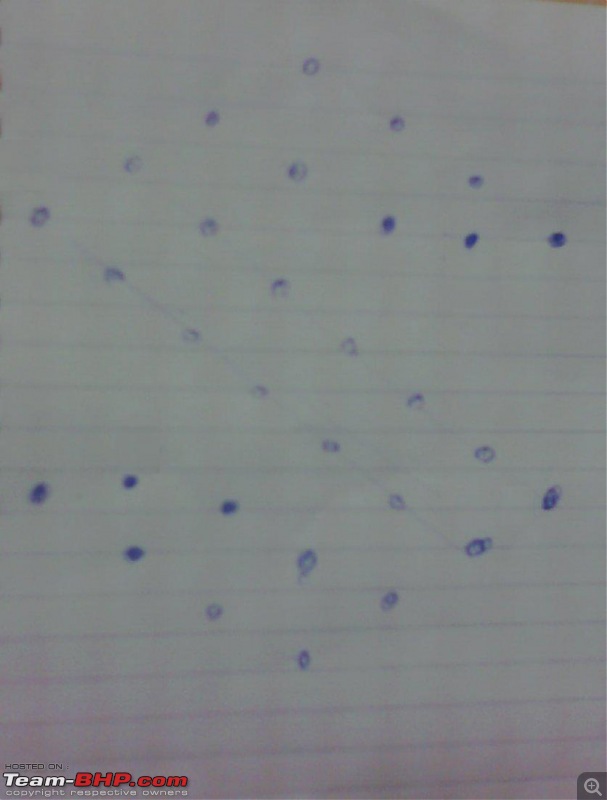
Use the suzuki logo paper as a trace, mark the holes in the cardboard. Create holes using screw driver or any other sharp instrument. Place one led to check the hole size, if it's good then repeat the same for all. 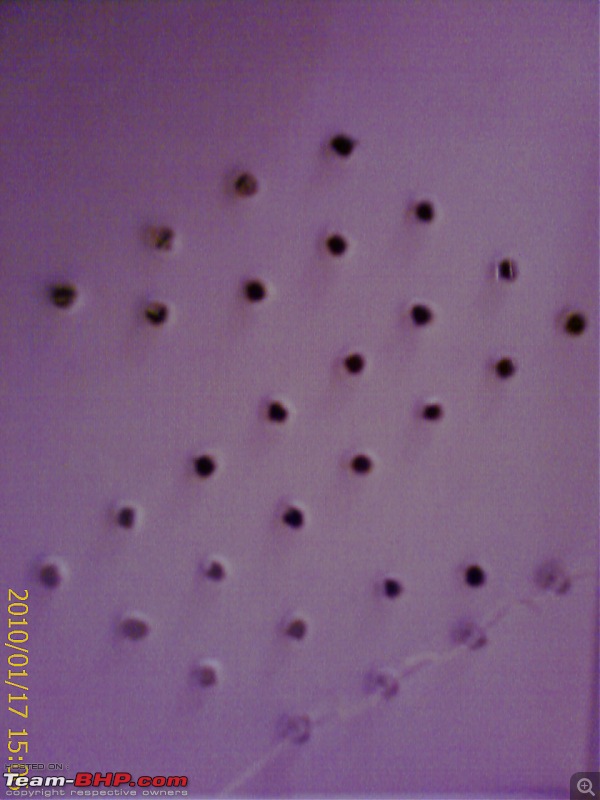
Now fix the LEDs in the holes so that you keep all the positives on one side and negatives on the other side to make the circuit clean. I have used 30 LEDs as specified in the diagram, however used more resistance to be on safer side. I have used 4 LEDs in Series and used 100 ohms resistor for it and 400 ohms for the remaining 2 LEDs. Solder the wires and test it using 12 V adapter. Now you are ready to set it up in the car. 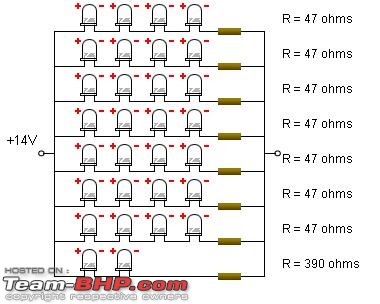 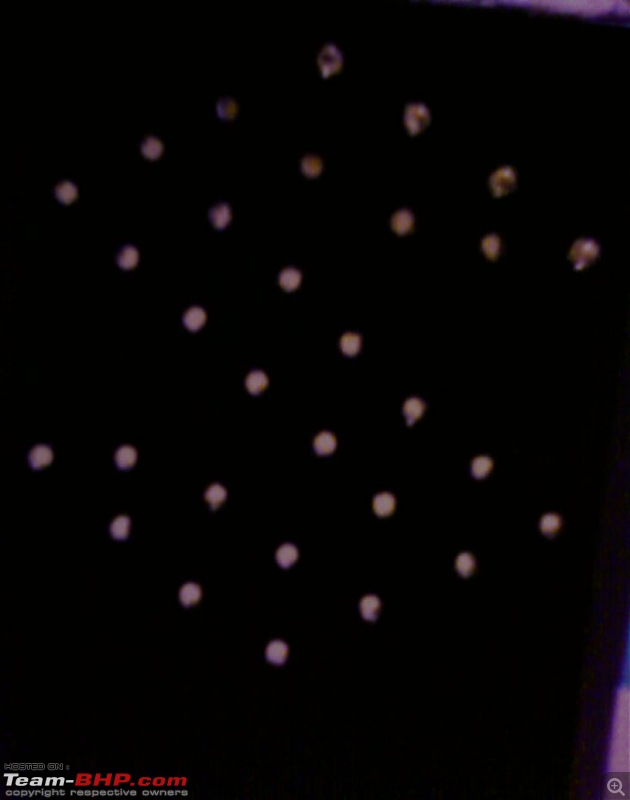 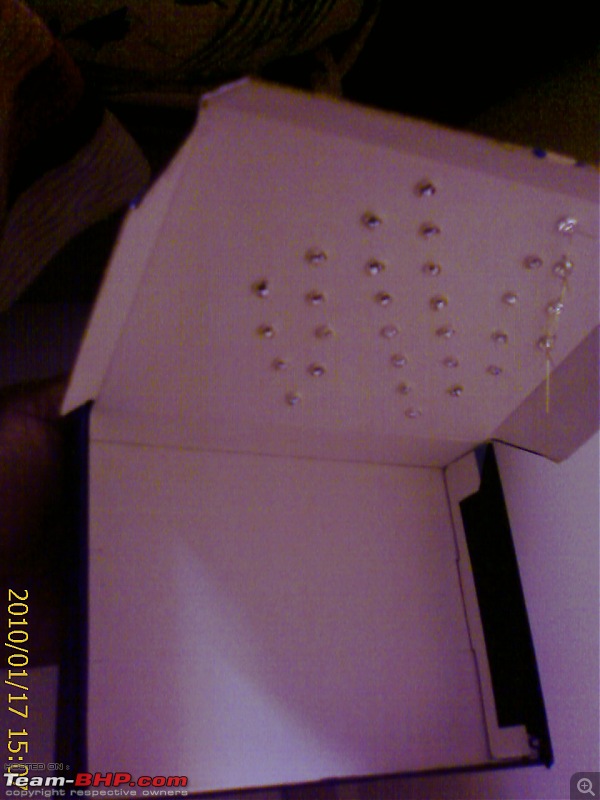 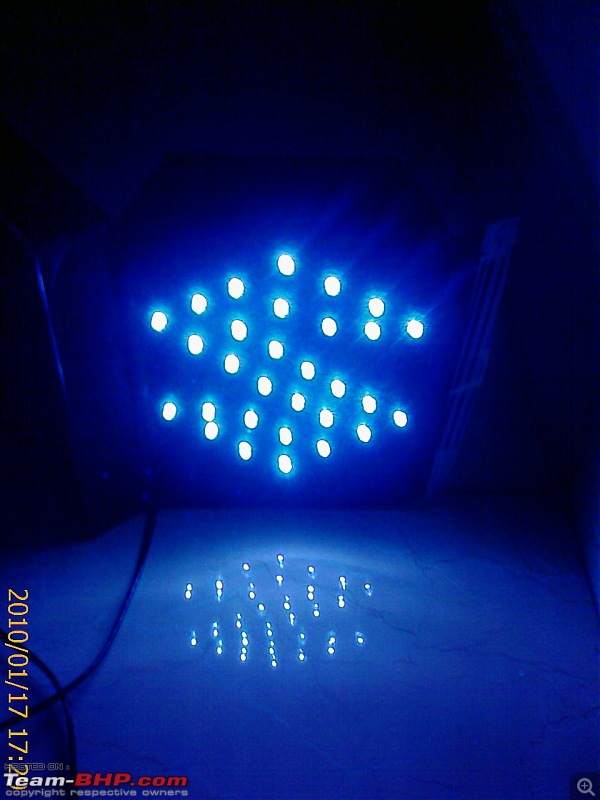
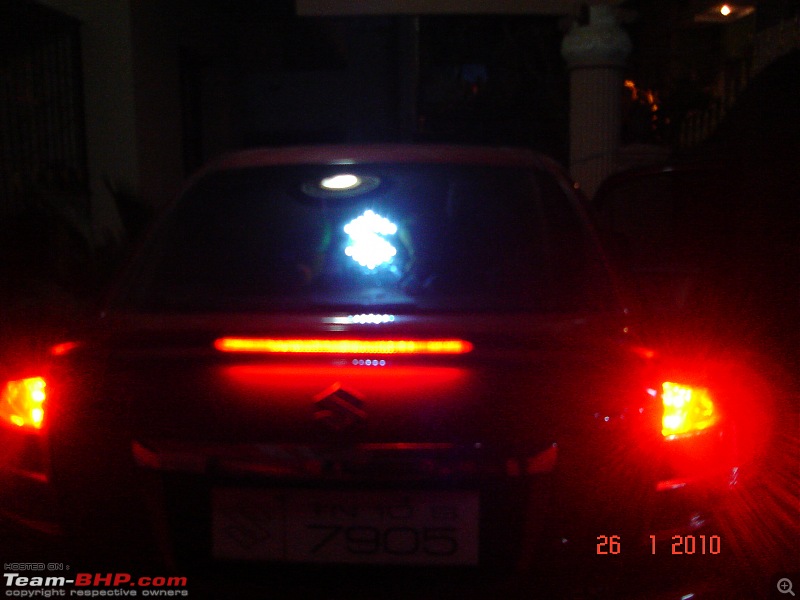
I placed the Logo in the rear replacing the stop lamp so that it glows when the brake is pressed. To remove the stop lamp in SX4, open the boot and there are 2 black clips exactly below the stop lamp. Press it and move it up and now from inside the car remove the stop lamp case, remove the bulb and connect the LED wires into it. You can use your preferred way of connecting it but make sure to put proper insulation to avoid short circuit. I used paper clips to connect the wires since it was easy and can be removed to revert back to old setup (could not take photos)
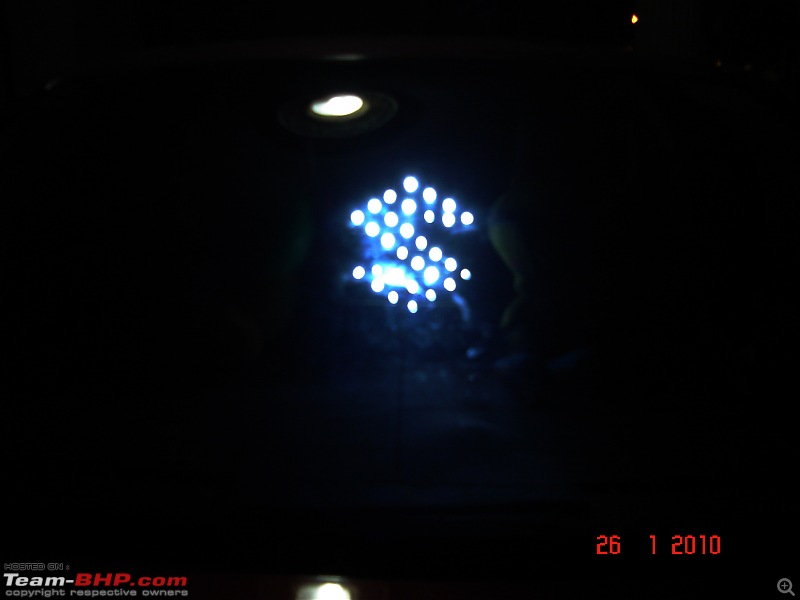
Now you get bright LED when the brake is pressed, looks jazzy in the night. Normal:  When Brake is pressed: When Brake is pressed:
  |  (2)
Thanks


