Team-BHP > Team-BHP Reviews > Long-Term Ownership Reviews
Register New Topics New Posts Top Thanked Team-BHP FAQ


Reply
  Search this Thread
68,339 views
Old 2nd June 2021, 13:21   #16
BHPian
 
Viraat13's Avatar
 
Join Date: Mar 2010
Location: New Delhi
Posts: 788
Thanked: 3,381 Times
re: YAPGT: Yet Another Polo GT TSI with several DIY improvements & modifications

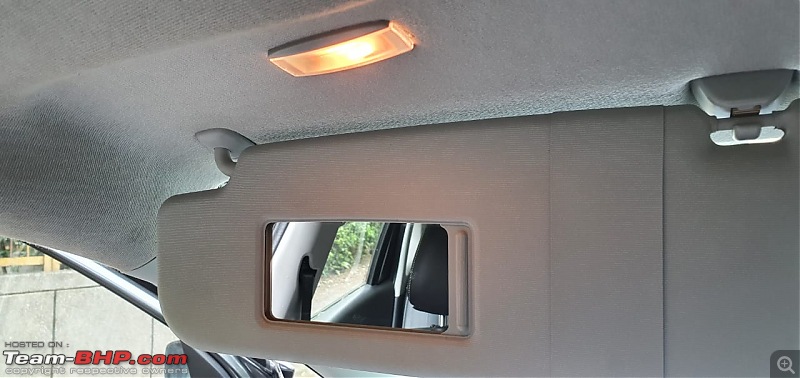
Vanity Lights!

Name:  ezgif22dd020db6af2.gif
Views: 6788
Size:  1.74 MB

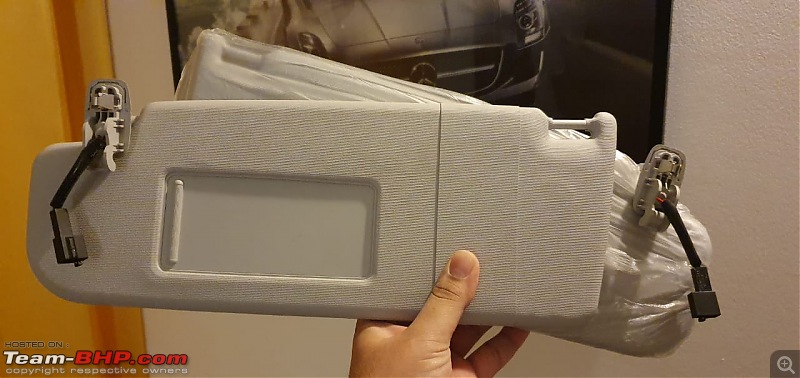
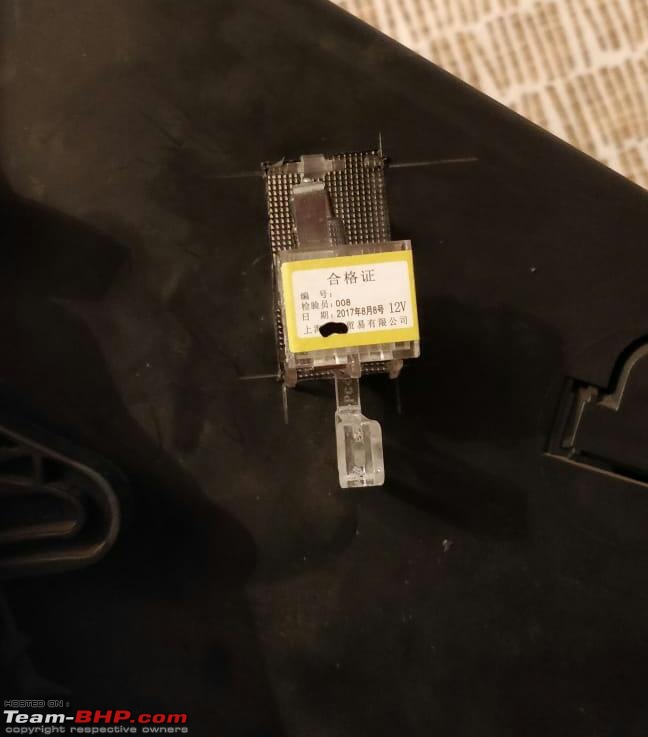
This one is a unique one for sure, because I couldn't find any resource for doing this mod. Maybe I didn't search well enough, but this is possibly the only Polo with vanity lights.

YAPGT: Yet Another Polo GT TSI with several DIY improvements & modifications-img20210602wa0096.jpg
The project was an utter pain from start to finish. First, it was next to impossible to find the sunvisors with the right clips (we get V clips in ours), then no seller was willing to support me by measuring the visor to help me confirm that it will fit. I took a chance and ordered a random pair with the electrical connections and V clips, and it was sheer luck that they were correct. I somehow am not able to trace the part numbers for the visors right now, will find out if someone else is interested in doing this mod as well.

YAPGT: Yet Another Polo GT TSI with several DIY improvements & modifications-img20210602wa0107.jpg
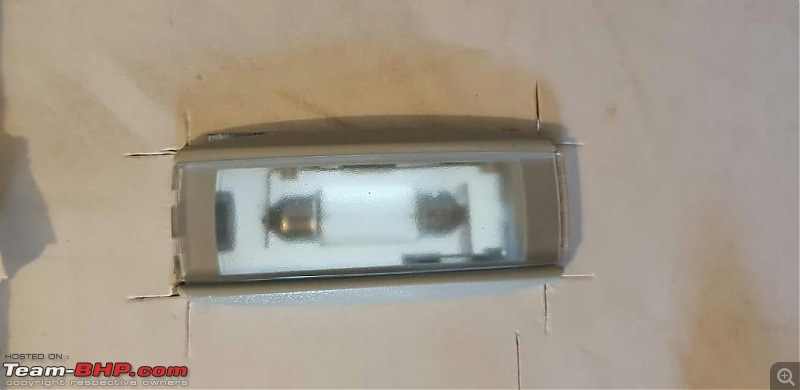
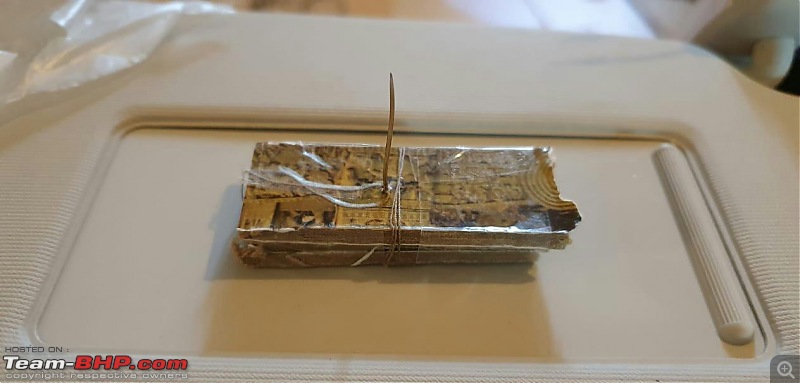
The light I used was 1K0 947 109, but you could use any of the multiple VW vanity lights available online. Once I crossed the hurdle of what parts to get, the saga of how to fit it began. To ensure the perfect placement of the light, I had to run through many hoops. In fact, when I removed the OE sun visor, I saw sheet metal around where the clip was. If that extended all the way through, the DIY was doomed before it even started. To check if there was clear space above where I wanted the light to go, I used a sewing needle to pierce the roof liner to check. Once I was sure of that, I used some stiff cardboard to create a dummy and to see how much I need to cut the roof lining for this install.

Once it was clear to me that there was enough space, the problem of how to place the lights in exactly the same spot on both sides came up. To remedy this, I did some good ol jugaad.
YAPGT: Yet Another Polo GT TSI with several DIY improvements & modifications-img20210602wa0108.jpg
The dummy fitment I did on the cardboard left these bits which were pretty much the size of the lights. I stuck them to the visors and closed it - that way, the location of the lights is exactly alike on both the sides. Once I had the placement, I had to use a pen to mark where I'm supposed to be cutting.

I have to admit, I was very nervous about cutting the roof liner because if I screwed it up, the remedy would have been painful; but anyway, I hacked at it with my trusty Swiss knife and got the job done. I had also used some soft steel to make brackets for the spring clip of the light to snap into.

The wiring of this job was a nightmare too, because there is a metal support roughly 2 inches ahead of the light, so passing the wiring down from the A pillar to the fuse box under the steering took me a really long time, but I managed!

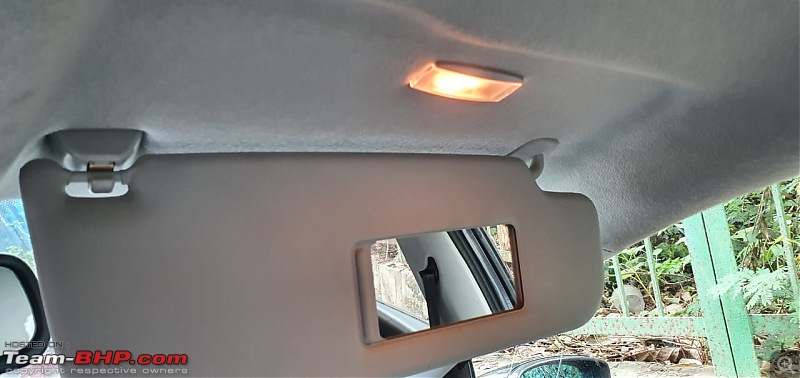
The finished product:
YAPGT: Yet Another Polo GT TSI with several DIY improvements & modifications-img20210602wa0095.jpg
YAPGT: Yet Another Polo GT TSI with several DIY improvements & modifications-img20210602wa0094.jpg

Very happy with how it ultimately turned out, but it was a heck of a lot of effort because I had no guide to refer to.

Approx spend: 3000-3500
Time: 8-10 hours over many days

Last edited by Viraat13 : 2nd June 2021 at 17:50.
Viraat13 is offline   (26) Thanks
Old 2nd June 2021, 13:32   #17
BHPian
 
Viraat13's Avatar
 
Join Date: Mar 2010
Location: New Delhi
Posts: 788
Thanked: 3,381 Times
re: YAPGT: Yet Another Polo GT TSI with several DIY improvements & modifications

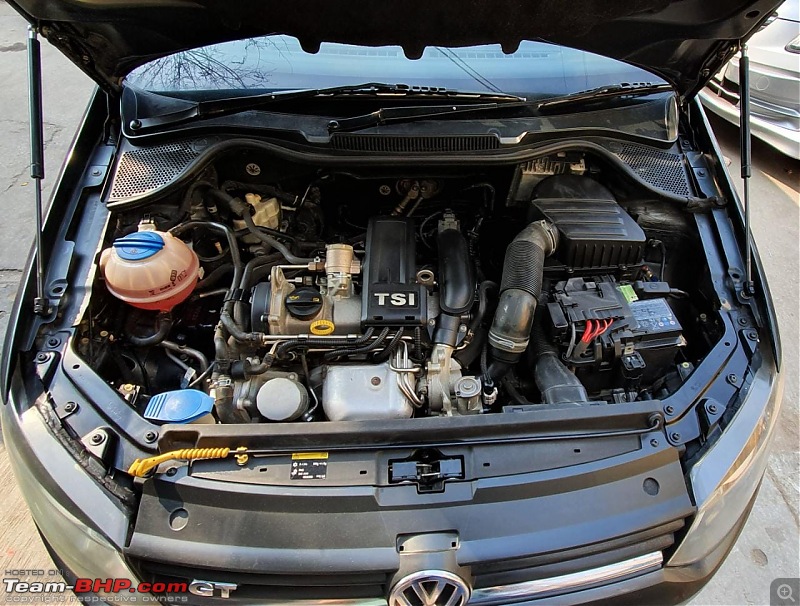
Bonnet Struts
YAPGT: Yet Another Polo GT TSI with several DIY improvements & modifications-img20210602wa0124.jpg
This was a really quick and easy mod. I'd managed to find a full kit for the job on AliExpress for ~INR 2000
Initially I found the shockers to be a bit too hard, but with use they've settled down. For the installation I only needed the ratchet set for the bolts. I think similar kits are available on eBay as well, so if someone is interested they could check it out.
The eagle eyed among you will also notice that the negative terminal of the battery has a cap. Just one of those silly things one would see while browsing AliExpress, I don't remember how much it was - probably 50-60 bucks.

Approx Spend:2000
Time: 25 minutes


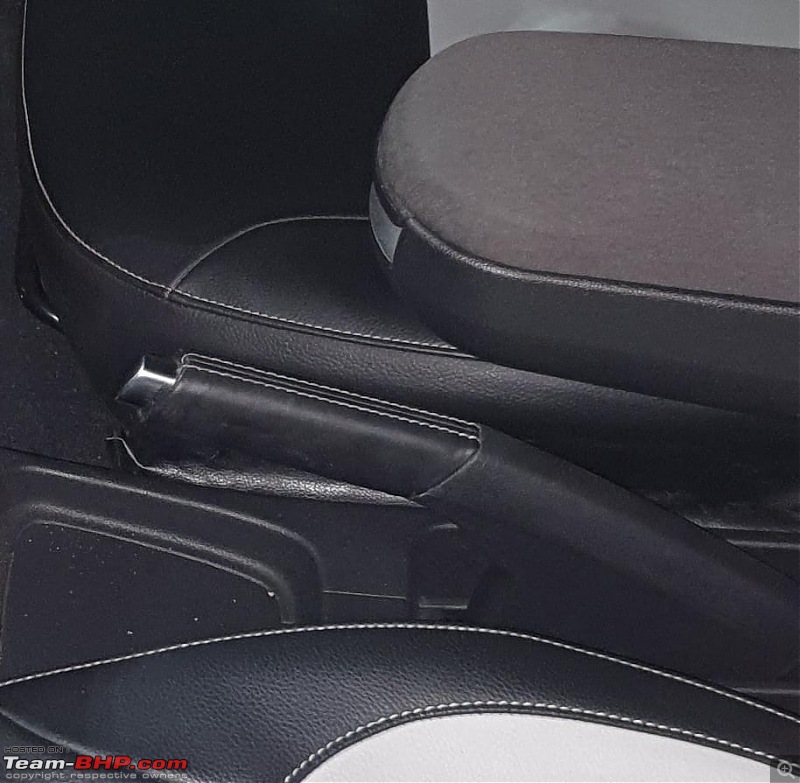
Leather Handbrake Cover
The pre facelift Polo came with a leather grip for the parking brake, and this looks so much nicer than the plastic handled stock one.
YAPGT: Yet Another Polo GT TSI with several DIY improvements & modifications-img20210602wa0157.jpg
Also visible in the photo is the cheap but useful seat gap filler. It hooks over the seat belt and then prevents things from falling into the Bermuda triangle between the floor tunnel and seats.

Approx spent: 2000
Time: 15 minutes

Last edited by Viraat13 : 3rd June 2021 at 02:49.
Viraat13 is offline   (19) Thanks
Old 2nd June 2021, 14:50   #18
BHPian
 
Viraat13's Avatar
 
Join Date: Mar 2010
Location: New Delhi
Posts: 788
Thanked: 3,381 Times
re: YAPGT: Yet Another Polo GT TSI with several DIY improvements & modifications

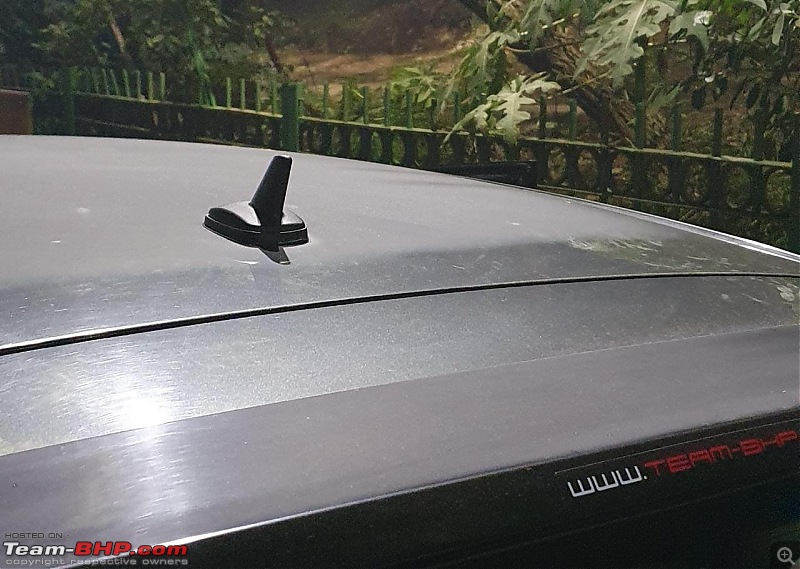
Shark Fin Antenna

YAPGT: Yet Another Polo GT TSI with several DIY improvements & modifications-51dwgtugbl._ac_sy355_.jpg
I never really liked the looks for the OE antenna - it was much too tall for my liking. I had replaced the antenna with a generic knockoff Sparco one which was half the height. Then I came across this shark fin on eBay, so I ordered it and it must have arrived a few weeks later (in 2019). I only just got around to installing it though.

YAPGT: Yet Another Polo GT TSI with several DIY improvements & modifications-img20210602wa0161.jpg
Looks much better this way. I have no idea about the radio reception (never listen to it)

The installation is a bit tricky since you need to partially drop the roof lining from the rear. It involves removing the large trim panel that holds the roof up, loosening the C pillar trim, and then the rest can be done by putting your hand through. You need a 17mm spanner for this IIRC.

Approx Cost: 800
Approx Time: 45 minutes

Anti-glare Mirrors
YAPGT: Yet Another Polo GT TSI with several DIY improvements & modifications-img20210602wa0162.jpg
In view: Dhruvritzed's Polo GT TSI
These really help if you drive at night a lot. I can look directly at a car with its full beam on without having to squint.
Installing this is pretty straightforward, but I screwed it up and broke one OE mirror while removing it. To remove the mirror you need a trim removal tool with the "hook" as close to 90 degrees as possible - put it between the gap of the mirror and the ORVM body and pull it out. Fitting it is just a matter of aligning the clips and pressing in from the centre till it clicks into place.

Approx Cost: 4000 (well worth it)
Approx Time: 10 minutes

Chrome Finish Mirror Knob
YAPGT: Yet Another Polo GT TSI with several DIY improvements & modifications-img20210602wa0163.jpg
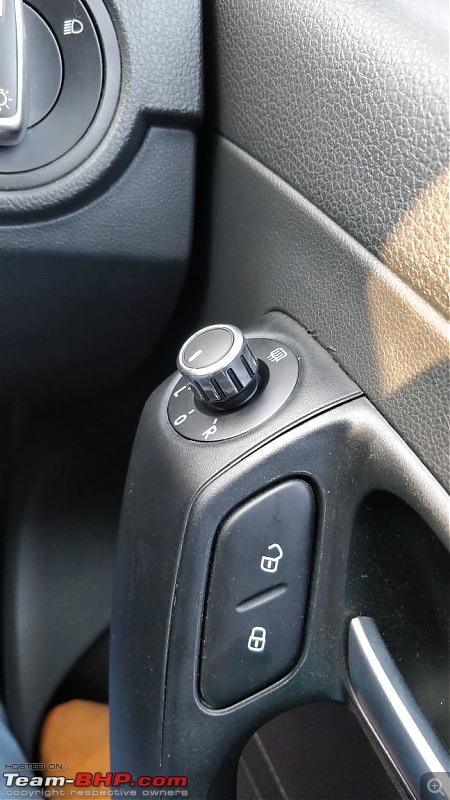
Since I had replaced the headlight switch and that had chrome on it too, I decided I'd like this to have a similar finish as well. Installing it was pretty simple (just pry up the trim on which it sits), but I accidentally got the switch for LHD markets, so the functions are inverted. Not a big deal as such since no one uses that adjustment anyway.

Approx Cost: 250
Approx Time: 5 minutes

Last edited by Viraat13 : 2nd June 2021 at 18:52.
Viraat13 is offline   (17) Thanks
Old 2nd June 2021, 18:00   #19
BHPian
 
Viraat13's Avatar
 
Join Date: Mar 2010
Location: New Delhi
Posts: 788
Thanked: 3,381 Times
re: YAPGT: Yet Another Polo GT TSI with several DIY improvements & modifications

Auto Headlight Switch

Another quick and easy mod, that makes day to day driving easier.

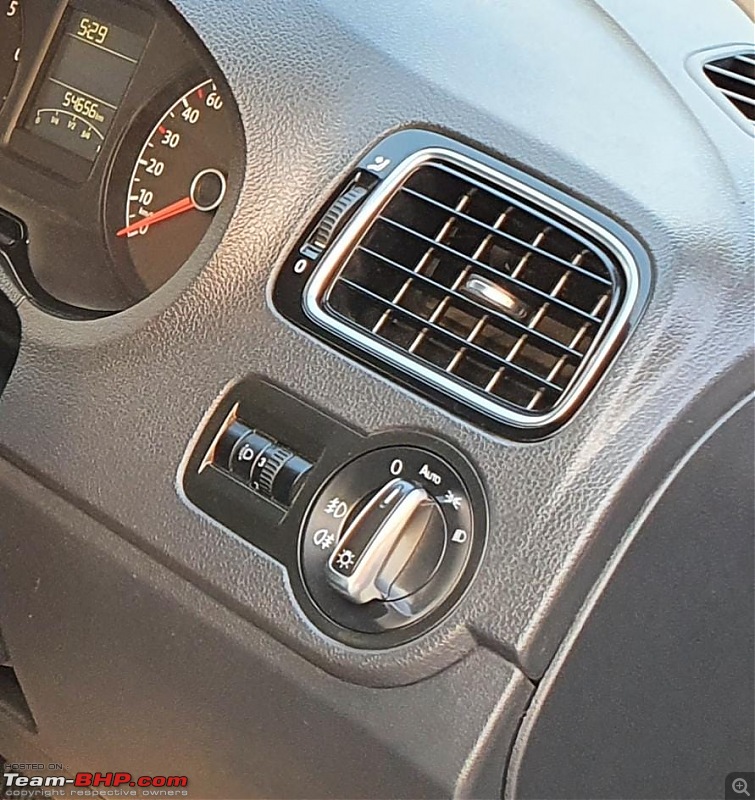
All it needs is just switch with an external light sensor. That goes here:
YAPGT: Yet Another Polo GT TSI with several DIY improvements & modifications-img20210602wa0176.jpg

And then you are free to enjoy your automatic headlights with coming/going home feature.

YAPGT: Yet Another Polo GT TSI with several DIY improvements & modifications-img20210602wa0177.jpg

If you're considering ordering this, just check what kind of connector your car has - to see, press in the headlight switch at 0, and then turn it right and extract. Will be out in a jiffy.

Approx Cost: 3000
Aprox Time: 10 minutes

Last edited by Viraat13 : 2nd June 2021 at 19:01.
Viraat13 is offline   (16) Thanks
Old 2nd June 2021, 18:52   #20
BHPian
 
Viraat13's Avatar
 
Join Date: Mar 2010
Location: New Delhi
Posts: 788
Thanked: 3,381 Times
re: YAPGT: Yet Another Polo GT TSI with several DIY improvements & modifications

Car Air Purifer

With air pollution at its absolute worst in the winters in NCR, I decided it was high time I should get a HEPA air filter. I searched for a few options and narrowed in on the Honeywell Move Pure - it was well priced, and Honeywell is a brand I trust.

YAPGT: Yet Another Polo GT TSI with several DIY improvements & modifications-honeywellmovepurecarairpurifierhapc15gc010506b500x500.jpg
I ordered it via Amazon and paid INR 5225 in November 2019.

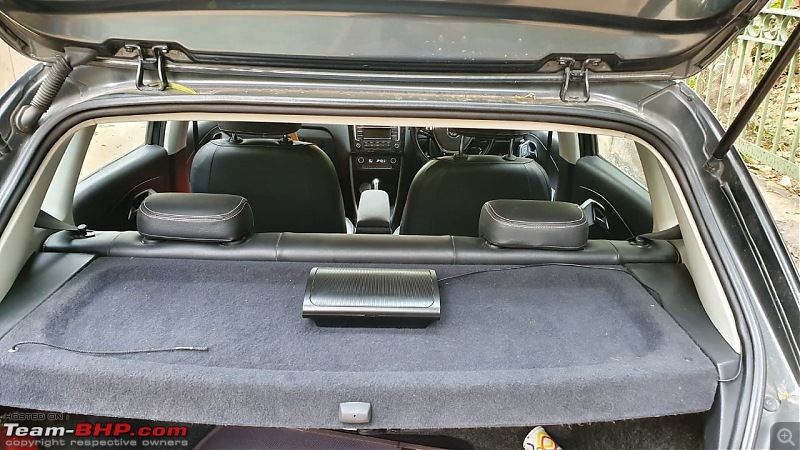
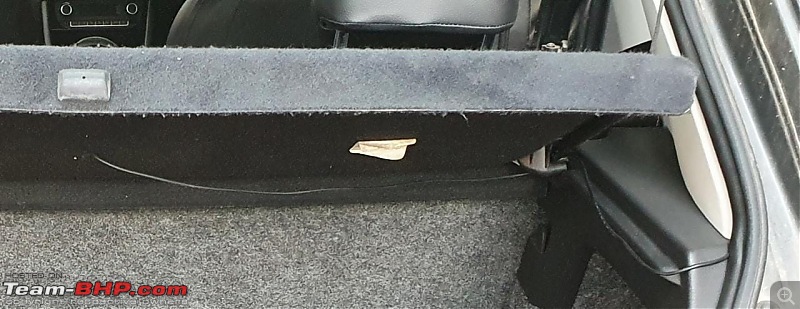
The only local location for the filter was on the rear parcelshelf, so that's where it went. It came with a cigarette lighter adapter, but I hardwired it using a fuse tap. The wire was routed from the C pillar, to the roof, and then down the drivers side A pillar and into the fuse box from behind the dash. The filter came with velrco on the underside, so it sticks to the parcel shelf perfectly!

YAPGT: Yet Another Polo GT TSI with several DIY improvements & modifications-img20210602wa0186.jpg
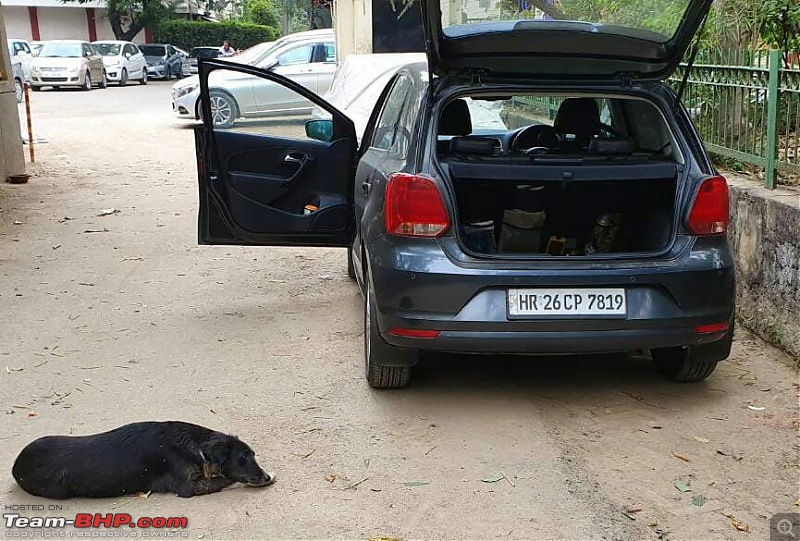
Dog waiting patiently for me to finish so that I can feed her biscuits. Job was nearly done by this time.

YAPGT: Yet Another Polo GT TSI with several DIY improvements & modifications-img20210602wa0187.jpg
Test fit

YAPGT: Yet Another Polo GT TSI with several DIY improvements & modifications-img20210602wa0188.jpg
Final fitting. I made a hole in the parcel shelf to pass the wire through. Very little of it is visible, and the rest is routed neatly by the pivot hinge of the shelf itself.

Approx Cost: 5225
Approx Time: 2 hours

Last edited by Viraat13 : 2nd June 2021 at 19:24.
Viraat13 is offline   (12) Thanks
Old 2nd June 2021, 19:08   #21
BHPian
 
Viraat13's Avatar
 
Join Date: Mar 2010
Location: New Delhi
Posts: 788
Thanked: 3,381 Times
re: YAPGT: Yet Another Polo GT TSI with several DIY improvements & modifications

Glove Box Lamp

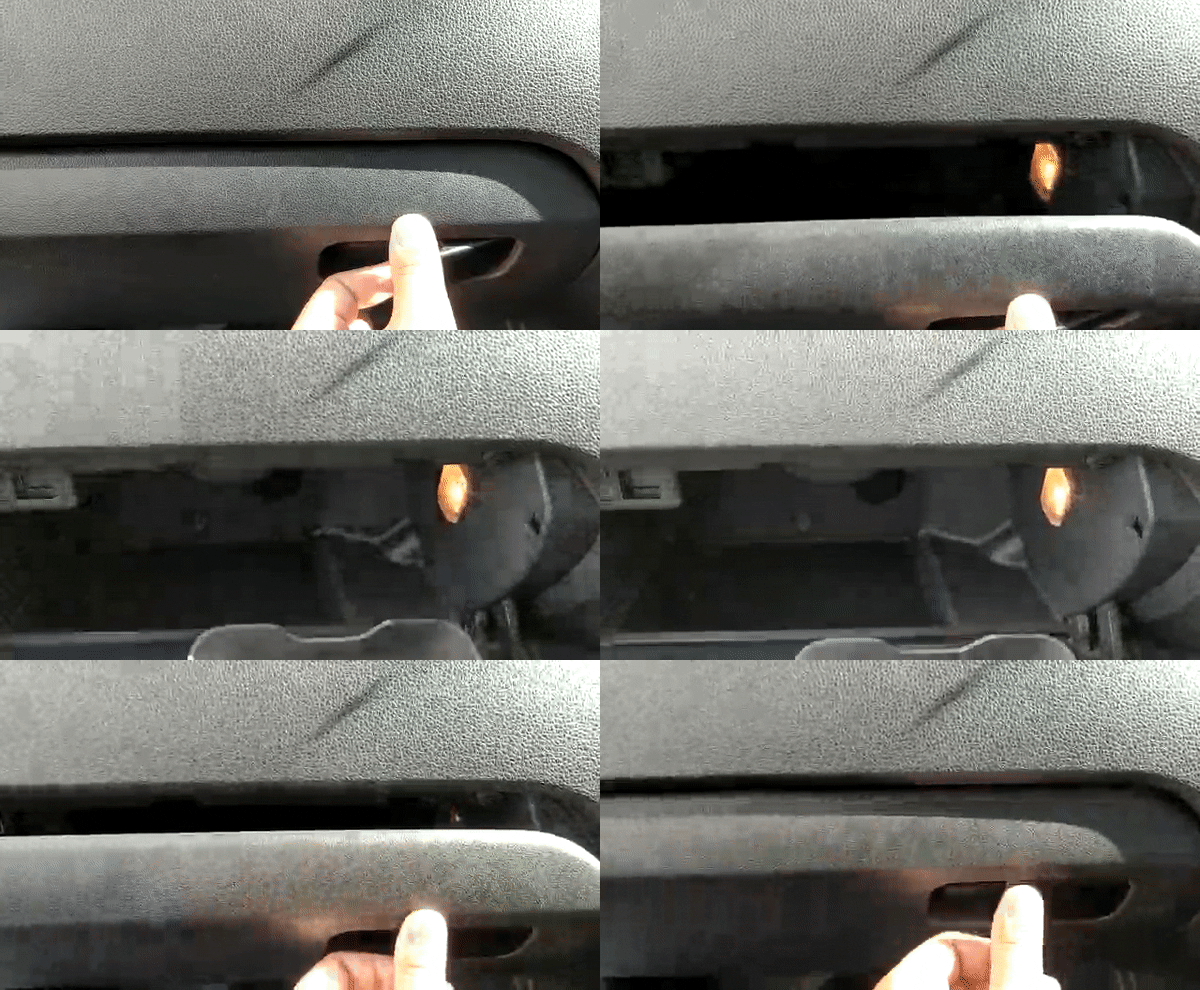
Name:  ezgif36c90ec65750c.gif
Views: 6192
Size:  2.72 MB

A small but significant addition that feels premium, but mostly it is just too damn useful to skip. This is another DIY that requires a bit of precision cutting, so as always - measure twice, cut once. There are multiple guides for this DIY on our forum.

YAPGT: Yet Another Polo GT TSI with several DIY improvements & modifications-img20210602wa0231.jpg
The fitting was pretty close to perfect.

YAPGT: Yet Another Polo GT TSI with several DIY improvements & modifications-img20210602wa0232.jpg
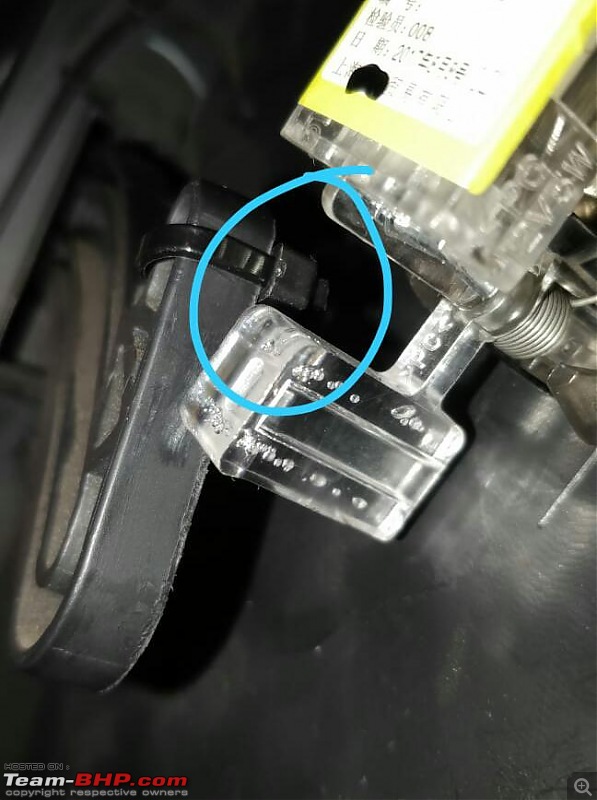
But still I thought the armature wasn't striking right - I remedied it with a zip tie.

The wiring was routed behind the central console and into the fuse box via a fuse tap. A word of advise to anyone doing this - be careful with the screw that's at the bottom left of the glovebox, it can fall into the panel on the left and will be lost. It happened to me.

Approx Cost: 300
Approx Time: 3 hours


Boot Lamp
YAPGT: Yet Another Polo GT TSI with several DIY improvements & modifications-img20210603wa0036.jpg

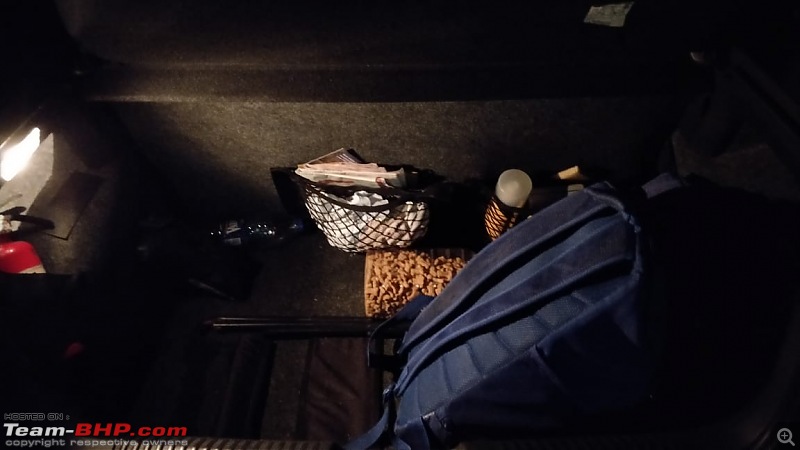
This too is another well document DIY on the forum or even on other VW forums. I remember doing the wiring in a slightly different manner by giving it a regular power source and using a fuse tap on the wire going for the boot open warning light for the ground. I am sure if you search you will find the method suited to you.

YAPGT: Yet Another Polo GT TSI with several DIY improvements & modifications-img20210603wa0035.jpg
Cut out the hole for the light using my trusty Swiss knife.

Name:  ezgif36c555834b35c.gif
Views: 6087
Size:  1.56 MB
It works! You can see the light going off when the boot is shut.

Approx Cost: 750
Approx Time: 2 hours

Last edited by Viraat13 : 3rd June 2021 at 00:28.
Viraat13 is offline   (18) Thanks
Old 2nd June 2021, 23:45   #22
BHPian
 
Viraat13's Avatar
 
Join Date: Mar 2010
Location: New Delhi
Posts: 788
Thanked: 3,381 Times
re: YAPGT: Yet Another Polo GT TSI with several DIY improvements & modifications

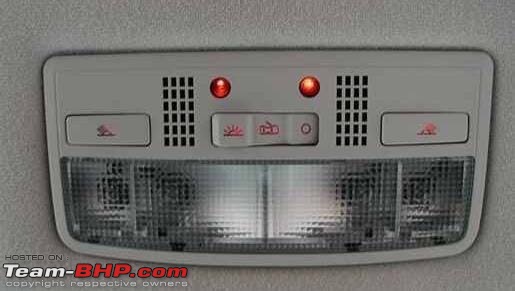
Passat W8 Dome Light W/ Ambient Lighting

YAPGT: Yet Another Polo GT TSI with several DIY improvements & modifications-img20210603wa0051.jpg
(Not my photo)
This light instantly elevated the ambience of the interior in one sweep! A definite must, and a massive upgrade from the pathetic single bulb dome light we get in the Polo. I had initially swapped the stock light for the one from the Octavia (basically 2 additional reading lights on the side), but this one was just too cool to not do.

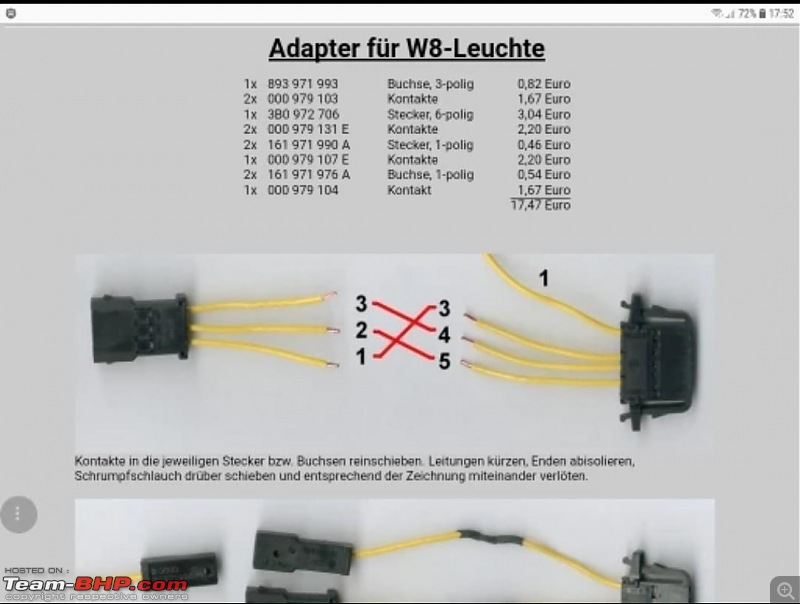
YAPGT: Yet Another Polo GT TSI with several DIY improvements & modifications-img20210603wa0046.jpg
I'd found these instructions on some German forum and saved the image, since it is simple to understand. The stock harness of our car has 3 pins, as demonstrated on the left. You simply have to connect this to the corresponding wires as per the diagram. The connector socket has these numbers printed on it. Wire number 1 goes to the headlight switch, where you will need a wire tap on the number 17 wire

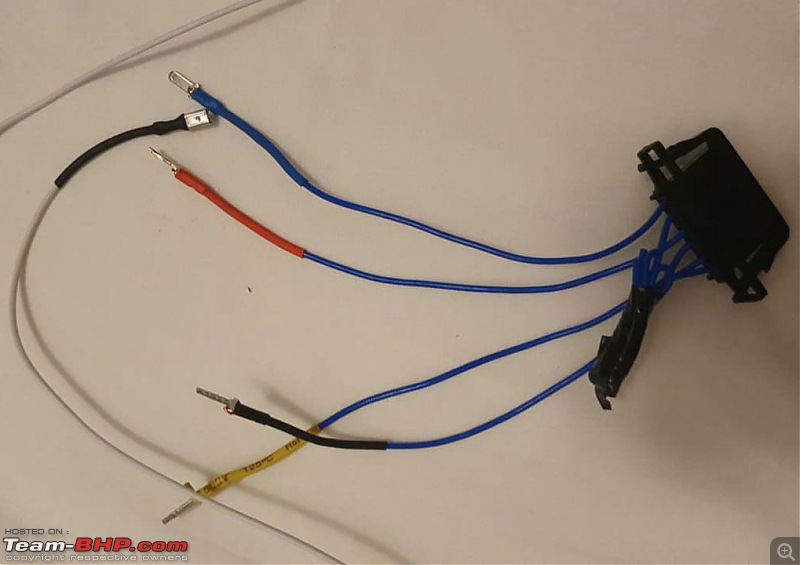
My friend TheLizardKing has put up pretty detailed instructions in his thread, so it would be worth a look. Although, I didn't use a pin extractor and what not for my light, I did a quick jugaad by adding thin spade connector at the end of the new wiring connector and plugged in the individual wires to the factory wiring harness.Reference image below. The white wire is for tapping wire number 17 of the headlight switch.
YAPGT: Yet Another Polo GT TSI with several DIY improvements & modifications-img20210603wa0068.jpg
The first time I made this, it took me ages. Recently agambhandari asked me to install this light in his car, and this wiring was ready in 15-20 minutes! In fact, I think I even managed to install the light in 15 minutes flat (but the second time around)

Approx Cost: 2200
Appox Time: 1. 5 hours


Illuminated Cigarette Lighter
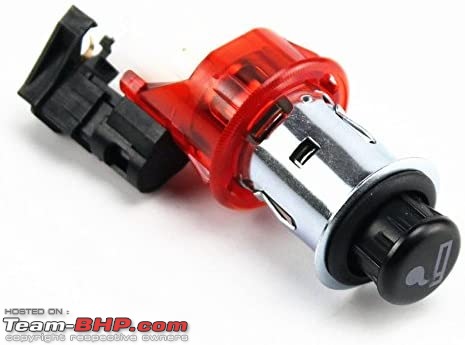
YAPGT: Yet Another Polo GT TSI with several DIY improvements & modifications-41upmetrjel._ac_.jpg
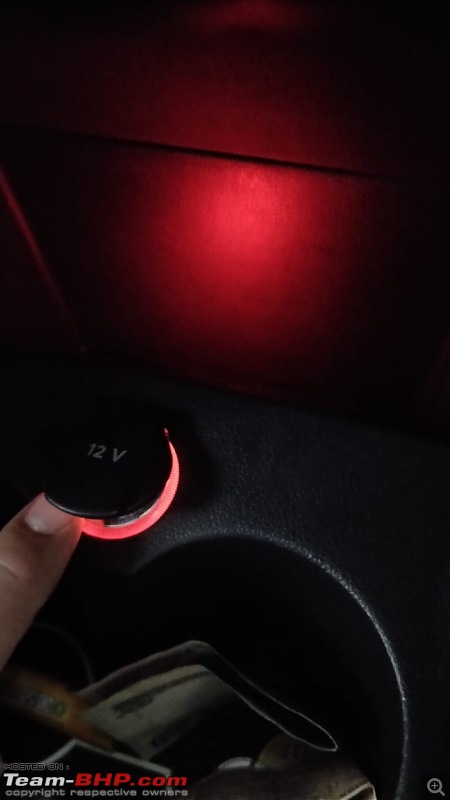
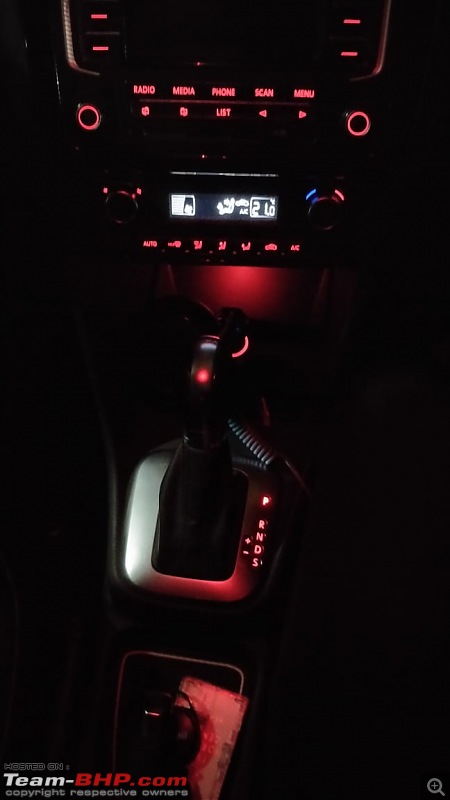
The cubby hole beyond the cup holders has a red plexiglass window from factory. We don't know it, because the lighter isn't illuminated, so if we put in the replacement ciggy lighter, we will get this nice glow:
YAPGT: Yet Another Polo GT TSI with several DIY improvements & modifications-img20210603wa0044.jpg

This mod was an utter pain, as the stock lighter is tough to remove, and if you want to do this mod properly you need to remove the entire transmission console and install it from underneath. I didn't want to do that as it was a high risk move, for a low return, so I butchered the new lighter and did all sorts of soldering to fix it in place. It wasn't pretty but it worked.

Approx Cost: 400
Approx Time: 3-4 hours

Recently the bulb fused, and I decided that I would do it in a better and easier manner this time. The plan is to get a LED module white/warm white (image below), wire it up, pop open the plexiglass window (possible with a thin small screwdriver) , stick this LED on it, with the face on the outside, and send the wiring from there to the fuse box, and take the ground from the number 17 pin of the headlight switch. I envisage it to be easier, faster, simpler, and have a whole lot less swearing involved.
YAPGT: Yet Another Polo GT TSI with several DIY improvements & modifications-sm2h652t.jpg


The final look:
YAPGT: Yet Another Polo GT TSI with several DIY improvements & modifications-img20210603wa0045.jpg

Last edited by Viraat13 : 3rd June 2021 at 02:54.
Viraat13 is offline   (18) Thanks
Old 3rd June 2021, 00:30   #23
BHPian
 
Viraat13's Avatar
 
Join Date: Mar 2010
Location: New Delhi
Posts: 788
Thanked: 3,381 Times
re: YAPGT: Yet Another Polo GT TSI with several DIY improvements & modifications

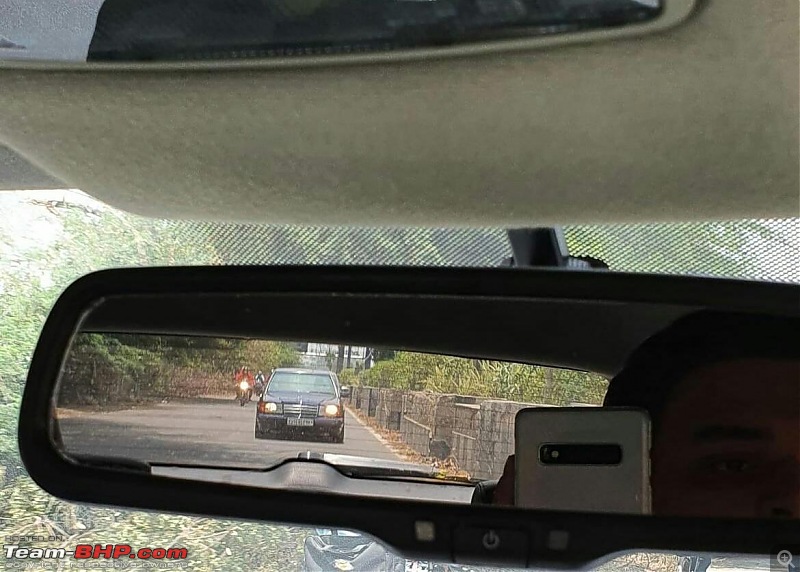
Auto Dimming Mirror

YAPGT: Yet Another Polo GT TSI with several DIY improvements & modifications-img20210603wa0074.jpg
Auto dimming mirror, with my 300E in frame.

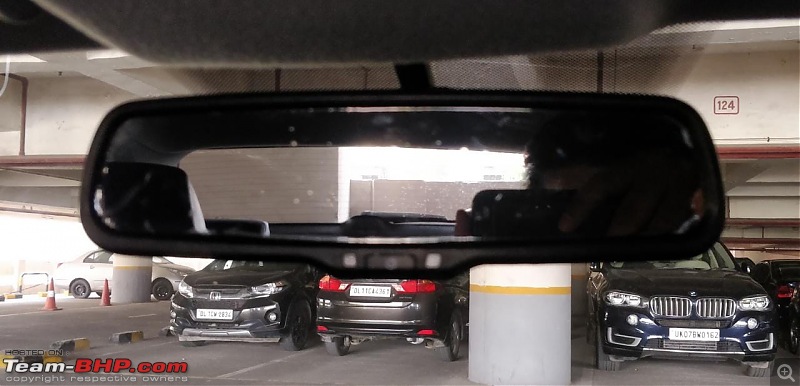
The stock mirror of the Polo sucks because:
  • It is tiny - you cannot see the entire rear windscreen in it, no matter how you adjust it.
  • It just did not dim enough.

Initially I was considering getting the mirror from the MK1 Octavia, as the mounting clip was similar, and that mirror was perfect in terms of size and how dim it got. I starting trawling eBay to get a used mirror, but then came across these auto dimming mirrors, which seemed to be from China. So I opened AliExpress and found myself a mirror which had the right mounting clip for the Polo and ordered it.

I was impressed firstly by the size of it, and second by the quality of plastic. Both exceeded my expectations, but the joy was short lived. After finishing the install and wiring it up, I went for a drive that night and found that this mirror didn't dim enough either!

So what do we do? Jugaad, of course.
I went to the local accessory shop and bought scraps of multiple tints, starting from 30% up to 50%. I finally settled at 45% tint, although I used 40% for a few days before switching.

YAPGT: Yet Another Polo GT TSI with several DIY improvements & modifications-img20210603wa0075.jpg
This is a photo with 30 or 35% tint. The finishing shows that this was my first effort at applying a film, but it was too light to be used anyway.

Recently, I accidentally scratched the 45% film, and it needs to be replaced. I will most likely install the same % tint again.

Approx Cost: 4000
Approx Time: 3 hours (including the tint)

Last edited by Viraat13 : 3rd June 2021 at 01:44.
Viraat13 is offline   (18) Thanks
Old 3rd June 2021, 01:55   #24
BHPian
 
Viraat13's Avatar
 
Join Date: Mar 2010
Location: New Delhi
Posts: 788
Thanked: 3,381 Times
re: YAPGT: Yet Another Polo GT TSI with several DIY improvements & modifications

And done!

YAPGT: Yet Another Polo GT TSI with several DIY improvements & modifications-img20200919wa0114.jpg
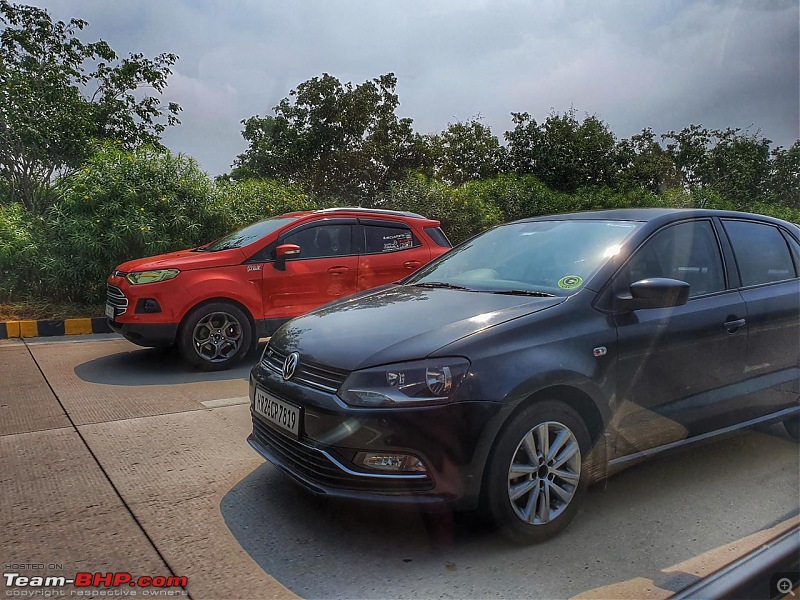
On the Yamuna Expressway, with AShubrah's Ecosport. Not sure who clicked this photo though.

I never thought that I would end up writing such a long thread. If you've stayed around till the end, thank you so much for reading! Who would have known that it would only take me 11 years to write my first ownership thread.

I must take this opportunity to thank a few people:
TheLizardKing: All my DIYs would have been a lot more effort if I hadn't been able to discuss every little detail. Thanks, friend.

AShubrah, Dhruvritzed, agambhandari, suhaas307, and countless others who encouraged me to write this, gave me all sorts of suggestions/ideas, and helped with some of the mods. Cheers guys!

YAPGT: Yet Another Polo GT TSI with several DIY improvements & modifications-img20210603wa0077.jpg
This thread was one year in the making, but I shall certainly try and be prompt with the updates.

Last edited by Viraat13 : 3rd June 2021 at 02:04.
Viraat13 is offline   (65) Thanks
Old 4th June 2021, 07:35   #25
GTO
Team-BHP Support
 
GTO's Avatar
 
Join Date: Feb 2004
Location: Bombay
Posts: 70,732
Thanked: 302,587 Times
Re: YAPGT: Yet Another Polo GT TSI with several DIY improvements & modifications

Thread moved from the Assembly Line to the Reviews section. Thanks for sharing!

Going to our homepage today
GTO is offline   (3) Thanks
Old 4th June 2021, 10:43   #26
BHPian
 
Utsav3010's Avatar
 
Join Date: Jul 2018
Location: New Delhi
Posts: 49
Thanked: 295 Times
Re: YAPGT: Yet Another Polo GT TSI with several DIY improvements & modifications

Brilliant ownership review with very detailed insights Viraat. Having seen the car in person, I know how much effort you have put in to make the car stand out, and the way you have customized it as per your needs shows your passion and love towards this car


Quote:
Originally Posted by Viraat13 View Post
Insurance


Alas, I wish I could have said the same about VW's paint job. They took a few days, replaced the door as well, but the paint was full of dust. I pointed it out to the paint shop manager and he accepted his mistake and offered to redo the entire job. The second time around the work done was satisfactory, except that the inside of the door has an exposed area where the finish was absolutely sub par (photo below).

Attachment 2162952

I was pretty fed up and gave the paint shop manager quite an earful, and the GM came in to intervene and had a super casual outlook on the whole situation, so he got told off as well. As a token of apology, the paint shop manager got the entire car detailed at no cost, and sent me an email saying that he will fix the damaged portions whenever I ask.

That repaint is still pending, as I fear what they will botch this time.


Attachment 2162950
The damage.

I didn't want to go through the hassle of claiming insurance for something that could be fixed at an FNG for cheap, especially after my last experience, so I went ahead and visited my painter who has been denting/painting cars for my dad since the mid 80s.
Having experienced this myself firsthand, I know how frustrating and mentally taxing this is. One panel of my car was repainted as many FOUR times just because Hyundai guys had no clue how to get it right in the first three attempts. Since then, I have vowed to get minor blemishes fixed from a reliable FNG.

Once again, heartiest congratulations on this car, and yes, can't wait to go on a drive once the situation eases out
Utsav3010 is offline   (2) Thanks
Old 4th June 2021, 11:25   #27
BANNED
 
Join Date: Jun 2012
Location: Delhi,Ludhiana
Posts: 1,689
Thanked: 3,057 Times
Re: YAPGT: Yet Another Polo GT TSI with several DIY improvements & modifications

This is one DETAILED thread and shows the dedication you have for your beloved GT TSI. Perfectly detailed DIYs and thanks again for doing some of them in my car too : D

seeing your average fuel consumption brings some solace for me, as I get the same FE as well. 5 star rated thread.
Now you can start a thread for the other VAG you have :P
agambhandari is offline   (4) Thanks
Old 4th June 2021, 13:55   #28
BHPian
 
Join Date: Jan 2021
Location: Mumbai
Posts: 481
Thanked: 1,103 Times
Re: YAPGT: Yet Another Polo GT TSI with several DIY improvements & modifications

As a fellow VW owner, it is always fun to read about YAPGTs!

The sheer extent of mods is just amazing. Recently there have been many discussions on the forum regarding VFH cars that are fun to drive and the Polo GT TSI has always been my recommendation. Your car is the perfect example of just how much life these cars can have if maintained the right way!

Regarding the tyre upgrade, was there any particular reason why you chose Yokohama over the current Goodyear shoes? Since you mentioned you drive with a generally heavy foot were there any other options considered e.g. Conti or Pirellis? A new set of tyres are due for my VW and therefore the aforementioned question.

Hope you blaze many more miles with that amazing TSI eninge!
AKSarkar1 is offline  
Old 4th June 2021, 15:12   #29
BHPian
 
Join Date: Mar 2014
Location: Kota, Rajasthan
Posts: 70
Thanked: 372 Times
Re: YAPGT: Yet Another Polo GT TSI with several DIY improvements & modifications

Quote:
Originally Posted by Viraat13 View Post

Approx Cost: 2200
Appox Time: 1. 5 hours
Man, thats an exhaustive list of tasteful mods.

It is true that the VW Polo and Vento are the most mod friendly cars we have in India.

I had one question though. From where did you source the dome light for this dirt cheap price?

What I am seeing online currently, sellers are quoting almost 8000 bucks for this dome light! Big loot man!

It would be great if you could direct us the source from where you got this dome for so cheap. Thanks!
gaurav.kokra is offline  
Old 4th June 2021, 15:53   #30
BHPian
 
Asta_la_vista's Avatar
 
Join Date: Oct 2015
Location: Coimbatore
Posts: 66
Thanked: 167 Times
Re: YAPGT: Yet Another Polo GT TSI with several DIY improvements & modifications

Quote:
Originally Posted by Viraat13 View Post

Brakes
I've complained about the stock brakes plenty, but what I've not complained about is the atrocious prices people charge for the BBK.
Since this is a VW, and VW treats their parts bin like a Lego set, I did some trial and error and made myself a BBK with junk parts. Now unfortunately, the transmission failure happened 5km after the BBK swap, so I don't have any feedback to give.

.
Hi,

Cool mods you have there!!! Can you shed some more light on the brakes??

I mean, any info art the parts used and from what cars did you pick them up would be useful!!

Thanks
Prasanth Krishnan
Asta_la_vista is offline  
Reply

Most Viewed

Copyright ©2000 - 2024, Team-BHP.com
Proudly powered by E2E Networks