Hi Guys,
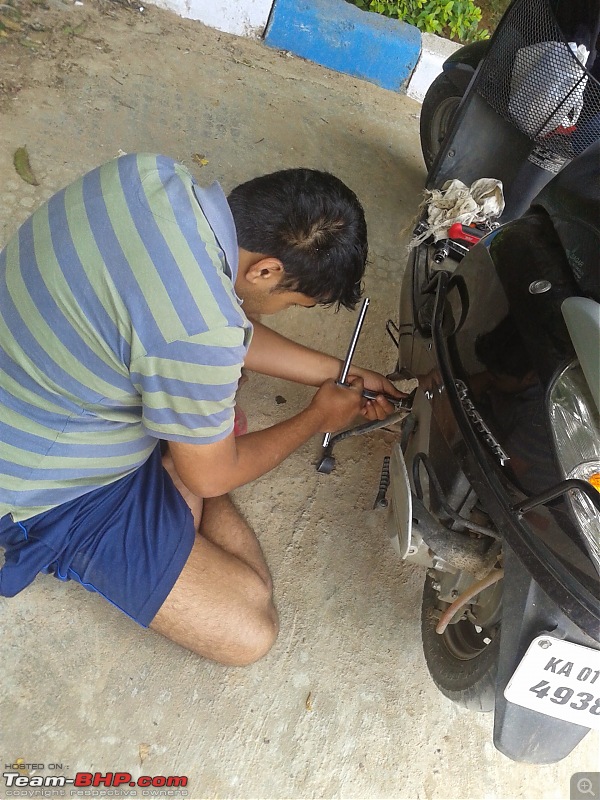
This is a very old DIY we'd done circa 2014 when I was instructing my classmate on how to change his Honda's engine and gear oil. The goal of sharing it now is so that scooter owners can learn to work on their own motorcycles rather than depend on SVC's.
Also to note, the only regular periodic service that your scooter requires is an oil change at 2k(Engine Oil) and 4k(Transmission Oil) km's respectively.
Also F.Y.I:
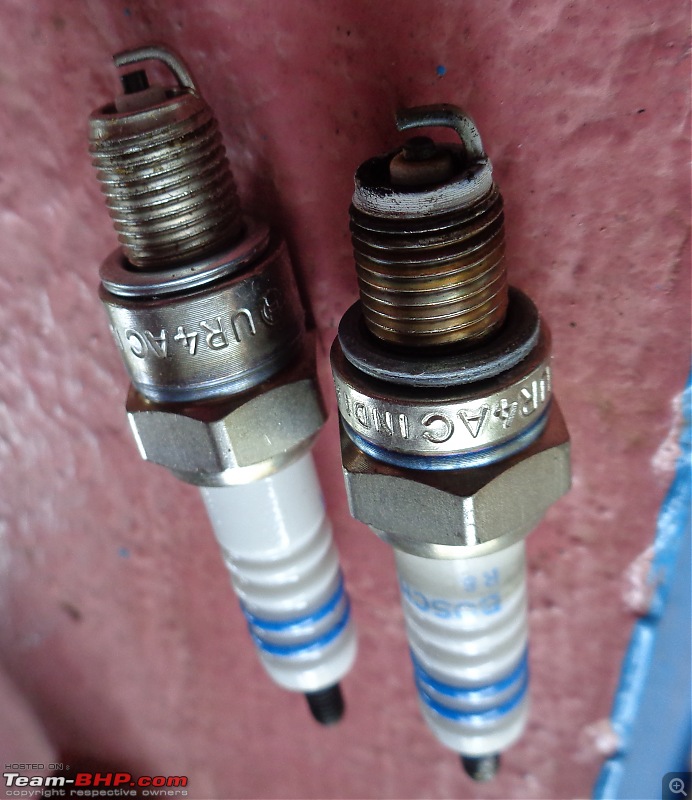
Your air filter is to be changed at 10k intervals along with your spark plug, it would also be a good idea to change your cables around the same time as they don't cost much but has a noticeable impact on performance, plus it is only commonsense to change a part a bit early than wait for it to give up while riding.
Brake pads also can be changed at the 10k mark or as per your wear indicator, I change at the 10k mark as they don't cost much and its better to run on fresh pads and a cleaned out drum.
The CVT clutch is something that only needs to be changed/serviced once a performance drop is noticed, there is frankly no point in opening the cover and blowing the dust away every now and then, this is something that SVC's frequently charge you for, so do watch out. It is any day better to replace your CVT clutch a bit early in one go than open it up every 5k or so for the purpose of inspection and cleaning.
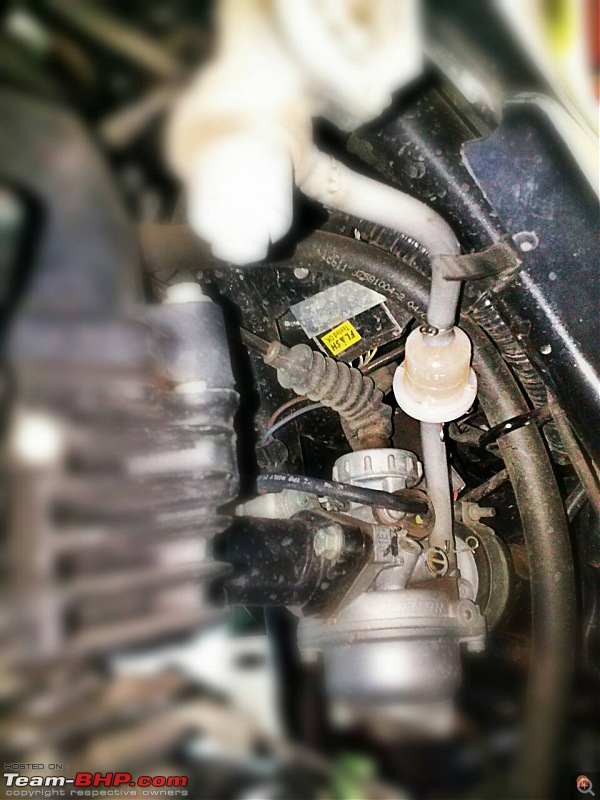
Carburetor cleaning, well this one has been there for a really long time, I have a Bajaj Pulsar 220 which is over 4 years old and has covered 30k+ on the odometer, and its carburetor has not been touched, as in literally, no AFR/idle adjustments as well, and its still running fine, so next time your SVC suggests the same when your motorcycle is running fine then chances are that your SVC is trying to scam you.
So without any further ado lets get to the business at hand!
And before you start make sure to get the oil quantity and specifics right, refer your owners manual for the same. Ideally a 900ml bottle would suffice as the engine and transmission use the same 4T engine oil with the only difference being change interval.
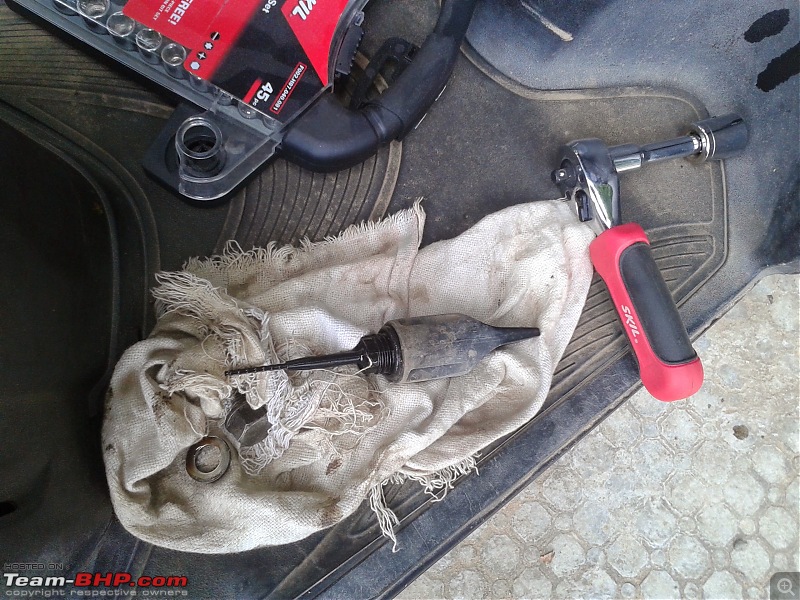
Tools Required: - 17mm Socket
- 12mm Socket
- Angled funnel
- Oil dropper
Procedure:
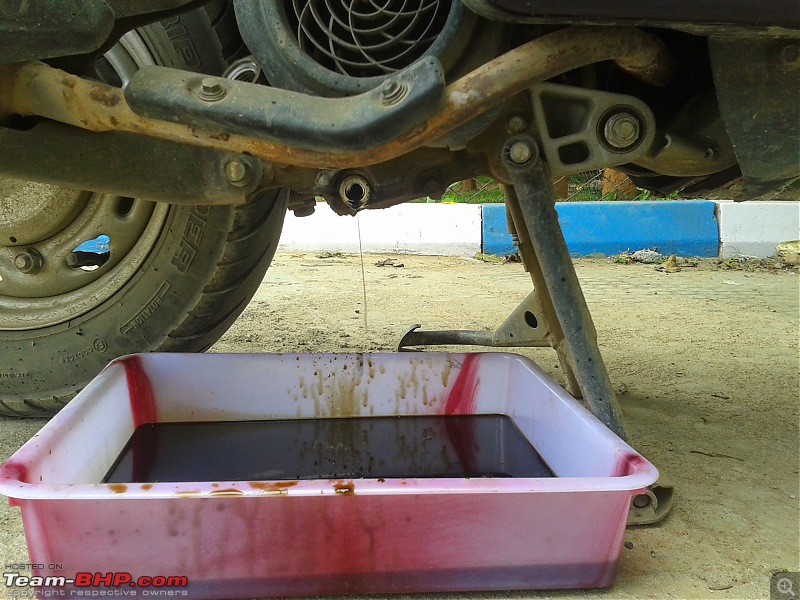
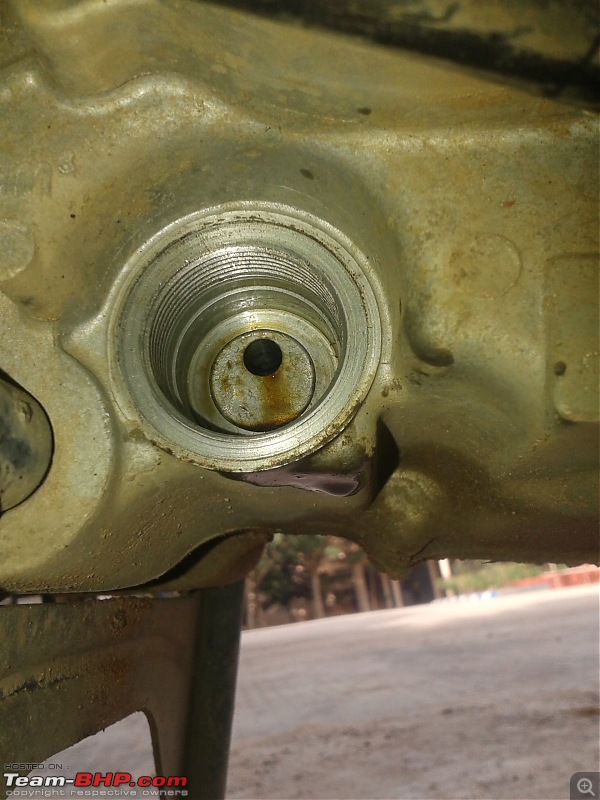
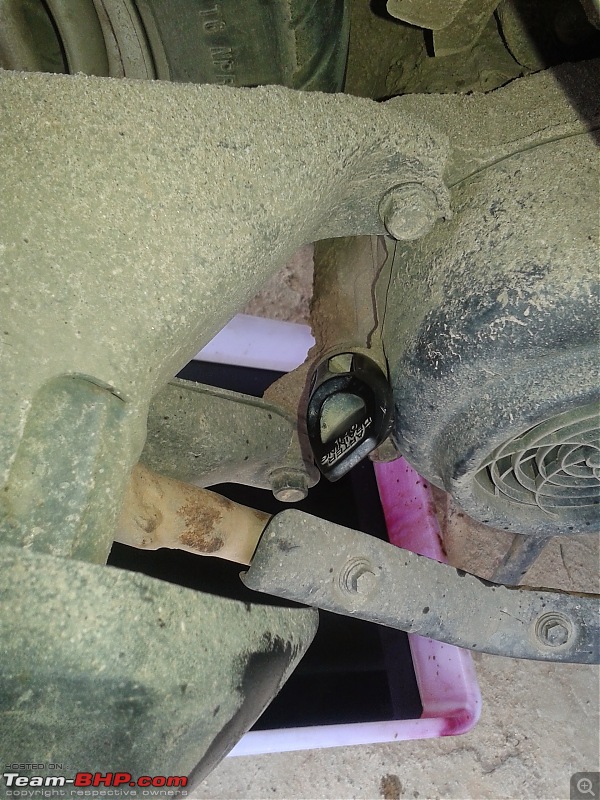
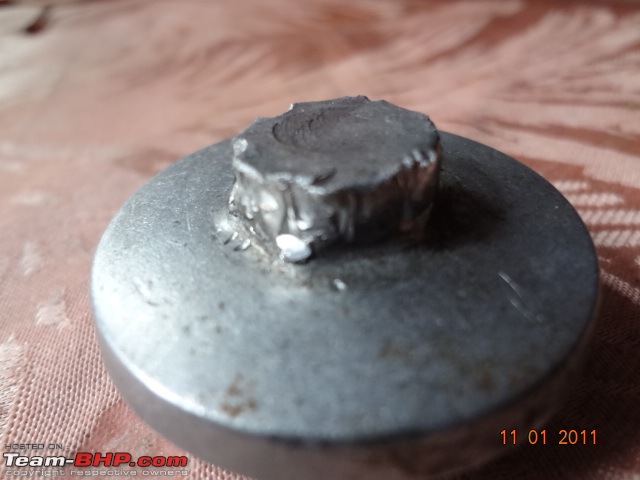
Remove the oil cap, drain bolt and spacer.
Catch the oil using a pan and wait till the entire oil is drained, once flow stops ensure everything is out by turning the motor using the kicker.
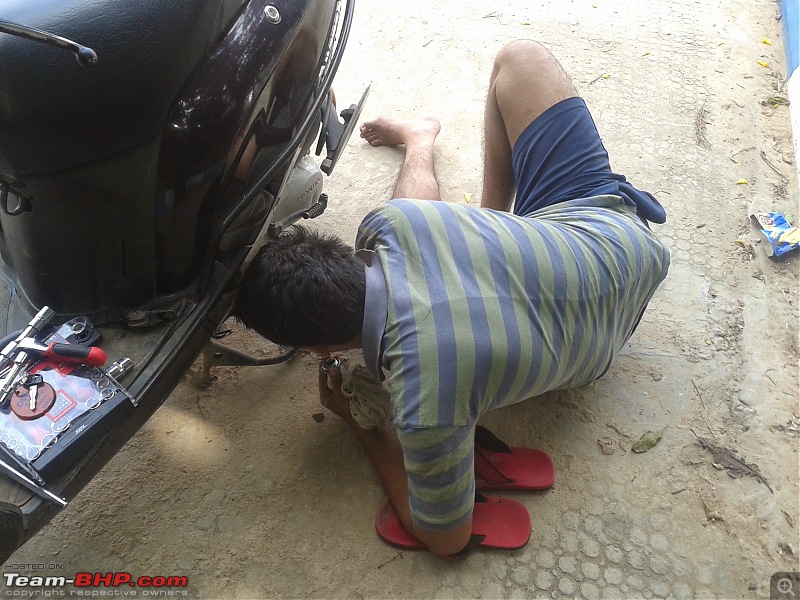
BTW the oil drains sooner if the bike is tilted backwards, just push down on the seat.
Now more to the other side of the bike and look for the strainer bolt, its the one on the left of the engine number.
Yup! You've found it.
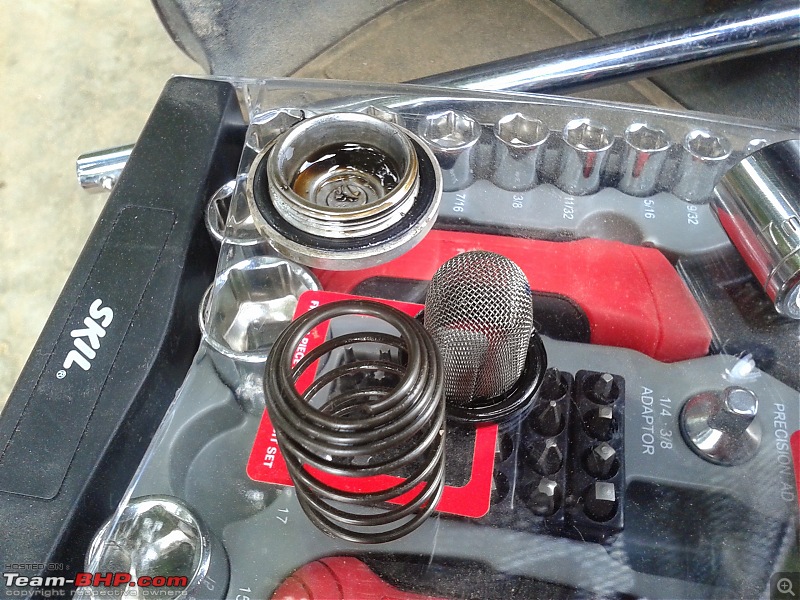
Remove the spring, strainer and bolt, and clean everything.
Once clean, put everything back.
Properly torque and ensure that there are no leaks from the strainer bolt as well as the drain bolt.
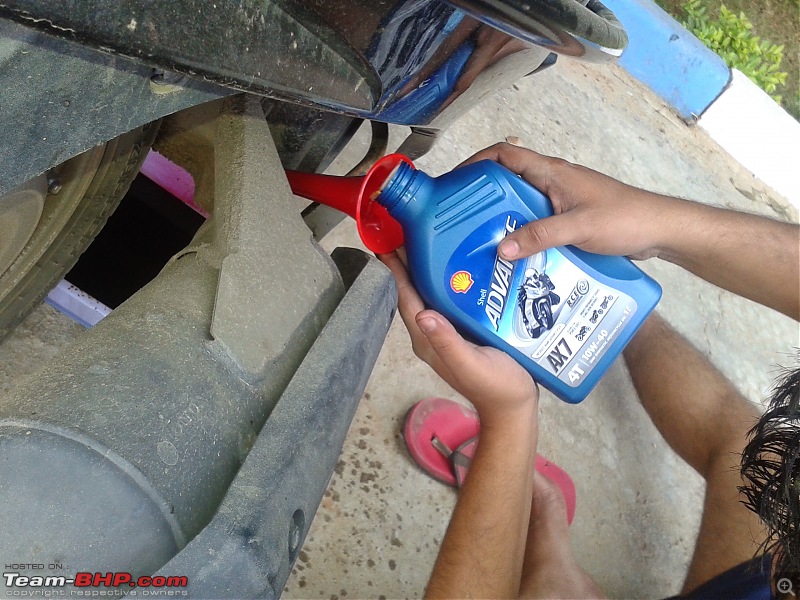
Now its time to pour in the new oil, the quantity is 700ml.
This is where the angled funnel comes into place.
After filling check the mark on the level and make sure its right.
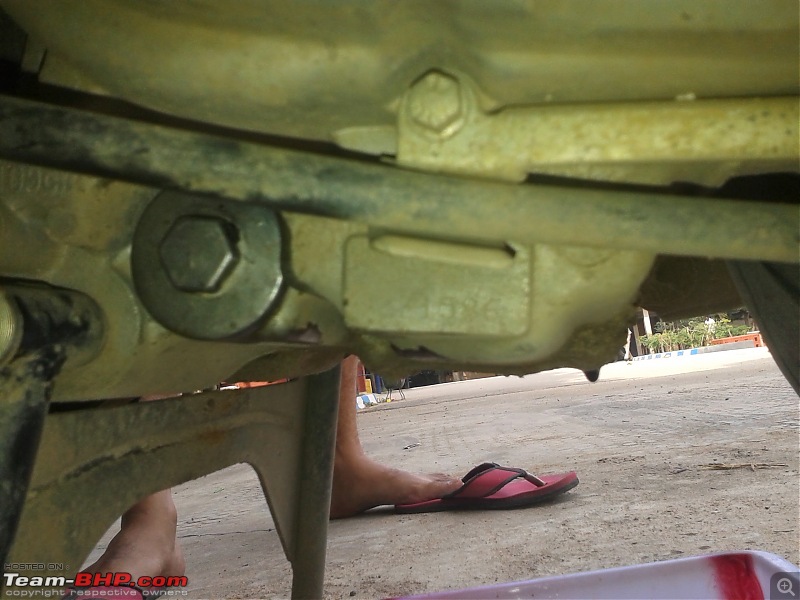
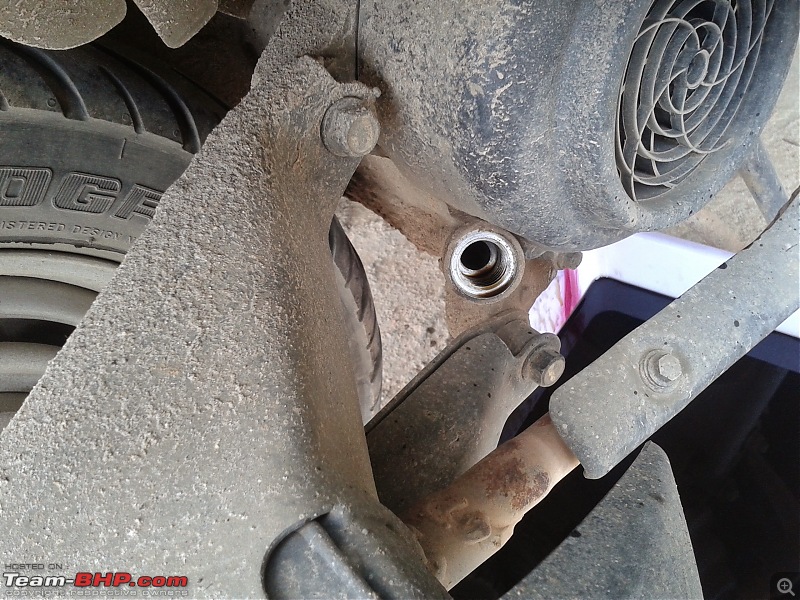
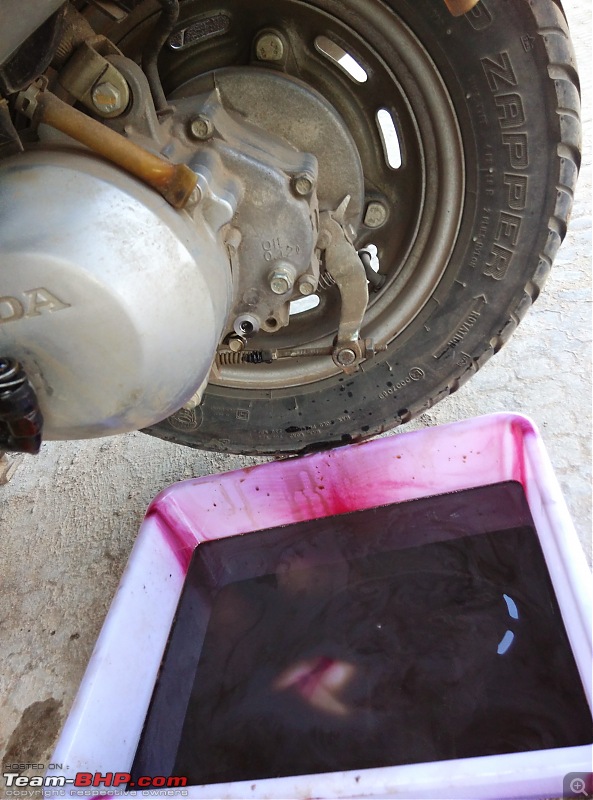
Now for the gear oil, drain via the drain window by undoing the bolt seen in the picture once drained and closed, fill 120ml oil after undoing the identical bolt above the drain window bolt, use an oil dropper and squirt oil into the fill window util it starts overflowing, close the fill window with the bolt and you're done!
Dispose the old oil in compliance to your respective environmental laws.
In our case we were staying inside a residential university compound at the time so we had to opt for the not so eco-friendly route, usually scrap dealers would be glad to take the used oil off your hands if you pour it back into the empty bottle that the oil came in.
Cheers,
A.P.