Moving on to next steps here what has happened so far.
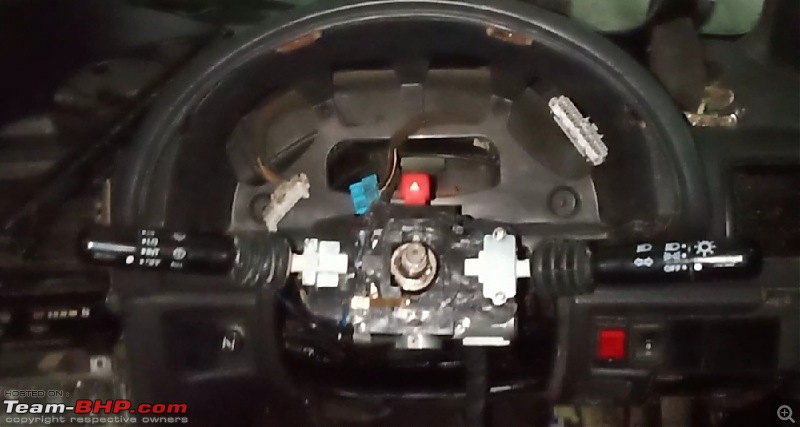
Indicator/light stalks
Old one was removed and I fixed a brand new OEM set. The old one was too loose as the inner gears of the stalks were worn out and it wouldn't stay in place.
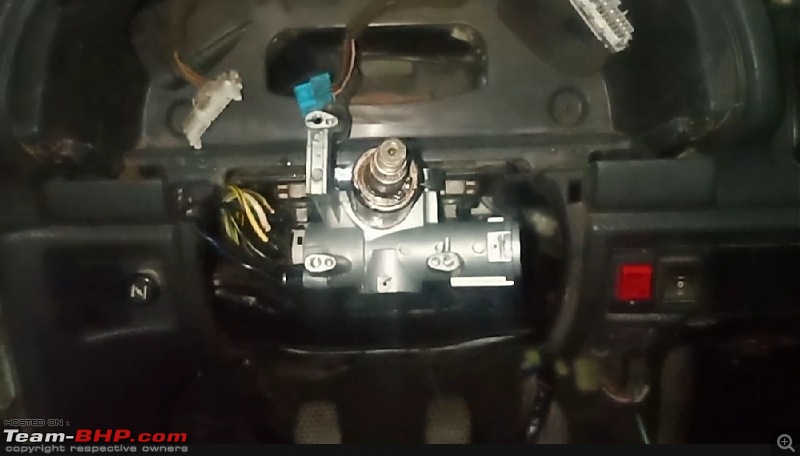
 Ignition Lock set assembly
After serving for ages, the old key has given up. It would come loose in all positions even when the vehicle was on. I bought a new assembly that came with 2 keys and replaced it. Now it feels like a new car with the key properly clicking and locking with every turn.
Well this might look easy but hold on my friends there is the "kahaani mey twist" in all this

.
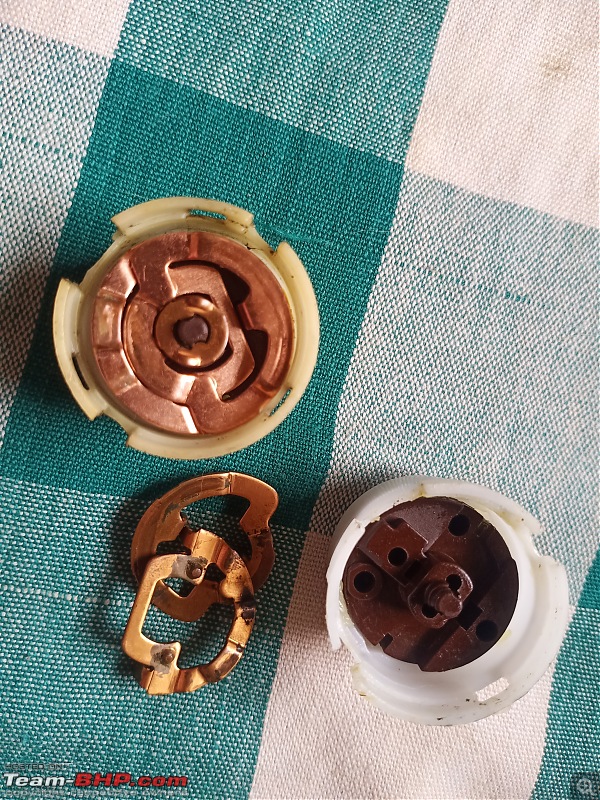
The OEM set that is available is no longer the dual plug set. Turns out, MPFI type has a single plug and the carb models had the dual plugs. To my horror the one I received and the old one were different in terms of the plugs/connector that goes into fuse box. You thought I would give up? No way!
I sat for hours observing the 2 sets with one thing on my mind, how do I make this possible.
I opened the plastic part of the cylinder and pulled out the assembly. Compared them. Guess what?
The only thing that was extra was this small little plug and the internal assembly held its secret, there is an extra copper plate which had 2 contacts on the chip that gave this old assembly an extra plug. Everything else was the same. Let me show you how they look.
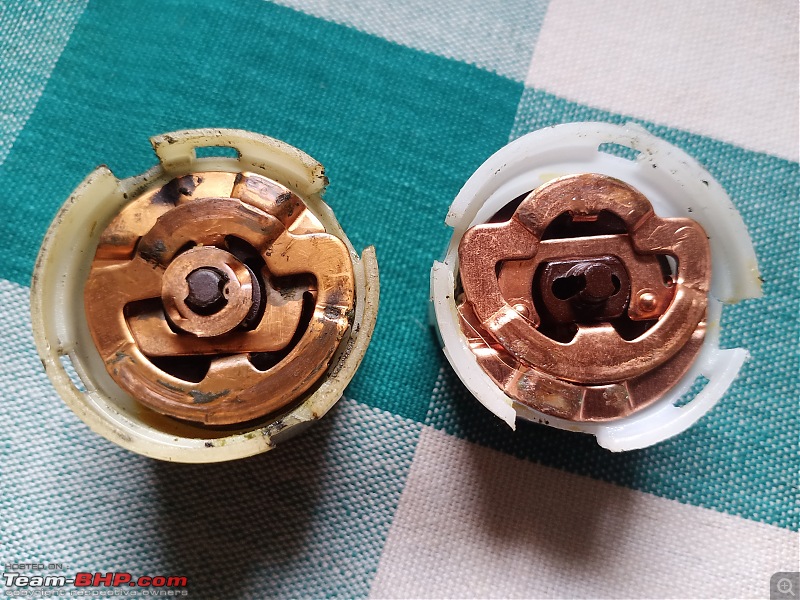
Do you guys see the difference. Observe the middle copper plate. The old one on left had it while the new one was missing that.
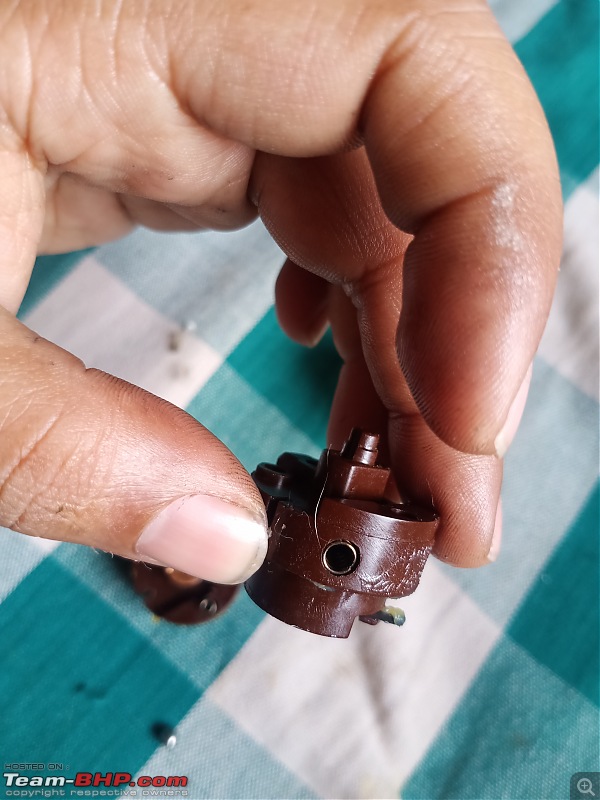
Pulling these plates one by one I landed here
Pulling out the brown plastic casing threw out 2 metal ball bearings and some springs. 2 springs per plate. So I realized the metal bearings let the turn to positions and the springs let the plates push in and out touching the designated contacts based on key position.
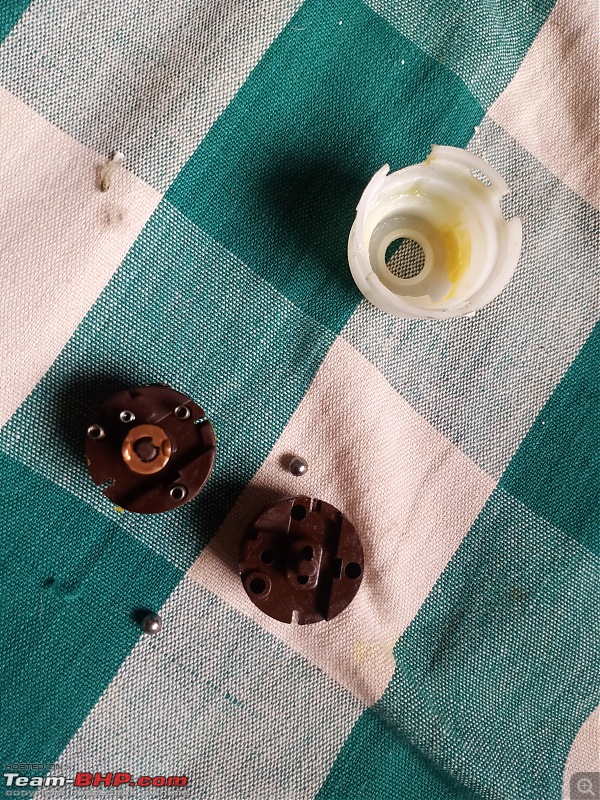
I swapped each part carefully and refit it inside the new cylinder. "Its a success"
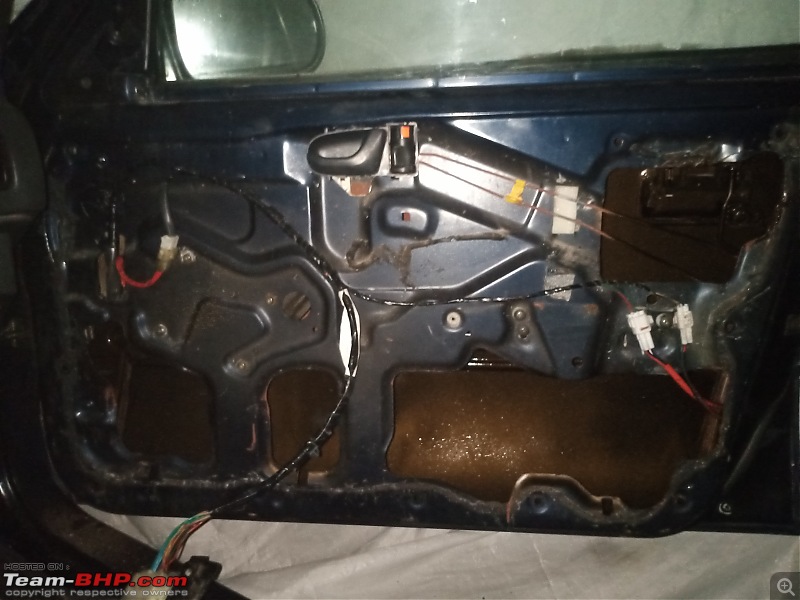
Since I was working inside the cabin and the paint was pending for the door inner parts I went ahead with it.
Originally the plan was to paint it black but I later decided chocolate shade suits better and would not make it look dusty in future like black would do. ( who would care anyway. No one gets to see these except me when I open the door pads

)
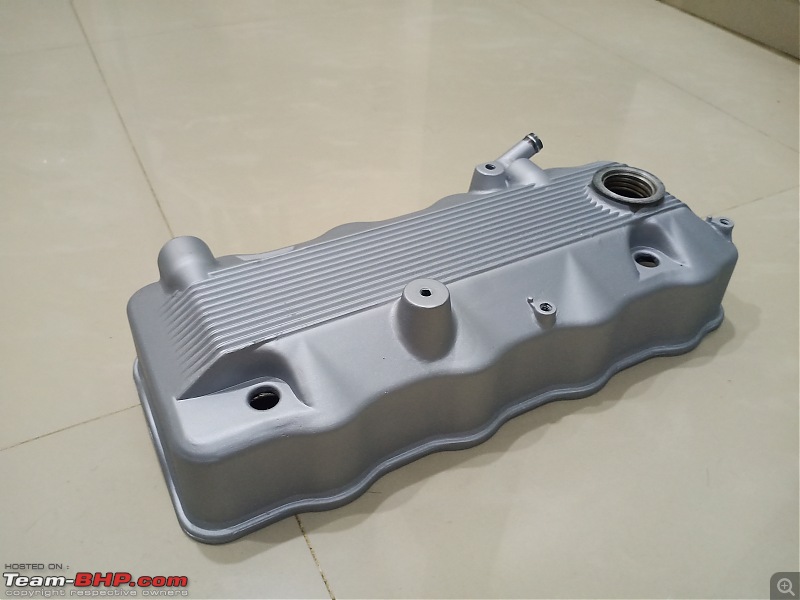
 Engine bay
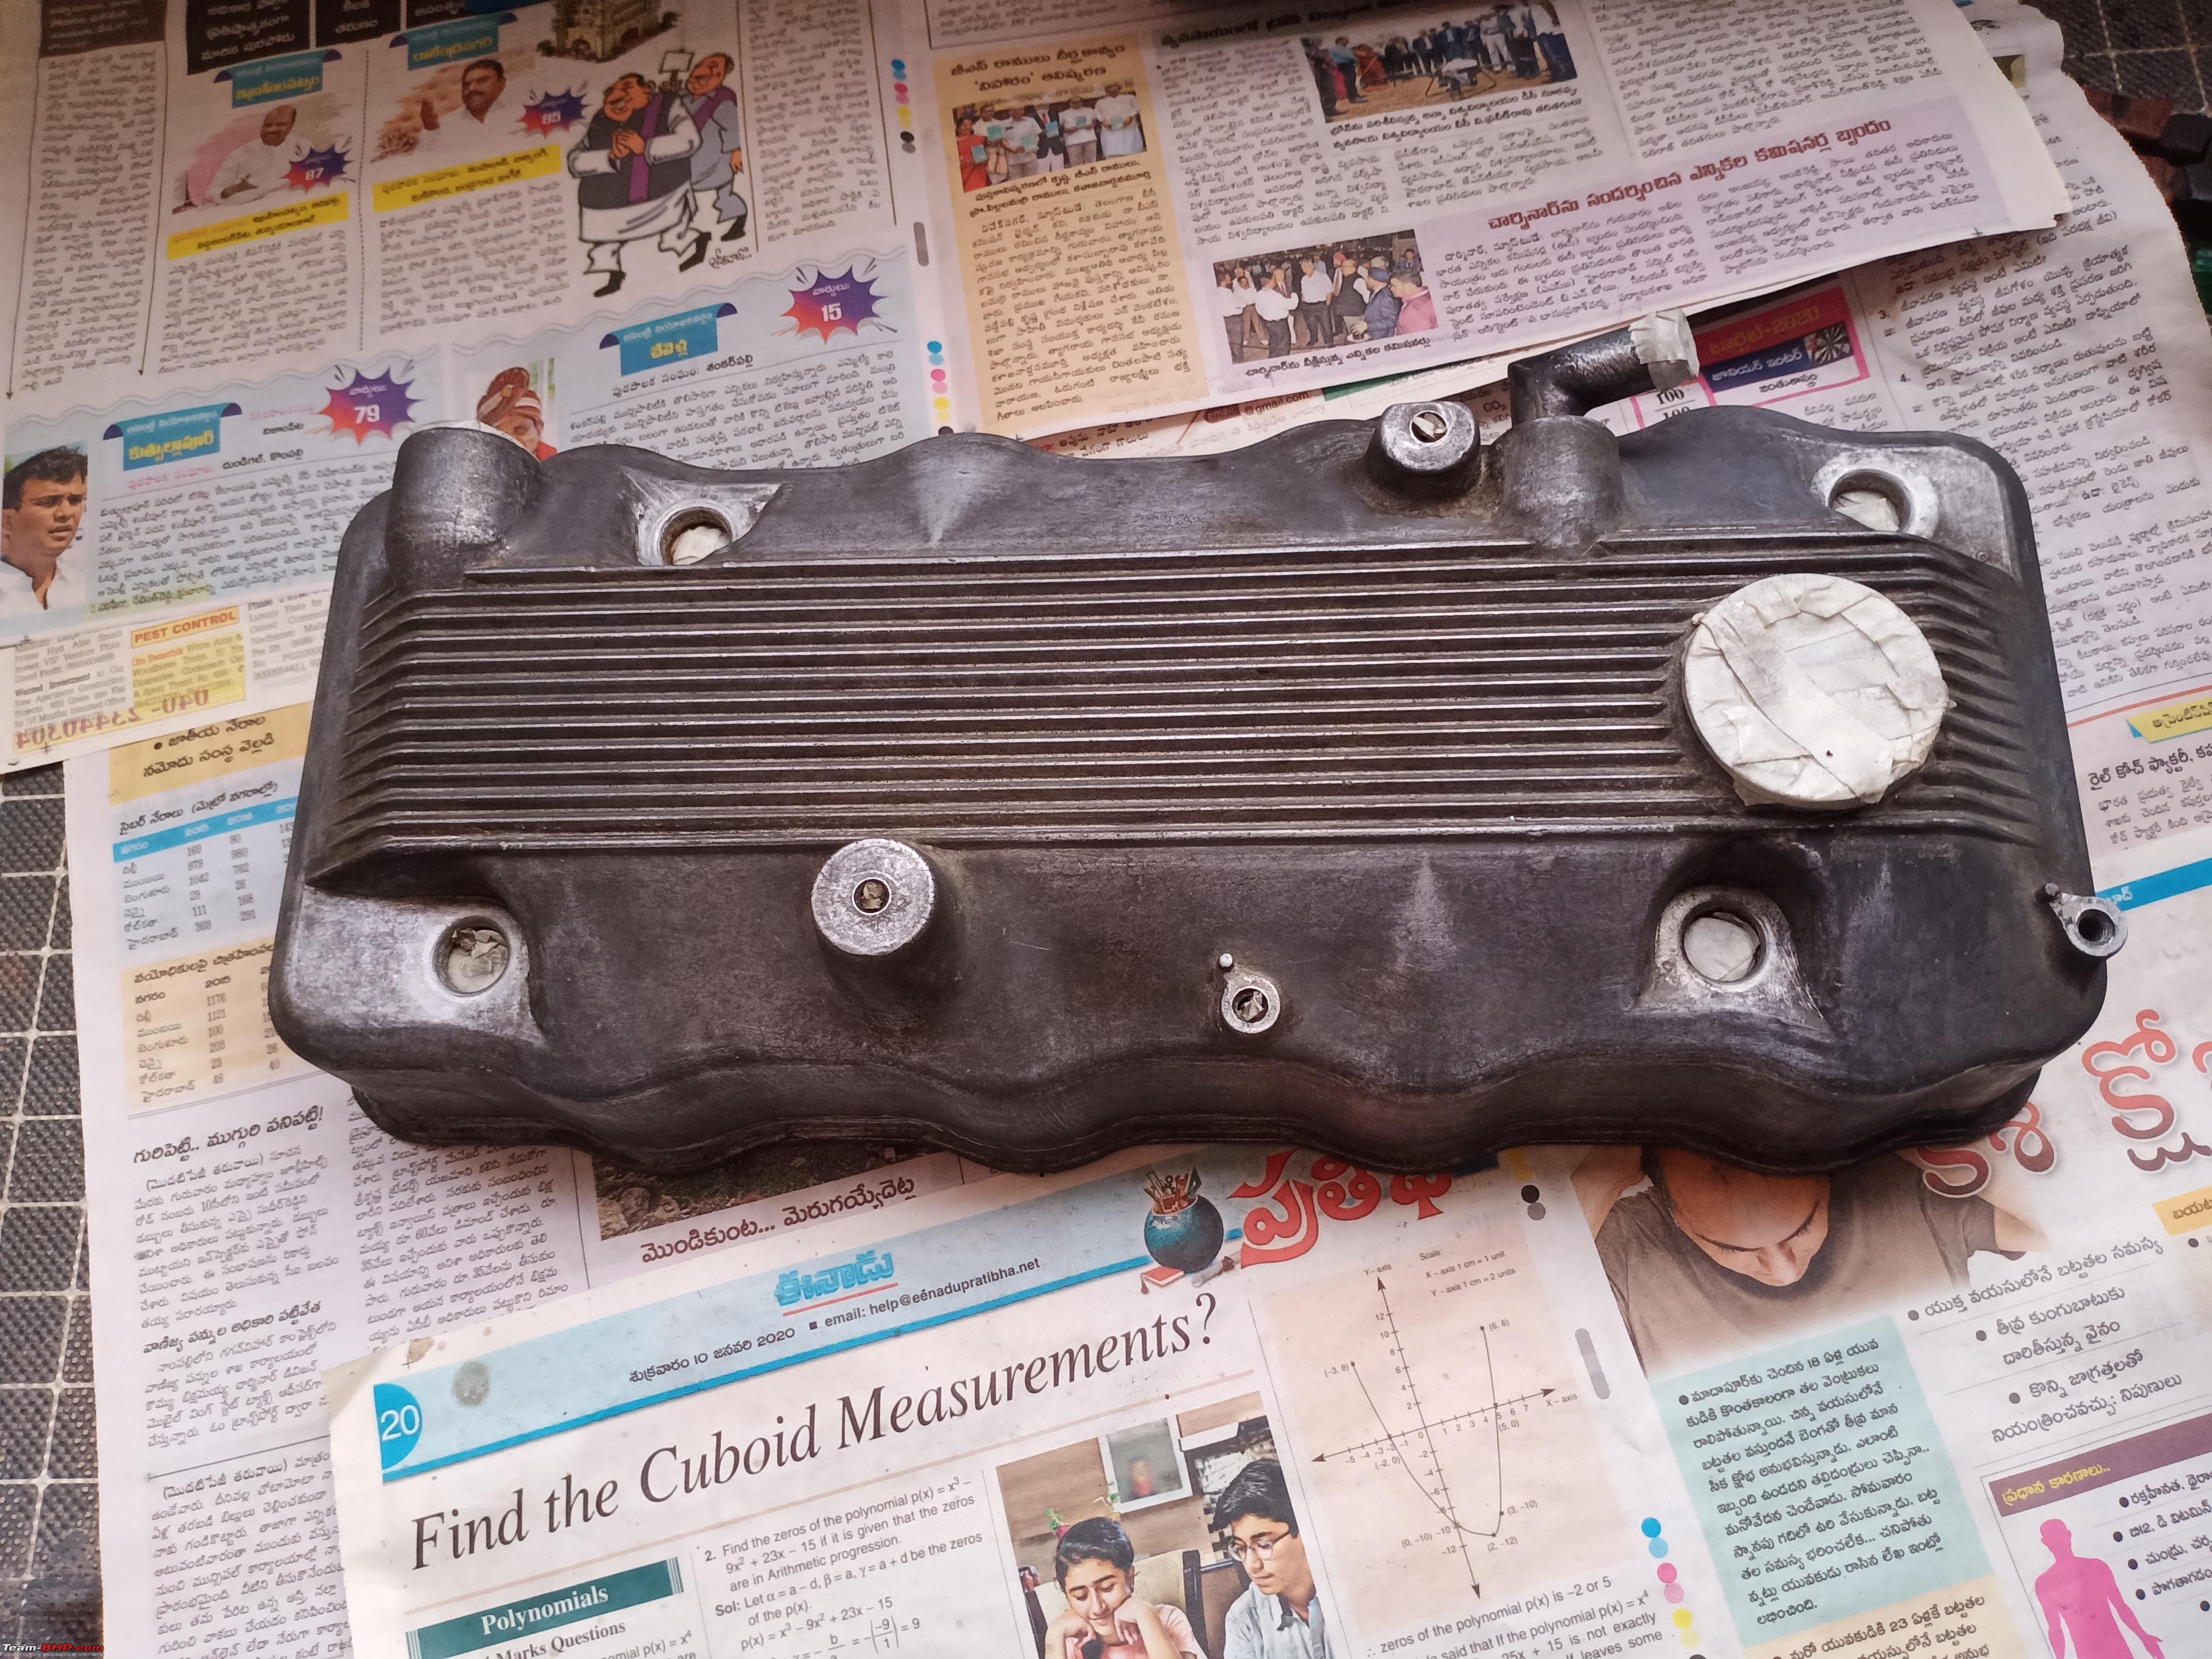
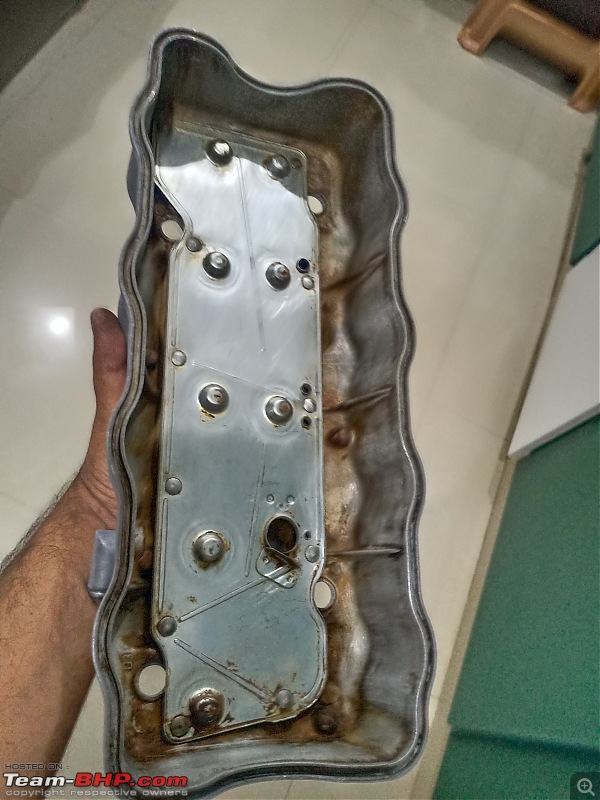
The first thing to come out and get a new life was the valve cover and the gasket.
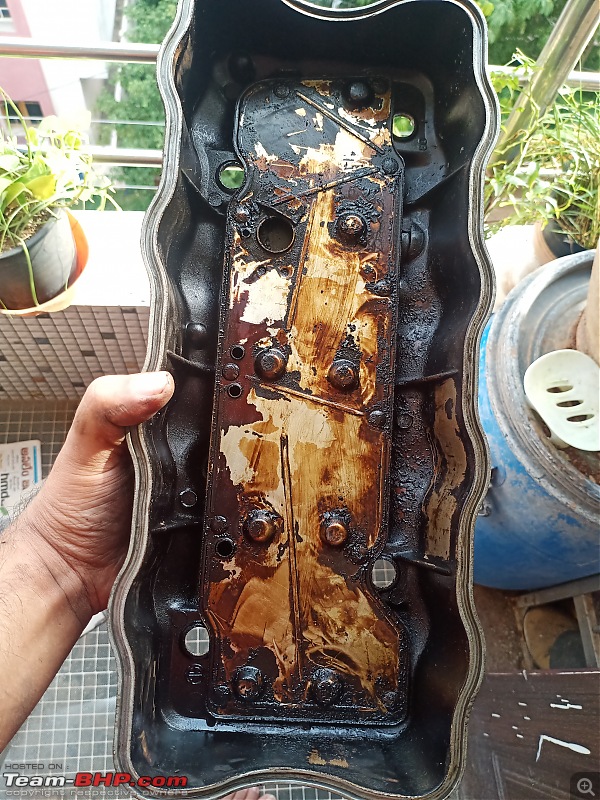
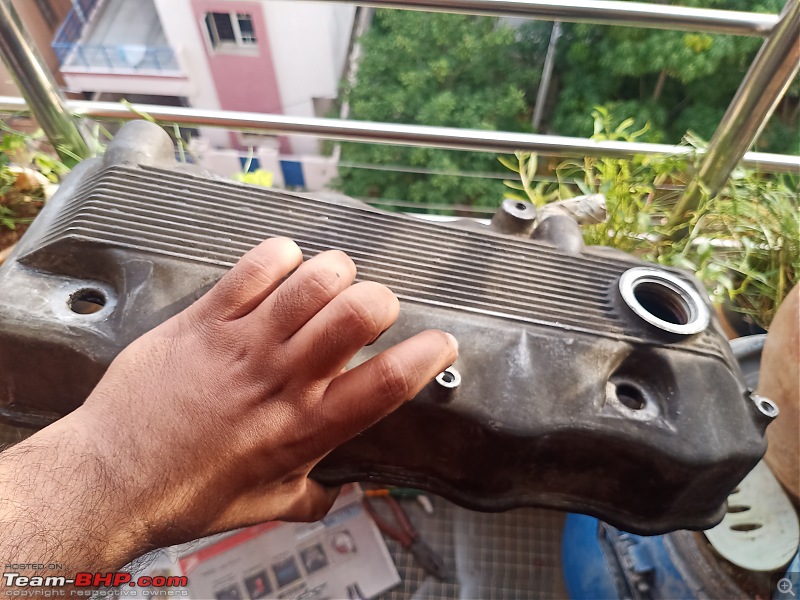
I could not stand this grease and dirt. It had to go immediately.
My secret - Dish cleaning liquid + vinegar + tooth brush and sand paper + plain water.
 Masked and painted
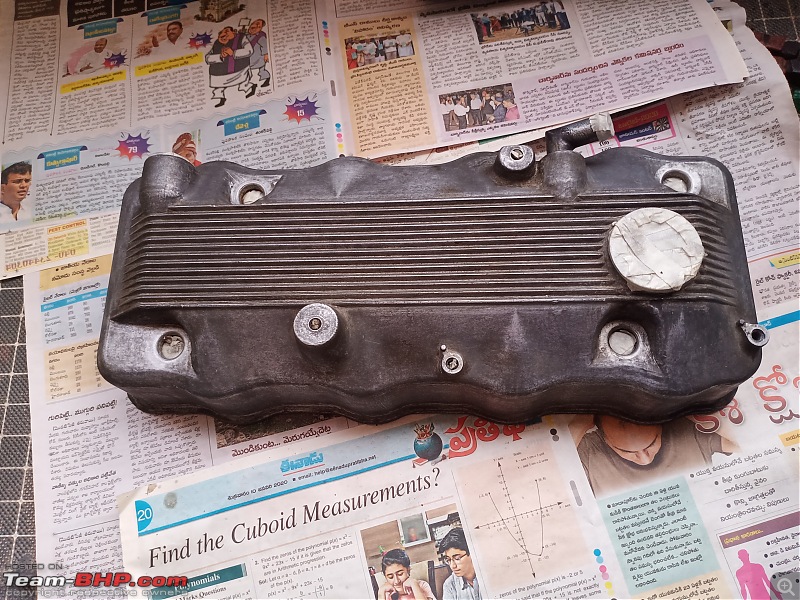
To match the look, engine bay and under side of the hood was painted to chocolate brown and the valve cover was refit.

Refinished some parts In the bay. I was always fascinated with the colorful ignition wires that I have been seeing in Japanese / Honda street racing cars in lot of posts and videos from many years.
Beautiful and colorful ignition cables 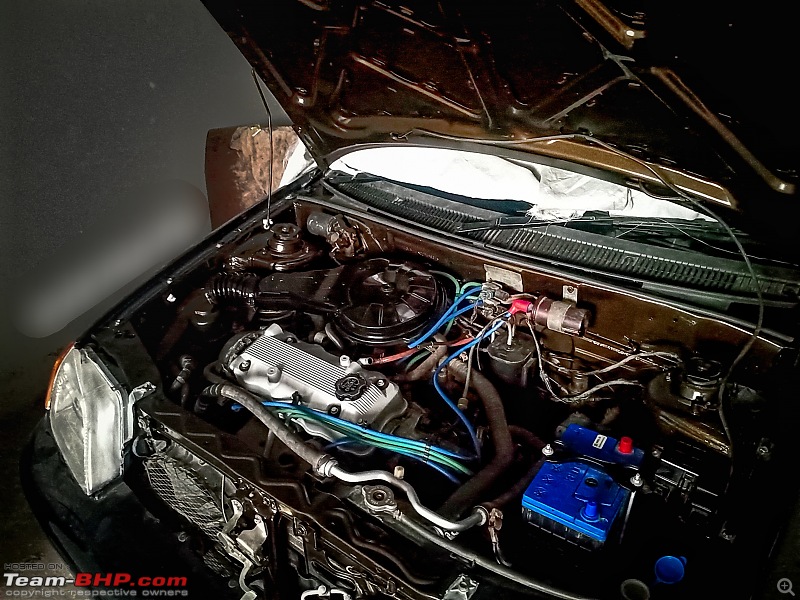
I'm working on the distributor right now and many updates are on the way.
Stay tuned for more coming soon.


 30th September 2021, 18:18


 (1)
Thanks
(1)
Thanks