Dear BHPians!
This is something I always longed for. The rear wiper (wash/wipe) always made look Zen a smarter hatchback (not that Zen is not a smart car without it

) & I always had an inner itch to somehow add the rear wash wipe system on my '02 Zen Lx so that I can satisfy my thirst.
Well, I know it is late but better late than never. The Zen will be turning 14 next month, and it is a perfect gift for the occasion. So, lets get the hands dirty!
First, the parts for the purpose. Zen is now definitely not a car for which you just go to the ASC and buy the parts off the shelf. Although, the car sold exceedingly well in its hay days but time has now taken its toll and parts are not readily available, and here we are talking about parts associated with the rear wiper which aren't fast moving items. Hence, with help of Maruti encyclopedia Leoshashi who had the entire parts catalog, we identified all the parts required for the purpose. Ladies & gentlemen, for your information, BHPian Leoshashi has now become a reason for a spike in my spends on cars and my diminished savings.
So, order was placed with MASS for the following components:
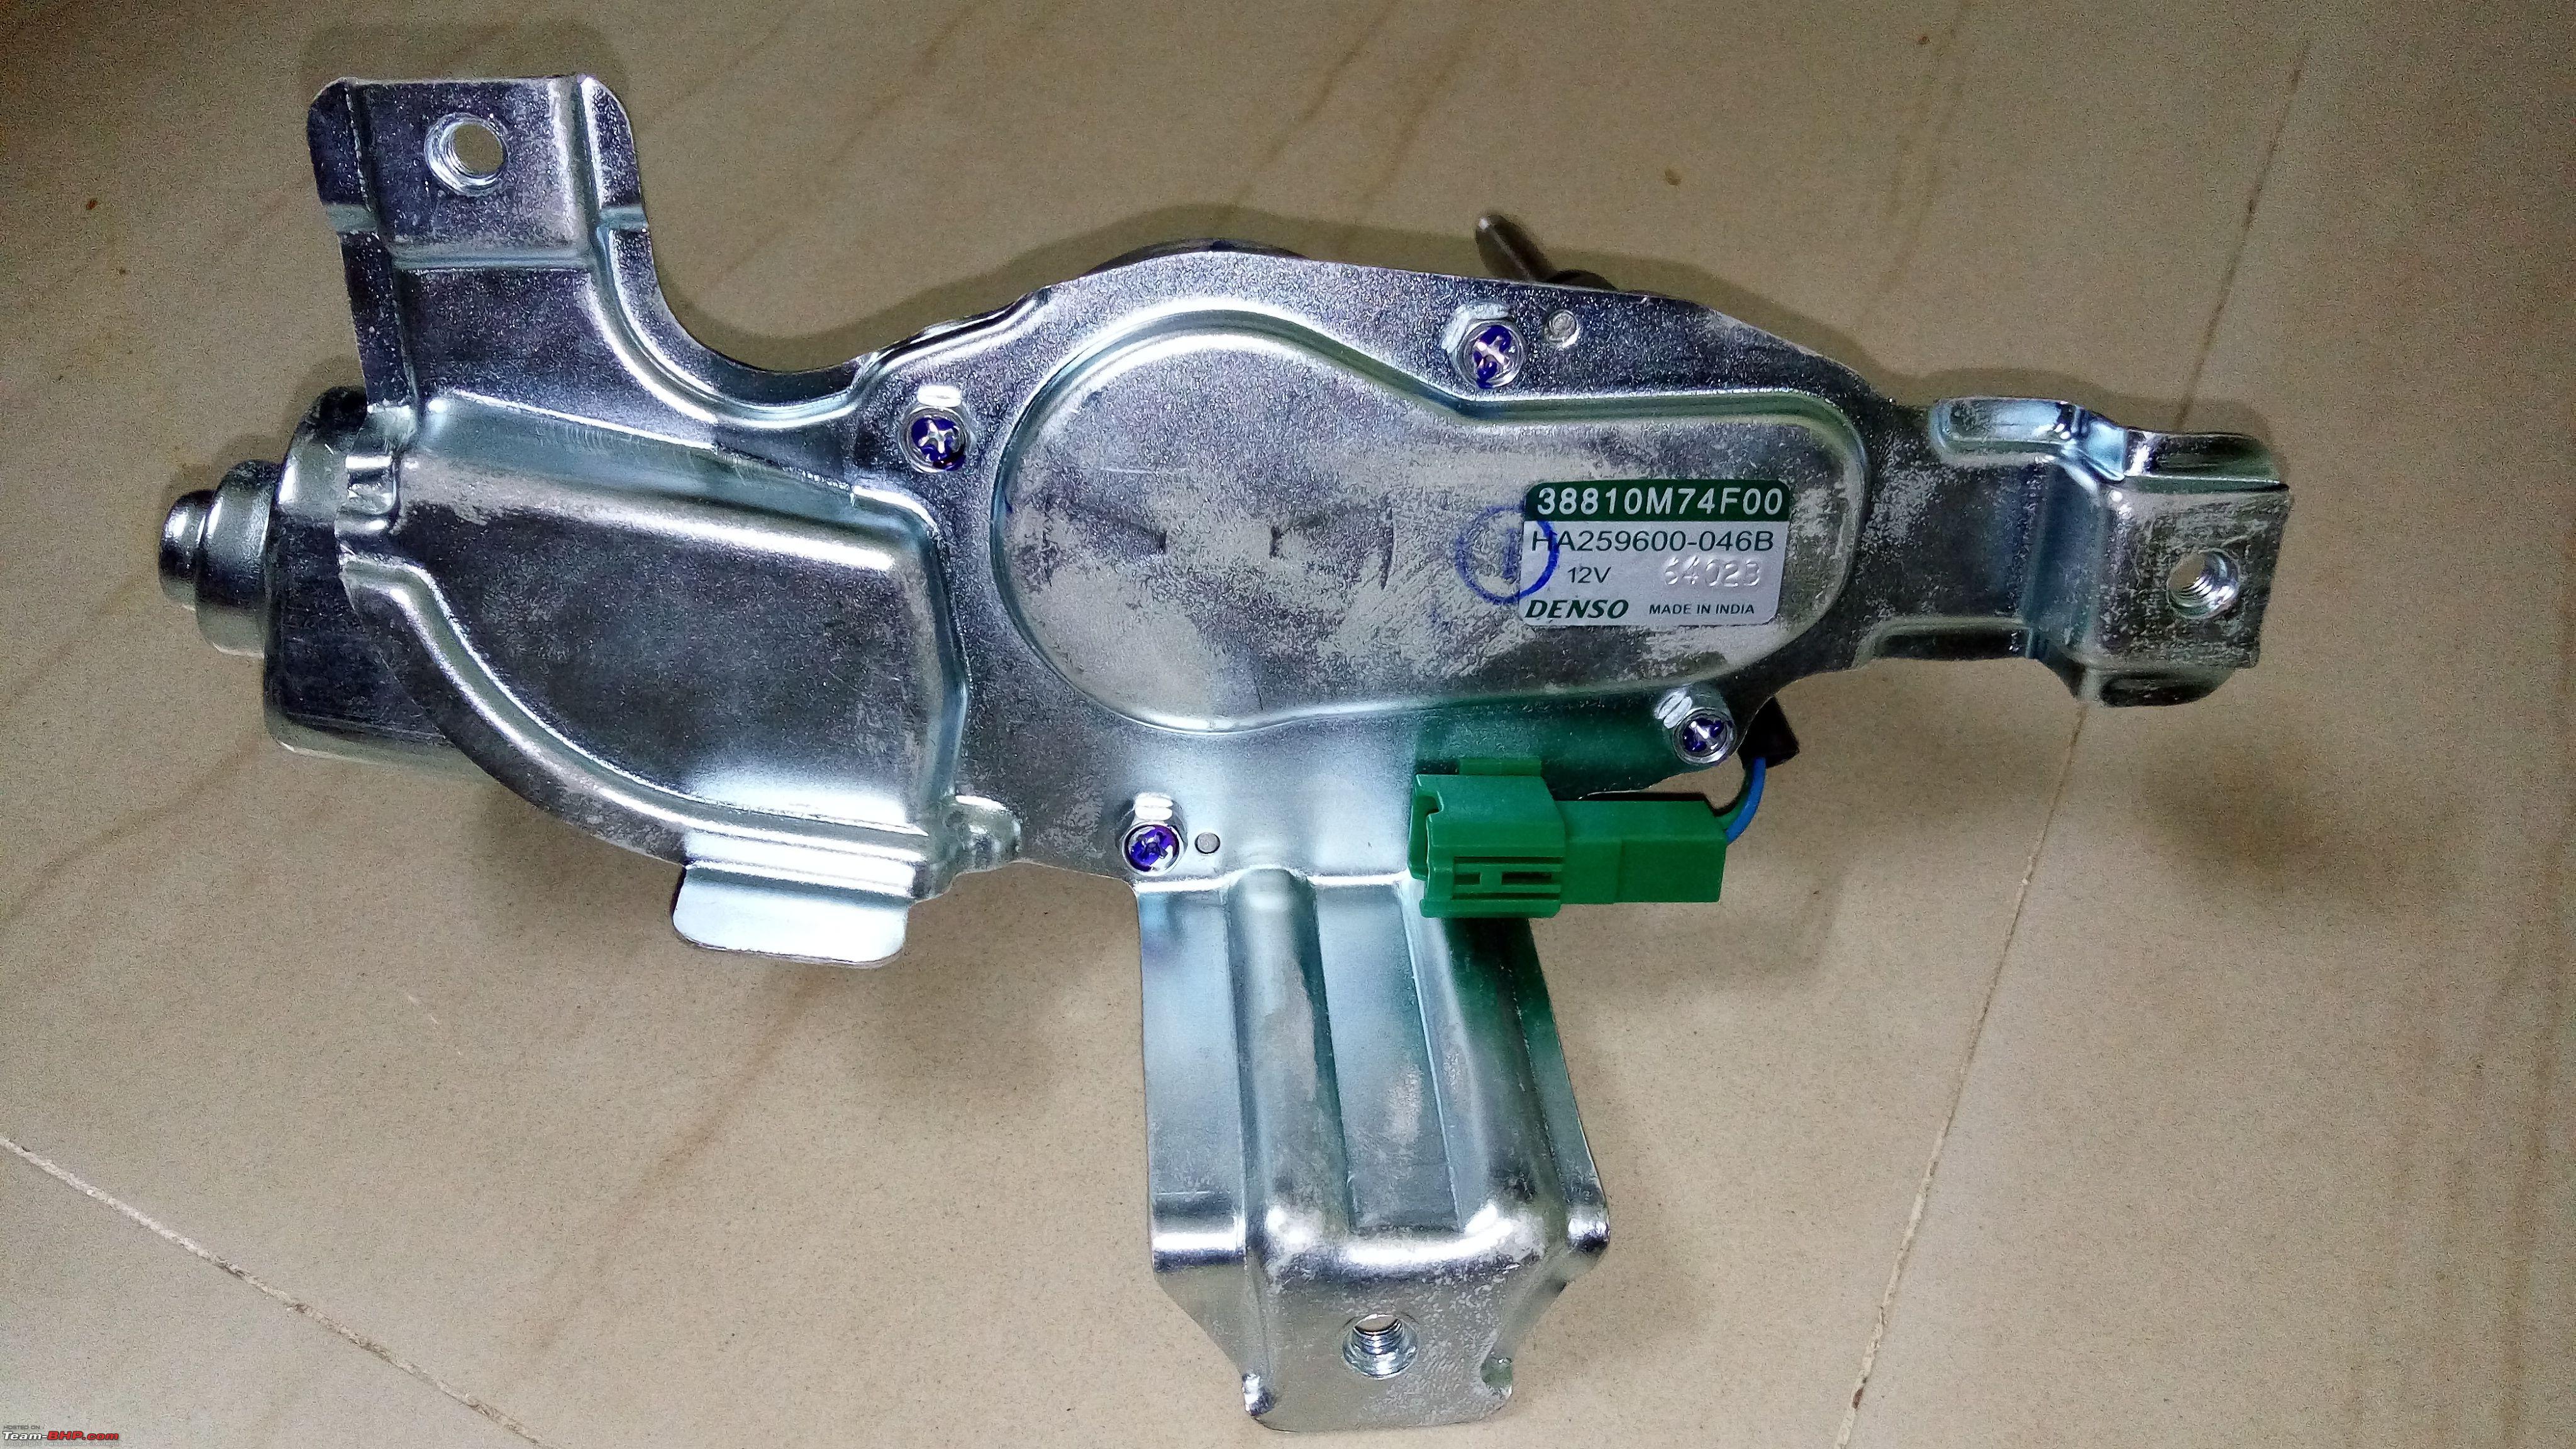
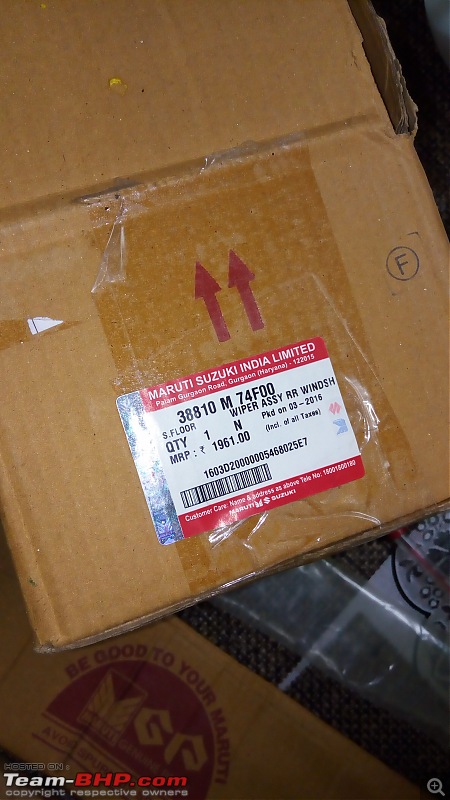
1. Rear Wiper Motor Assembly: Rs. 1961/-


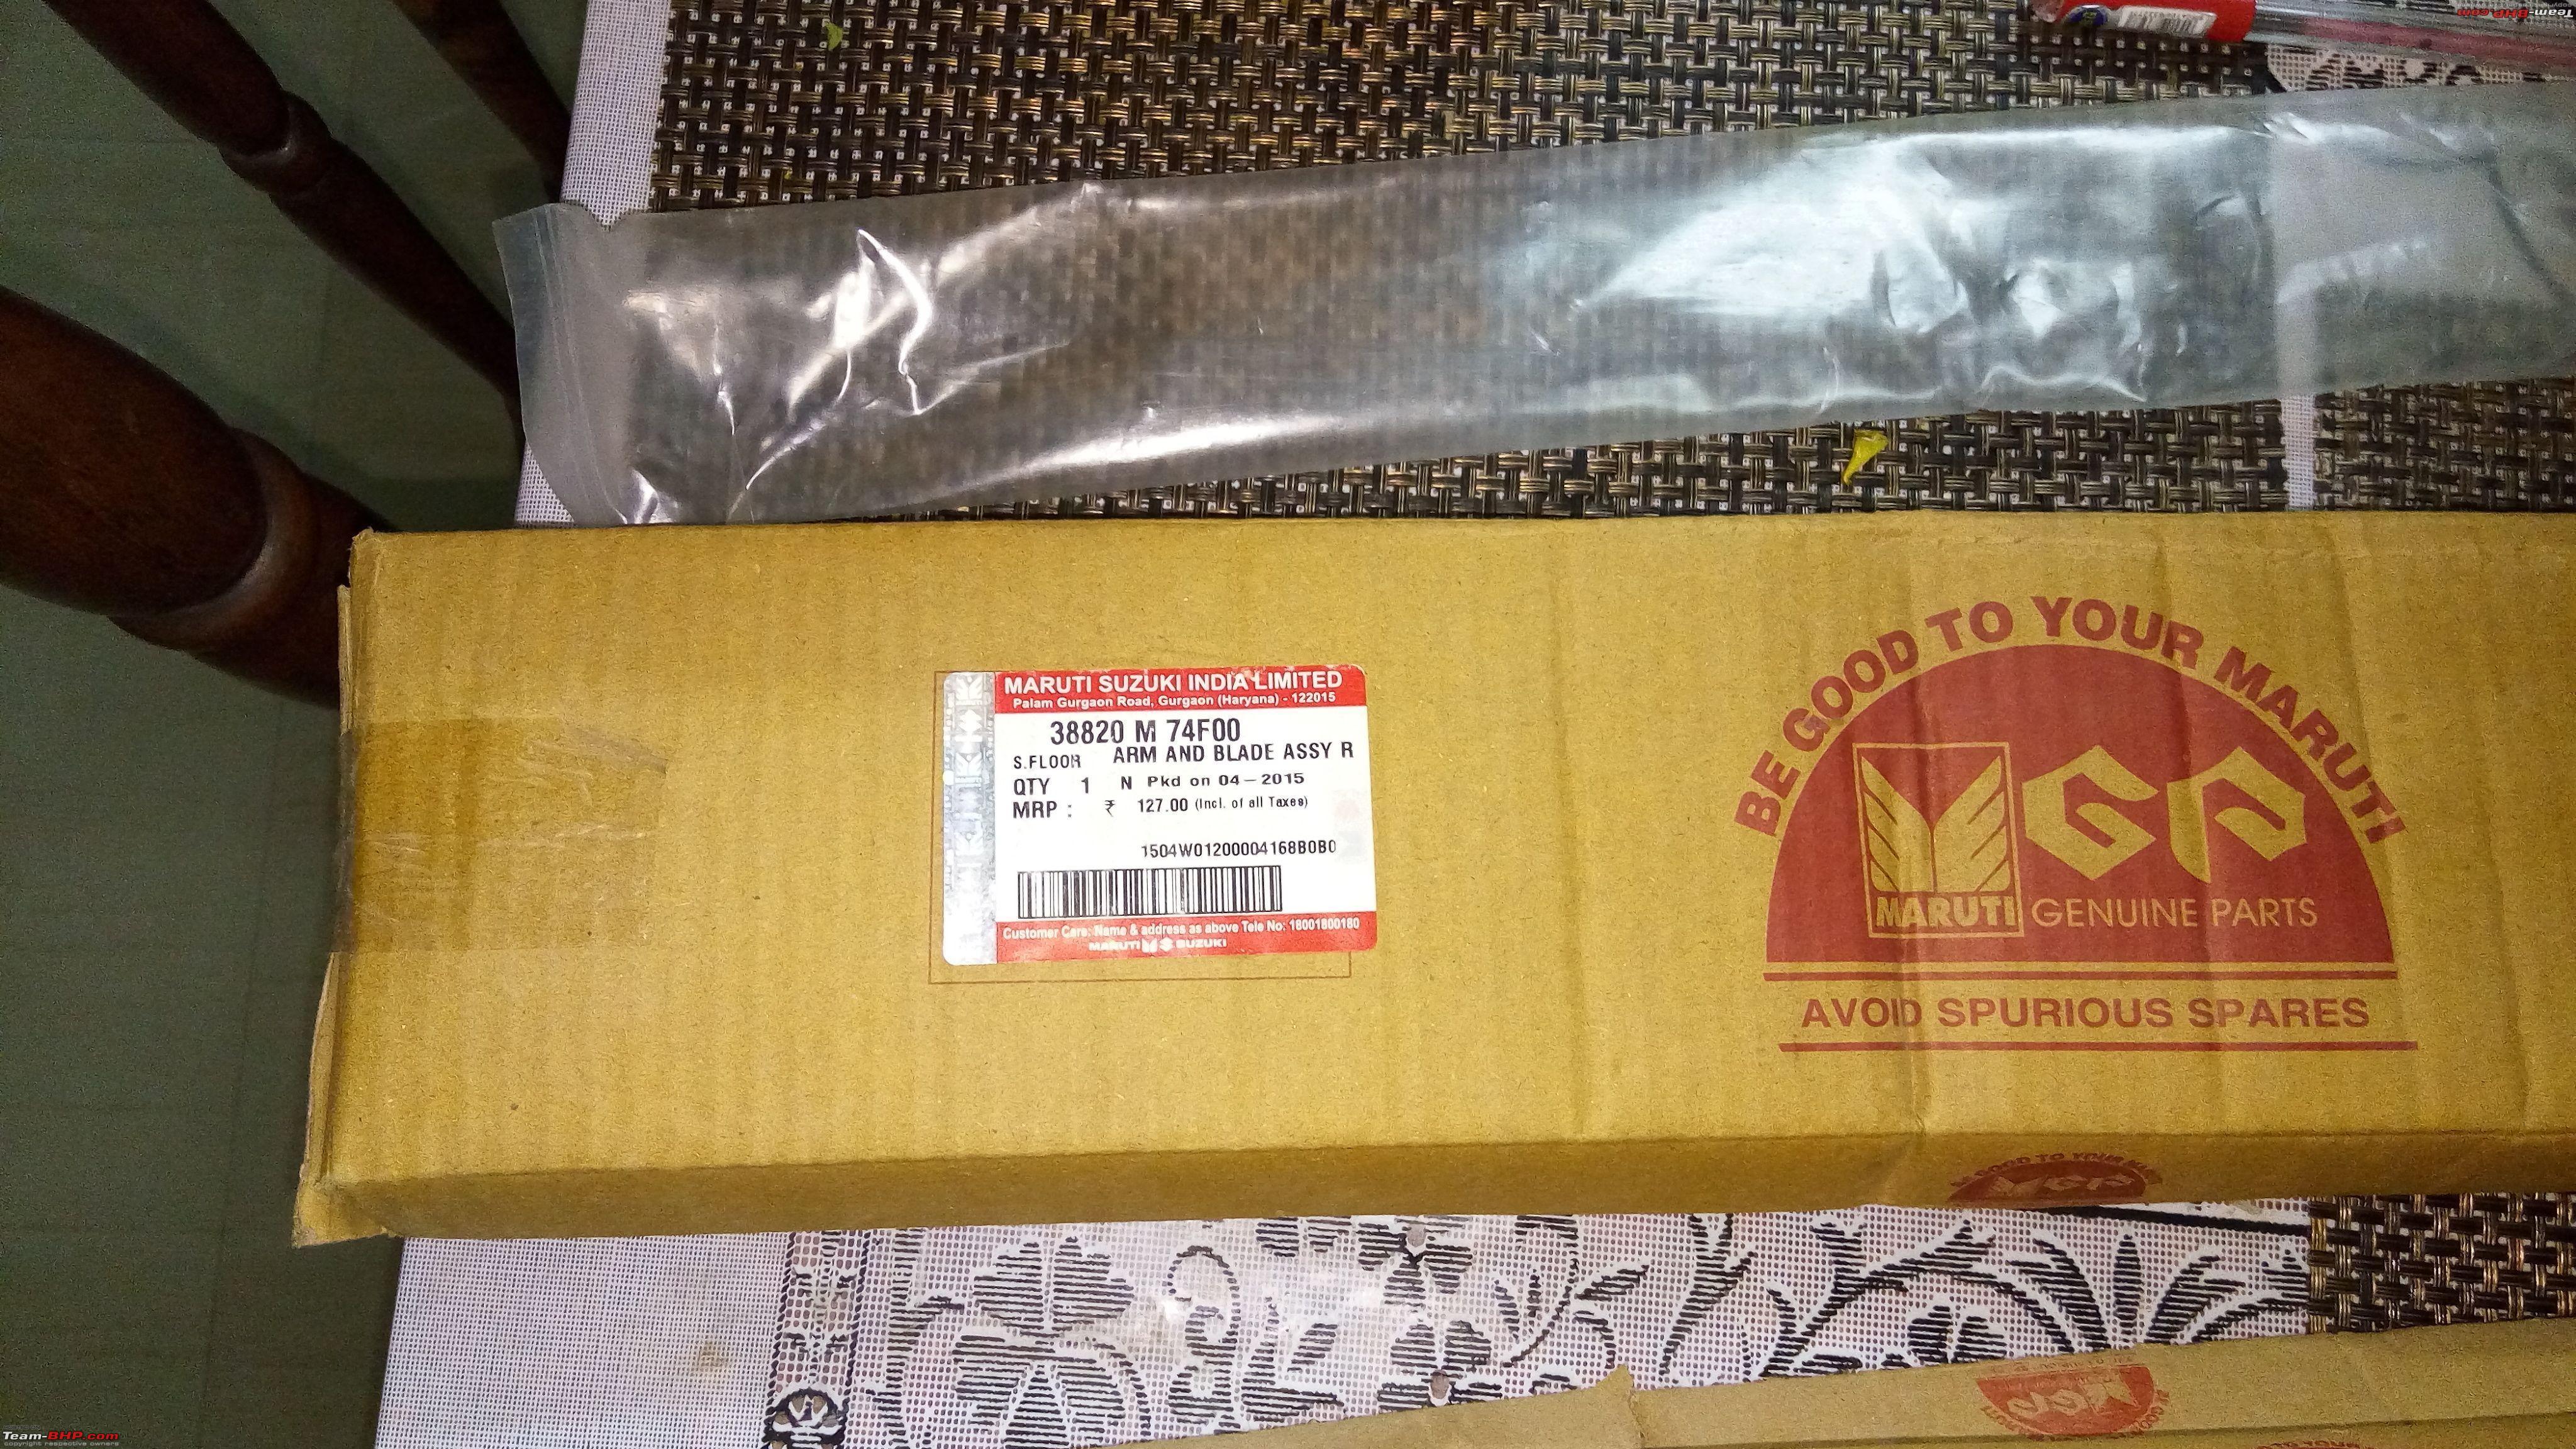
2. Rear Wiper Blade & Arm Assembly: Rs. 127/-

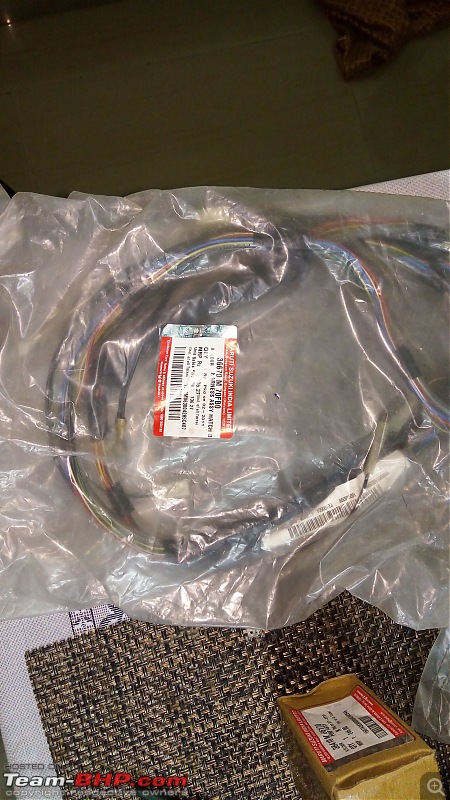
3. Wiring Harness: Rs. 736/-
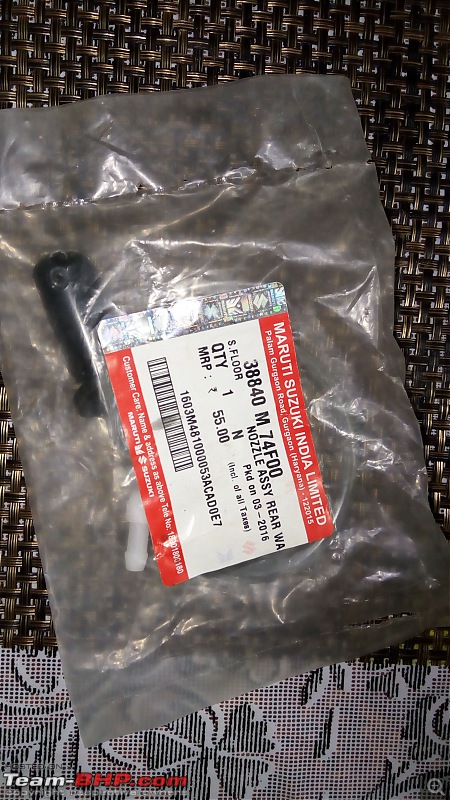
4. Wash Nozzle: Rs. 55/-
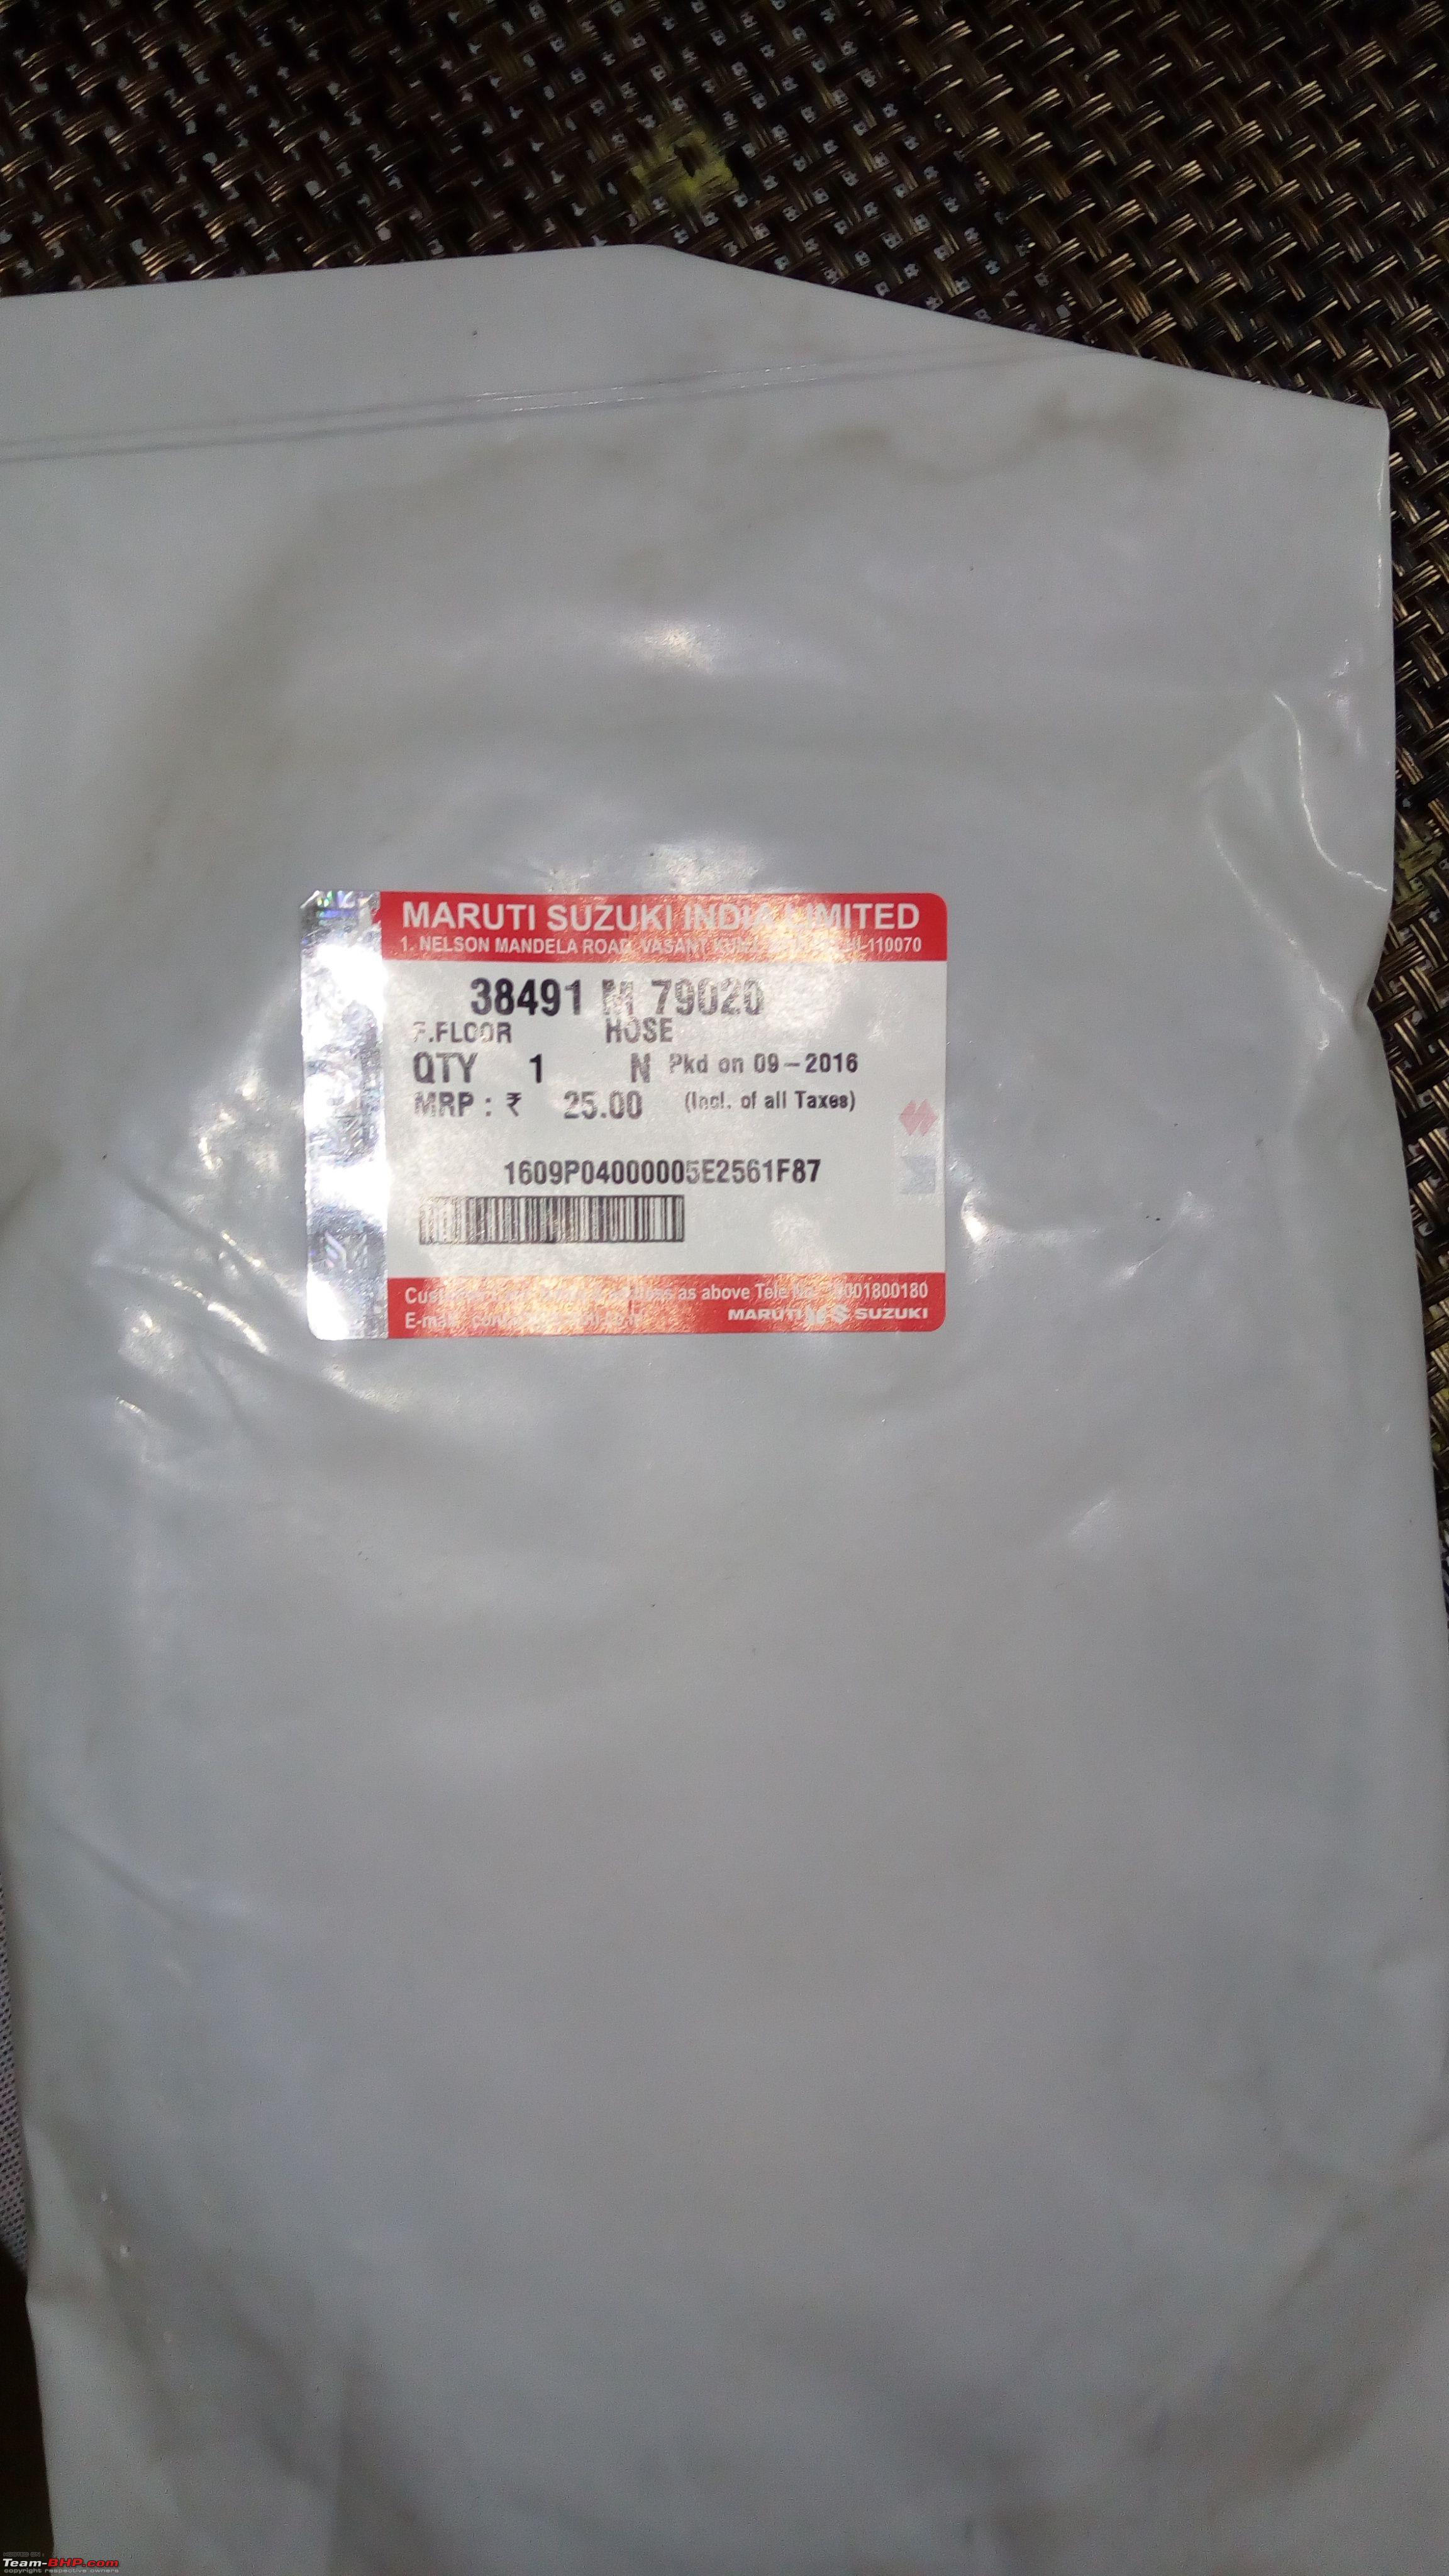
5. Wash water hose: Rs. 25/-

6. Washer Tank (with support for 2 pumps) - Rs. 250/-
7. Water pump for rear wash: Rs. 246/-

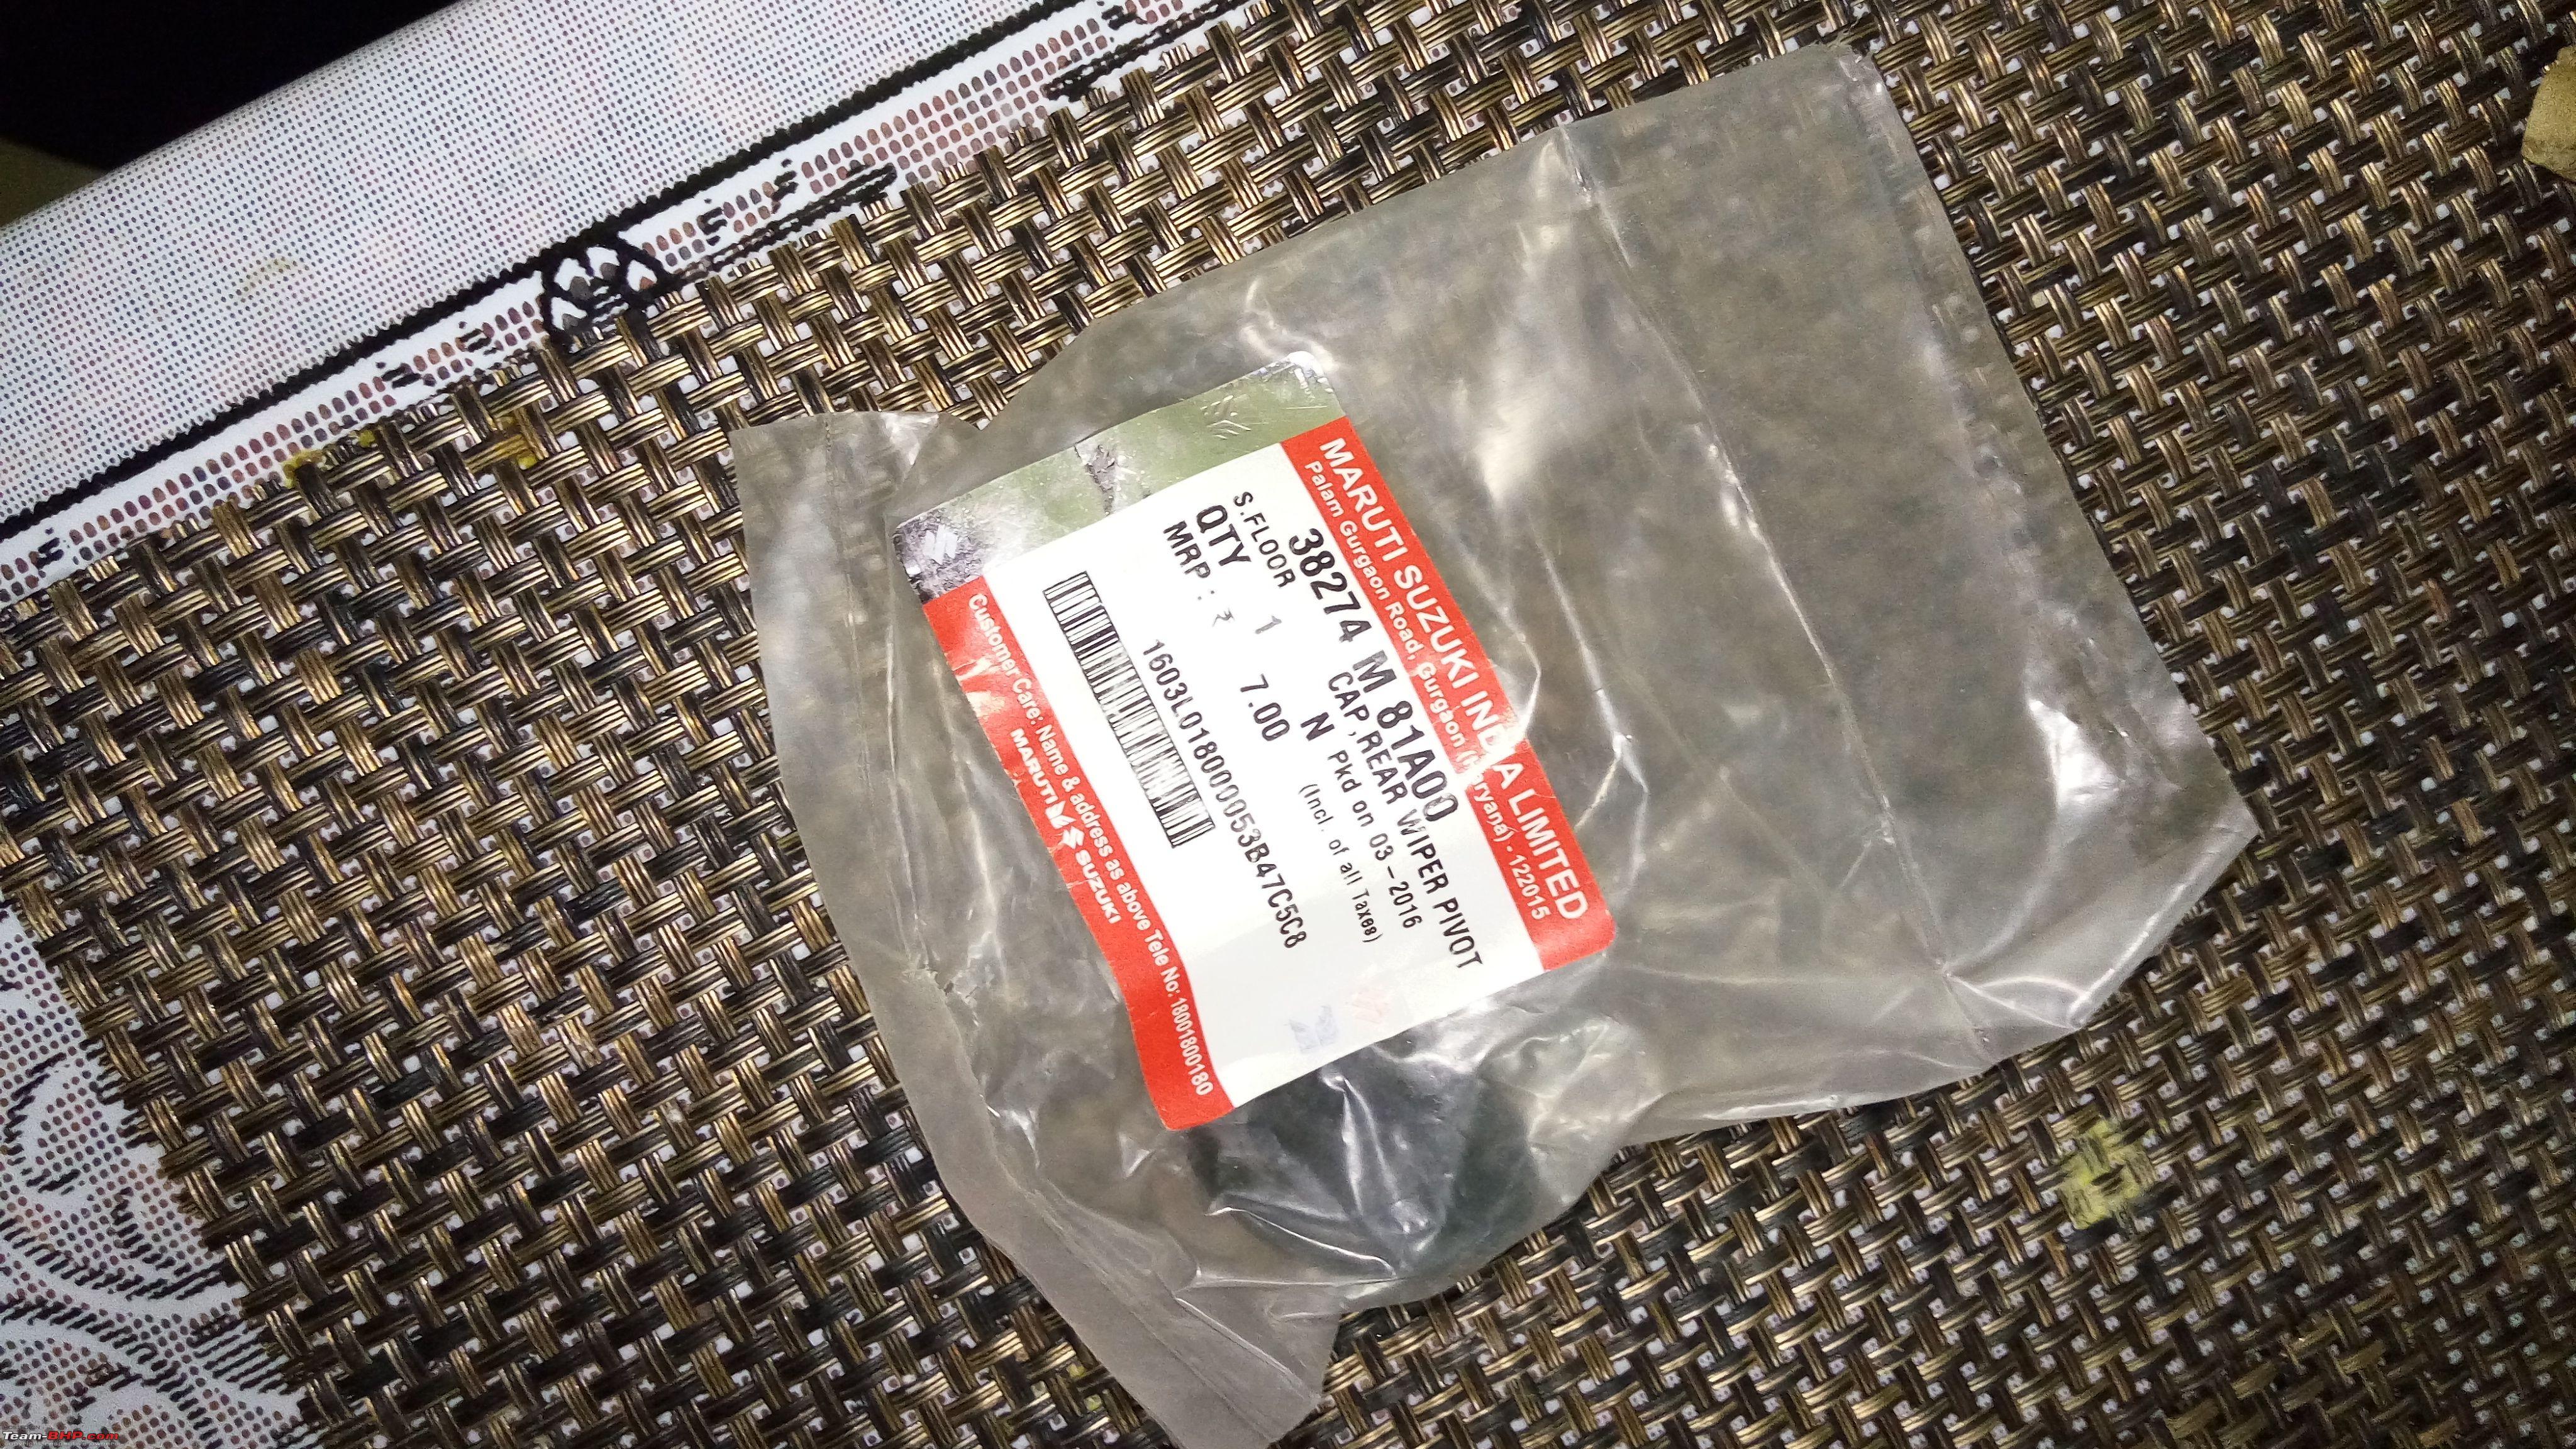
8. Rear wiper Pivot Cap: Rs. 7/-

9. Wash Wipe Dashboard Switch: Rs. 269/-
Total cost of spares = Rs. 3676/-
The Job:
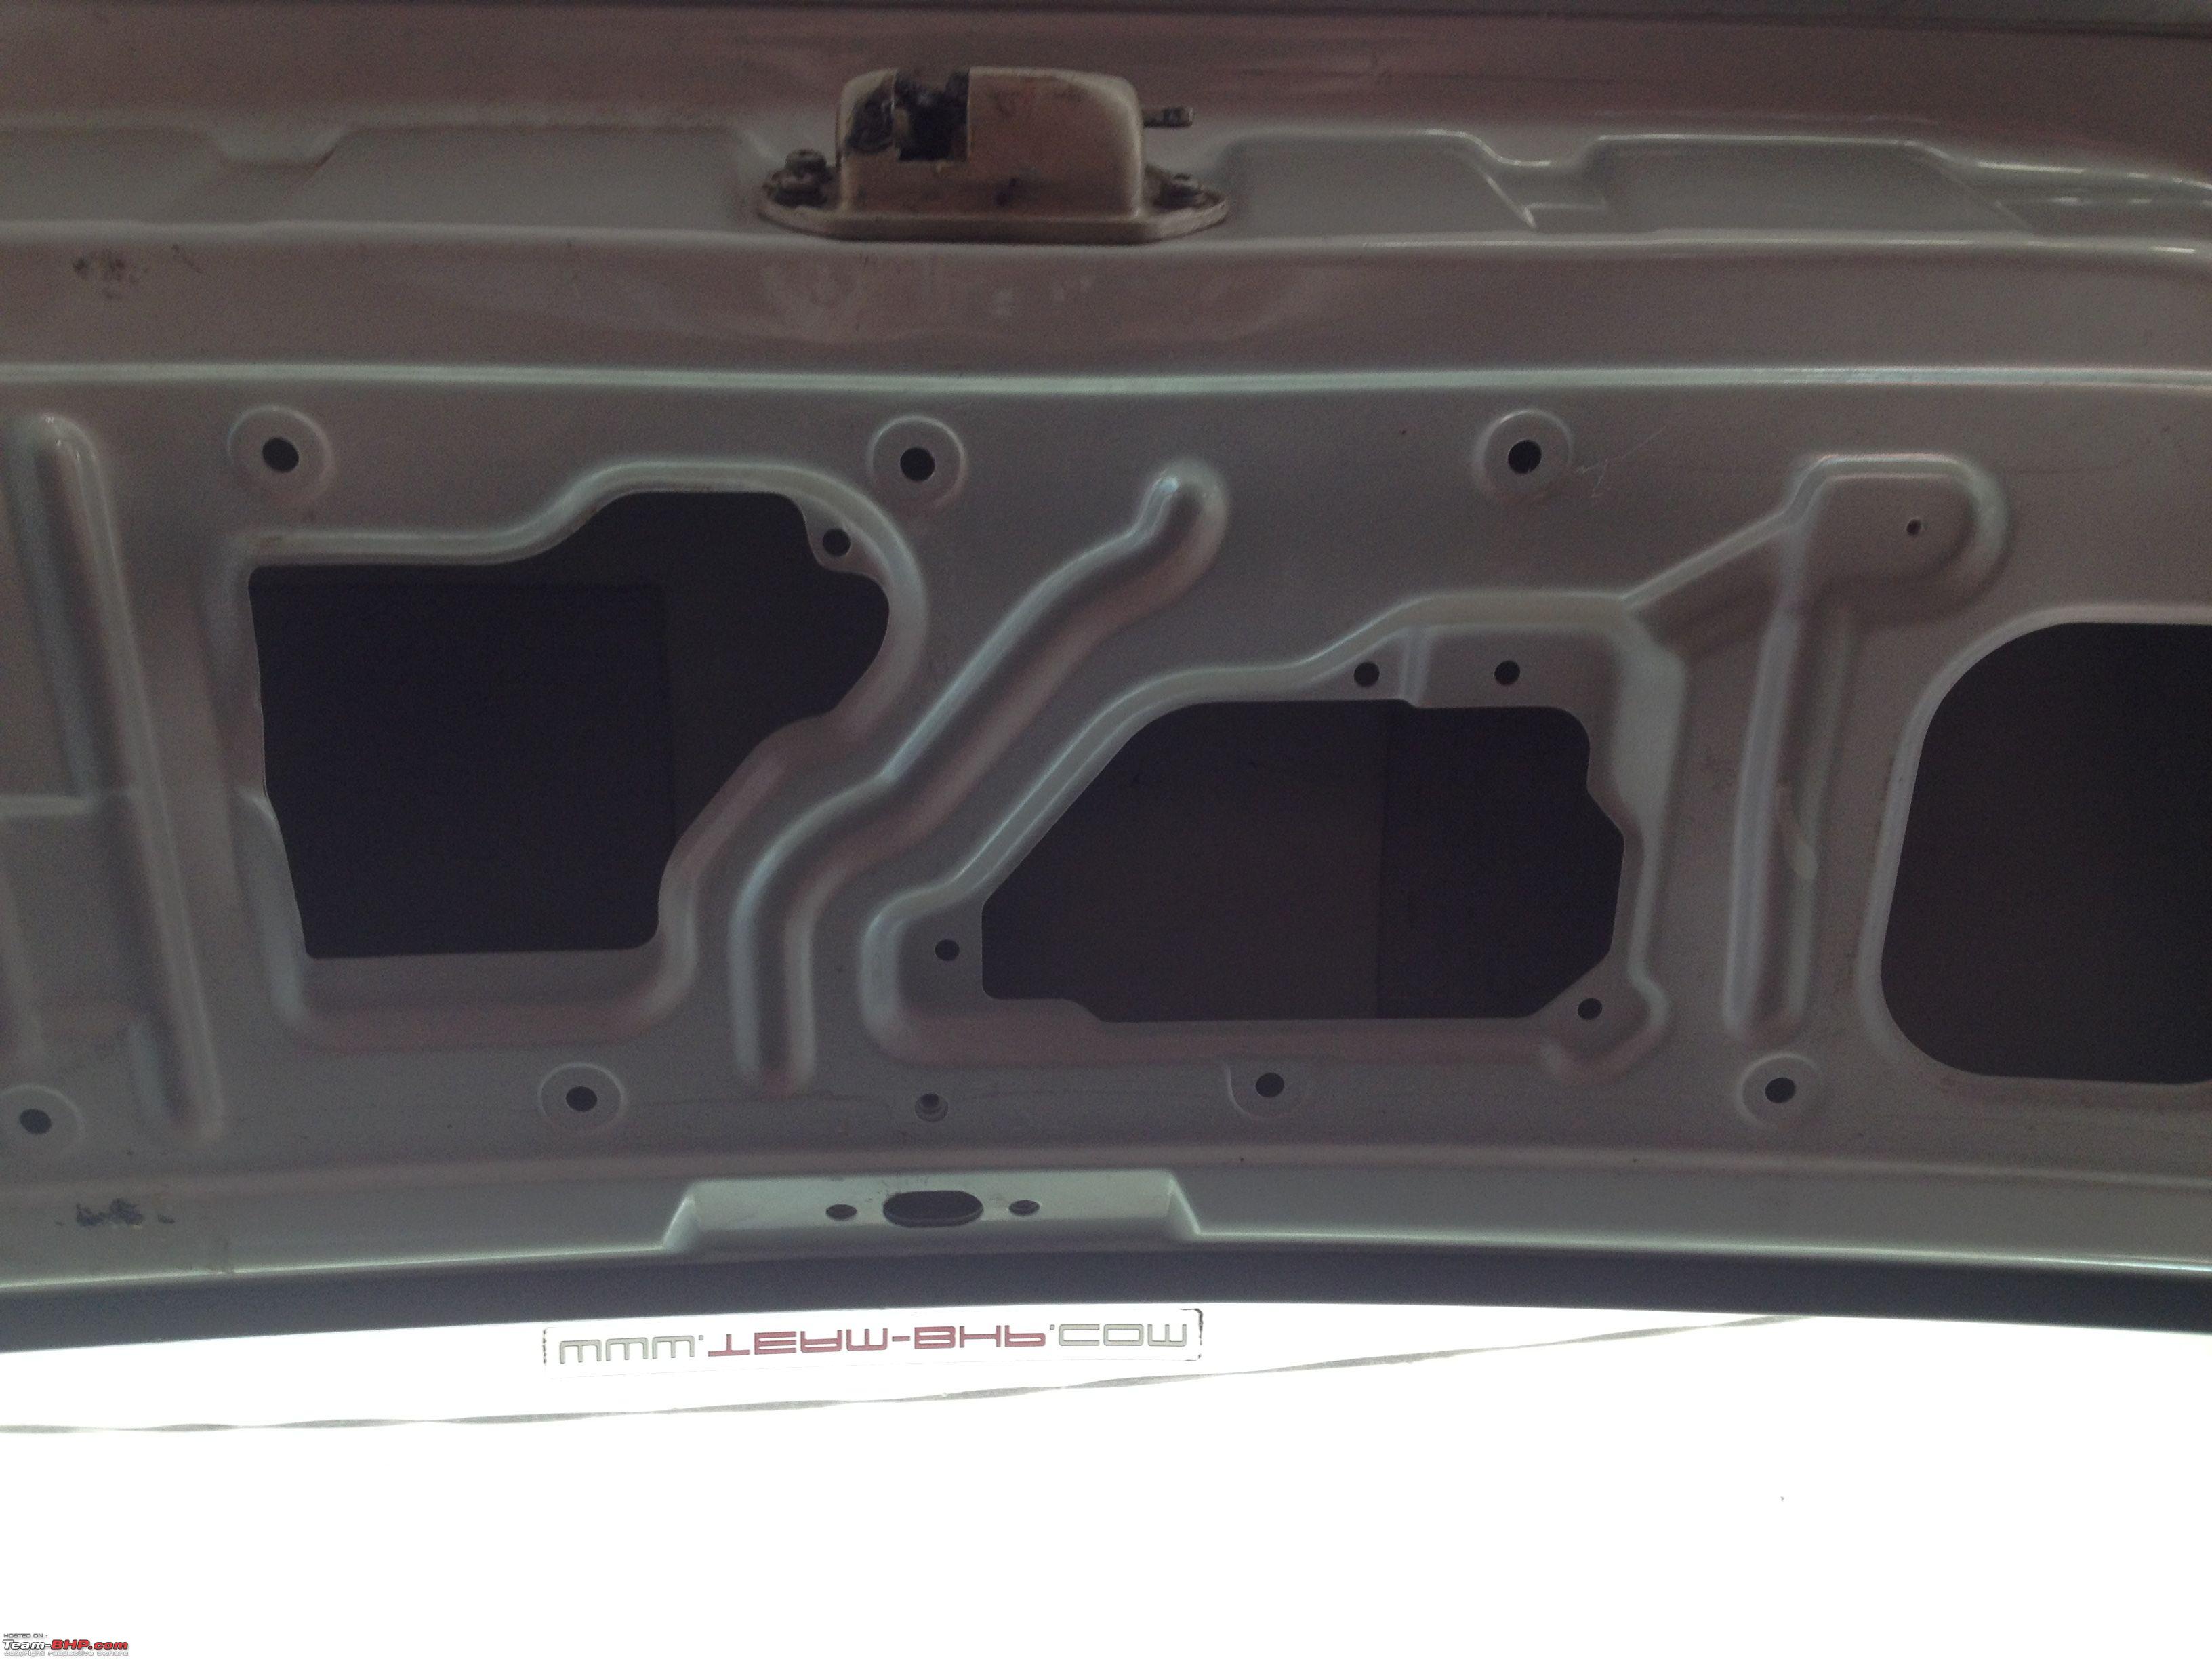
When we started planning for the project, I checked the inside of the hatch and it looked like brackets for mounting the wiper motor were in place.
 Inner side of the Hatch with mounting points for wiper motor.
But when the motor arrived, I was in for a shock. This is because Maruti changed the wiper motor design in the later years. My car's hatch had mounting points as per the older design while the motor that arrived was of the newer design. More on this with chronology.
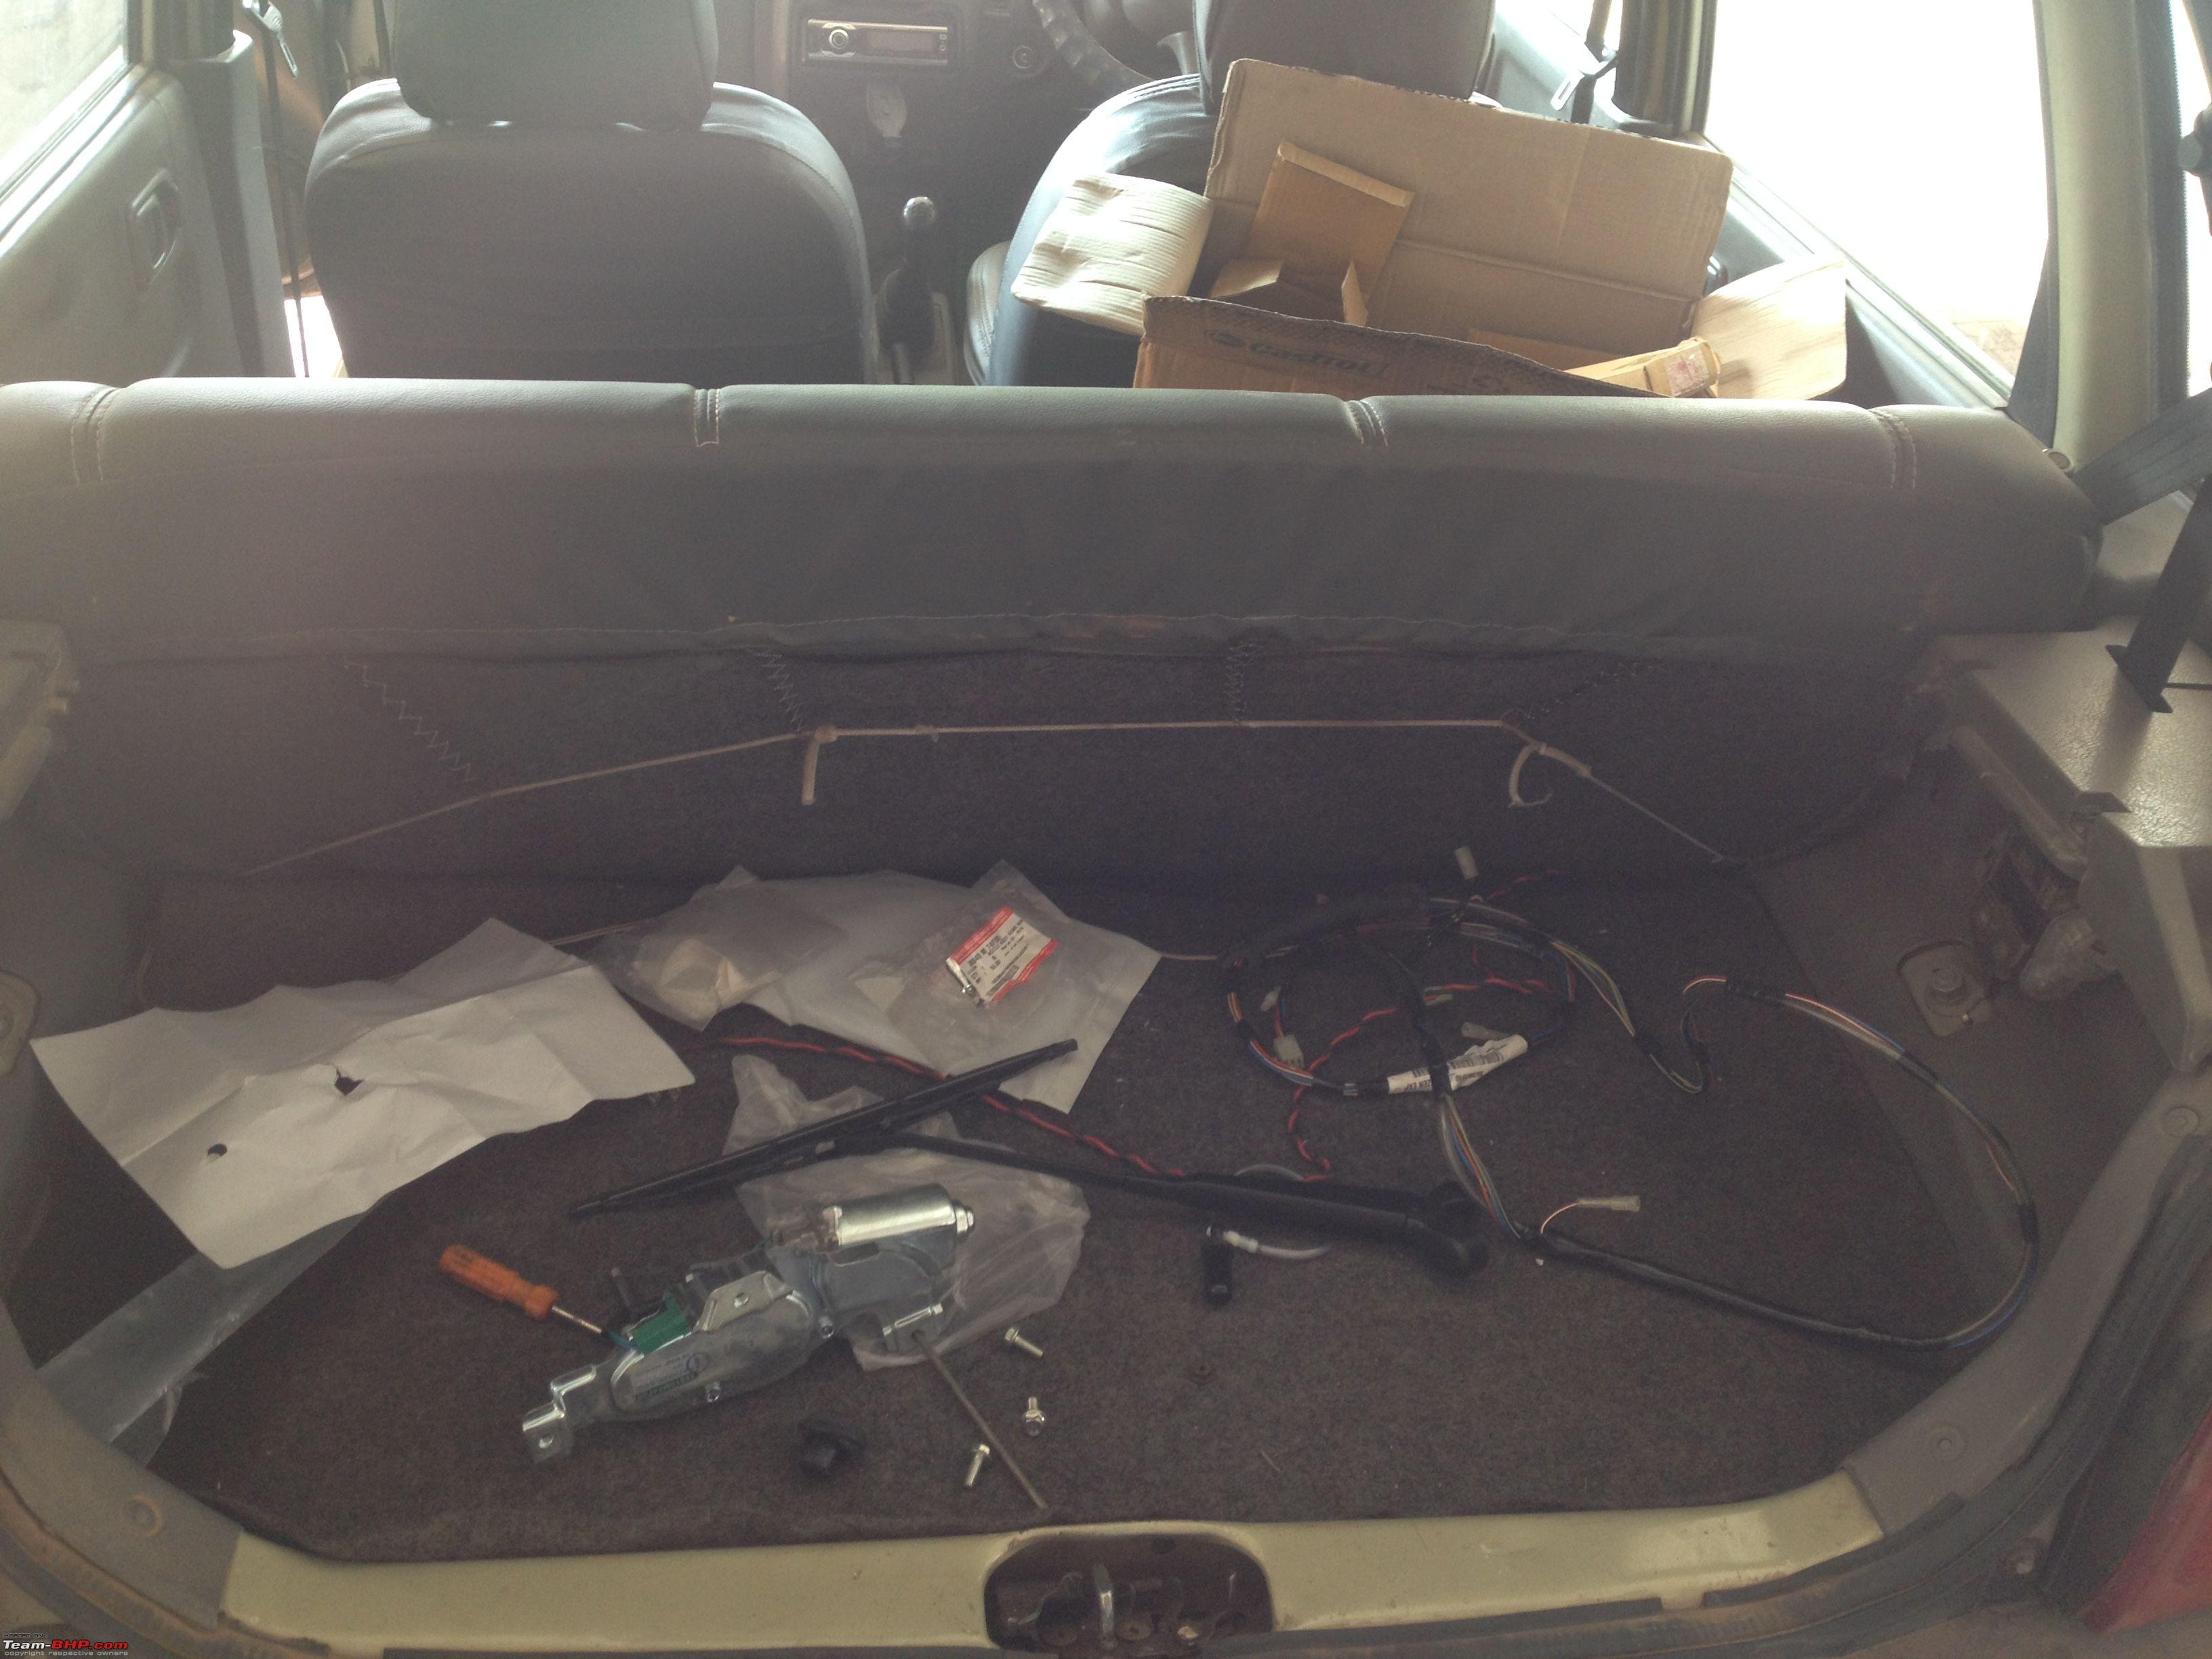
Parts arrived within 10 days of placing the order and I decided to give it a shot by myself. The first trick was to drill the hole for the wiper spindle. This had to be at the perfect place and for accuracy, I would have loved to get measurements from a factory setting; but sadly, there was no other Zen (with a wash-wipe system) in my society and even at the time we visited the MASS for picking up the parts. Hence, I could not get original measurements.
A wrong placement of drill bit at work, a process which cannot be undone, could have well ended in a disaster with two cheese holes on my car's hatch serving absolutely nothing, but I think I had taken so many 'visual measurements' along these years of all the Zens with rear wipers on the road that I ended up almost perfectly I guess. (Even if I am little off-target, I am still okay with it) Things were made difficult when I found out that the brackets that I had on the inside of the hatch were not matching with the mounting points of the wiper motor. If the mounting points would have matched, then the placement of the hole would have been factory spec but that wasn't to be. I decided to take the gamble head on and trust my instincts on this one. With the driller in my shaking hands, I drilled the hole a little right from the key-lock point on the hatch as a reference:
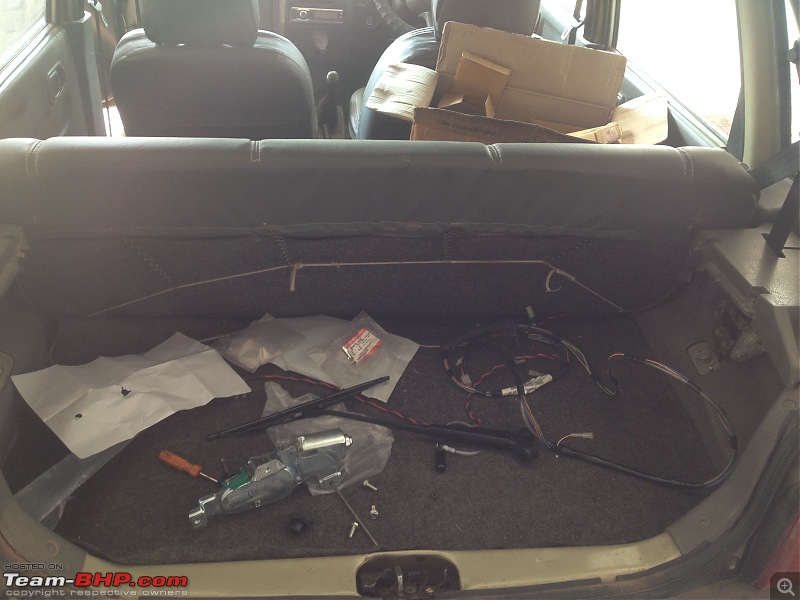

After making the hole, the last thing I would have wanted would be fixing the motor with the sweep in the wrong direction. I checked the motor's sweep direction by hooking it up directly to the battery and ascertained the direction in which the motor would be mounted. I had to repeatedly put the motor in place and mark points on the inner hatch to drill new holes to mount the motor. After a few tries, a few extra holes and with some modification (read bending the mounting plates of the motor), I bolted the wiper motor on the hatch with the correct amount of the otherwise long spindle peeping out of the newly made hole on the hatch.
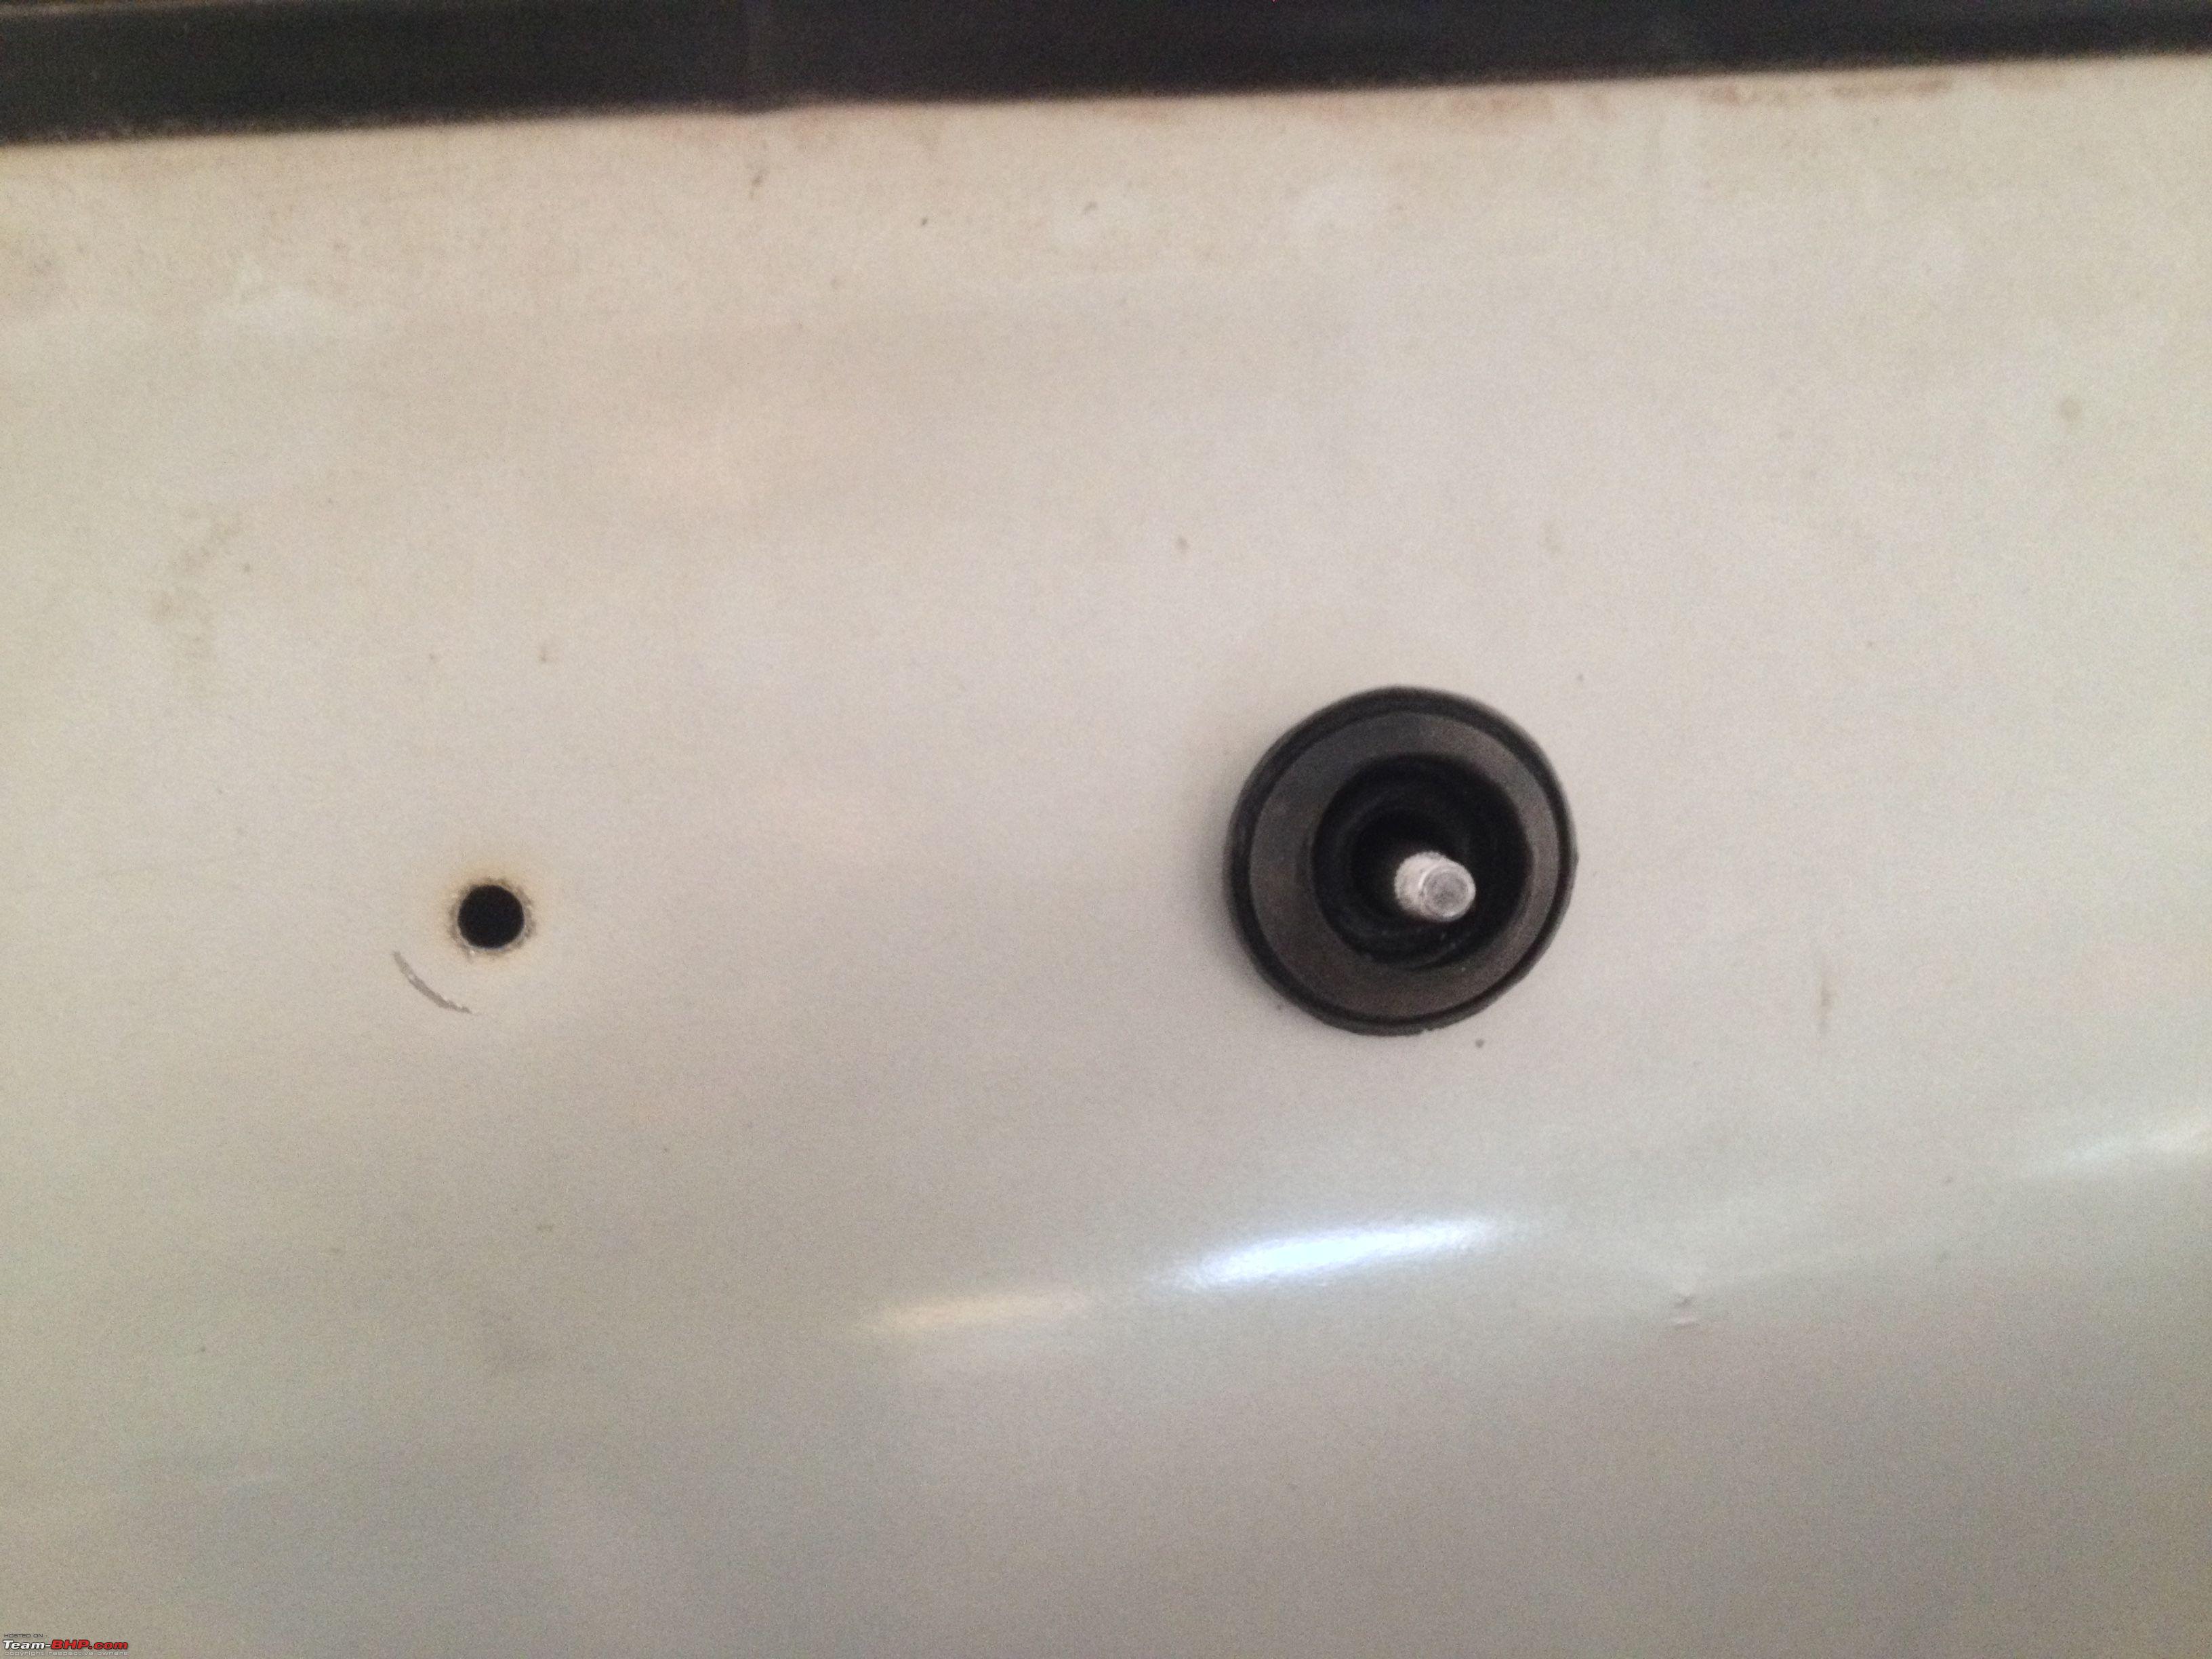
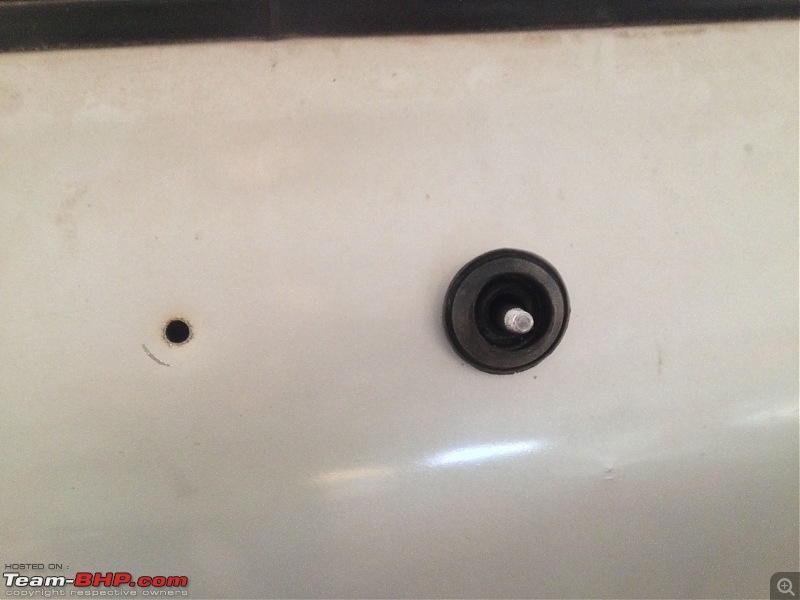
Placed the rubber pivot cap working as a grommet and a tool to prevent water from seeping inside the hatch in the hole.
Next step was to make another hole for the washer nozzle. Started drilling with a smaller drill bit so that I don't end up with a bigger than needed hole on the hatch. After a few tries, I got the perfect clean drill with the nozzle sitting flush to the curvy hatch. Point to note is that the washer nozzle is placed slightly left from the center (reference is the hatch's key-lock). And this position is NOT symmetric to the wiper pivot on the right. Means that the distance of the washer nozzle on the left from the center is less than the distance of the wiper pivot on right from the center.
Source: My observation.


These steps look easy on paper but if you love your car, then I must say that it will one of the toughest decisions in life -
where to drill that hole! In fact, two of them. Plus, a drill machine and your beloved car seldom make a pleasant combination. Thankfully, it ended up fine for me. For anyone trying this on their cars as DIY, I would strongly suggest getting measurements from a factory fitted system.
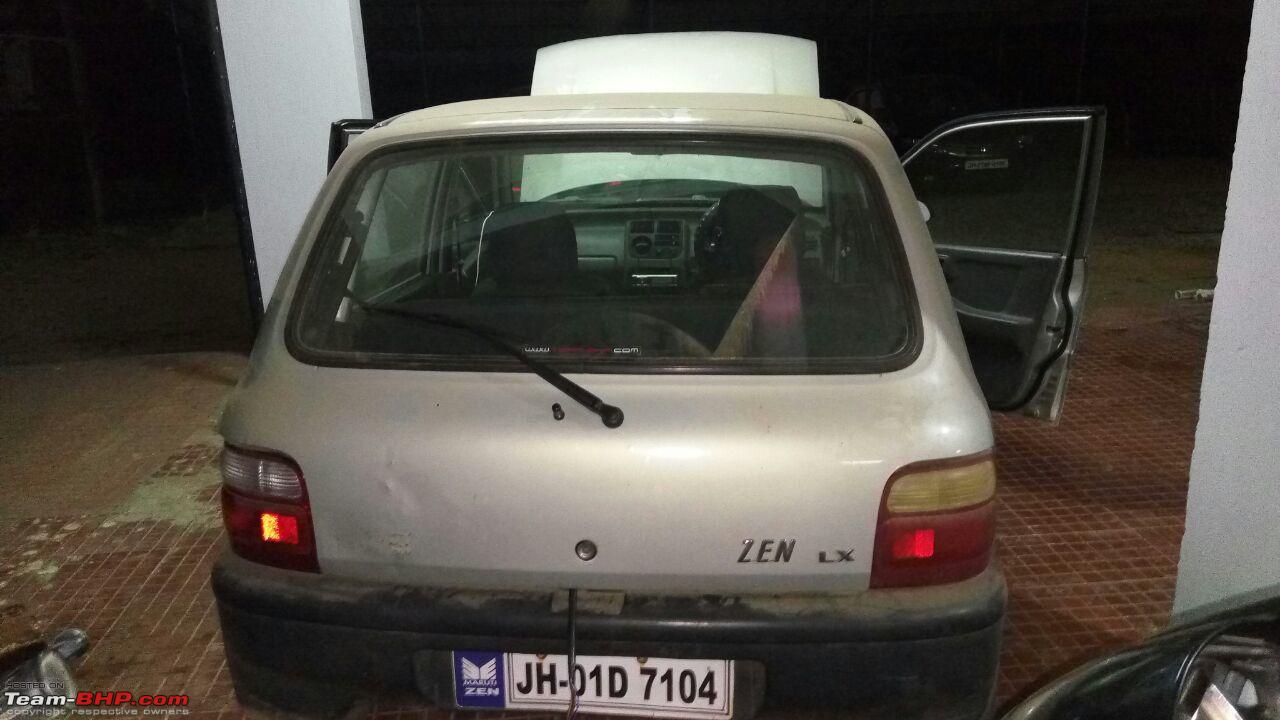
After mounting both the wiper motor and washer nozzle, I fixed the rear wiper arm on the spindle and loaded it with the wiper blade. Now, the moment...it was time for a 'sweep test'.

This felt like a result time after your papers. With the heart thumping much higher than the factory specification rate of 72 BPM, I hooked the motor to the battery by a long wire. Time to test it. Time to check if you have nailed it or junked it.
ONE.....TWO.......
And SWEEEETTT LOOONGGGG SWEEEEEEEPPP! This was the moment. It was achieved! The sweep was perfect at the first go. Absolutely no change in any settings whatsoever required! Not only I was happy, but also relieved that I have not messed things up.

*Please pardon the dirty car! It was anyway due for the service.
The next set of actions included wiring the wiper motor by using the original wiring harness procured through the switch. Now, the motor has two positive points and one negative/ ground (input through body). One positive point is permanently fed with positive line so as to enable the auto-return feature on the motor. Another positive line is fed through the switch, so that the motor can be turned on/ off at your will & requirement. This OE wiring harness has the provision for rear high mount internal stop lamp too; which was also added during my recent restoration. (separate thread)
The washer tank with support for 2 washer pumps sits in place of the old tank and the rear nozzle is lined up with the long hose procured. This hose connects the the rear nozzle to the output of the washer pump fitted to the washer tank under the front fender. I am extremely sorry for not putting up pictures of these steps due to lack of hands.
Also, you can see the dent on the LHS of the hatch. It was gifted to me when my car was parked at a relative's house. When the car went for the repair job to MASS, then they finished the wiper motor mounting in a cleaner manner. My job was little crude if you would have taken off the pads of hatch and peeped inside. MASS, with their welding torch made OE like mounting points for the new design motor.
Final pic after the entire job done, and hatch dent repaired & repainted: 
Thanks!


 18th November 2016, 23:34


 (36)
Thanks
(36)
Thanks