I wanted to replace my old celeron rig with something that was essentially a decent new computer but i wanted to also do a bit of as case mod to the chassis so that it also looked interesting to other people
So heres what i landed up with ... this is a description of the final setup
Intel i5-3570k processor
Asus Z68v-pro/gen3 motherboard
16 gigs Kingston HyperX ram
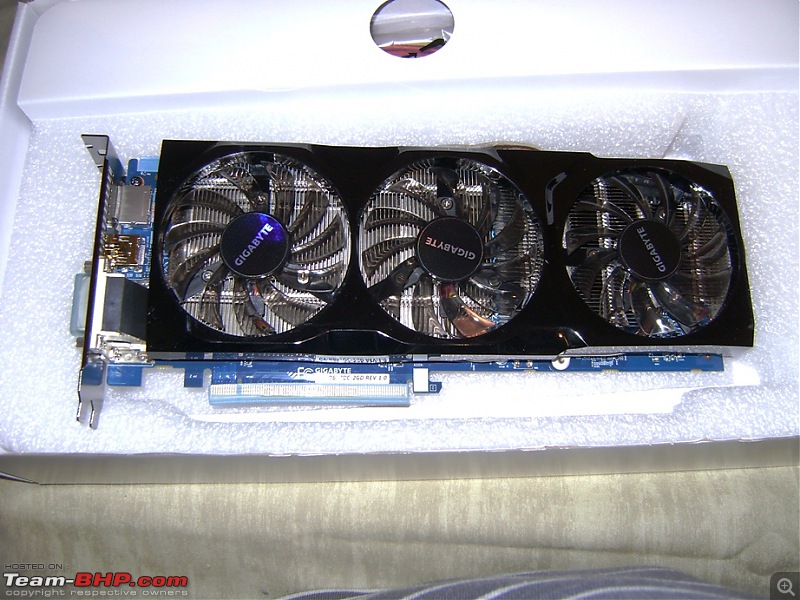
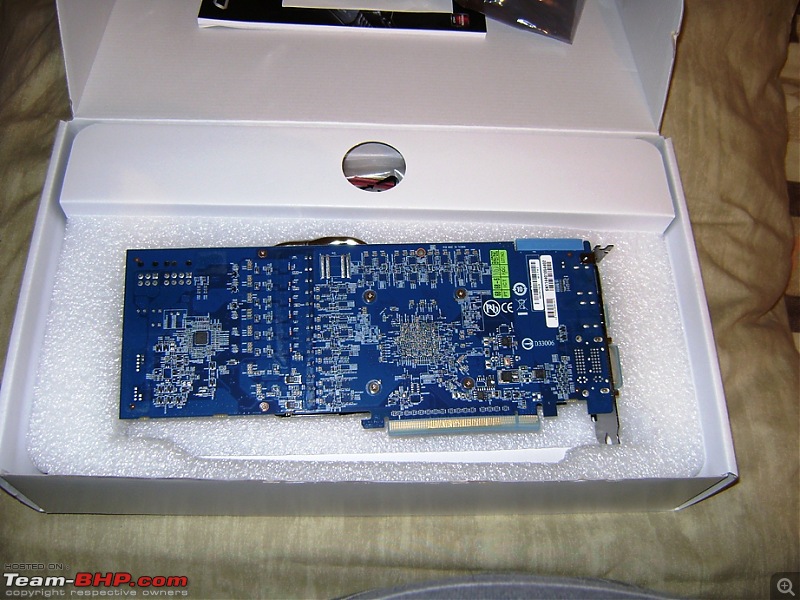
Gigabyte Radeon HD6970 OC graphics card
Gigabyte Sumo Chassis
Western Digital RaptorX hard drive (will eventually be replaced with a solid state drive)
here are some pictures of how it all looks since the looks are the best part of the setup in my humble opinion even though many people wont see the reasoning behind the modding
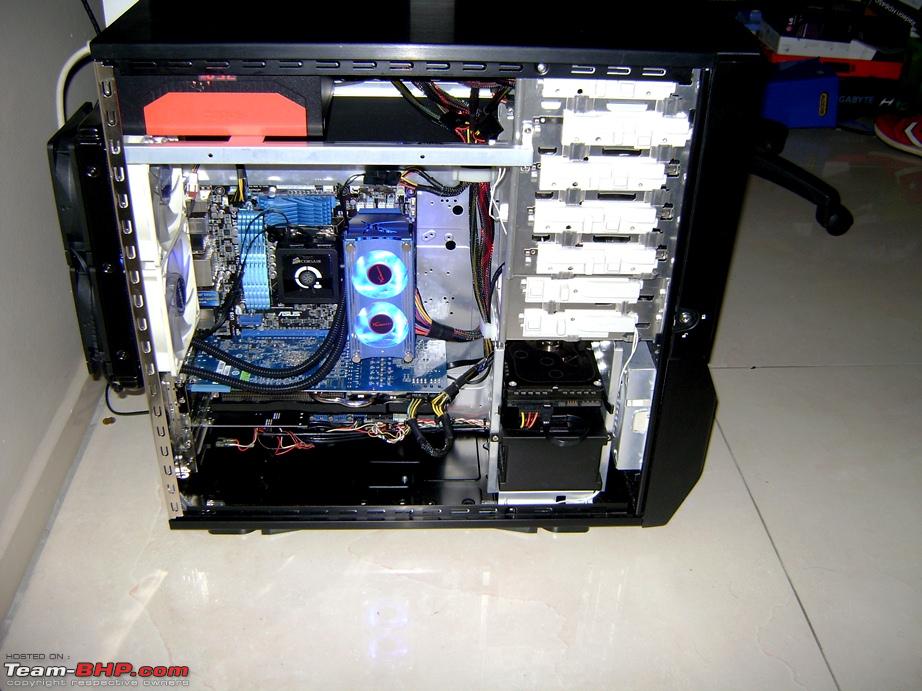
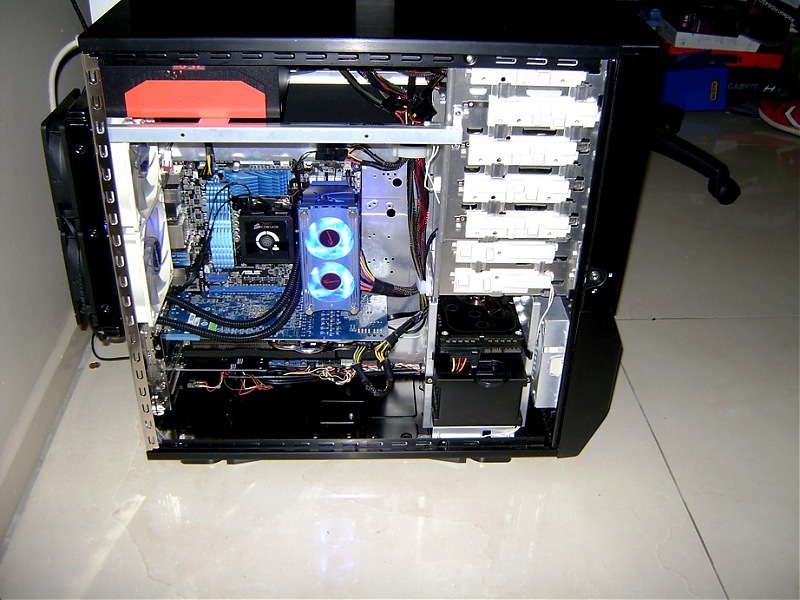
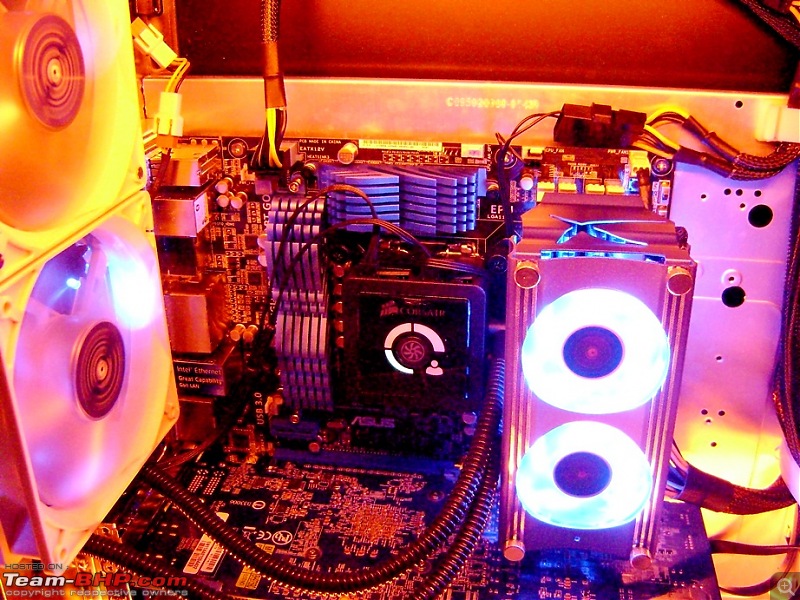
the insides of the computer as it stands with the side panel removed
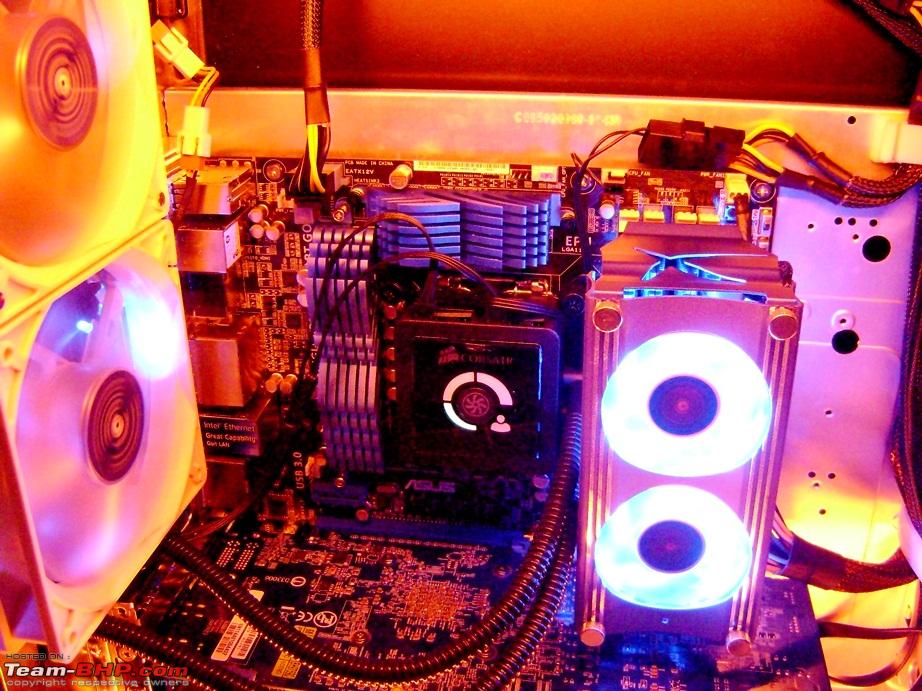
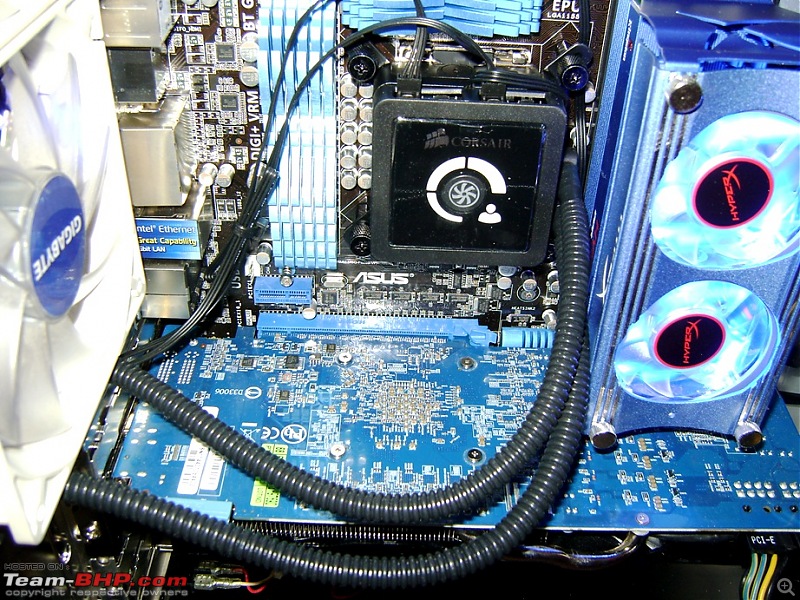
waterblock for the liquid cooling
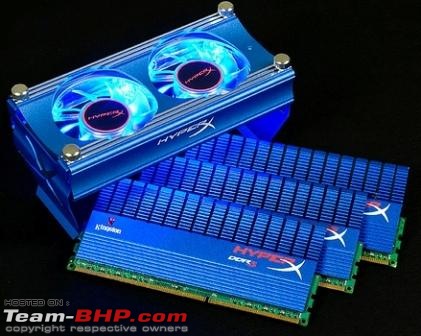
ram and cooling for the ram
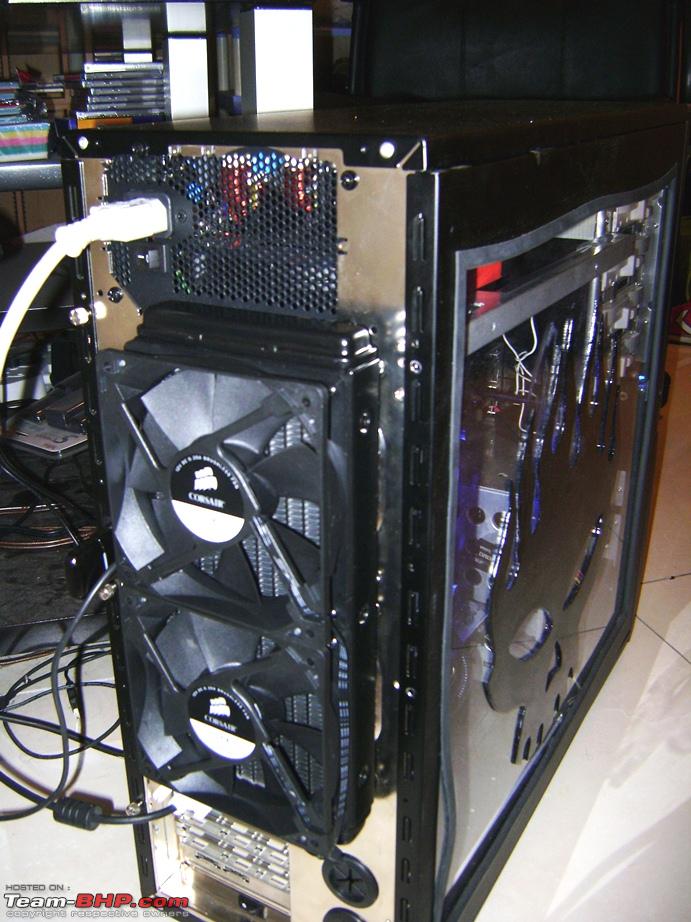
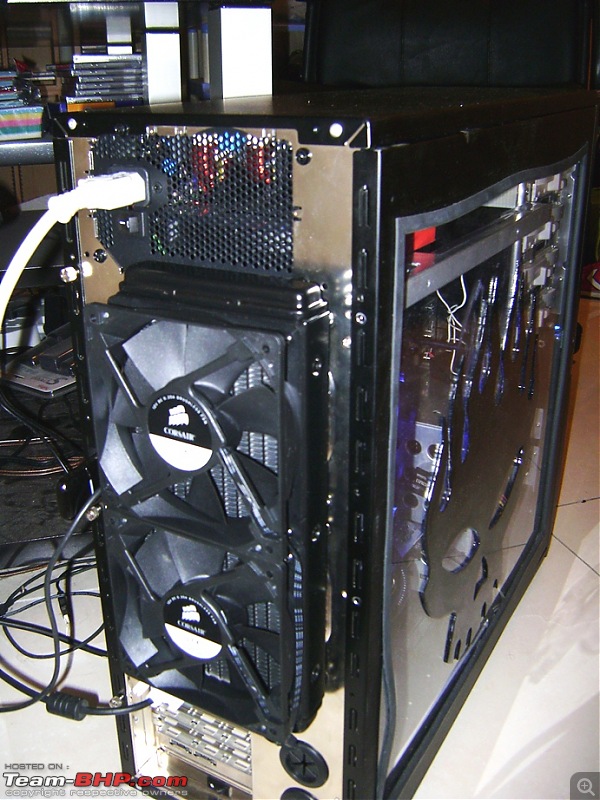
radiator for the watercooling with fans
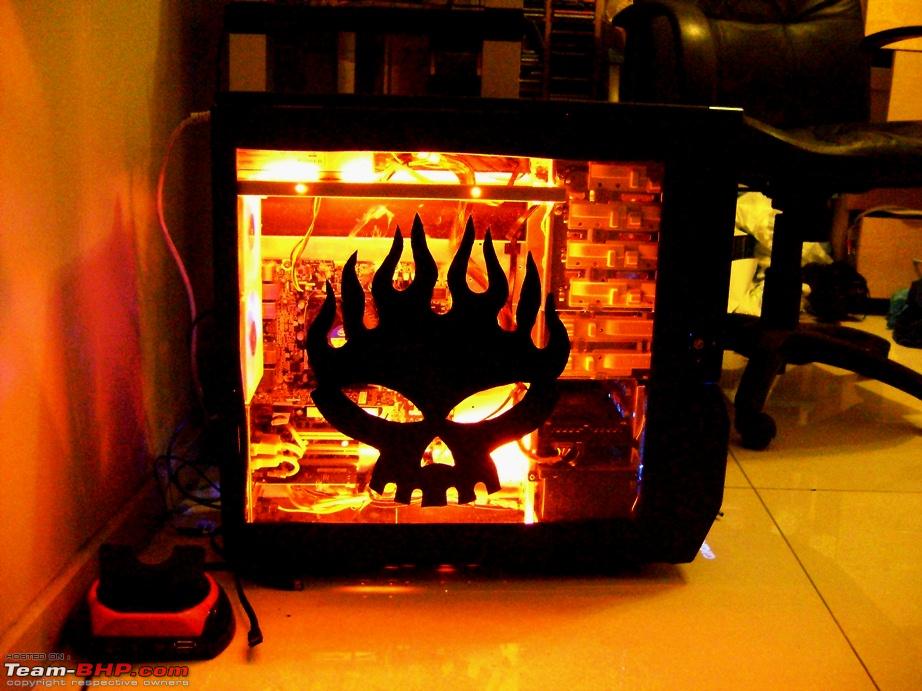
insides with the lighting switched on
graphics card
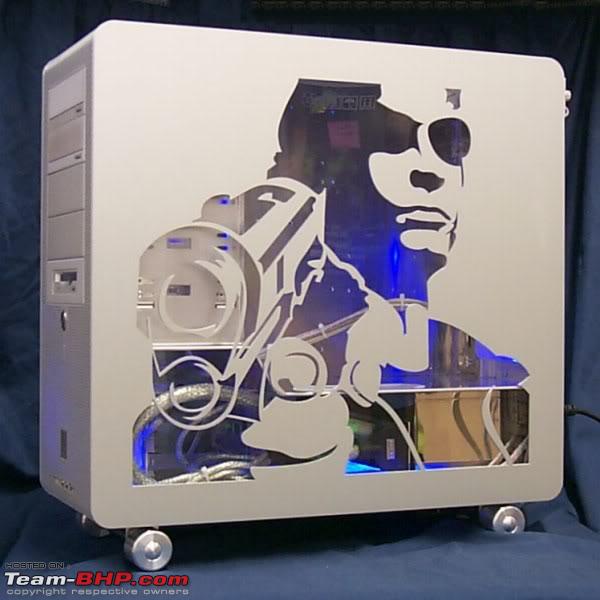
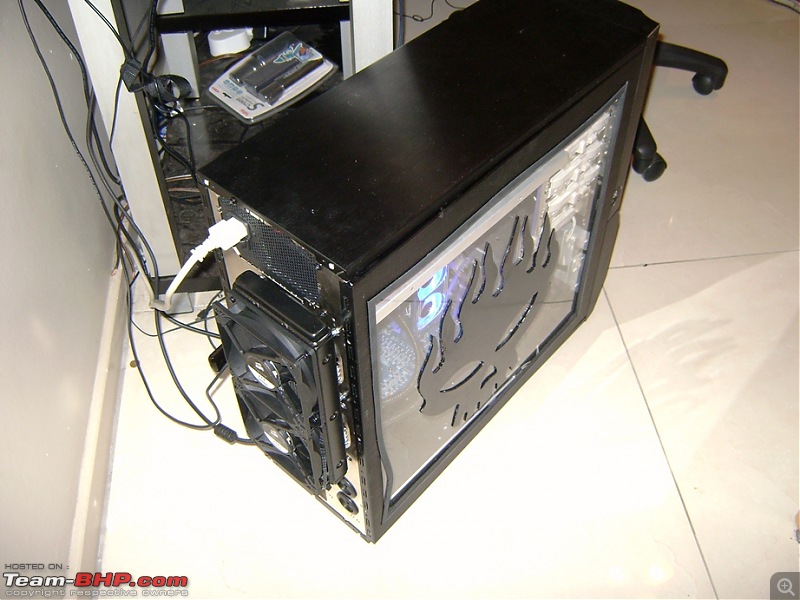
the side panel of the case with the case lighting on ie this is the modded bit
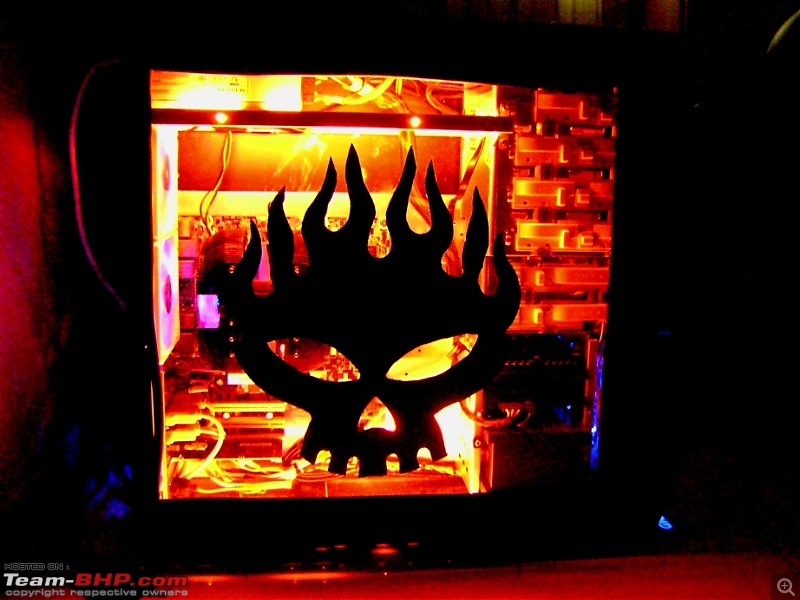
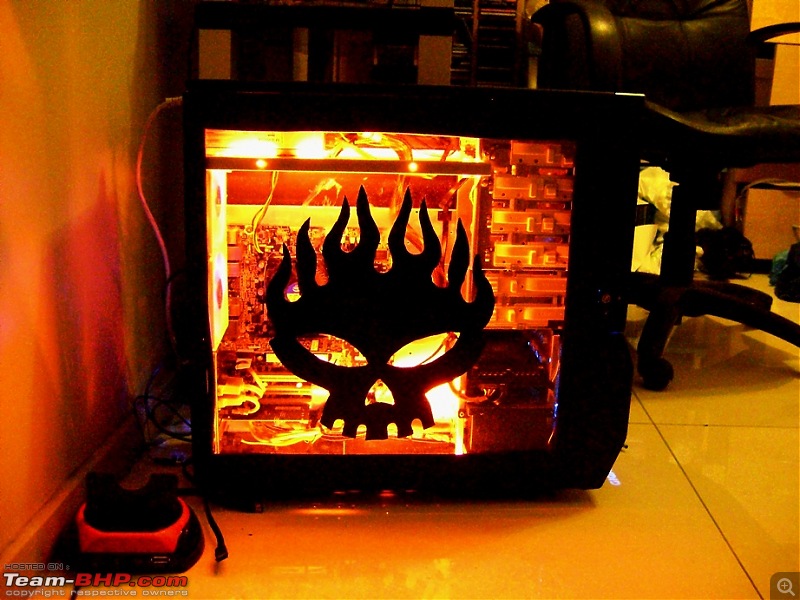
the flaming skull logo that i used from an offspring album cover is similar to the identical logo i used in a previous computer project but i wanted to use it again for consistency and also to use up older parts lying around as well as complete the theme for the project that im developing to finish the room
usually i use custom watercooling but this time around i just used a Corsair H100 liquid cooling solution because of the fact that custom watercooling is very high maintenance and also i do not plan on overclocking this machine (too much) so even standard aircooling would have done but then it wouldnt be as interesting a project to undertake as this landed up being
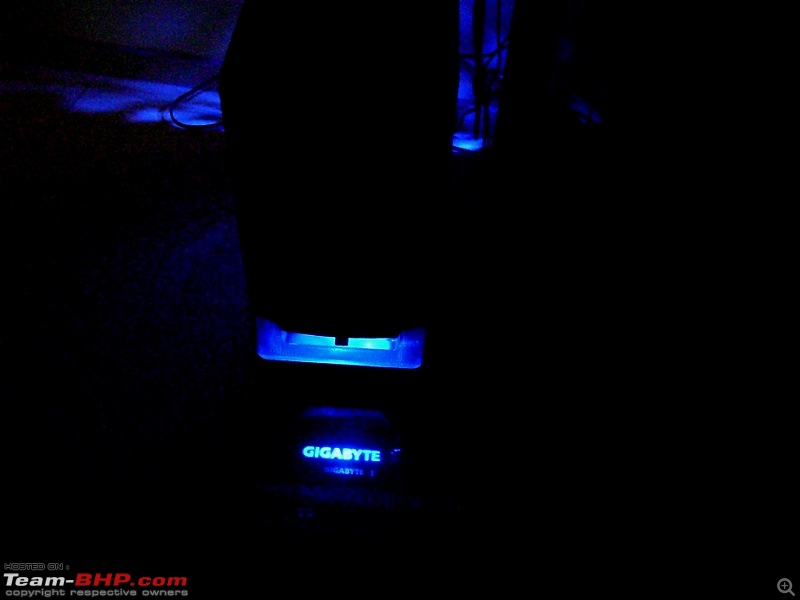
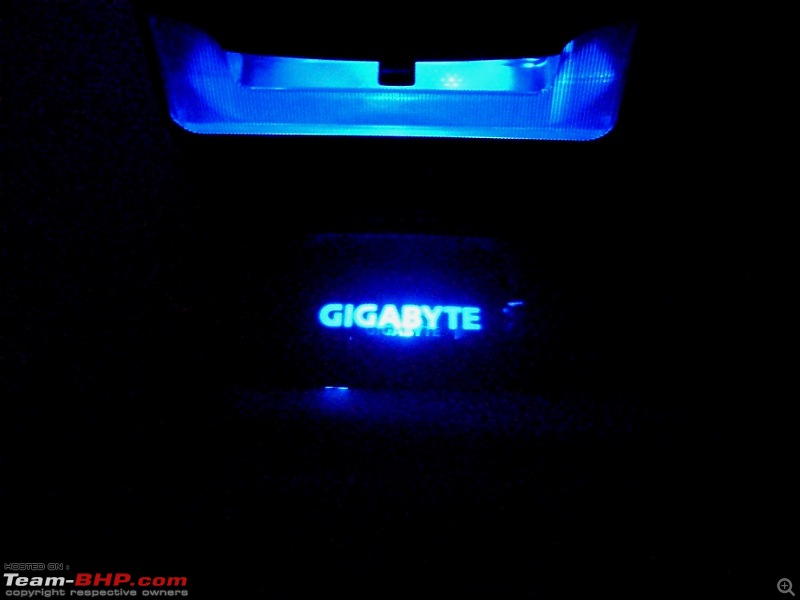
and some final pictures to show how the gigabyte logo is projected onto the floor by the front fan of the chassis .... i cannot take credit for this since this was done by gigabyte themselves

i hope that you enjoy looking at my project and comments and criticisms as well as praise (if its due) will be welcomed .... to be totally honest i do not mind if people do not like the project since we are all different and hence lots of people will find this totally over the top so i will not mind if its criticized ... but it was just a quick challenge to myself to do something that i enjoy doing


 30th August 2009, 14:35