

 19th November 2008, 07:39
| #1 |
| Team-BHP Support  | |

|  (1)
Thanks (1)
Thanks
|


| |
|
20th November 2008, 03:36
| #2 |
| Team-BHP Support | |
|
|


|
20th November 2008, 04:27
| #3 |
| BHPian Join Date: Sep 2004 Location: Toronto / Kurukshetra
Posts: 677
Thanked: 168 Times
| |
|
|
|
20th November 2008, 04:45
| #4 |
| Team-BHP Support | |
|
|

|
20th November 2008, 10:46
| #5 |
| Distinguished - BHPian  Join Date: May 2004 Location: Bombay
Posts: 6,358
Thanked: 8,063 Times
| |
|
|
|
20th November 2008, 10:53
| #6 |
| Senior - BHPian Join Date: Jul 2006 Location: Bangalore
Posts: 2,422
Thanked: 1,189 Times
| |
|
|
|
20th November 2008, 21:47
| #7 |
| Team-BHP Support | |
|
|
|
20th November 2008, 22:01
| #8 |
| BHPian | |
|
|
|
20th November 2011, 07:33
| #9 |
| Team-BHP Support | |
|
|
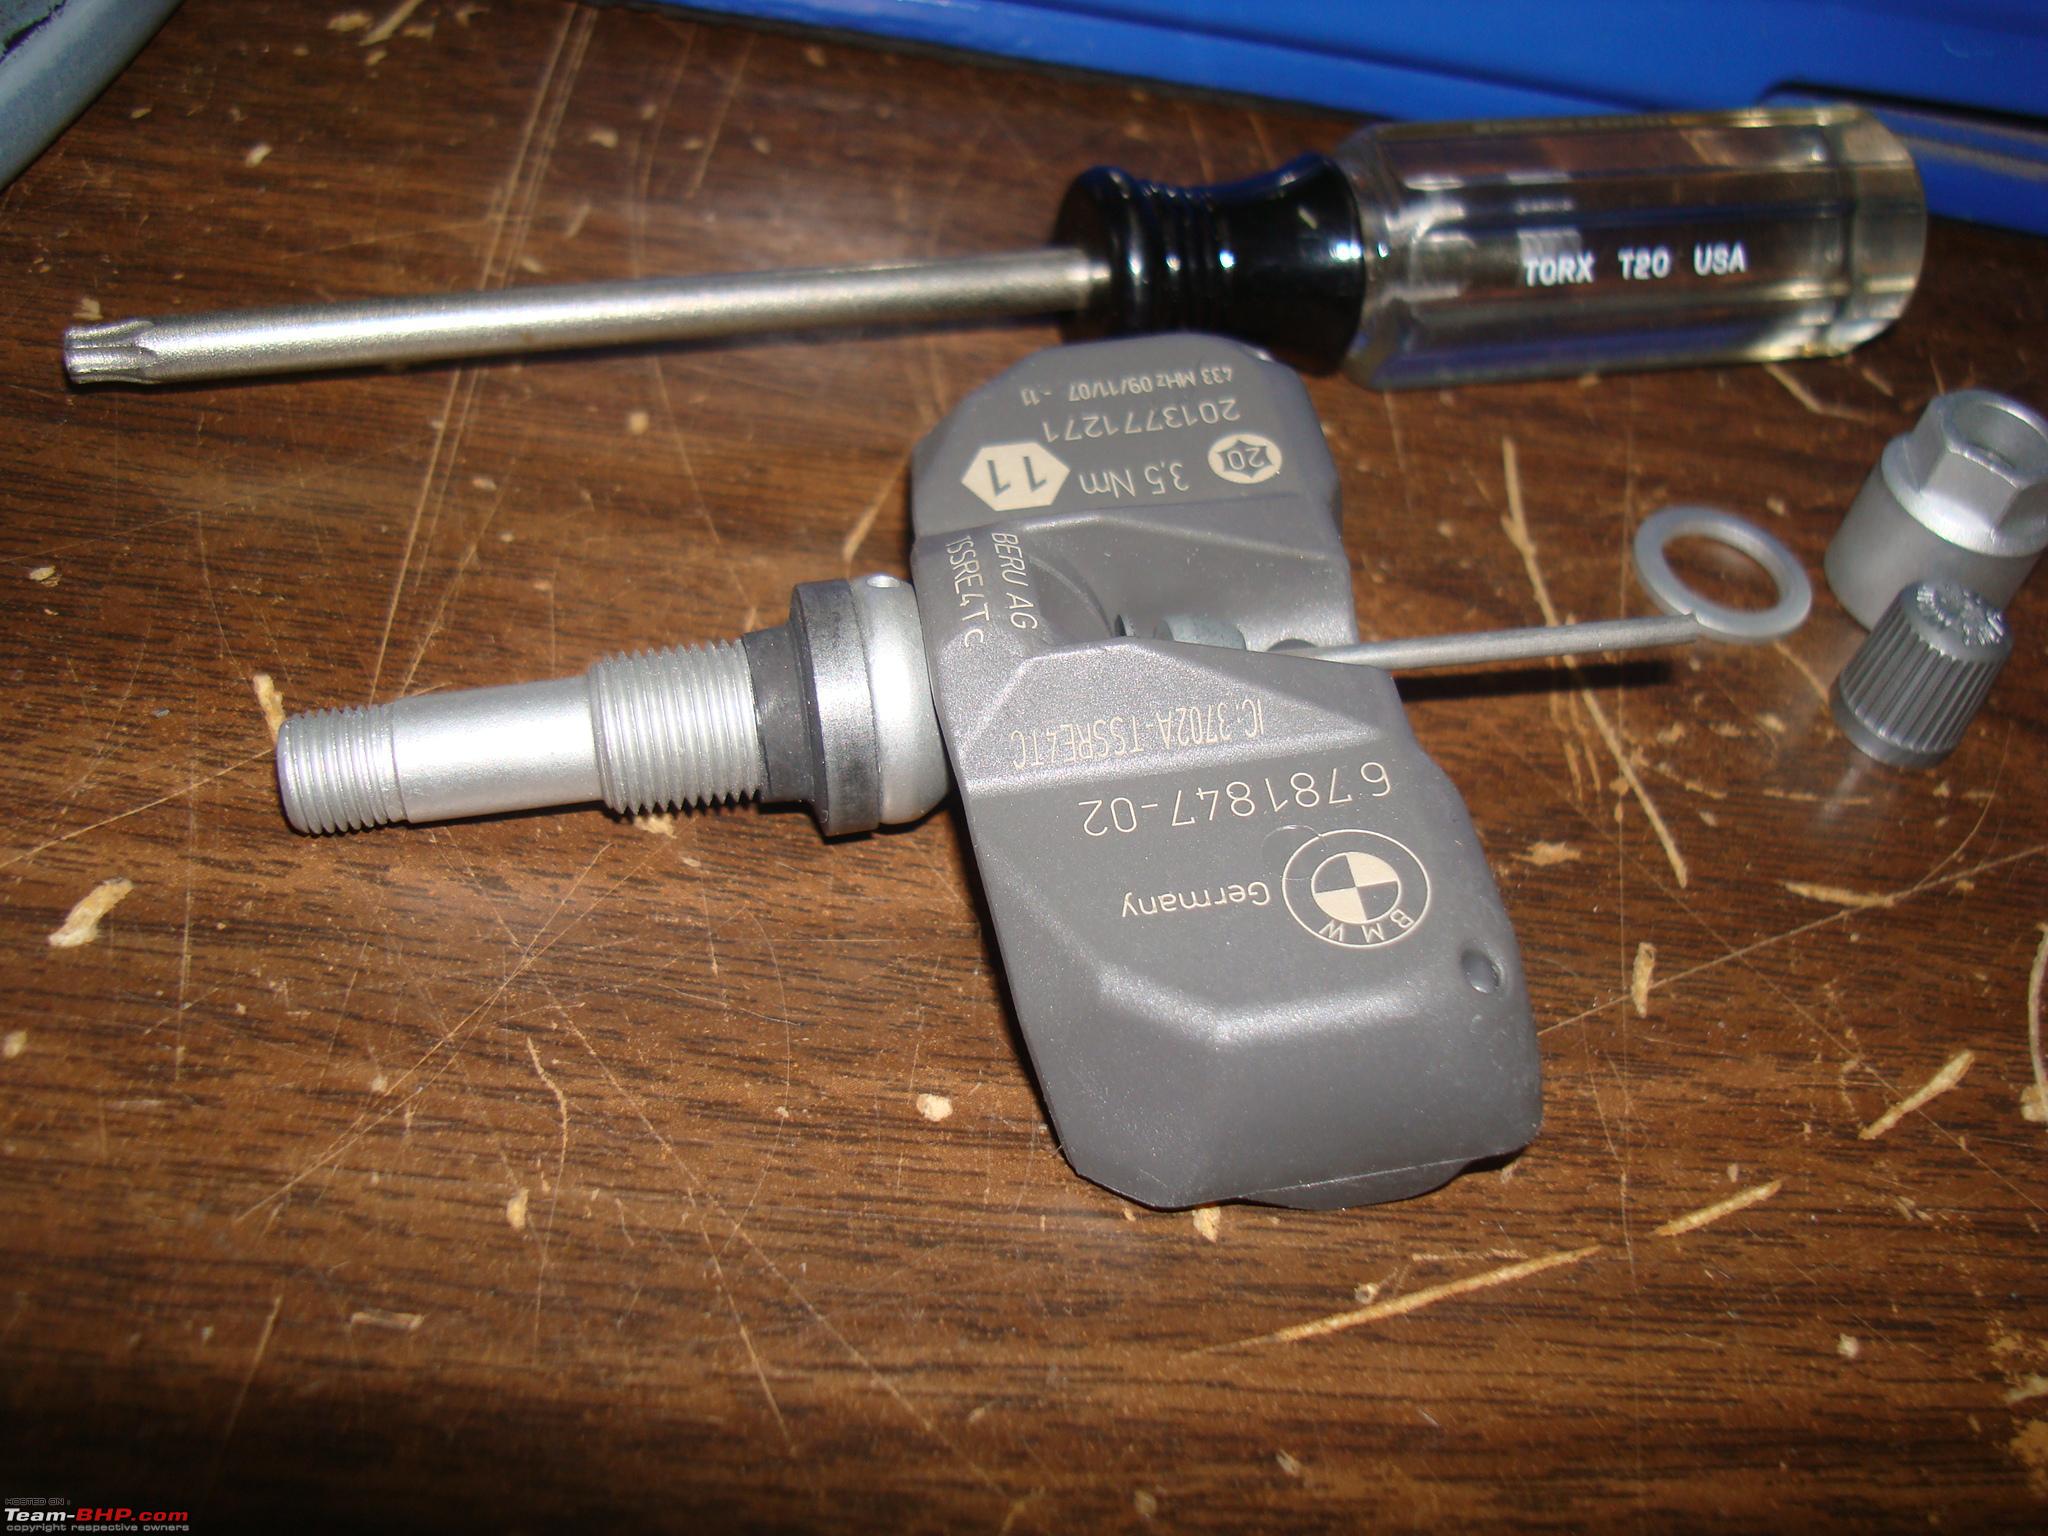
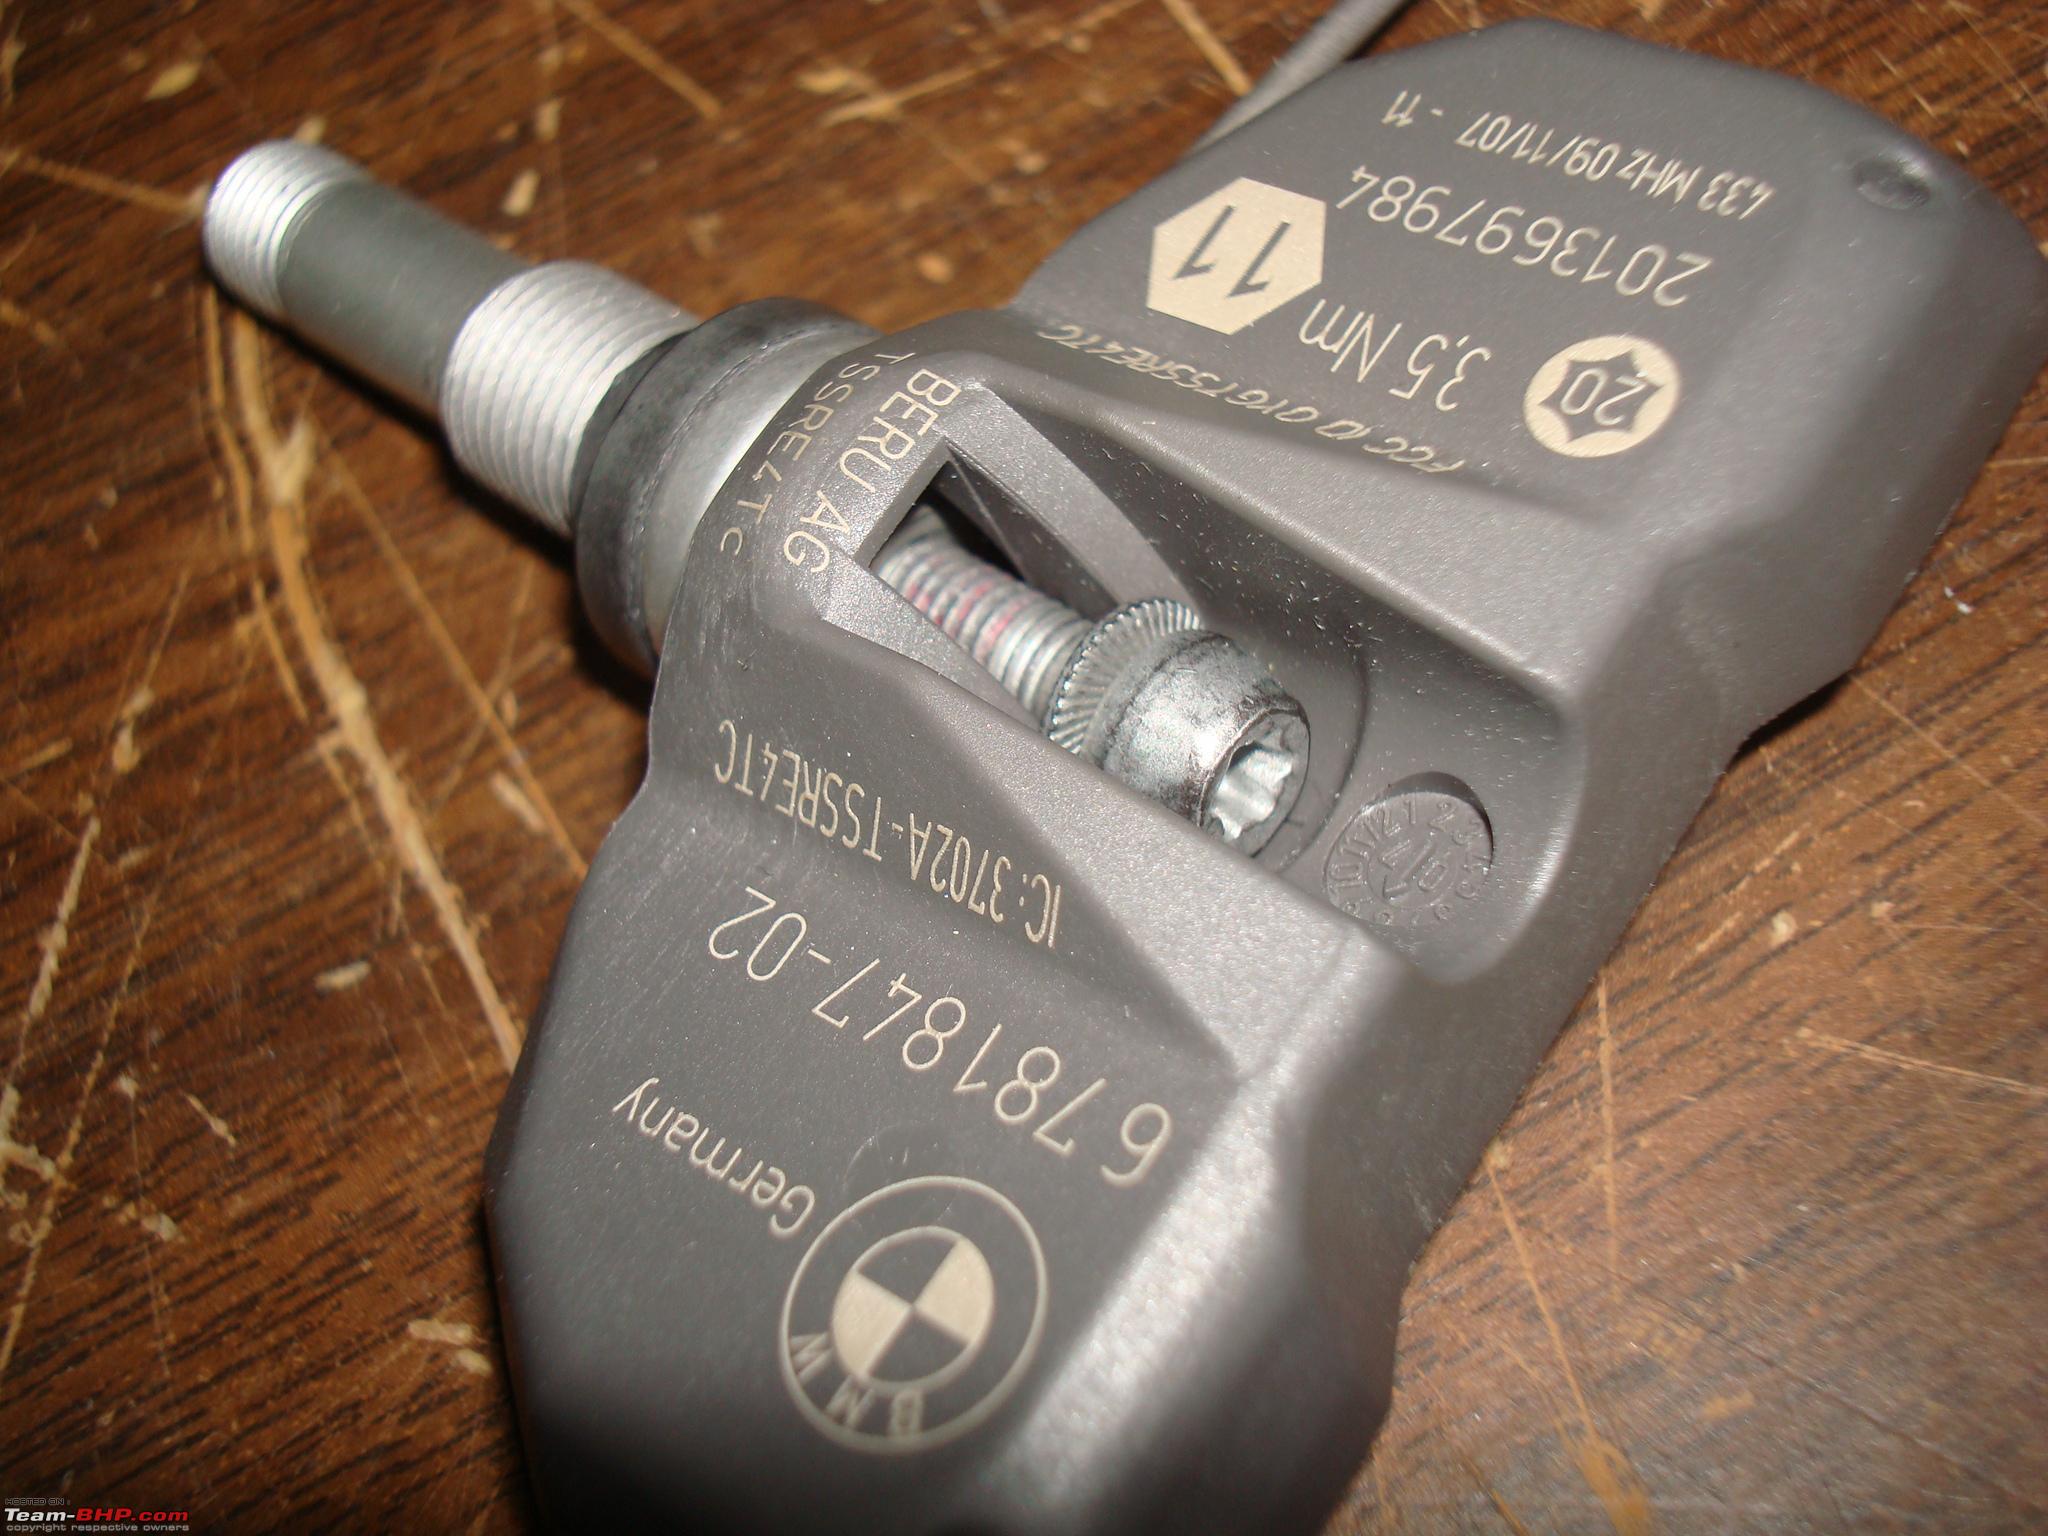
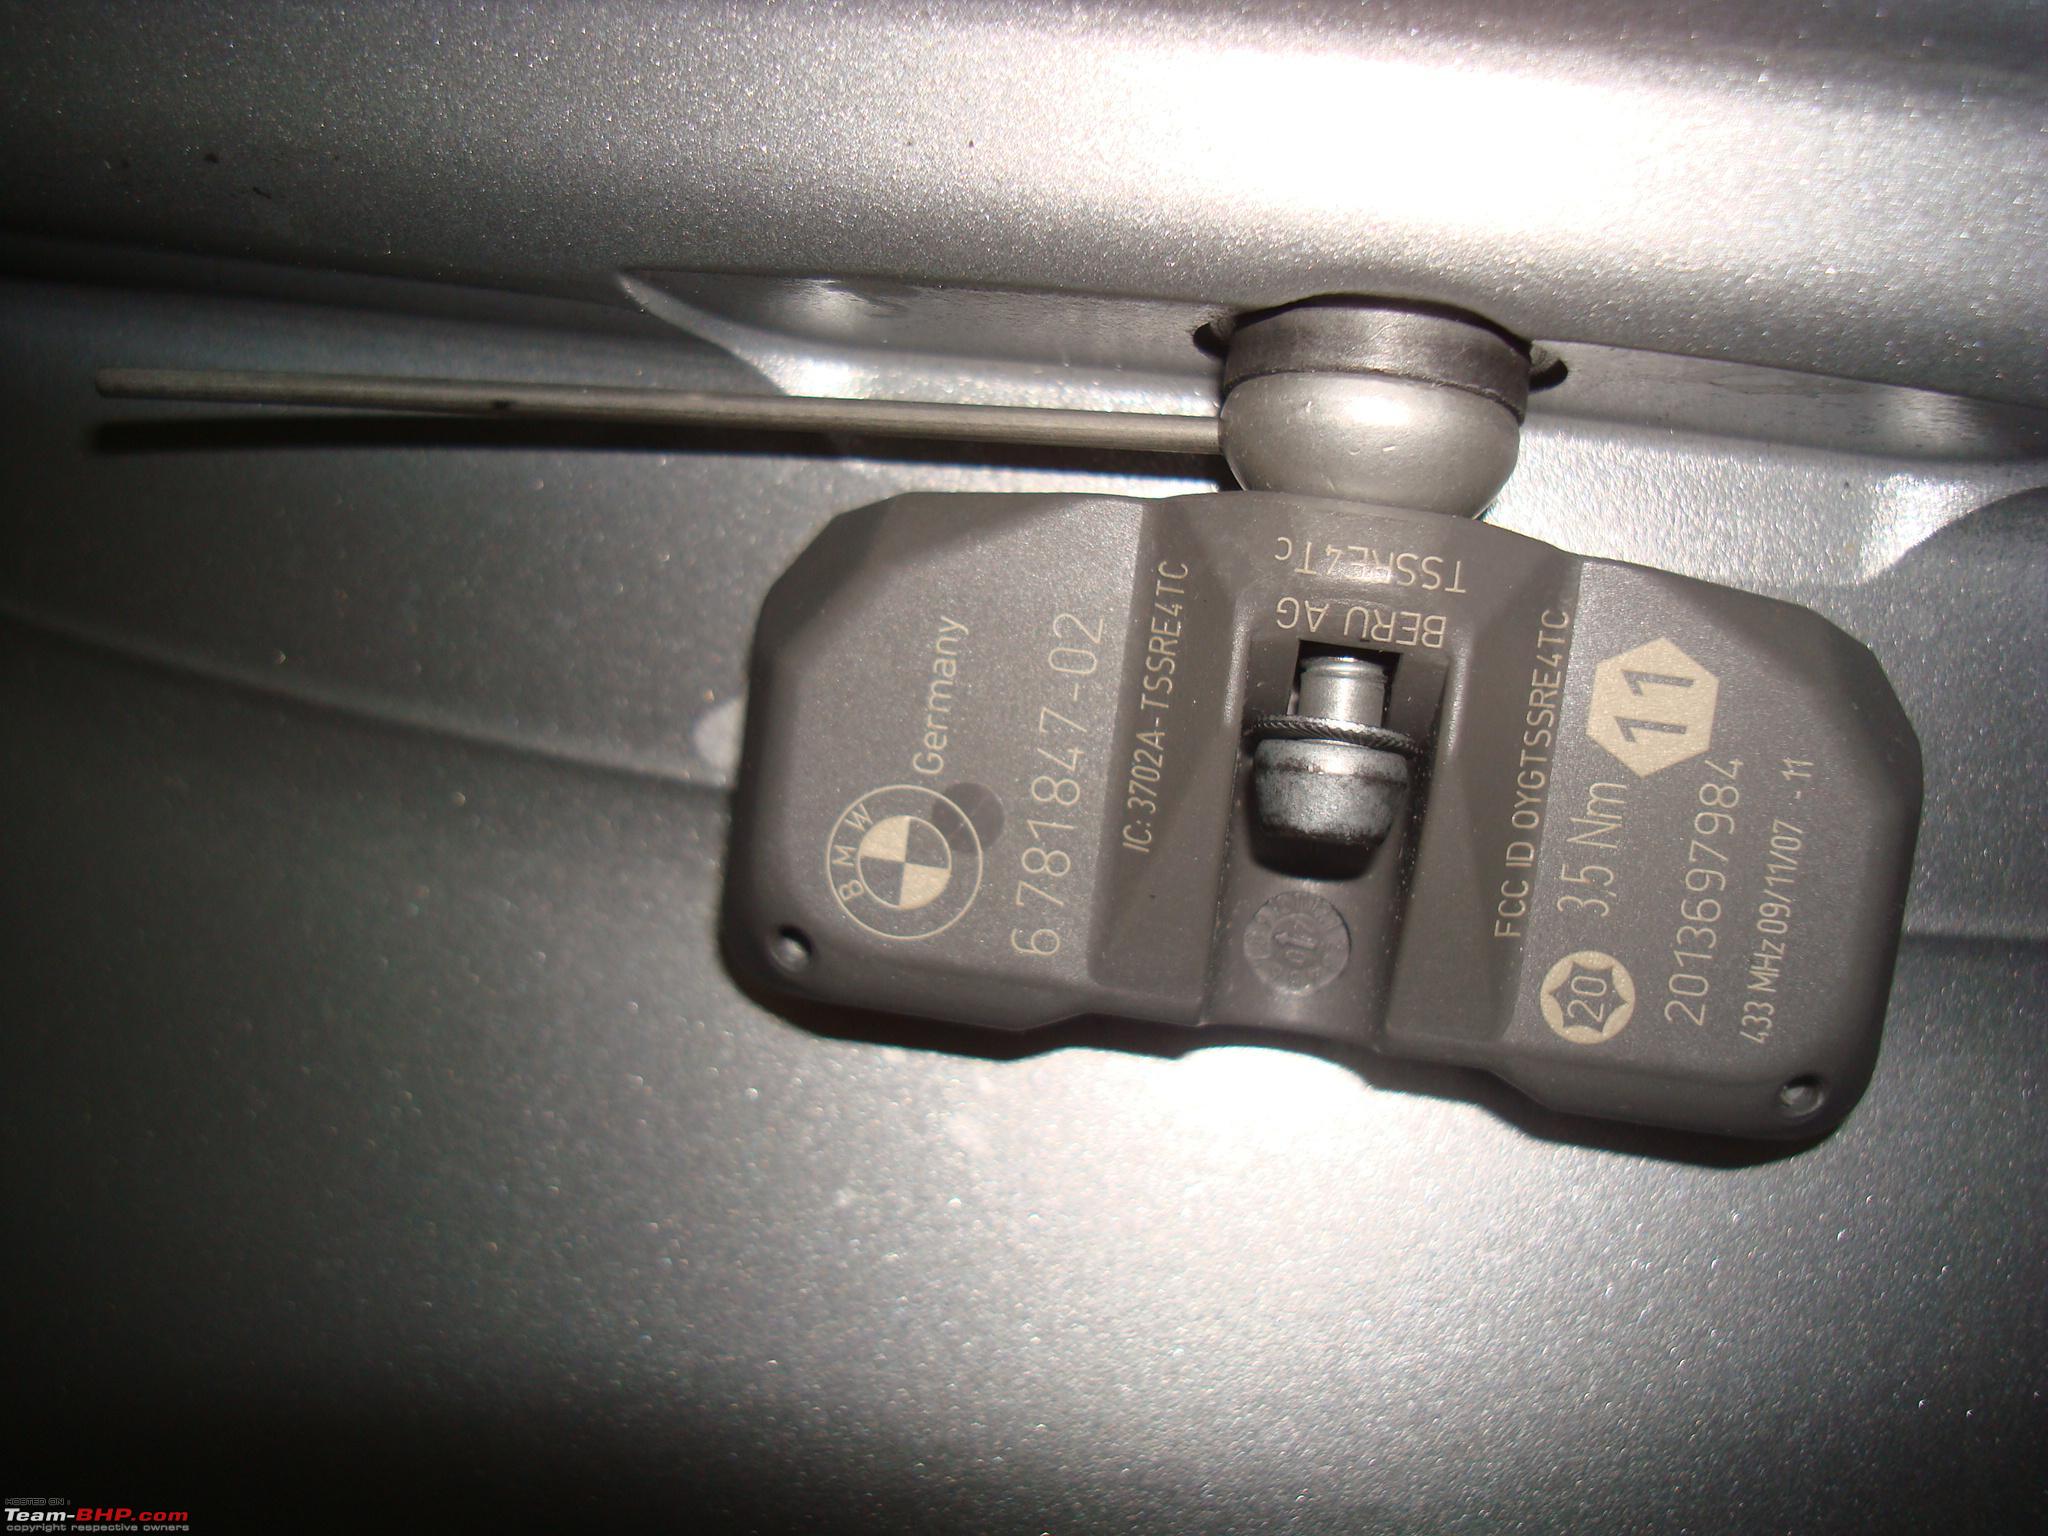
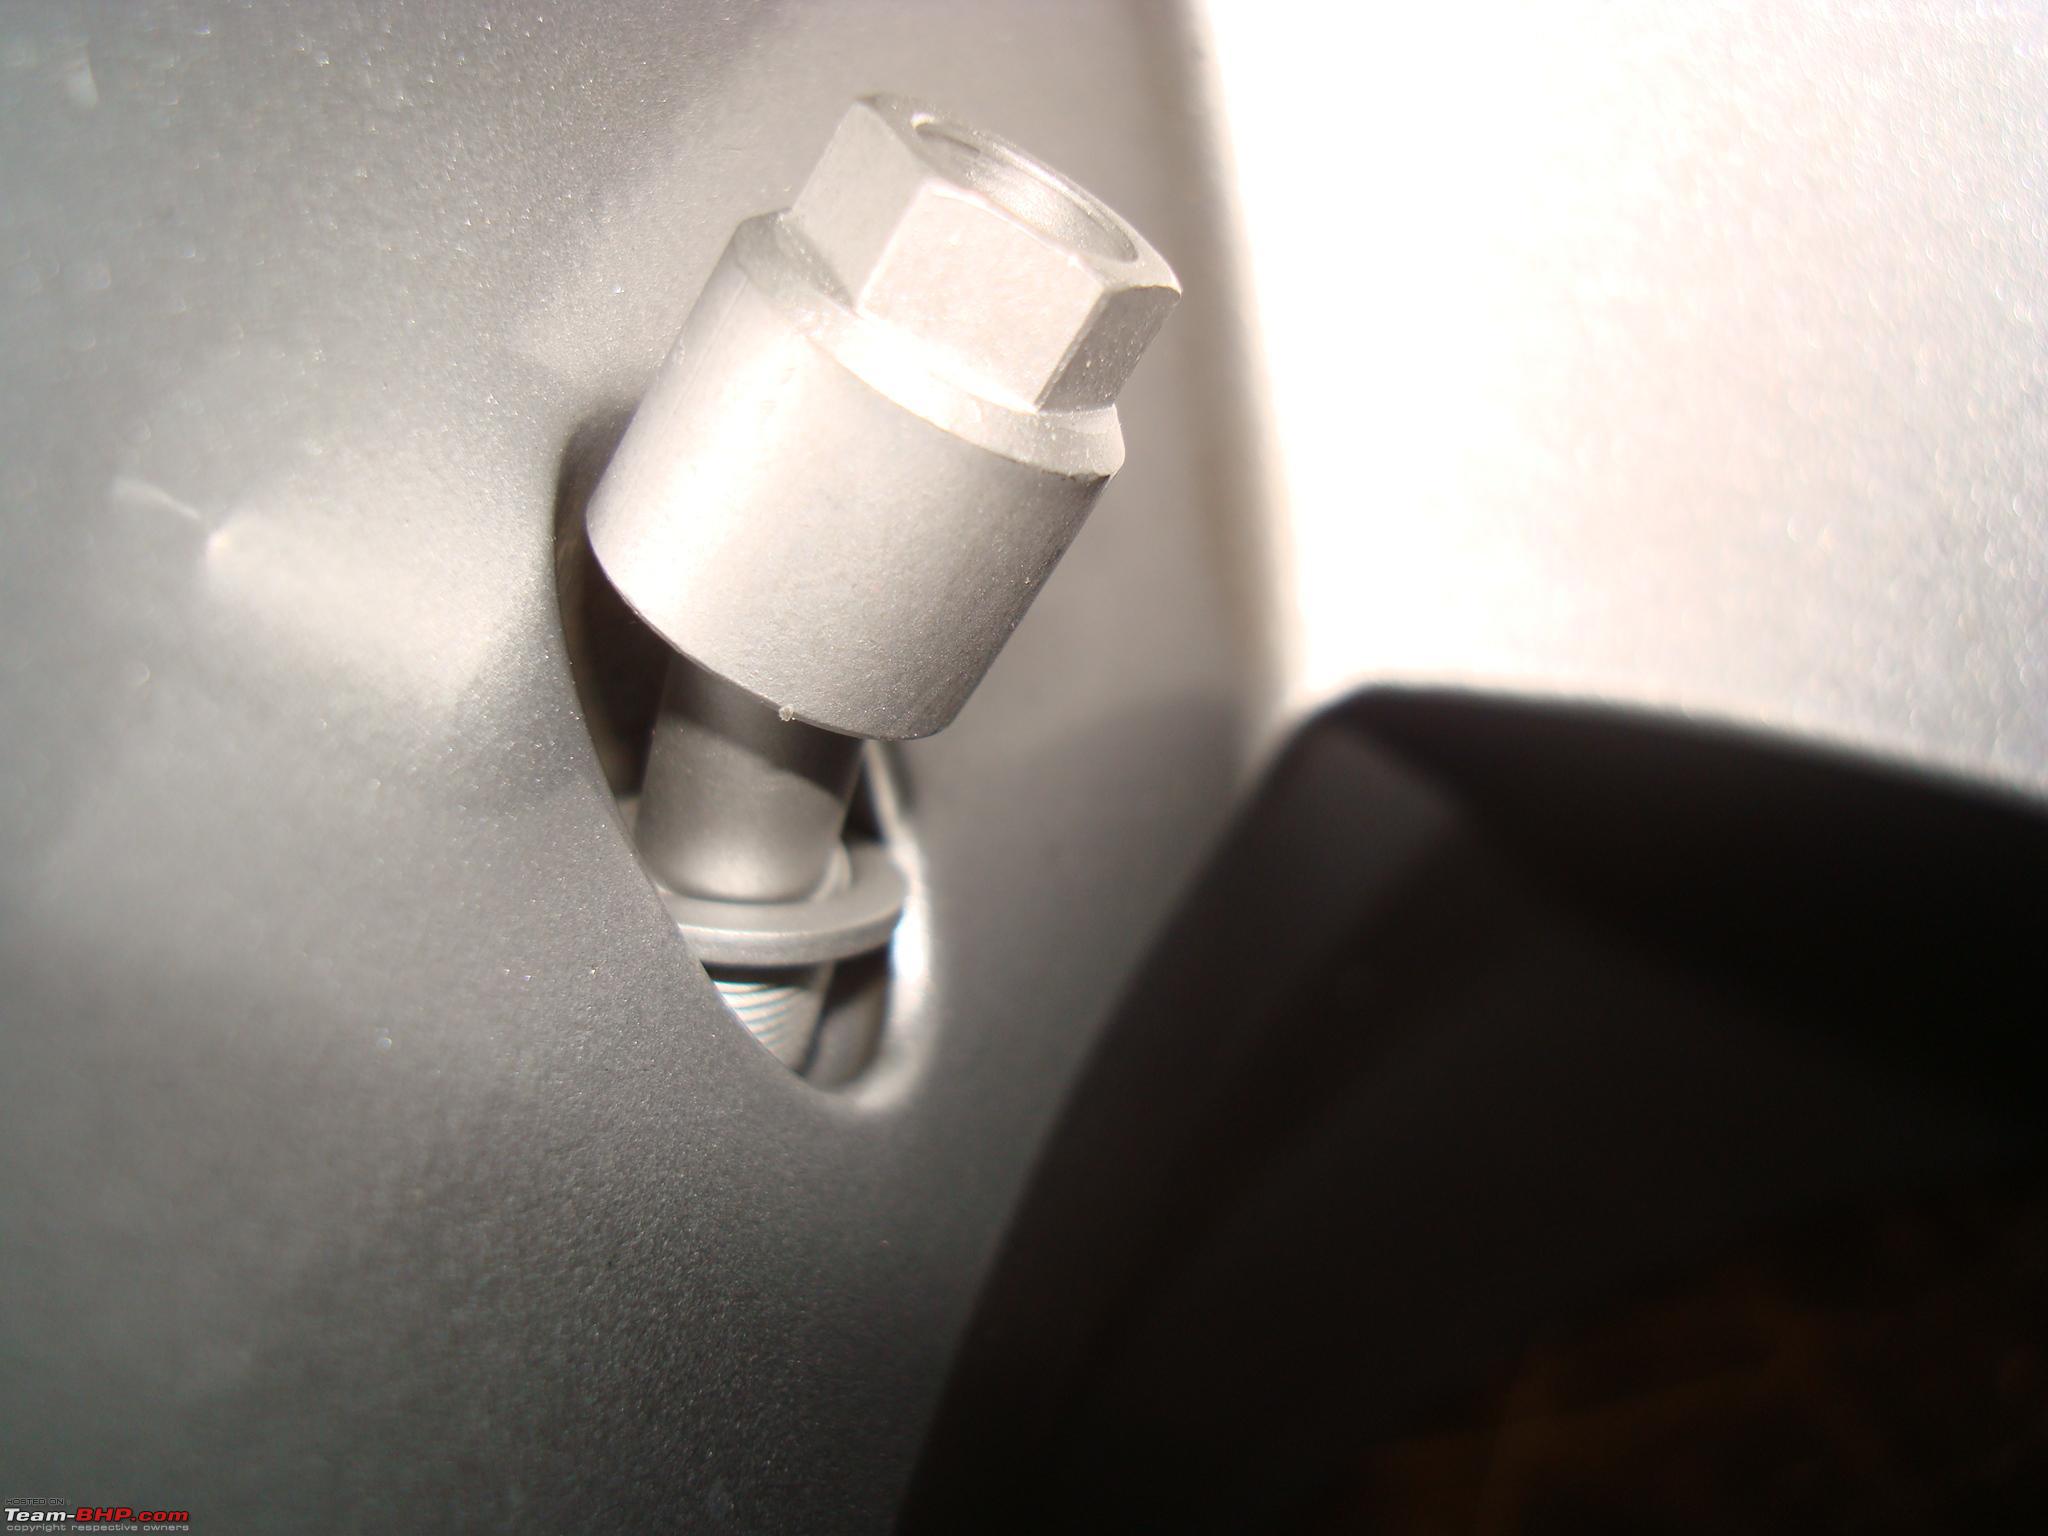
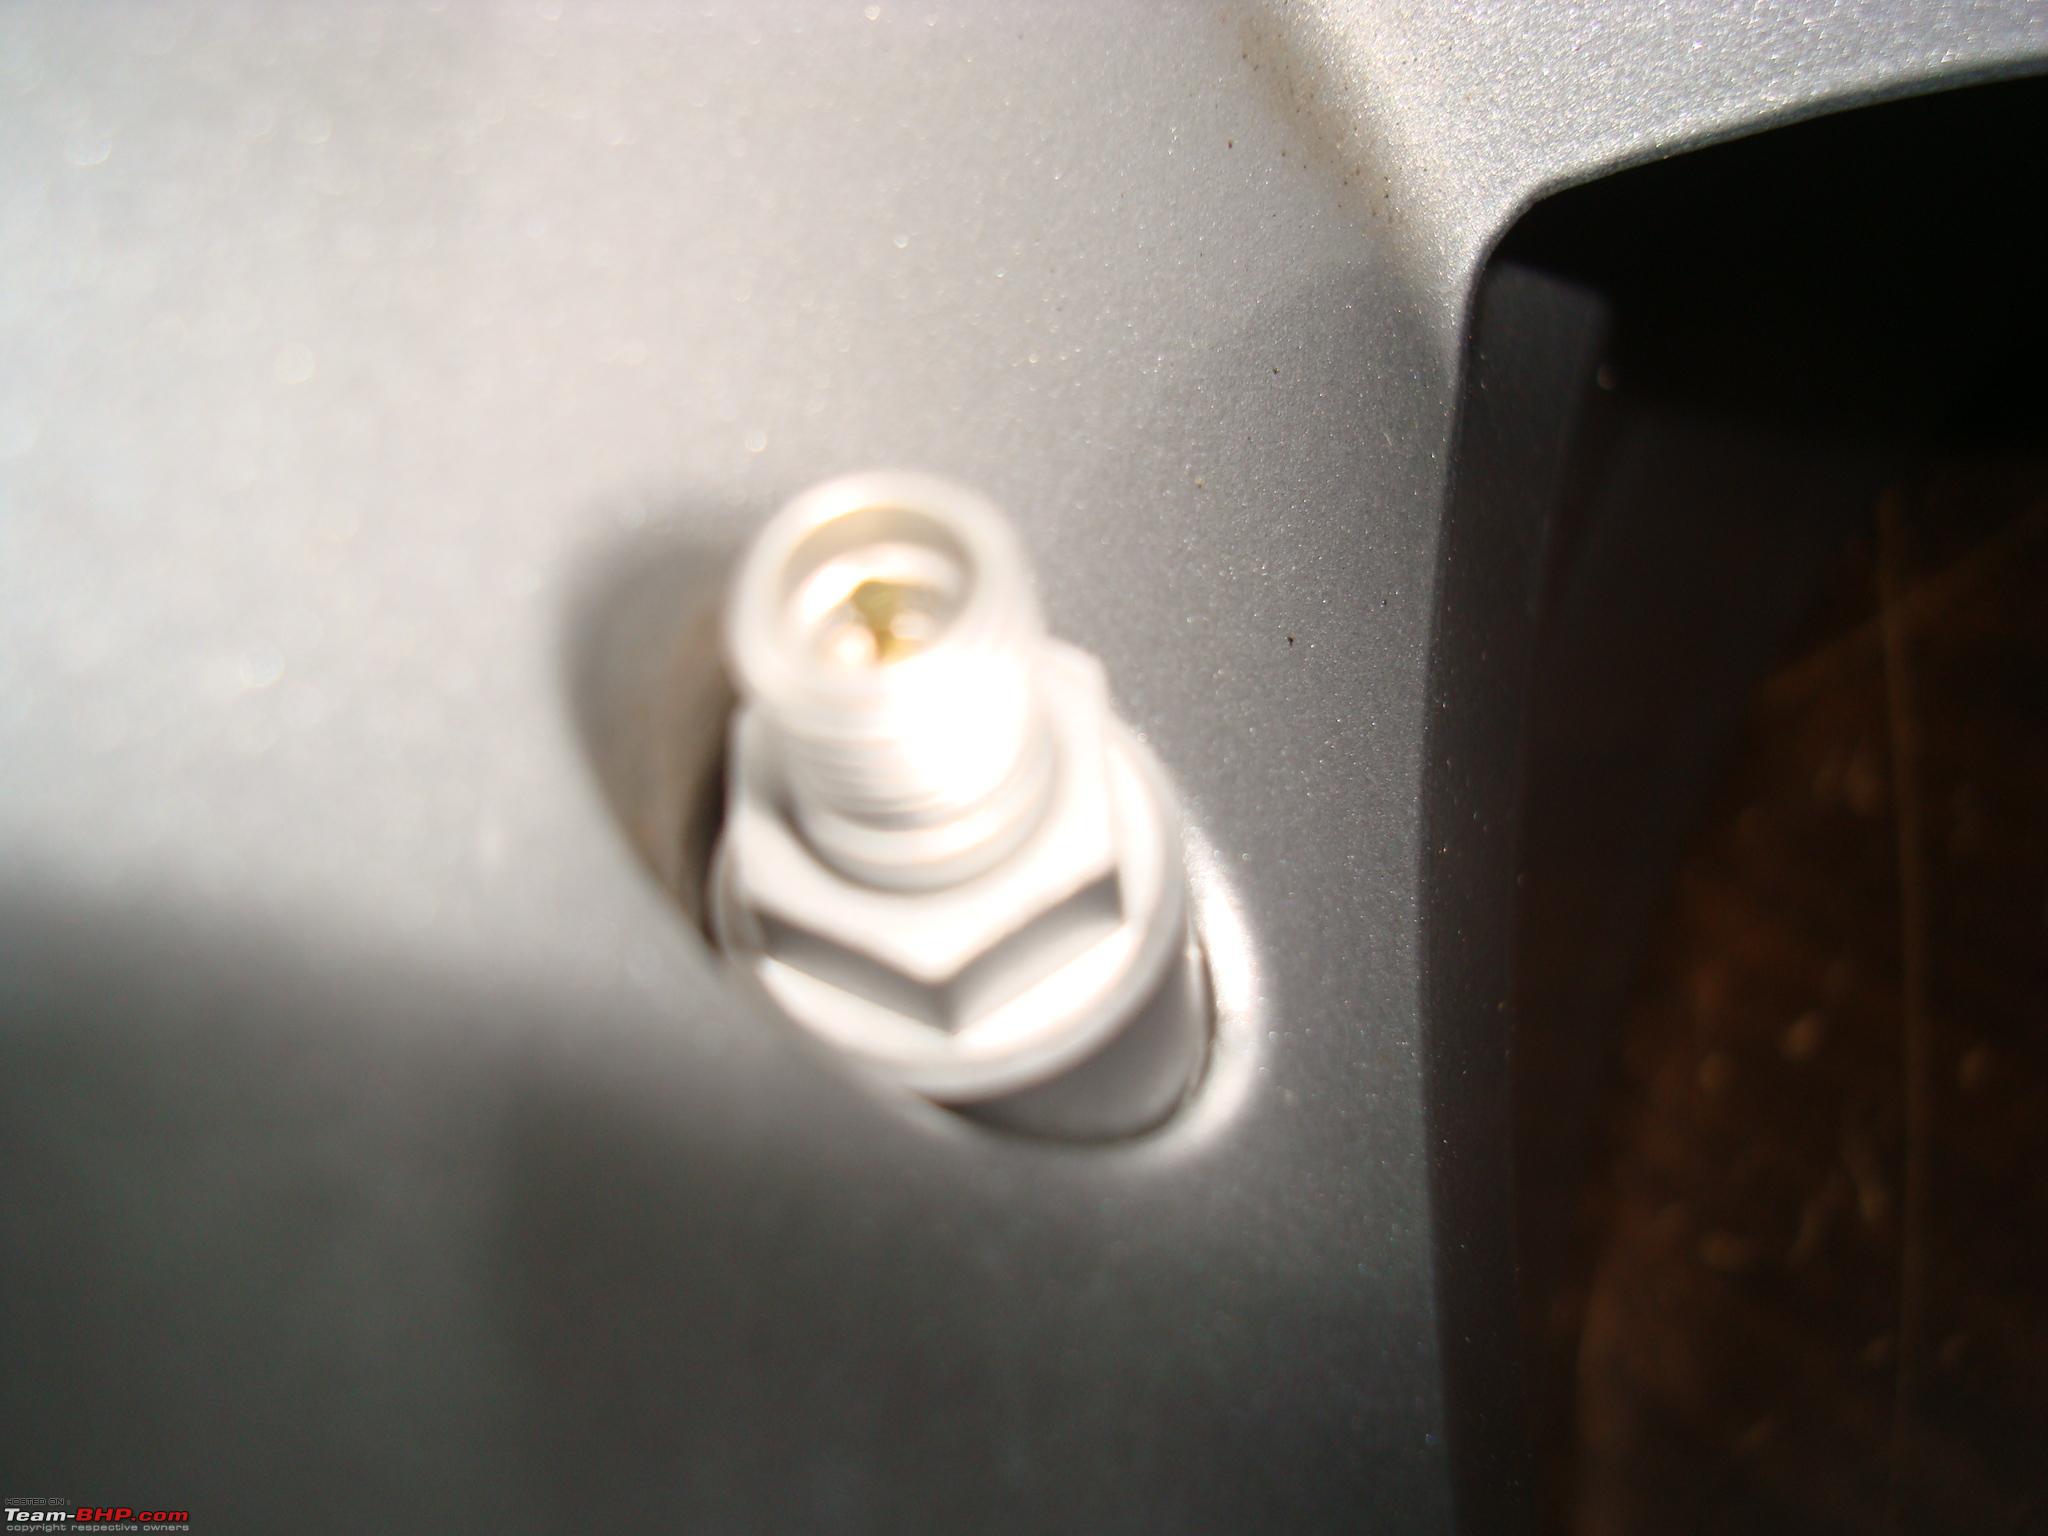
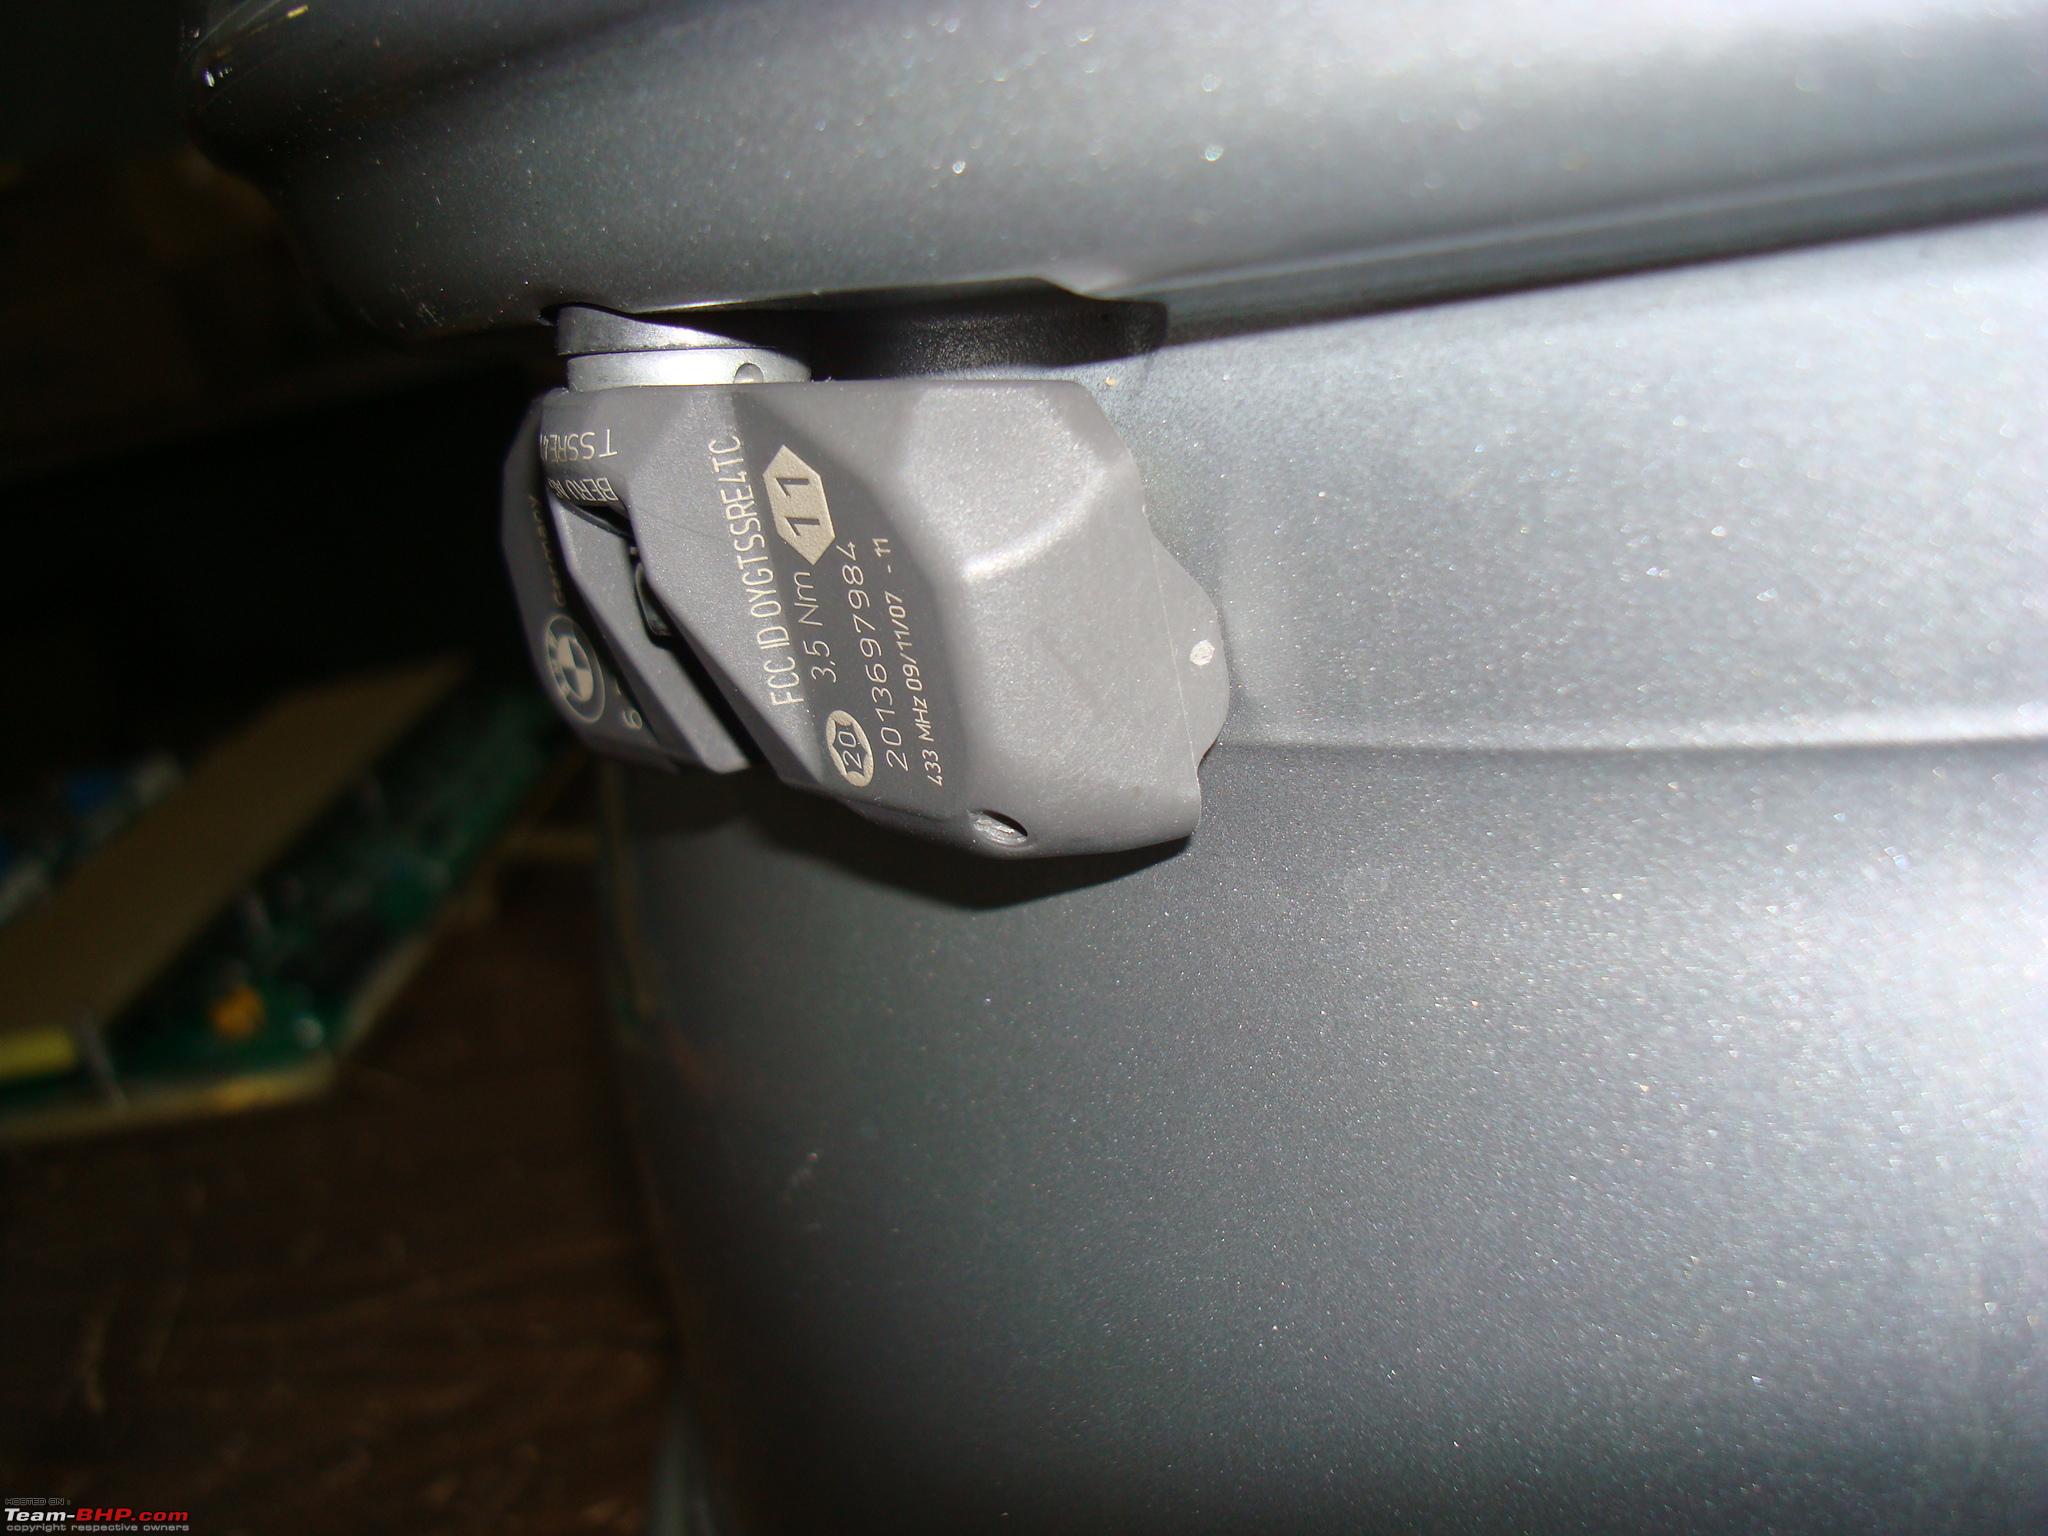
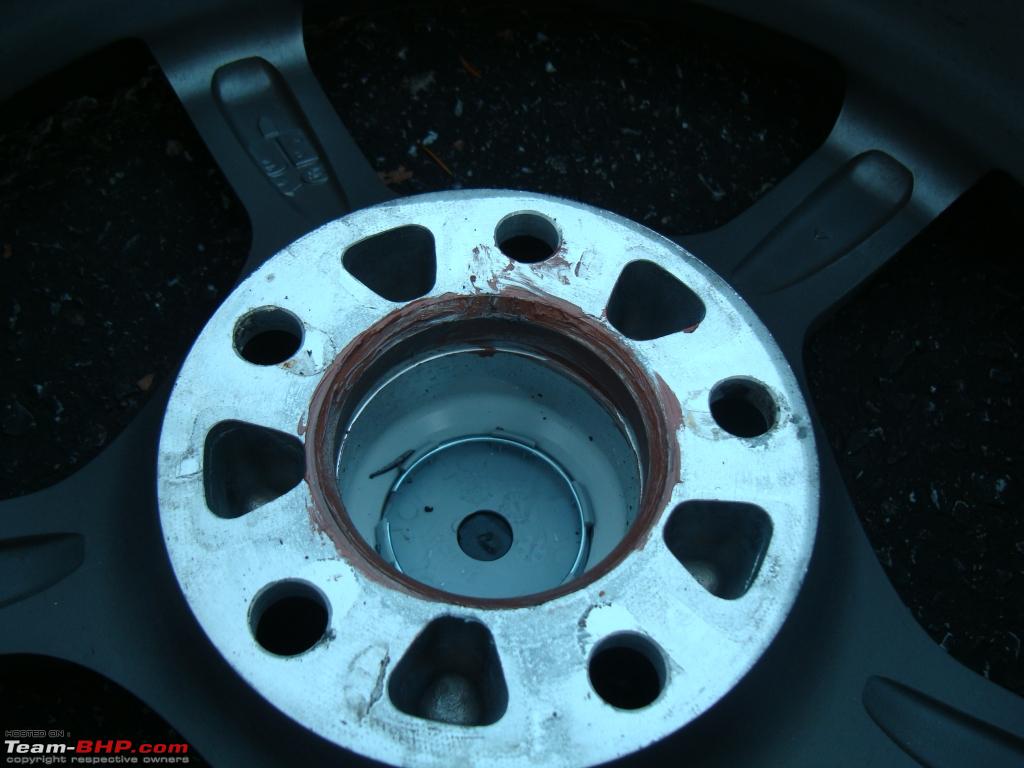
 ) saw that I hadn't mentioned torque values for the TPMS collar nuts and screws.


|
2nd December 2011, 08:06
| #10 |
| Team-BHP Support | |
|
| (1)
Thanks
|


|
2nd December 2011, 11:19
| #11 |
| Senior - BHPian Join Date: Sep 2006 Location: Bong-land
Posts: 2,323
Thanked: 426 Times
| |
|
| (1)
Thanks
|
| |
|
2nd December 2011, 17:33
| #12 |
| Distinguished - BHPian Join Date: May 2007 Location: bangalore
Posts: 3,255
Thanked: 25,289 Times
| |
|
| (1)
Thanks
|
|
3rd December 2011, 06:43
| #13 |
| Team-BHP Support | |
|
|

 |
Most Viewed