When you have a free day at home, and something pings you, with "tingg" sound really hard. Well, it was a coolant replacement day today for my little workhorse, the humble Hyundai Accent 1.6.
Quick Info
=======
Car: Hyundai Accent GLS 1.6 DOHC
Radiator fluid capacity: 5.3 liters.
Last coolant replacement: 2017
Tools required: Patience and some elbow grease.
Time taken for the procedure: 1 hour approx.
(Most of the time was attributed to the repeat flushing after cooling the engine, without which it would have been an half an hour job)
The last time I replaced the coolant was a year or so back. Though there wasn't any increase in temperature nor anything unduly, the one thing I noticed was the coolant in the reservoir turning to mild brown.
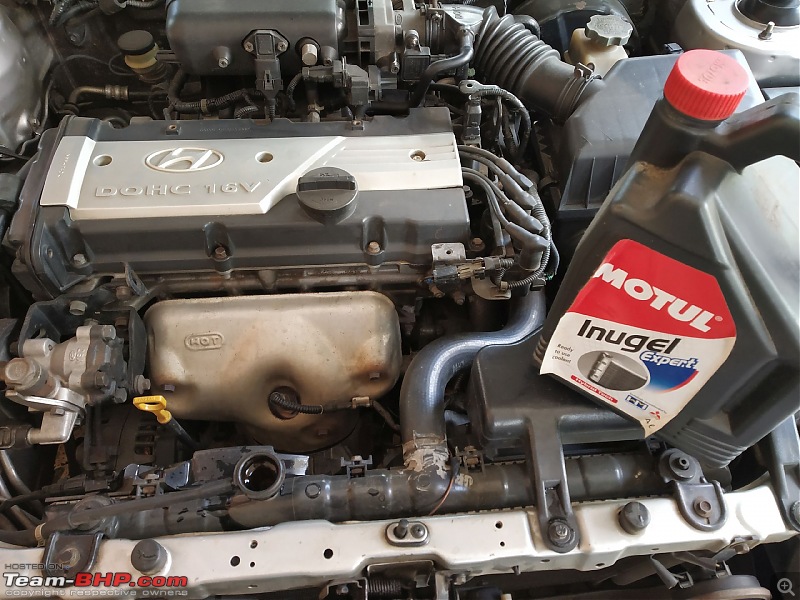
Opening the radiator cap did confirm my doubts, the coolant has lost all its electrolyte properties and was in the color of brownish muddy. I had four liters of Motul Inugel Expert Hybrid 4 liter can left with me, and there I went.
I wasn't able to click much pictures, but I will try to keep it as short as possible with the pictures I was able to click to let readers know that it's a very easy process to replace the coolant, provided I didn't use the jack.
==============================================
Step 1
Find where the radiator drain bolt/plug is located in your car. In my case, it was to the right of the radiator, underneath. Since, I replace my brake pads, struts, replace the engine oil, nitty-gritty all by myself, I am well adapted to this car's tight spaces.
The Hyundai Accent is one of the easiest cars to work with after the Honda City, in my personal experience. Almost everything is accessible very easily and the space for limb movement under the hood is pretty much easy, at least for the DIY procedures we're dealing with.
Nonetheless, it's an extremely easy going car to work with.
Note: Some car manuals don't provide the location of the coolant drain plug, apart from the usual engine oil drain bolt. If you don't, nothing to worry, there "will" be a drain bolt along the lower rail underneath of your radiator. Takes a little patience to find it out, especially in fancy cars today. But, you will.
Step 2.
Make sure the engine is mildly warm. Actually, it's better to replace the coolant when it's cold. I make sure the engine's a little warm. Warm water acts as a scrubber and the drain force makes sure all the crud comes out of the radiator easily. Nevertheless, exercise "extreme" caution when touching surfaces that are prone to getting hot easily. You can get scalded and skin worse get burnt in a fraction of second and regret it for the coming weeks to months. 100% discretion advised.
Step 3.
Getting underneath the car. Most would use jacks to lift up the car and then find the drain plug and then loosen, which is the right way to do it, if you're doing it for the first time. In my case, all I needed was an old sack, and peeped in under and removed the plug, all in less than 20 seconds. So, use your judgement, tools, and what not to give you the maximum comfort.
Step 4.
Pictures!
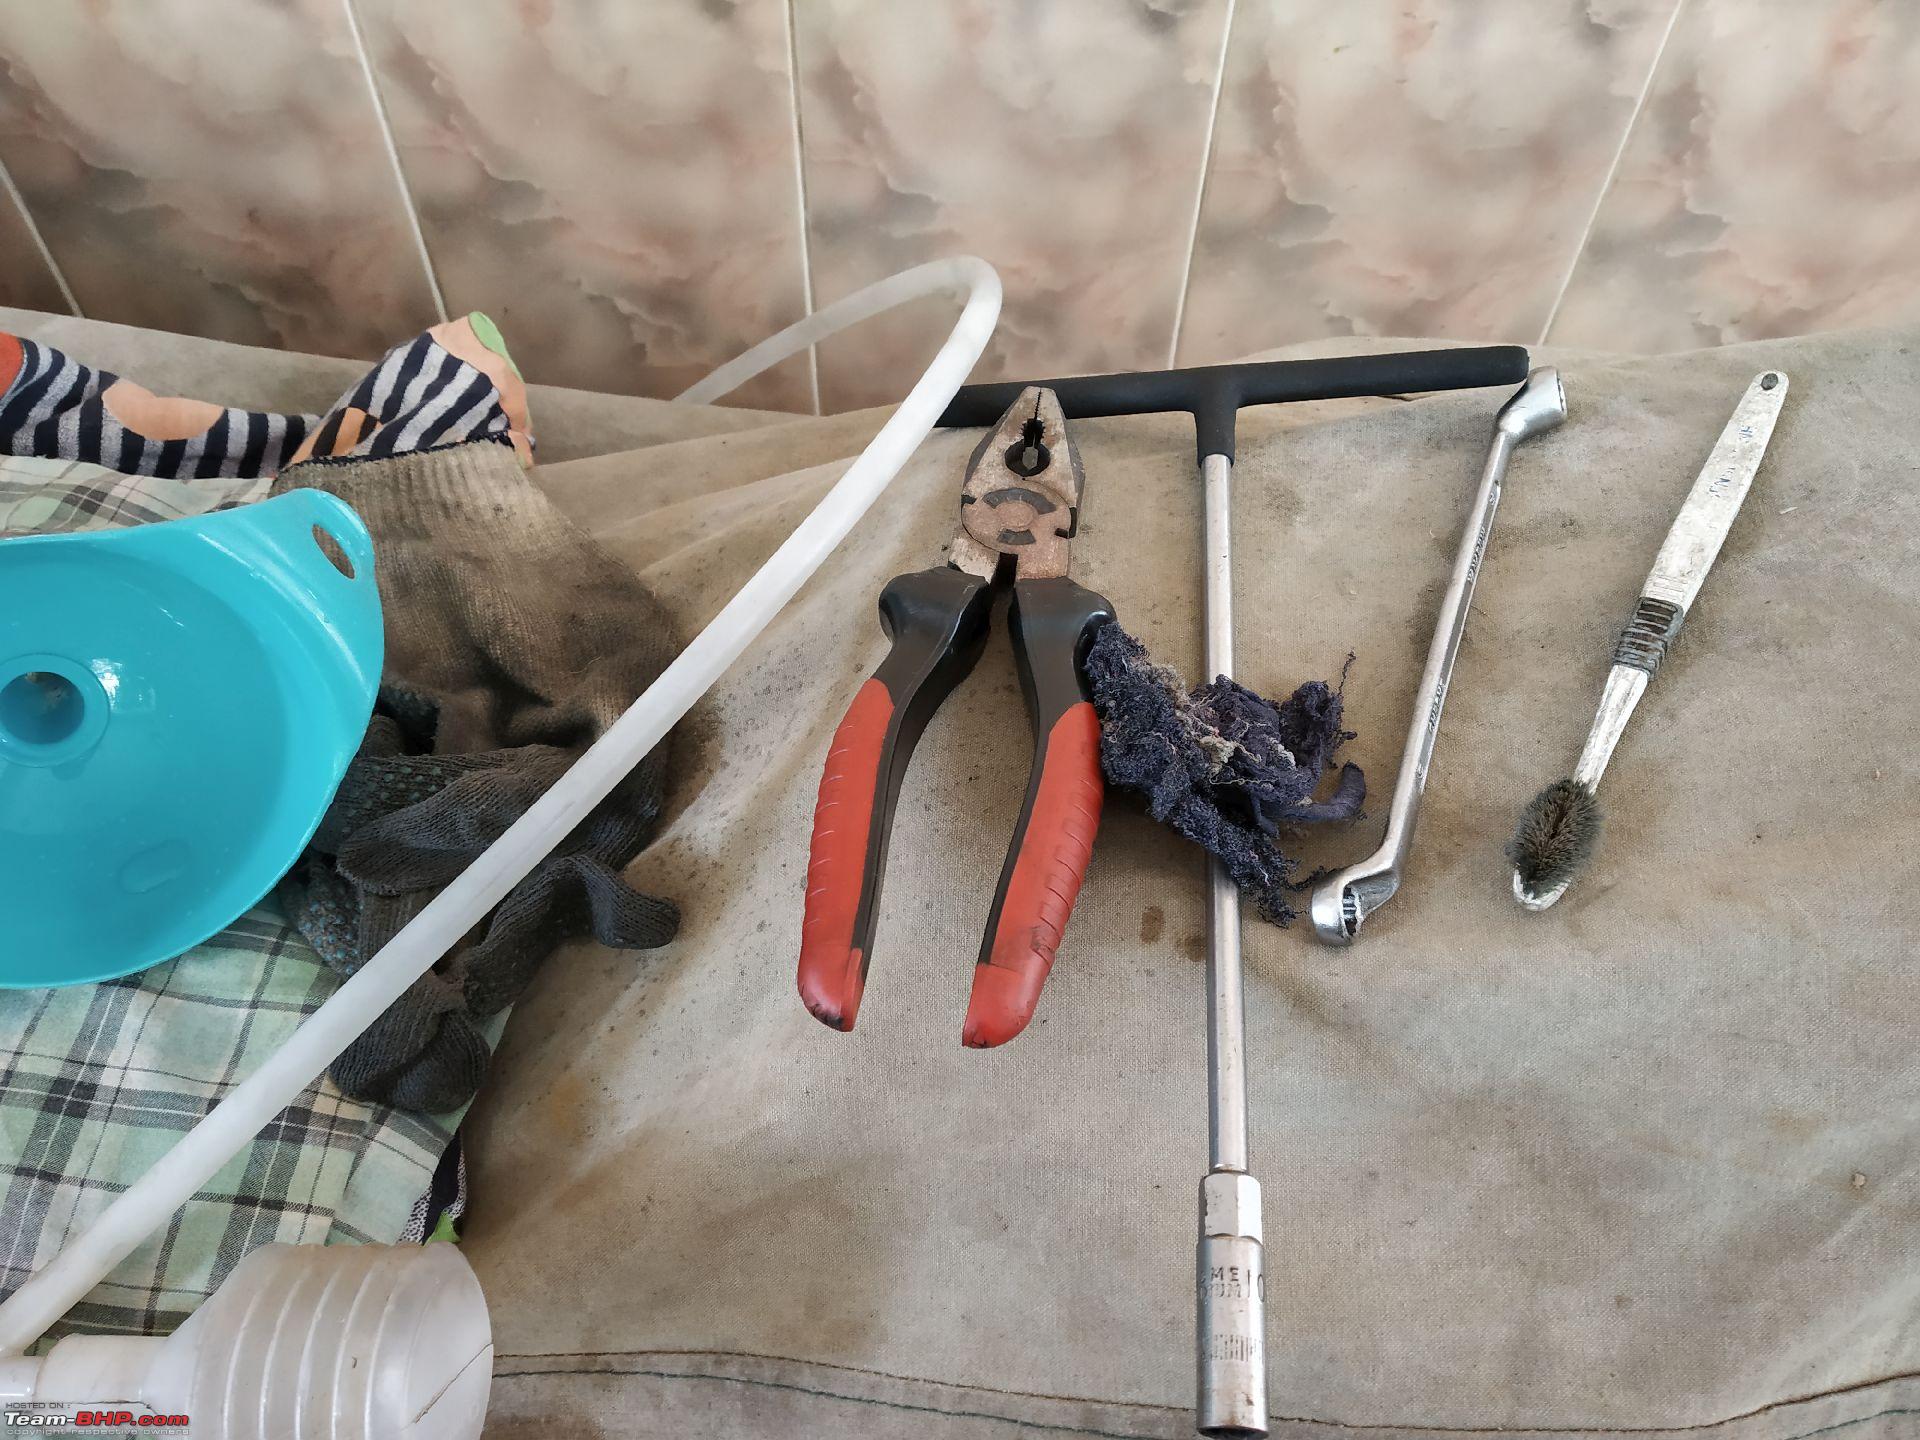
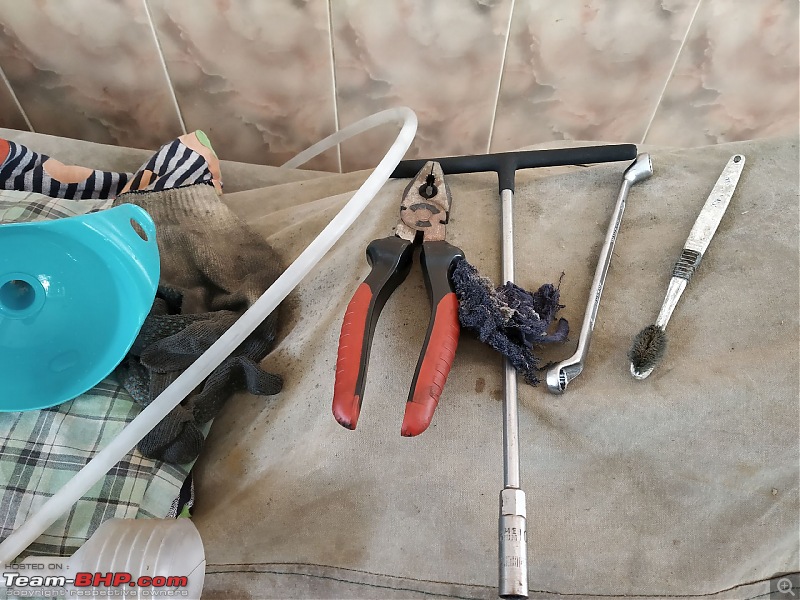
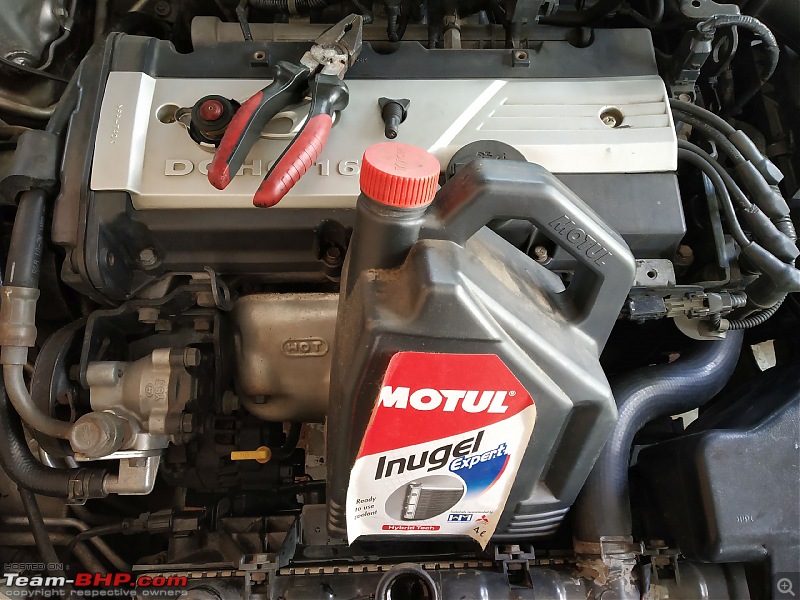
Tools required:
In my case, all it required was well, "nothing". I was able to undo the drain bolt with my hand, albeit with a little struggle as that little thing was super tight in there. I did intend to use the pliers, but didn't want to break the drain plug ears, because you never know. Slid underneath the car and it was a few seconds job.
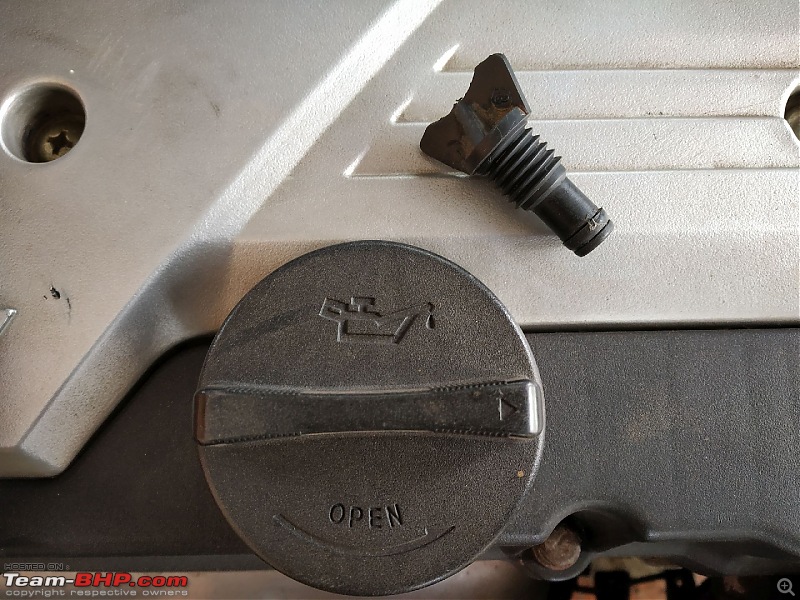
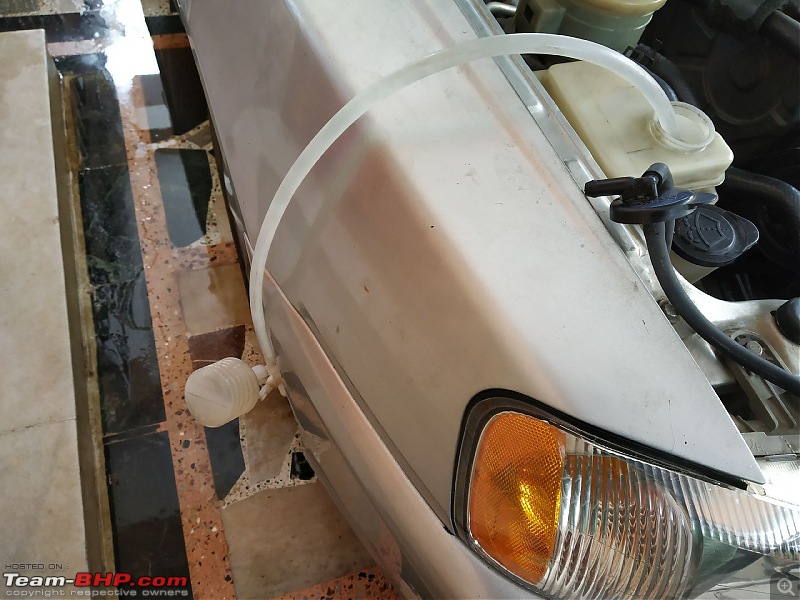
I had a 10 mm T handy to remove the reservoir bolts and a toothbrush to clean the internals of the reservoir, and a siphon hose to remove the coolant from the reservoir before removing the reservoir itself.
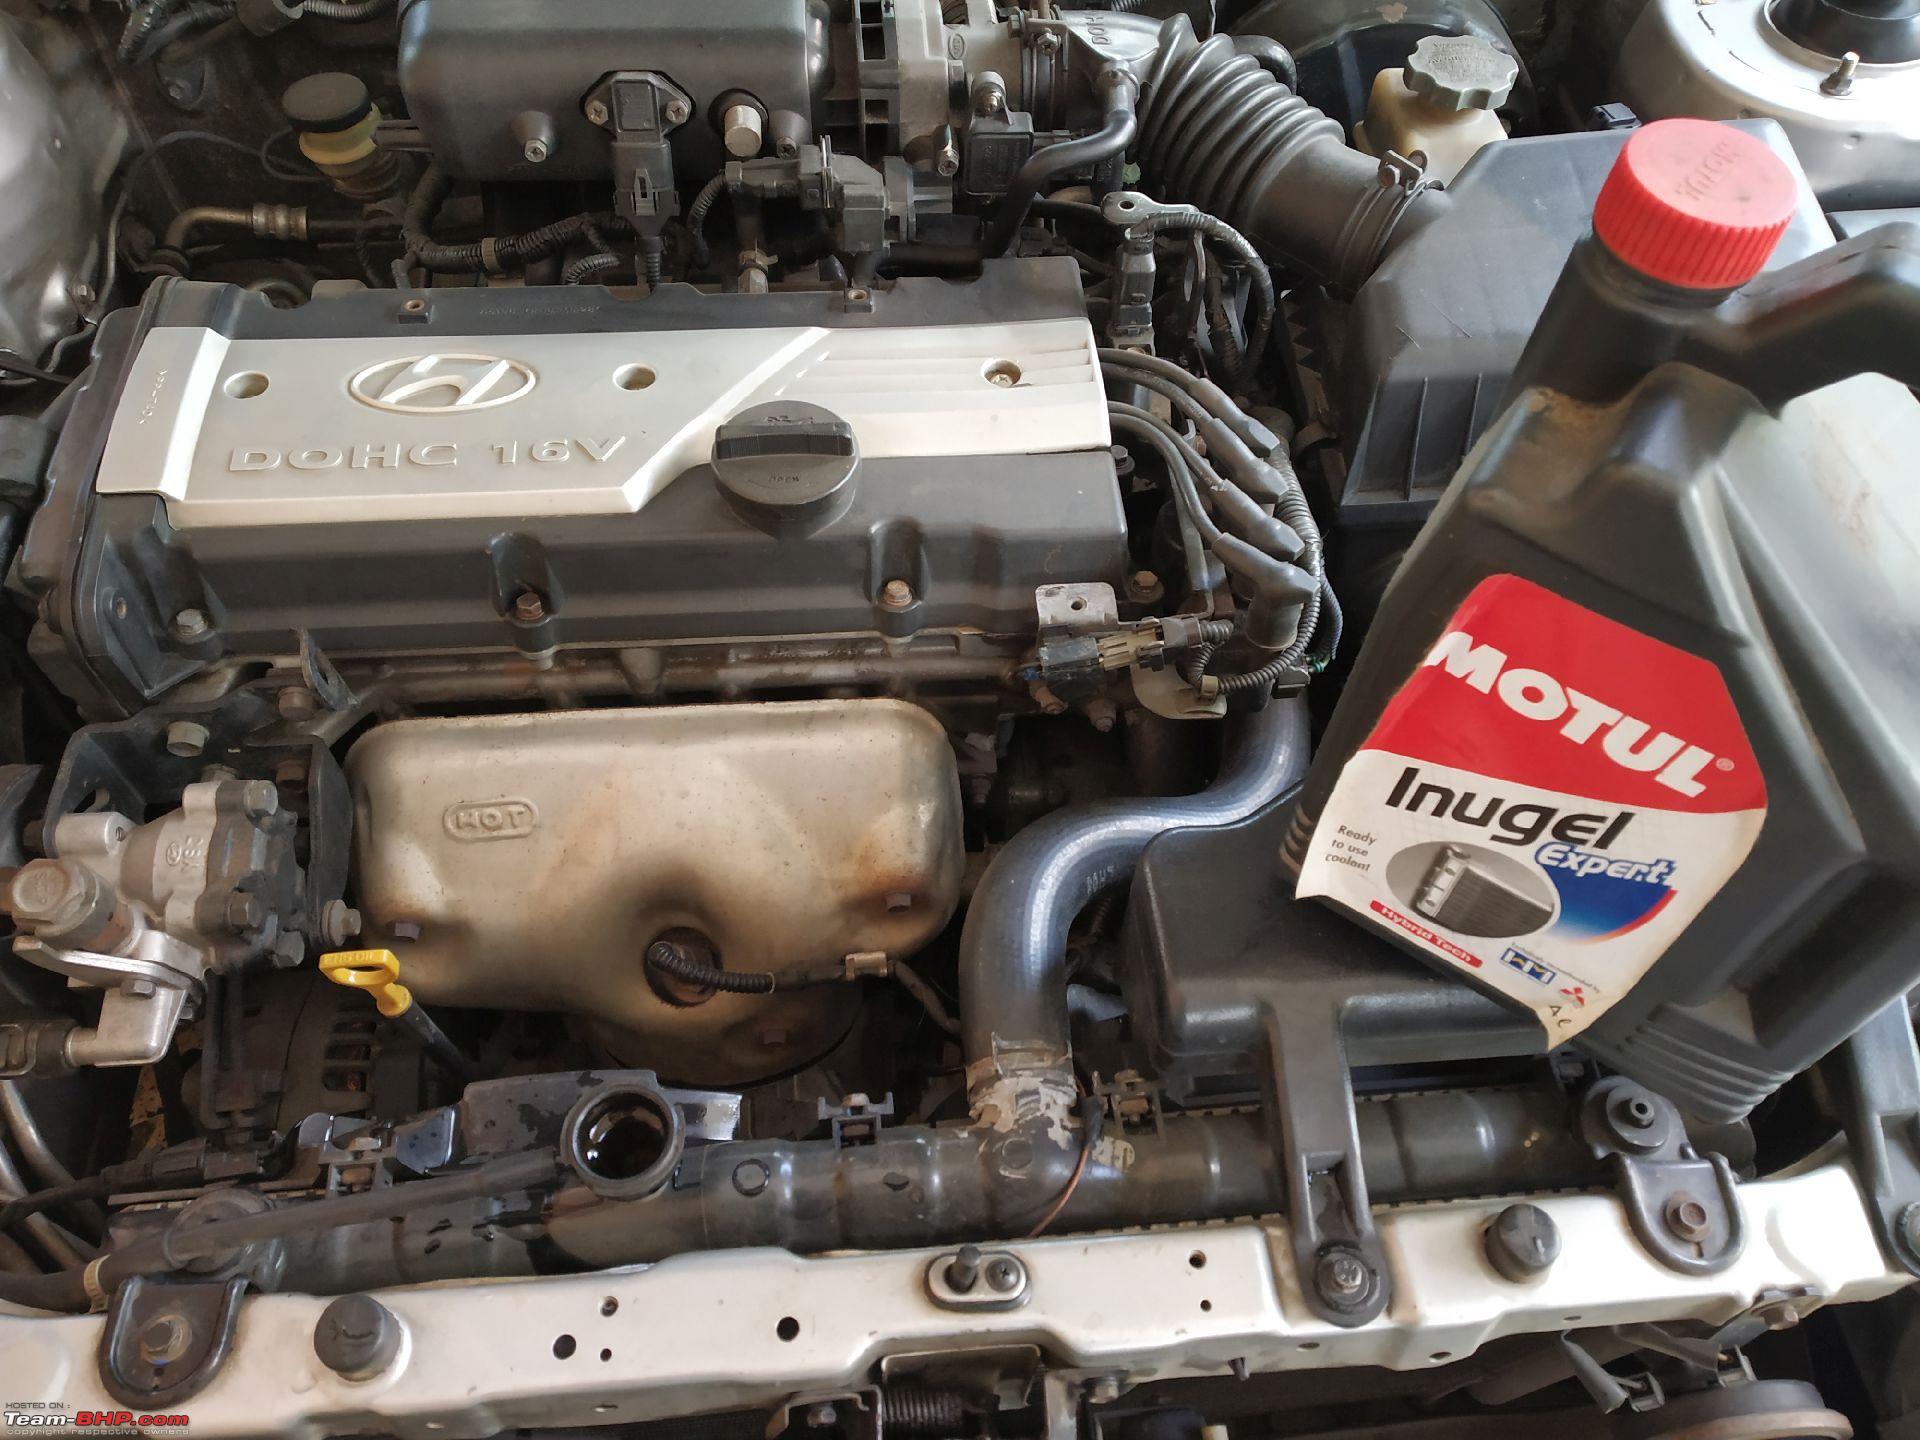
The Motul Inugel Expert - Ready to use Coolant. I prefer ready to use than I mixing them independently. Peace of mind.
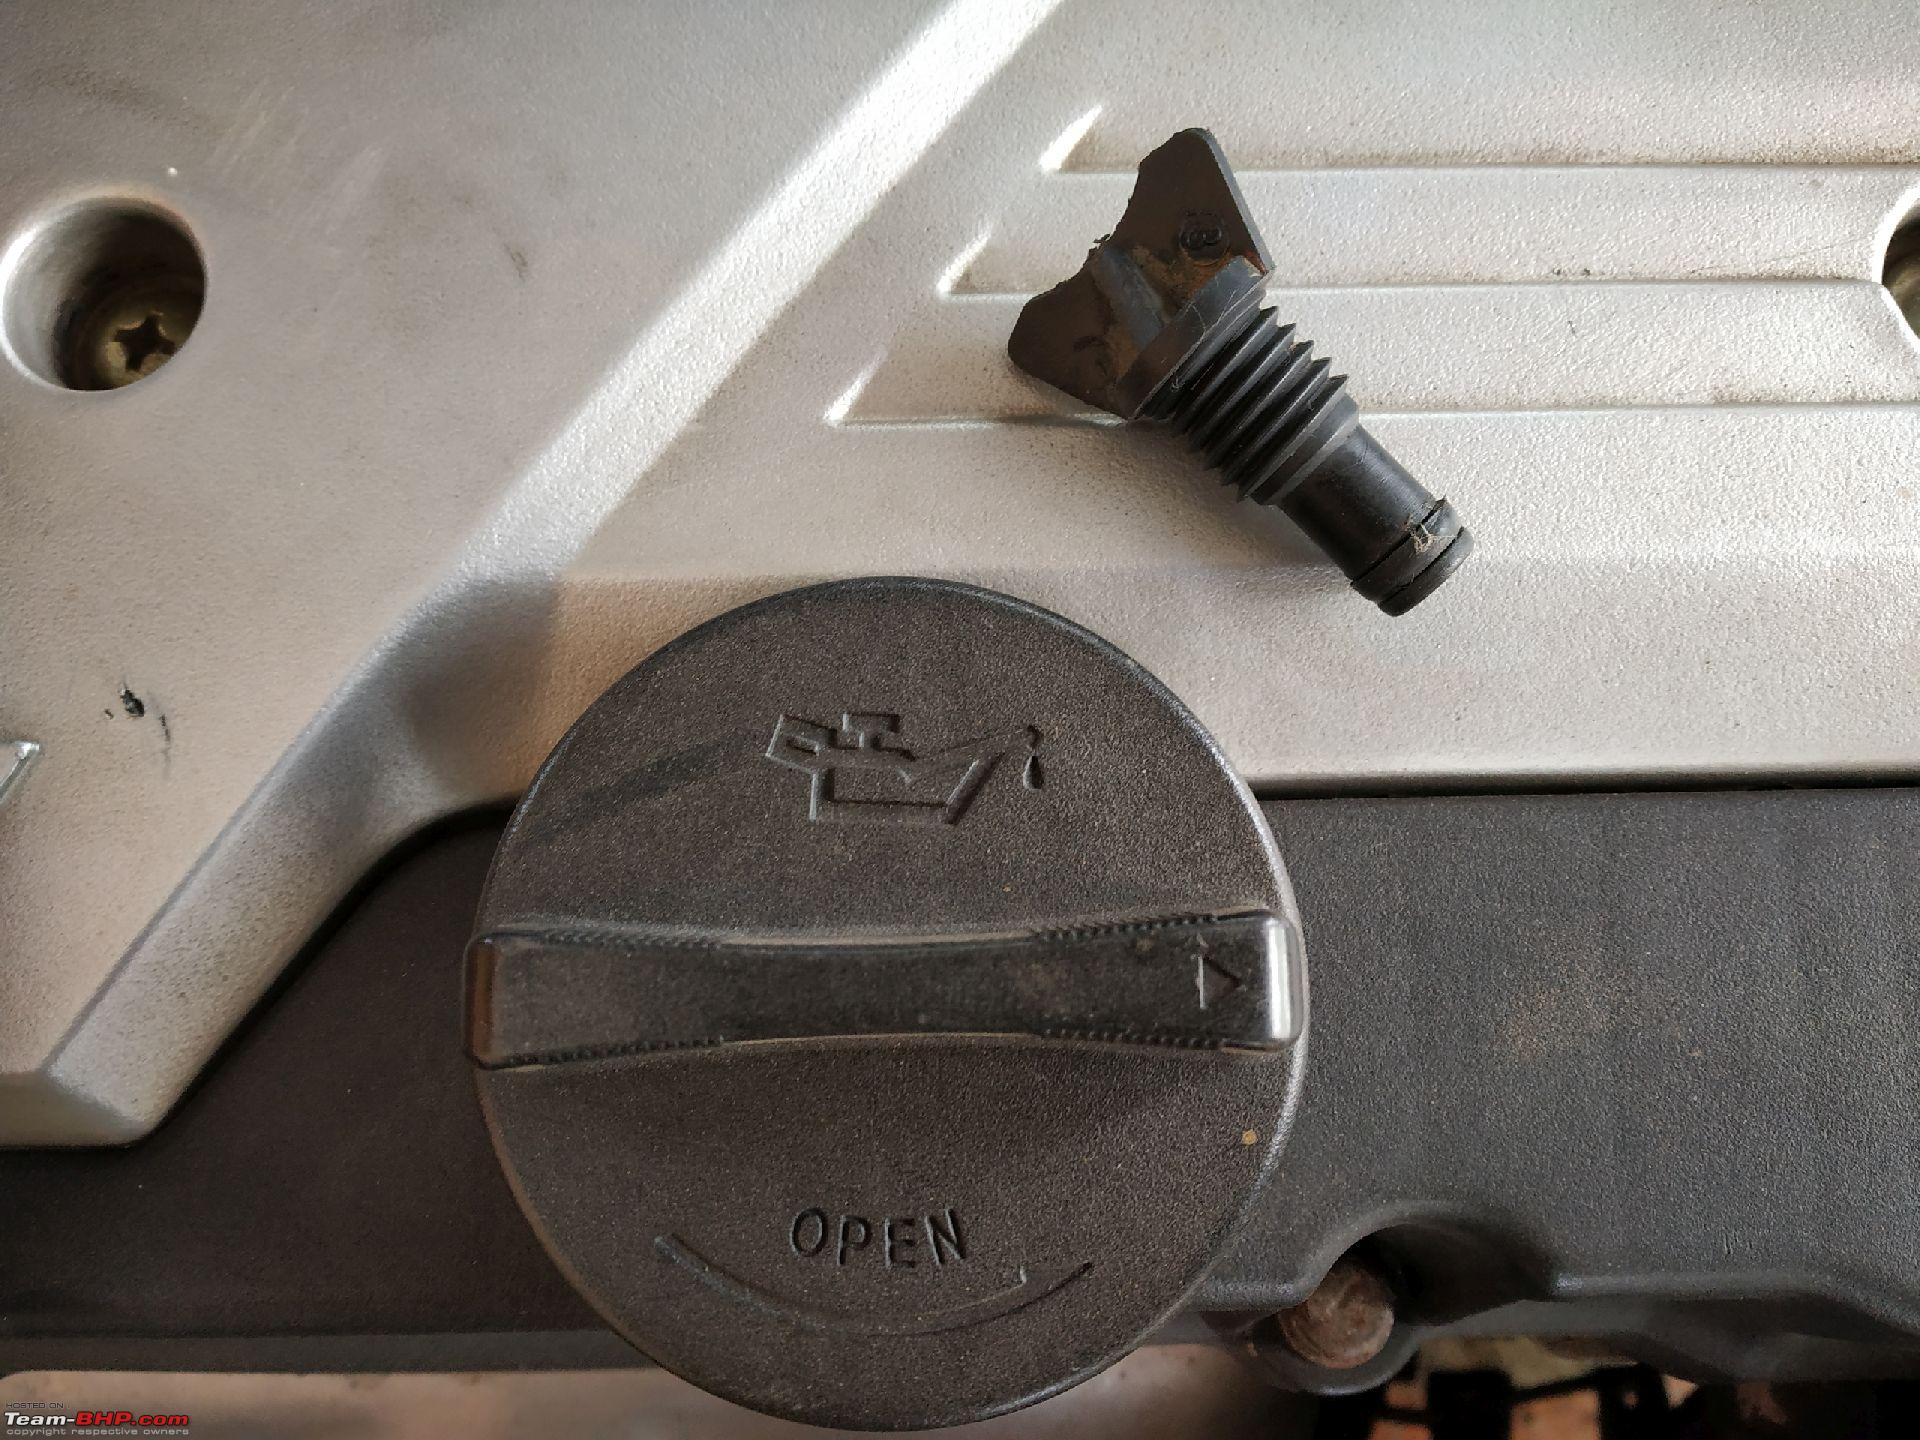
Up close. This is how the radiator drain plug on most cars look like.
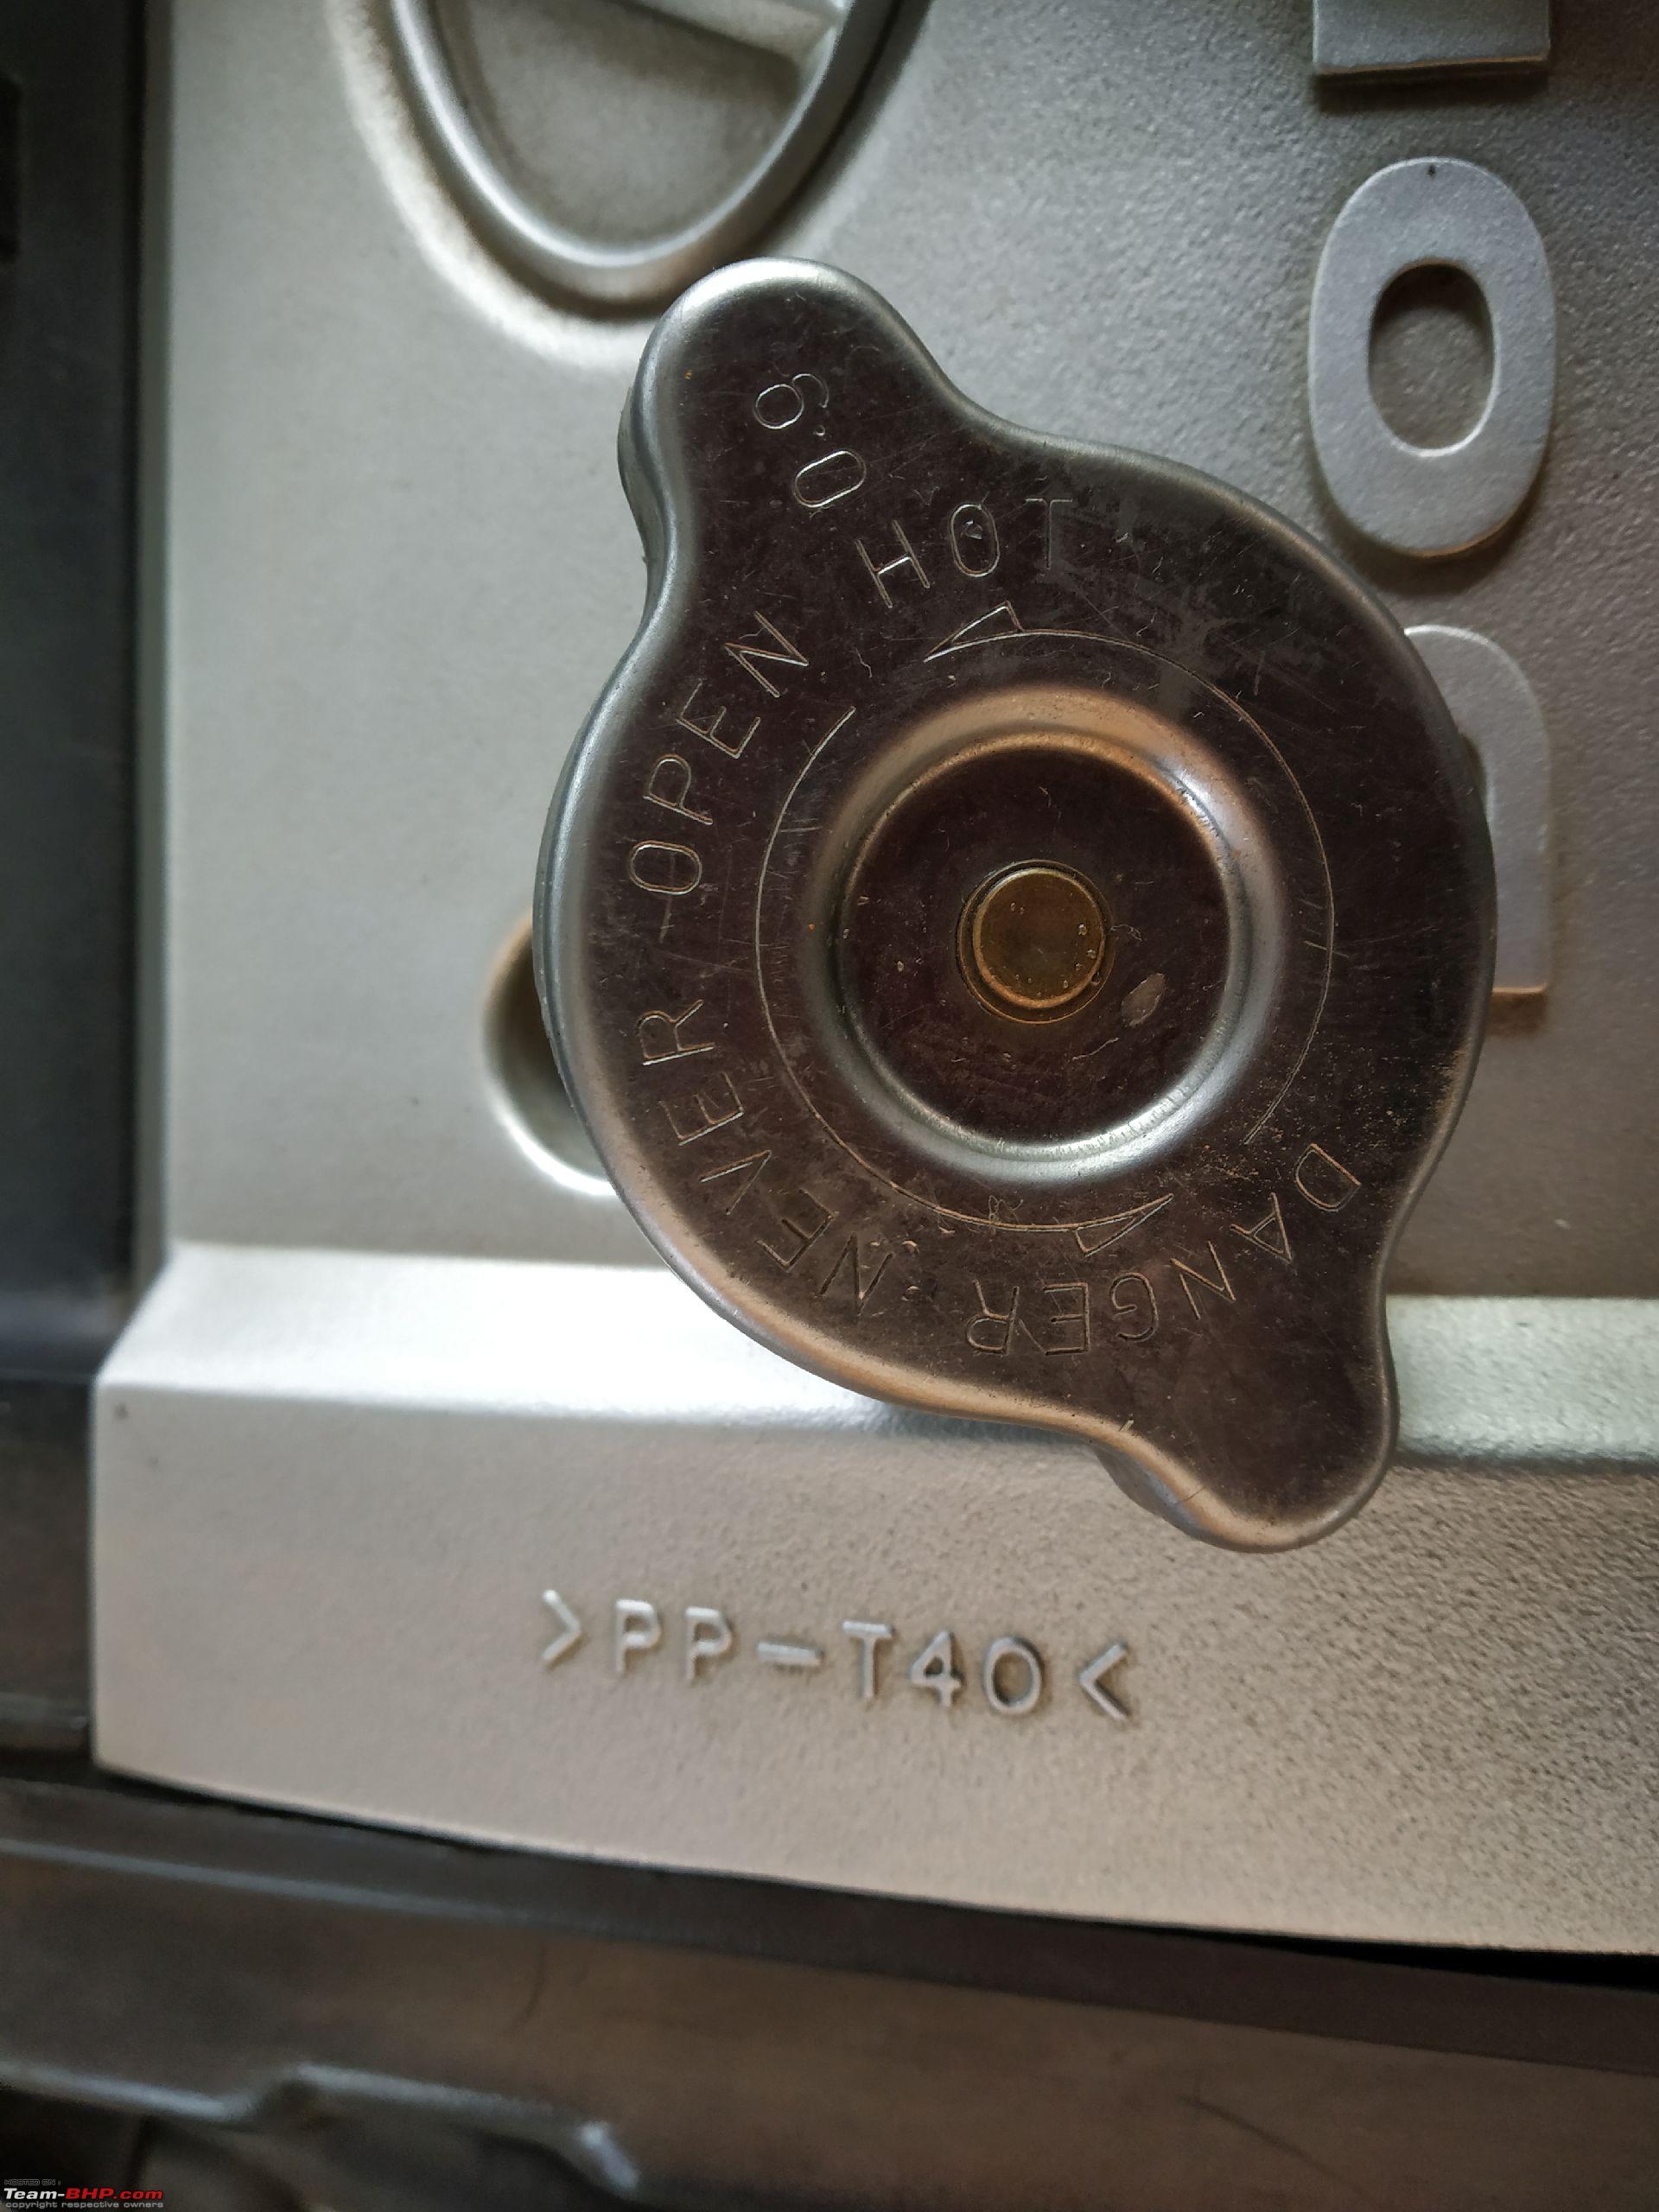
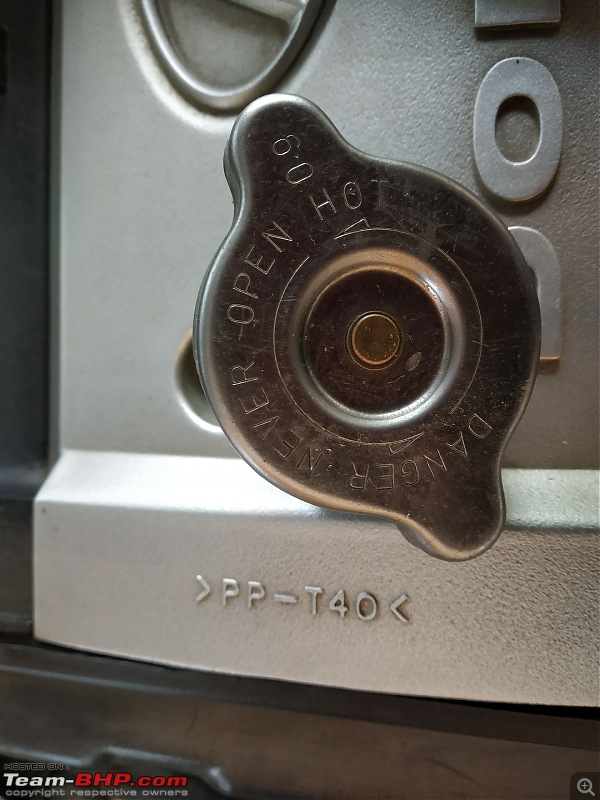
Though radiator cap was in great shape, I could see mild deposition underneath it. Gave it a good clean. Note: You see the pressure reading on the cap. Make sure it's the right cap of the right pressure, very, very, very important.
All the pawn there is to it.
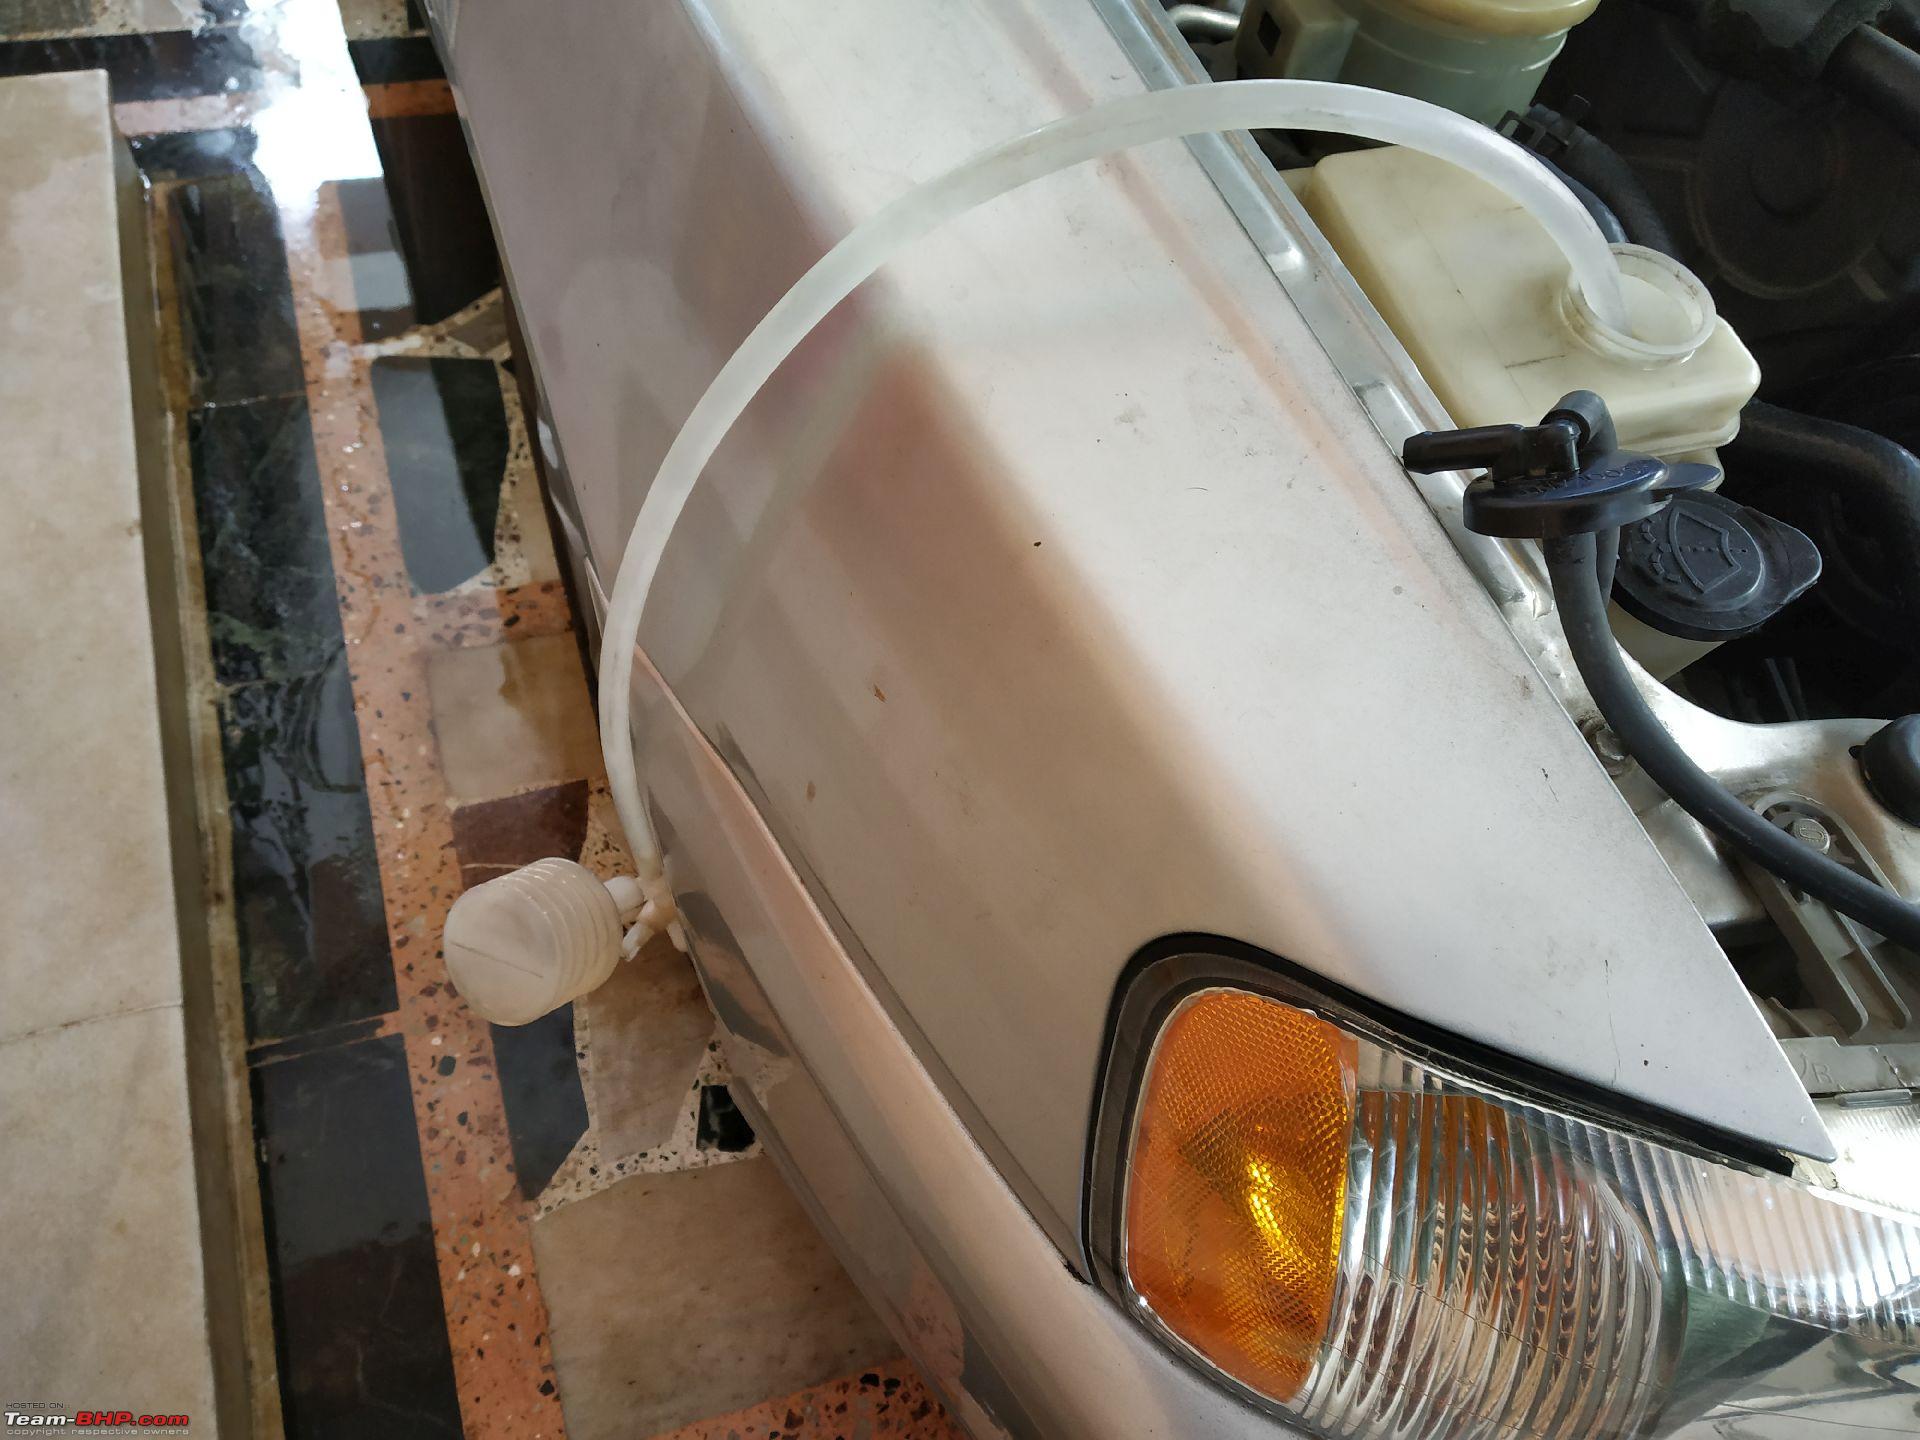
Siphoning out the coolant out from the reservoir. I must tell you, the shape of the coolant was in pretty bad shape once I saw the coolant draining out of the hose. The color was almost reddish, and was horrendous indeed. I had to clean the reservoir alone for more than 10 minutes to make it look clean on the inside. So much deposition.
Notice, the clean water coming out of the siphon. This was after the installation of the reservoir and made sure I flushed it every ounce of crud once again, and a job well done!
Along with this, the radiator was flushed four times, all with a fully warmed up engine. Upon the fourth exit, the water was crystal clean. All three tries did yield significant coloration of the water coming out, that is, brown as I mentioned above. Made sure this part of the process is as clean to my satisfaction. 100% DISCRETION ADVISED ON HOT PARTS
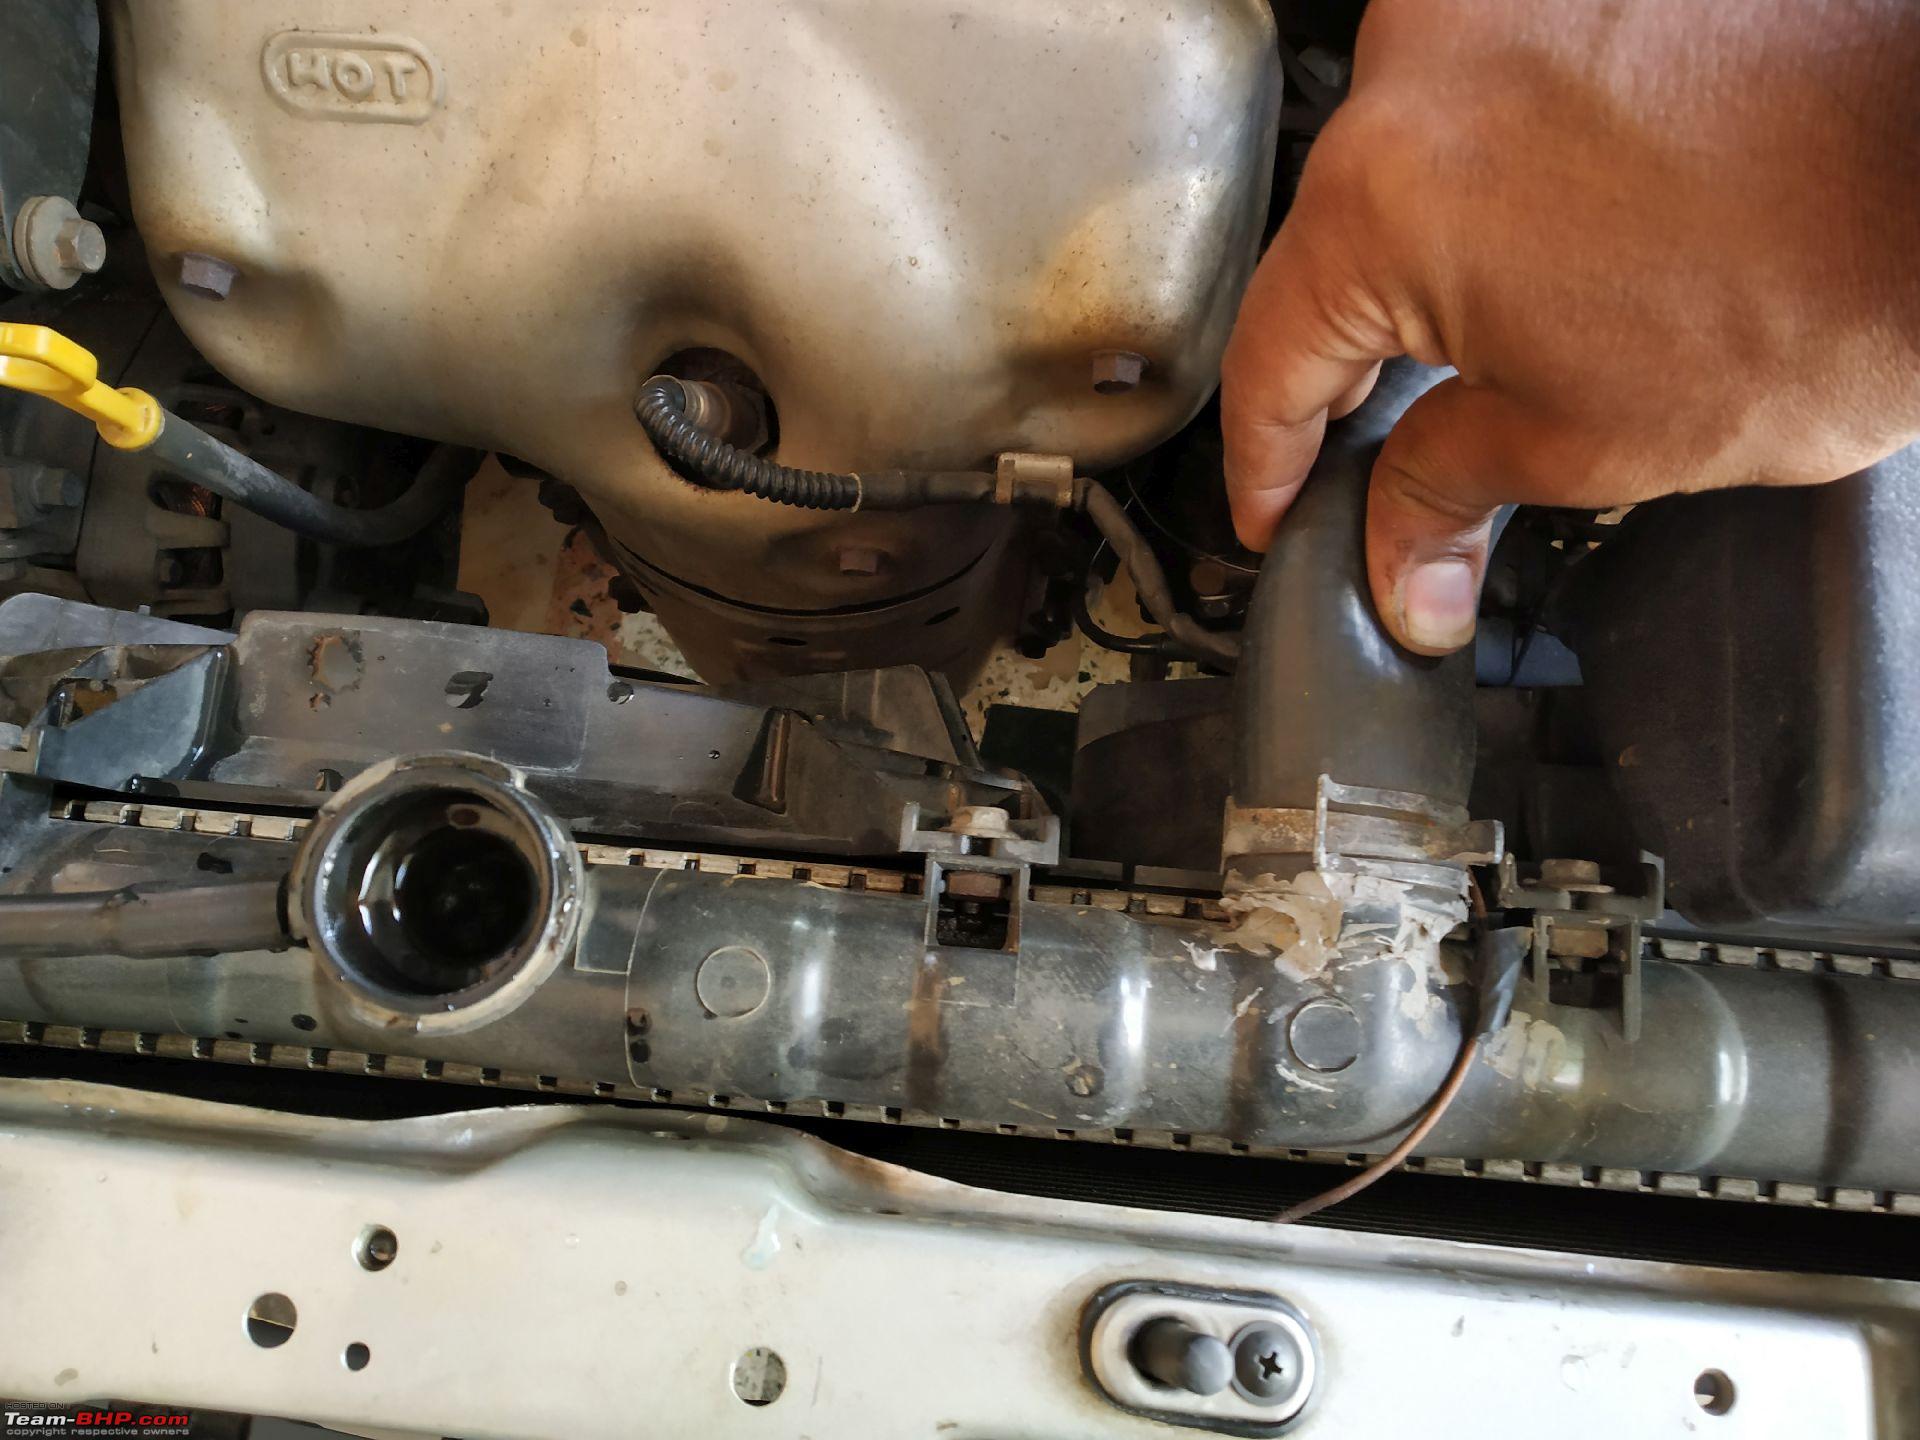
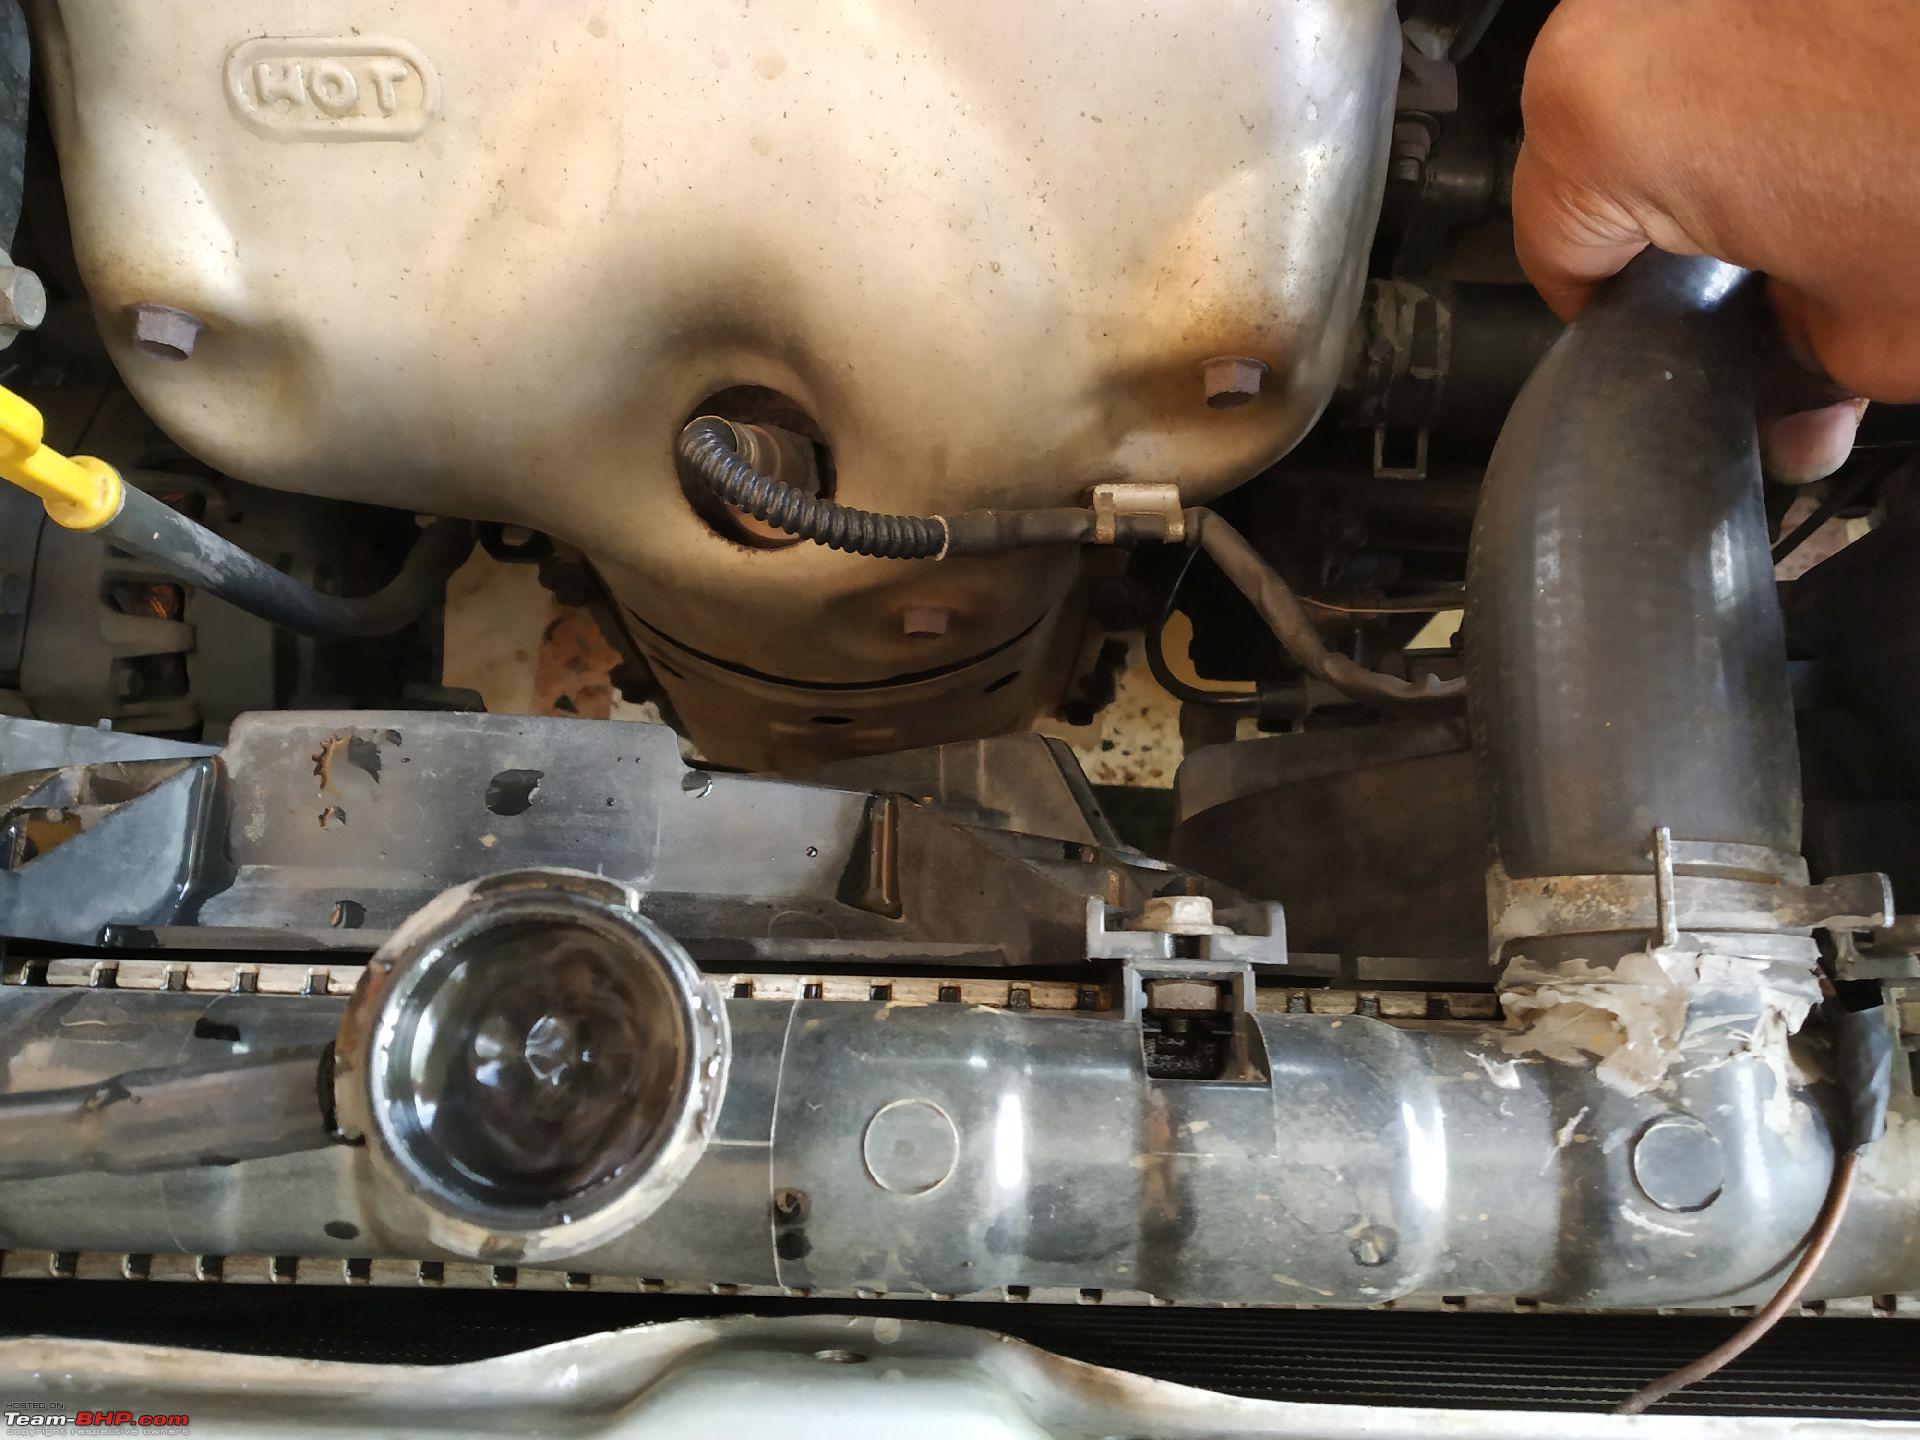
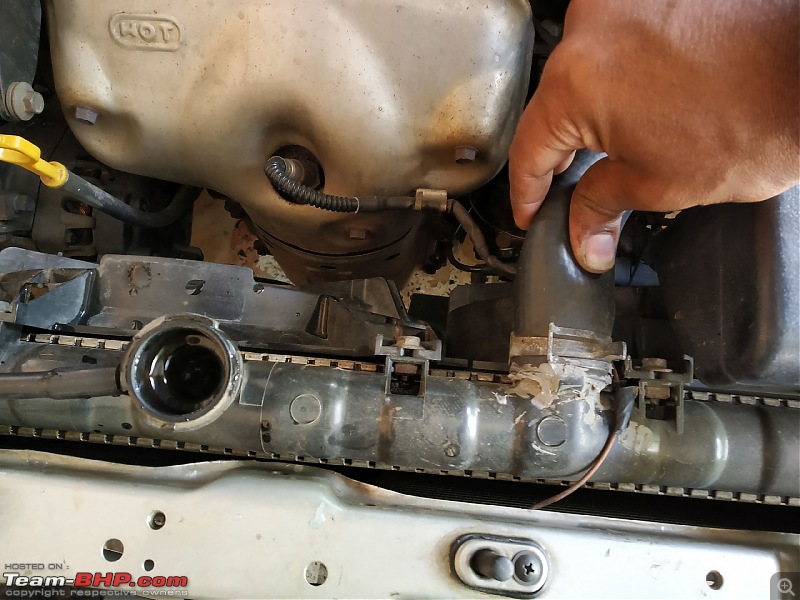
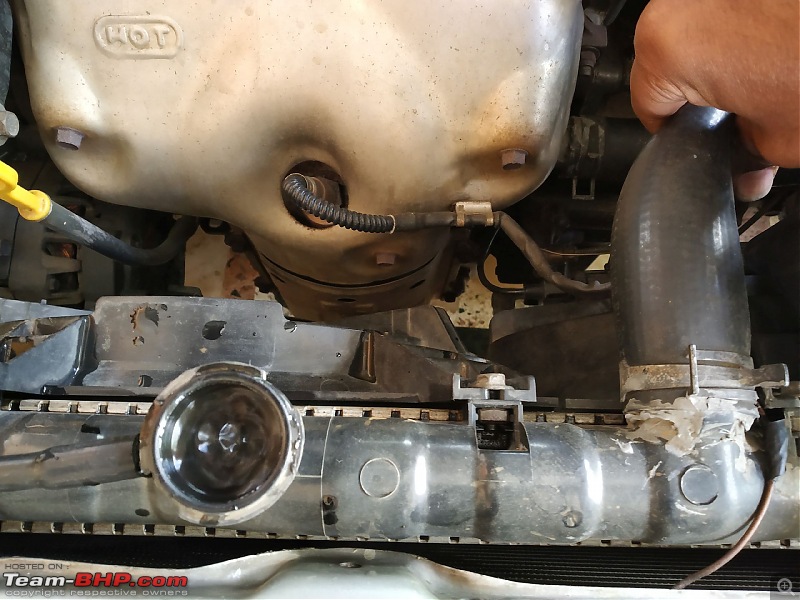
The final few steps are pretty much easy. But, what one needs to take into consideration is make sure you press the tubes all along, both the inlet and water pump hoses several times when purging the water out and when installing fresh coolant. Most miss this.
Pressing the tubes gently allows the air that's inside the system to slowly bleed out and come up as bubbles near the radiator filler neck.
Me pressing the tubes, did made sure a few big bubbles coming out, and simultaneously adding coolant in small quantities till I made sure there is no more overflow or bubbles. Well, there wasn't any.
Note: Make sure you squeeze them mildly and gently, and don't press them hard, else your coolant will flow out. Squeezing them softly is the key.

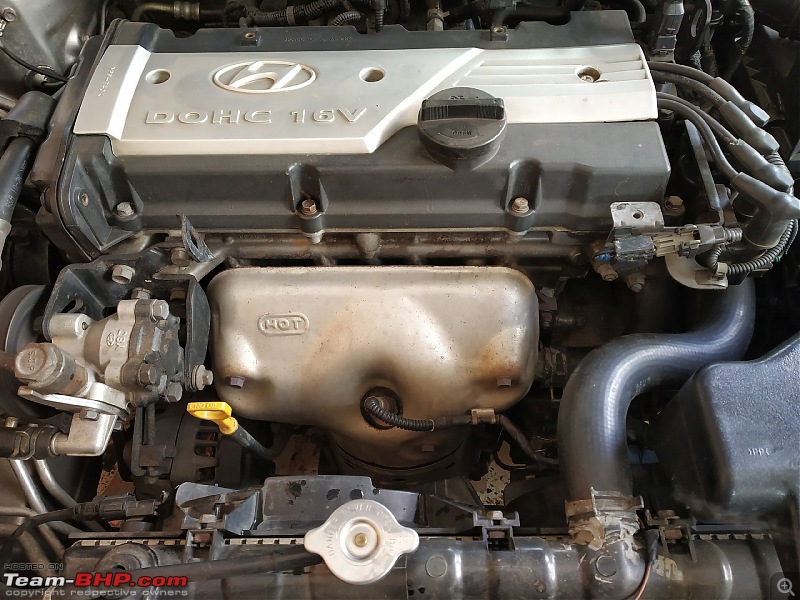
Bubbles coming out after fully topped up radiator and system bled well. Installed the radiator cap.
After everything's done!
Observations
========
After the entire procedure was carried out, well. I let the car idle for exactly 10 mins to make sure it reached its optimum temperature, and here's where I found something -- different. Usually, within 10 mins, upon normal operation, the temp gauge would exactly stand in between the markings in the gauge. In my years of owning the car, I haven't seen the needle budge even a mm above the mark where it's supposed to be, irrespective of the temperature under the hood.
After the coolant change, the needle is slightly lower than the desired mark itself, which I found strange and satisfying. To rule out any leakage, I took the car for a short spin, still I can see the gauge almost touching the required mark on the gauge, albeit slightly down, but not exactly where it's supposed to be.
So, a job well done!
Conclusion
========
The replacement of coolant in a car is far simpler than that of a motorcycle, at least personally, since I know the pain process behind bleeding and replacing coolant in a motorcycle.
The car requires 5 liters of coolant, where the radiator gobbled up full and exact four liters and the rest I had in a separate pack was used to top up the coolant reservoir.
In the end, it was a day well spent, learnt a few hacks and techniques and I guess that's all there is to it.
Appreciate readers for their patience.

Cheers!
VJ


 1st March 2019, 20:48

 (21)
Thanks
(21)
Thanks