Team-BHP
(
https://www.team-bhp.com/forum/)
Quote:
Originally Posted by greenhorn
(Post 1417066)
I just make two cuts at both sides of the dot PCB where i need it to break, and then break along the dotted line, exerting pressure with my thumbs at the region near the cuts :D
file the sides by rubbing on a concrete wall if required :p
|
You can use a scale and Knife to mark it twice with some pressure and then break it, it comes out easily.
Sometimes I mix the LEDs, to find out the color I use a 3V button battery to quickly sort and test them before fixing it in the circuit board. It works for Blue and white LEDs also.
Quote:
Originally Posted by benbsb29
(Post 1405366)
@Gopinathann : Is it possible that in the process of your experiment, you managed to short one of those circuits? Just wondering. Replace one of those non-working branches with new LEDs and check if they glow.
|
Planning to fix it this week.
Quote:
Originally Posted by greenhorn
(Post 1417066)
I just make two cuts at both sides of the dot PCB where i need it to break, and then break along the dotted line, exerting pressure with my thumbs at the region near the cuts :D
|
Smart, i also thought of the same modus operandi. The question once again being, with what do you make the cuts? :P
I use the wire snipper (same thing used to cut leads)
Quote:
Originally Posted by benbsb29
(Post 1405366)
@Gopinathann : Is it possible that in the process of your experiment, you managed to short one of those circuits? Just wondering. Replace one of those non-working branches with new LEDs and check if they glow.
|
Though I thought there was a short citcuit which could have burnt the LED , I tested each LED and all are working. It seems there was a loose connection which I have fixed it. Now all the 10 rows are working :)
Thanks to the person who suggested using a nail cutter to snip off the leads. It works perfectly!
For cutting the PCBs, i use a plyer. I apply pressure at one point of the board, and then break the circuit board accordingly. Thankfully, didnt need to get myself a hacksaw blade. Am in the proces of making a PCB set up for the cabin light using white LEDs, replacing the makeshift arrangement i made last time using cardboard and blue LEDs, which arent really practical.
@gopinathann : What is the resistor value you have used on each of the branches?
Quote:
Originally Posted by benbsb29
(Post 1420221)
Thanks to the person who suggested using a nail cutter to snip off the leads. It works perfectly!
For cutting the PCBs, i use a plyer. I apply pressure at one point of the board, and then break the circuit board accordingly. Thankfully, didnt need to get myself a hacksaw blade. Am in the proces of making a PCB set up for the cabin light using white LEDs, replacing the makeshift arrangement i made last time using cardboard and blue LEDs, which arent really practical.
|
If you are into DIY - try to invest in some tools - like a mini hacksaw, a good wire snipper, a good soldering iron, a good plier, a file, a multimeter etc.. Each of them except the soldering iron and the multimeter will cost you around 50 bucks and will come to use in long term. Once you get these things- you will thank yourself in future. I was also using
jugad in my early days instead of proper tools - but once you get proper tools the job becomes very easy.
and learn proper solder application and removal while you are at it. Any electronics assembly will become a piece of cake :D
Quote:
Originally Posted by archat68
(Post 1420270)
If you are into DIY - try to invest in some tools - like a mini hacksaw, a good wire snipper, a good soldering iron, a good plier, a file, a multimeter etc.. Each of them except the soldering iron and the multimeter will cost you around 50 bucks and will come to use in long term. Once you get these things- you will thank yourself in future. I was also using jugad in my early days instead of proper tools - but once you get proper tools the job becomes very easy.
|
Agree with you. Proper tools allow you to complete the project the same day you started it. Otherwise, lot of time is wasted doing jugaad.
I use nailcutter to cut the leads of components after soldering on the PCB not because to save on snipper/cutter, but it reaches all the places without much effort compared to the cutters. Especially while making LED clusters.
Quote:
Originally Posted by greenhorn
(Post 1420390)
and learn proper solder application and removal while you are at it. Any electronics assembly will become a piece of cake :D
|
+1
Soldering is the most critical part of any DIY. Most DIY projects fails for the newbie just because of poor soldering.
Get a piece or two of veroboard and practice soldering with it -Most people don't apply enough heat for the fear that excess heat will kill the components. The trick is to use right amount of heat for right duration of time. When you do it good - the result should be a shiny, smooth solder.
Also use desoldering wicks (braided wire coated with resin) for desoldering - they work best - far better than desoldering pumps.
For cutting copper tracks of veroboards with parallel tracks use a small drill bit. It cuts off the tracks neatly.
Quote:
Originally Posted by shyamhegde
(Post 1420439)
Agree with you. Proper tools allow you to complete the project the same day you started it. Otherwise, lot of time is wasted doing jugaad.
I use nailcutter to cut the leads of components after soldering on the PCB not because to save on snipper/cutter, but it reaches all the places without much effort compared to the cutters. Especially while making LED clusters.
|
Actually a nail cutter and a wire snipper costs same - around 30-40 bucks - so there is no saving. But the problem with the wire snipper is that it is available only in the specialized hardware shops whereas nail cutter you can get anywhere.
I use an old soldering iron (which i got in my second year of college). Its tip is worn hollow with use and sucks up solder :D then shake it to remove the solder!
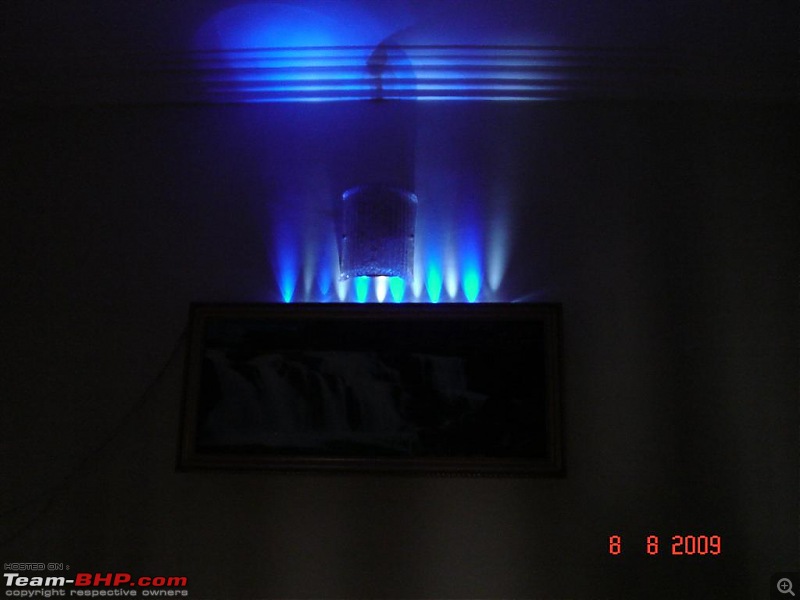
I did a LED strip this weekend for a testing purpose and it has come well. This can be used for home lighting or for car lighting.
I bought a wall fitting (used to hide wires in the wall) available in hardware store (Rs. 17 for 6 feet). I cut it for a 2 feet length marked with equal space and put holes in that. Then placed 12 LEDs (white & blue with 100 ohms resistor) so that only a portion is seen out. Solder the wires and connect it to 12V adapter to test it.
This can be used as a water proof LED light for car underbody or for number plate light.


Nice. Came out very well.
For waterproofing you can try using clear acrylic tubes (can be sourced from aquarium shops) - make a hole on one side of the tube - insert the LEDs and then fill the hole with silicone adhesive (available with the aquarium shops for 100 -150 bucks) or hot glue. Also fill the end holes with silicon adhesive or white M-seal. The LED leads after required connection can also be covered with silicone adhesive - this will make a 100% water proof assembly.
Quote:
Originally Posted by archat68
(Post 1423566)
Nice. Came out very well.
For waterproofing you can try using clear acrylic tubes (can be sourced from aquarium shops) - make a hole on one side of the tube - insert the LEDs and then fill the hole with silicone adhesive (available with the aquarium shops for 100 -150 bucks) or hot glue. Also fill the end holes with silicon adhesive or white M-seal. The LED leads after required connection can also be covered with silicone adhesive - this will make a 100% water proof assembly.
|
Thanks for sharing it. I have already used M-seal in my Numberplate light to prevent water. Next I am trying to create flexible LED strips.
| All times are GMT +5.5. The time now is 11:02. | |


